For those of you following this thread, I have created a separate thread regarding the possible insulation of the walls internally, which in theory is a risk construction. However, I'm only considering 45 mm insulation.
After much deliberation, I have decided to insulate the entire building internally with 45mm rock wool. I will therefore use the studs for the insulation compartments to also relieve all loads that land above the windows. I will place XPS300 where these loads occur. Yes, it is overly strong XPS, but on the other hand, the load will be right at the edge of the slab.
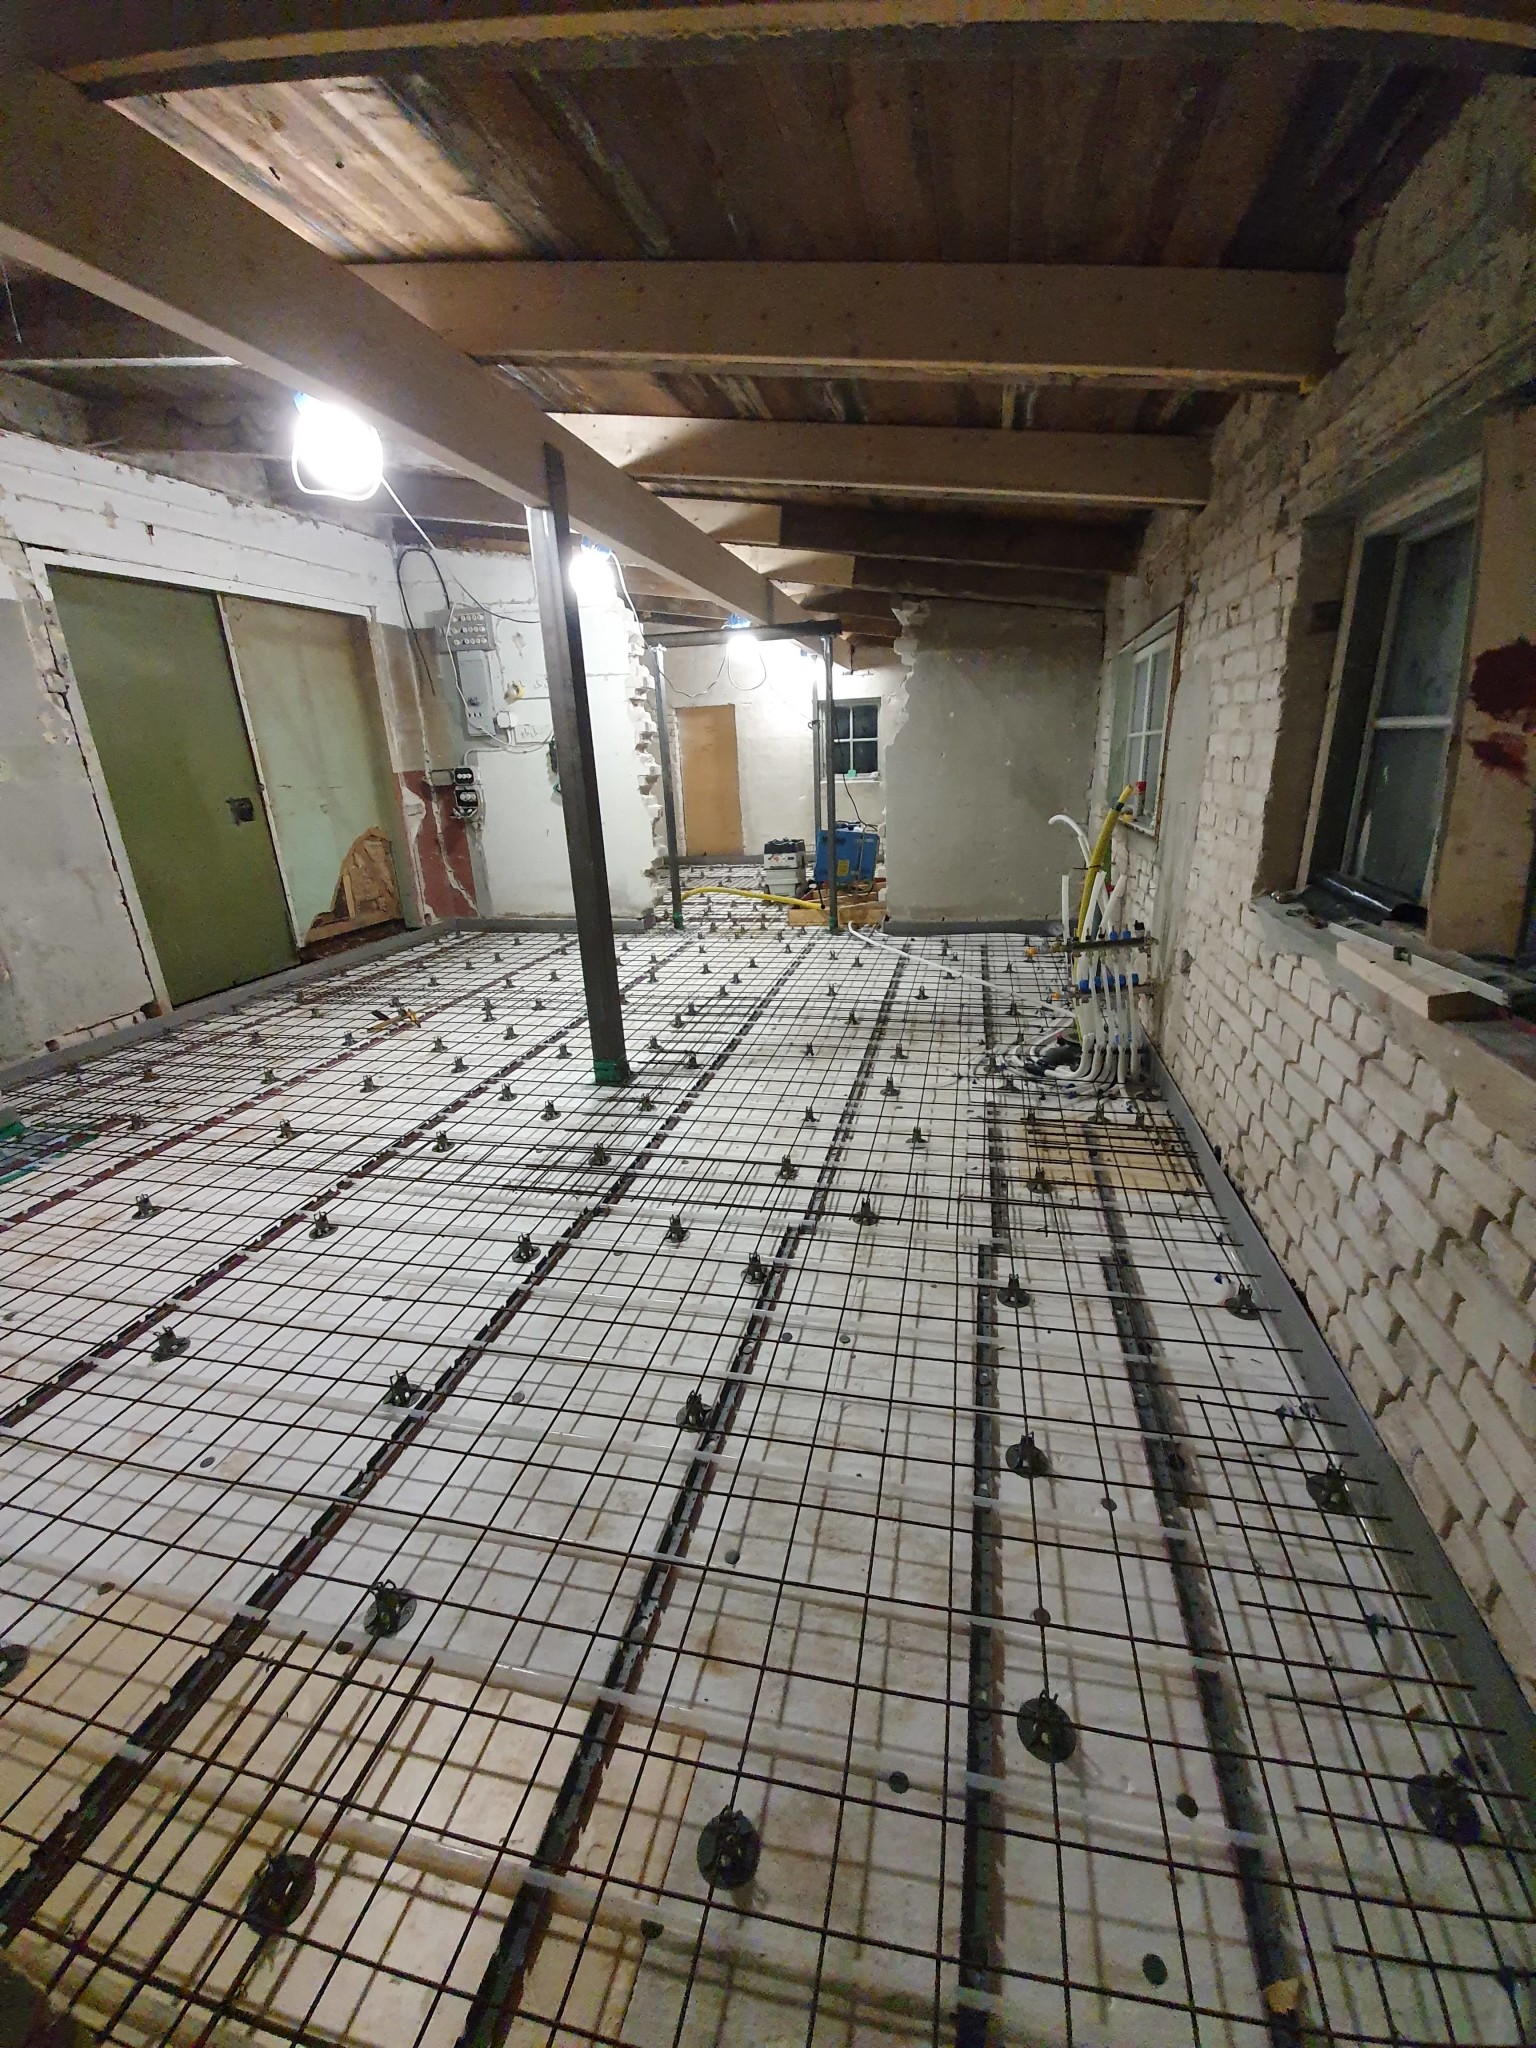
Thinking of just adding two longitudinal rebar (10mm iron) where the loads occur, to complement the 6-150 reinforcement mesh. Hard to see stirrups being needed for small loads like 5-10kN or do you think some iron in the other direction is also needed? (That is, from the outside inward). 100mm concrete everywhere. So no thickened edge or edge beam.
I had placed some rebar under the mat and inward. The mat does not contribute to strength but rather helps to reduce surface cracks. Two rebars in the longitudinal direction should be sufficient. Ideally, you would want two at the top and two at the bottom since they handle both tensile and compressive forces, but it becomes too cramped to manage that properly in 10 cm.
I would have inserted some rebar under the mat and inward. The mat doesn't do anything for strength but helps reduce surface cracks. Two rebars in the longitudinal direction should hold it. Ideally, you want to have two on top and two on the bottom because the two handle both tensile and compressive forces, but it's too tight to manage that sensibly with 10 cm.
In theory, I would have wanted thicker casting there, but somewhere you have to set the limit for safety margins.
The reason I have exactly XPS300 is to reduce the tensile stress on the slab, which decreases if the substrate is hard and even.
The load that arises should be the one wanting to crack the edge of the slab, but there I have the existing interior wall to hold against.
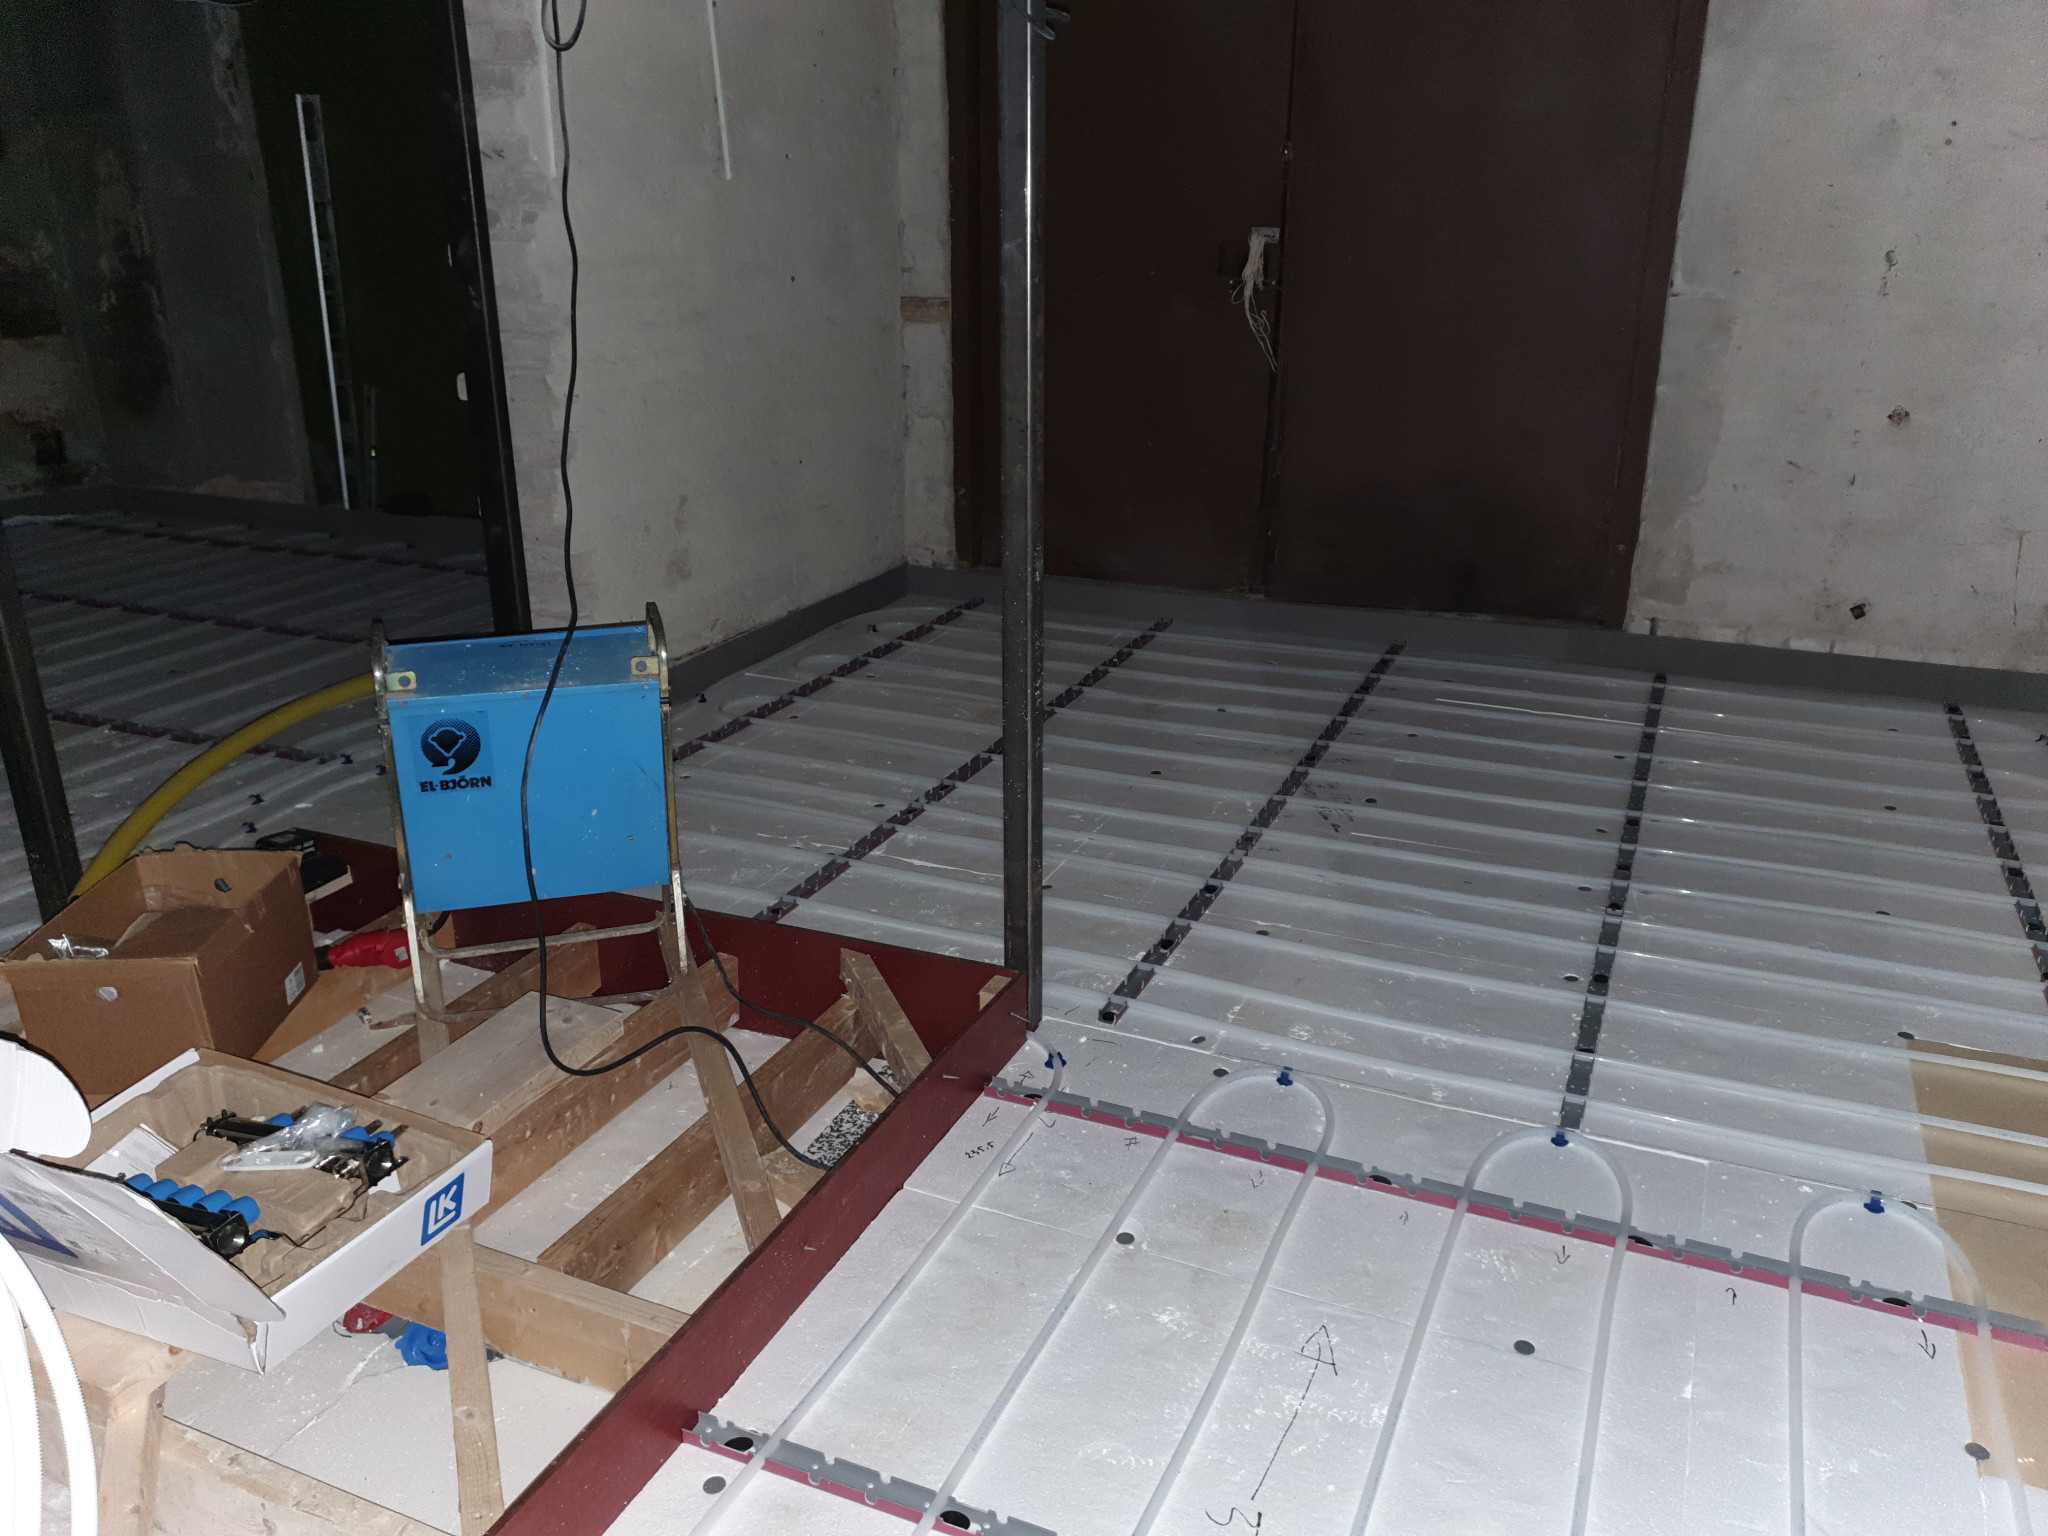
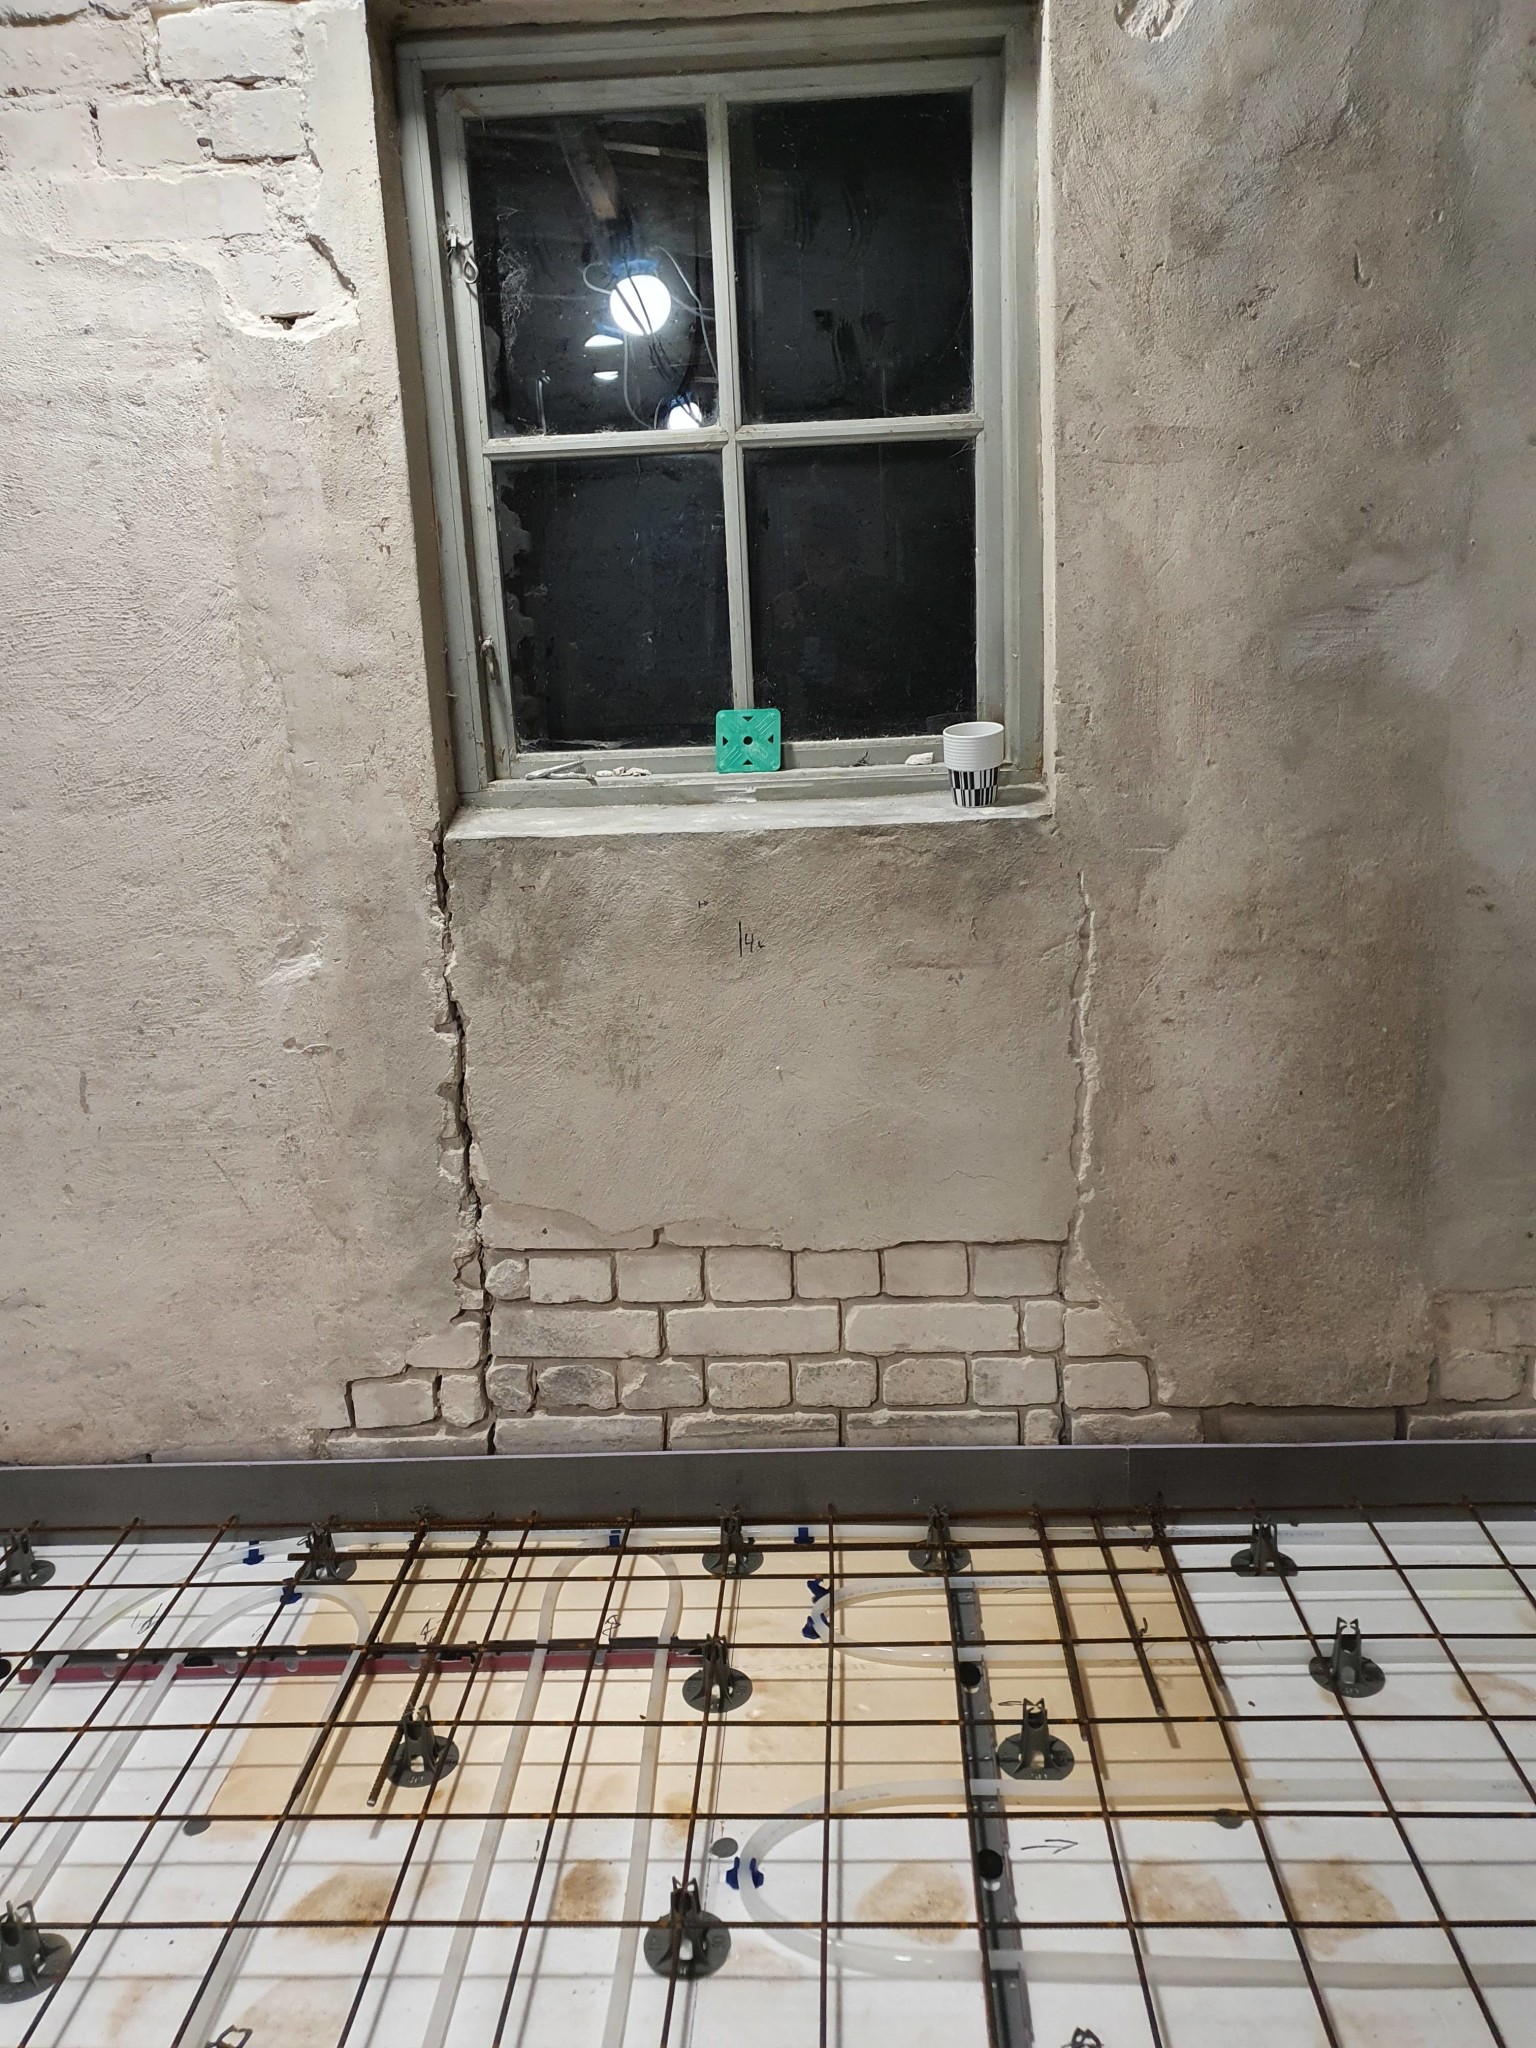
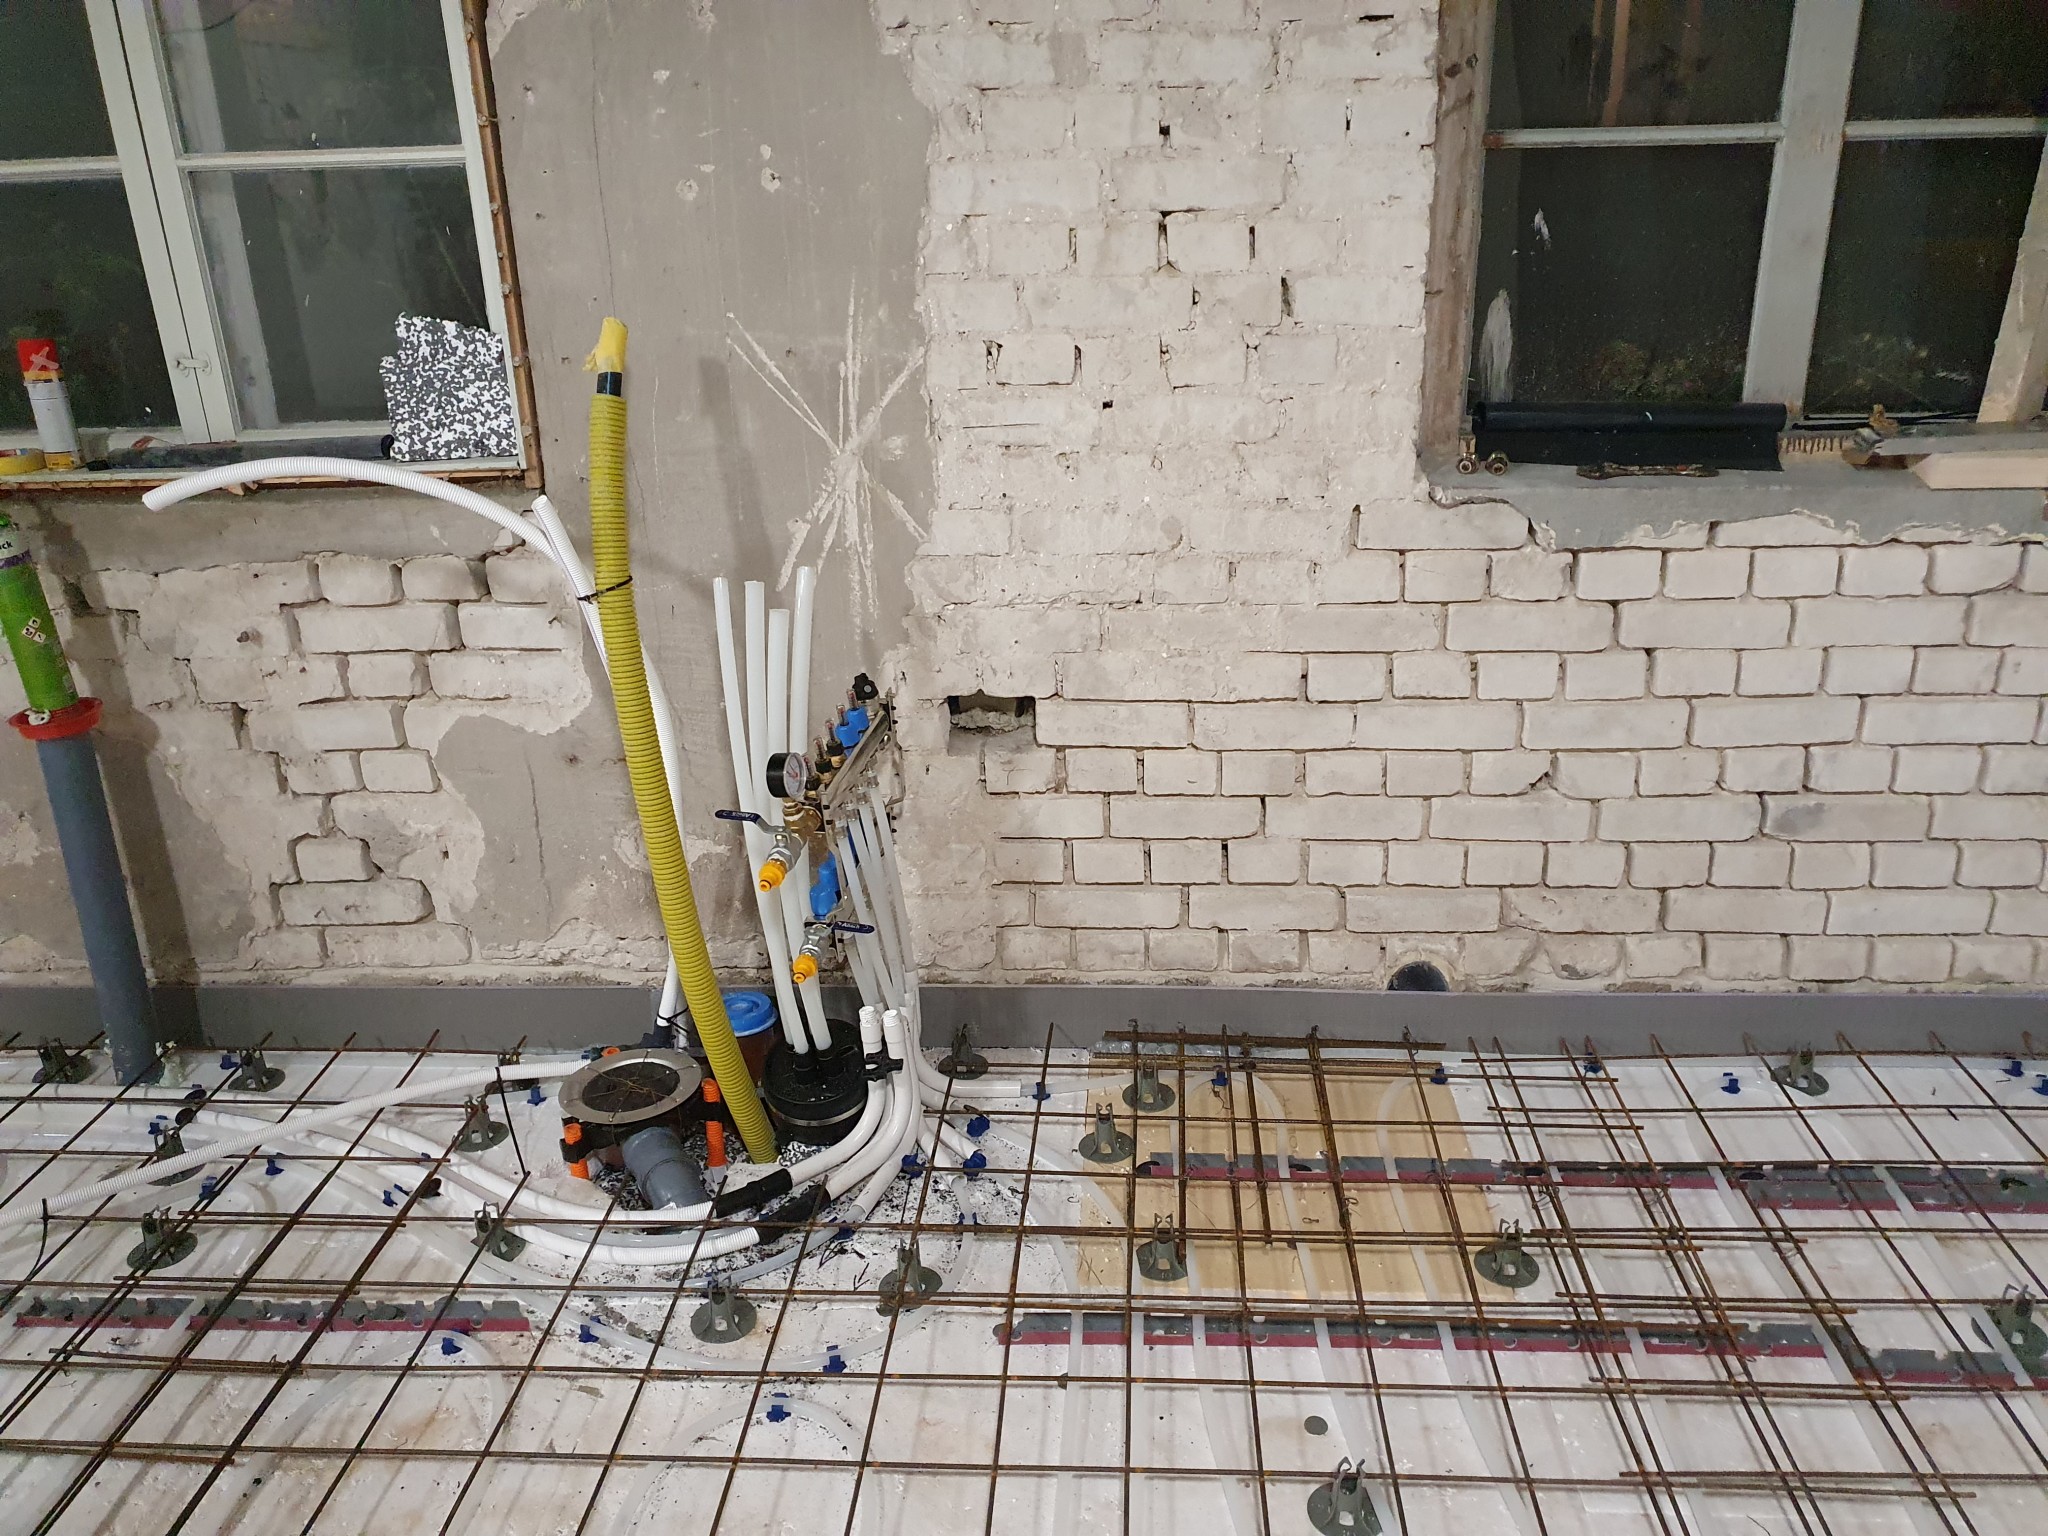
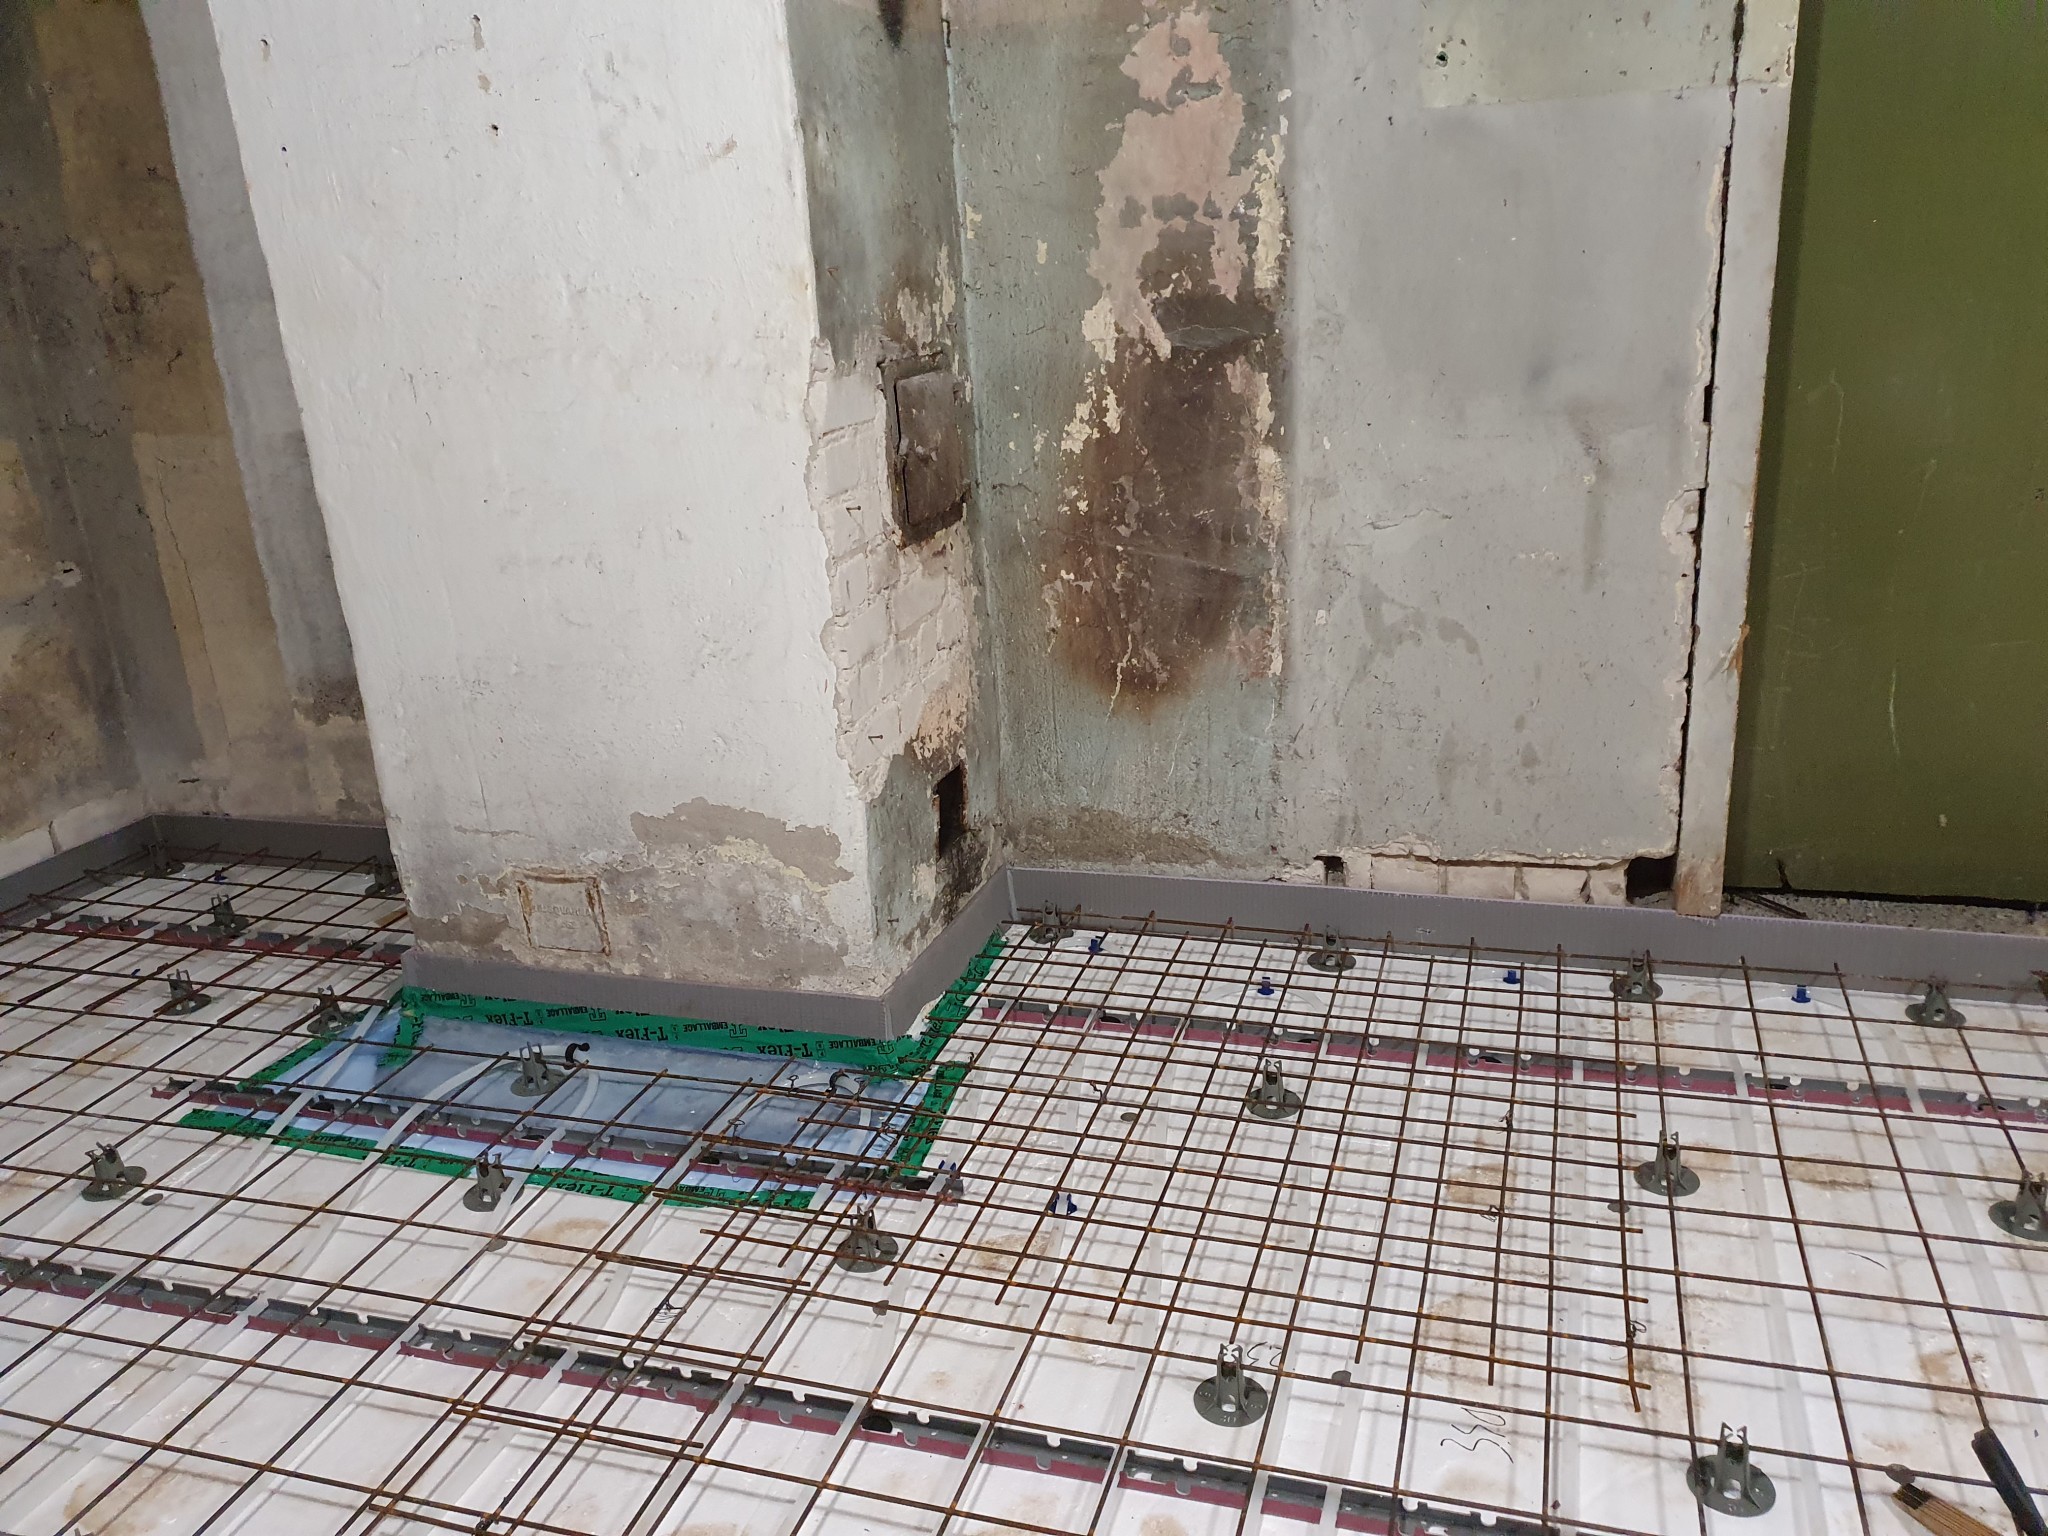
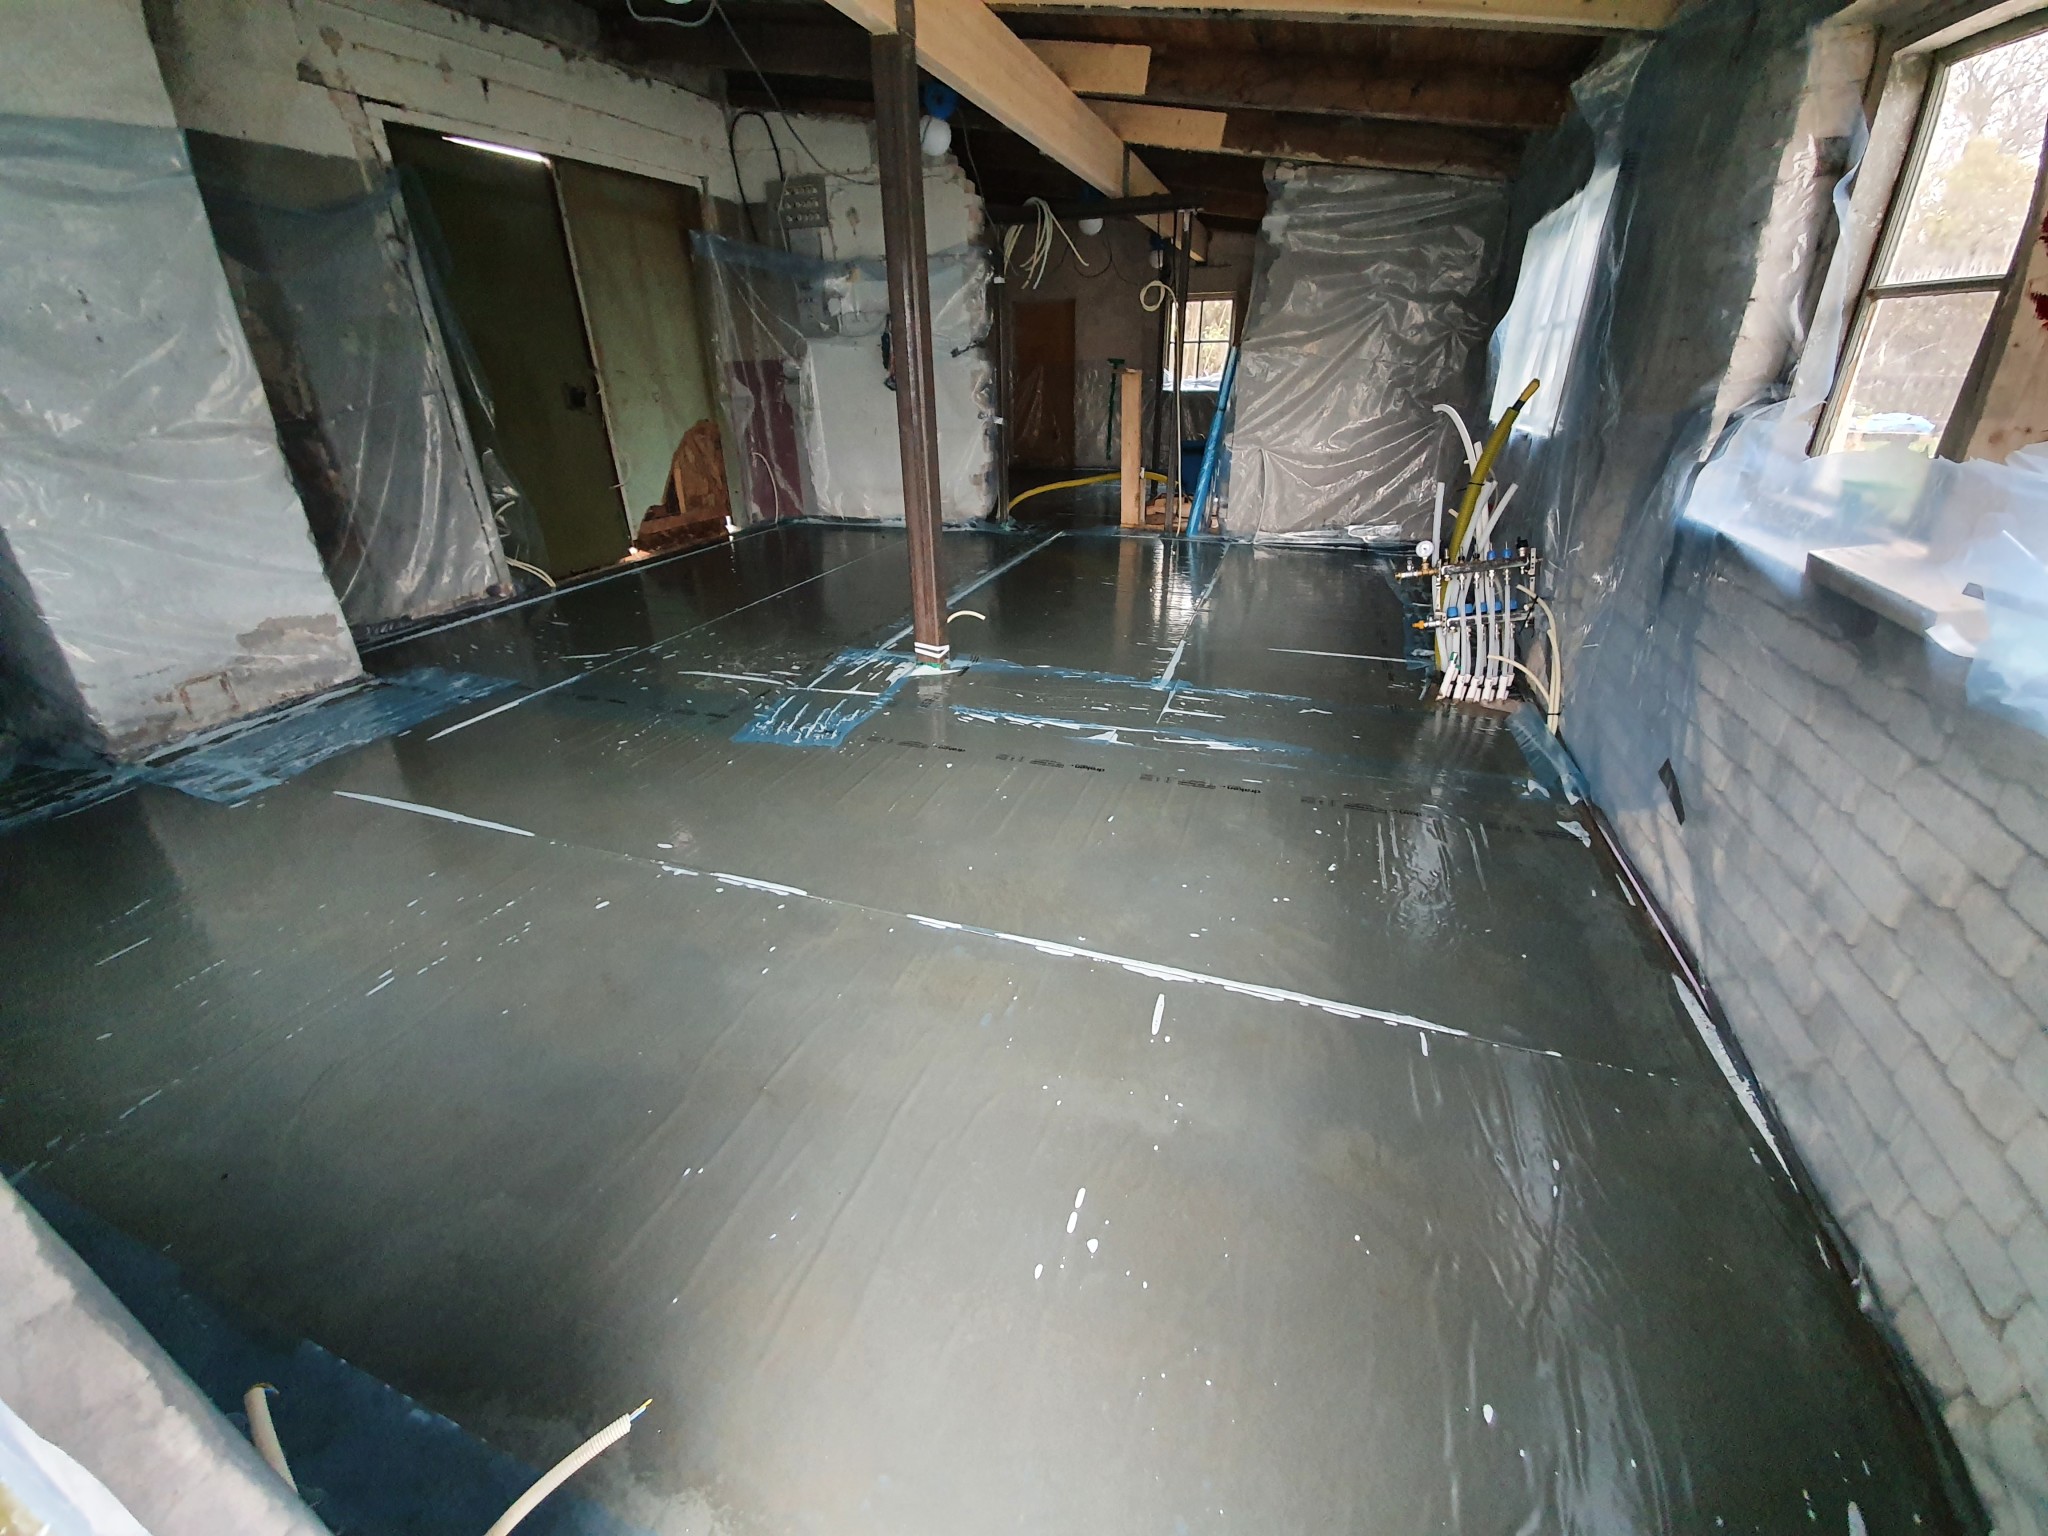
I have placed a Jackon Jackopor wet room board along all walls to create a diffusion barrier between the existing base and the new concrete floor. It also insulates a little but is only 12mm thick. But mainly to create a floating floor that is not anchored to the old one, hopefully reducing the risk of cracks.
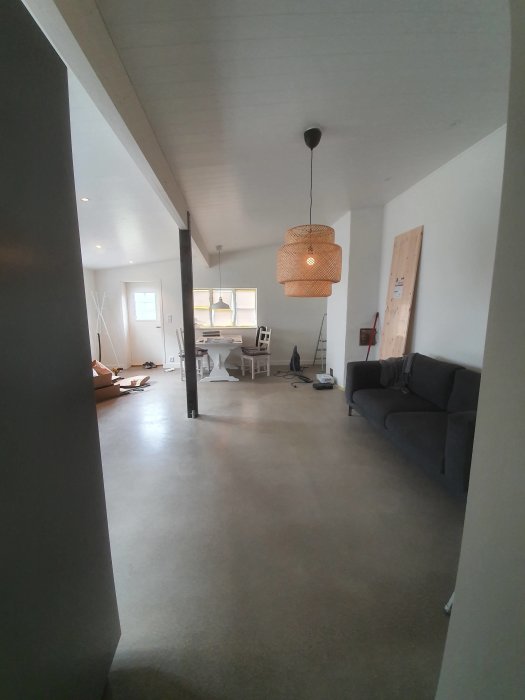
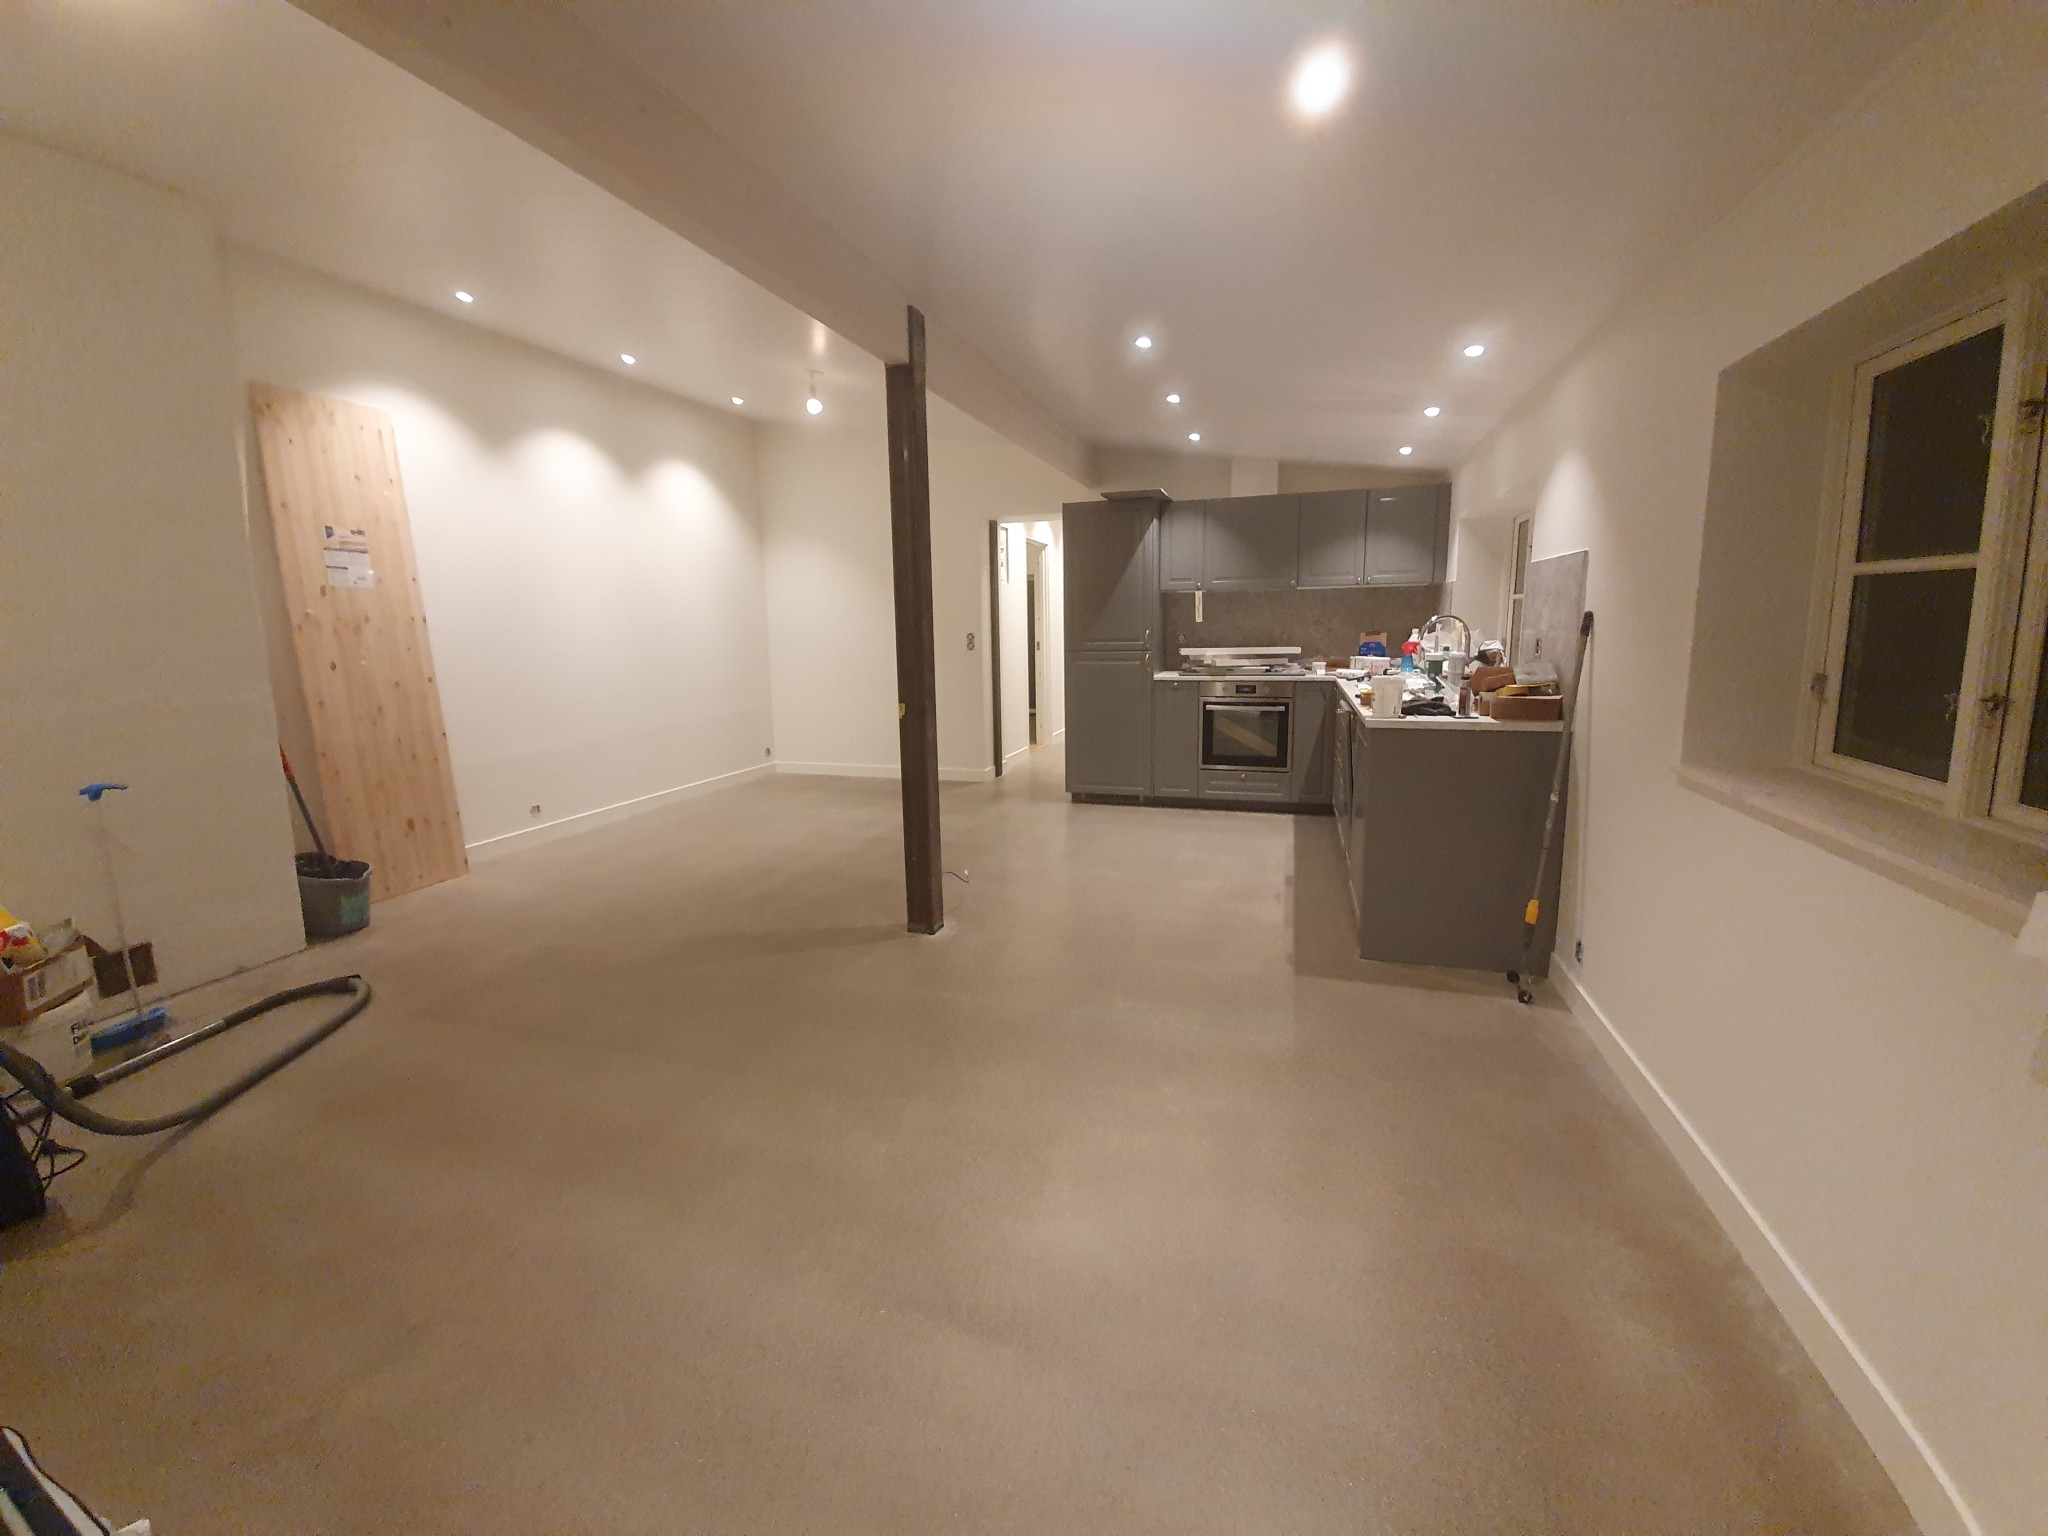
I also want to add that along the new concrete floor, I will lay a wooden beam on edge, type 45×195, to distribute the load on the floor. So, it will not be a typical point load but rather a line load. A corresponding beam will lie under the glulam beam since there is span there.
Back to the walls then.
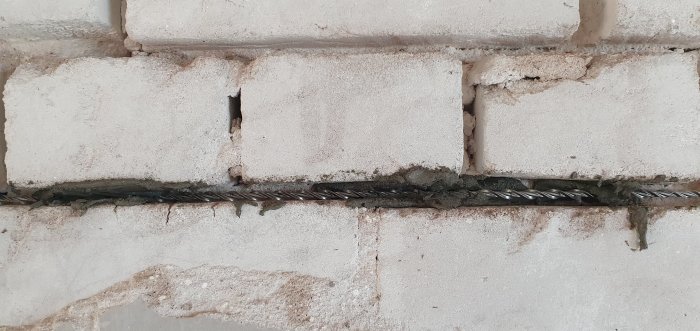
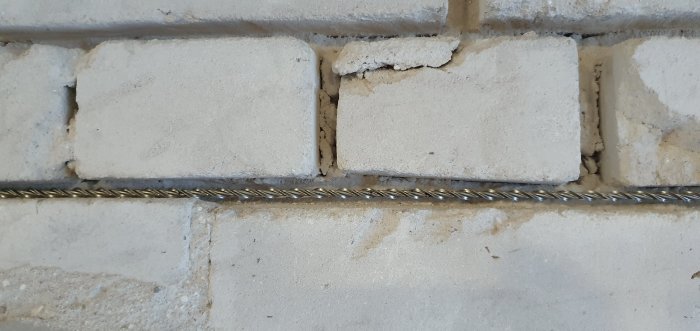
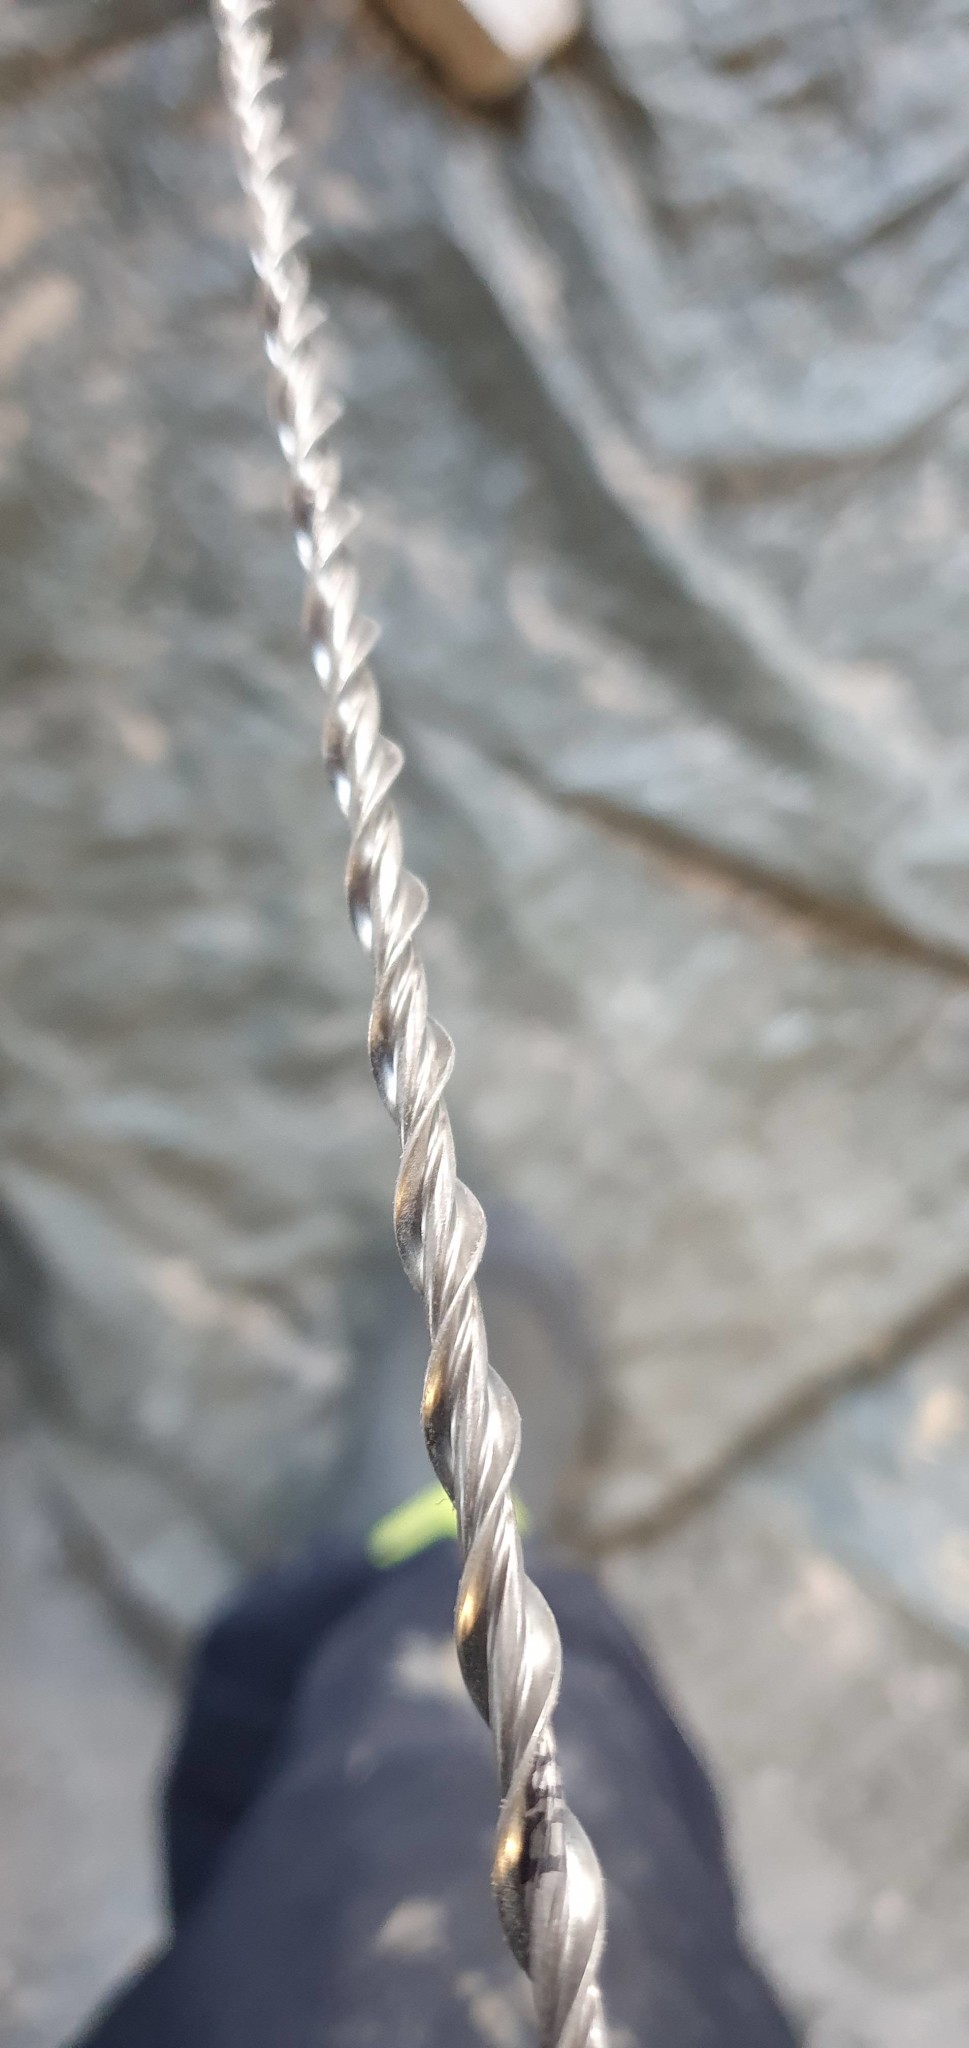
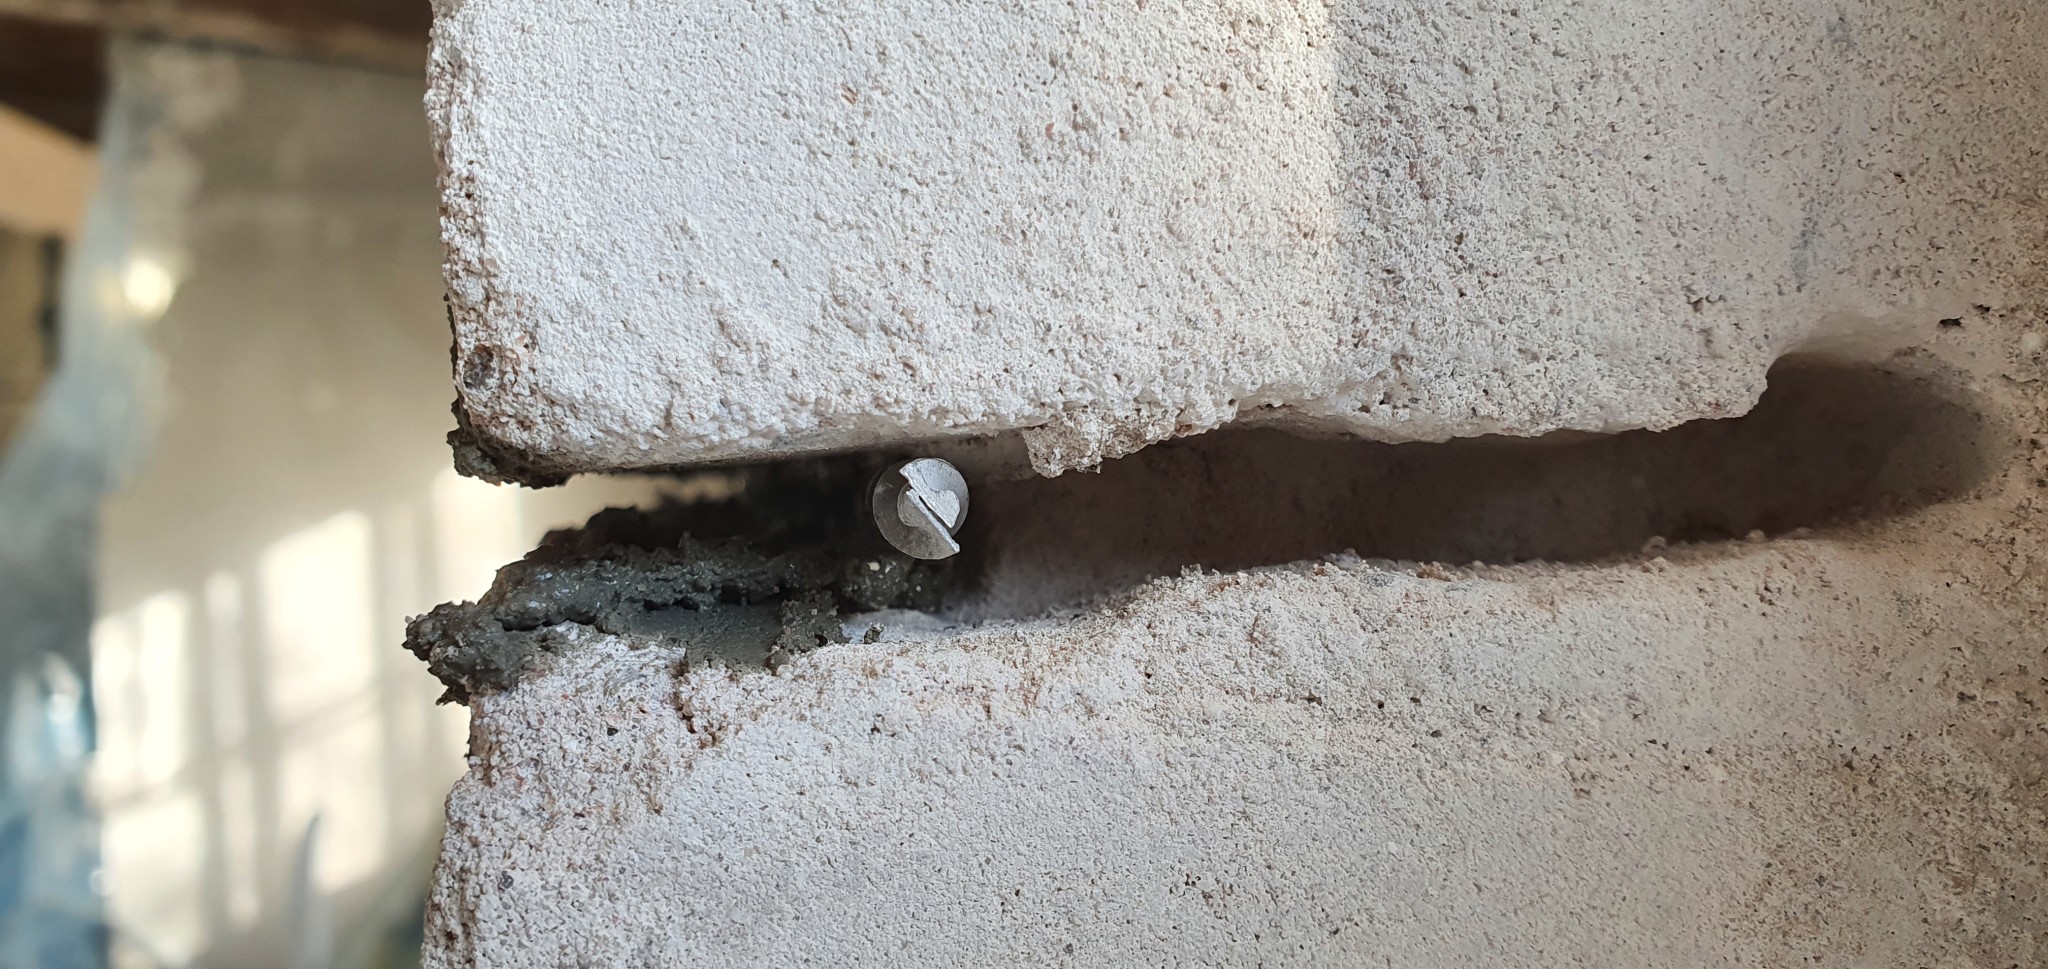
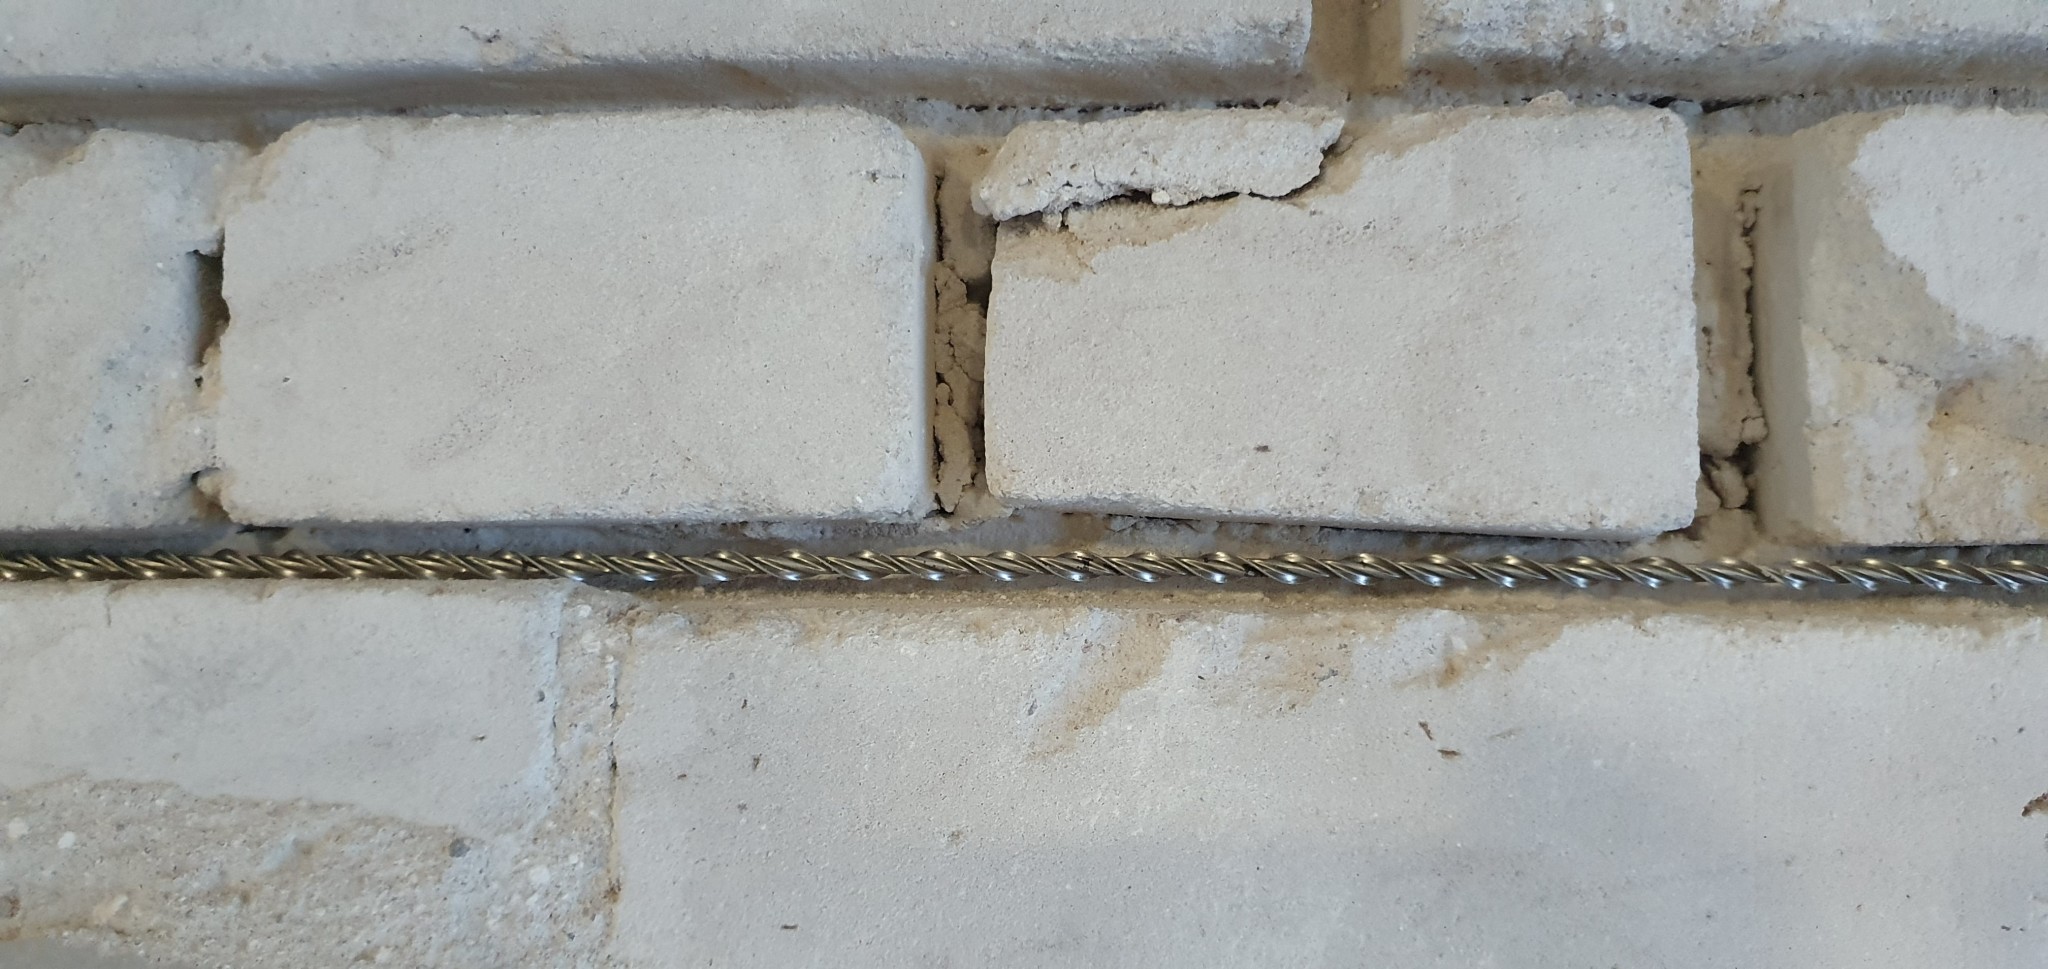
I chose to insert a type of flexible rebar called helibars. They are 6 mm and absorb tensile stresses in the construction. I have embedded these with a thixotropic mortar, like cement paste.
As you know, I will stud all the walls to insulate 45mm. Then I will take the opportunity to relieve all the roof trusses as well so that not all the load ends up on the brick walls.
Now I will re-grout all the joints I have routed out, with hydraulic lime mortar NHL 3.5, also known as D-bruk.
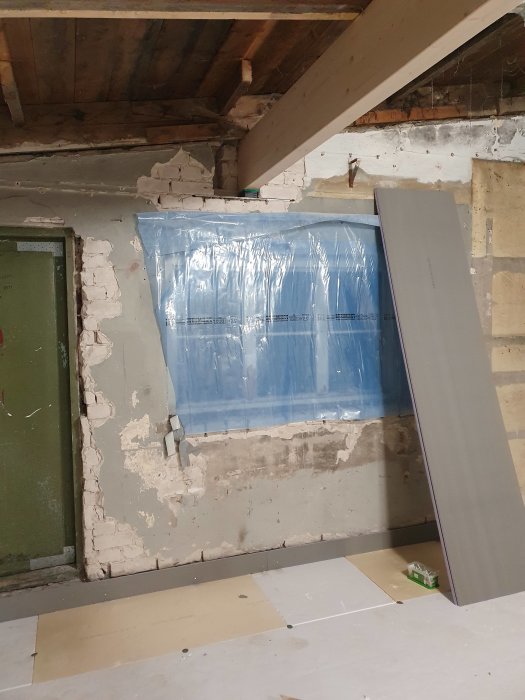
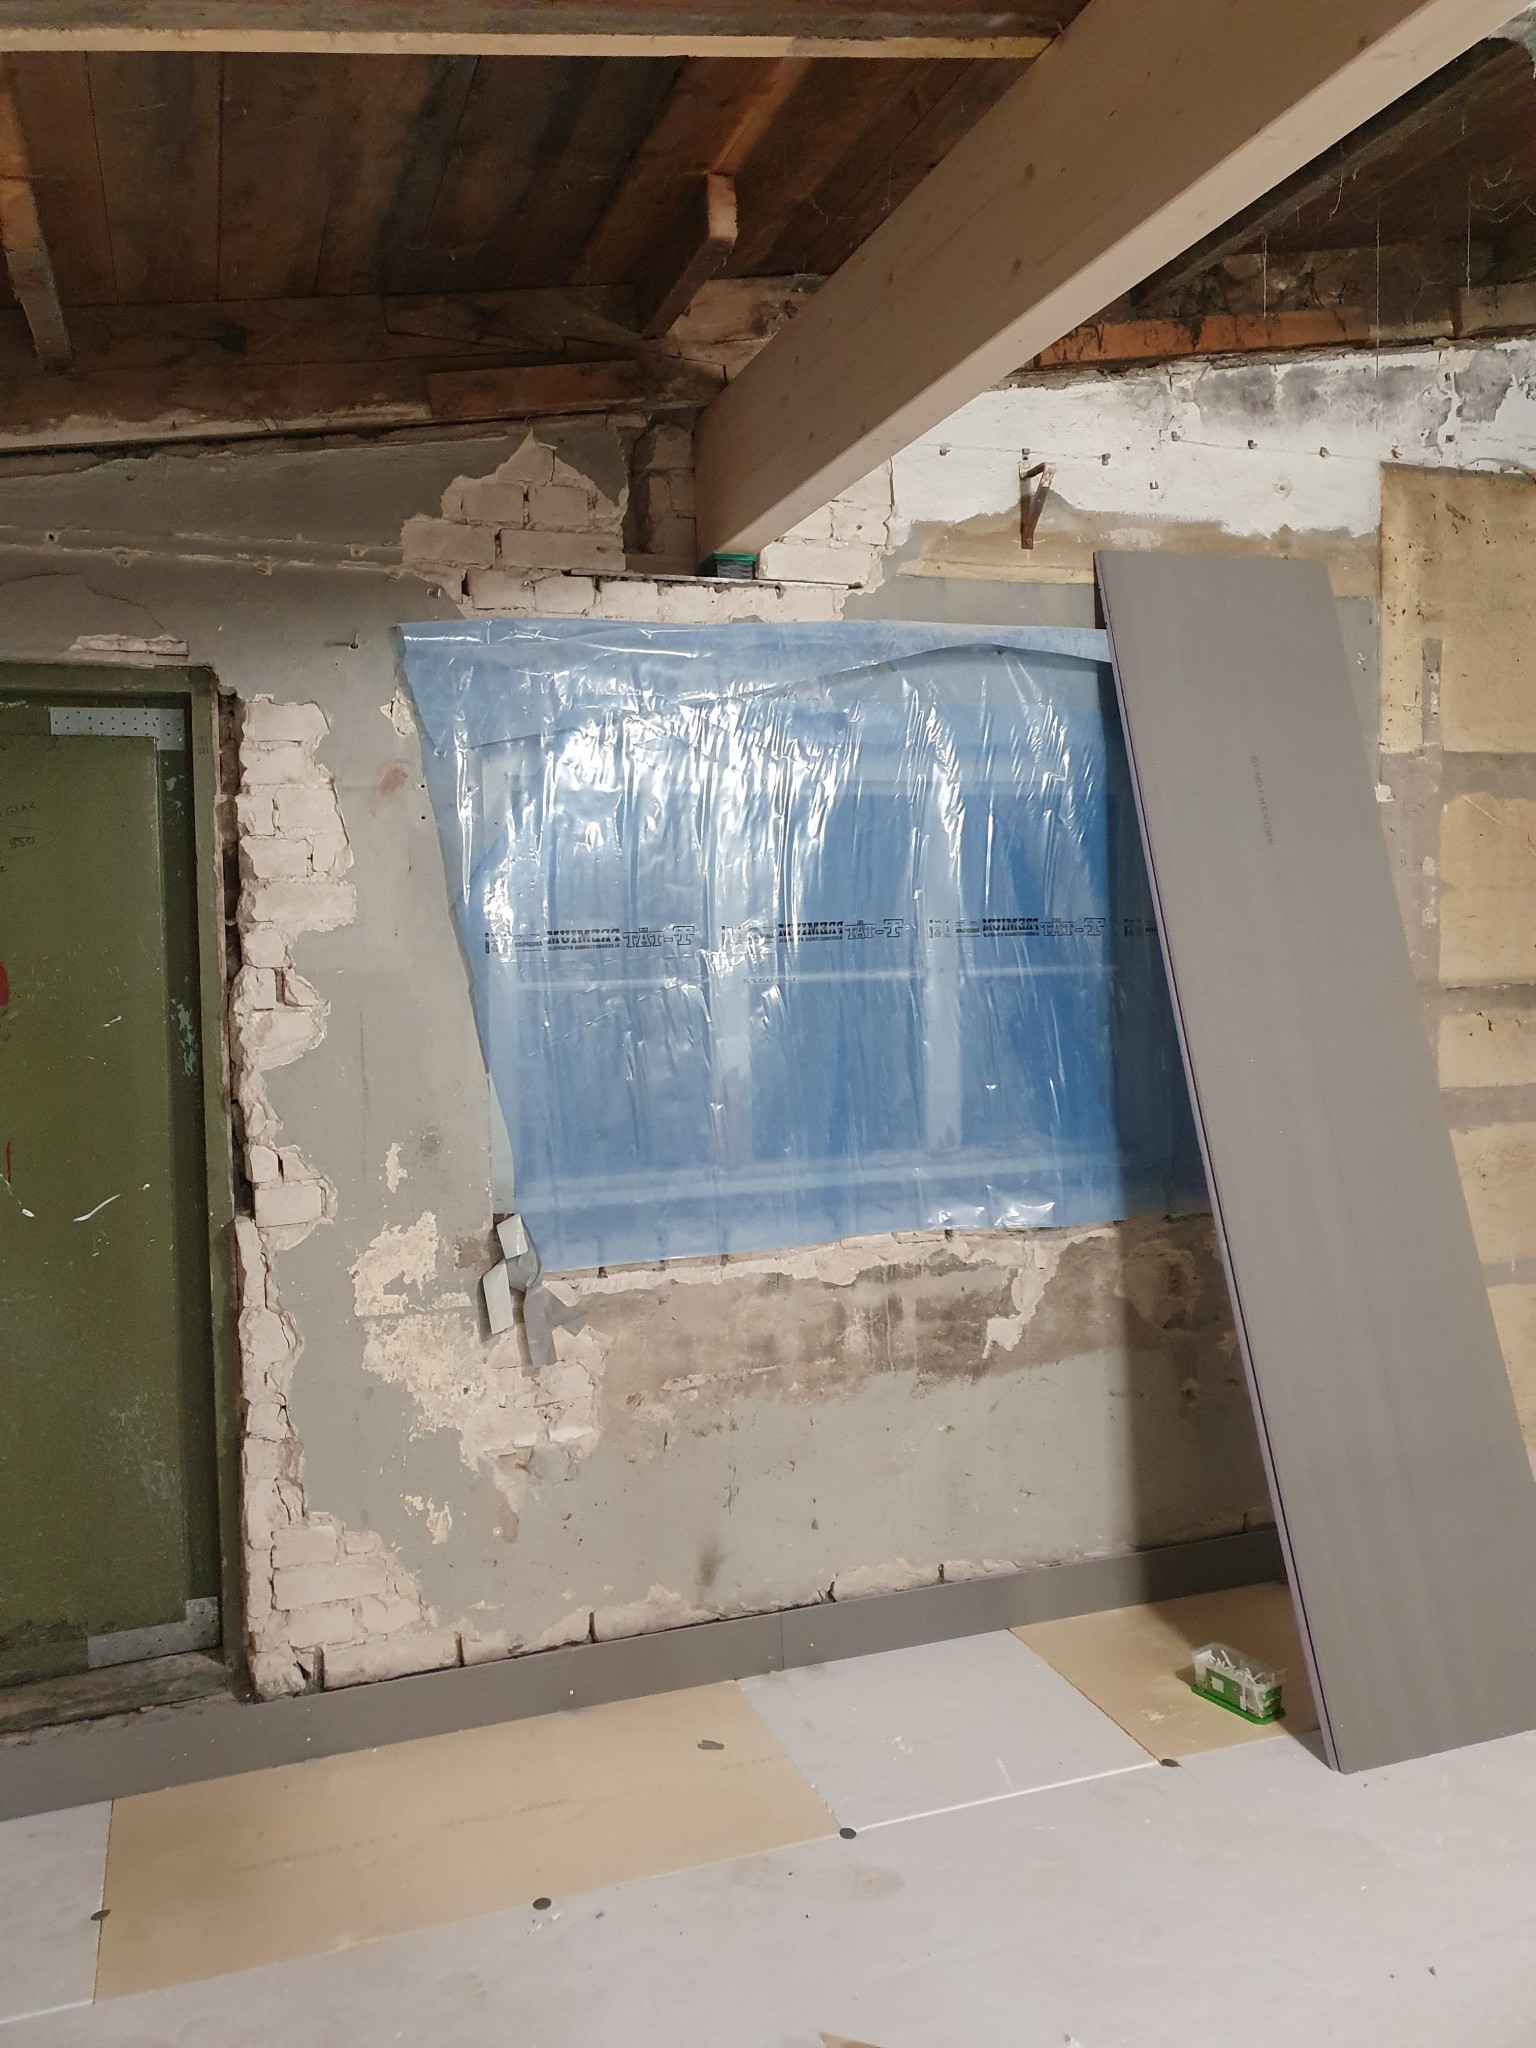
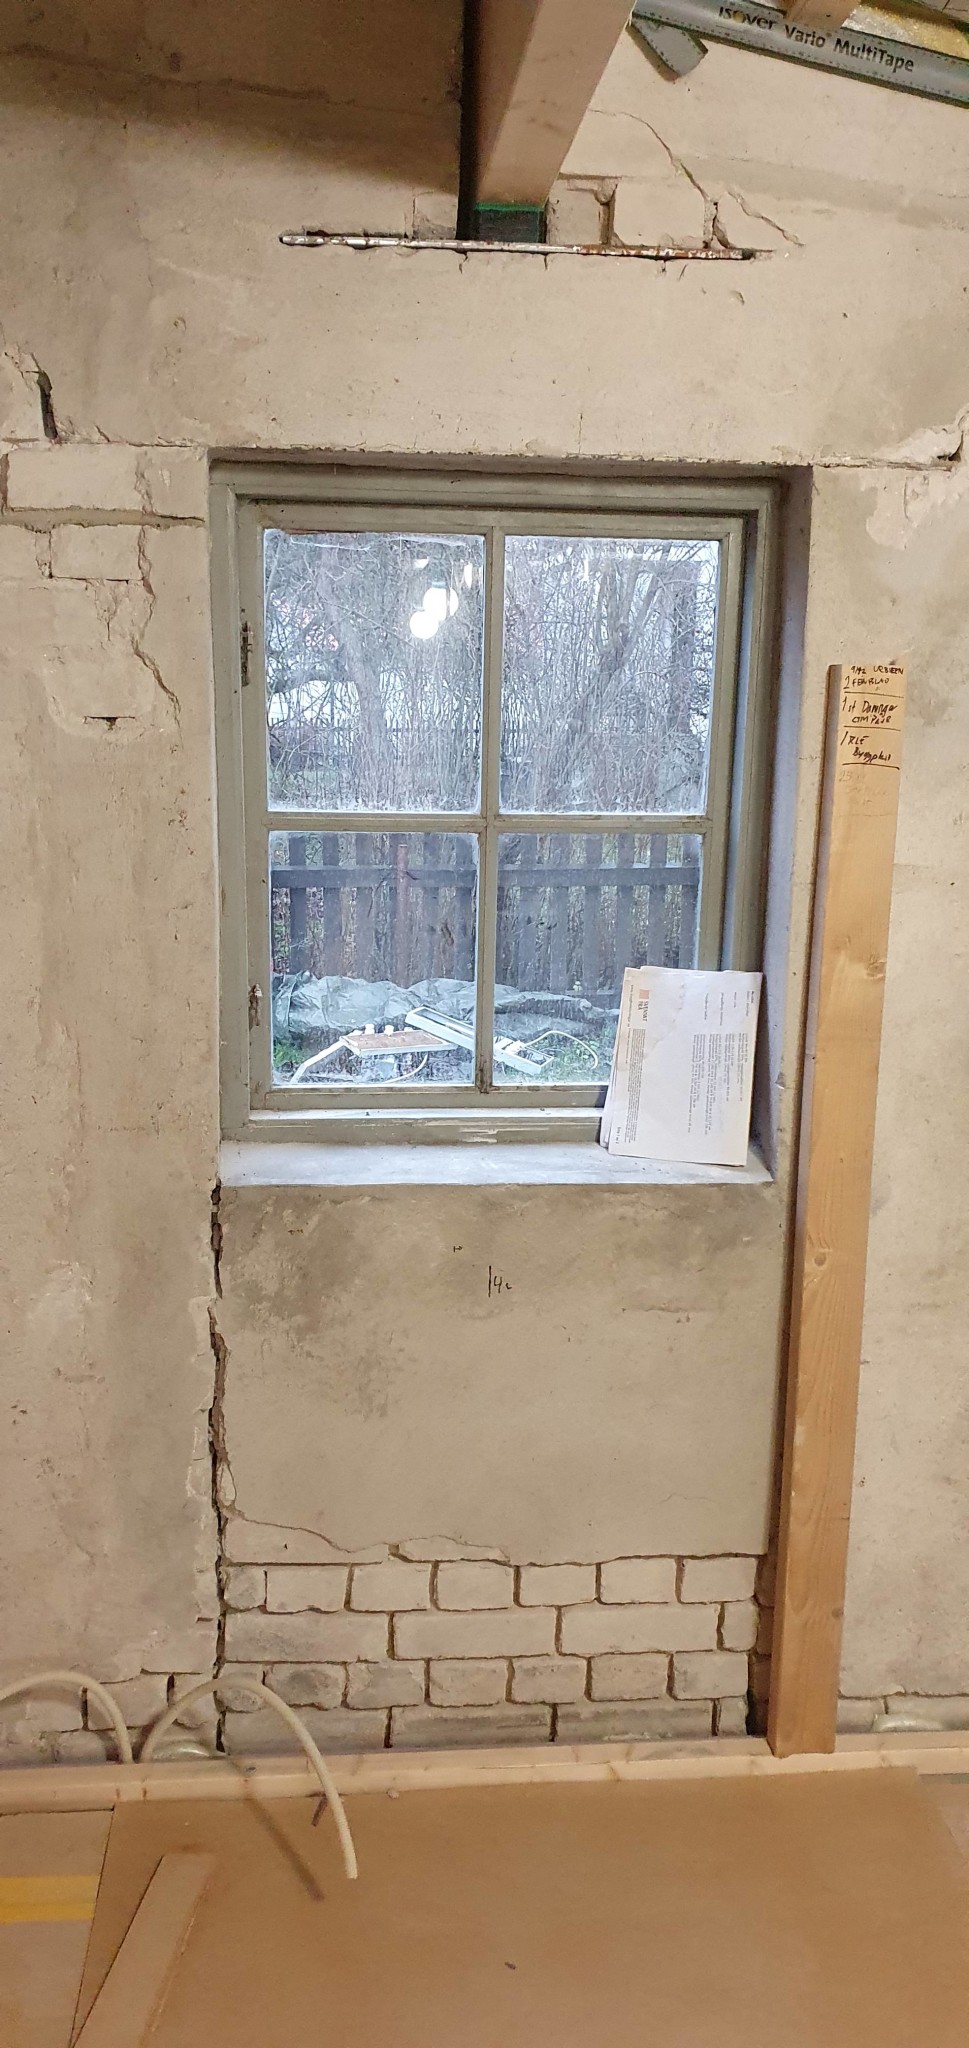
Regarding the relief of the glulam beam above this window, I have used the following loads.
Point load from the roof is approximately 11 kN.
As the overhead beam, I will use 220×45.
The span is 820 mm. It should handle about 21 kN with a point load in the middle. Calculated only on the breaking limit and not deformation.
For posts, it will be 45×95mm. They should handle 7.52 kN with a buckling length of 2m, so a total of about 15 kN.
So in this case, the posts set the limit. Against the concrete, we have nailed in a 45×45 (you could call it a sill). This distributes the load a little on the concrete.
Small update.
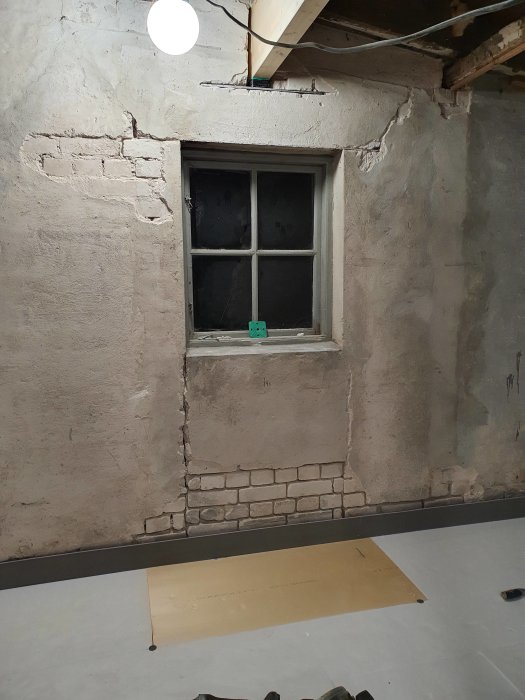
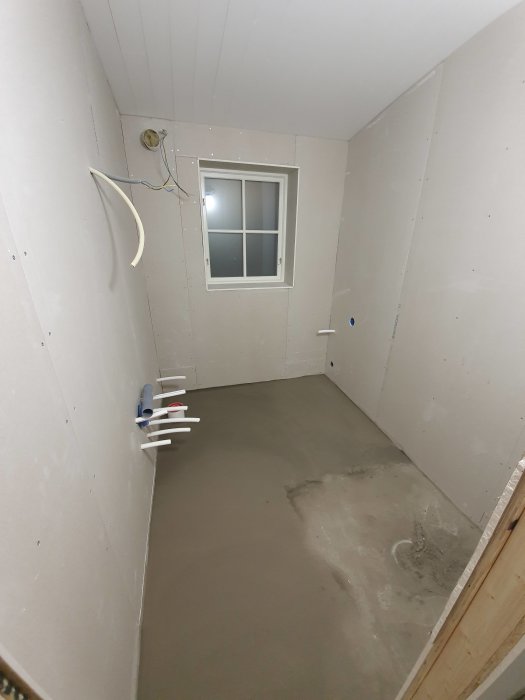
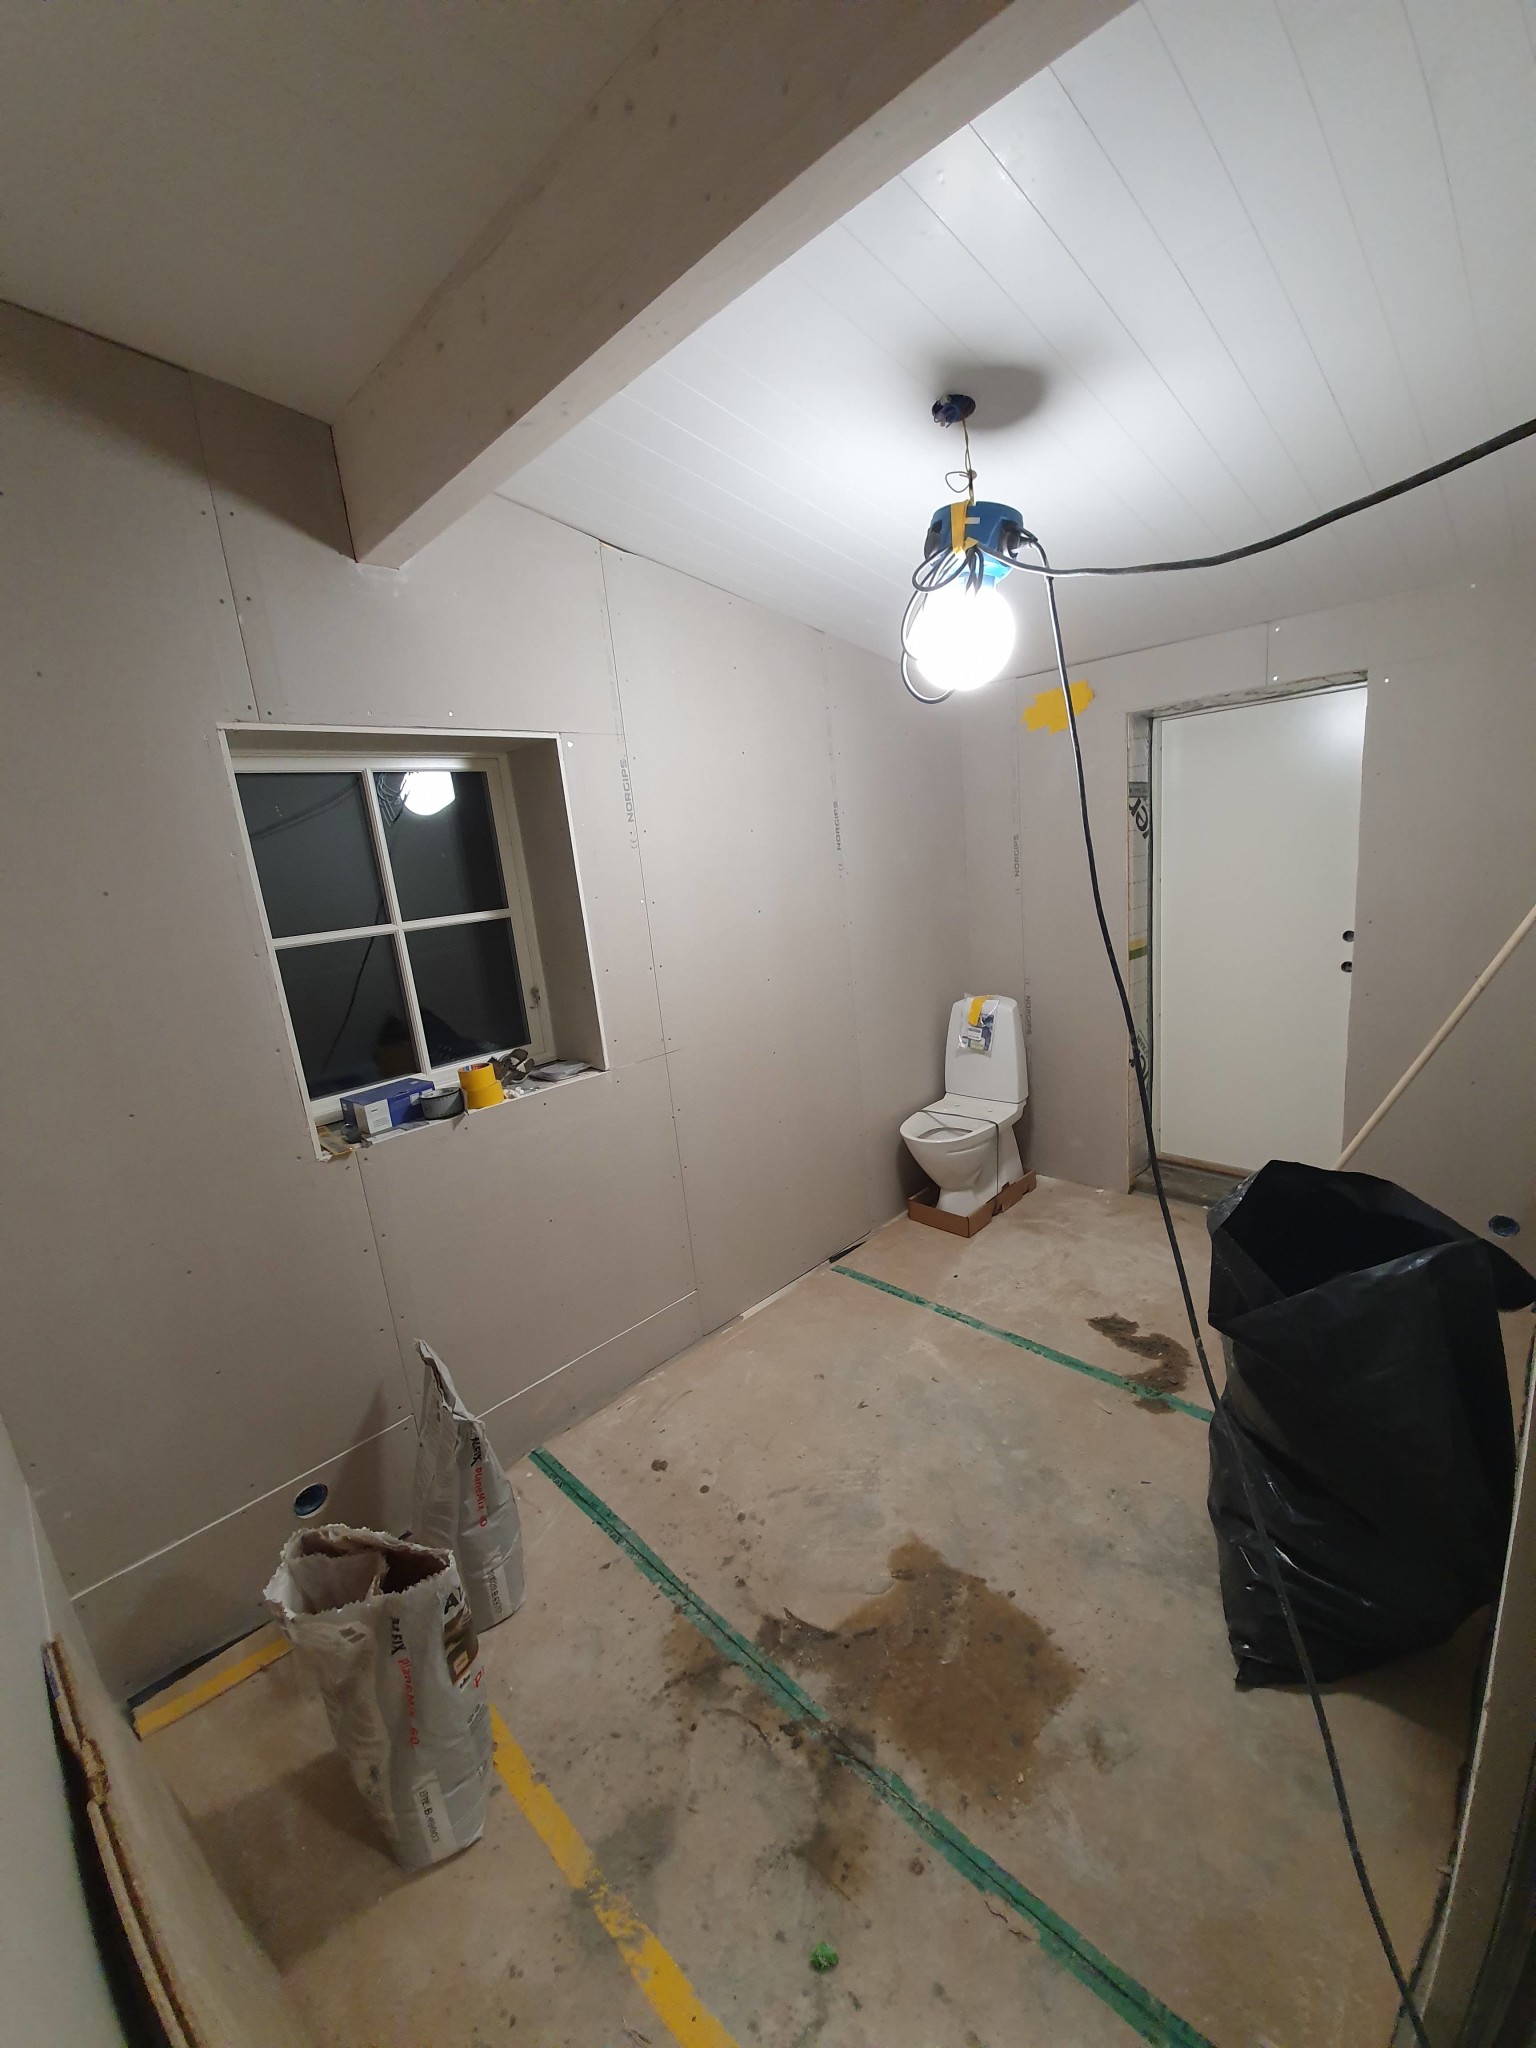
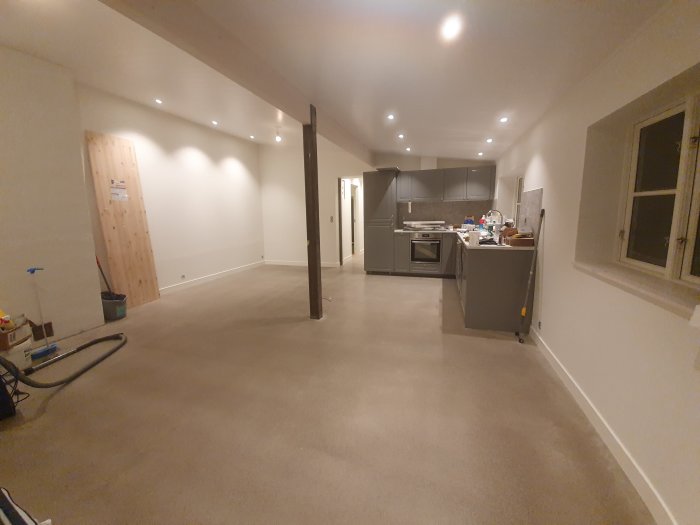
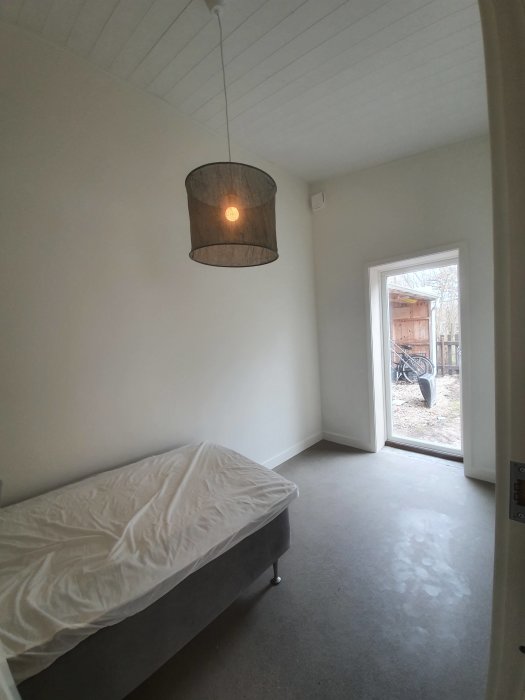
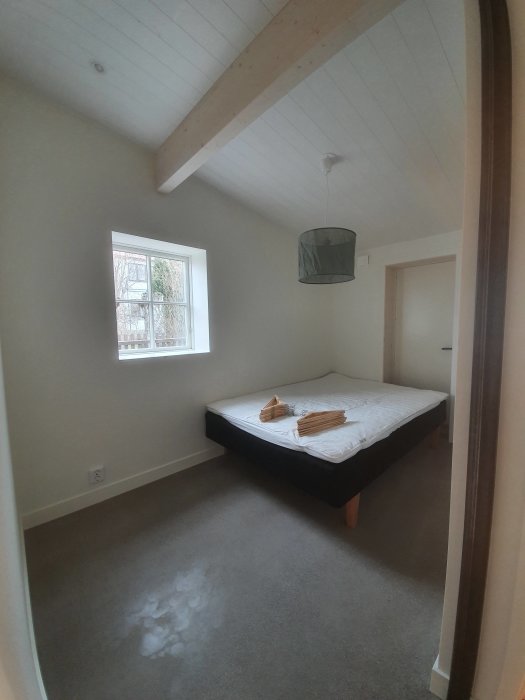
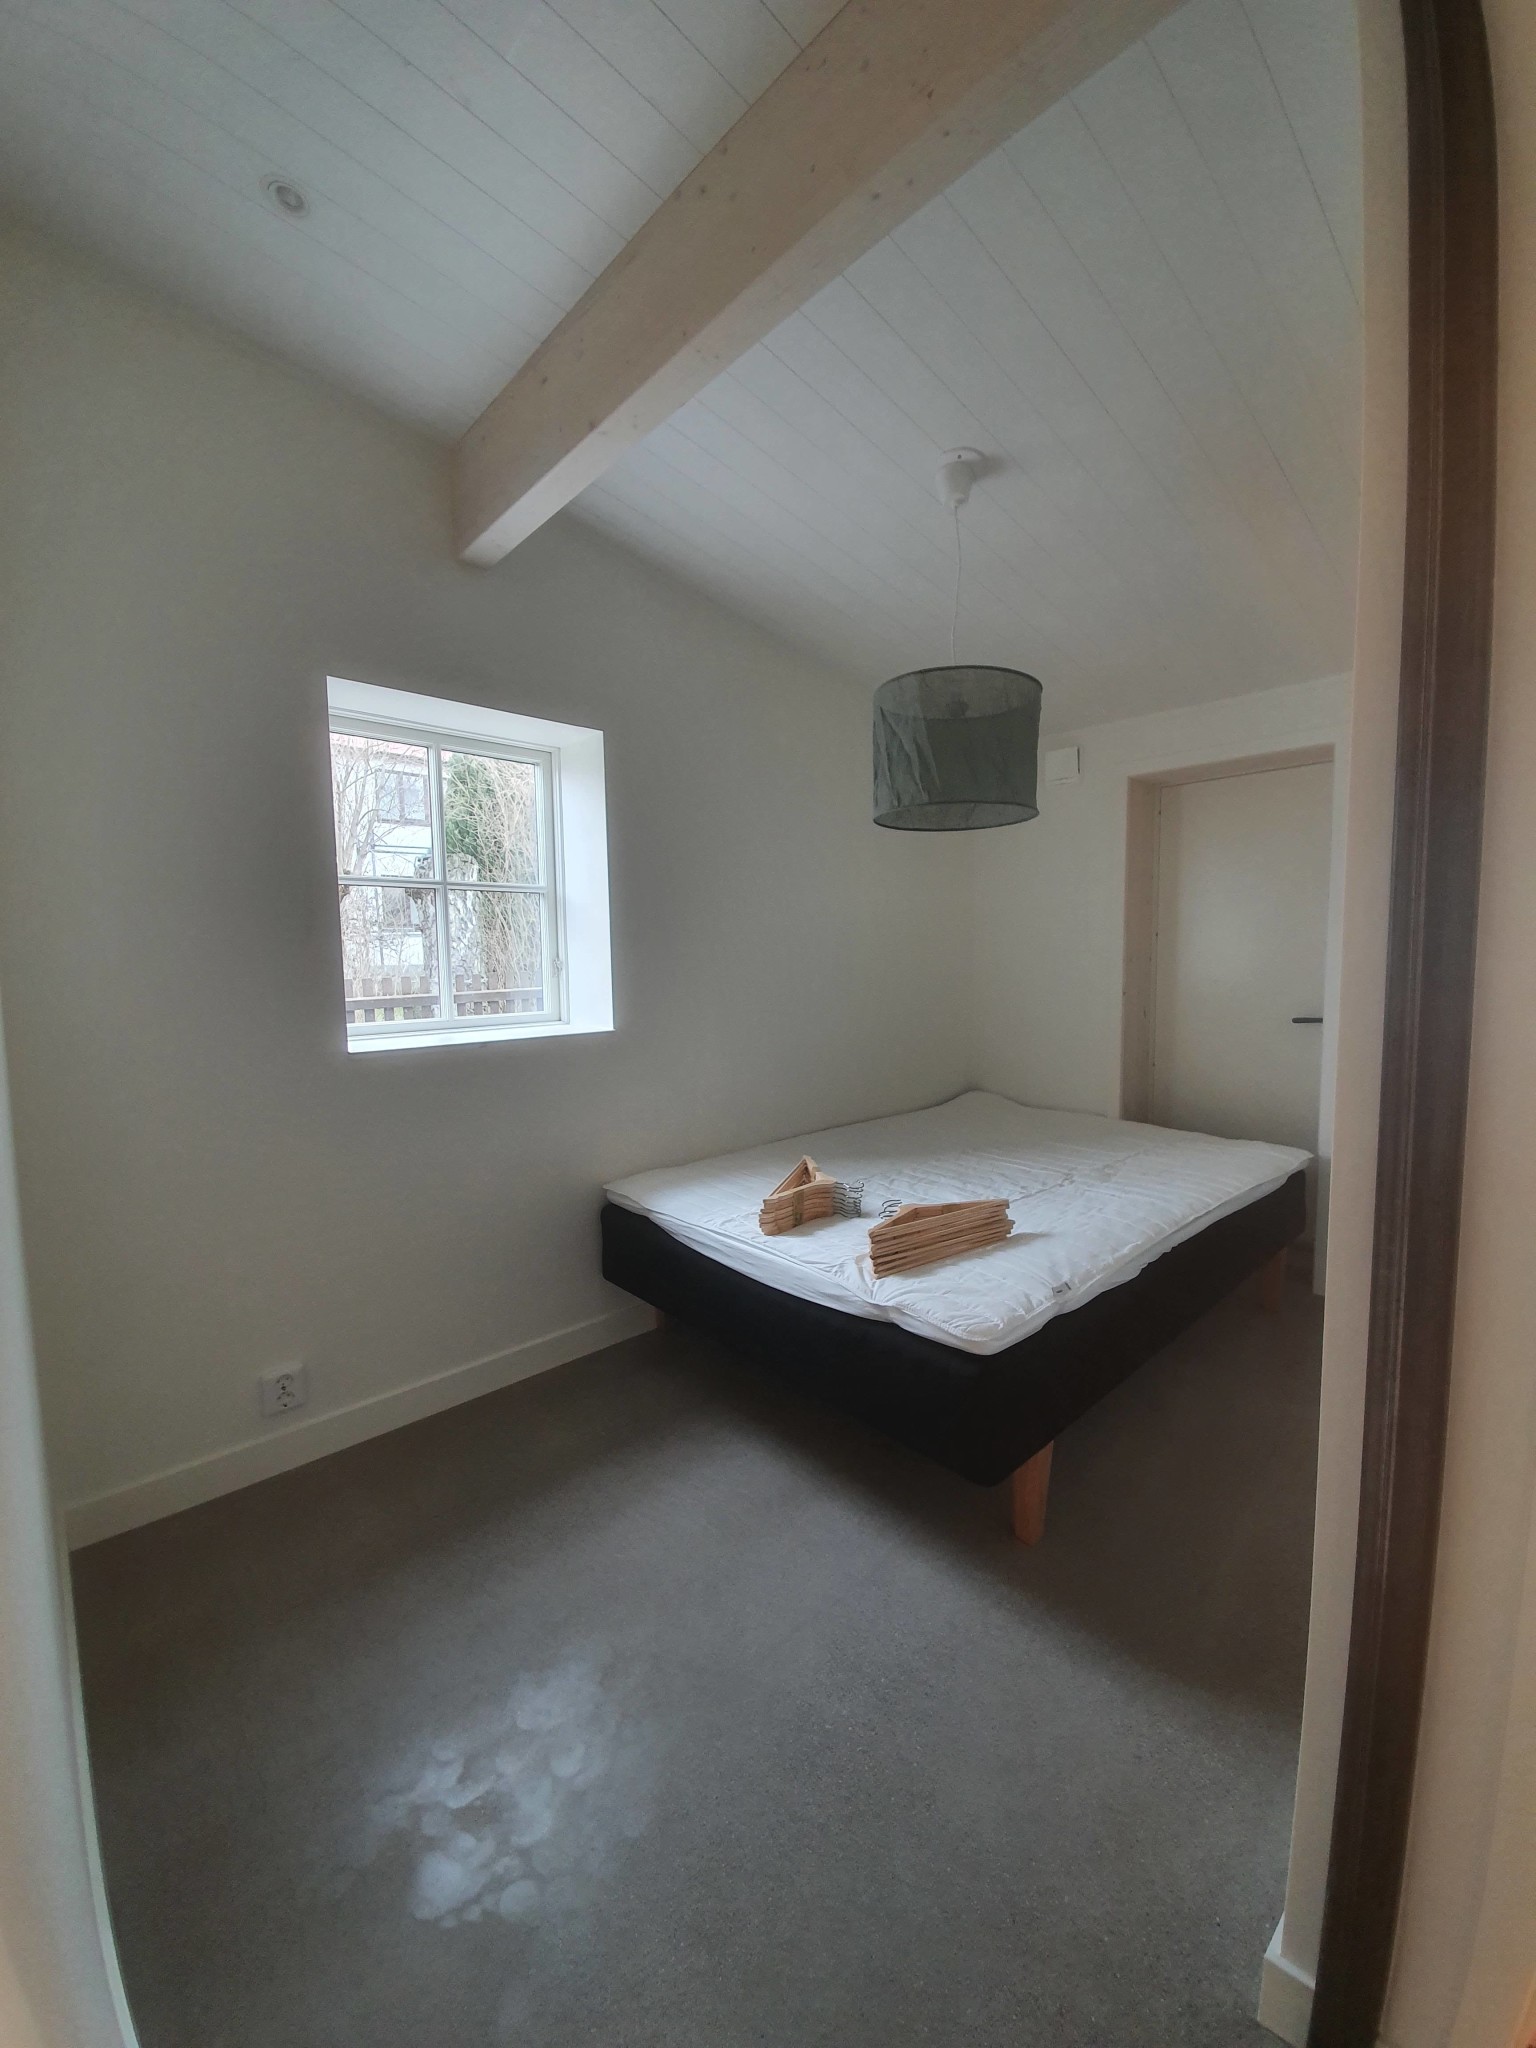
All new windows (Elitfönster Retro) and doors (Diplomat) are now installed.
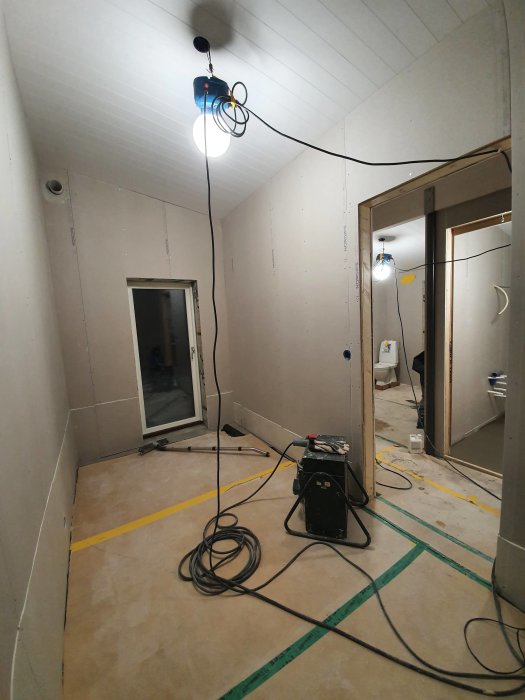
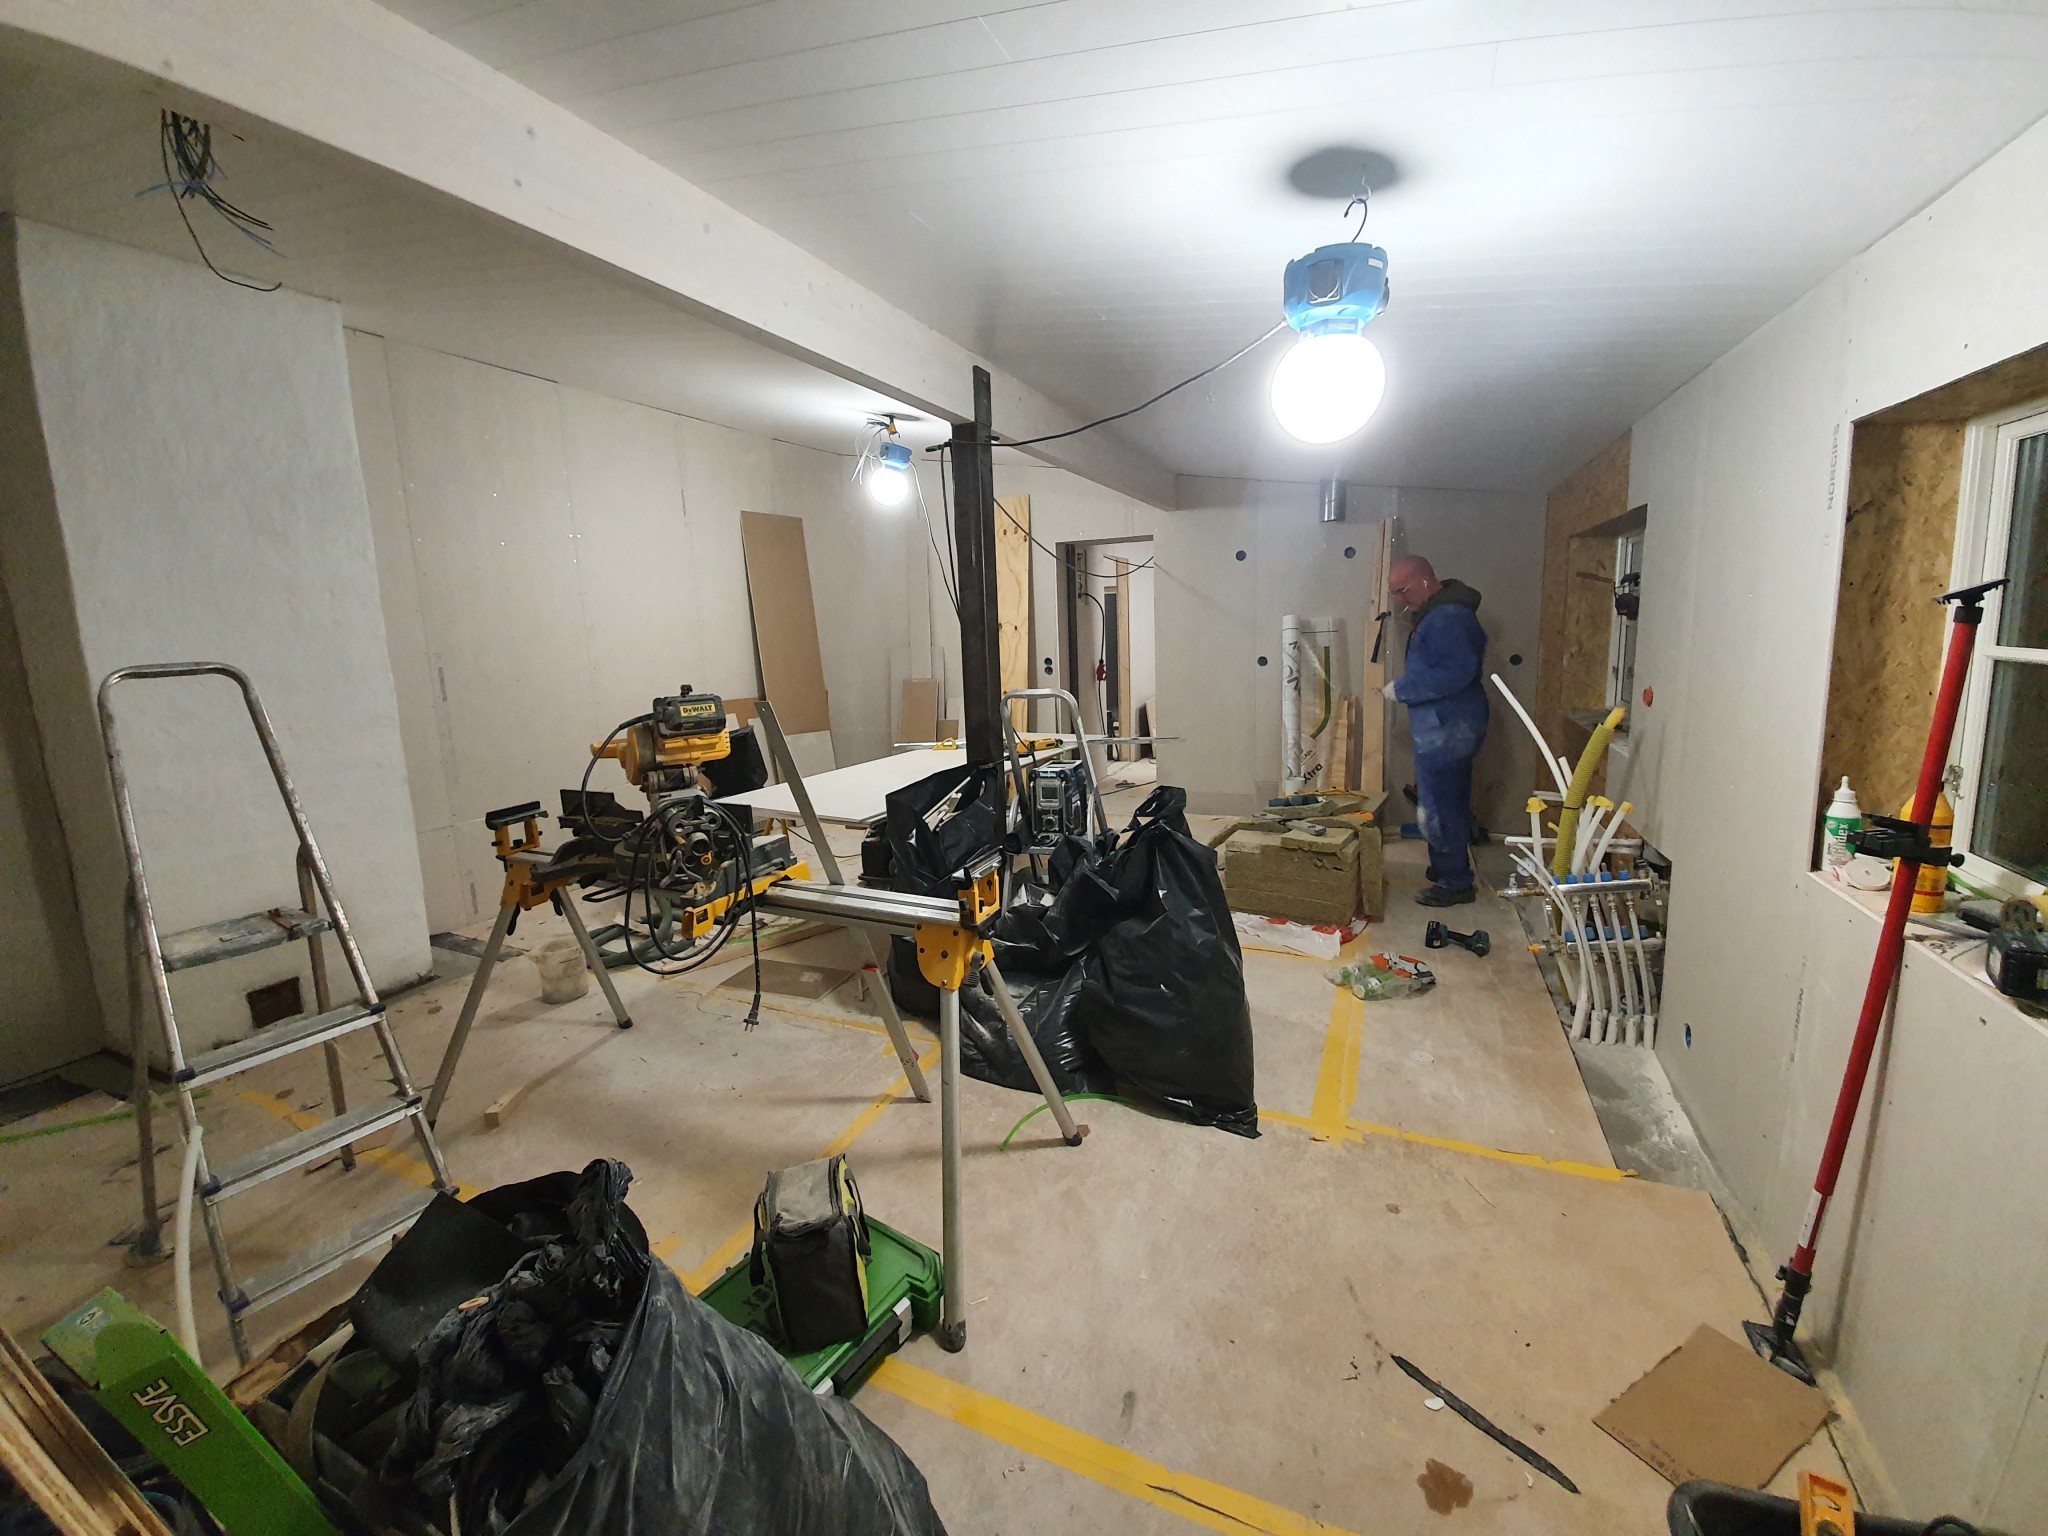
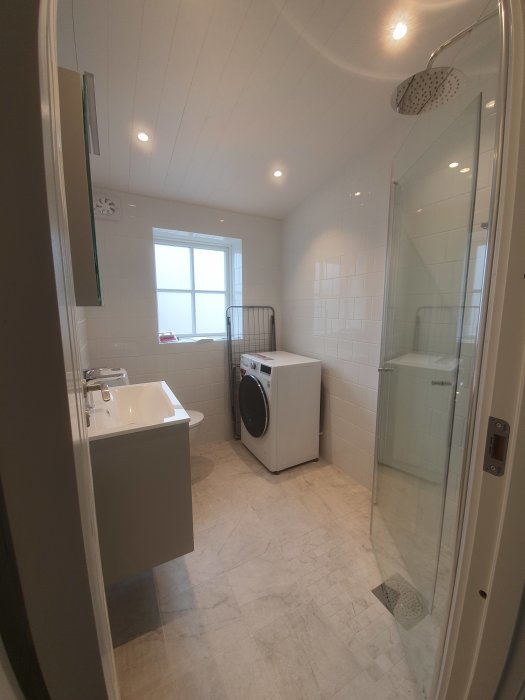
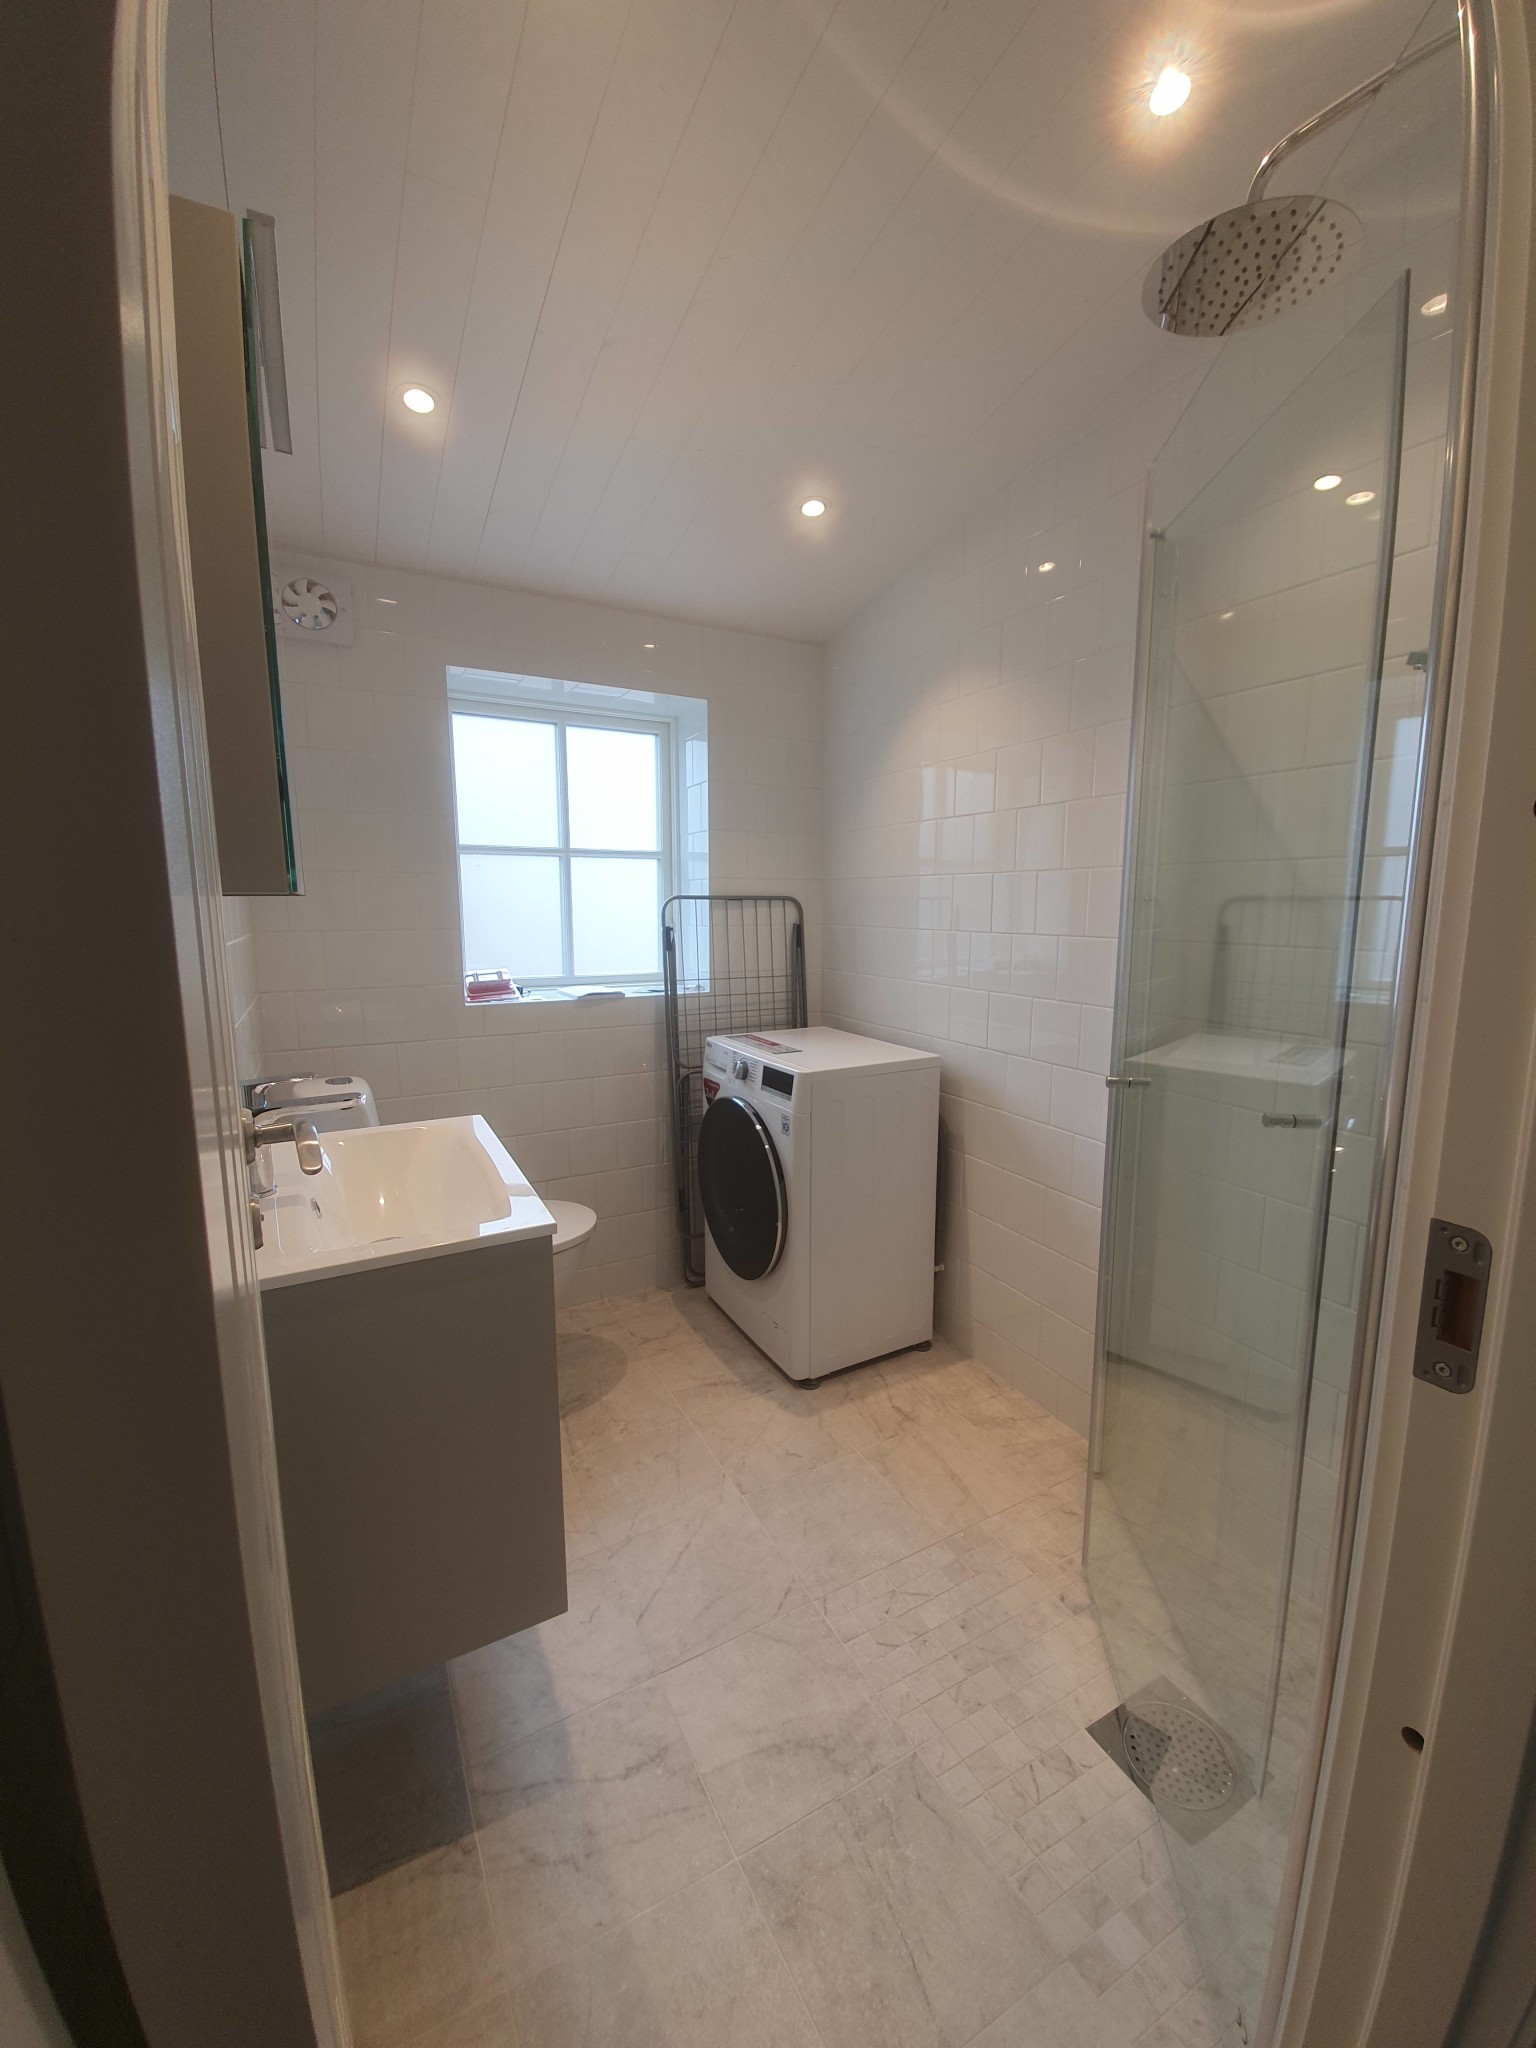
The walls consist of 45mm studs with 70mm insulation, Isover Vario Xtra, OSB board, and gypsum board. In the bathroom, we used construction plywood and regular gypsum. The waterproofing will be wet room membrane followed by tiles.
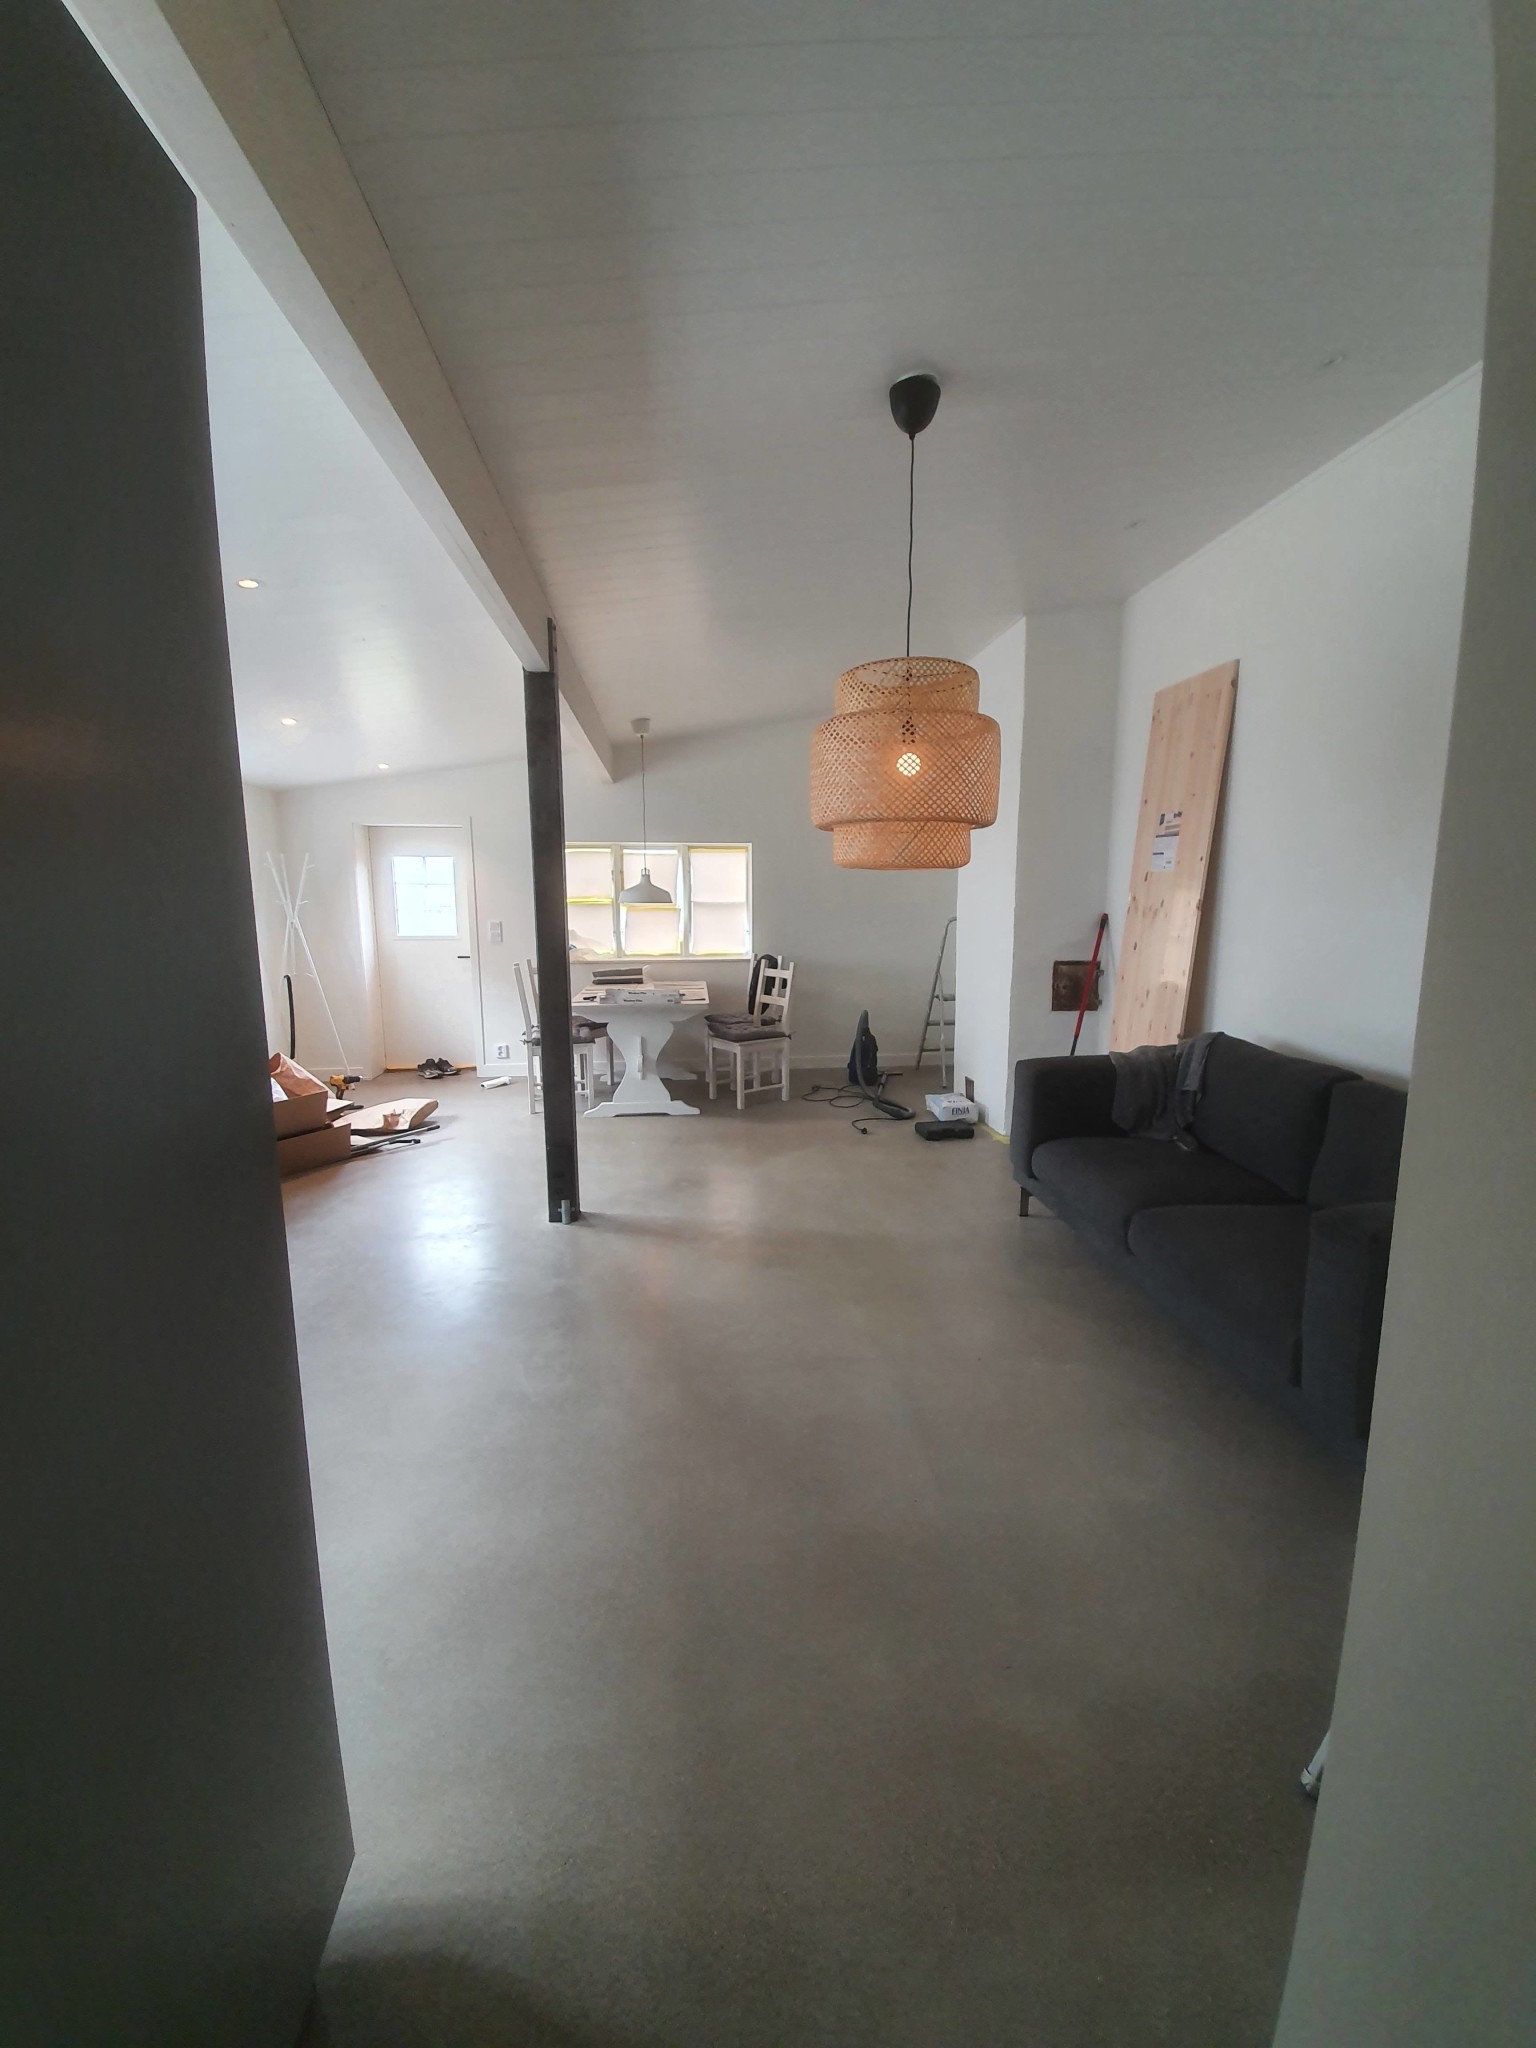
So here, about 6 months after the project started, it turned out like this. A standing seam metal roof remains when the weather improves. Lots of problem-solving along the way with concrete calculation, reinforcement, loads and counterloads, glulam beams, insulation, etc. I am still satisfied with the final solutions I've chosen. The only potential risk construction is the roof where I skipped the air gap and instead used Isover Vario Xtra. However, I have very good ventilation in the house and the vapor barrier is tight everywhere, meaning no gaps.
Thanks to everyone on the forum who helped me along the way!
NOTE: approximately 950,000:- poorer despite about 200 hours of my own effort.
Last edited:
Click here to reply
Vi vill skicka notiser för ämnen du bevakar och händelser som berör dig.