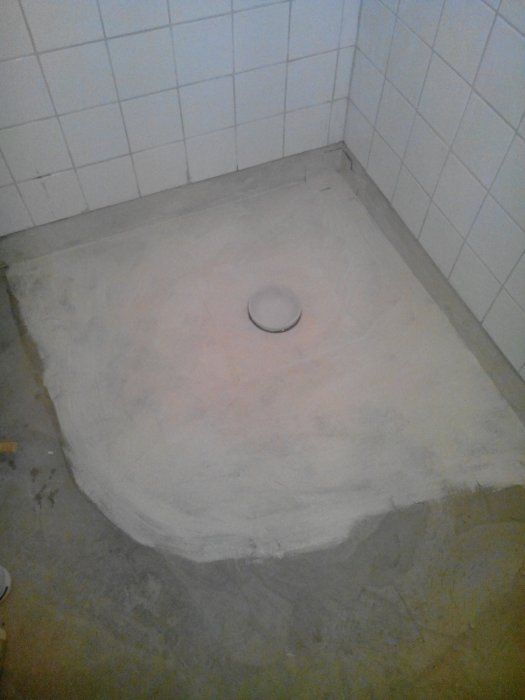
So, now I've installed one of the low-built drains and sealed it again with some Ardex A35. Tomorrow a guy is coming to help me create the slope on the floor.
[image]
Looks good! Your thread gives off energy, a nice "can do mindset."
From the picture, I can't quite see and I'm considering a similar project myself. Do the drains stick up a bit from the concrete (around 20mm?) or are they level with the concrete and you use something like elevation rings so you can level with the lowest point at the drain and higher around it?
Or how do you do it? I'm terrified of placing the drains at the "wrong" level and then sealing everything in concrete.
Looks good! Your thread gives off energy, a nice "can do mindset".
I can't really see in the picture and am considering a similar project myself. Do the drains stick out a bit from the concrete (about 20mm?) or are they level with the concrete, and do you use something like extension rings so you can level the floor with the lowest point at the drain and higher around it?
Or how do you do it? I'm terrified of placing drains at the "wrong" level and then casting everything in concrete.
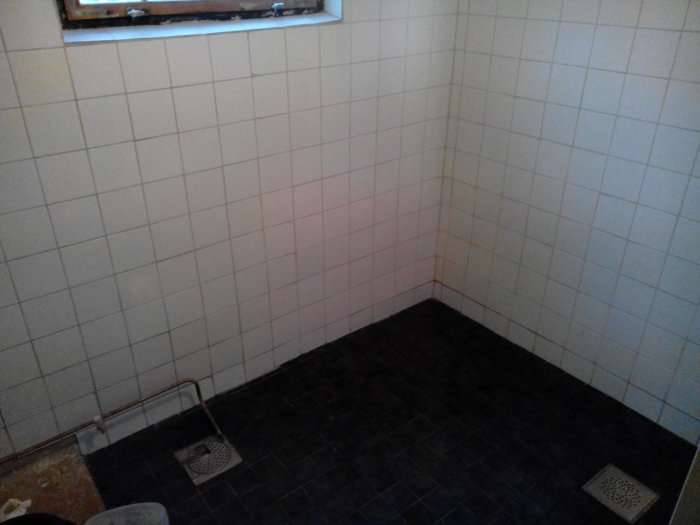
The plumber helped me lay out the drains and fix the slope on them. So they ended up being a bit higher than the original floor was. That's why we fixed a low-profile drain. These still stuck up about 10 mm above the original floor. When I cast again, I filled about as high as the original floor, maybe a bit higher. The drains should then be the lowest point on the floor. So I *think* you can cast them almost at level. I would save a few 2-5 mm roughly. Then there's less leveling compound needed while you can still lay a thin layer of leveling compound there. It wasn't me who did the leveling, but there were no issues building it up. But maybe someone else has a better answer? This is the first time I'm doing this. And I haven't used any extension rings.
We placed the floor drain at the level of the original floor, but we did not float inside the shower corner; instead, we smoothed it by hand and then we could smooth all the way to the edge.
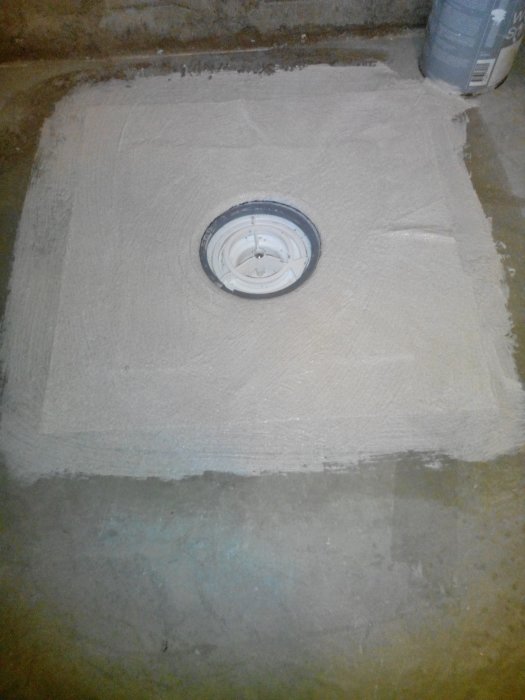
So, after a few weeks of "vacation" from the project, it has gained some momentum again. I have installed a 100mm ventilation pipe and filled around the hole around it. The electrician will install a fan there.
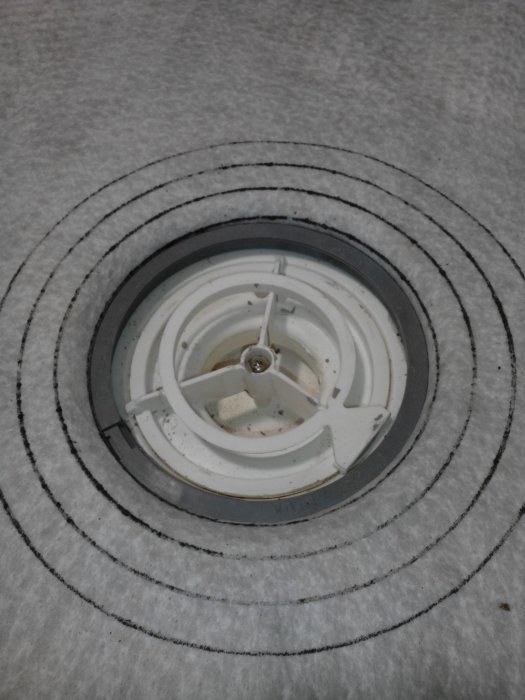
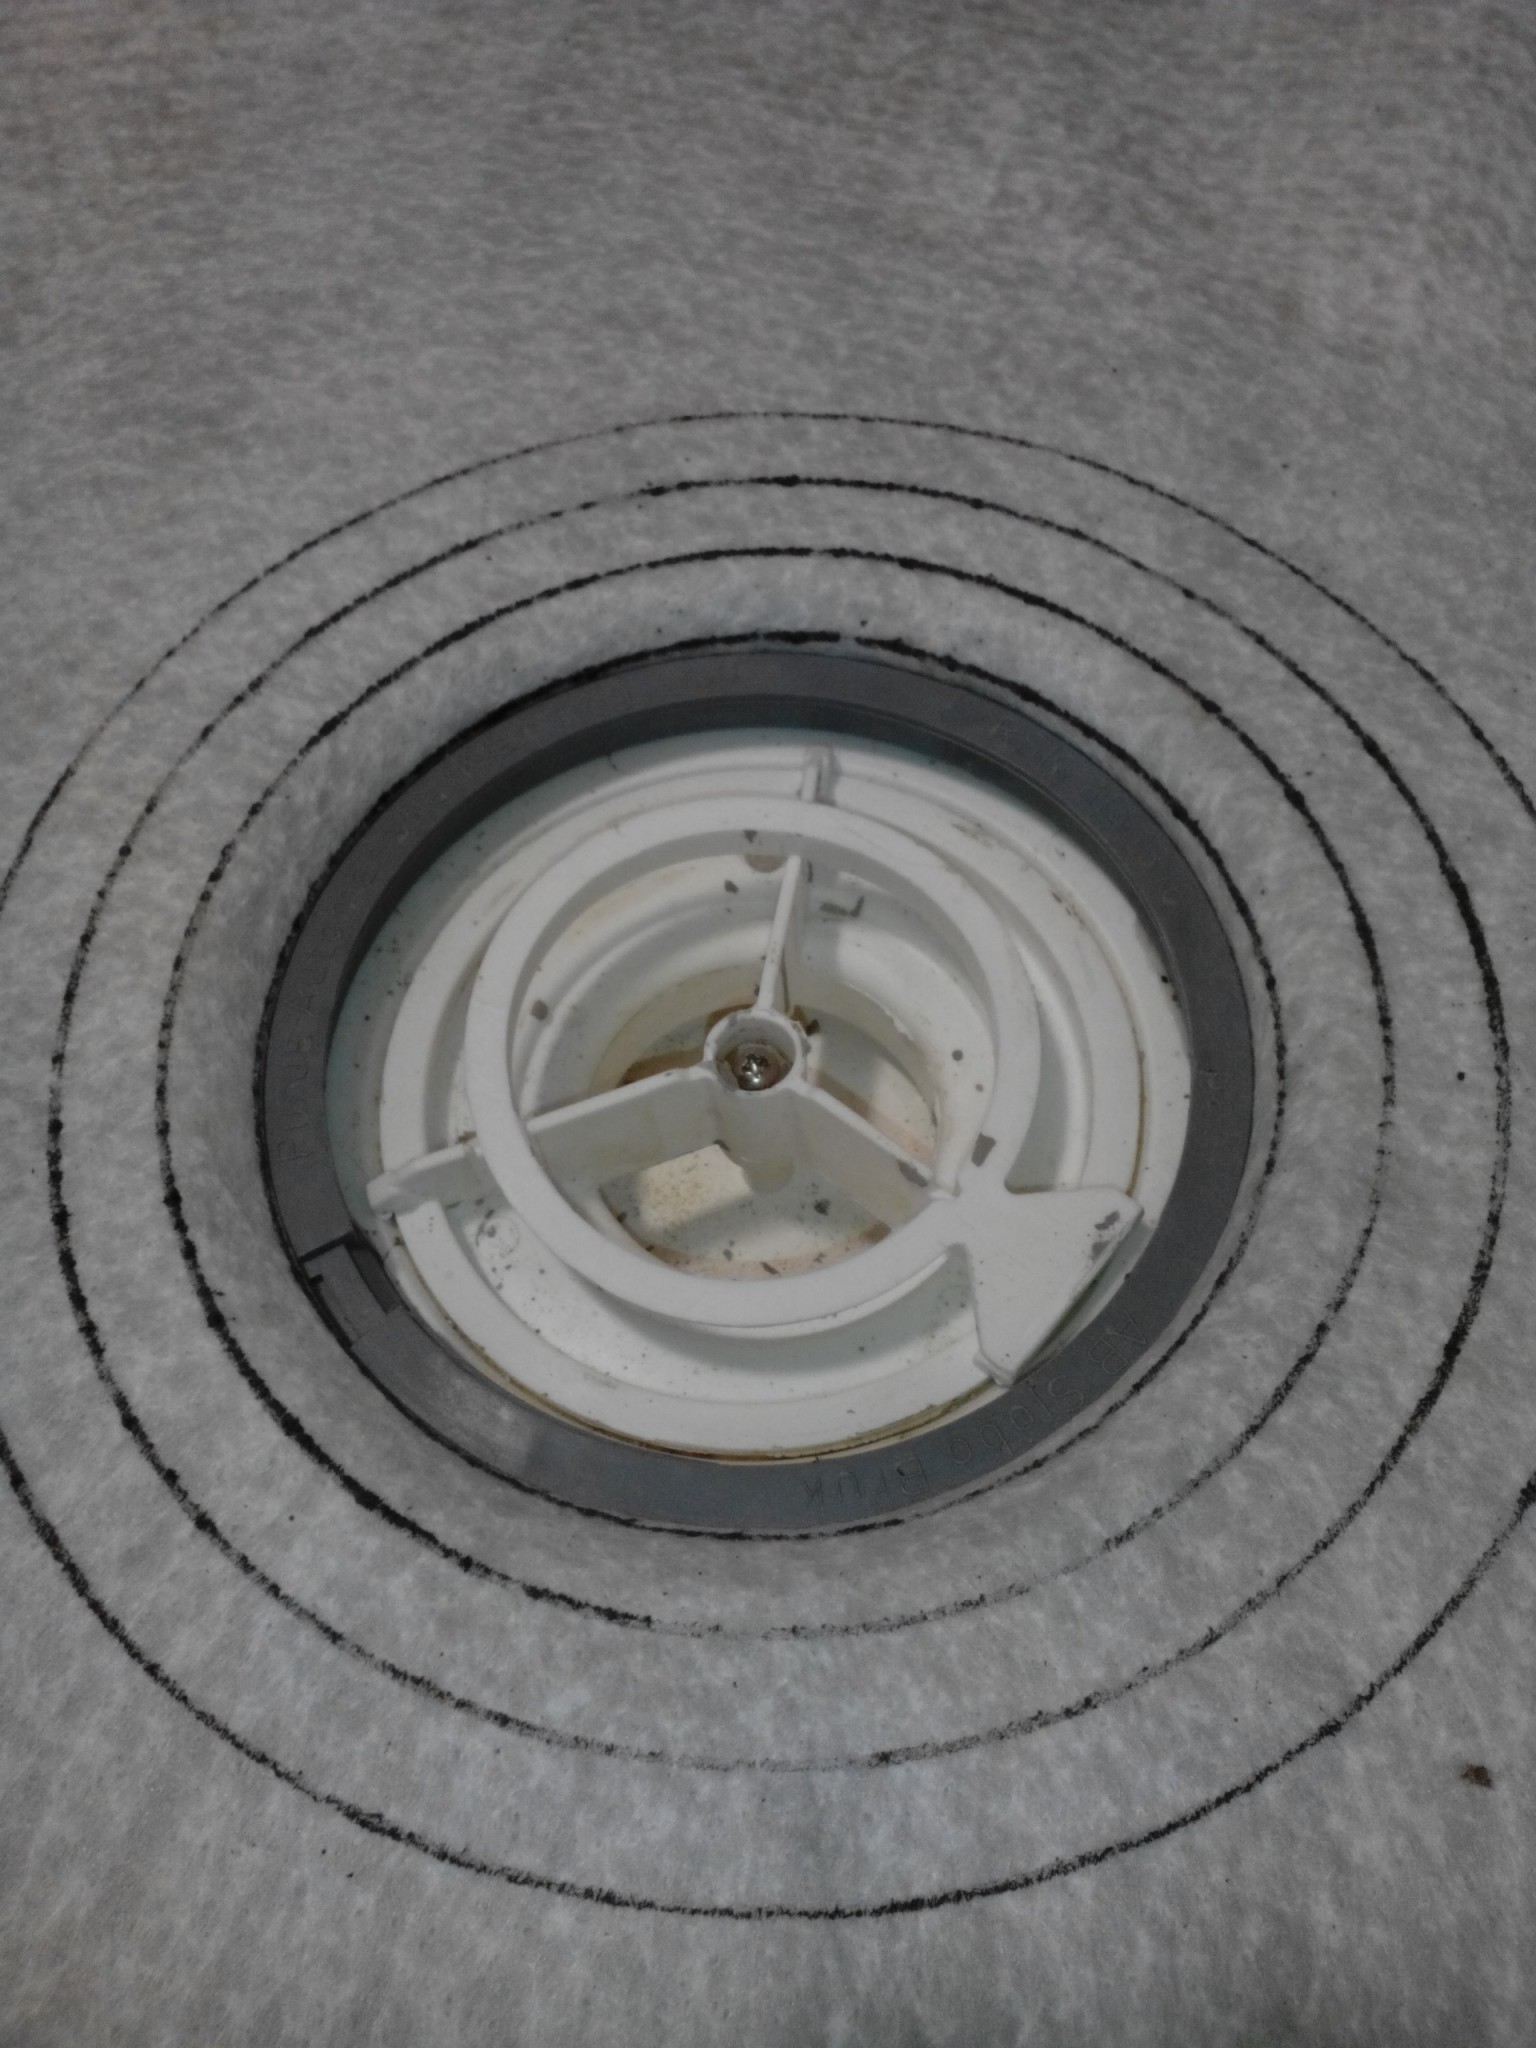
I have had trouble finding a template for one of my drains, a low-profile Purus 130mm. I bought the Purus knife for the 150mm drain, and it worked perfectly. Unfortunately, the 130mm wasn't available in Örebro and must be ordered to a store (which seemed too complicated). However, I found a drain gasket with rings starting from the center. This made it significantly easier to cut out once it was centered. So that went quite smoothly. I cut about 8-10 mm inside the diameter of the clamping ring.
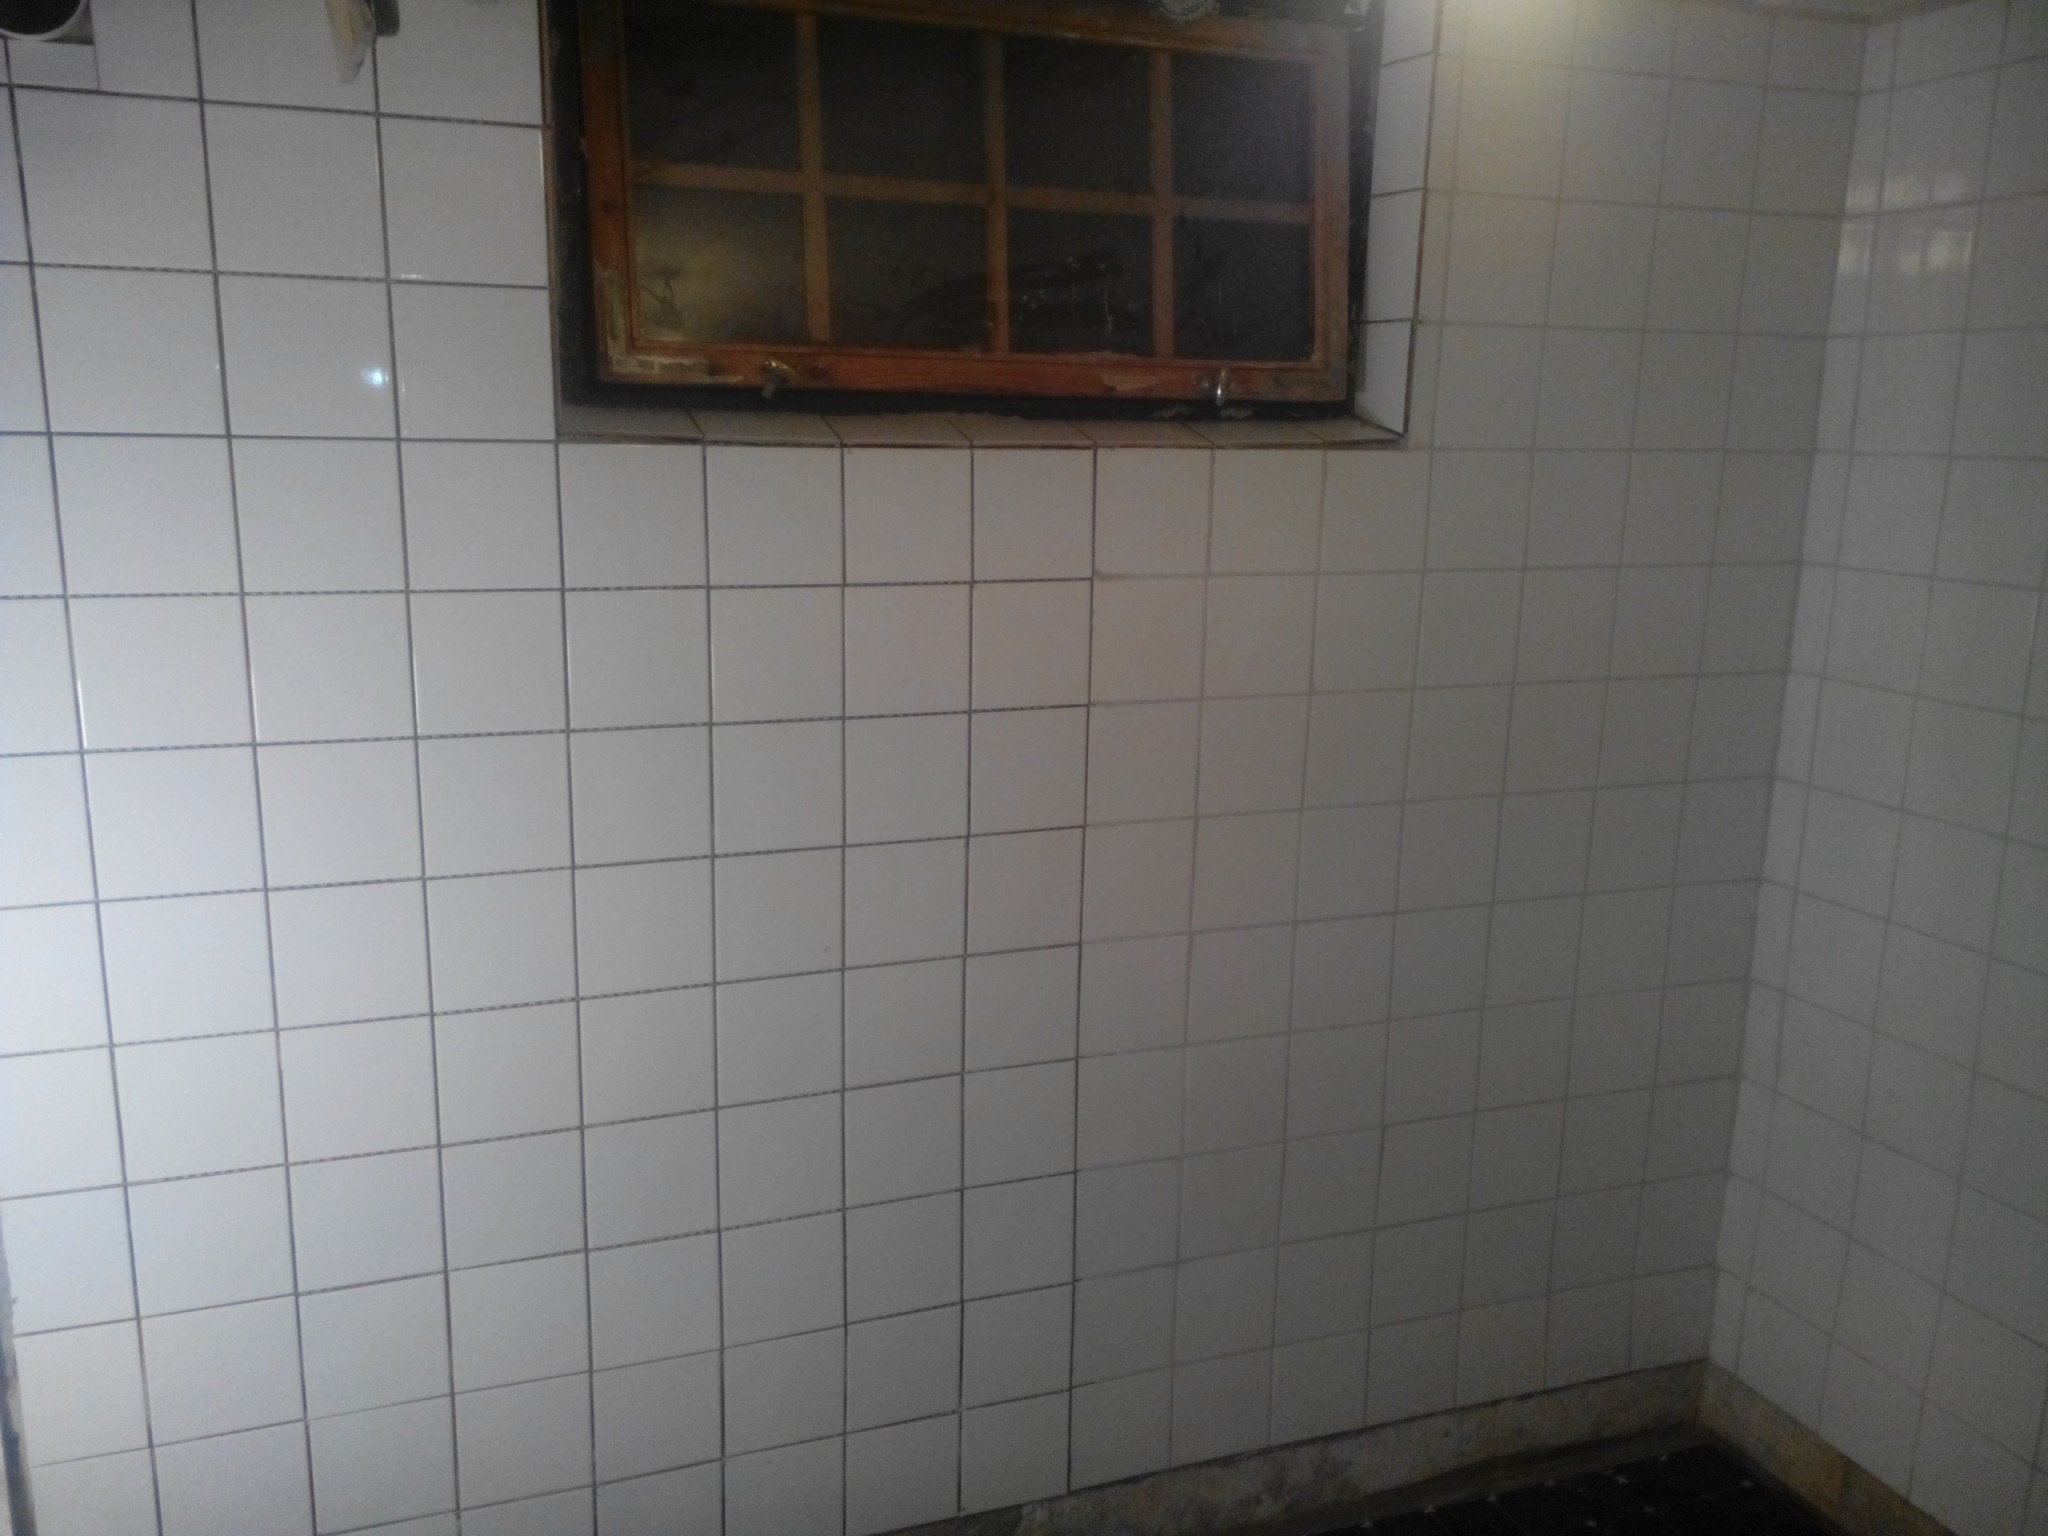
I have also plastered another section of one wall, as I realized I wanted tiles there too This project keeps growing. It would have been much more convenient if I had done it while plastering the other walls. And when I mixed the last bucket of plaster, the drill I was using burned out. I had to buy a paint/cement mixer from Jula.
Tonight, I applied the first layer of waterproofing on the floor.
We placed the drain at the level of the original floor, but we didn't level the shower corner; instead, we manually applied filler, allowing us to apply it right to the edge.
I considered leveling the floor myself, but got help. What material did you use to manually apply filler in the shower corner?
I would have placed the drains at the level of the original floor if it had been possible. But I needed to have more slope on the pipes to the drain, so it ended up a bit above.
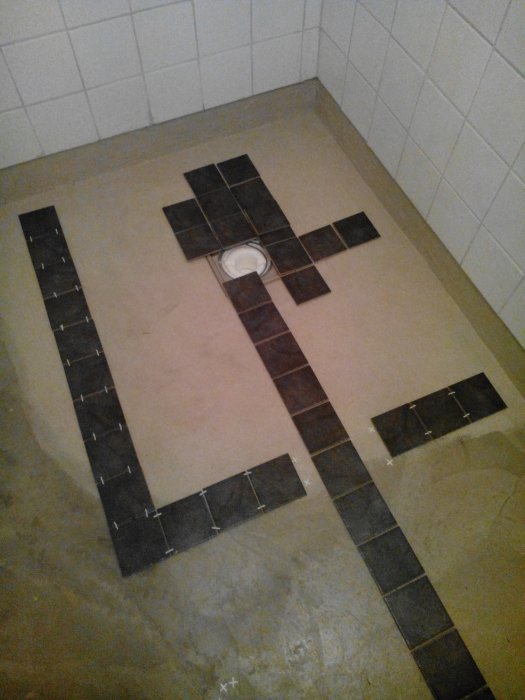
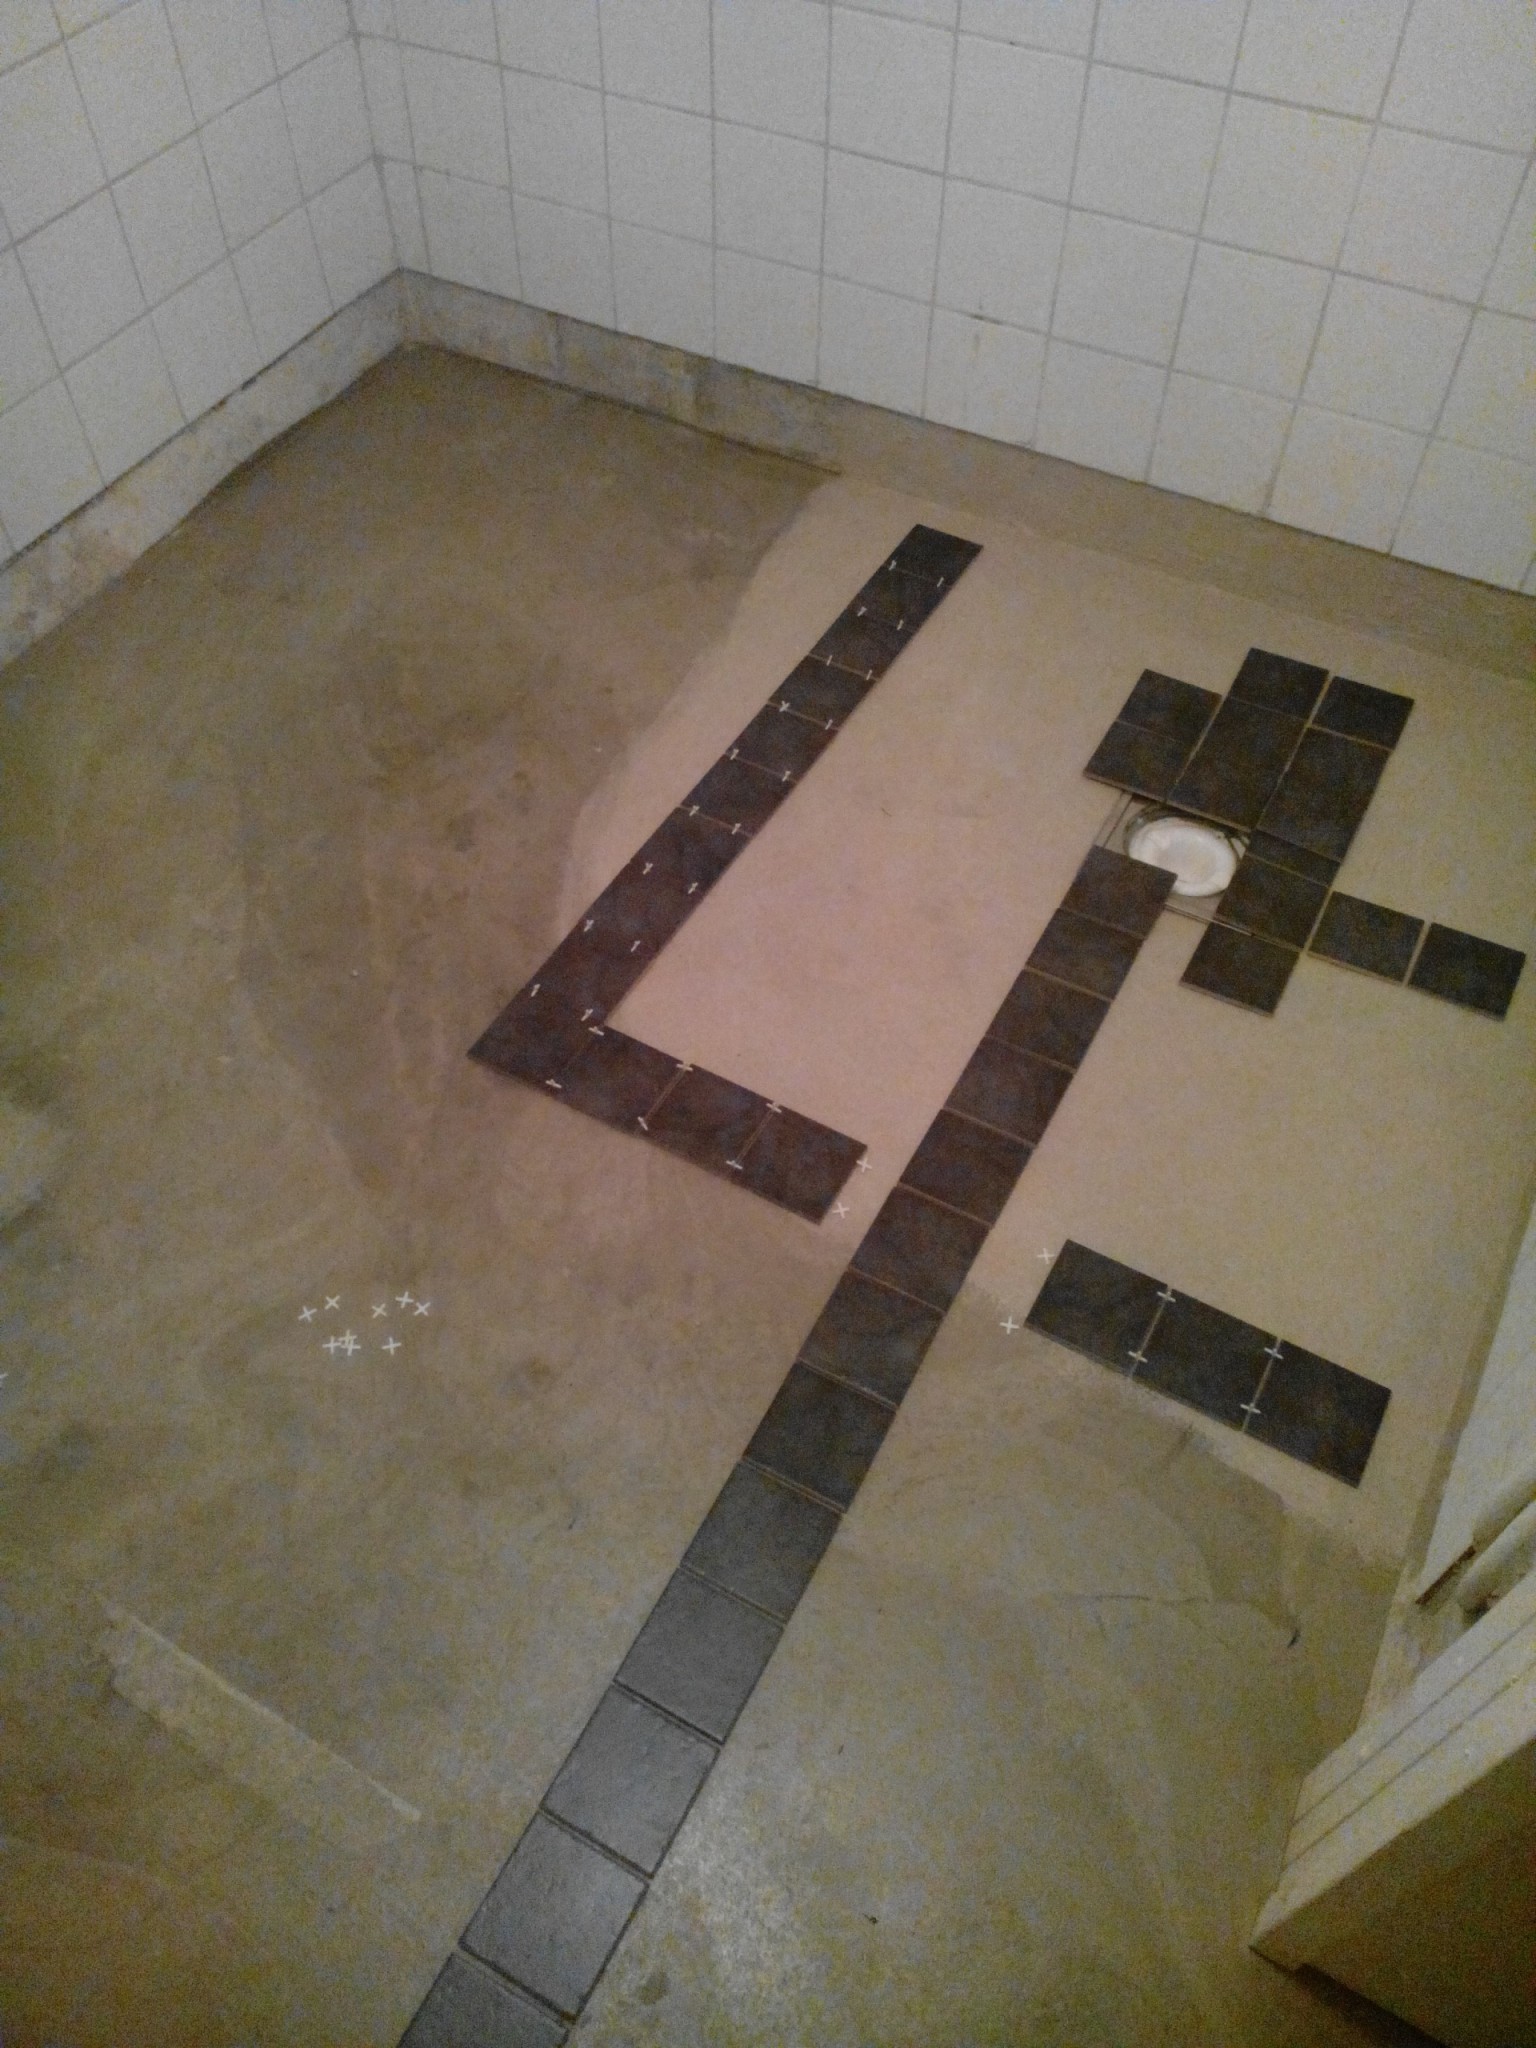
So, our sealed layer is now complete. Today, I've been thinking about how to lay the tiles. I've tried laying them out in different ways, but I'm not sure if I'm getting it right. With 4 walls to consider and 2 drains, you don't want a tiny strip along the wall or near a drain.
However, I've realized that where one wall meets the floor, almost the entire wall will be hidden by the bench and washing machine. The same goes for one of the drains... But I want to make it look nice around the shower drain and those walls as well.
Anyone have any tips? I might need to rent a proper water cutter when doing this? I only have a tile cutter...
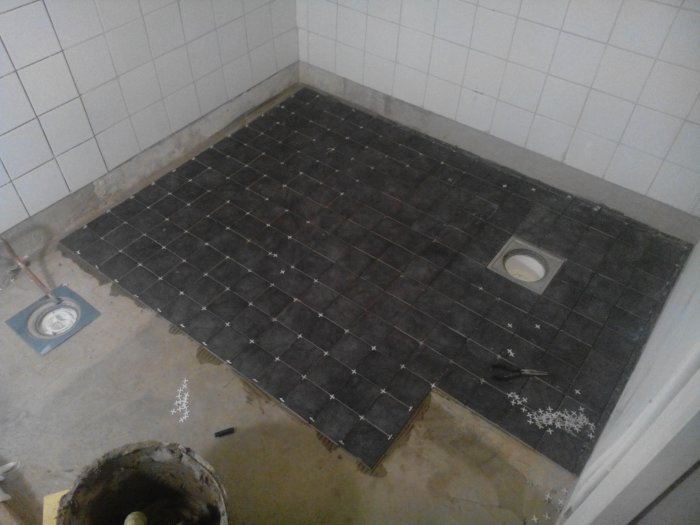
So I have put some tiles on one wall and also attempted to tile around the window. It's difficult when there are some odd angles and it's not very flat... I've also started laying the klinkers.
I twisted and turned many times on how I should start the laying so it would look good by the shower drain and the walls. In the end, I figured it was best to use whole tiles around the drain and then have thin pieces by the wall. On one wall, the tiles ended up being only 1 cm wide, not sure if these will even show once the tile comes all the way down. I bought a tile cutter with a blade from Jula for 500 SEK. It's working well so far.
Considered leveling the floor myself, but got some help. What material did you use to manually fill in the shower corner?
I would have placed the drains level with the original floor if possible. But needed more slope on the pipes towards the drain, so it ended up a bit elevated.
A bit late, but we used combirapid from casco to fill the slope.
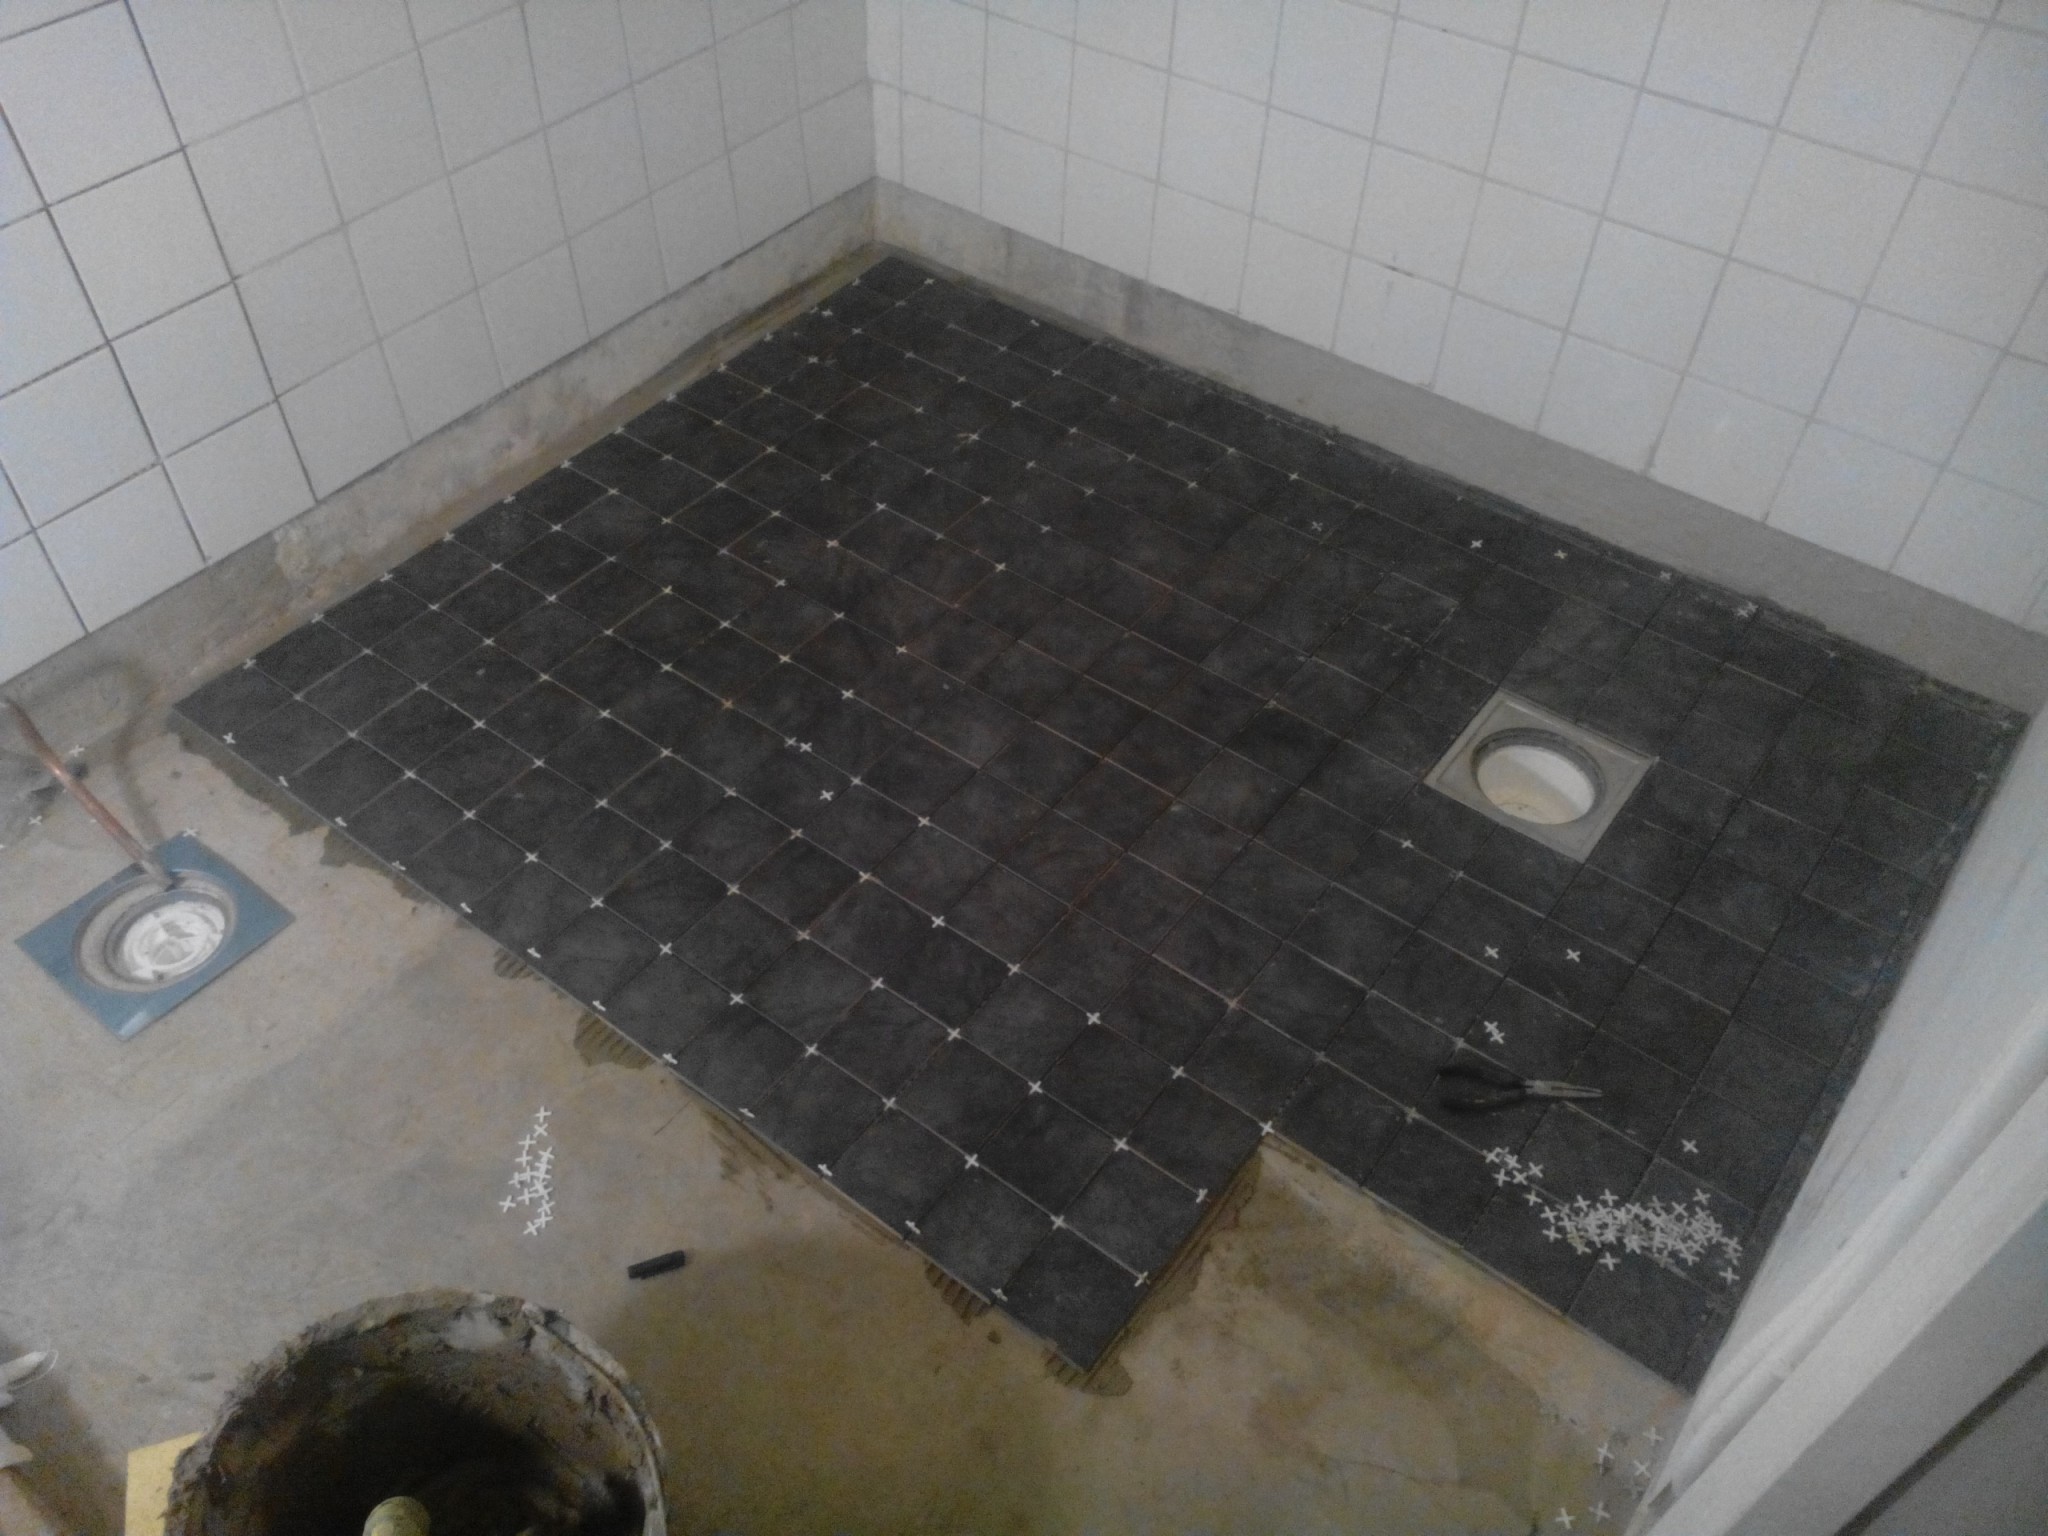
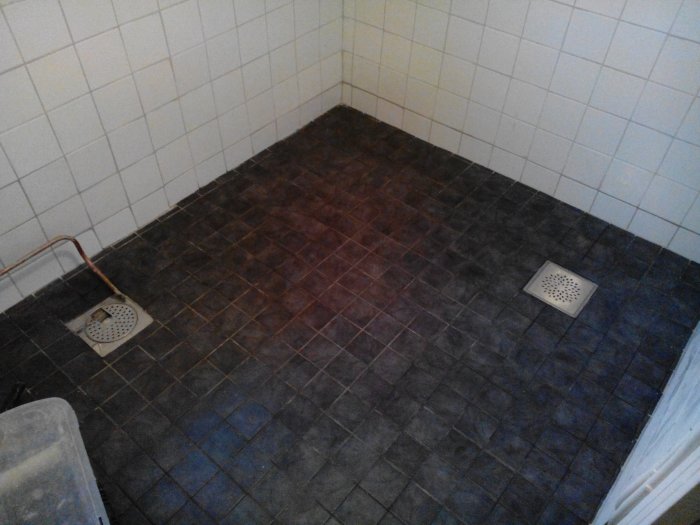
Now the floor is finished and the last row of tiles. Now it's left to buy a bench and a cabinet. It will be a cabinet 600mm wide and then the washing machine and dryer will be under the bench as well. I'm pondering how to attach the bench to the wall. It will sit on a cabinet (see layout further up in the thread) but in the corner of the room it should be attached, either by letting it rest on some kind of bracket screwed into the wall or by putting it on legs instead? And then maybe only glue it? I'll think about it, any tips?
Don't know why it's a bit yellow in the pictures, it doesn't look like that in reality.
Click here to reply
Vi vill skicka notiser för ämnen du bevakar och händelser som berör dig.
") This project keeps growing. It would have been much more convenient if I had done it while plastering the other walls. And when I mixed the last bucket of plaster, the drill I was using burned out. I had to buy a paint/cement mixer from Jula.
This project keeps growing. It would have been much more convenient if I had done it while plastering the other walls. And when I mixed the last bucket of plaster, the drill I was using burned out. I had to buy a paint/cement mixer from Jula.