Filling in with Concrete K40 will probably be good
Ok! I've never worked with concrete before (or anything similar). But there has to be a first time! So I will try to learn a bit more. Does mixing in a bucket with a spade work, or should I go for some type of mixer? I have a b&d hammer drill, maybe I can attach a mixer to it?
A whisk for the drill costs about a hundred and it's worth it compared to messing around with a spade or something similar, the mixture turns out better too.
Tried this but it didn't turn out so well. The depths to be filled are probably a maximum of 1 cm or less. Is it better to use leveling compound or did I do something wrong? It was difficult to spread the concrete evenly on the floor.
A mixer for the drill costs about a hundred and it's worth it compared to stirring around with a spade or something similar, the mixture also turns out better.
Purchased a mixer at Bauhaus. Worked well, but I think my B&D is a bit too weak or the mixer I bought was a bit too big for it (there were quite a few to choose from). Had to take it a bit carefully so the drill wouldn't overheat.
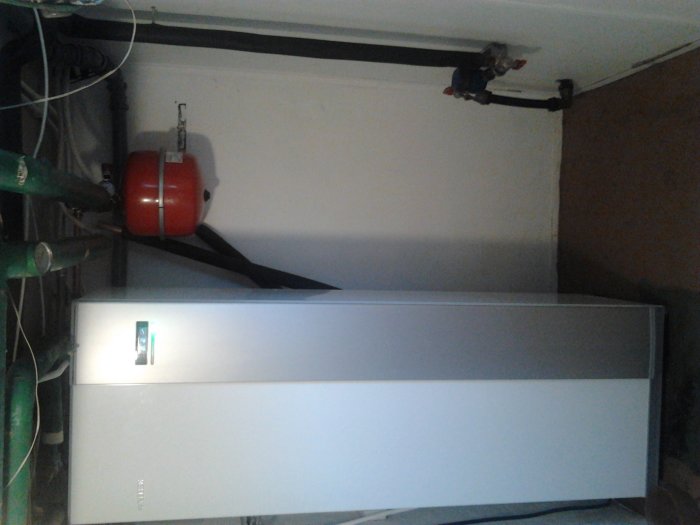
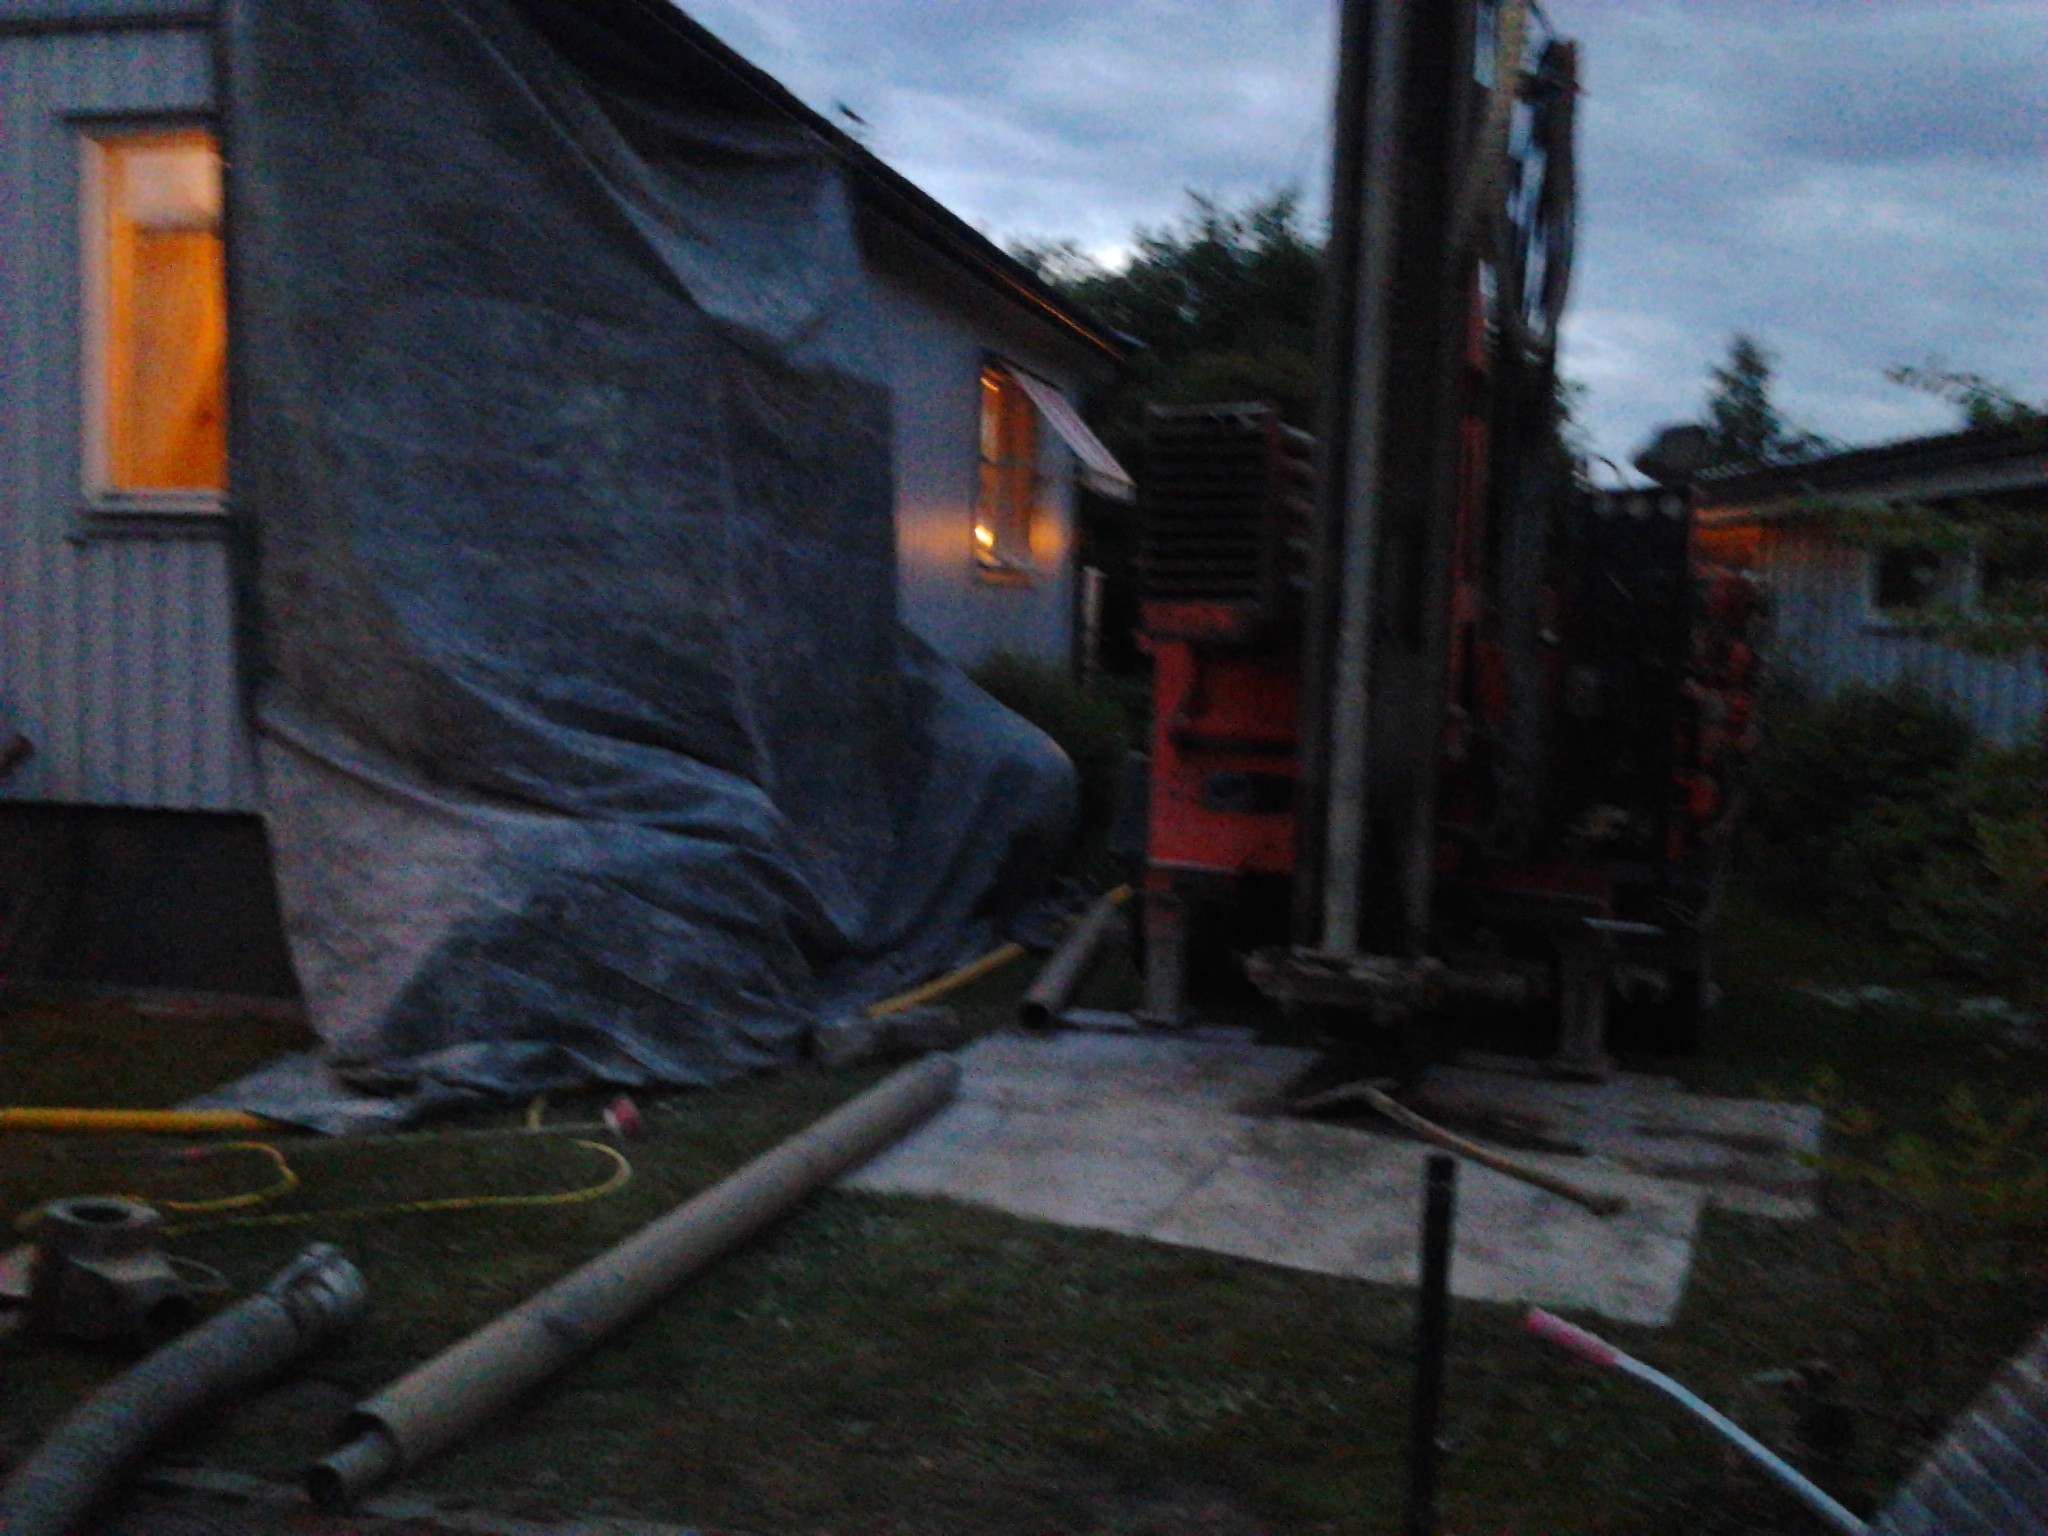
Since quite a few people have read this thread, I thought I would update on what has happened. The work has been a bit slow, partly because the boiler broke down. Now it will be geothermal heating instead, the unit is installed but waiting for drilling. But now the work has returned to converting this boiler room into a laundry room.
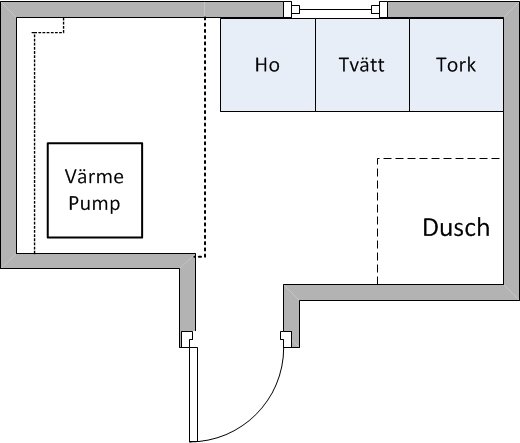
My plans have changed a bit. It was just going to be a simple laundry room, but I realized that the drain is probably too weak to empty a whole washing machine. I thought it might be a good idea to install a proper drain before laying tiles. And I might as well put in a small shower corner. I only have one shower in the house today, it might be useful to have two showers (especially since we will eventually also renovate the bathroom). It might also be good to bring muddy children into the laundry room and wash both the children and clothes at the same time... See the picture for the planned layout. The shower won't take up much space as I plan to install glass doors that can fold in against the wall when not in use. It's too cramped to install a wall or similar. The plumber will come to help me with this task.
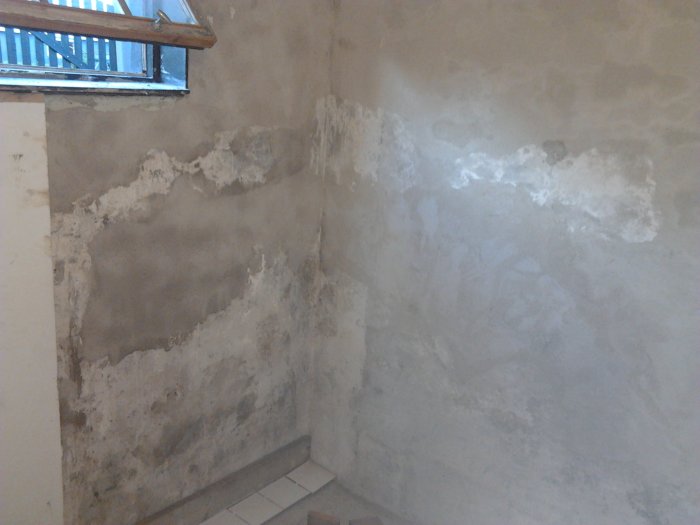
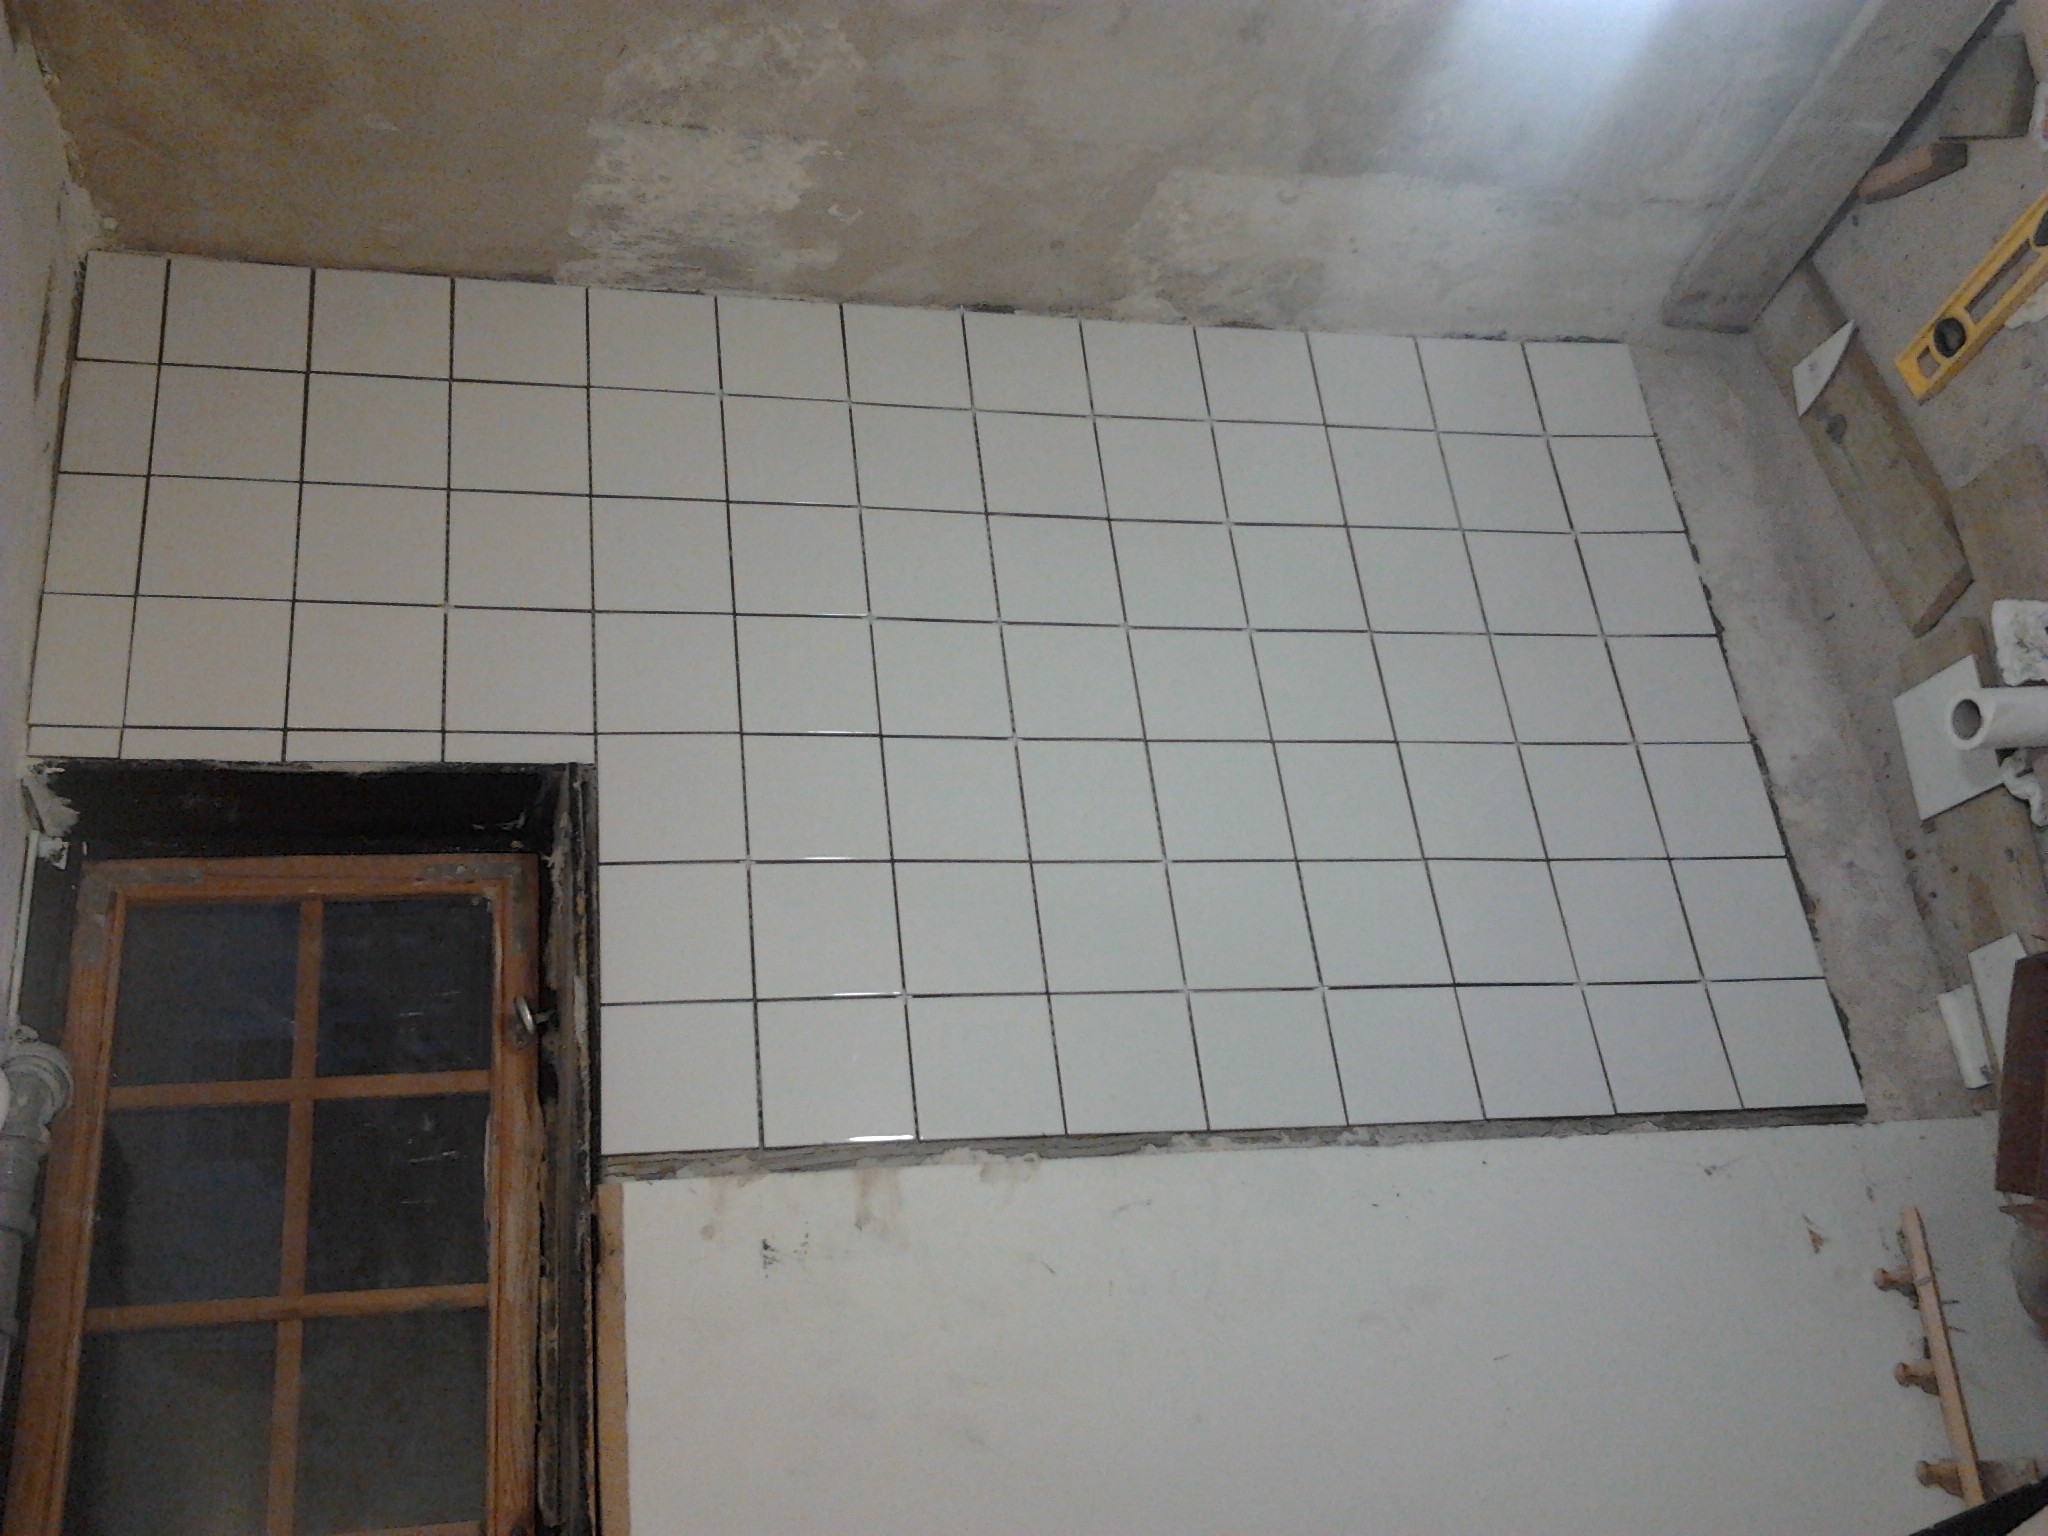
I have plastered the walls where all the old plaster has come off or was loose. The house has been re-drained, and no one has touched these walls since 1939 when the house was built. I will start tiling tonight, at least partially. There might be a bit more plastering on one wall to make it as even as possible.
There will also be space for a washer/dryer stack next to the pump if you want to run double machines in the future. Or space for a standing freezer or fridge.
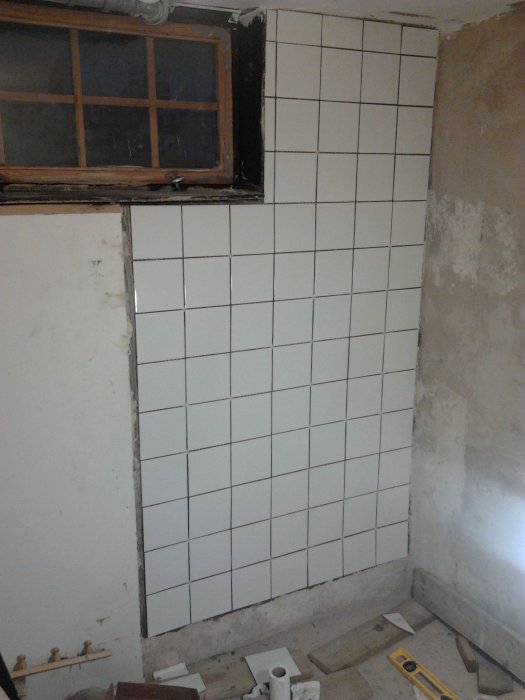
And now one wall is tiled. This is how it turned out. Hardly perfect, but it's the first time doing it, so it has to be okay anyway. As long as the surface was even, it was quite easy, but it got much harder when there were some bows in the wall. Half of this wall will be covered by the washing machine and a countertop above. But it was good to have something to practice on.
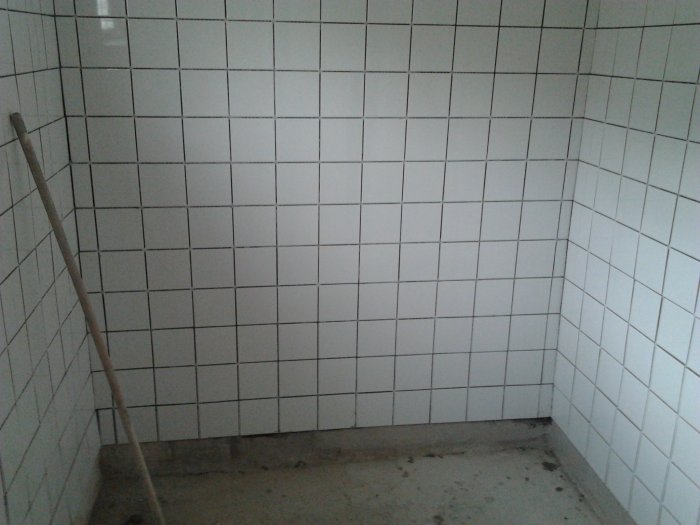
Now I have polished a bit more on the other two walls. It's not easy to get it right since the wall is bulging. But I did the best I could. After that, I applied waterproofing in the shower corner. It was a two-component waterproofing that was rolled onto the wall, Kiilto's Keramix. I haven't tiled the last row and haven't applied the waterproofing on the floor yet. But I covered the entire wall and when the floor is done, I will "overlap." I think it will work(?).
So now almost all tiles are up (except the bottom row). My lessons from tiling are that the surface should be as flat as possible; it's much easier on the spots where it was completely flat. Then I also made the mistake of placing whole tiles against a corner that wasn't perfectly straight; it's not nice to cut 2-3 mm off a tile (maybe it could work with a water-cooled cutter?), so there I should have used half tiles. But I think it turned out okay anyway. Now remains the grouting, which will be done over the weekend, as it needs to dry really well.
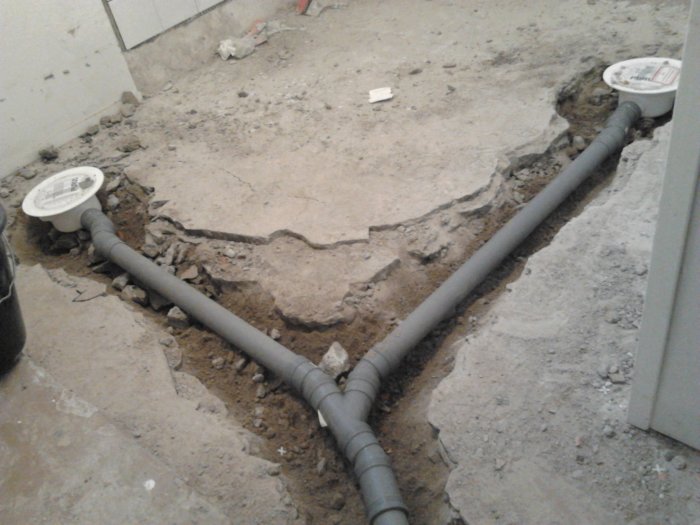
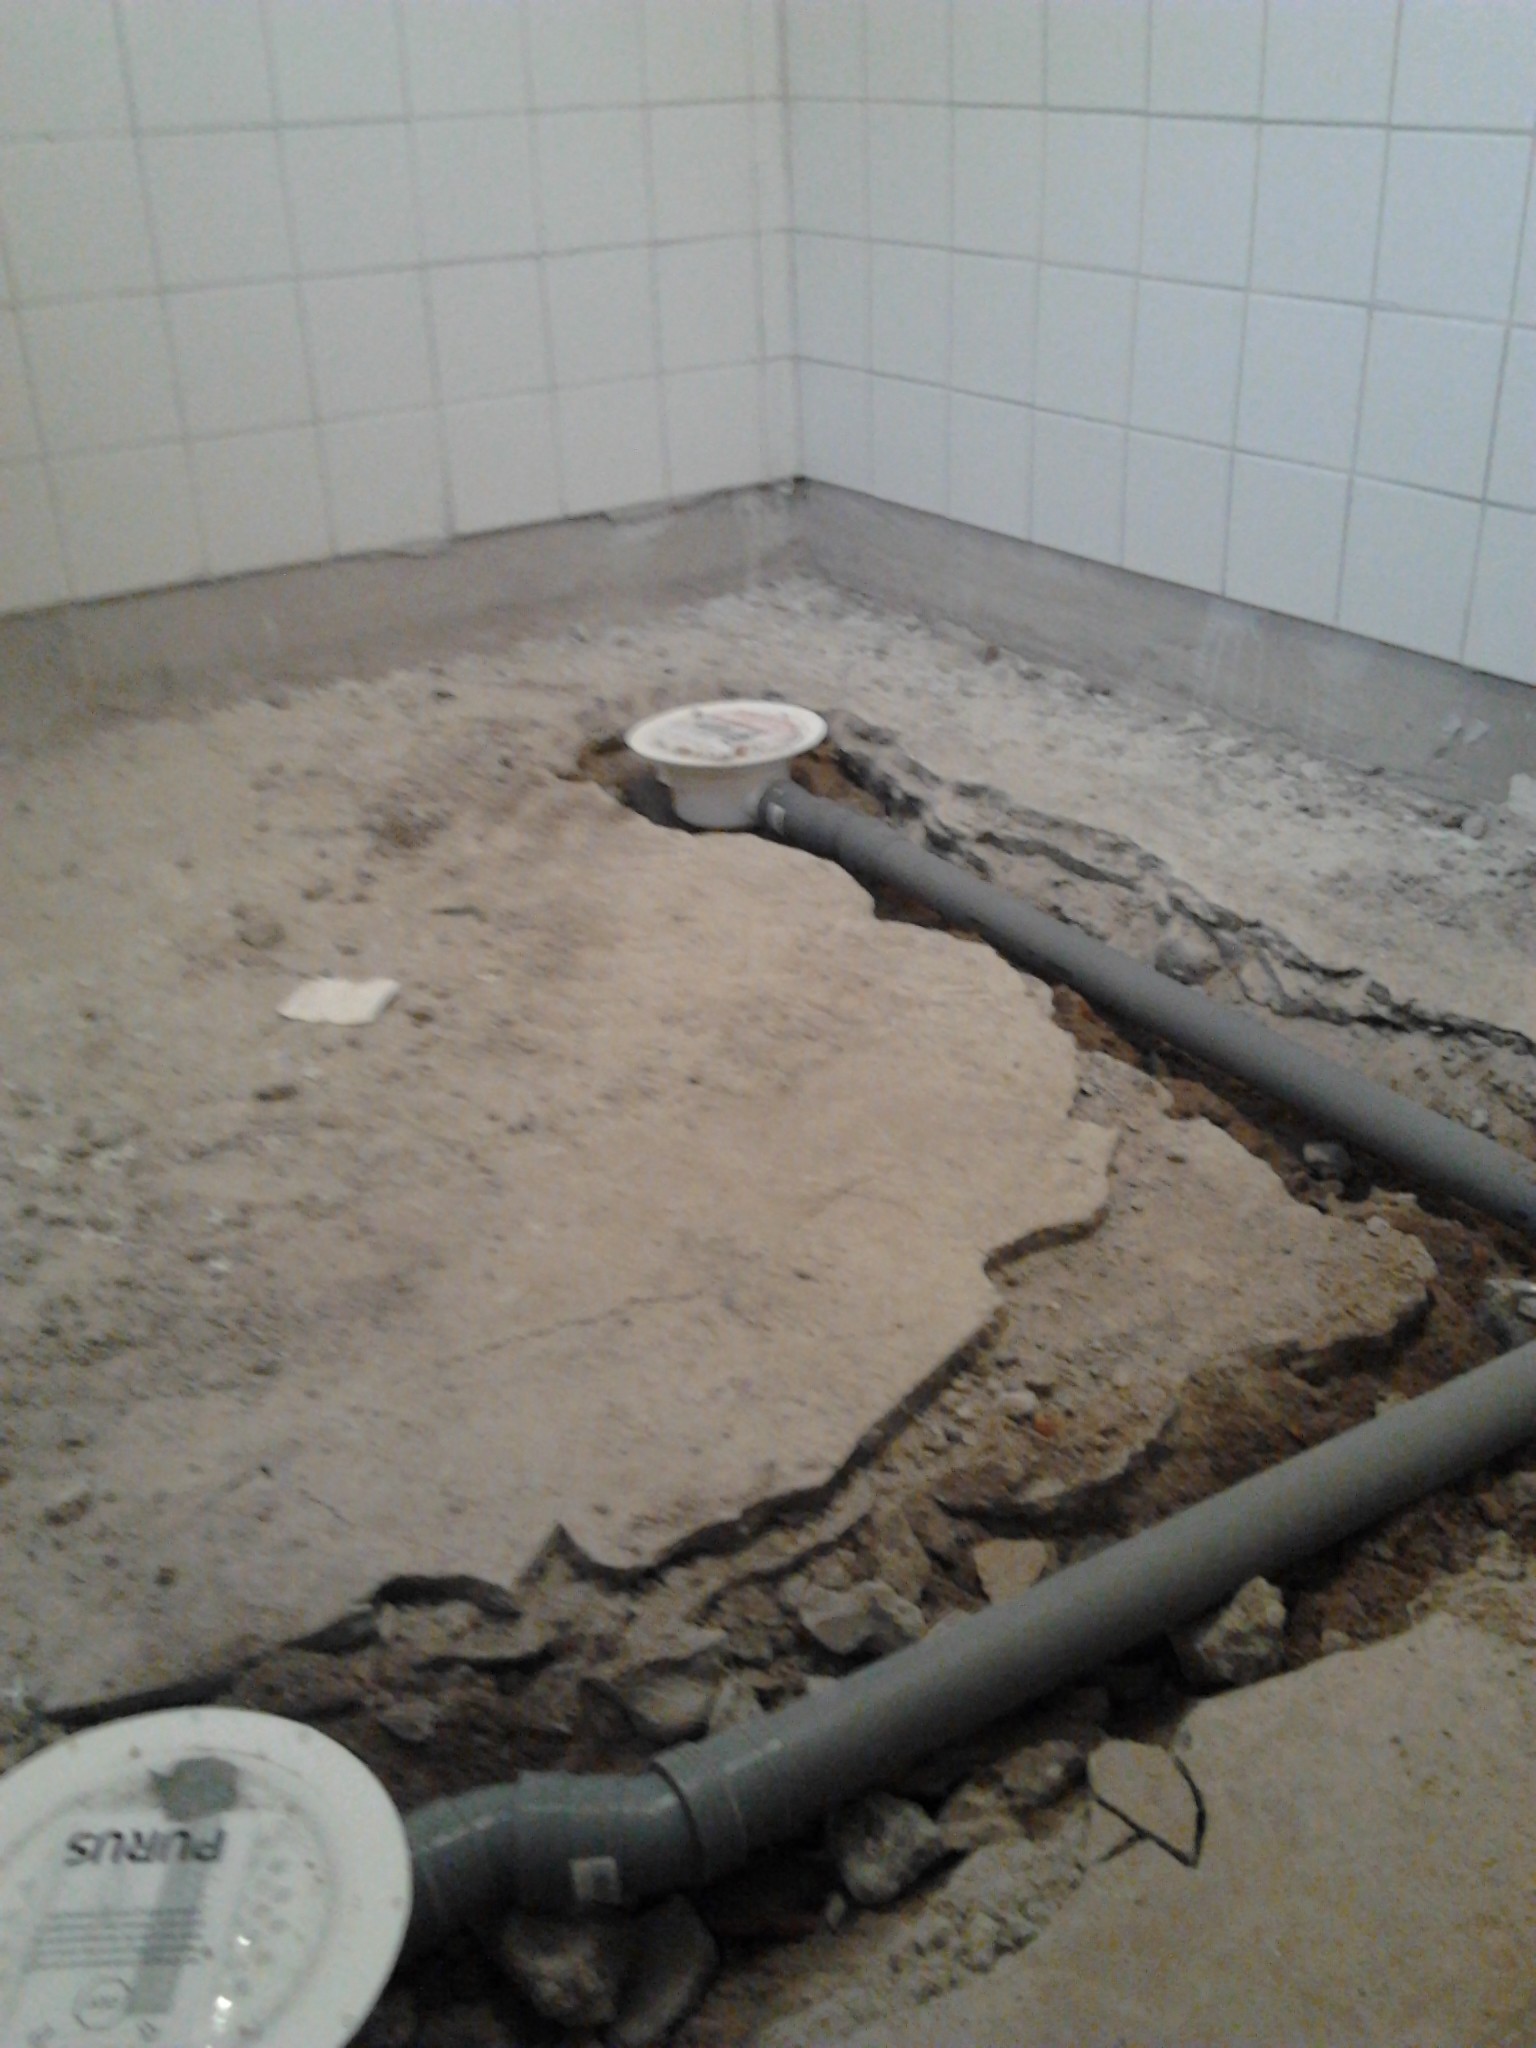
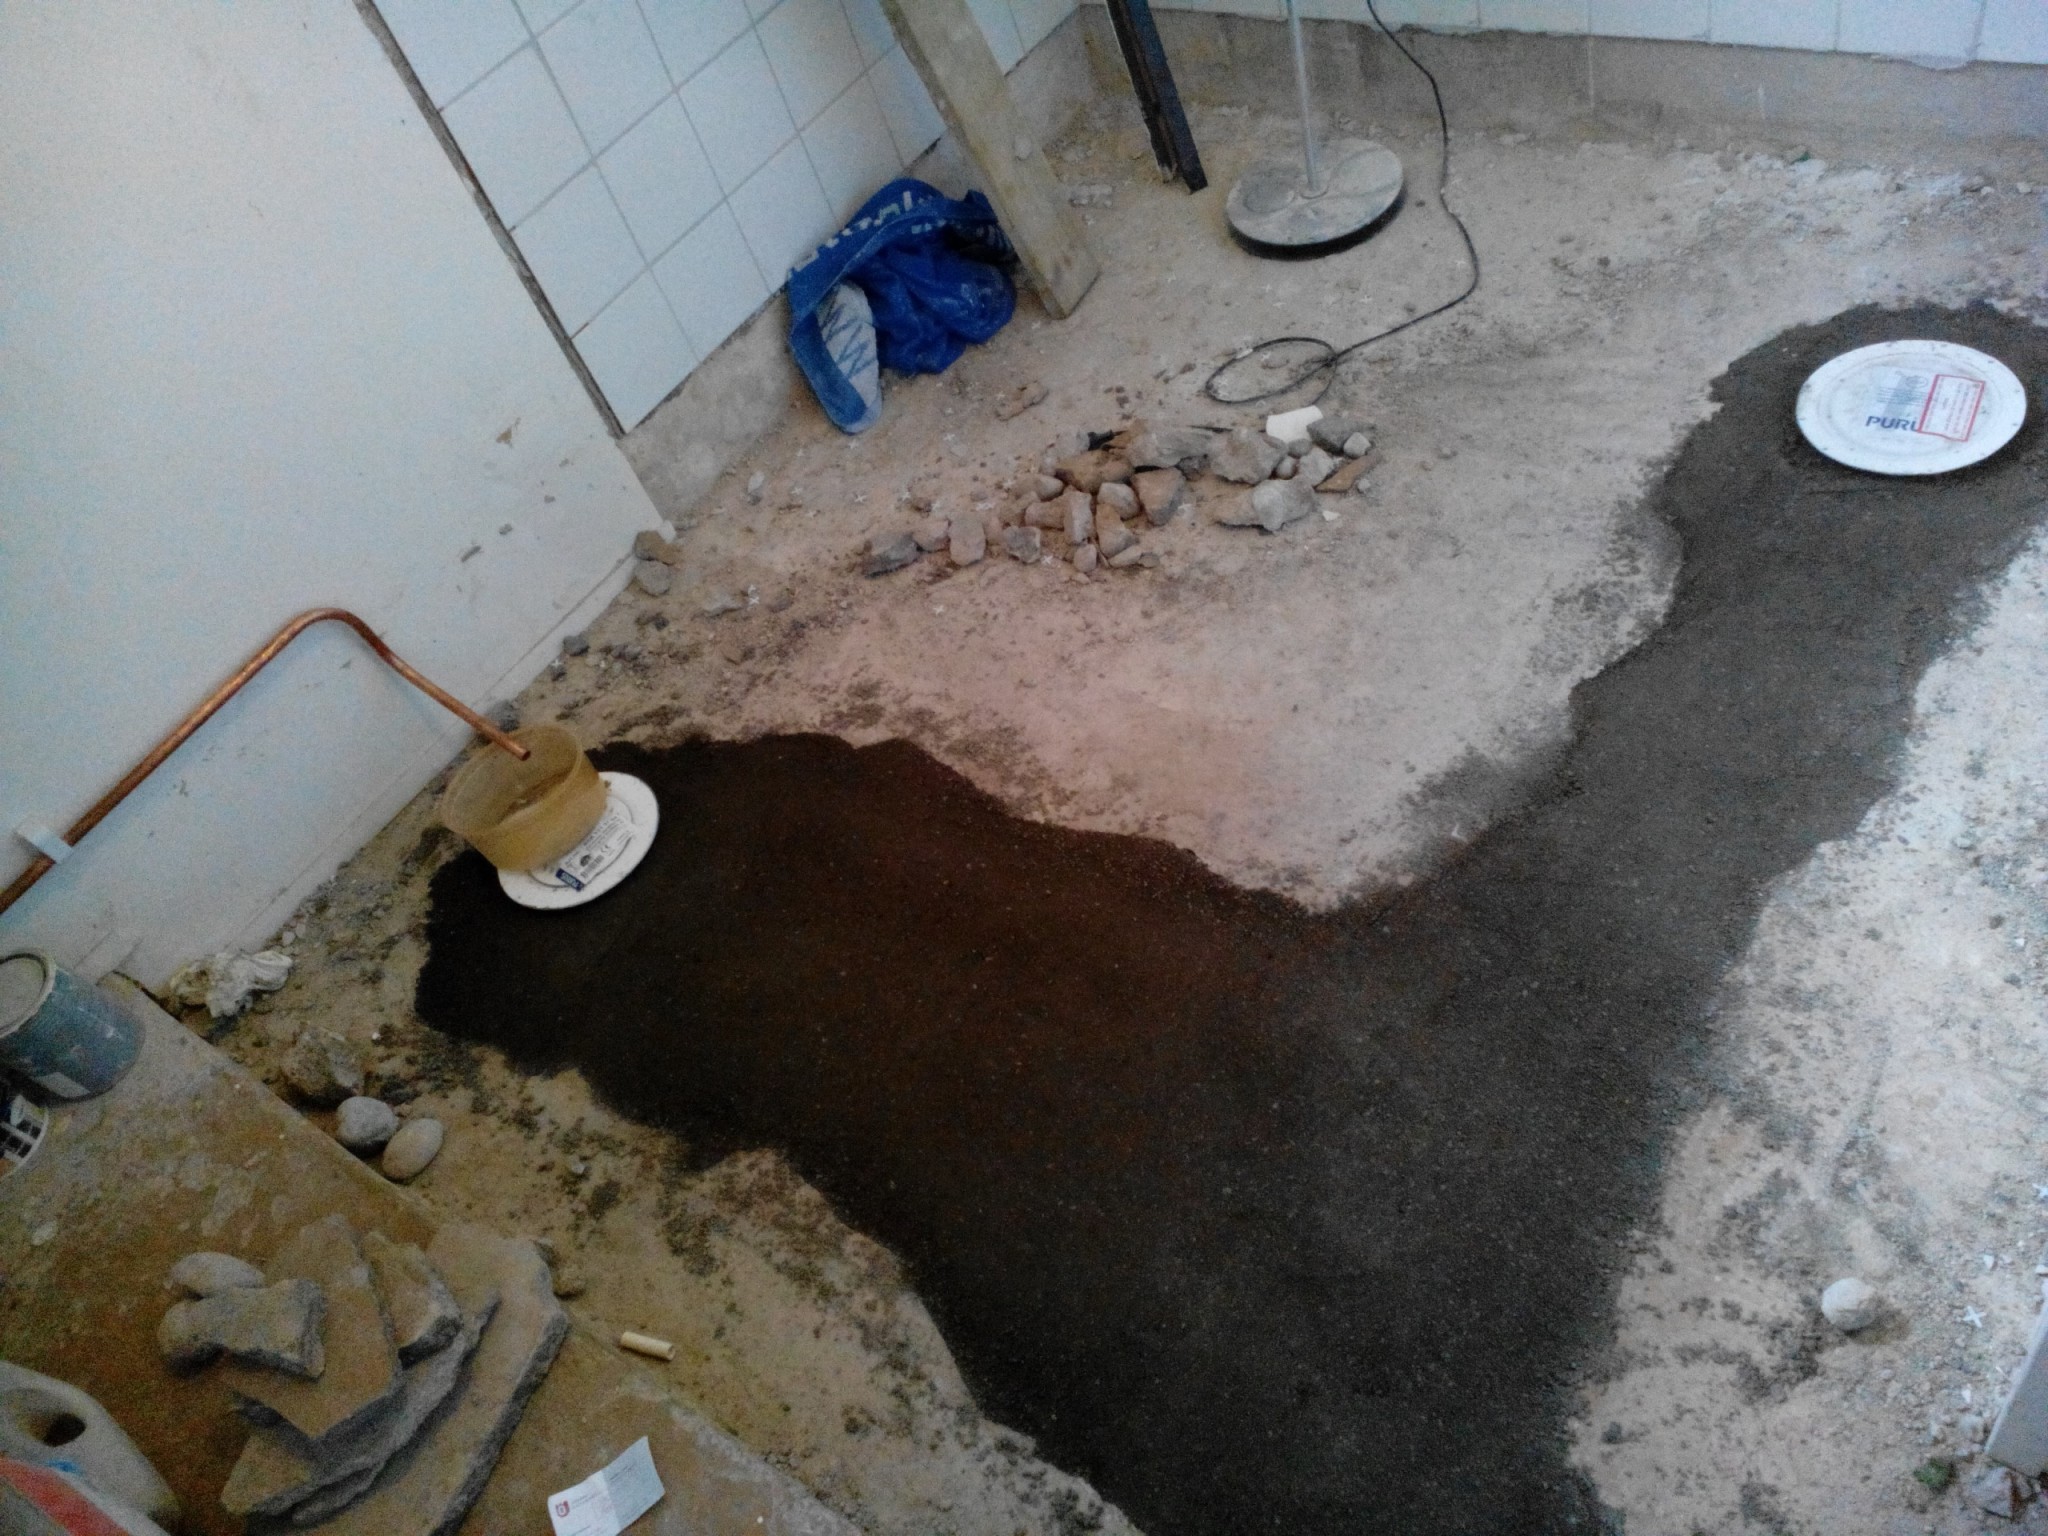
Today, the plumber is coming to start chiseling for 3 floor drains (one for the boiler, which the room is sloped towards, one for the sink and laundry, and a drain in the shower corner). Then I will also get help with fixing the slope in the shower.
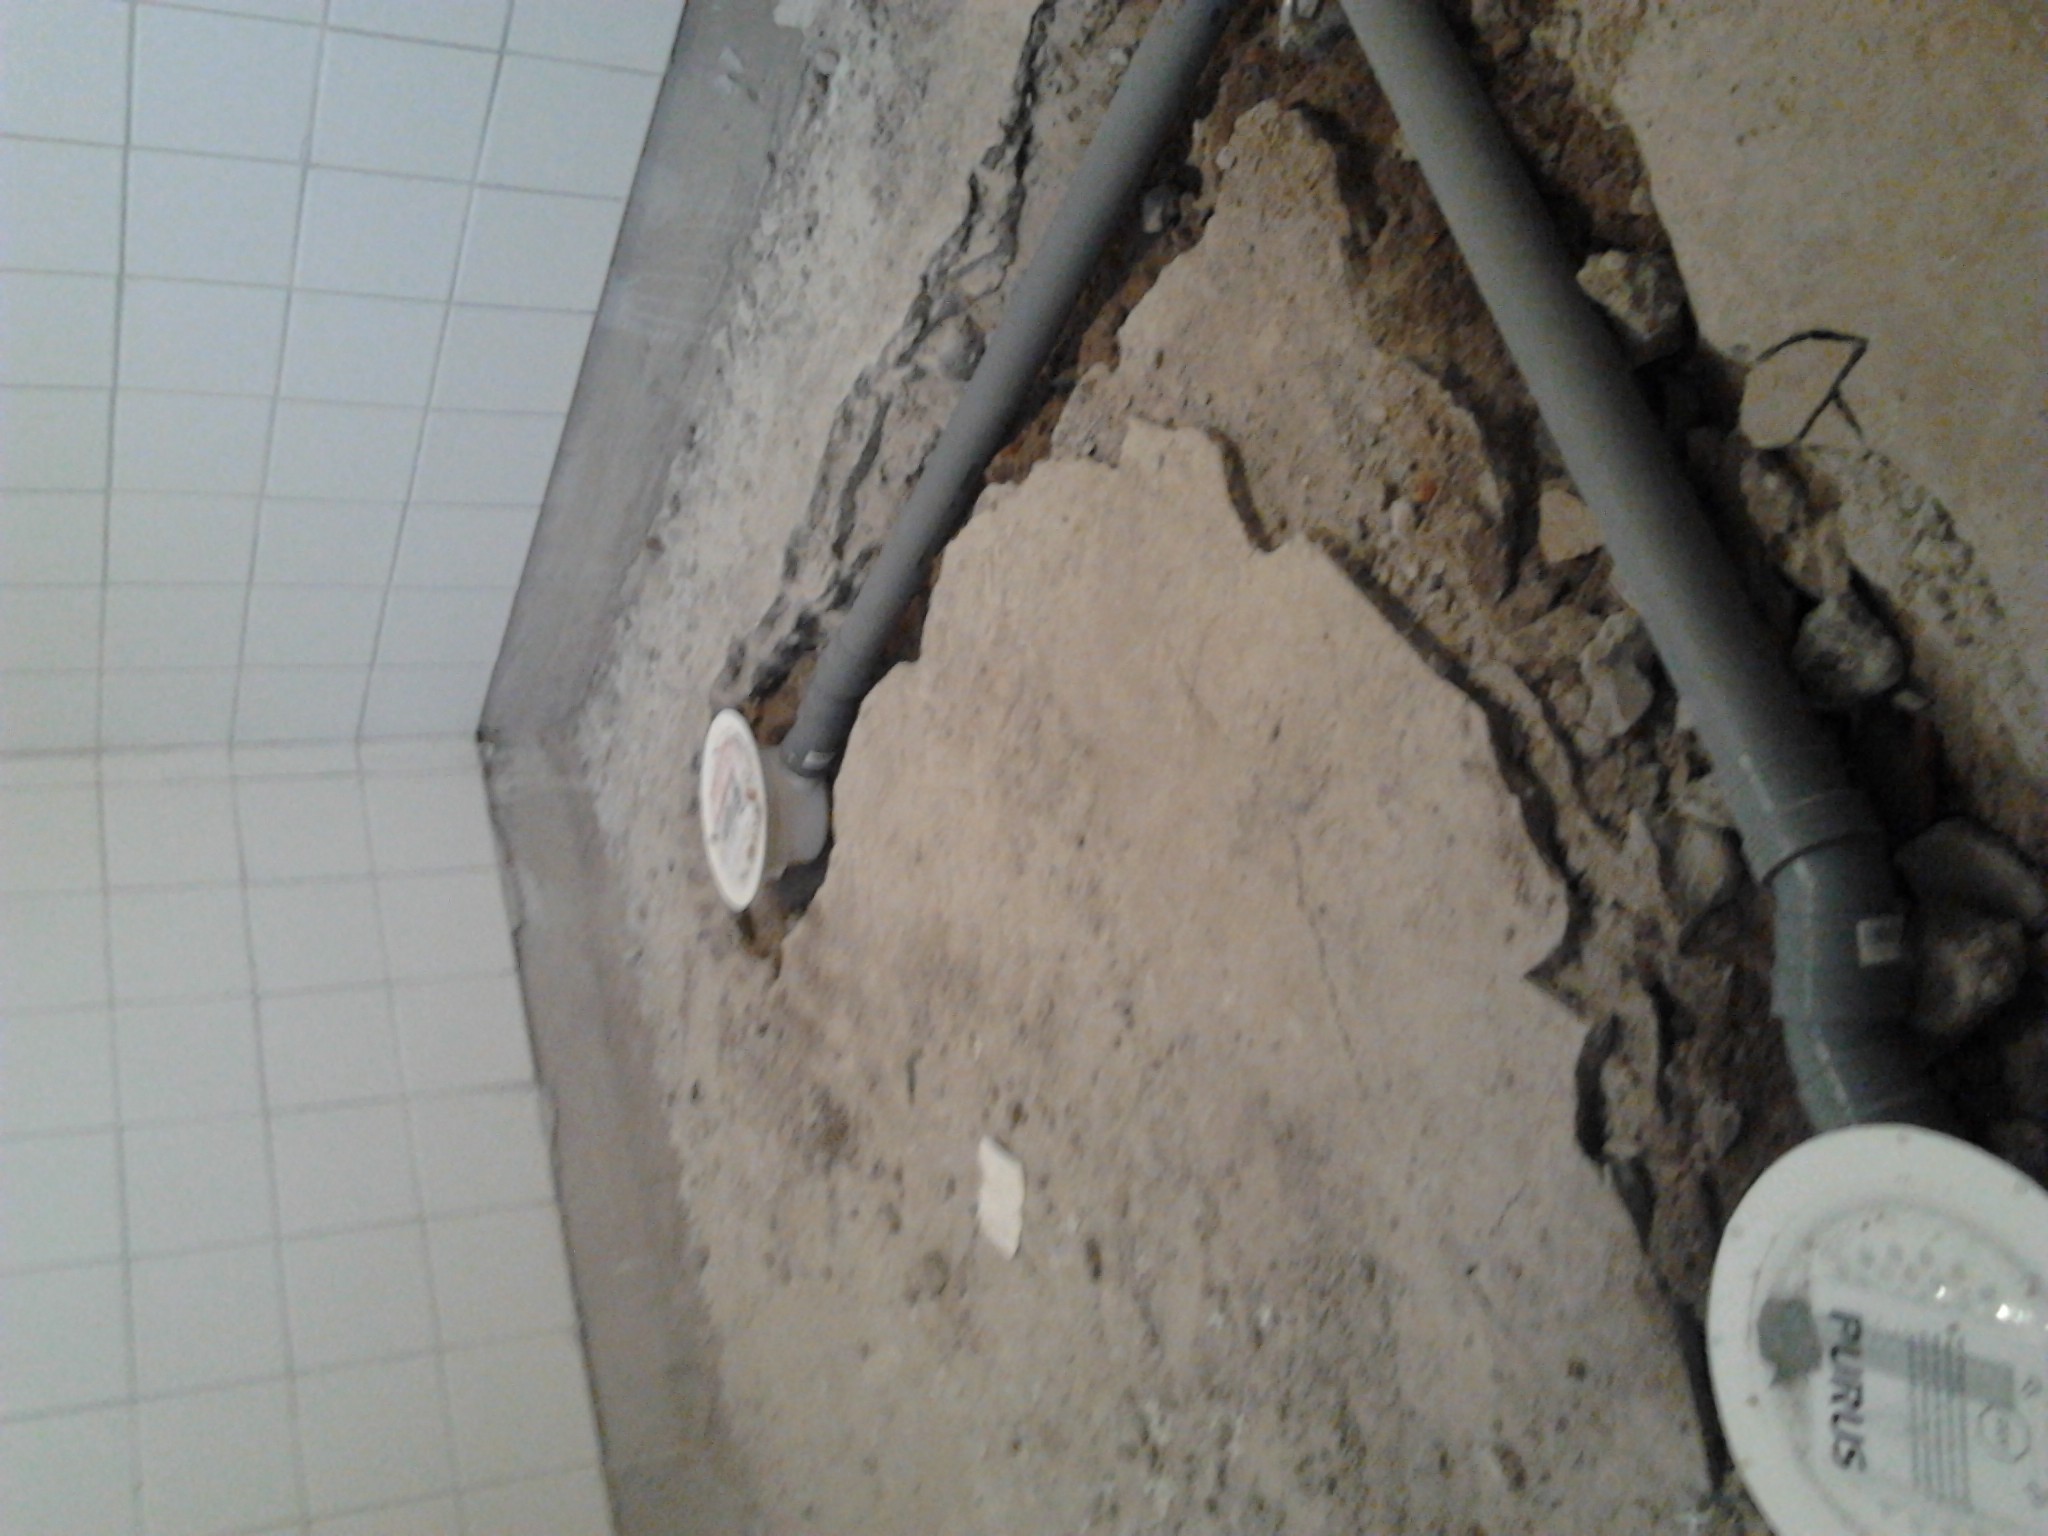
So now the plumber has been here and broken up the floor. However, one floor drain is a bit too high, he will change it to a lower one so we don't have to build up the floor as much. This is how it looks now. There will be two drains instead of three, it's simpler that way. As soon as the low-built drain is in place, I will cast the trenches again. Then I will get help to float and build slopes to the drains.
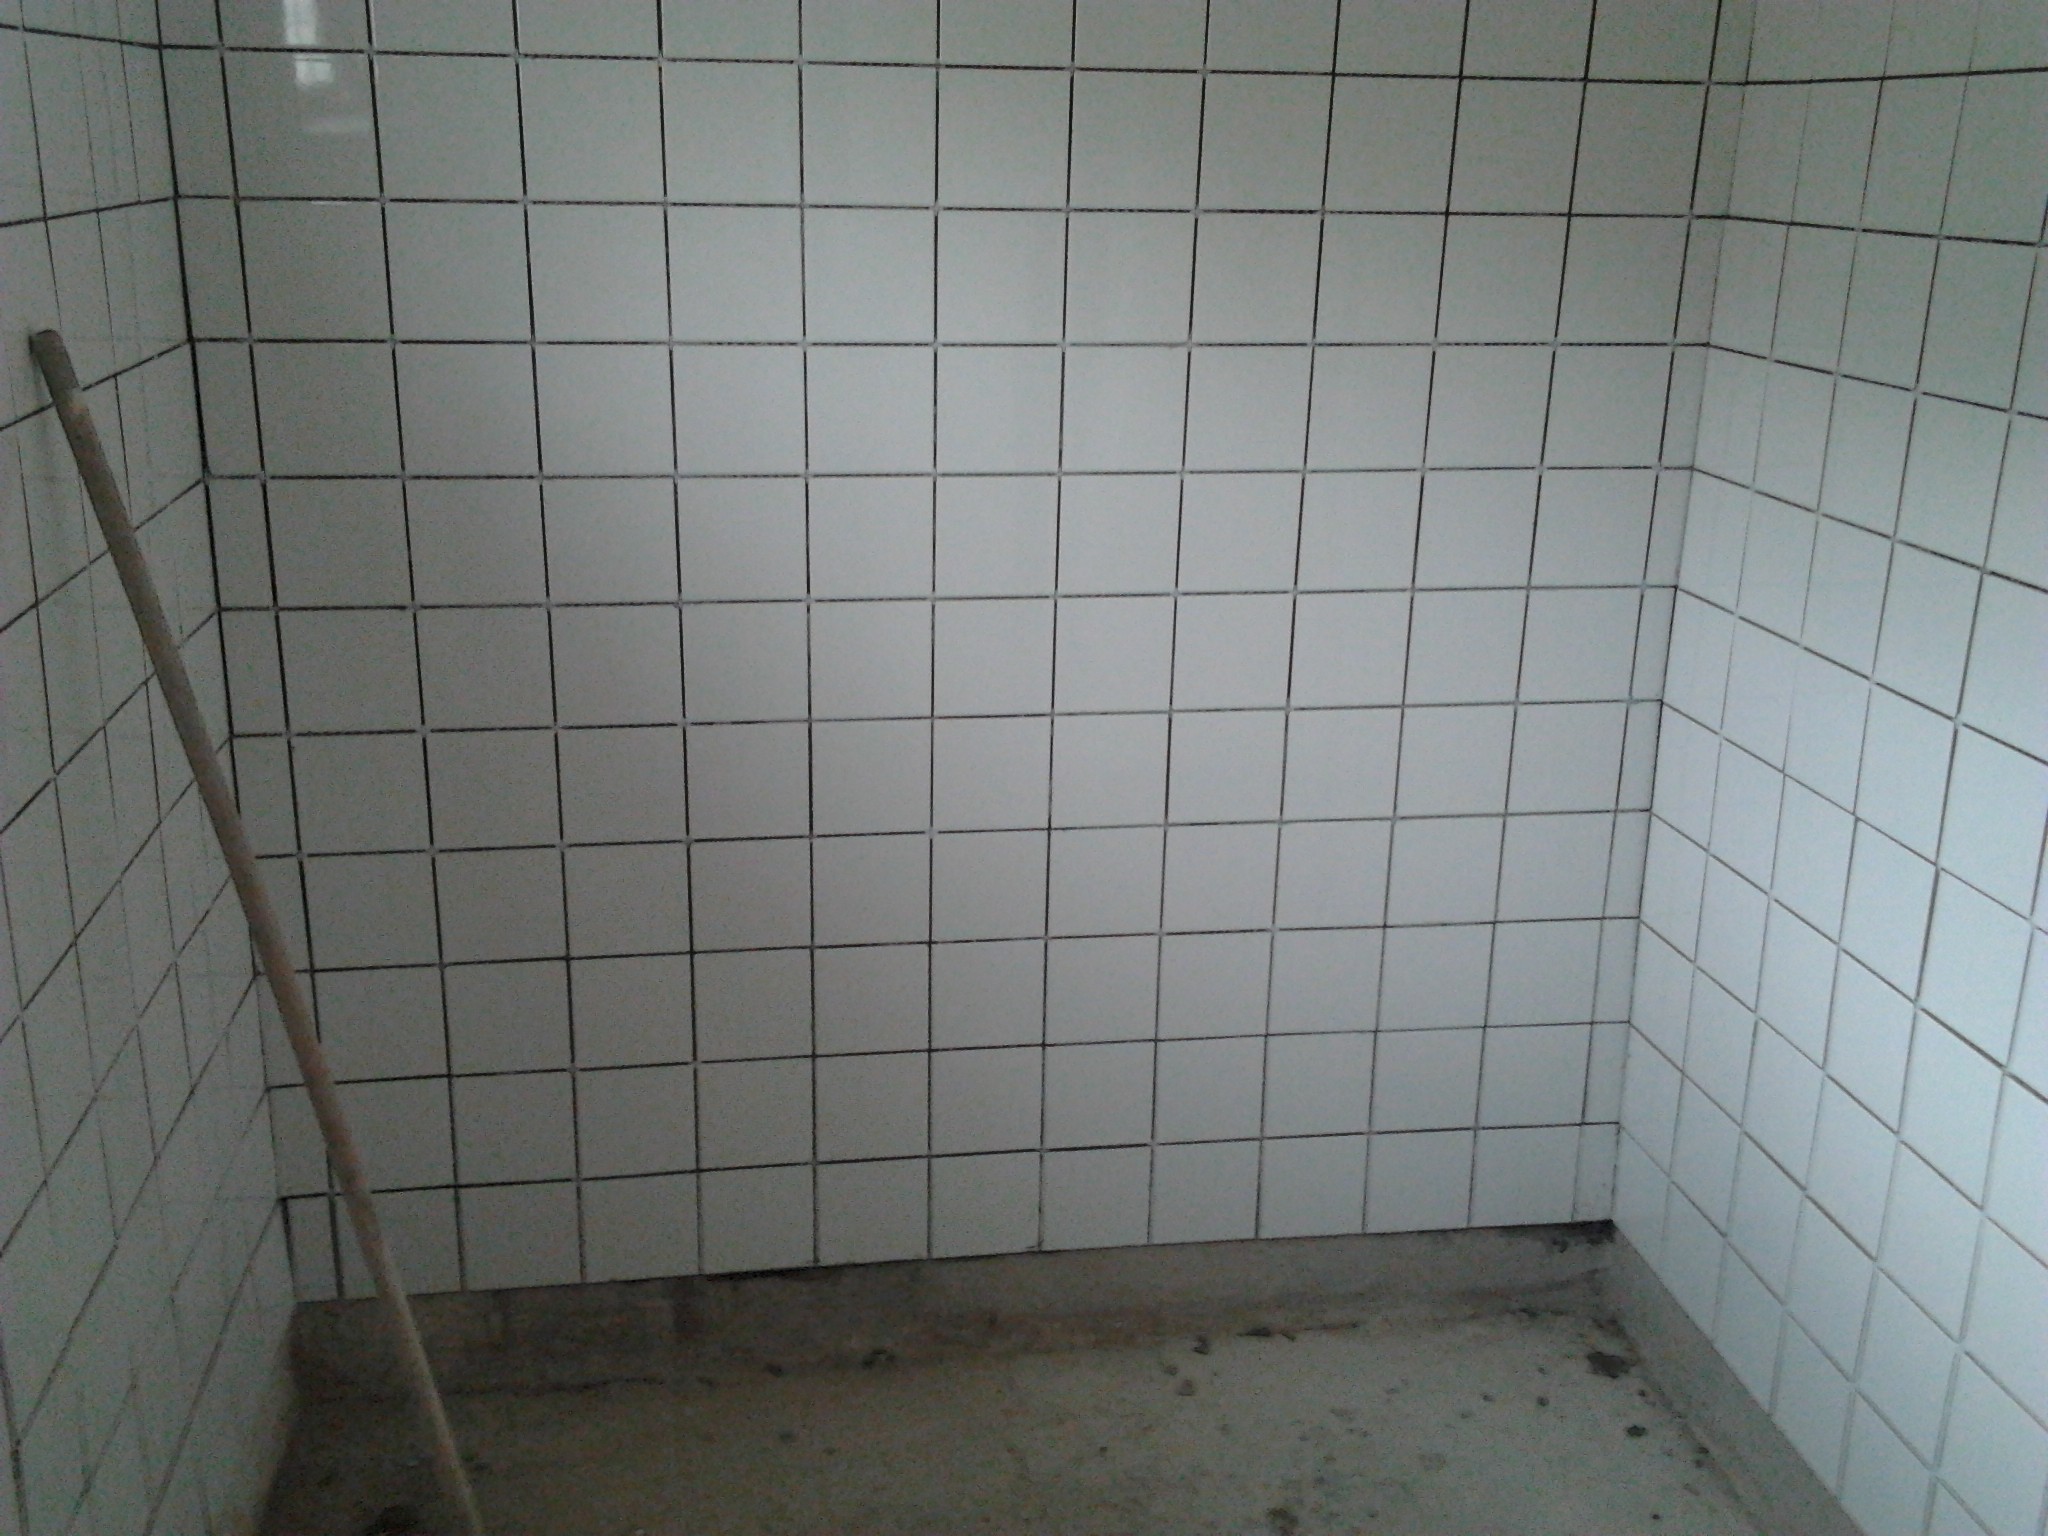
The tiles have also been grouted, with a quite light grey. I think it's called pearl white or pearl grey from LIP.
And geothermal drilling is also ongoing outside, which will be connected to the pump...
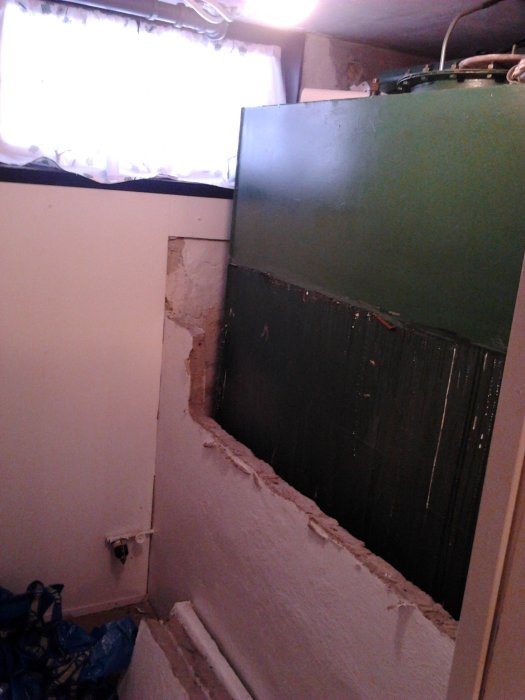
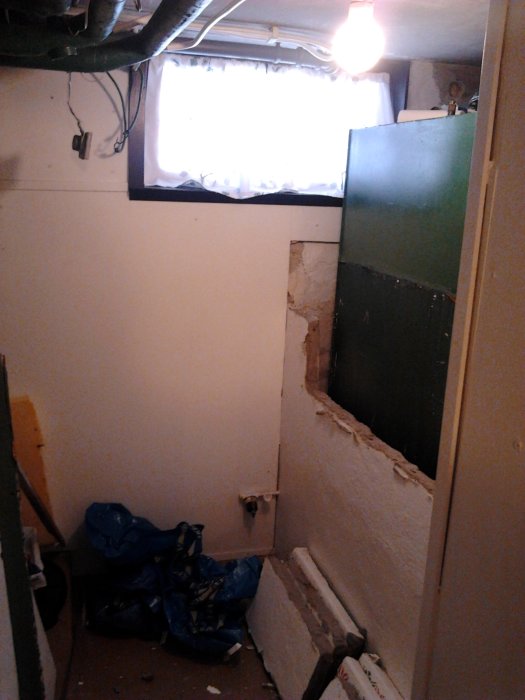
Bezt: Well, I hope it turns out well. When you live in a small space (only 70 sqm + 70 sqm furnished basement), you want to make the best use of everything. That's why I removed the oil tank that was there before. I found a picture of what it looked like before or just when I had started demolishing. The laundry room won't be that big, but I hope it will be big enough.
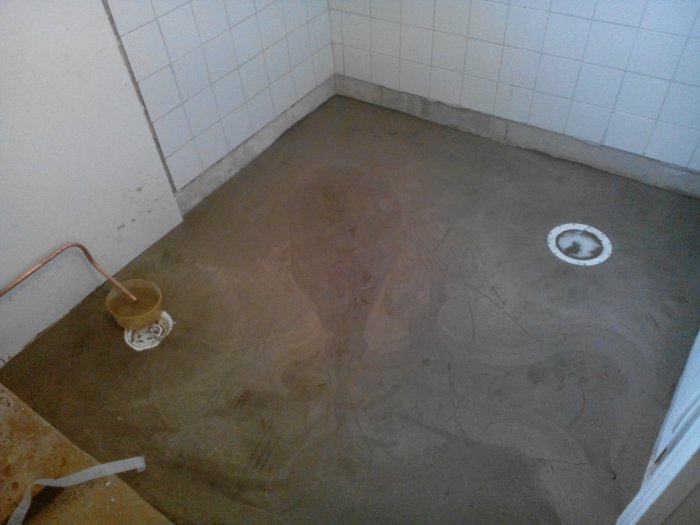
So, now I have installed one of the low-profile wells and poured it again with some Ardex A35. Tomorrow a guy is coming to help me create the slope on the floor.
Now the floor guy has been here and leveled the floor and fixed the slope to the drains. So now I have to wait at least 24 hours, then apply the waterproofing around the shower, and then it's time to lay the tiles on the floor. I have 30x30 tiles, a bit unsure if they can be laid in the shower corner. I'll probably have to lay some 10x10 just in the shower corner.
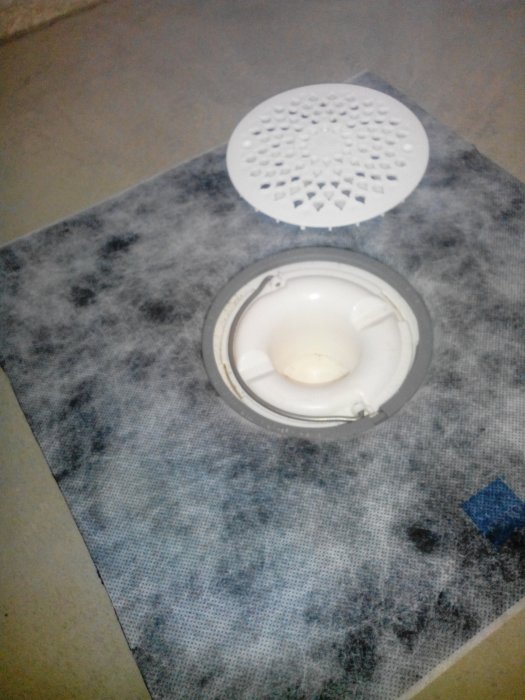
Now the well cuff is on. I have also purchased new 10x10 granite tiles. I have also decided to put more tiles on the wall. Might as well while I'm at it. The well, which now has a cuff, is a purus 150, the other is a 130 well. I haven't gotten hold of the "purus knife" for it yet. It was easy to put on since I had the "purus knife", so I will try to get a 130 "purus knife".
Vi vill skicka notiser för ämnen du bevakar och händelser som berör dig.