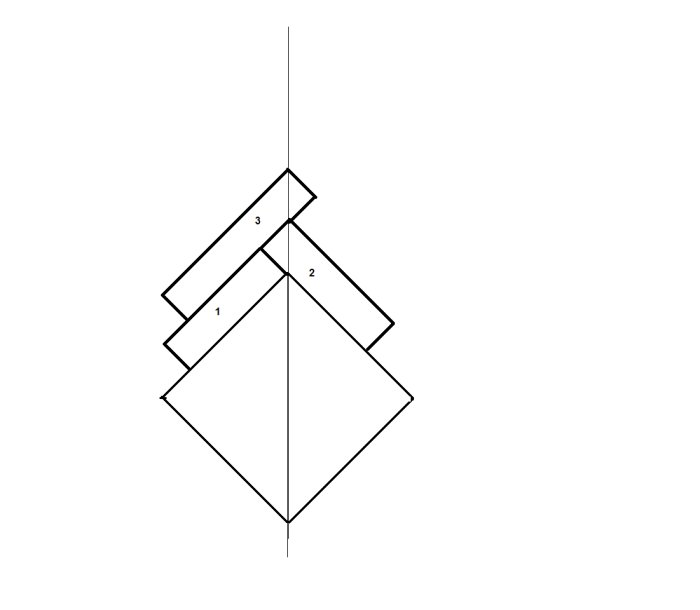
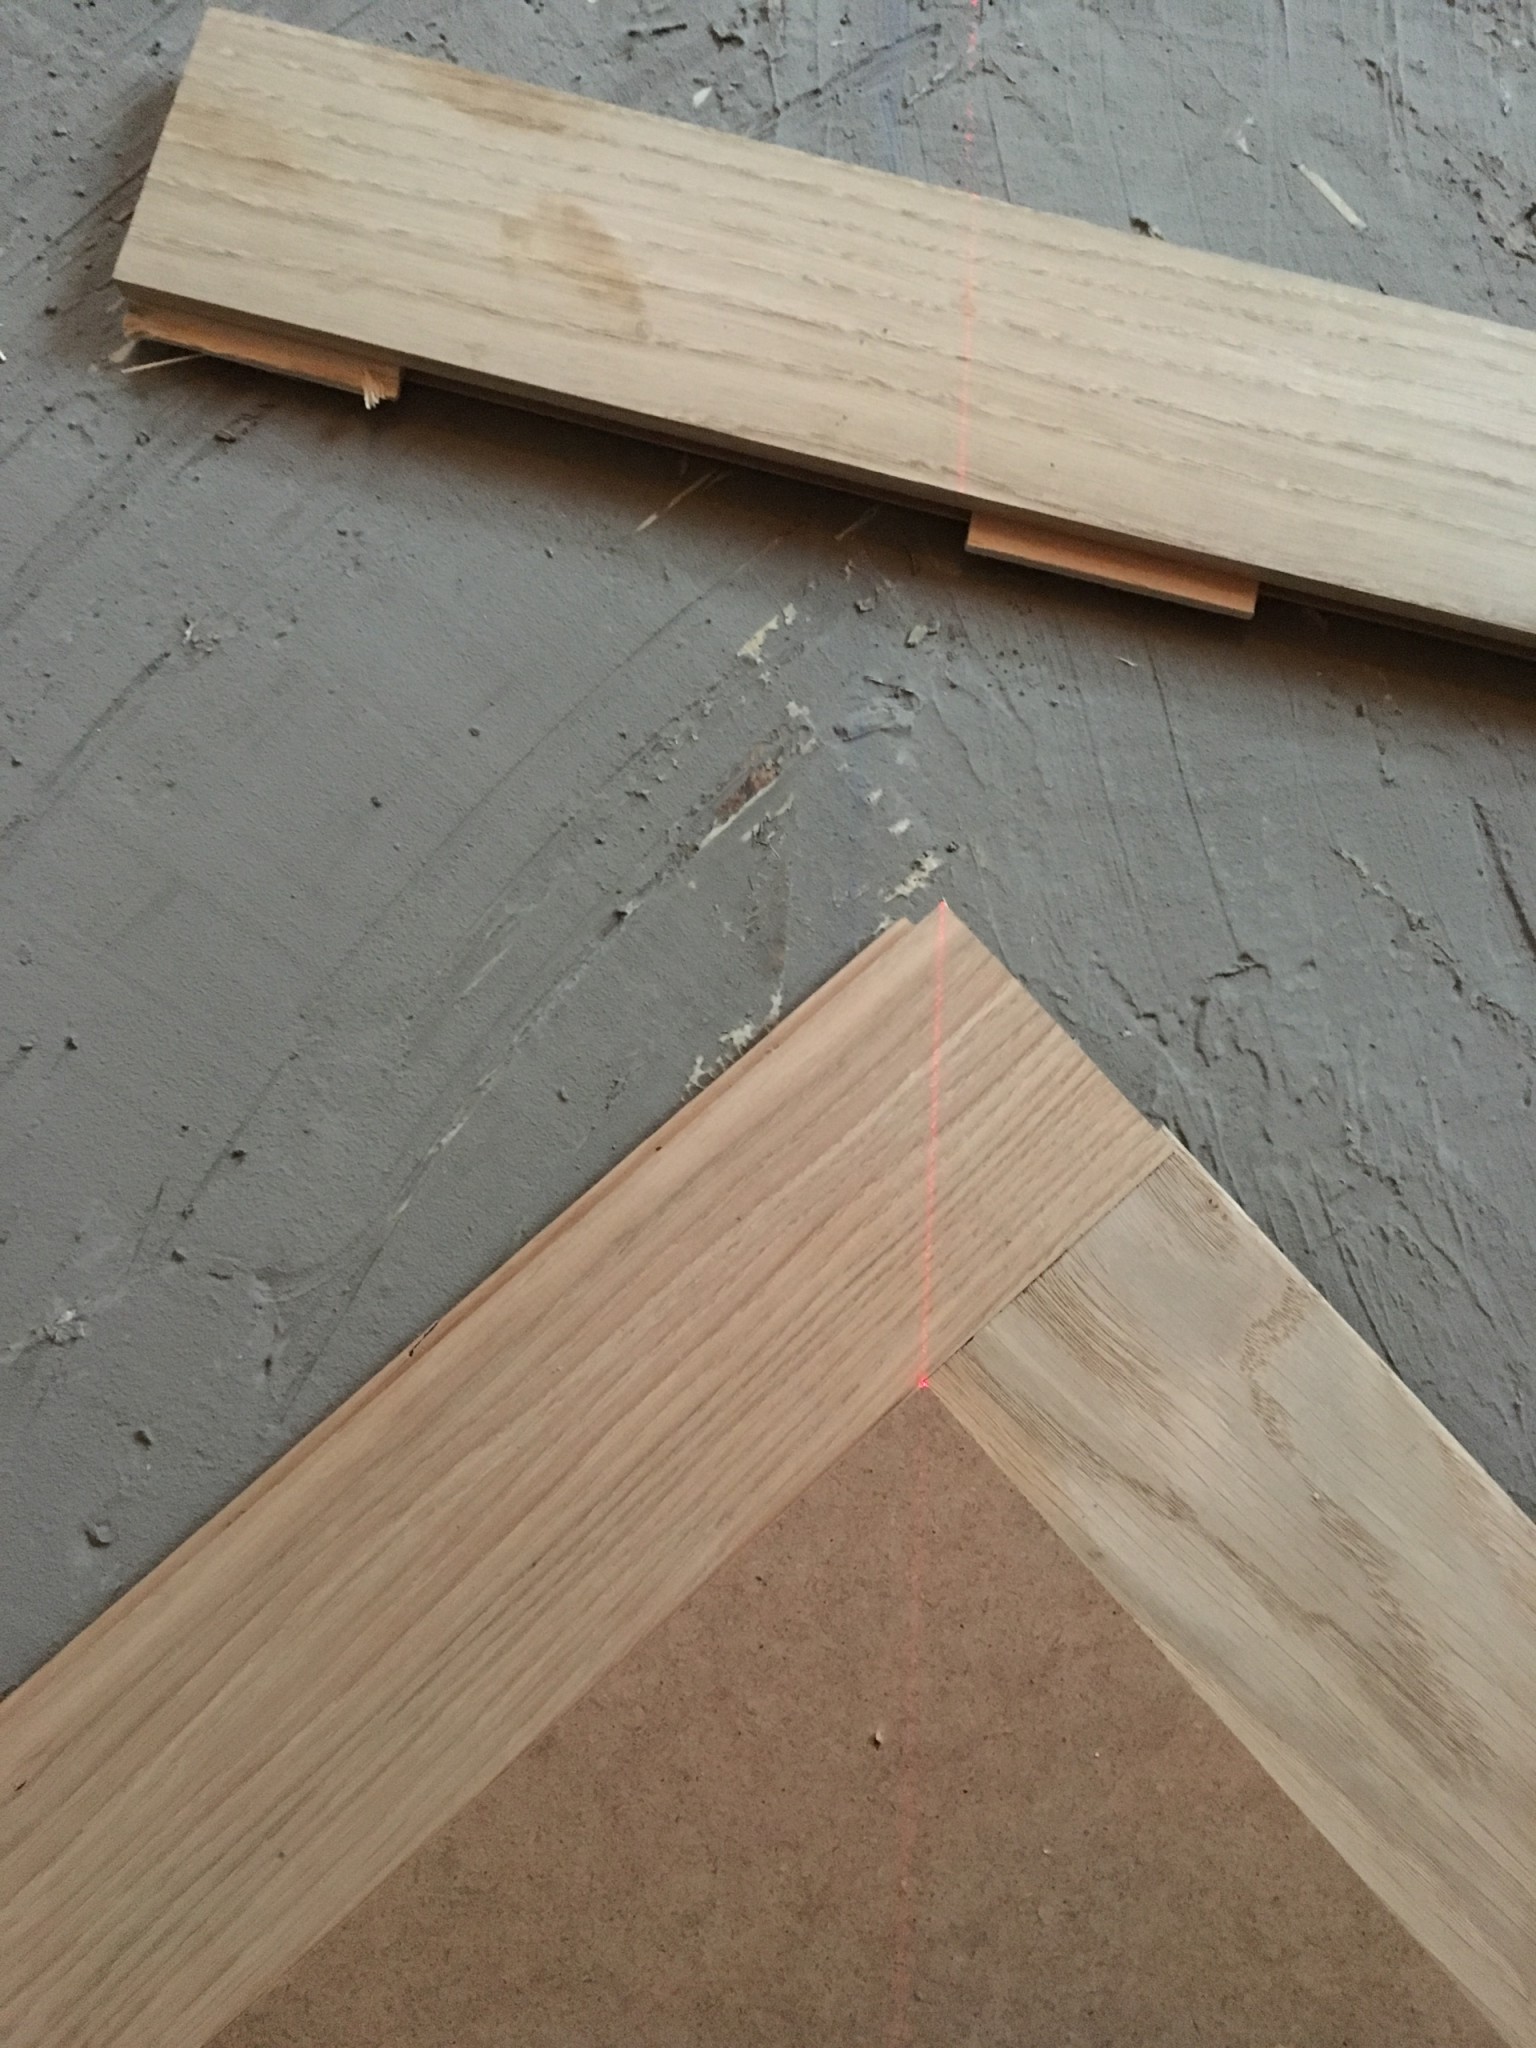
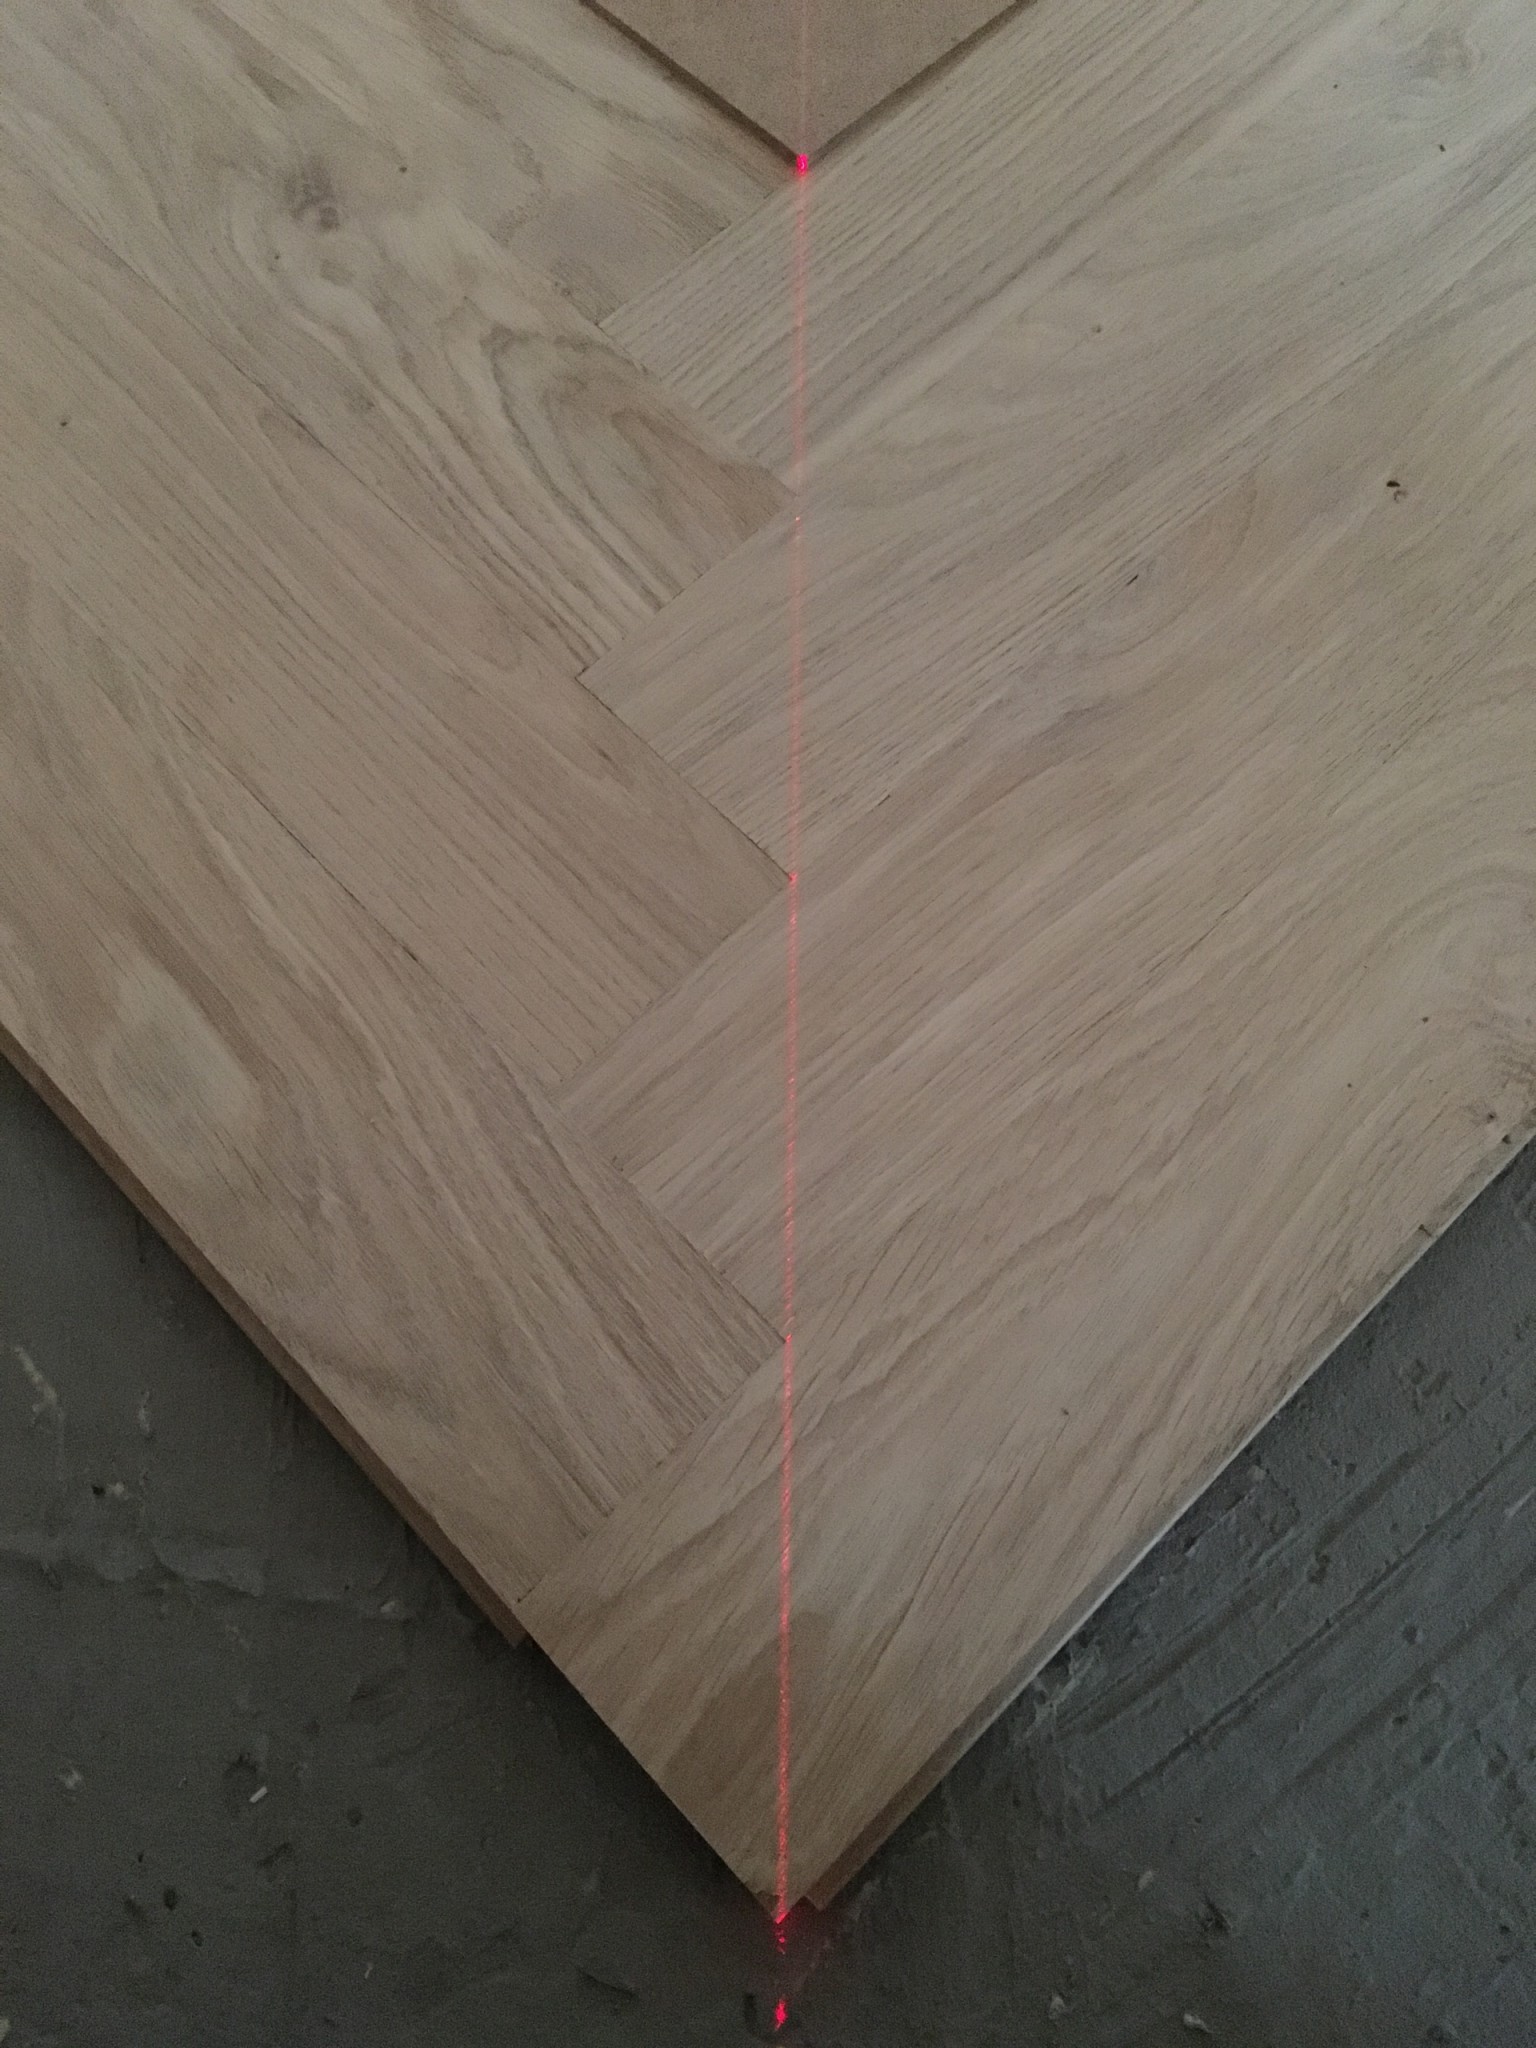
Does the last image depict the first plow? In that image, the 3rd pair of poles is positioned incorrectly and the succeeding ones are also lying incorrectly.
Does the last picture depict the first plow? In that picture, the 3rd pair of sticks is misaligned, and after them, the subsequent ones are also misaligned.
The first plow is the one located to the left on the car side, then comes the second row, and they are just test laid, but I noticed the error and have stopped since then.
sitting here wondering if I should tear up the crap but it's glued now, so it’s probably stuck like hell, just hope that I can fix it underneath, so it becomes even again,...
then I have to order more flooring, which means either I have to drive and pick it up about 50 km one way or pay for shipping, and you never know how long it will take before it actually arrives :S
BUT if I do it, I will post a picture before I start nailing, so everyone here can approve it before I continue, just want to get the crap done now, and I've lost all motivation for it, since I just have to redo it all the time, and I don't quite understand why, just that there is a mistake somewhere.
going to get a new tile, but will take it in MDF instead from work, and ask them in the saw to cut one for me with a CNC machine, so hopefully, it can't be. will email the ones I bought from tomorrow, and check if they can send a package down to me, hope it's enough, will calculate a bit on it tomorrow
tomorrow after work. 22.30 I will break up those I have already laid
I will start in the same way, measuring out the center on each wall, and starting against an MDF board this time. BUT then when I actually continue laying, how can I most easily and smoothly ensure I don’t push them, so it doesn't end up like the first time? I was a bit inclined to lay the entire row, meaning lay the first planks and then go all the way out to the tile, and then continue, but that might be complicated and take longer.
That method doesn't work. You have to place one row at a time.
1. Place your panel diagonally very carefully and then stay on it so it doesn't move. If it's MDF, it can be quite slippery, so preferably place something rubber underneath to keep it still.
2. When you lay the first 7-8 pieces, be extremely careful to ensure they are at 90 degrees and follow the MDF panel, and also that you join them perfectly with each other. Place the "next" piece loosely to check that you have the right position on the piece before shooting. In the image below, 2 loosely on 1, 3 loosely on 2, and so on...
3. Always keep an eye on following your centerline and that you always get the pieces together properly. Sometimes the grooves may need cleaning from wood chips and other debris for it to come together. Ideally, put 4 brads in all pieces in the first course so they don't move. If something needs adjusting by half a mm, you can lightly tap with the rubber mallet.
You're using a loose tongue in the first course as well, I assume? That is, B-piece to the right and A-piece to the left?
Once you've laid the first course, you then lay one row at a time and alternate direction up and down along the course until you get past the molding strip. Whether you do one whole side first and then the next or one row at a time doesn't matter.
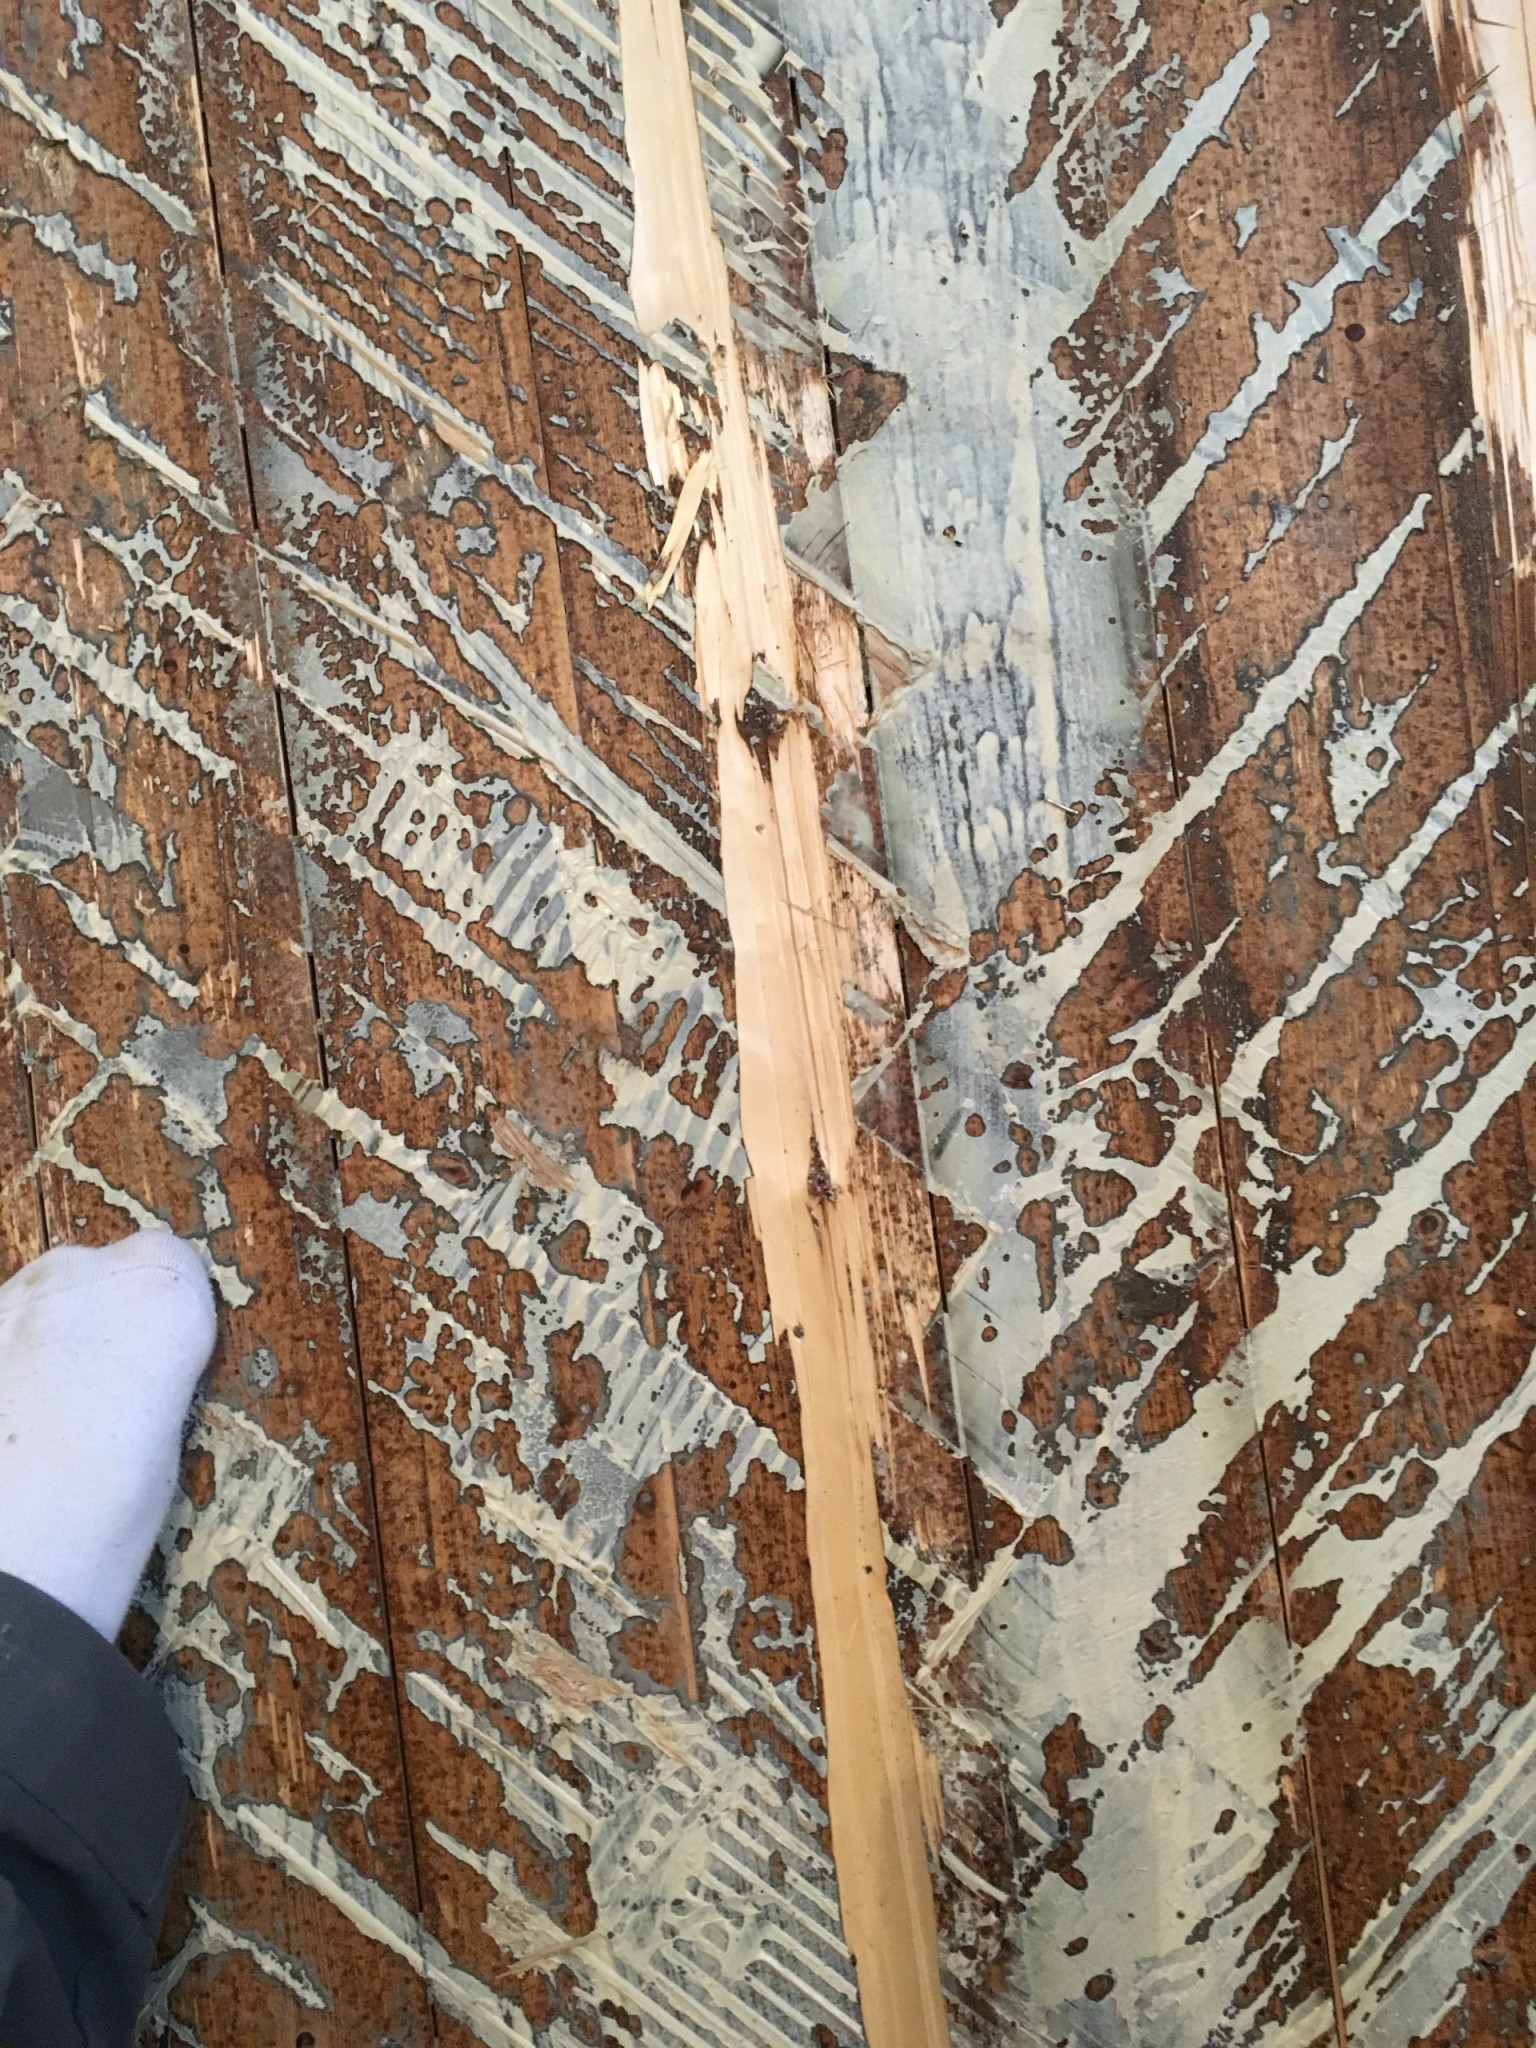
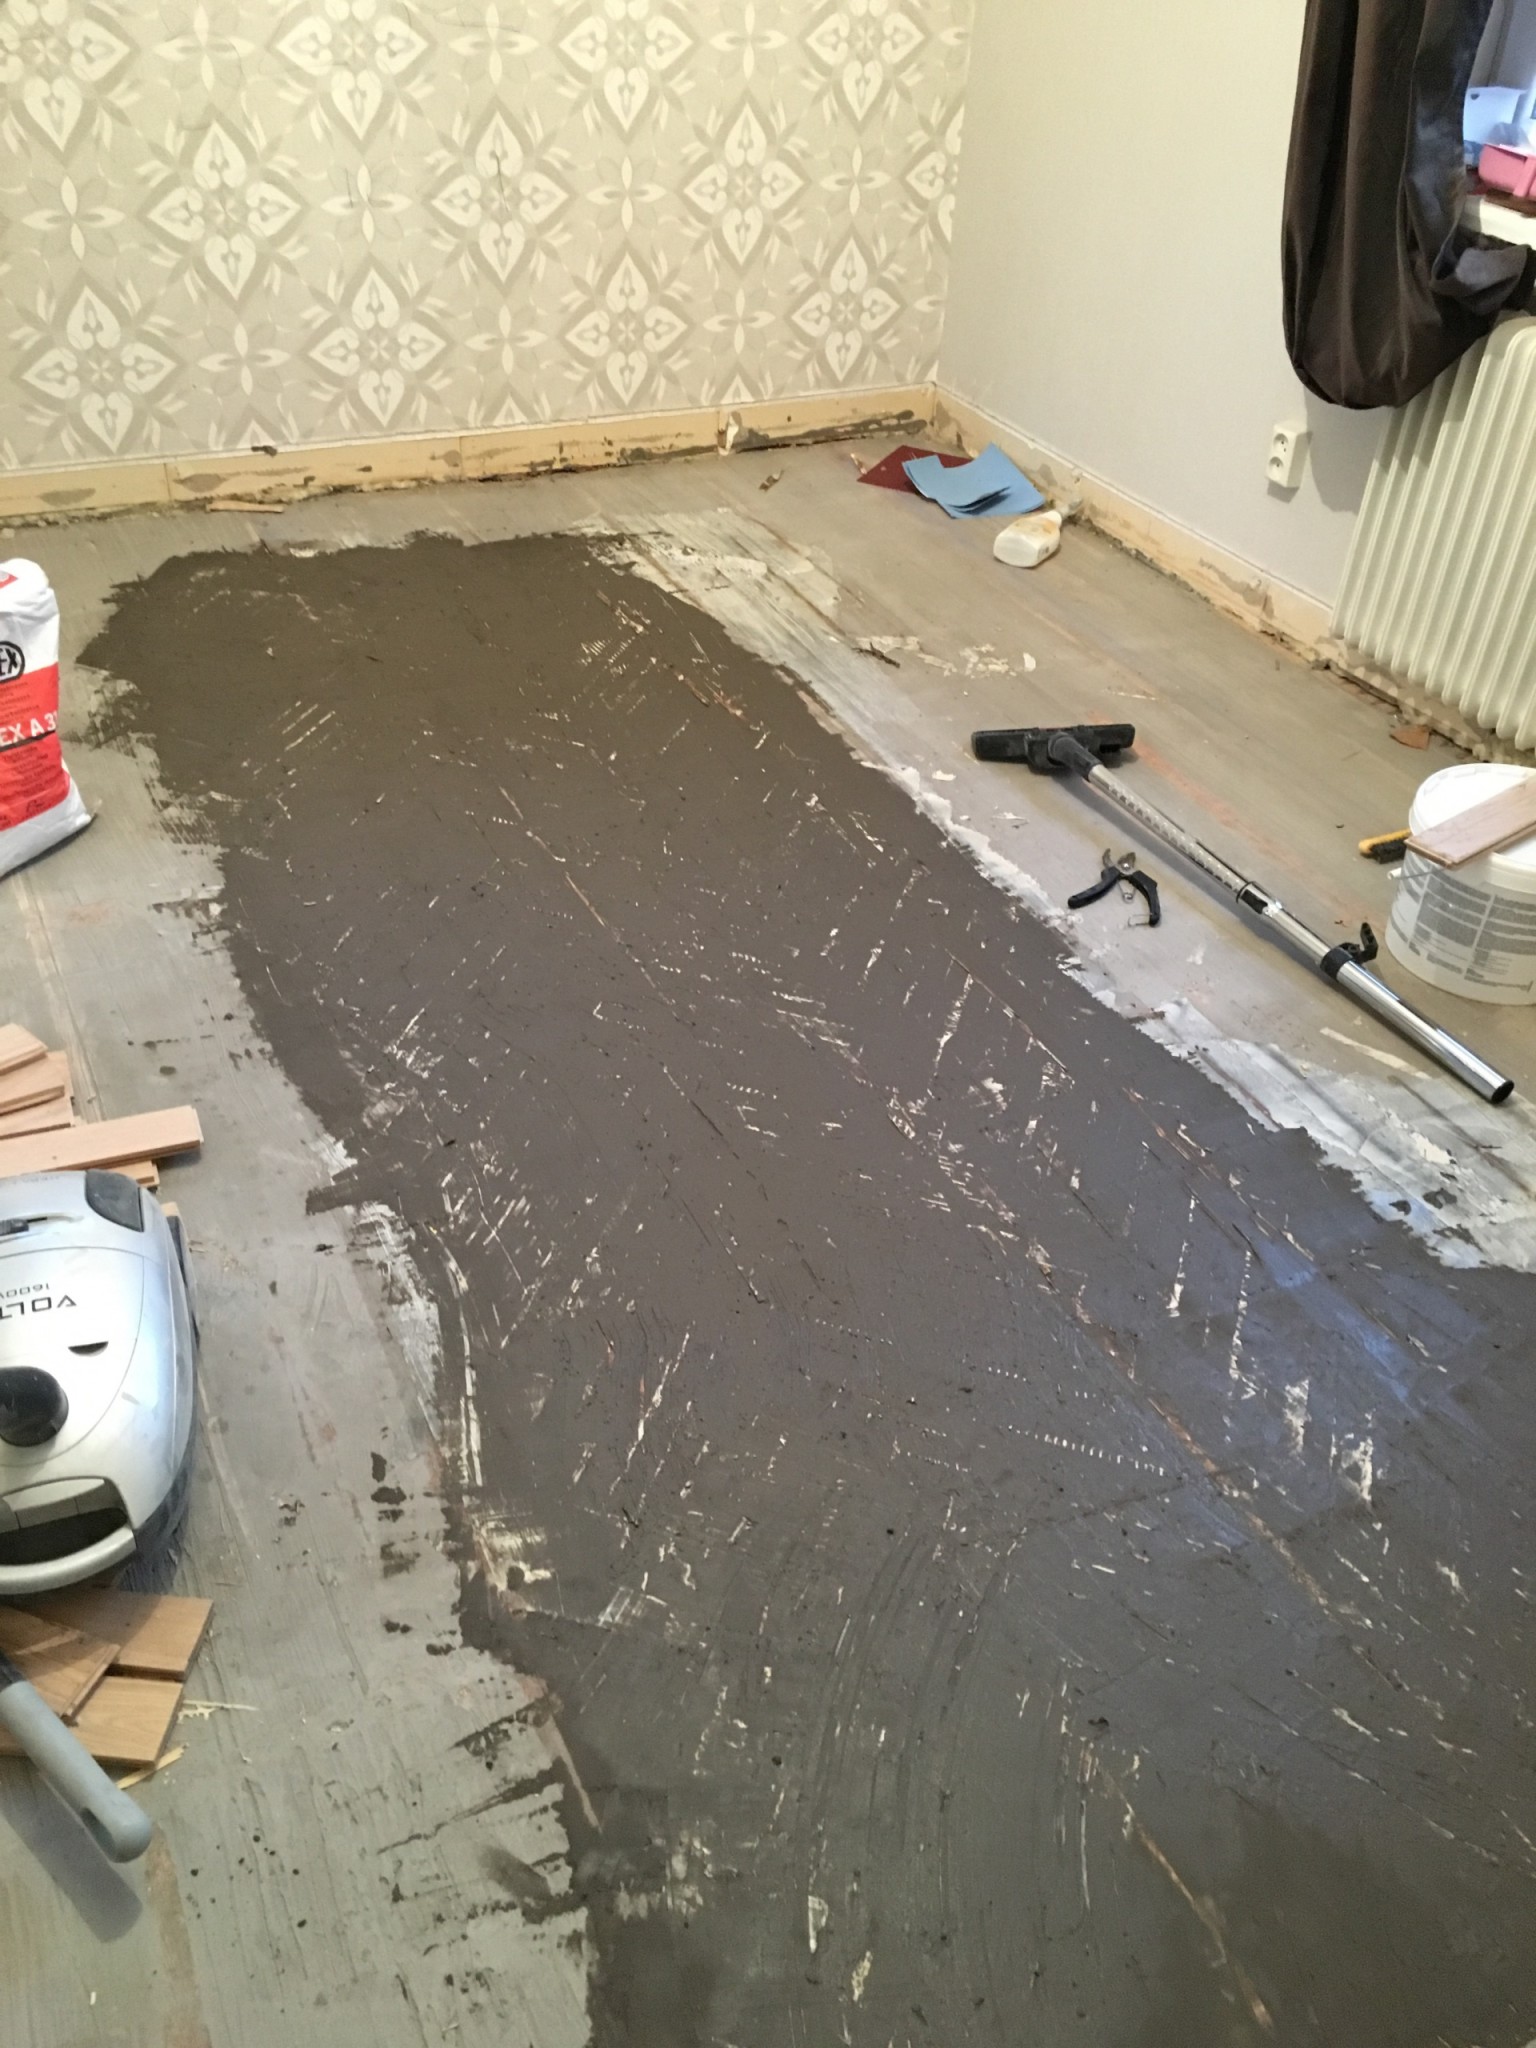
So now the floor is gone.... Good glue, I must say, have to go to the lumberyard today, and buy ardex a31 so I can try to level it again,
Don't know if I should just plaster over everything, or if I should sand/scrape away as much glue as possible first,
So now it is solved, just let it dry until morning, then I will try laying the floor again hahahaha..... Let's hope it goes better this time, now without glue.
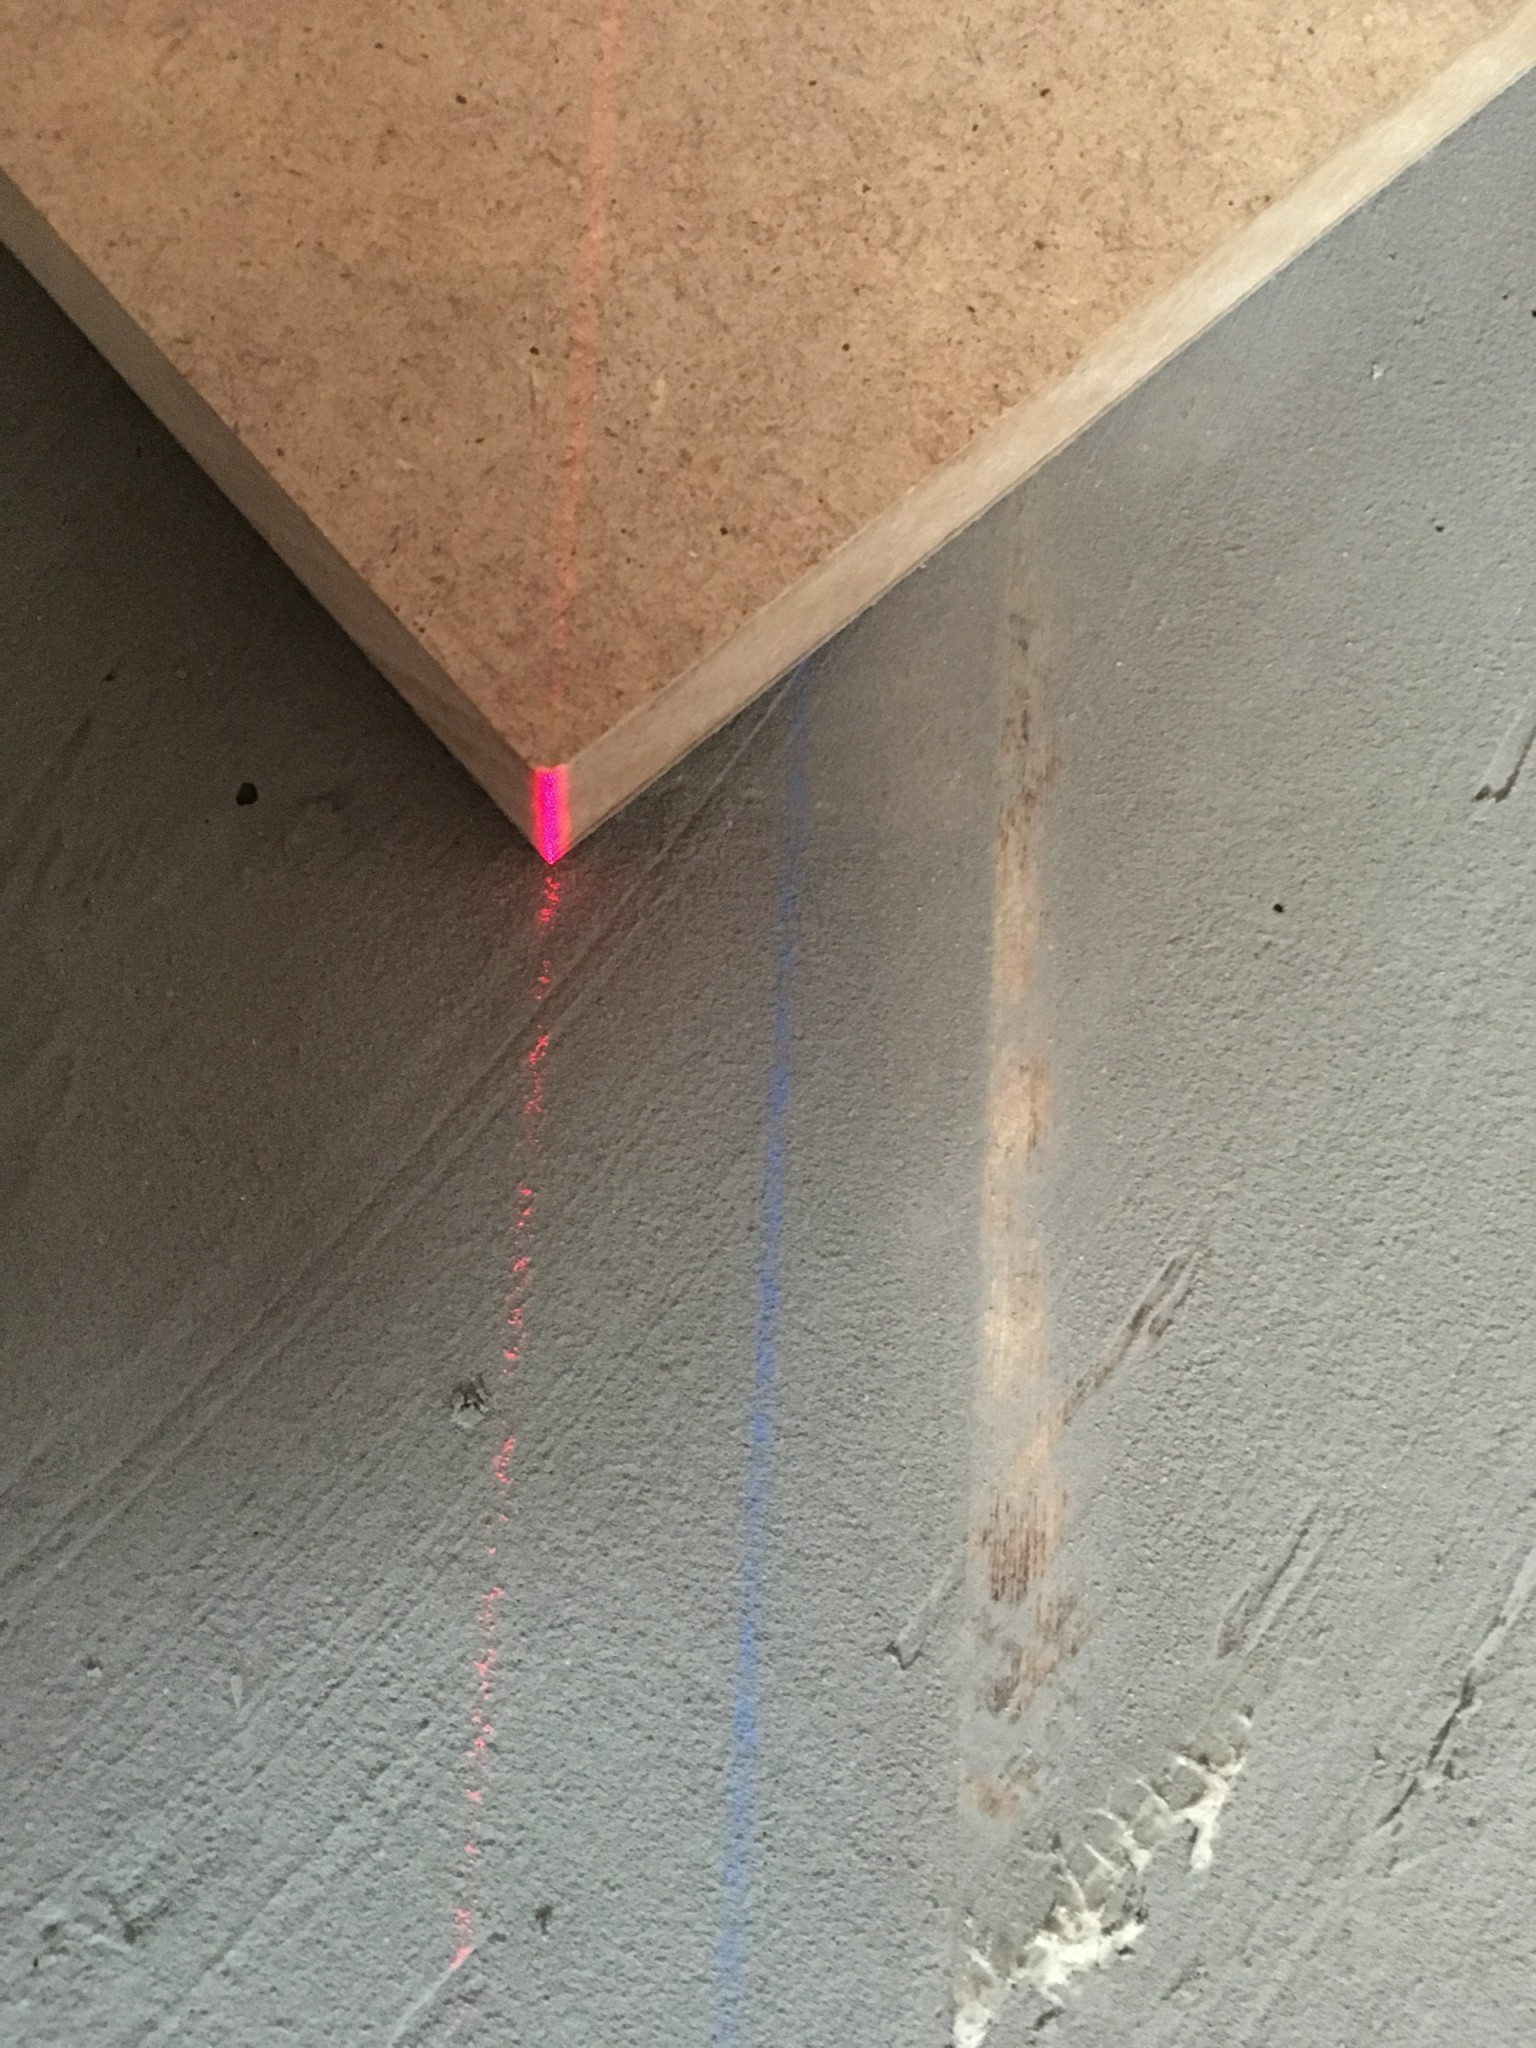
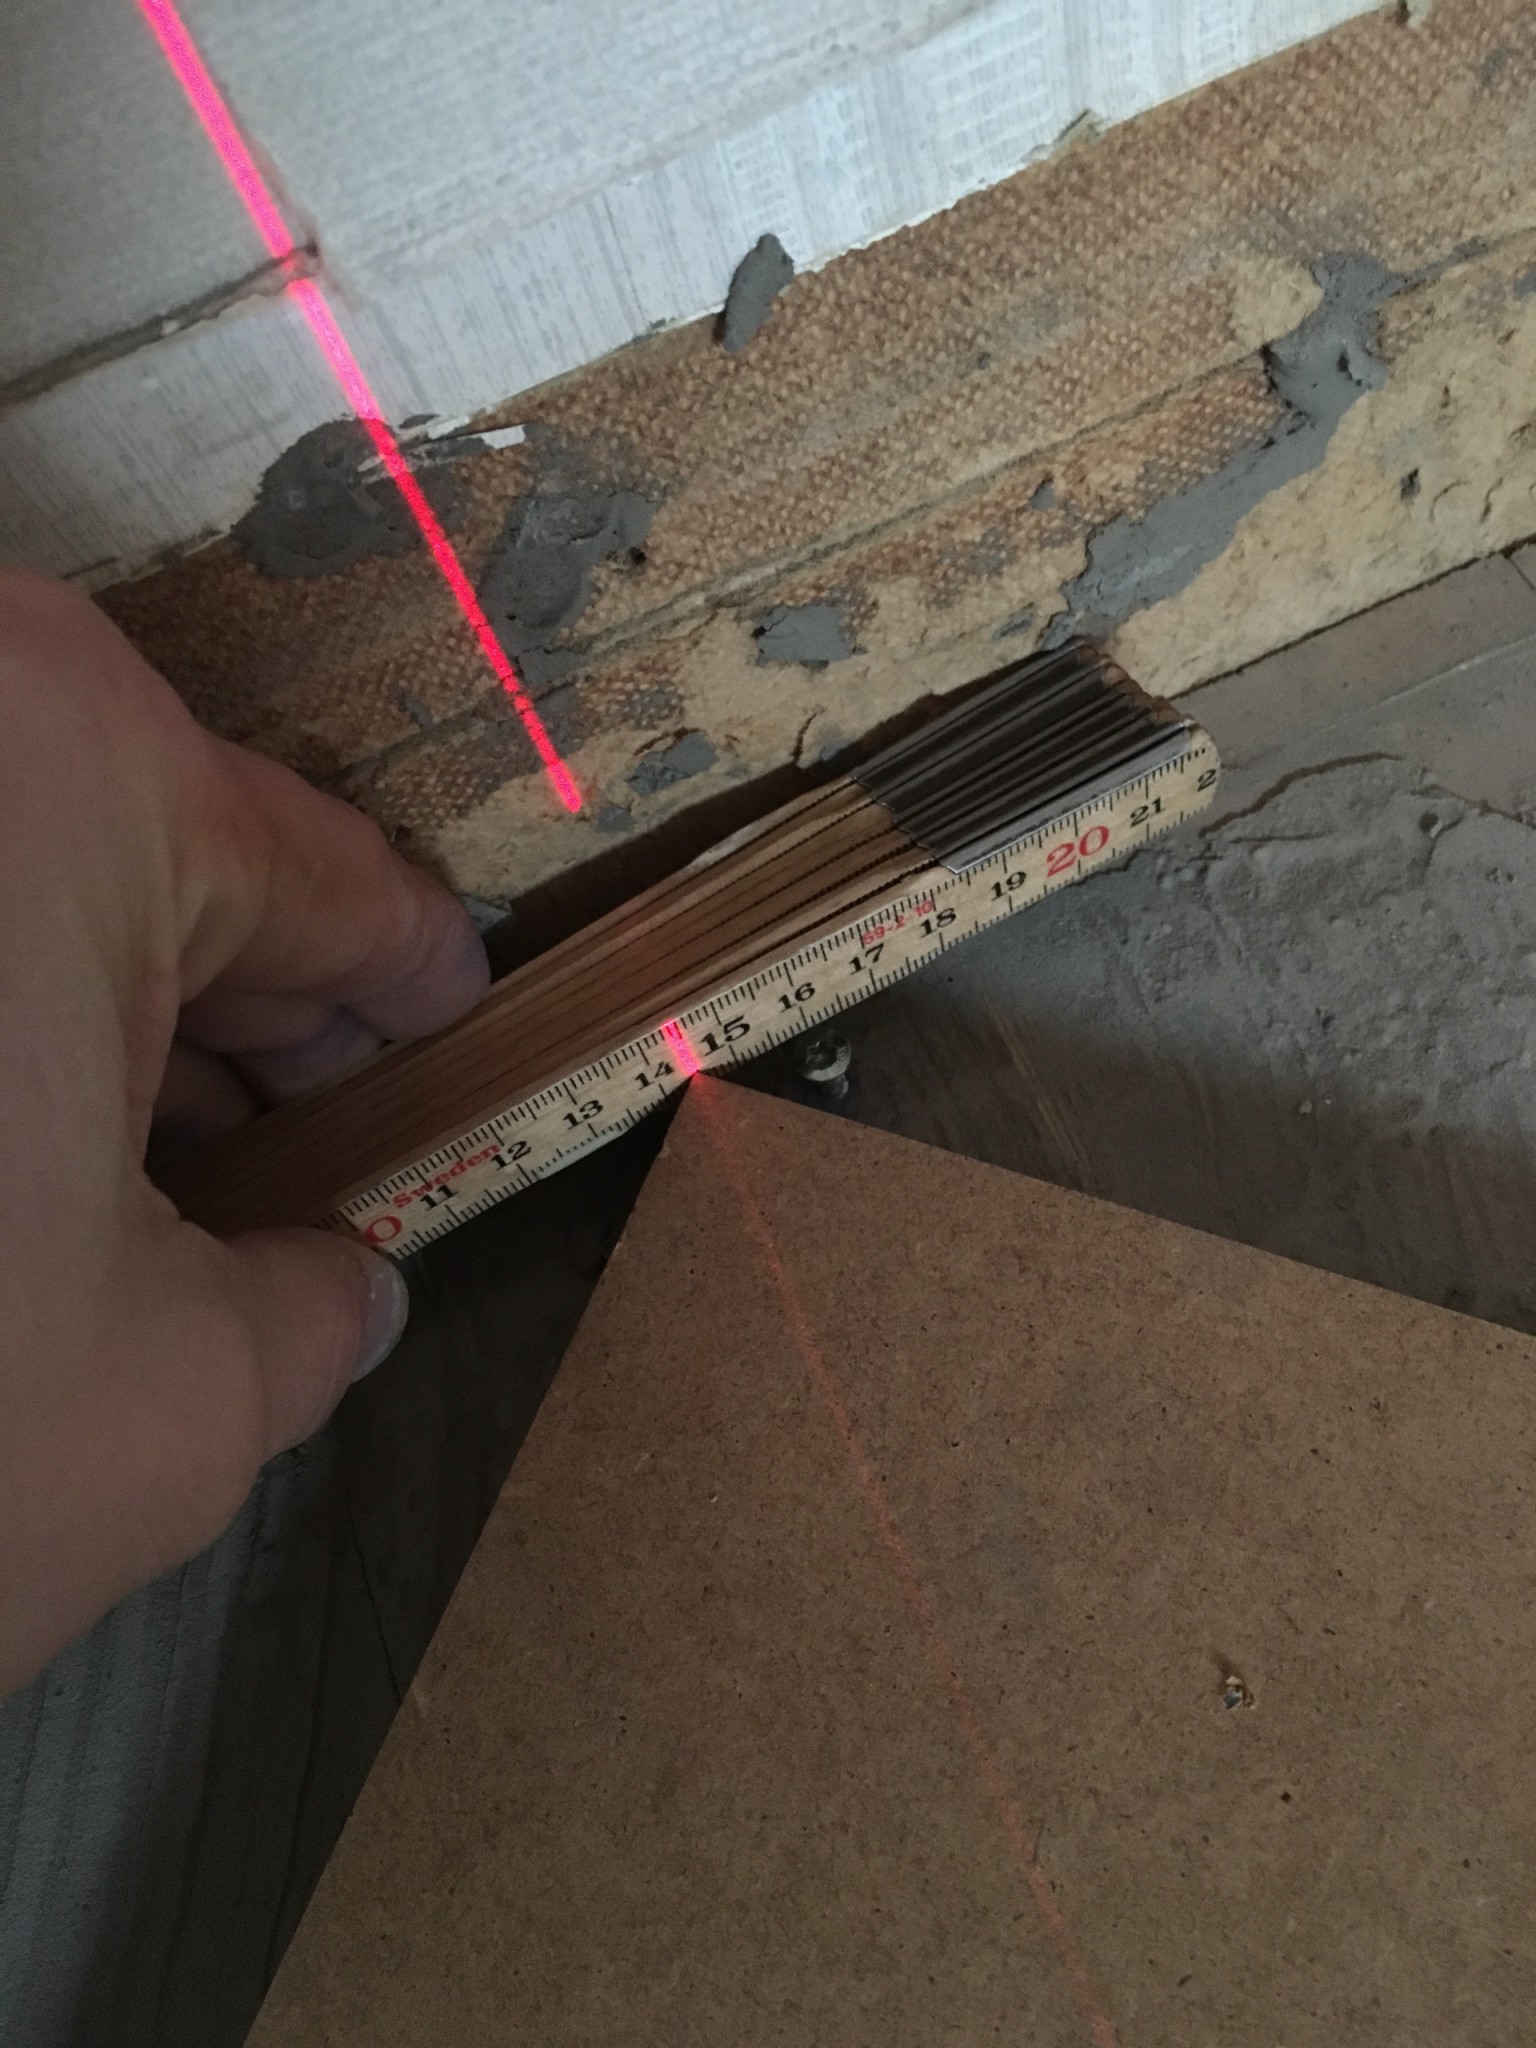
I have now measured 2cm from the centerline, placed my template in MDF, nailed it down so it can't move, the laser is set at 2cm so
It will be cc all the way
So now I'm not going to proceed until someone has confirmed that they look good, and that they are correct...... And that it's okay to continue with the floor
That method doesn't work. You must lay one row at a time.
1. Place your board carefully diagonally and then stay on it so it doesn't move. If it's MDF, it can be quite slippery so feel free to put some rubber underneath so it stays put.
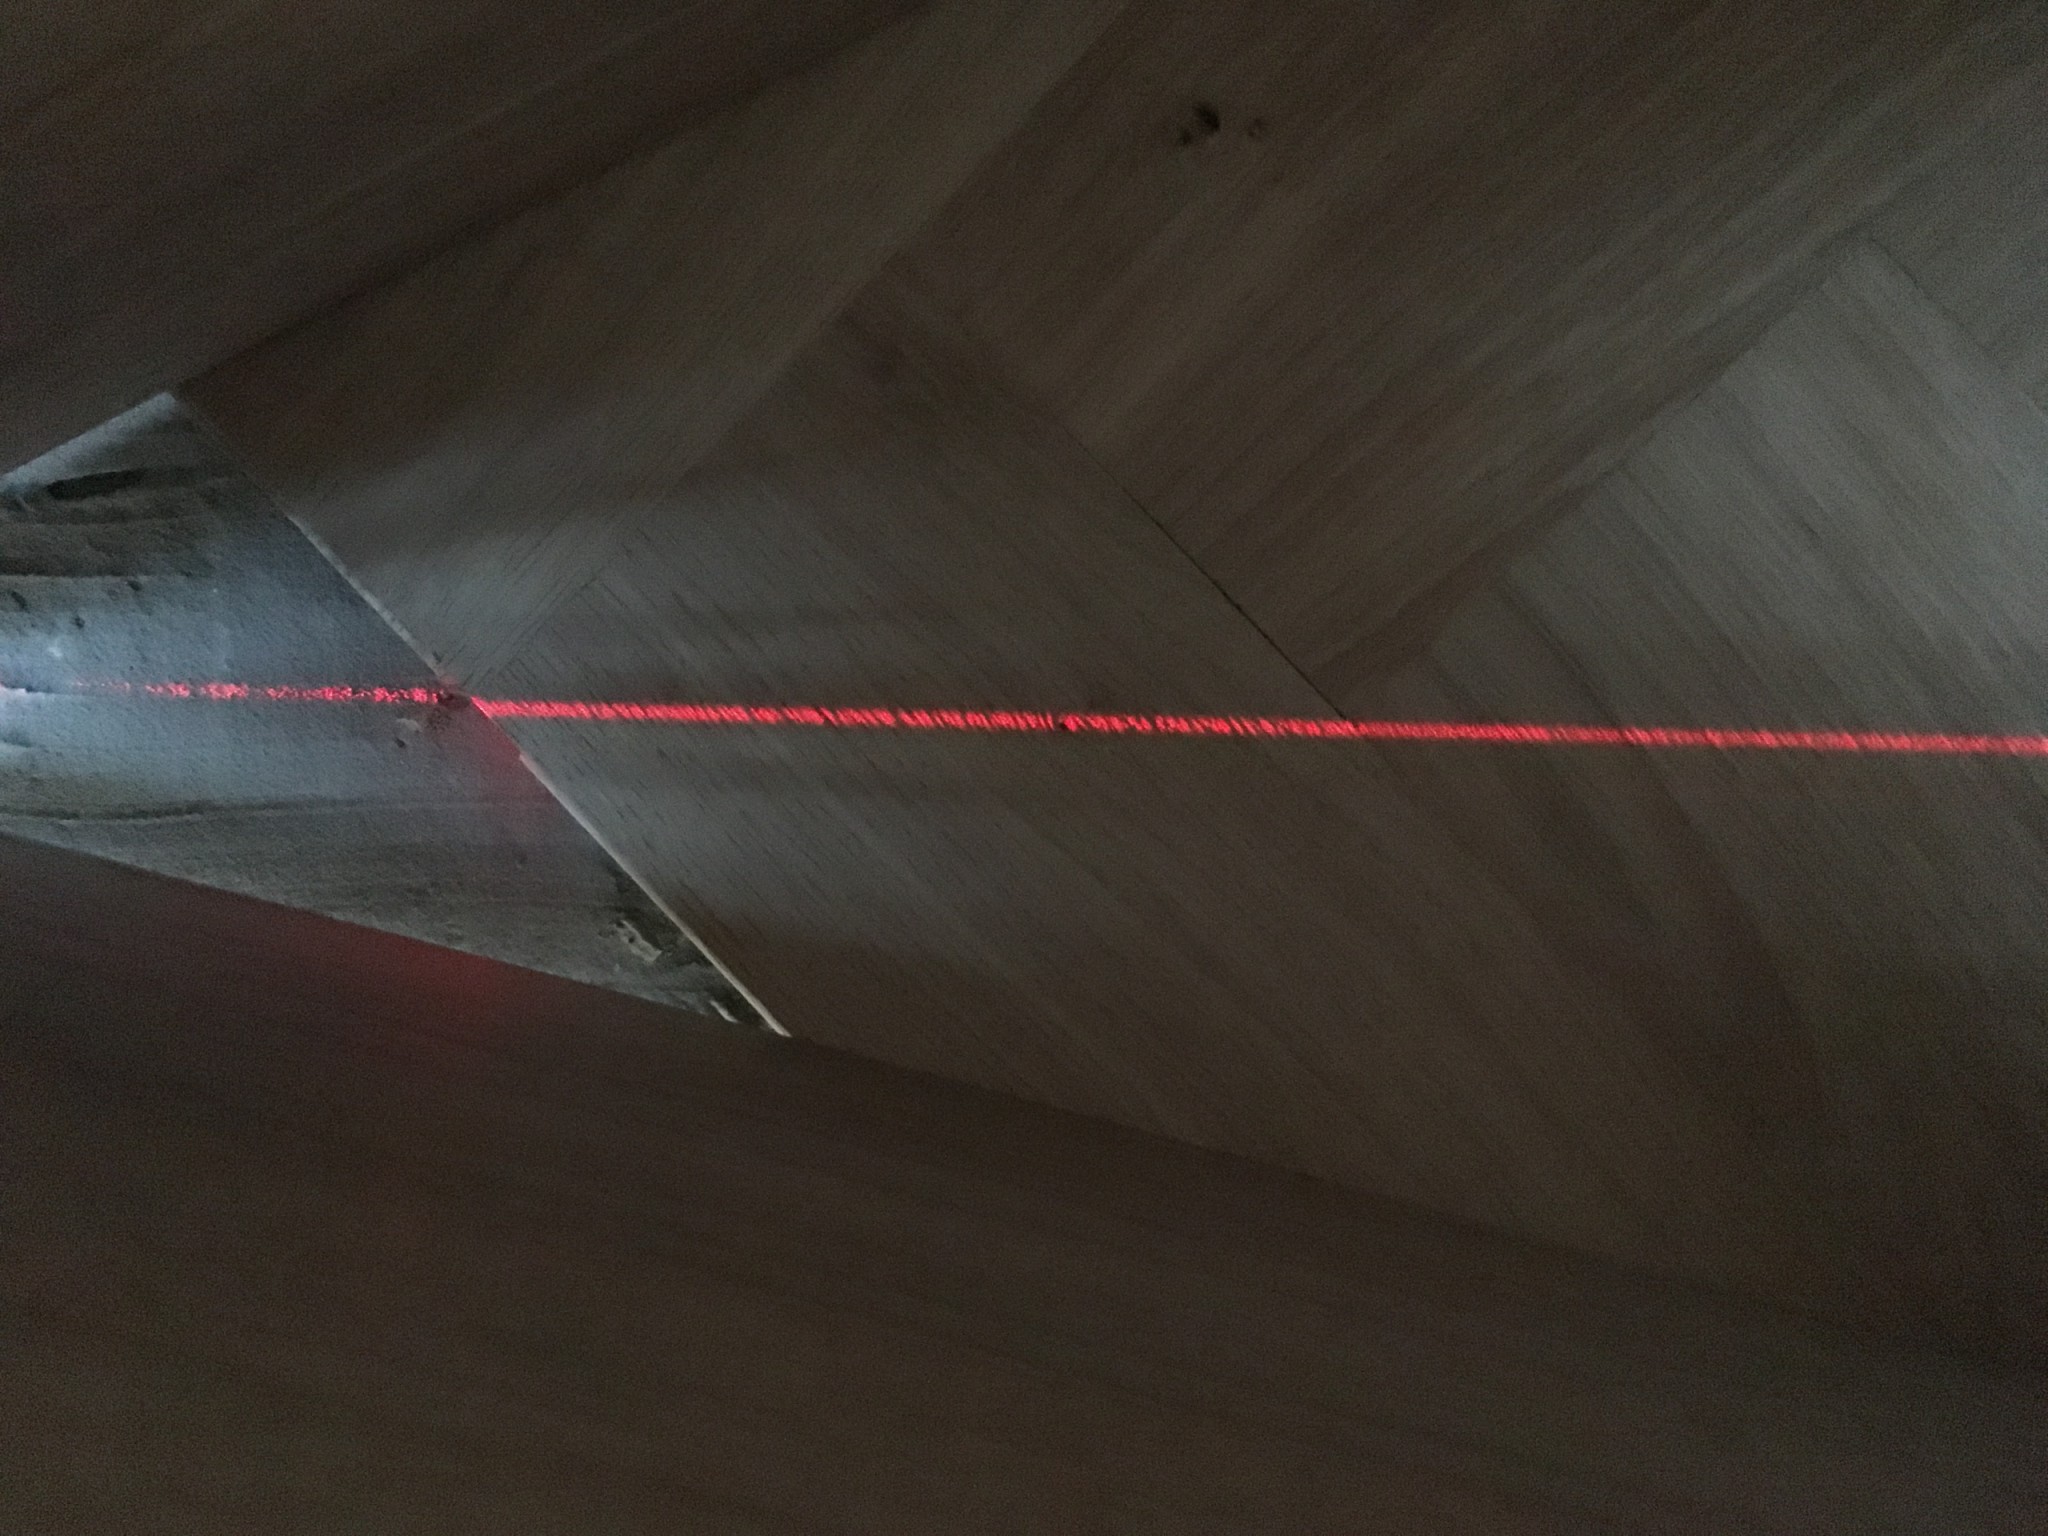
I think it's starting to get a little crooked? If you look at the laser, it doesn't follow exactly the same as on the very first plank, on the last one,
Now I'm laying it a little crooked by a few mm intentionally to get to the middle, and it's not completely 110% that the laser is exact, but should one rush ahead or take it easy?
The most important thing is that you don't get gaps. If the plow slowly goes over the centerline with 2-3 mm over a stretch of 2-3 meters, I don't think you'll see any gaps.
The boards look quite rustic with knots, etc. Is that a conscious choice?
I see that your left board doesn't have a spring in the plow tip. Don't you have right and left boards? See e.g. the installation instructions www.e-pages.dk/junckers/107/fullpdf/1.pdf
Vi vill skicka notiser för ämnen du bevakar och händelser som berör dig.


 but it's glued now, so it’s probably stuck like hell, just hope that I can fix it underneath, so it becomes even again,...