
52,854 views ·
185 replies
53k views
185 replies
Cross-measure room...not matching yet, then?

Do you make the trim the same size against each wall and "fill" the void?
When I lay a tile floor on the diagonal, I always strive for half tiles against the trim, and then the trim absorbs the differences of an uneven wall. Although it's significantly easier to saw down a piece of wood than to cut tiles into different sizes...
When I lay a tile floor on the diagonal, I always strive for half tiles against the trim, and then the trim absorbs the differences of an uneven wall. Although it's significantly easier to saw down a piece of wood than to cut tiles into different sizes...

It's the same thing with herringbone parquet. The border is adjusted. Attached is a picture of my hallway where I laid herringbone parquet a few years ago. Many angles and no straight wall to start from. Of course, the aim has been for the border to look equally wide all around, but the main motif is the herringbone pattern. Imagine how messy the floor would look if the border's width dictated the position of the border strip.nino said:Do you make the border the same size on each wall and "fill" the empty space? When I lay a tiled floor diagonally, I always aim for half tiles against the border, and then the border accommodates the differences of an uneven wall. Although it's significantly easier to trim a piece of wood than to cut tiles to different sizes...
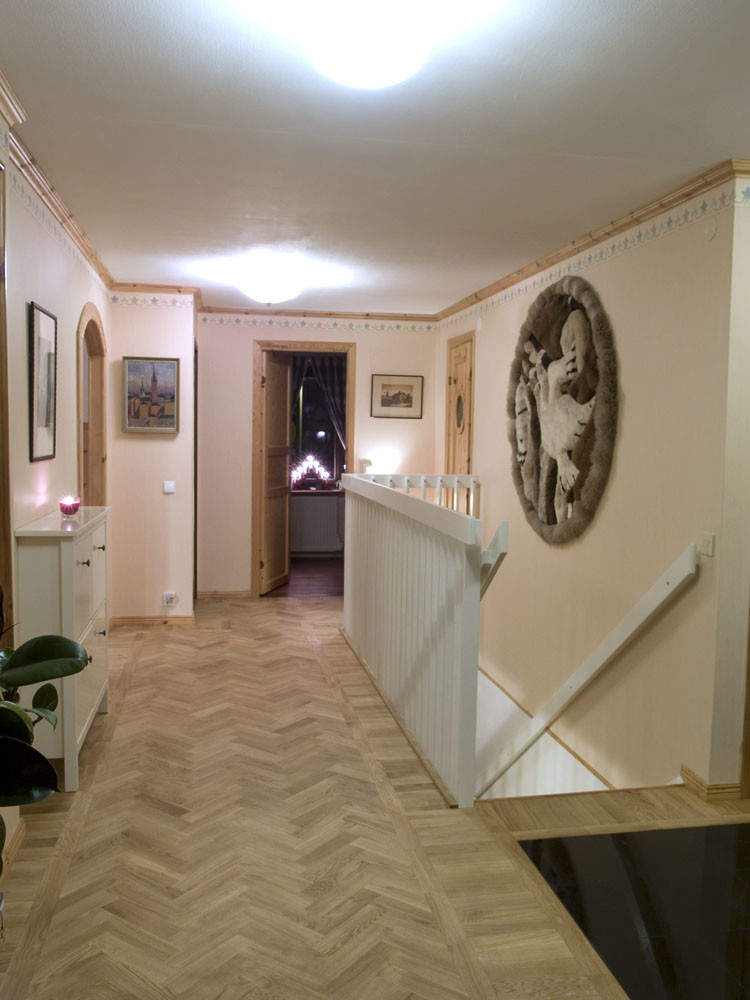
In the case above, you could have placed the frieze further out and just moved the entire pattern slightly to the left? Then you would have had an equally large frieze and just as much left on the planks at the edges.
I thought I was as careful as can be when I laid the first row, checked to ensure it fit well, and have now lost motivation because of itfalkn said:Who did you buy the rods from? There might be some variation in length, of course. I sometimes had to replace a rod if it was longer than another (most often it becomes a problem). Especially when laying the first row you can't skip such gaps without consequences. How much do you think needs to be replaced?
One alternative is to take the plunge saw and cut the rod lengthwise so they build evenly. Then cut a new groove with a router. I also did that once when it went off due to an uneven surface.
 so the room is at a standstill, will see if I can maybe try to replace it somehow, will also check if there’s more than this one,
Stupid of me to glue it
but oh well,I’ve leveled the floor with compound, then sanded it, but it’s probably true that it’s a bit unknown and....
If you've done that work, the sticking isn't due to the substrate. Some of the subfloors I laid on were really uneven.berne88 said:I thought I was meticulous as hell when I laid the first row, checked that it fit well, but right now I've lost motivation because of this
Stupid of me to glue
I've leveled the floor with filler, then sanded it, but it might be true that it's a bit unknown and...
I think the plunge saw and adjusting the width of the planks is the best solution right now. It's a bit tricky once it's in place, but it works. You surely don't have problems everywhere?
it's 2 planks that I've found, just hoping I can replace them AND that these two are slightly shorter than the others, otherwise I'll get a gap in the first plank instead. But maybe it's better to get it in one spot, rather than several places, when you continue laying.falkn said:If you have done that job, the tapping does not depend on the surface. Some of the subfloors I laid on were quite uneven.
I think the plunge saw and adjusting the width of the planks is the best solution right now. It's a bit tricky when it's in place, but it's doable. You probably don't have issues everywhere?
Went to measure the 2 planks, and they seemed to matchfalkn said:If you did the job, the sticking doesn't depend on the substrate. Some of the subfloors I laid on were quite uneven.
I think the plunge saw and adjusting the width of the planks is the best solution right now. It's a bit tricky when it's in place, but it works. You're probably not having problems everywhere?
so now I don't really know what to do tips?It's hard to give advice without having seen the entire floor up close. Most likely, the angle is off somewhere. This causes one end of the short side to protrude further, which forces the next row's board out, creating a gap. What you can do is shave the new board by a millimeter or whatever is needed, create a new groove, and use a loose tongue instead.
More pictures would help, preferably some that are a bit more zoomed out.
More pictures would help, preferably some that are a bit more zoomed out.
falkn said:It is difficult to give advice without having seen the entire floor up close. Most likely, the angle is off somewhere. This means that one end of the short side sticks further out and thus forces the plank in the next row out so a gap appears. What you can do then is to split the new plank by a millimeter or whatever is needed and route a new groove and insert a loose tongue instead.
More pictures would help, preferably some a little more zoomed out.
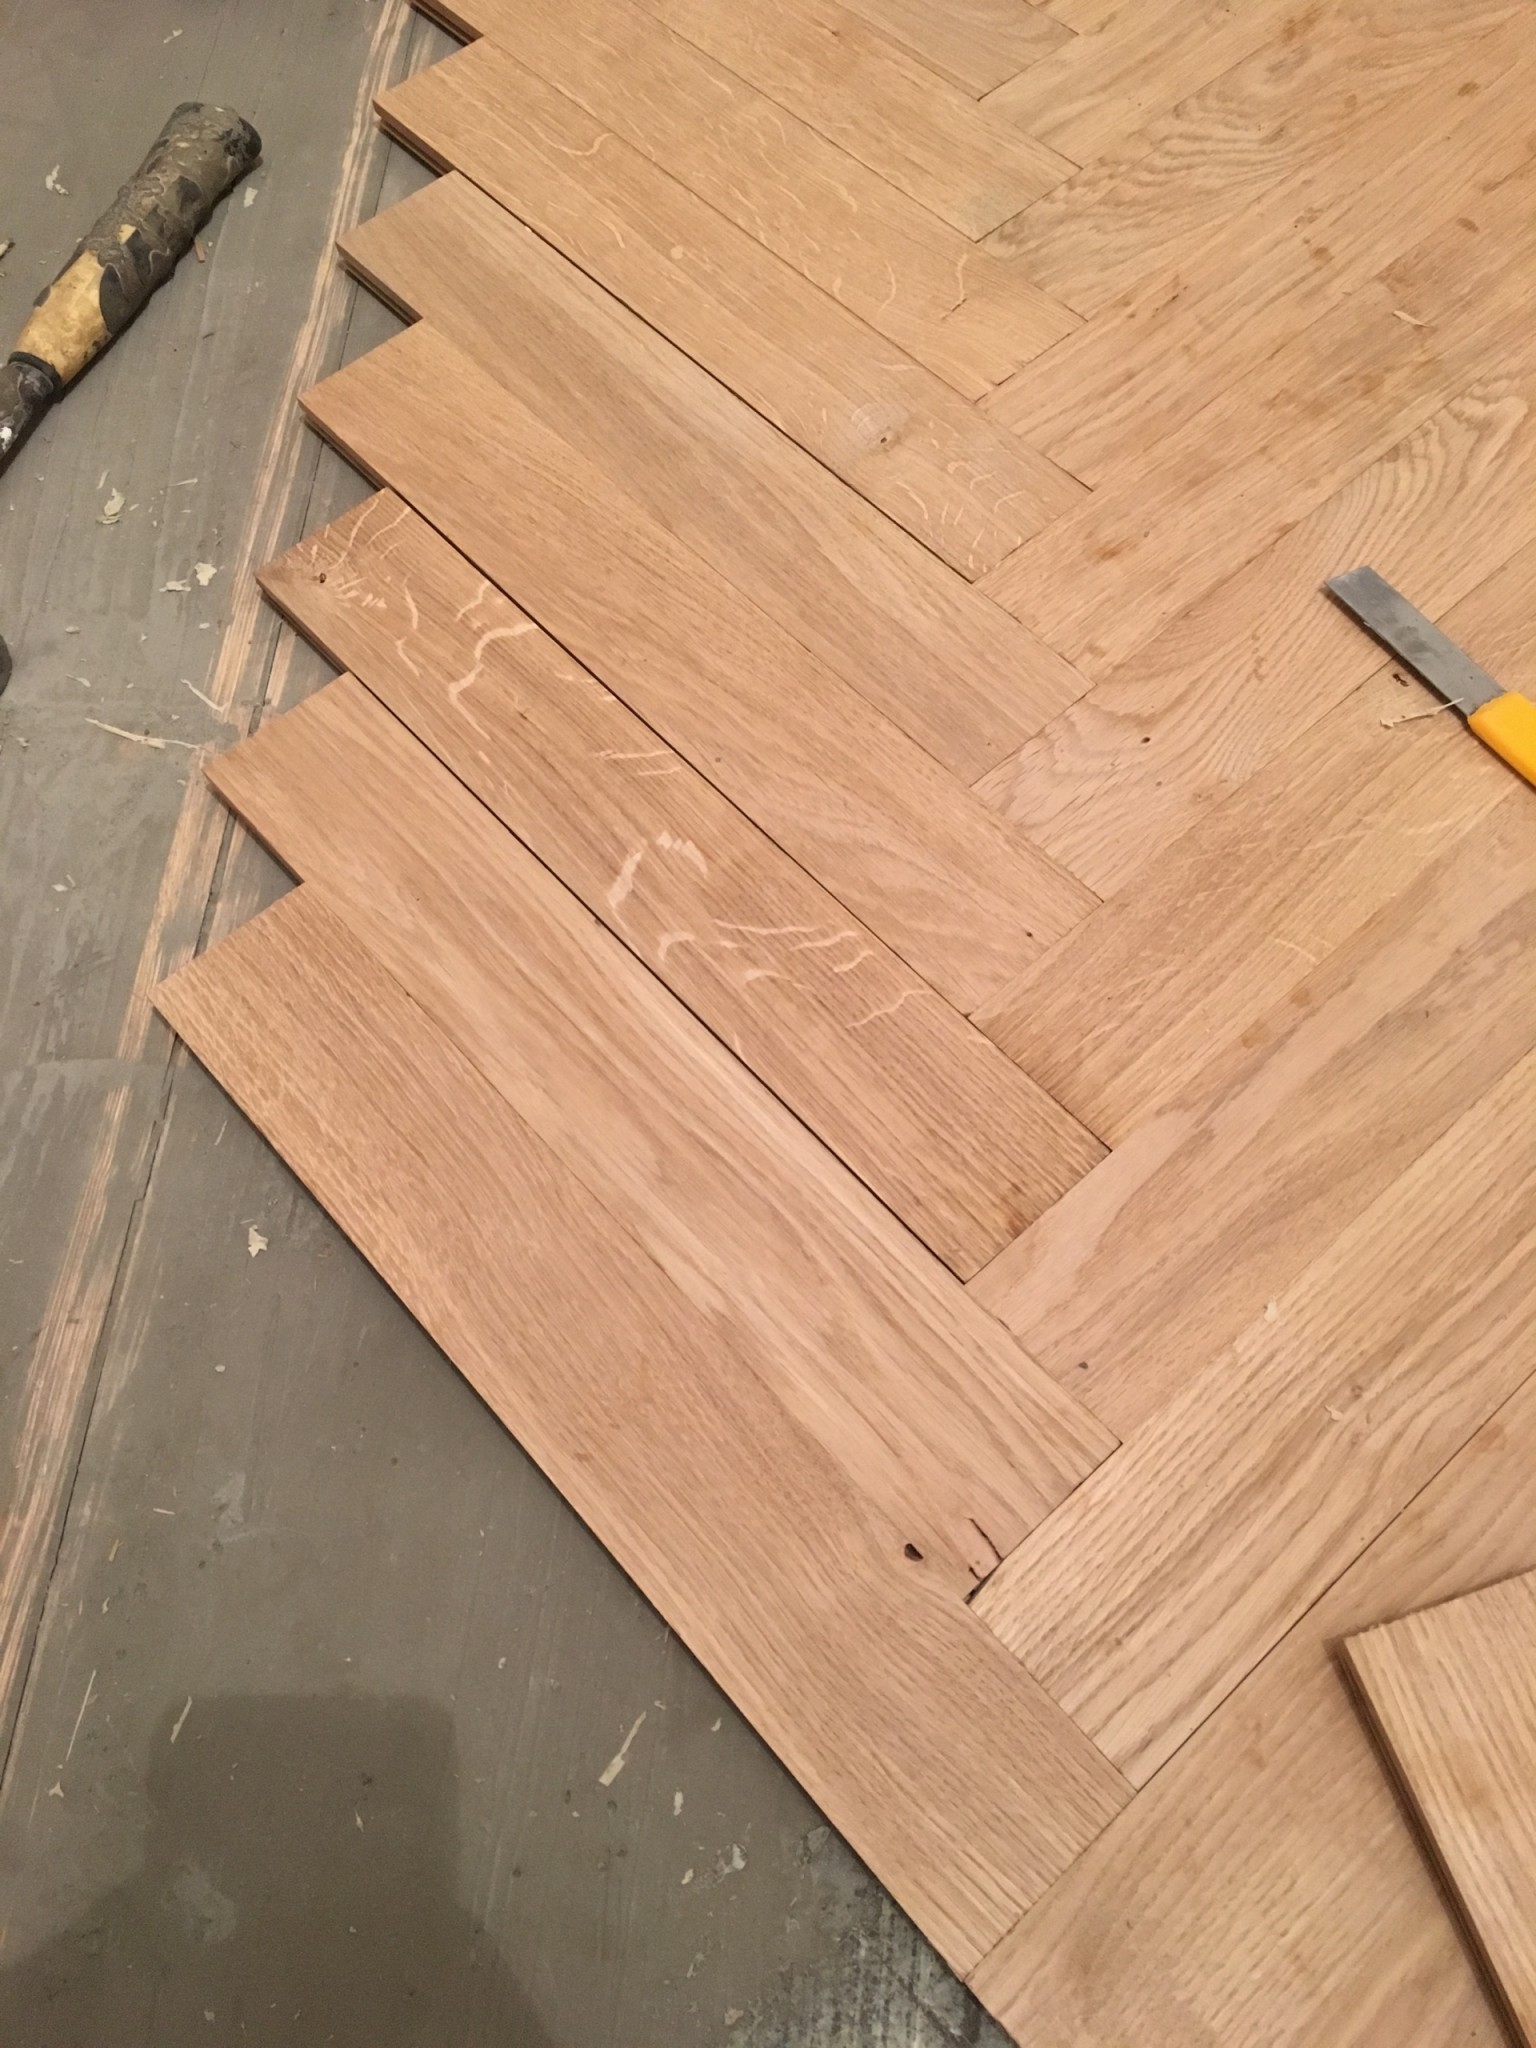
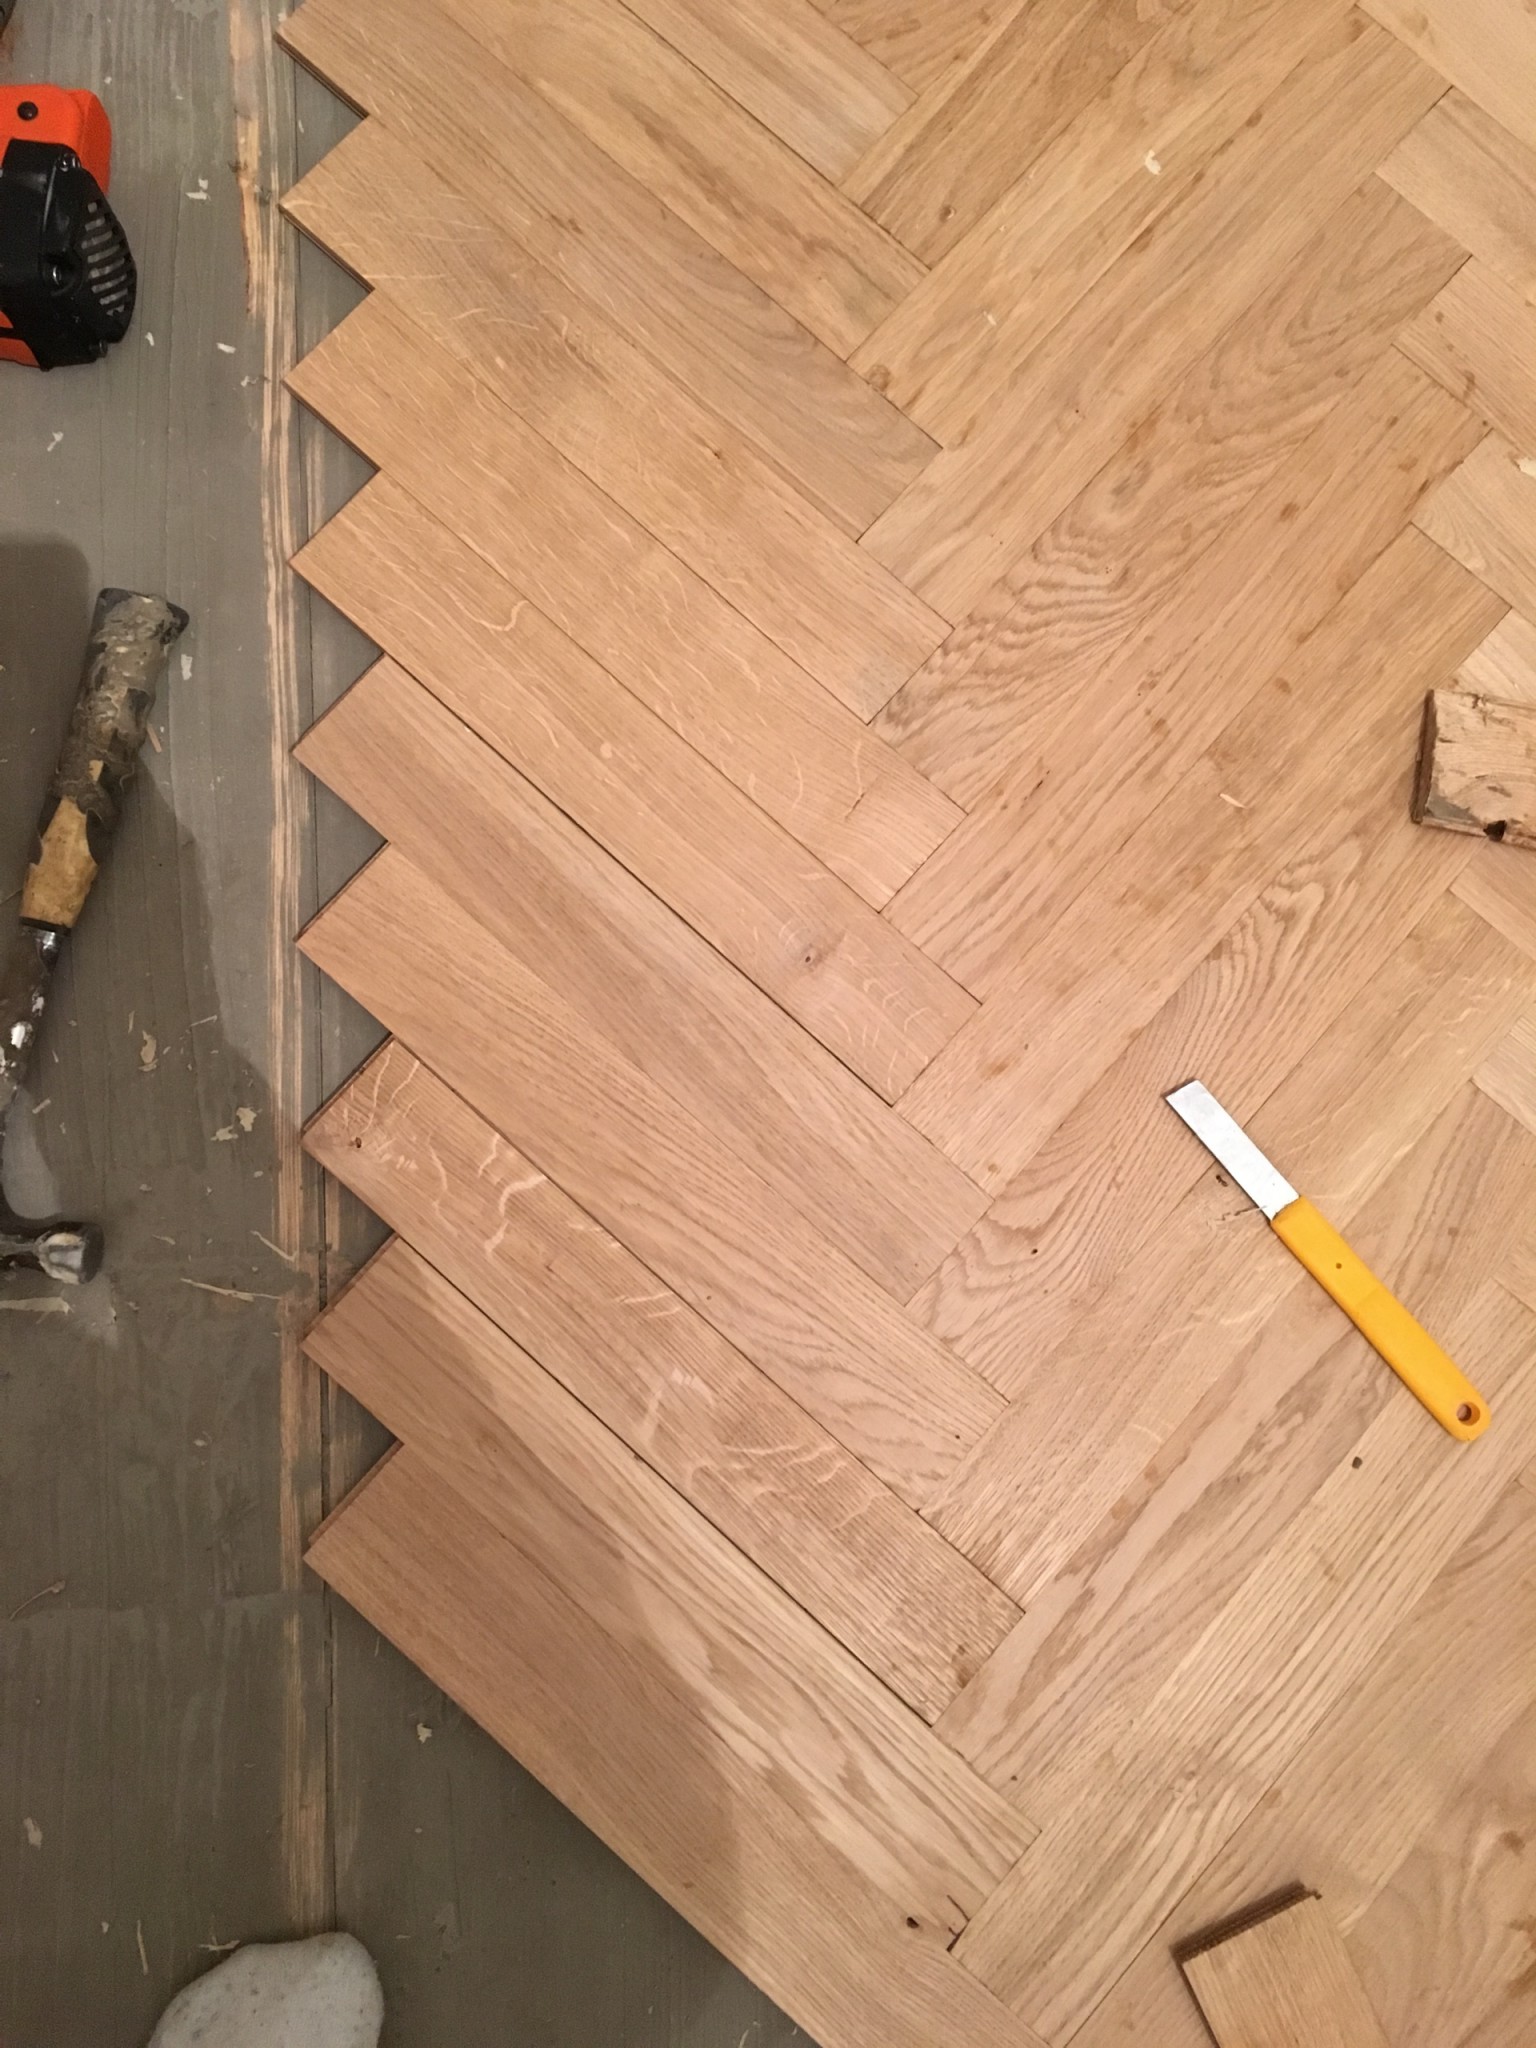
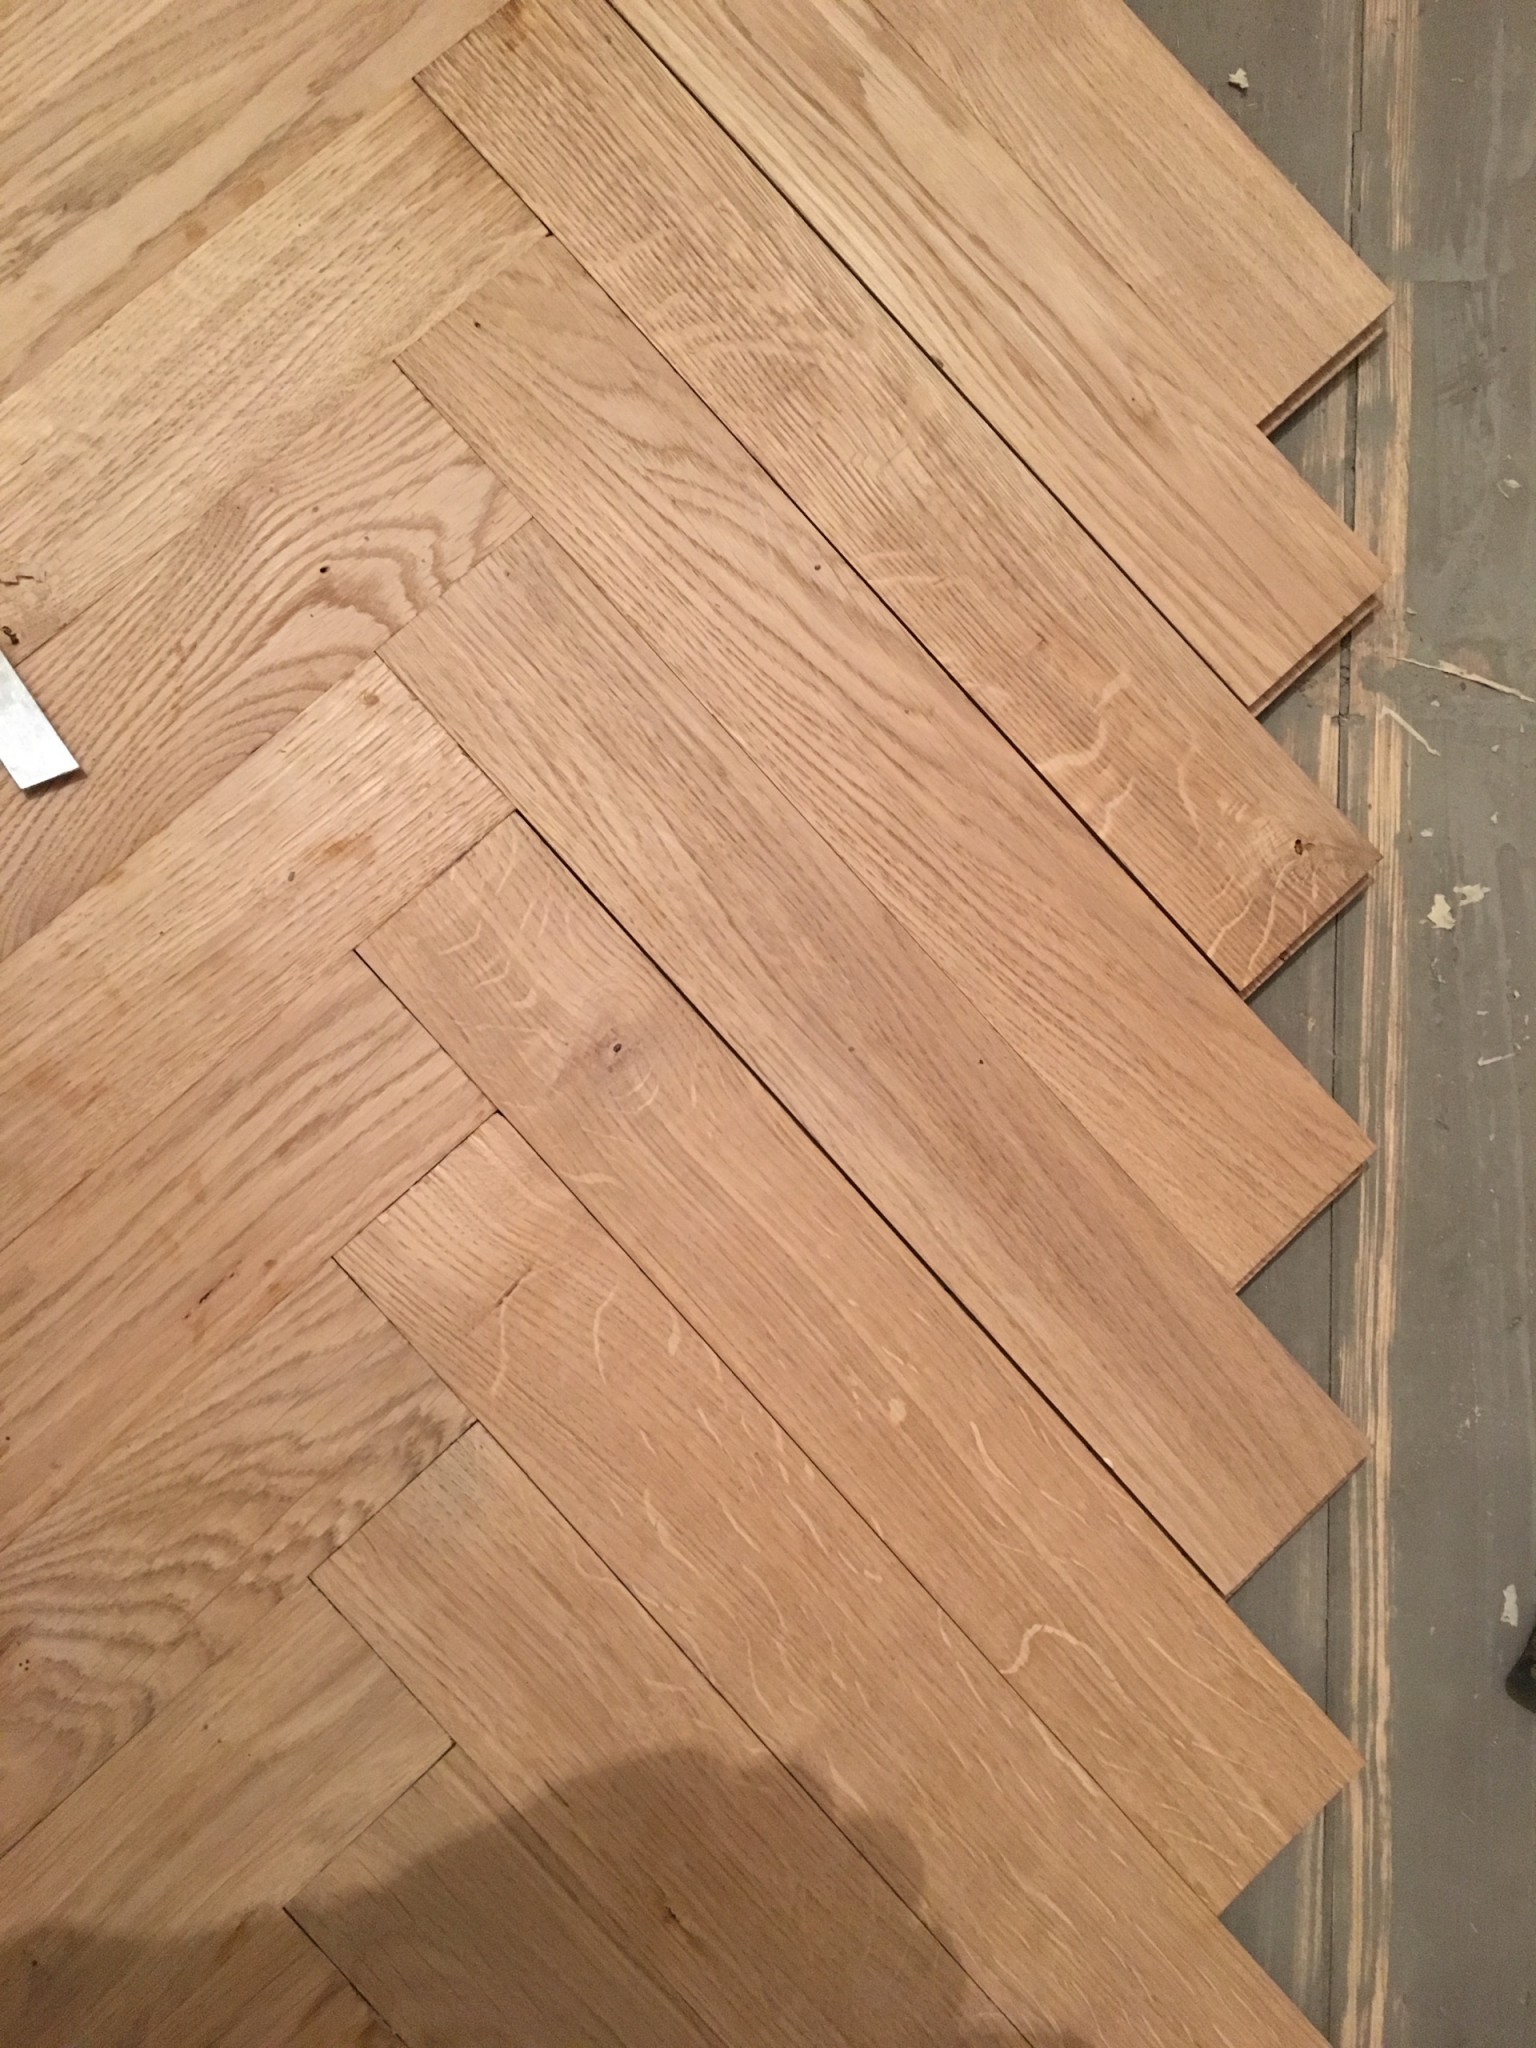
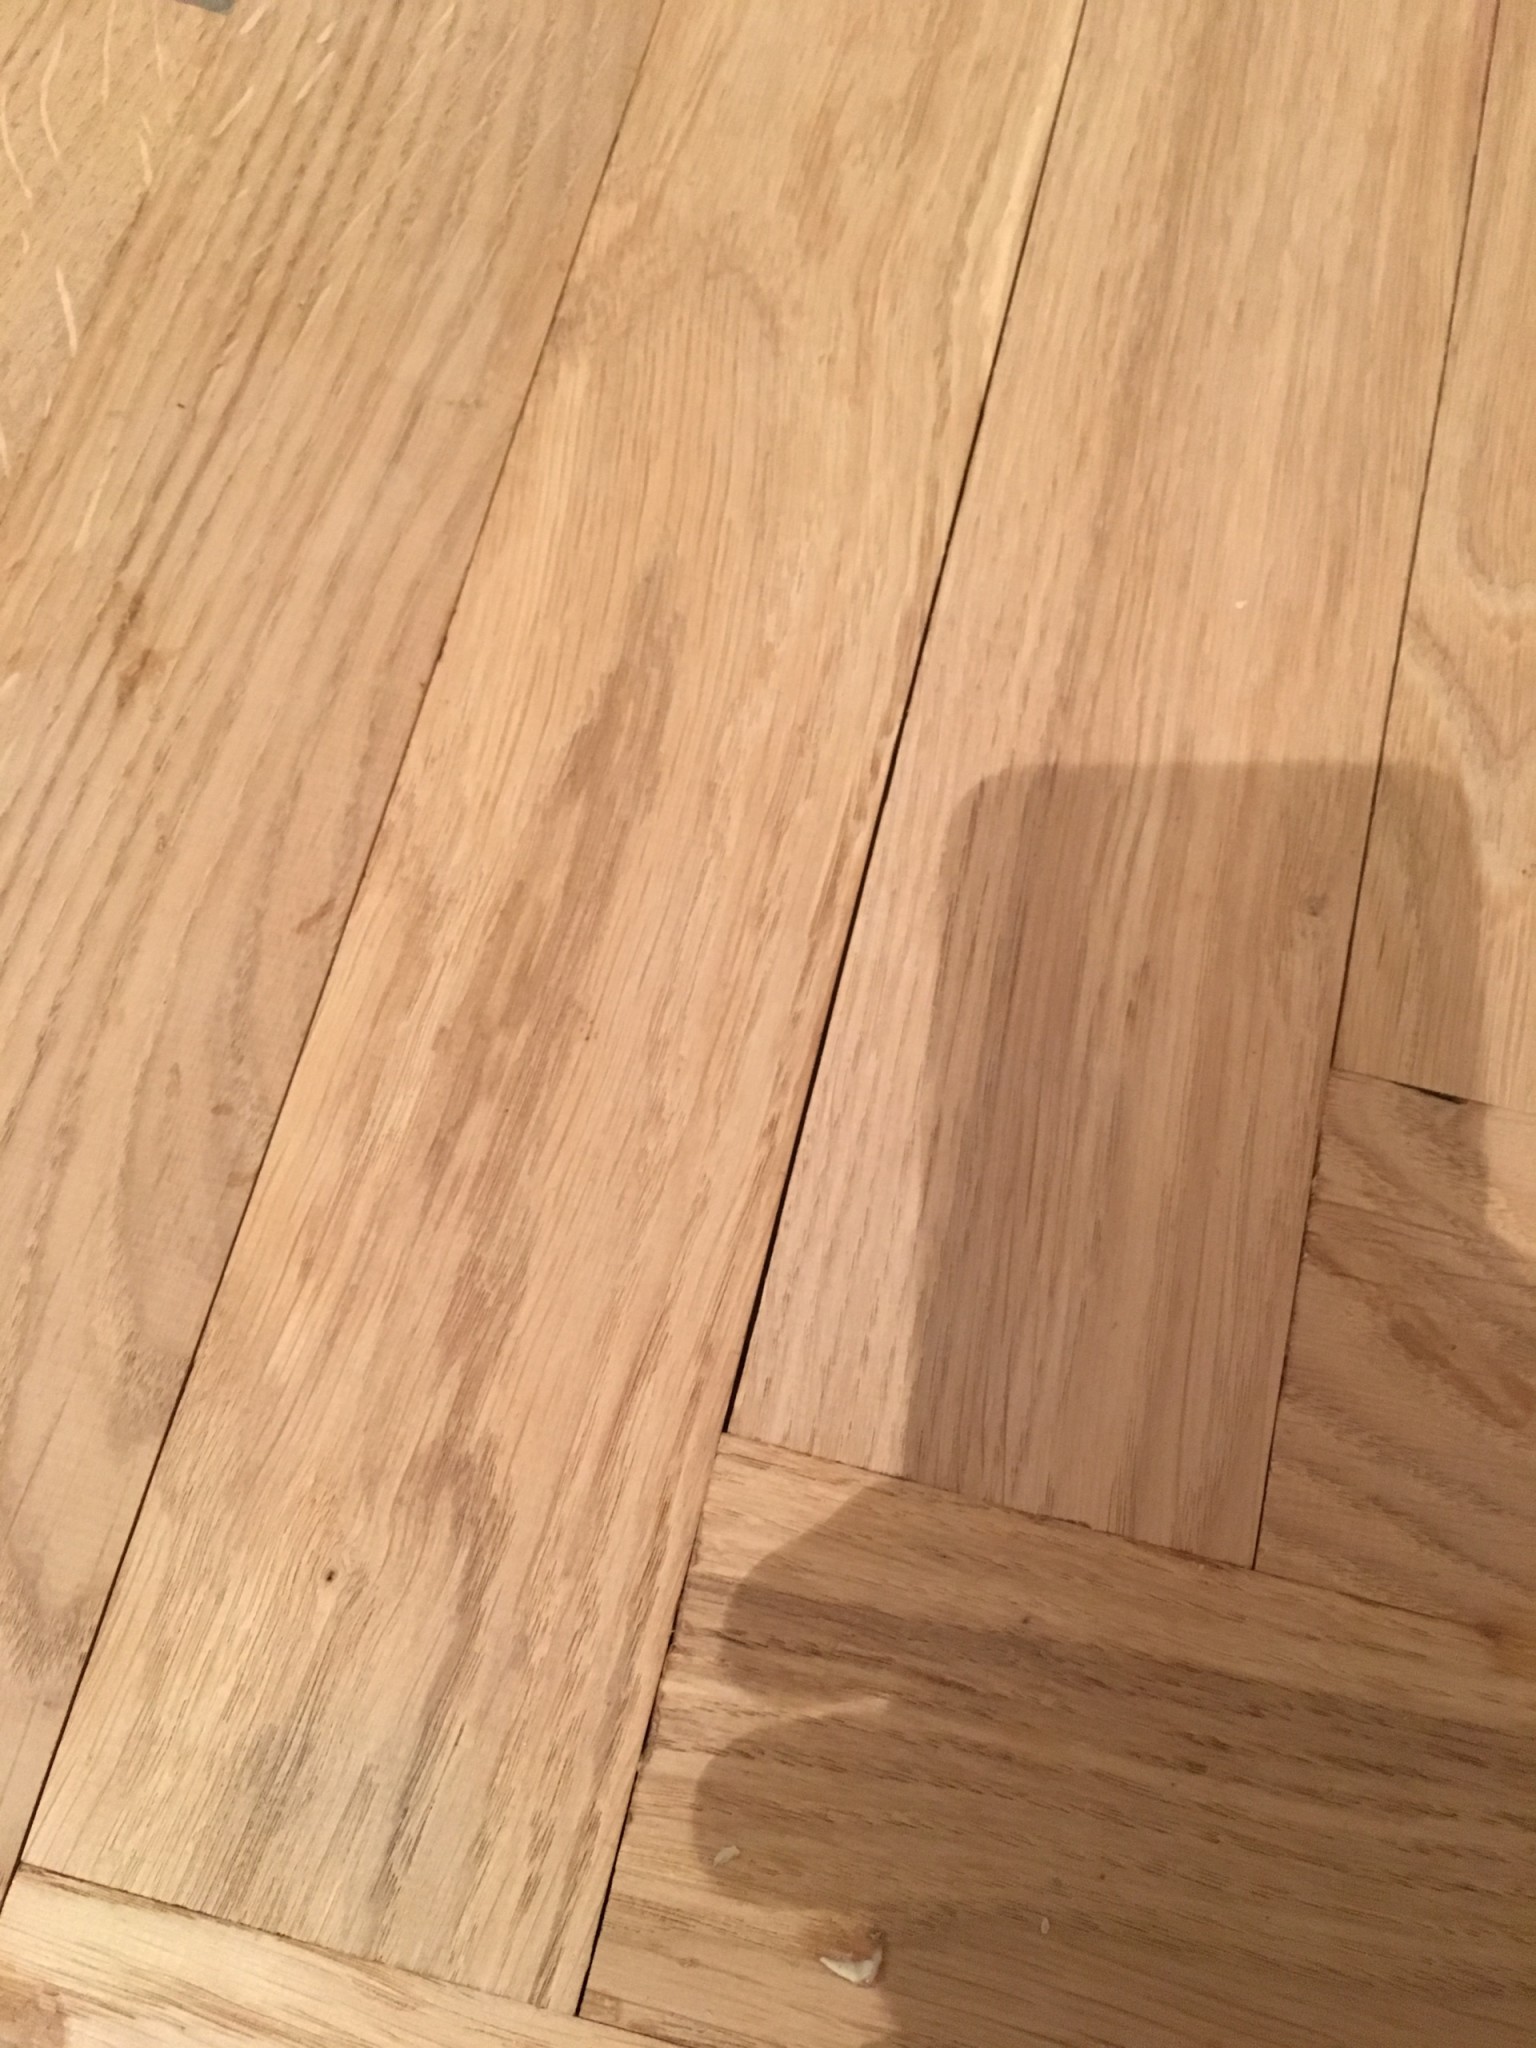
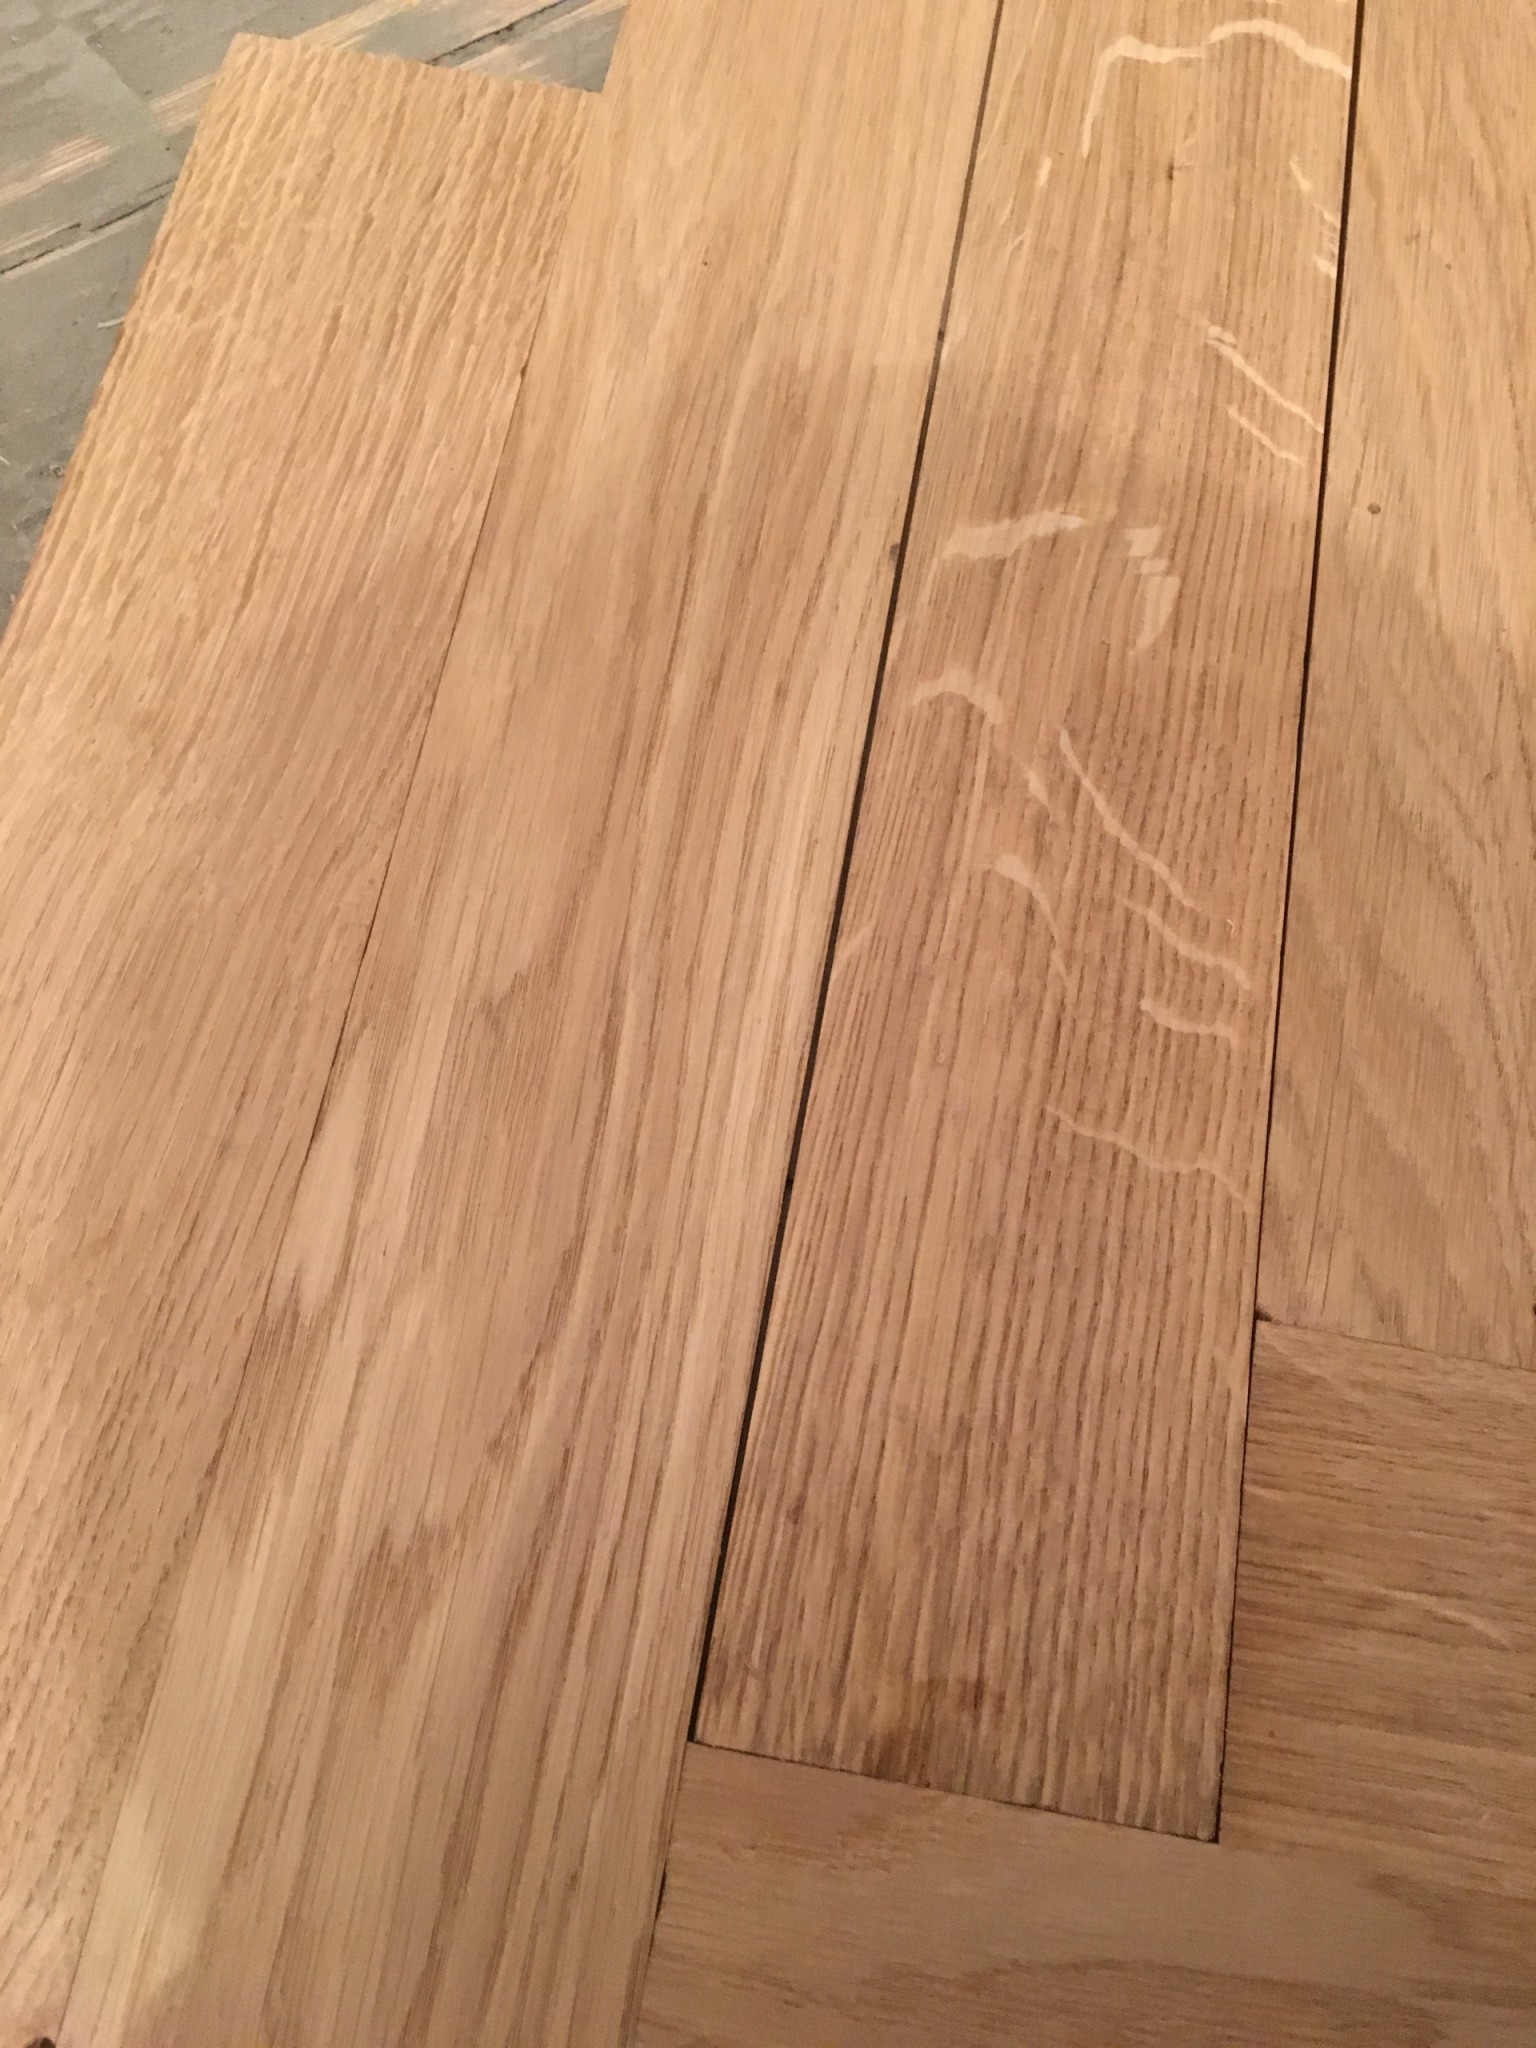
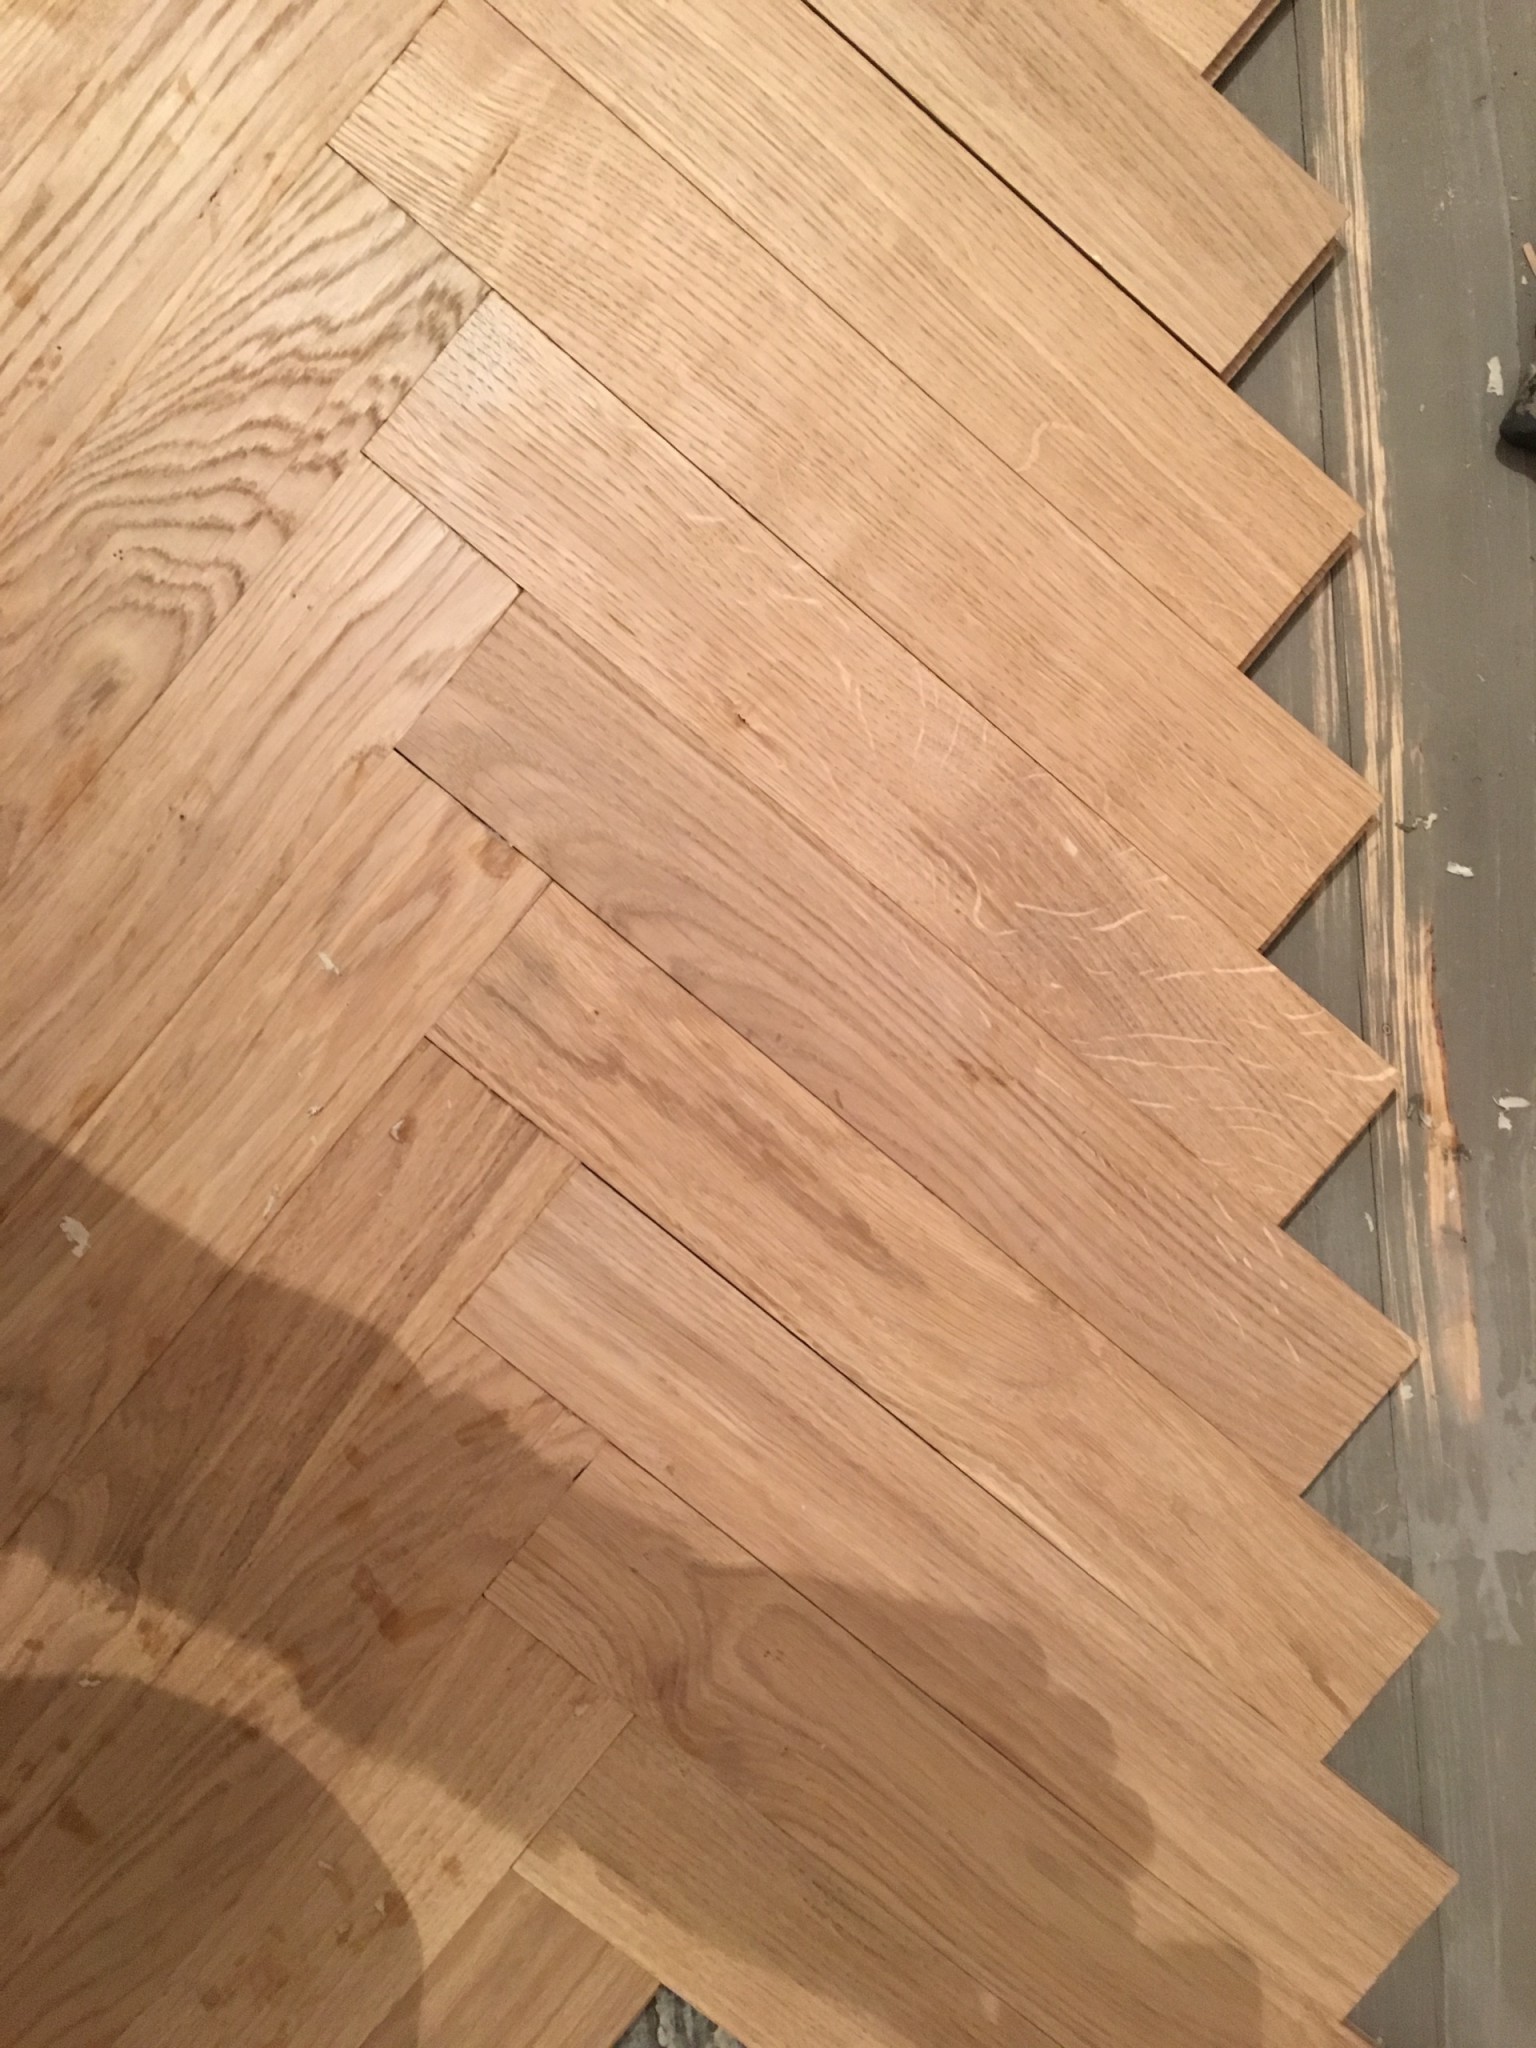
You seem to have problems more or less everywhere. I think you need to redo everything unfortunately and don't glue. If you nail it, you can always tap the stick slightly to get the last half millimeter that might be needed. Please also show a picture of the first plog because I assume this is the third or fourth row?
It is the second, they are not nailed or glued, I just tested to see how it turned out, and saw it with the board...falkn said:It seems you are having problems more or less everywhere. Unfortunately, I think you need to redo everything and don't glue. If you nail, you can always tap the board slightly to get the last half millimeter that might be needed. Please show a picture of the first plough too because I assume this is the third or fourth row?
don't understand how:Sfalkn said:
used a laser to get it CC, used a tile and put it against the first, and then just laid it.
and if I have to tear up the first plow again, 3rd time in that case, there won't be enough floor
without then I have to go and buy more, and it'll definitely go wrong again, but I don't know what I'm doing wrong, don't understand how it can be that it turns out the way it does, when everything should matchHave you used a guide when laying the plow, or have you used estimation? It looks like the plow is poorly aligned, resulting in gaps in the subsequent seams, which are nearly impossible to control.
Suggestion: Glue (wood glue) the seam on the first pair of slats. Use clamps that span across the cladding board. Ensure the seam aligns perfectly. Let the glue dry for about 1 hour before attaching the slats to the floor. For each pair of slats you install, use a guide to achieve perfect alignment. Make sure there are no gaps between the slats.
If the first plow is good, it is much easier to lay the subsequent plows.
No gaps ever. As soon as you notice a gap, you must correct it before continuing.
Suggestion: Glue (wood glue) the seam on the first pair of slats. Use clamps that span across the cladding board. Ensure the seam aligns perfectly. Let the glue dry for about 1 hour before attaching the slats to the floor. For each pair of slats you install, use a guide to achieve perfect alignment. Make sure there are no gaps between the slats.
If the first plow is good, it is much easier to lay the subsequent plows.
No gaps ever. As soon as you notice a gap, you must correct it before continuing.
The very first strip, I glued it, and then didn't do any more that day, but let it dry. The next day I started laying,arneri68 said:Have you used a stop when placing the plane or have you used estimation by eye? It looks like the plane is misaligned and then there are gaps in the next seams which are almost impossible to control.
Suggestion: Glue (wood glue) the seam on the first pair of strips. Use clamps to span the clinker tile. Make sure the seam aligns perfectly. Let the glue dry for about 1 hour before attaching the strips to the floor. For every pair of strips you install, use a stop to achieve perfect alignment. Make sure there are no gaps between the strips.
If the first plane is good, it is much easier to lay the subsequent planes.
Never any gaps. As soon as you spot a gap, you must correct before continuing.
I'm laying the whole plane a bit askew, to follow the room, as it differs a bit between the front and back wall. But that's intentional, I thought that as long as the first plane is 100% then you just go for it... But it wasn't that easy.