
9,970 views ·
74 replies
10k views
74 replies
What should I do with the walls?


Would think so too, and adding some sort of stop means the doors can open even less, making it difficult to place what's supposed to stand there and insert shelves.snowjim said:
Here you can see how it looks with the boxes

http://i.imgur.com/Cc3gIIq.png
And the doors

http://i.imgur.com/R7x6v43.png
Now, the strip for the door is a bit extreme since I measure it at 65 mm, but it's actually much smaller.
We can see that it's already marginal with the doors, so I probably can't exceed the 12-13 mm that are there today. Sure, one could mix, and put OSB and plasterboard on the short sides and only plasterboard on the long sides, but that doesn't feel quite right?
Maybe I should carefully take down the boards on the long sides and put them back again? However, I don't like working with masonite, it feels unstable and slippery.
Not an easy nut to crack, unfortunately.
http://i.imgur.com/Cc3gIIq.png
And the doors
http://i.imgur.com/R7x6v43.png
Now, the strip for the door is a bit extreme since I measure it at 65 mm, but it's actually much smaller.
We can see that it's already marginal with the doors, so I probably can't exceed the 12-13 mm that are there today. Sure, one could mix, and put OSB and plasterboard on the short sides and only plasterboard on the long sides, but that doesn't feel quite right?
Maybe I should carefully take down the boards on the long sides and put them back again? However, I don't like working with masonite, it feels unstable and slippery.
Not an easy nut to crack, unfortunately.
Measured one of the joists and they are 45 x 35 x 2200 mm, i.e., not very sturdy things directly. The question is whether to continue using 45x45 joists or if one should go up to 45 x 70 joists? This mainly concerns noggings and then a support joist for each.
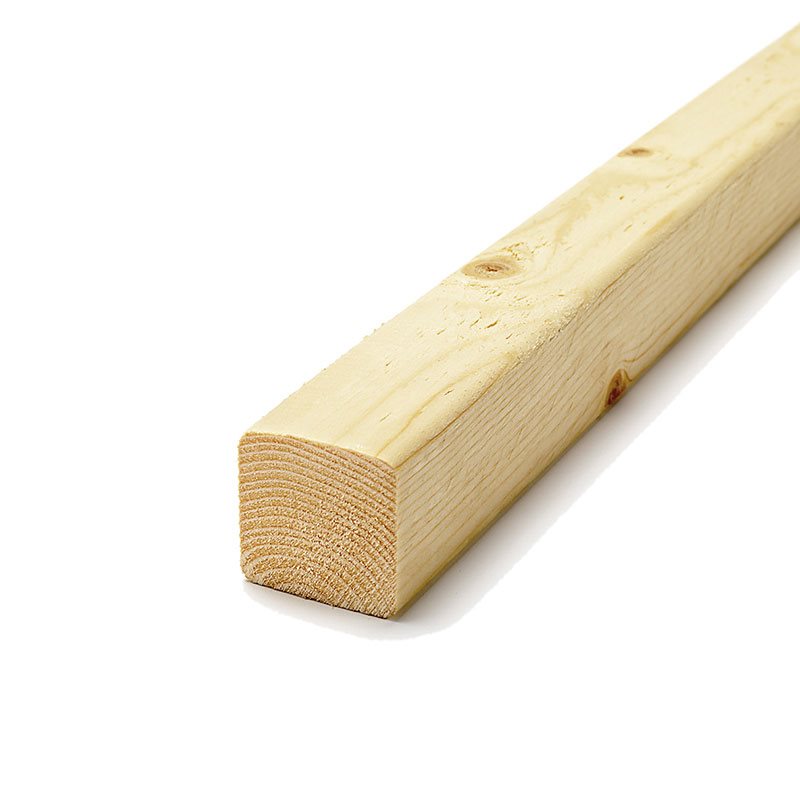
https://www.byggmax.se/virke/reglar/45x45-regel-p08145045
What feels a bit strange is that a section consists of a horizontal joist along the floor and ceiling that does not go all the way and is interrupted at 100 cc with a board that could be a joist but goes all the way from the floor up to the ceiling? Hard to explain, but you can see it a bit in this photo:

http://i.imgur.com/CMhiINR.jpg
The gap between the panels is this "joist" that is visible and it is of a different wood species; it also doesn't seem as "sturdy" as the actual joists.
https://www.byggmax.se/virke/reglar/45x45-regel-p08145045
What feels a bit strange is that a section consists of a horizontal joist along the floor and ceiling that does not go all the way and is interrupted at 100 cc with a board that could be a joist but goes all the way from the floor up to the ceiling? Hard to explain, but you can see it a bit in this photo:
http://i.imgur.com/CMhiINR.jpg
The gap between the panels is this "joist" that is visible and it is of a different wood species; it also doesn't seem as "sturdy" as the actual joists.

Renovator
· Näverkajakens födelseort
· 797 posts
Guessing the house is from the ~70s?
I have the same in mine from 71.
The walls are built in benches in 120cm sections then nailed together on the floor joists.
It's wise to toenail at the studs into the floor. Several "clips" (the wavy tabs seen in the joint) have broken where I've opened, causing the whole wall to sway.
The wall is built with flimsy dimensions for the Treetex to stabilize the construction.
Either you leave the Treetex and plasterboard over it, or you tear it out and use plywood/OSB.
I have the same in mine from 71.
The walls are built in benches in 120cm sections then nailed together on the floor joists.
It's wise to toenail at the studs into the floor. Several "clips" (the wavy tabs seen in the joint) have broken where I've opened, causing the whole wall to sway.
The wall is built with flimsy dimensions for the Treetex to stabilize the construction.
Either you leave the Treetex and plasterboard over it, or you tear it out and use plywood/OSB.
You're absolutely right, my calculation is completely off! Thank you for pointing that out.richardtenggren said:You might need to review your calculation, 240 mm extra discs?We have a little less than 50 mm between the drawer front and the wall, I think we have 40 mm, though I planned our kitchen without Ikea. The problem is if you have radiators, moldings/trim, or anything else that could interfere when the drawer opens. So just go for it if it works otherwise
So instead it should be like this:
Drywall (13) + OSB (11) = 24 mm
Existing wall covering = 12 mm
Difference = 12 mm
Total on both sides = 24 mm
The room's measurement then goes from 370 to 367.6
Then we have moldings for the door frame that protrude 12 mm, so actually, it would be another minus 24 mm, so then it ends up at 365.2, which gives a total difference of 24 mm on each side and 48 mm on both.
I’ll have to check with IKEA what they say about it.
Exactly, it was built in 70Fjojtmehmet said:Guessing that the house is from ~70? I have the same in mine from 71. The walls are built in bench in 120cm sections then nailed together on the floor joists. You'd be wise to angle at standing studs down into the floor. Several "clips" (the wavy metal piece seen in the joint) have broken where I've opened, and then the whole wall flexes. The wall is built with weak dimensions for the treetex to stabilize the construction. Either you leave the treetex and drywall over it, or you tear it down and put up plywood/OSB
Yeah straighten up and angle (didn't know the word before) was my plan for all of them, just hoping that the stud dimensions aren't too weak for the 90mm screws.
I'm not sure what treetex really is, what is here at least reminds me a lot of thick masonite, it has a smooth surface and seems very bendable. Even though all the panels seem to be 12mm thick, the joints aren't completely even and I'm afraid that if I just put drywall over them, the drywall might break. Otherwise, it would be convenient to take down the panels, fix the studs and noggings, run electricity, insulate, and then put the masonite boards back on. No more cutting other than for electrical boxes. Lastly, you'd probably put a layer of drywall to get a good surface, a bit strange there wasn't anything else before, actually.
Did you replace studs? If so, what dimensions did you choose?
Renovator
· Näverkajakens födelseort
· 797 posts
I haven't replaced the studs, it feels overkill. However, I squeezed in extra 45x45 where it felt wobbly. Treetex was manufactured by Masonite, so what you have is treetex.snowjim said:Exactly, it was built in the '70s
Yes, I had planned to straighten up and shim (didn't know the word before) all of them, so I hope the rule dimensions are not too weak for the 90 mm screws.
I'm not sure what treetex really is; what is here resembles thick masonite in any case, it has a smooth surface, and seems very flexible. Even if all the boards appear to be 12 mm thick, the joints are not completely even, and I'm afraid that if I just put gypsum over here, the gypsum might break. Otherwise, it would have been convenient to take down the boards, fix rules and braces, pull electrical wiring, put in insulation, and put the masonite boards back again. No cutting except for electrical boxes. Finally, you would probably need a layer of gypsum to get a good surface, it's a bit strange that nothing else was used before, actually.
Did you replace the studs? If so, what dimensions did you choose?
I've torn it out and put OSB where I've completely renovated. I don't think the treetex feels very sturdy; it reminds me a bit of MDF, and I think OSB is better.
The boards are nailed through at about 10cc, so you will never get them down in one piece.
If you're hesitating about OSB due to the carpenter's statement you mentioned earlier, I have a tip.
I've just wedged in a ruler blade in the joint, and you get a movement allowance of about 1mm per board in each direction, which is quite sufficient!
I pried off one board and it was actually quite easy, but sure, a couple of nails were still stuck in the studs.Fjojtmehmet said:
Didn't catch the tip?Fjojtmehmet said:
I assume this applies if I put up OSB boards?Fjojtmehmet said:
Spoke to IKEA and they gave us 2 options:
1. Live with the doors not being able to open fully. They can be opened fairly wide, but having something that occupies the entire width of the cabinets is not possible, at least not if it needs to be moved in and out. The drawers in the base cabinet should still open as usual.
2. Replace 2 cabinets (wall and base) with 40 cabinets and gain 20 cm, allocate 10 cm per side and if it's way too much, you can construct something custom here, like open shelves or similar.
Right now, we're leaning towards option 1; we use the side cabinets but not for large machines or similar. Besides not being able to open 90 degrees, you need to install some type of soft stop on the rails to prevent the doors from getting damaged.
1. Live with the doors not being able to open fully. They can be opened fairly wide, but having something that occupies the entire width of the cabinets is not possible, at least not if it needs to be moved in and out. The drawers in the base cabinet should still open as usual.
2. Replace 2 cabinets (wall and base) with 40 cabinets and gain 20 cm, allocate 10 cm per side and if it's way too much, you can construct something custom here, like open shelves or similar.
Right now, we're leaning towards option 1; we use the side cabinets but not for large machines or similar. Besides not being able to open 90 degrees, you need to install some type of soft stop on the rails to prevent the doors from getting damaged.

I don't understand, why would you want a spacer between the stud and the board? The basic problem is probably that I don't understand what you meannino said:
Renovator
· Näverkajakens födelseort
· 797 posts
The gap should be between the boards so that the osbn can move sideways. Since it's a living material, it expands a little.snowjim said:
Ninos' tip was better than mine, I'll go with that in the next room!
Haha, now I understand! Thank you! I initially interpreted it as spacers against the drywall, but it's between the sheets sideways, so to speak. What about up and down? Is it the same there? I see that all the panels I have here are right up to the ceiling and floor in most places.
Renovator
· Näverkajakens födelseort
· 797 posts
I usually make the boards 1-2 cm shorter than the total height, it's easier to lift them then, just raise them a bit before the first screw so it's evenly spaced at the top and bottom. If you have crown molding and baseboards, it won't be visible anyway.snowjim said:
Exactly, in our case it’s very important not to touch the ceiling since we’ve put quite a lot of work into painting it. It might seem strange that we’ve already renovated the ceiling, but that’s how it ended up for a couple of reasons. My thought is otherwise to slide the panels up from below instead of raising them. Less risk of them touching the ceiling.Fjojtmehmet said: