Four out of eight reinforcement nets are up. I will also mount an overlying board. Feeling super satisfied so far. Bought byggmax 5*2.3 m nets for 469kr each and divided them into three, so they stretch 21 meters. Cheap and good!
I've been tasked by my wife to build a reinforcement mesh fence where ivy can also grow. I've looked around online for various solutions and concluded that it looks the best if you groove a slot in the post where you press in the end of the reinforcement mesh.
But then the thought occurred to me, is it unwise to groove/rout in pressure-treated posts? I'm thinking that you might drastically shorten the lifespan as rot may occur more quickly.
How did you build your reinforcement mesh fence?
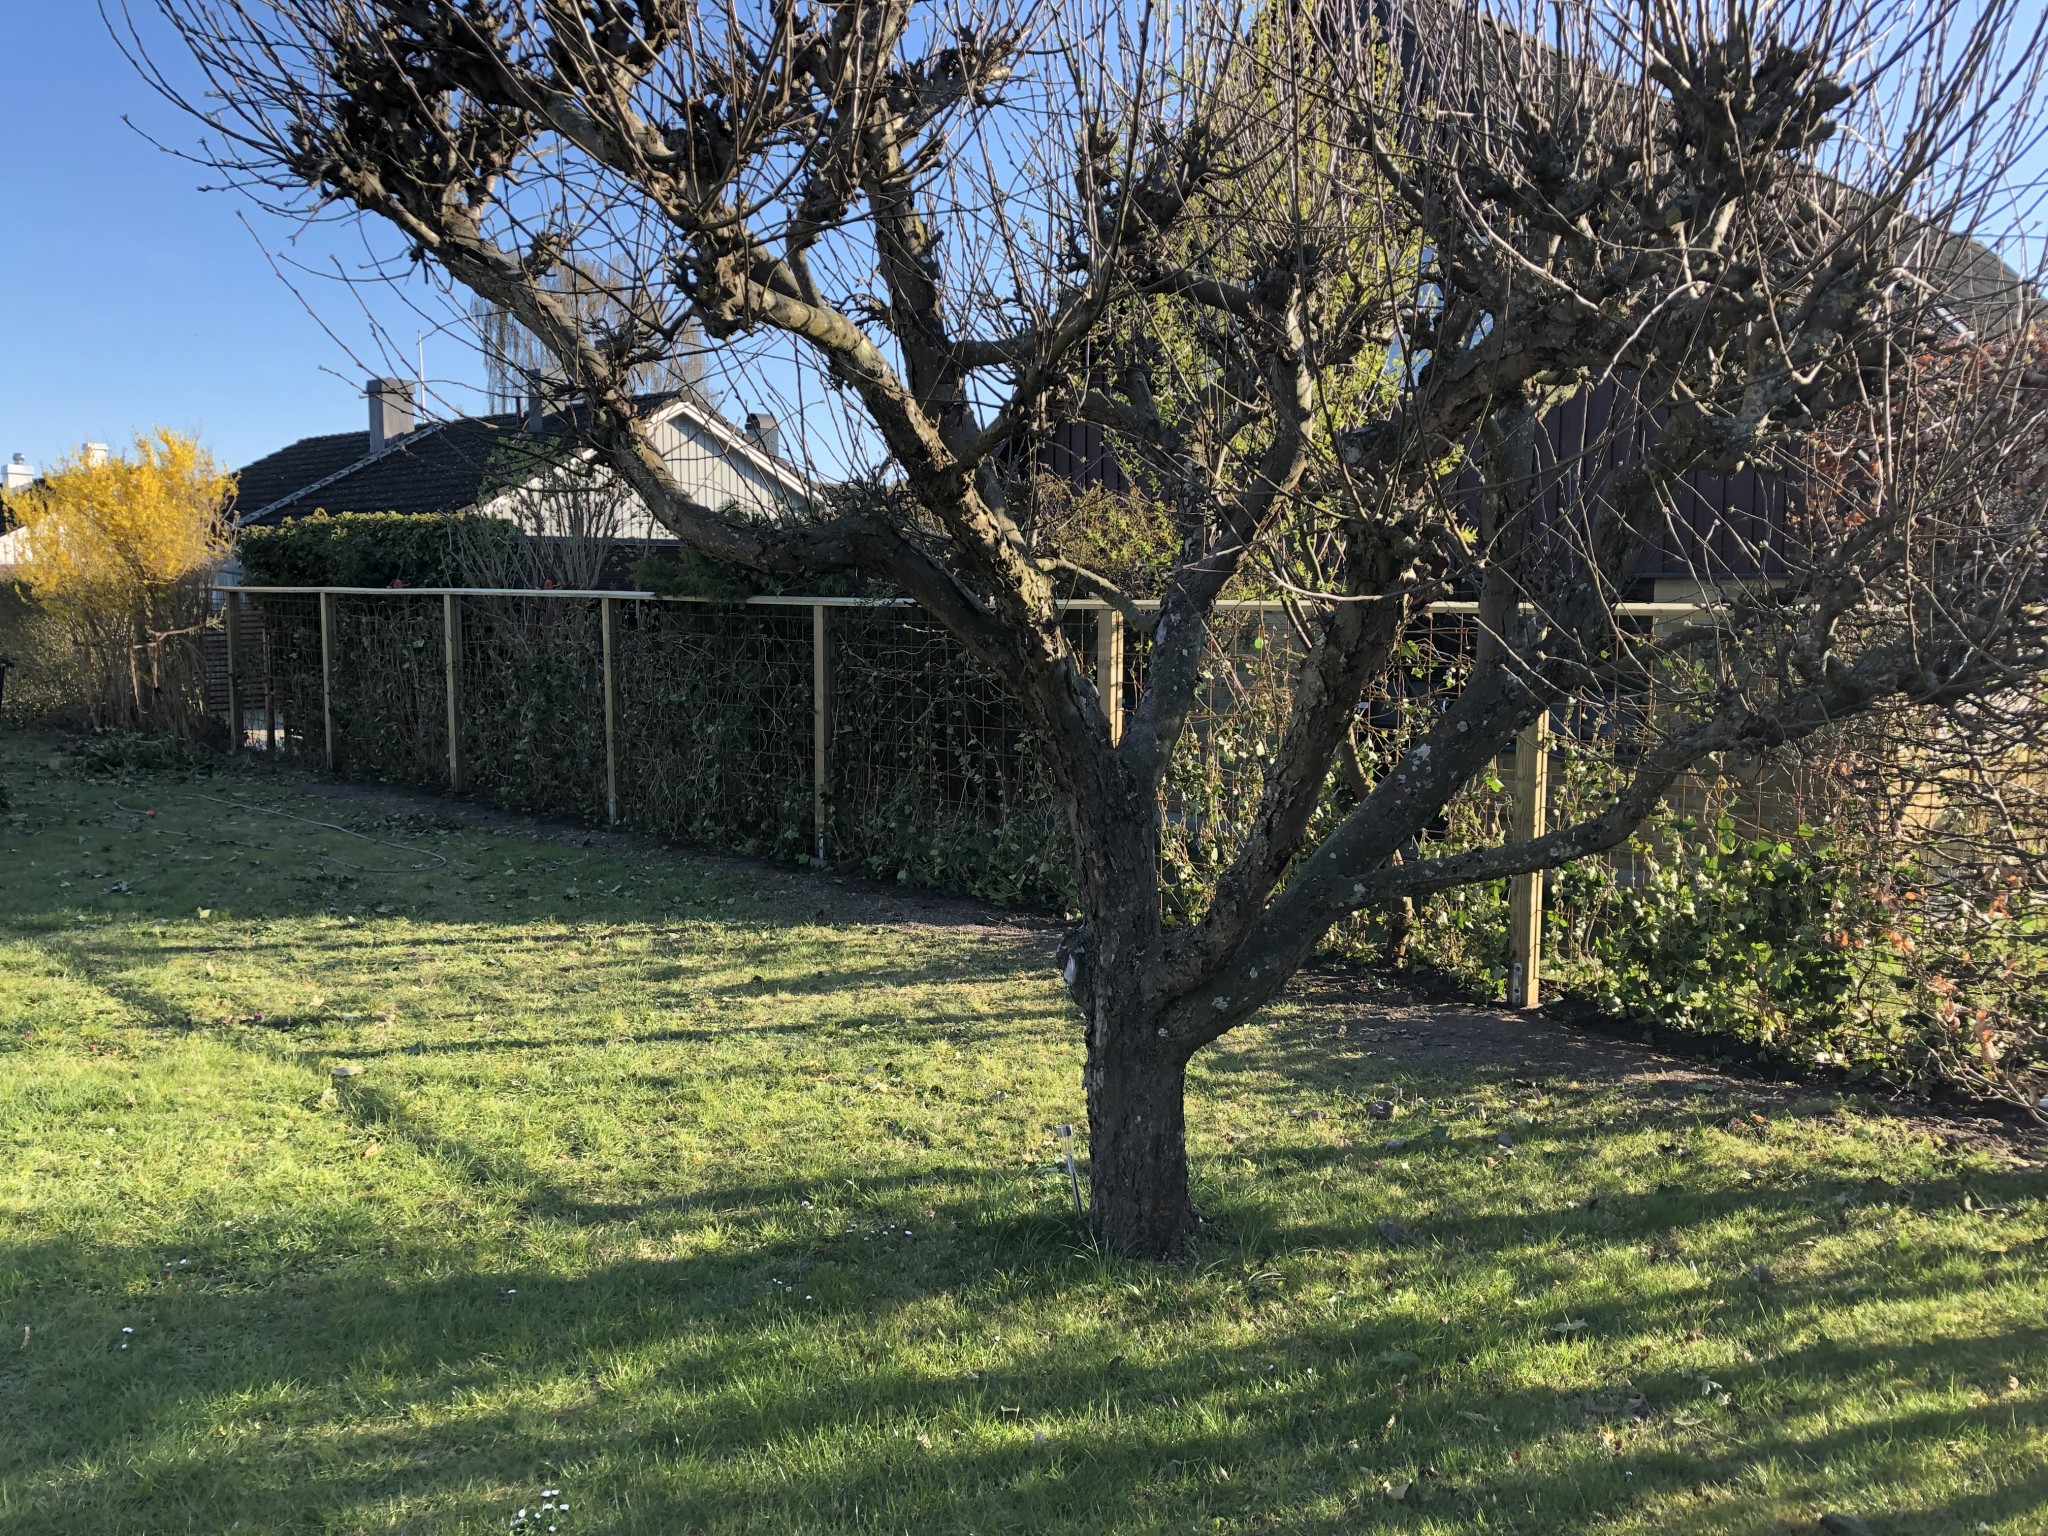
Picture of the intended final result:
[image]
I would add some braces as well, for example, on every second or third post down to the ground. If the post is fairly dimensioned, the brace can be set lower and become more discreet.
Additionally, you don't have that compression load, so it works with metpost, less work and cost.
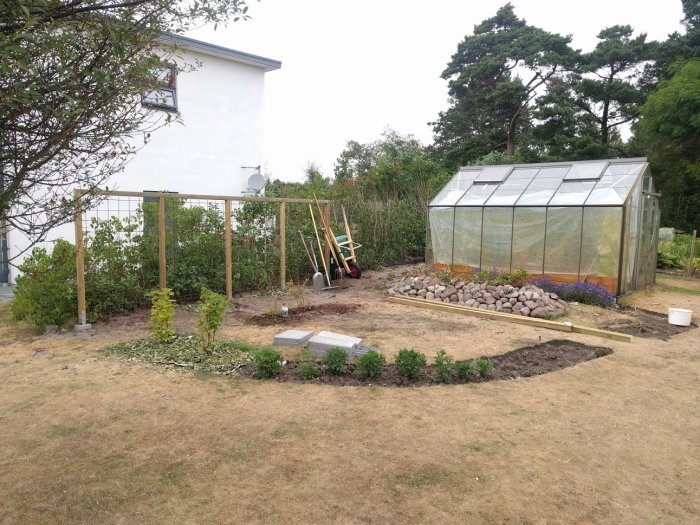
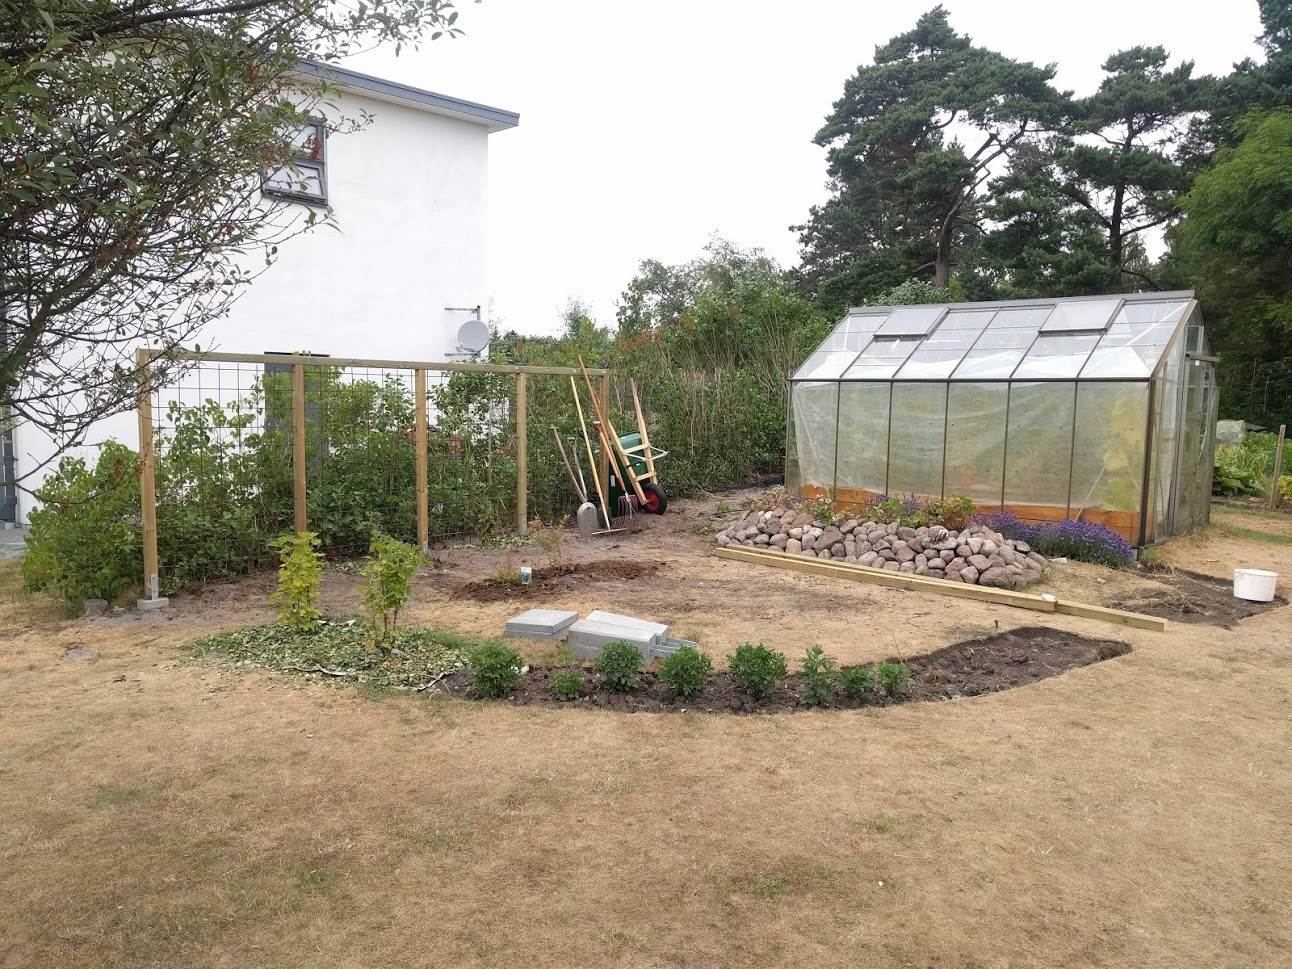
Here's the final result. I'm pretty satisfied even though it's not completely straight at all angles due to bushes and other debris that were in the way.
Used 95mm posts and 120*28mm as a top rail.
Drilled holes and inserted, a method I can't recommend.
(used a square as a template, it turns out the reinforcement mesh is not as even as one might wish).
In retrospect, I would have been satisfied with drilling for 3-4 on each side.
Drilled holes and inserted, a method I cannot recommend.
(used a window as a template, it turns out the reinforcement mesh is not as even as one would wish).
In hindsight, I would have been satisfied with drilling for 3-4 on each side.
We also drilled holes but in the top rail and discovered just like you that the reinforcement mesh wasn't even. In the end, I drew a line with a pencil to mark exactly where the hole should be drilled and it turned out better. But it took an unreasonably long time.
Click here to reply
Vi vill skicka notiser för ämnen du bevakar och händelser som berör dig.


13th Marine said: