2,135 views ·
3 replies
2k views
3 replies
Splice vapor barrier during renovation
Hi, renovating a guest toilet and need to remove a chipboard against an exterior wall in a 60s house. I've tried searching but haven't found a good thread on how to splice a vapor barrier during renovation. Can anyone give tips? What should I consider? Or point me to a thread/search terms.
Find the data sheet for your new and old one and it should say there? I seem to remember the one I used from the brand bison should be overlapped by 20cm or something like that.KJD said:
Edit: Sorry! Misunderstood the question. It should be overlapped and then taped with something like Sitkoflex tape.
Thanks, I don't even think Google can find the datasheet from '69, but otherwise, that sounds wise.LoweW said:
However, I'm mostly thinking about how to manage joining when renovating. I mean, if you tear down the wall, it's impossible not to damage the plastic? Or? Additionally, you don't really want to tear down other partitions to be able to overlap like 20 cm?? Or am I thinking wrongly???
(Btw Found another link to a renovation thread that mentions vapor barrier: https://www.byggahus.se/forum/threads/angspaerr-broms-och-taetskikt-i-badrumsyttervaegg.283813/)
It is not possible to cut the board without damaging the old "vapor barrier" (paper with some form of plastic coating). Therefore, it is not possible to achieve overlap in the usual sense.
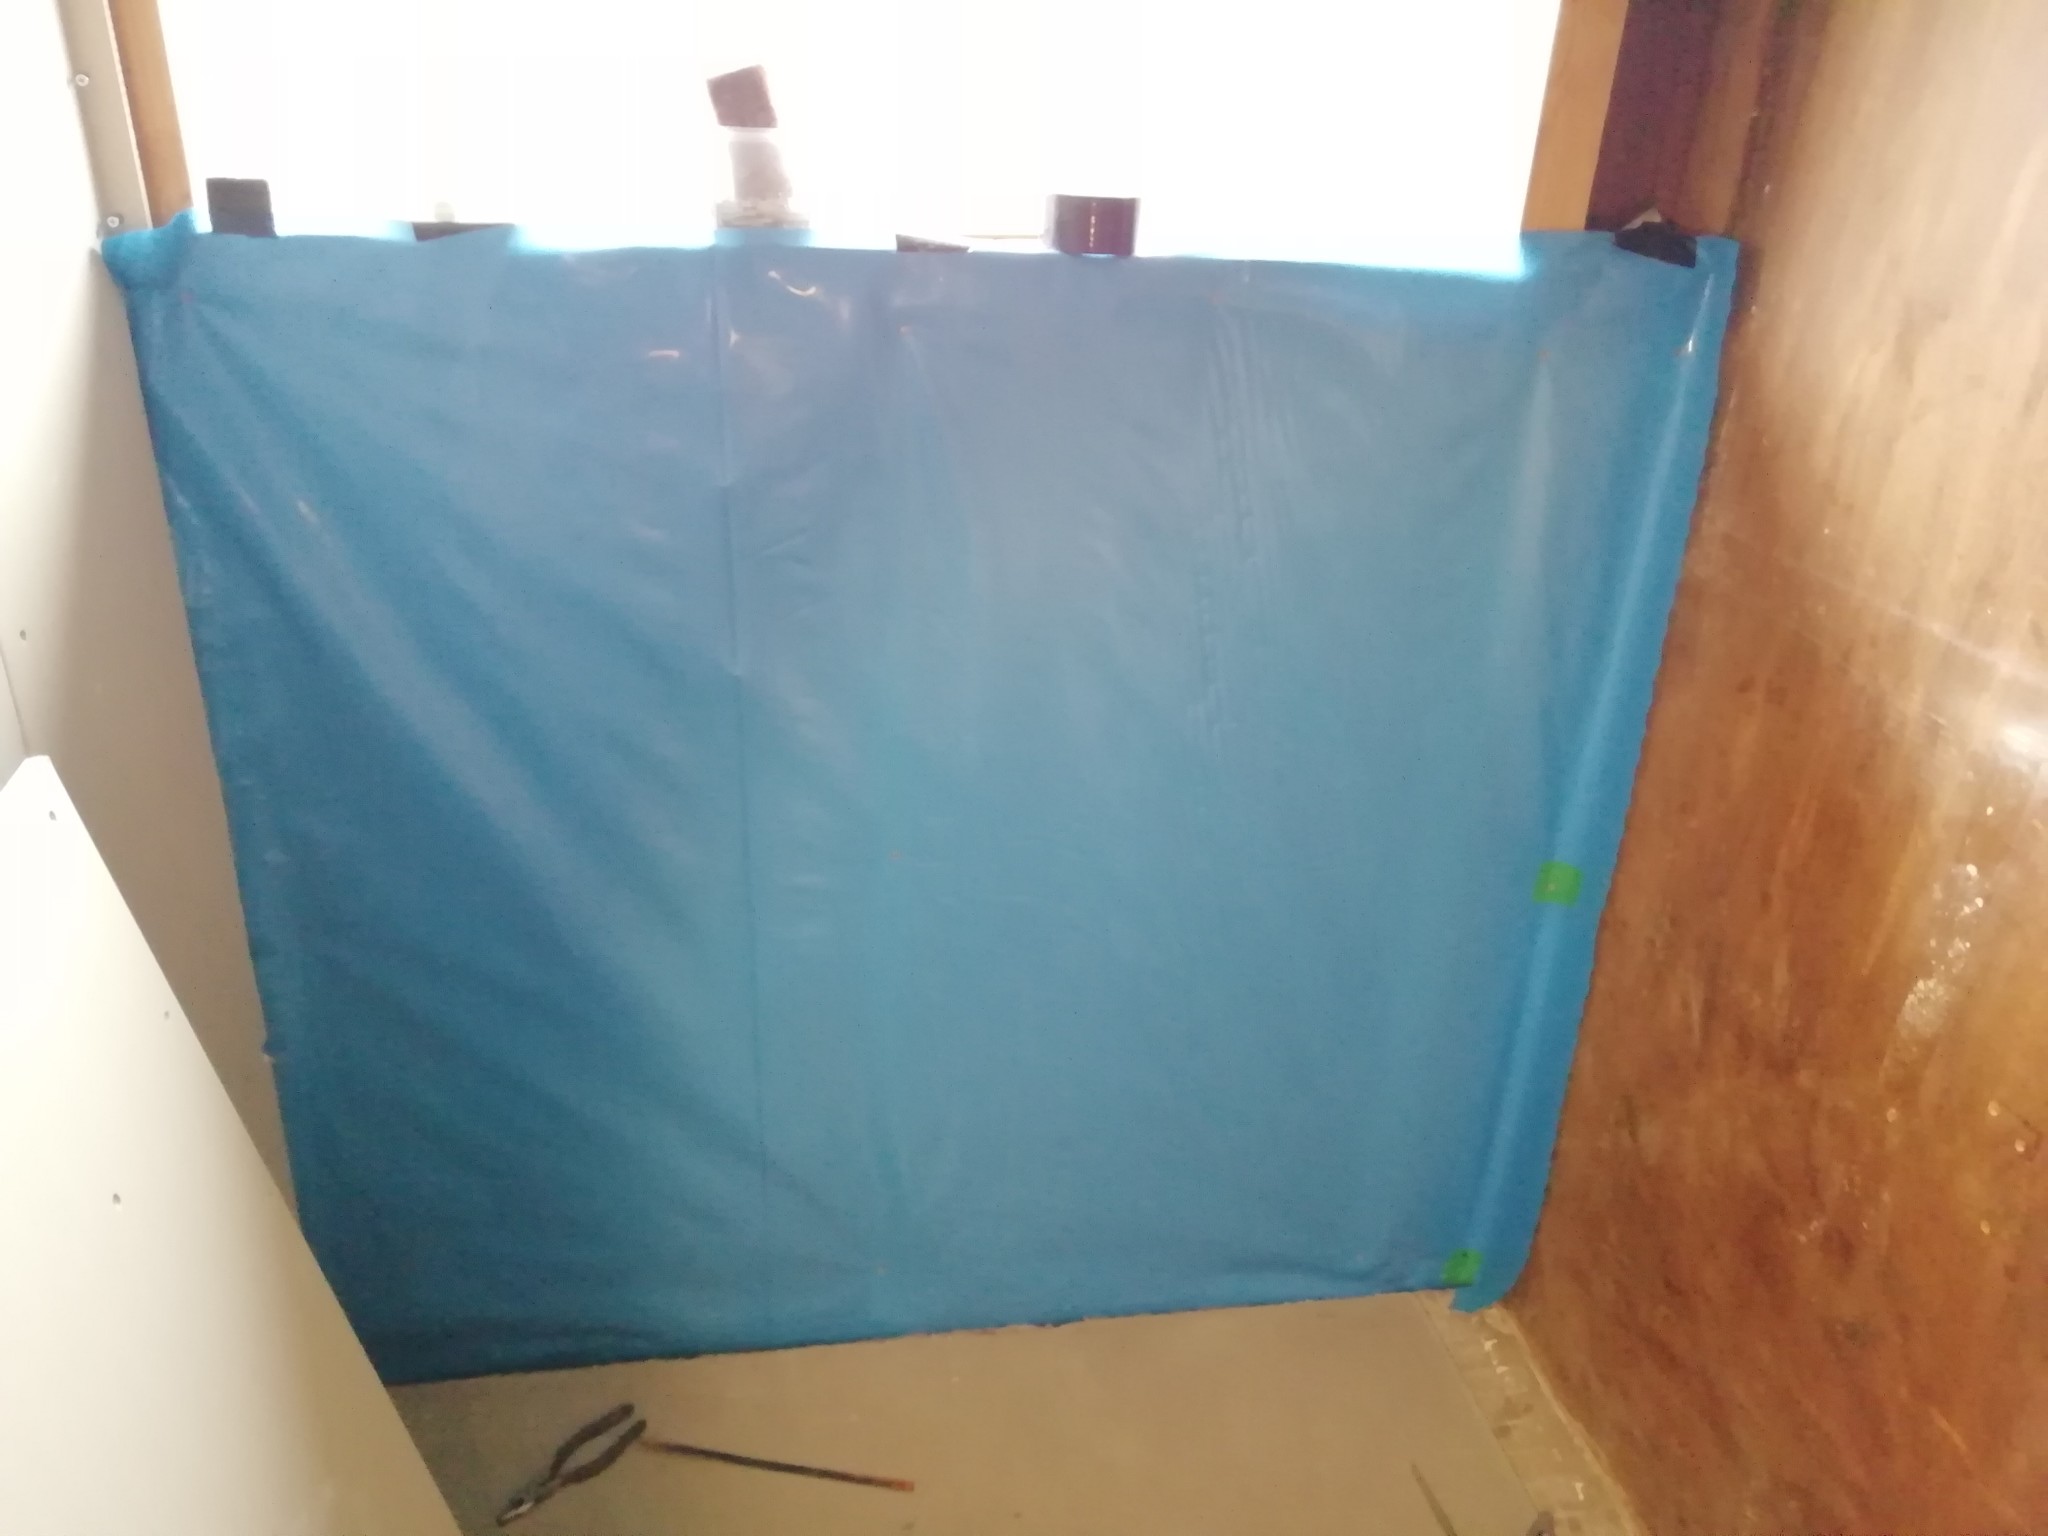
Since I couldn't find a renovation solution and don't want to take down all the interior walls (right now), I did this. If anyone else faces the same problem:
1. Cut the old particleboard, including the vapor barrier, in the middle of the stud that is closest to the side wall on one side (to the left).
2. On the right, I added an extra stud to reach all the way out to the side wall with the plastic.
3. Then I installed the new vapor barrier so that it meets the old one in the middle of the studs where I cut the particleboard.
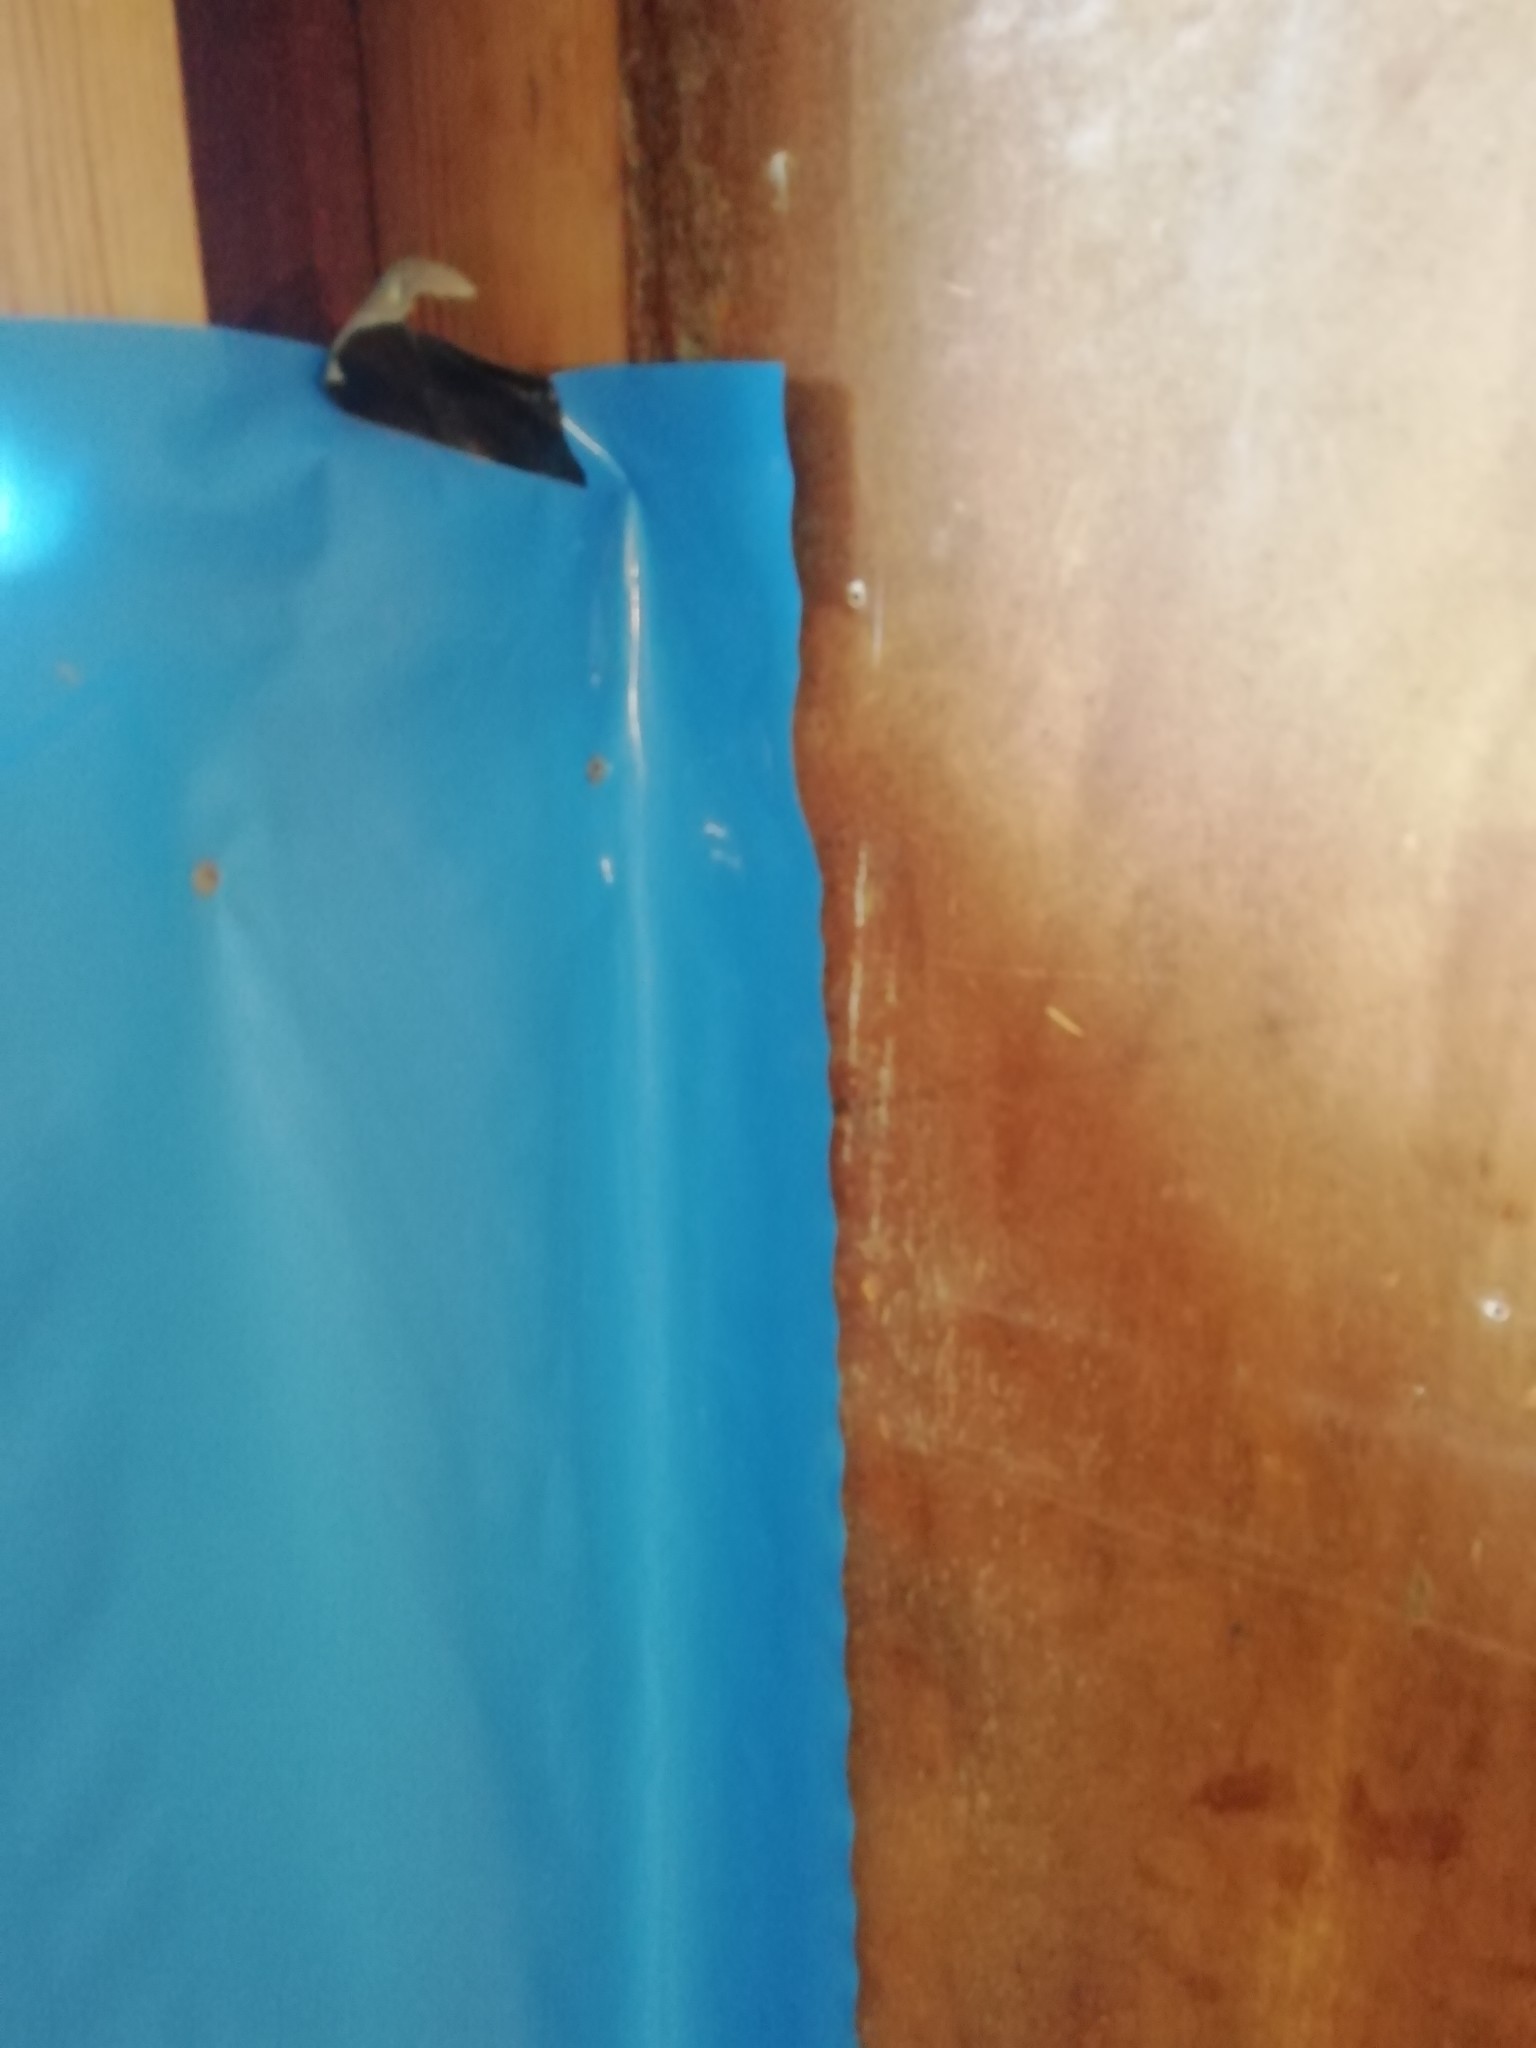
4. Then I unfolded and clamped the vapor barrier between the new (plywood) and the old particleboard.
5. Afterwards, I cut the plastic that sticks out between the boards.
I also think that the important thing with the joint is that it goes over the studs and not over the insulation.
Feel free to comment if there are better ways.
Since I couldn't find a renovation solution and don't want to take down all the interior walls (right now), I did this. If anyone else faces the same problem:
1. Cut the old particleboard, including the vapor barrier, in the middle of the stud that is closest to the side wall on one side (to the left).
2. On the right, I added an extra stud to reach all the way out to the side wall with the plastic.
3. Then I installed the new vapor barrier so that it meets the old one in the middle of the studs where I cut the particleboard.
4. Then I unfolded and clamped the vapor barrier between the new (plywood) and the old particleboard.
5. Afterwards, I cut the plastic that sticks out between the boards.
I also think that the important thing with the joint is that it goes over the studs and not over the insulation.
Feel free to comment if there are better ways.

Click here to reply