30,888 views ·
93 replies
31k views
93 replies
Renovating a concrete staircase yourself(?)
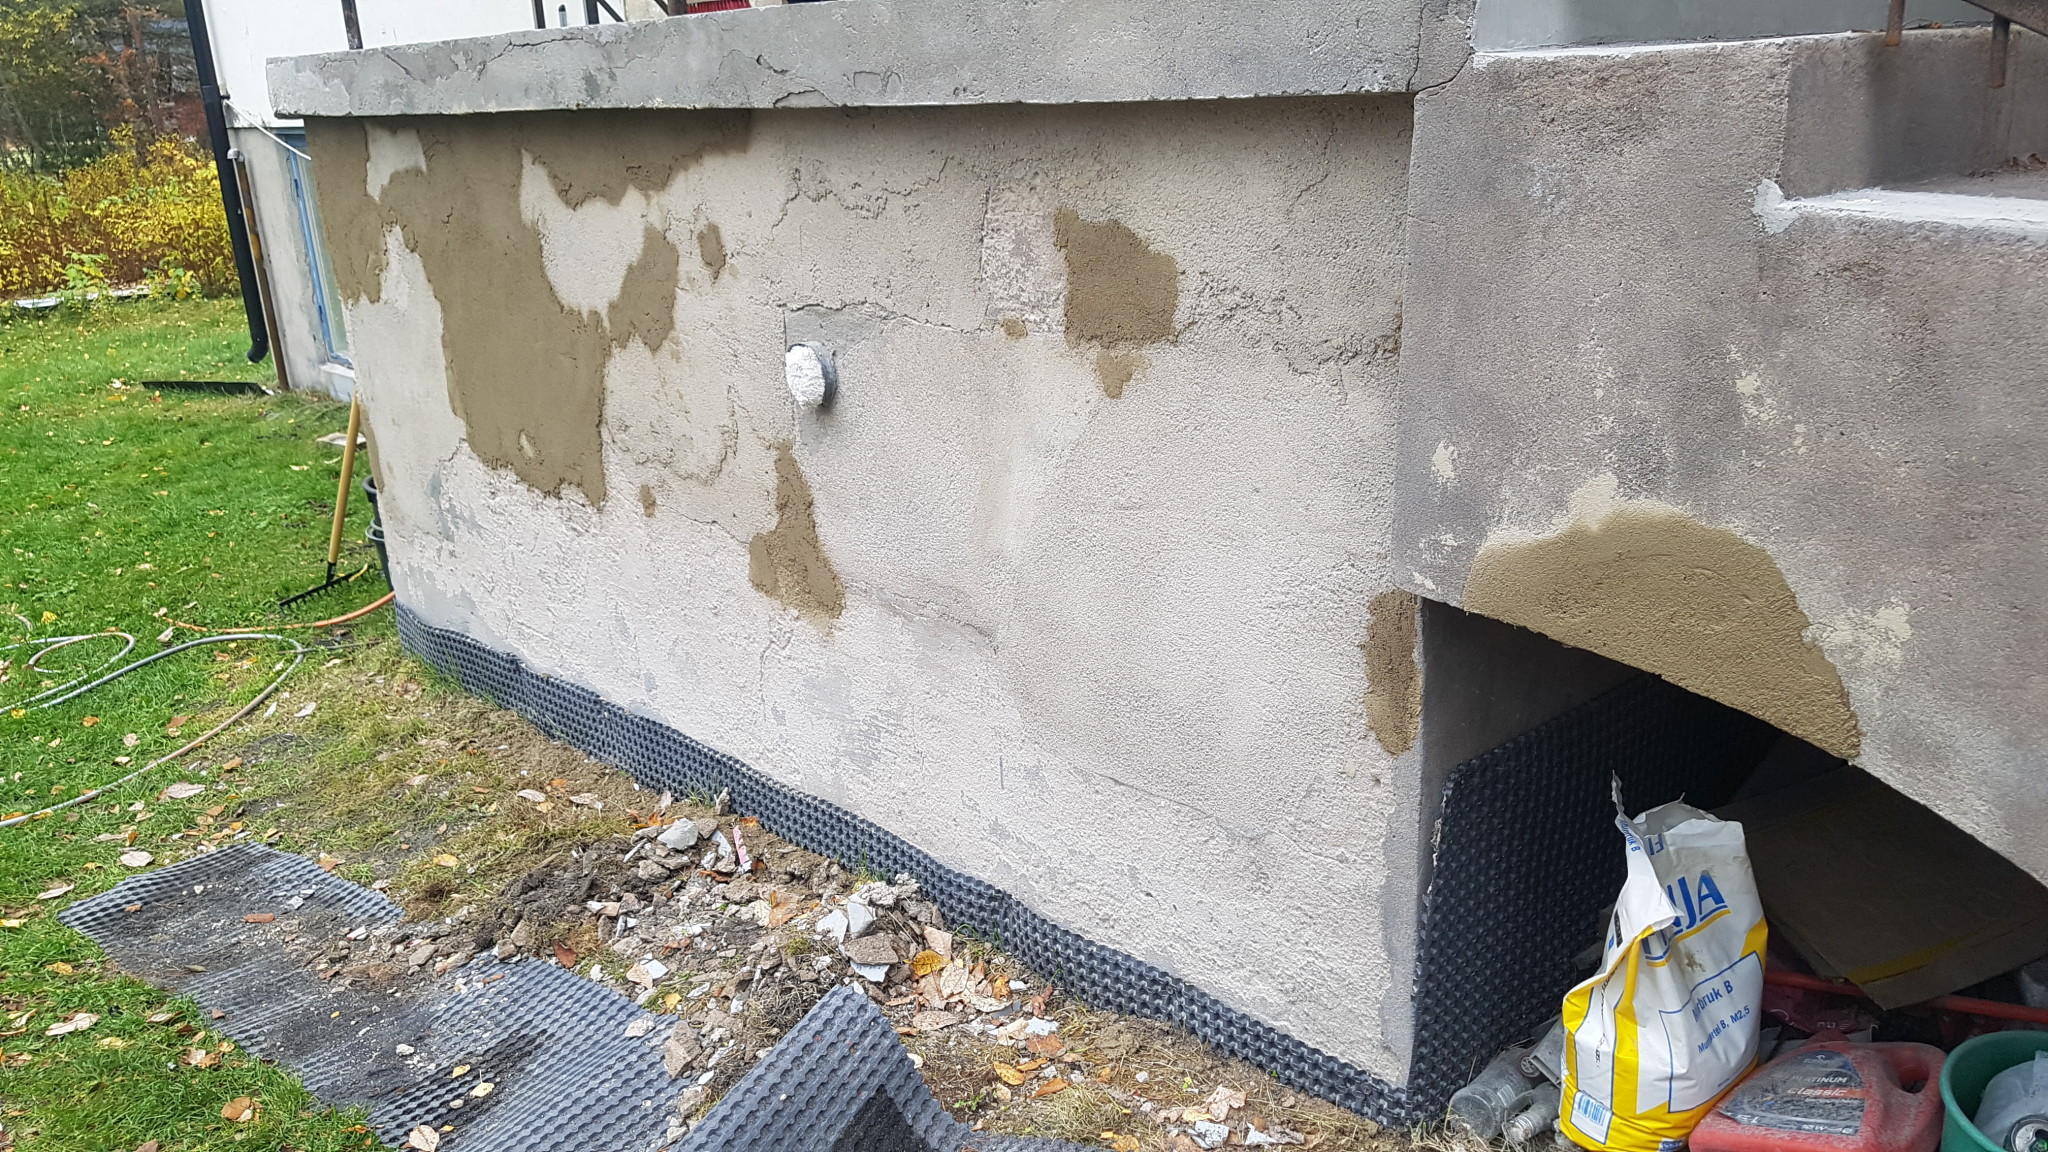
Do you know the consumption rate of 133? I'm thinking to go and buy today.L Lerstenstegel said:It was more than expected from the beginning so it is just as well to redo it completely. Since it is block you should have mesh but if you do as I think it should not shine through but can still crack later on. Sand all the paint on the plaster and apply a red primer on everything where there is block. Then level everything to an even level with the remaining plaster. Everything should be rough and then you level it with a board. Absolutely do not use a trowelit will be too smooth a surface and adhesion to the next layer will be very poor. Instead, scrub with a scrub board a bit carefully. Scrubbing is not just for surface as it also evens out your leveled surface and it is generally easier the larger scrub board you have, you don't need to overdo it but don't buy the smallest one.
When it is even, wait a few days so it dries and is closer to the plaster that remained in color. Of course, you can do this already the day after but there will be uneven drying time and it will be harder for you to do a good job. Then you buy e.g. Weber 133 which is a b-mortar with small ballast that you trowel over the entire surface and scrub with a felt board. It becomes like new on everything and no seams.
If you don't want to do that and were thinking of doing it even with the old plaster so you avoid sanding and an extra layer, just prime and then fill everything at the blocks but leave 3-4 mm from being level with the old. Then you apply 133 on the rest next and smooth with felt. Naturally, it is possible to level everything on the same day with regular b-mortar but it has very large ballast (0-4/0-3) and it will create roses where it becomes narrow and close to the seam.
Building conservationist
· Malmö
· 256 posts
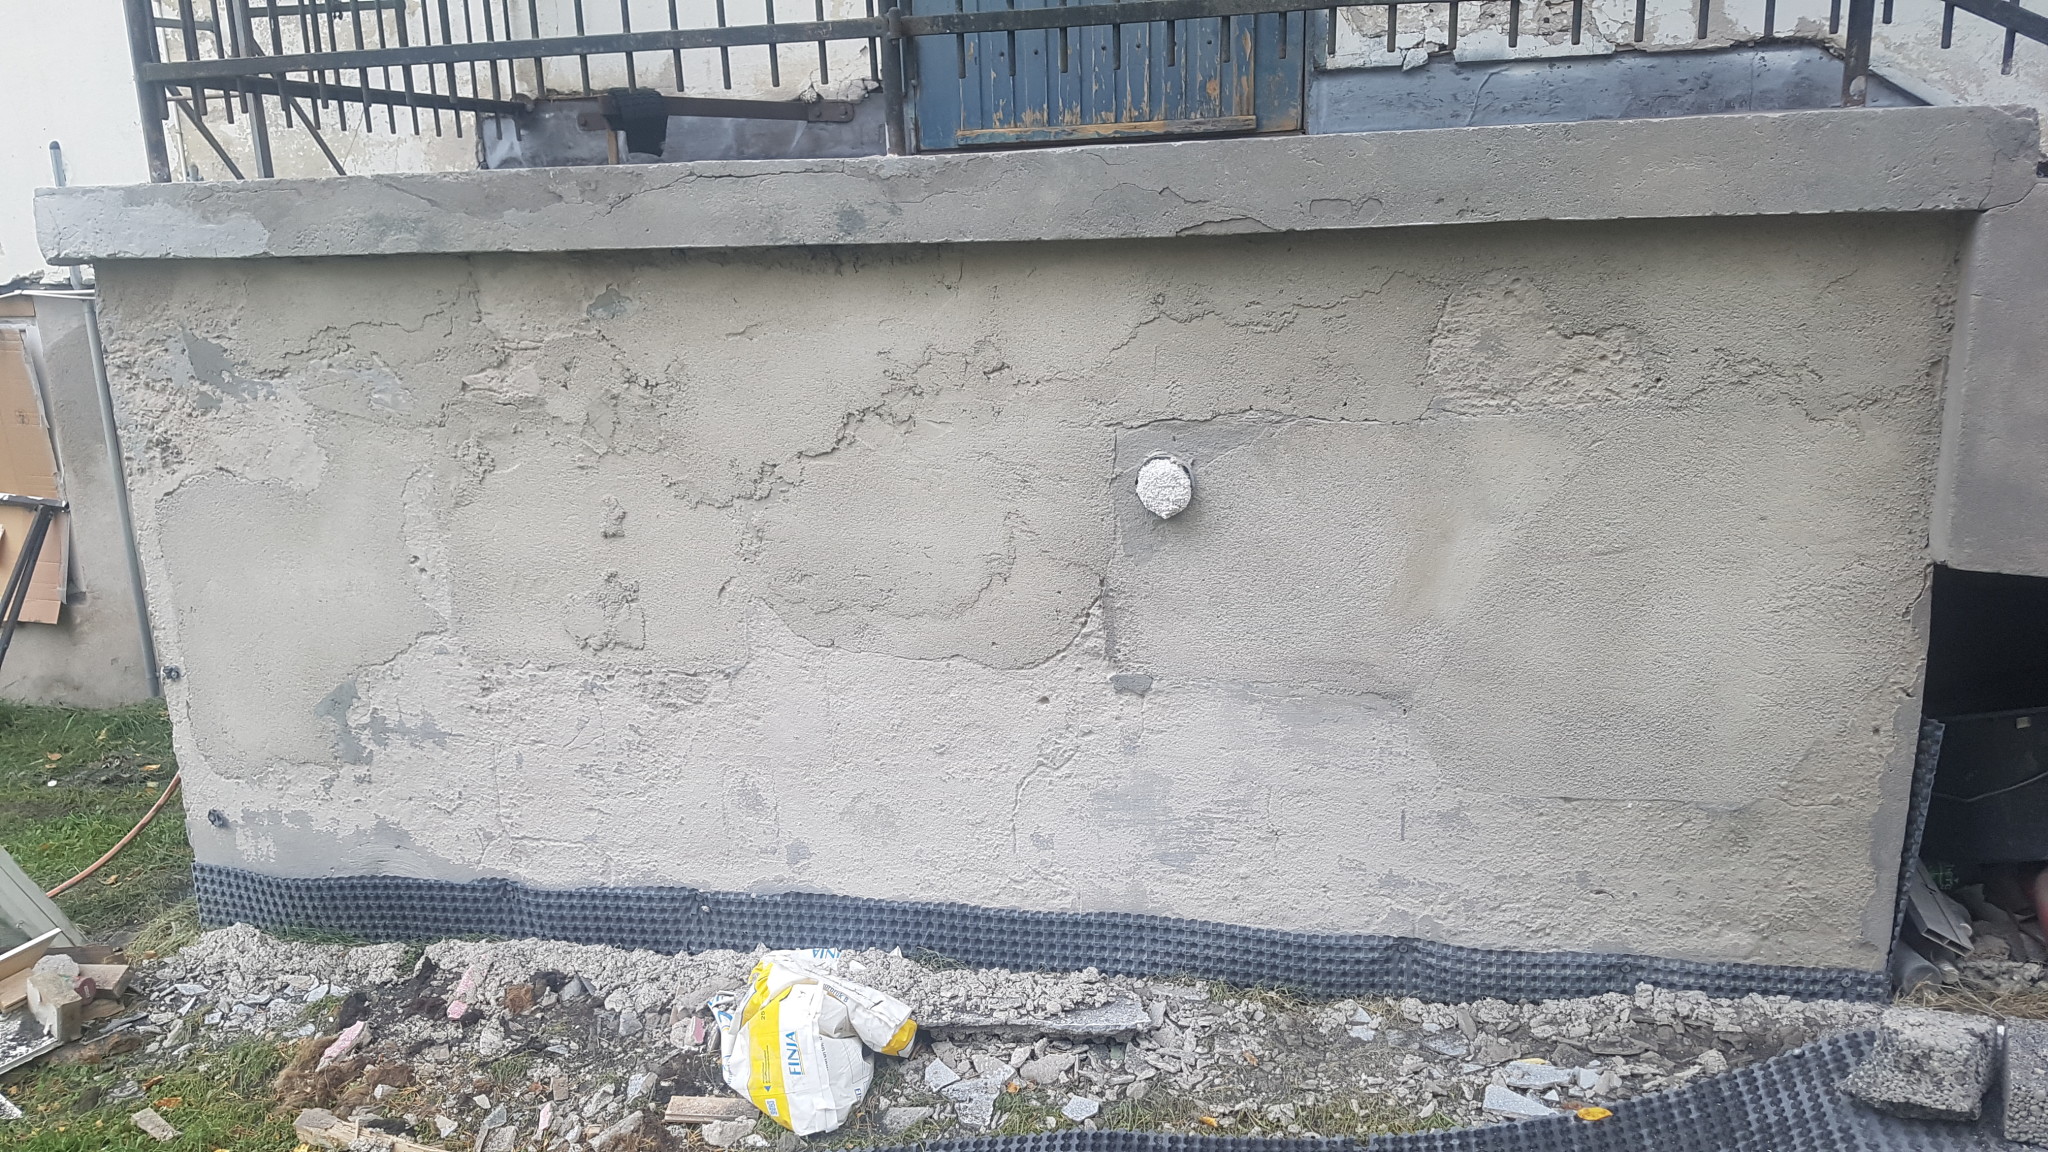
It depends, if the surface is very uneven, you will get about 1.5m2 per bag, but if it's okay even about 2.5m2, and if it's very good like when you fill in bumps on an old plinth, it's up to 4m2.
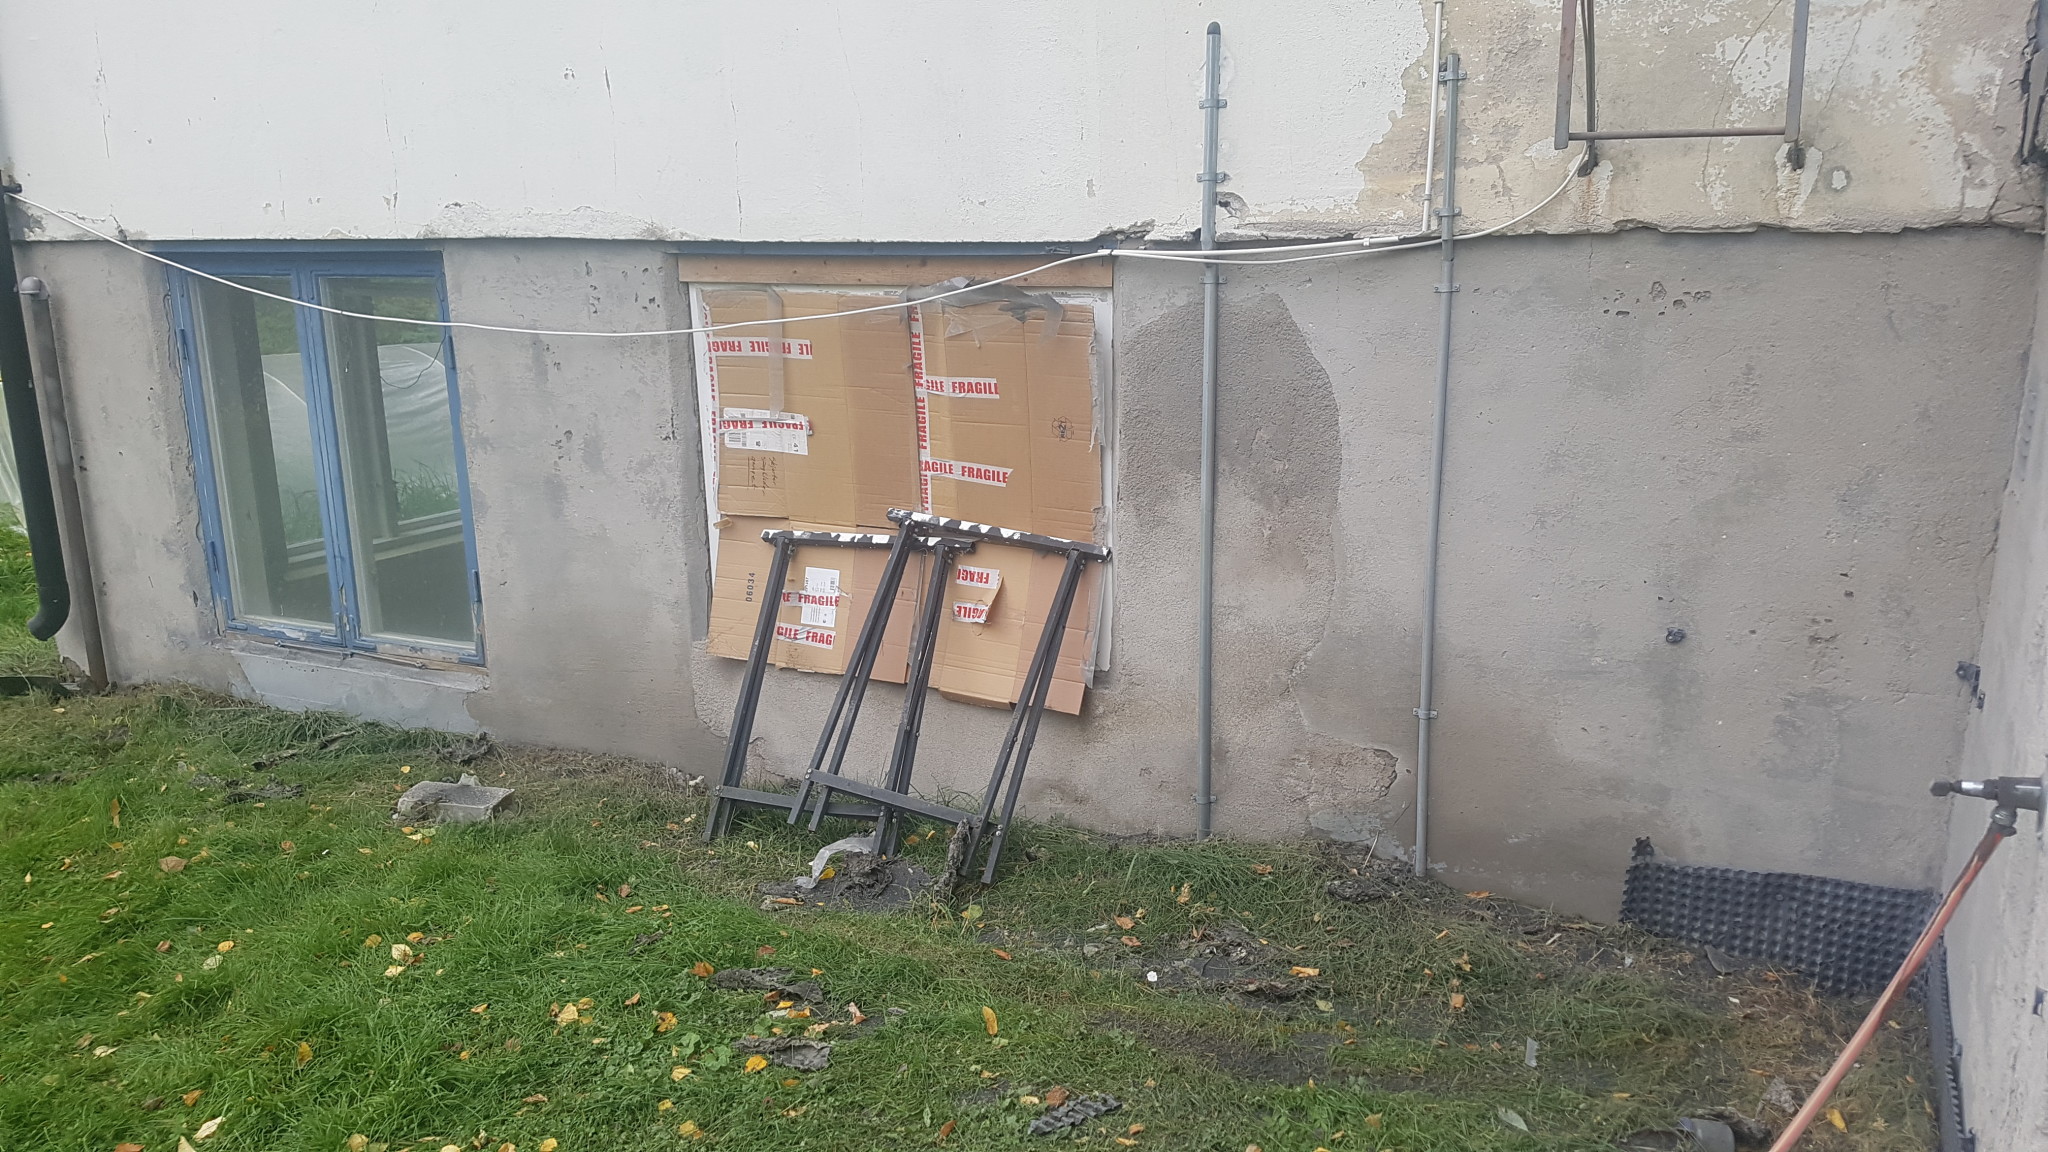
I've done some more polishing but forgot to take pictures
Ended up with 5 bags since they were 20kg each
I will try to sand off the paint during the week and finish the coarse plastering and maybe apply the thin plaster, but I feel like I probably need to set aside a whole day for that, even if it might be faster...
Ended up with 5 bags since they were 20kg each
I will try to sand off the paint during the week and finish the coarse plastering and maybe apply the thin plaster, but I feel like I probably need to set aside a whole day for that, even if it might be faster...
Building conservationist
· Malmö
· 256 posts
Hehe, much easier for them to do.
I'm curious about how much it cost if you want to share that?
I'm curious about how much it cost if you want to share that?
Don't know yet, they thought it would take a morning.L Lerstenstegel said:
What takes the most time is probably the setup and teardown, the actual blasting he thought would take a little over an hour.
I would guess 3-5000:-

Building conservationist
· Malmö
· 256 posts
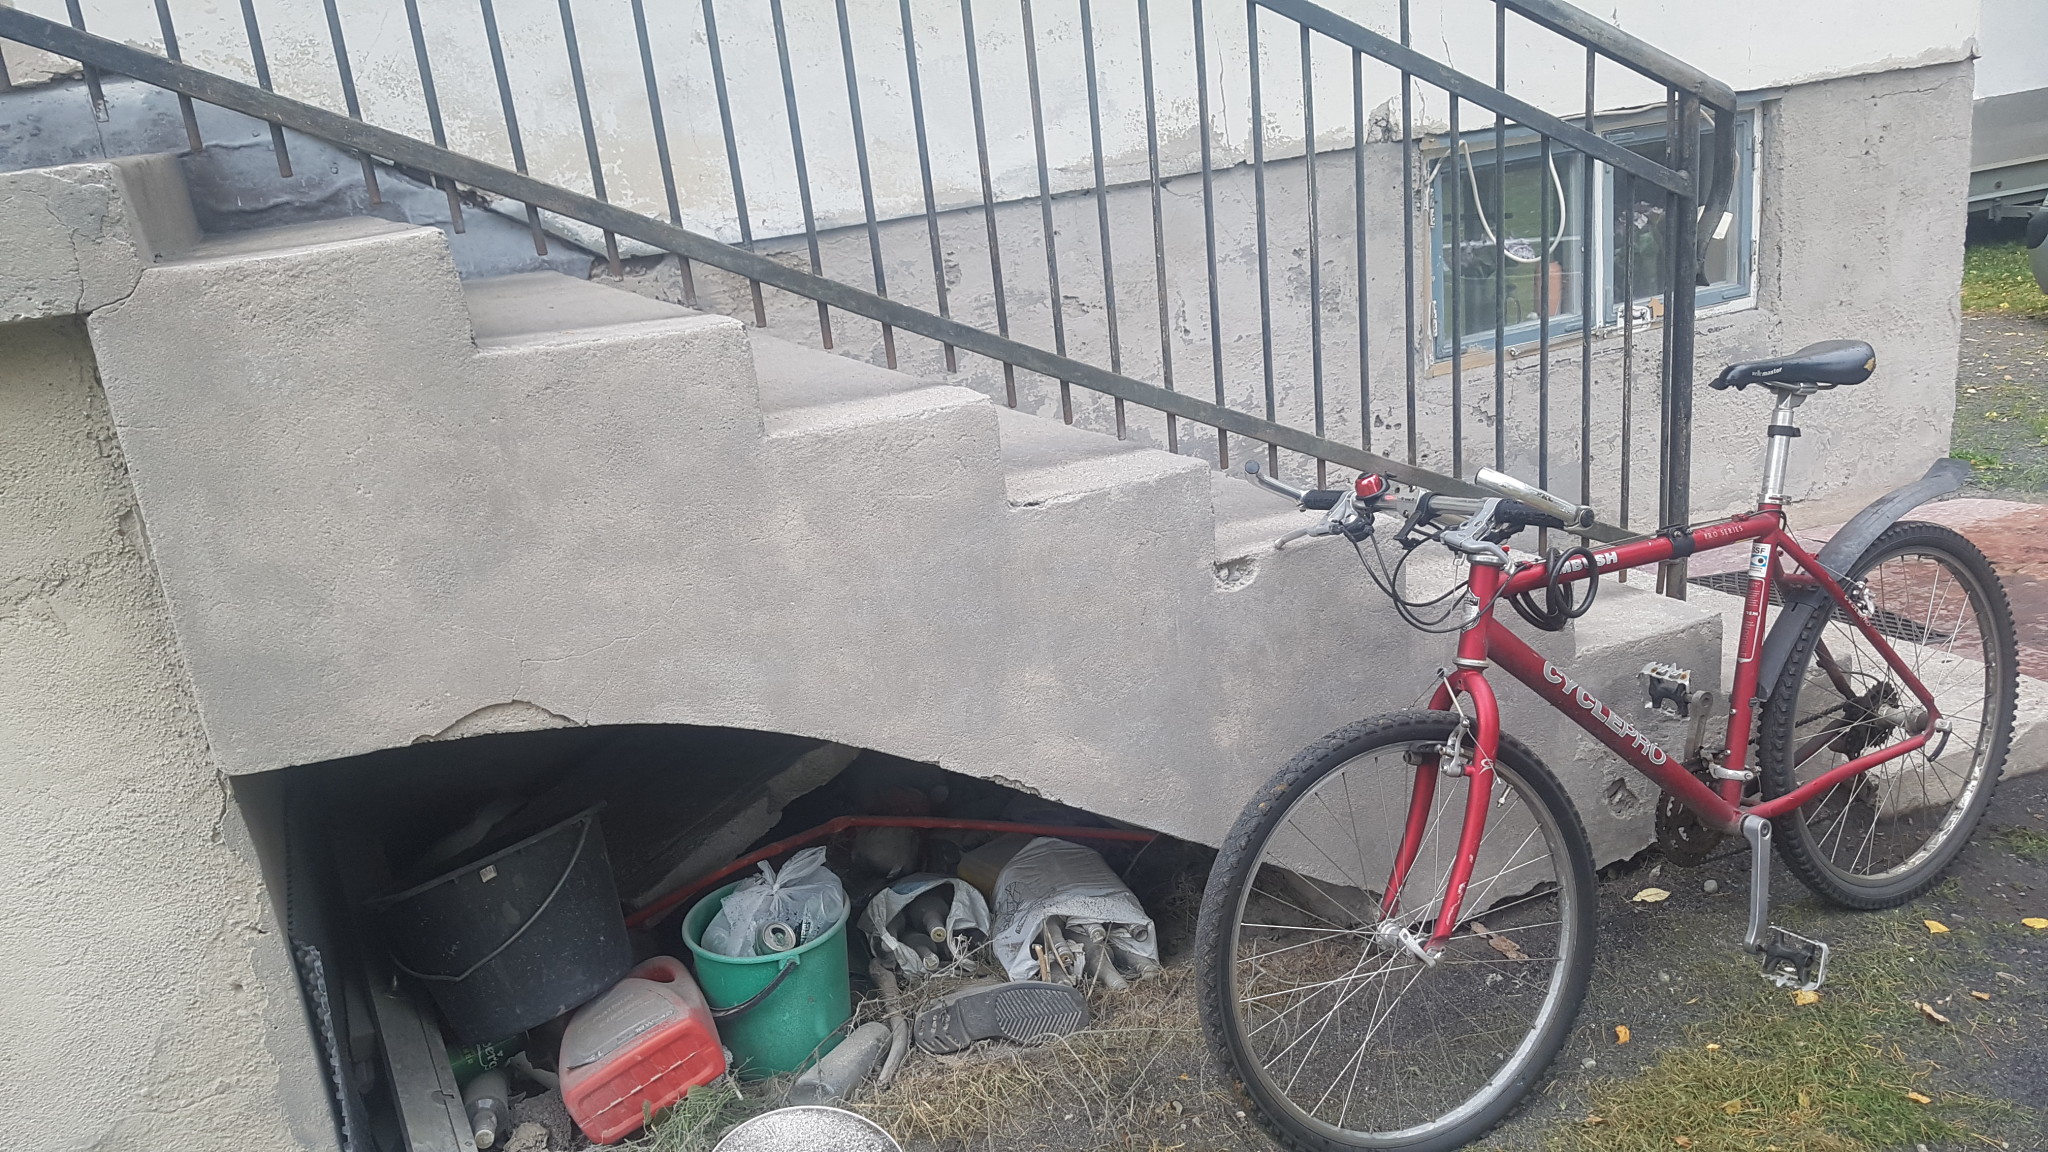
How well it turned out, no bad surprises there. It will be easy to attach a coating to it. However, the last step is probably impossible to repair well. Remove and drill dowels into the staircase where you can tension a small reinforcement mesh. Shape and cast new, and it will hold.
Now I have polished the underside so all the bigger things are gone.
Regarding 133, should I mix a sack directly in the tombola?
Does the mortar have to be applied or can you kind of spread it?
I assume I should apply mortar on the entire surface to achieve a good surface that is even and smooth.
I'm so darn bad at applying mortar, it ends up being like a snuff pinch at a time
Building conservationist
· Malmö
· 256 posts
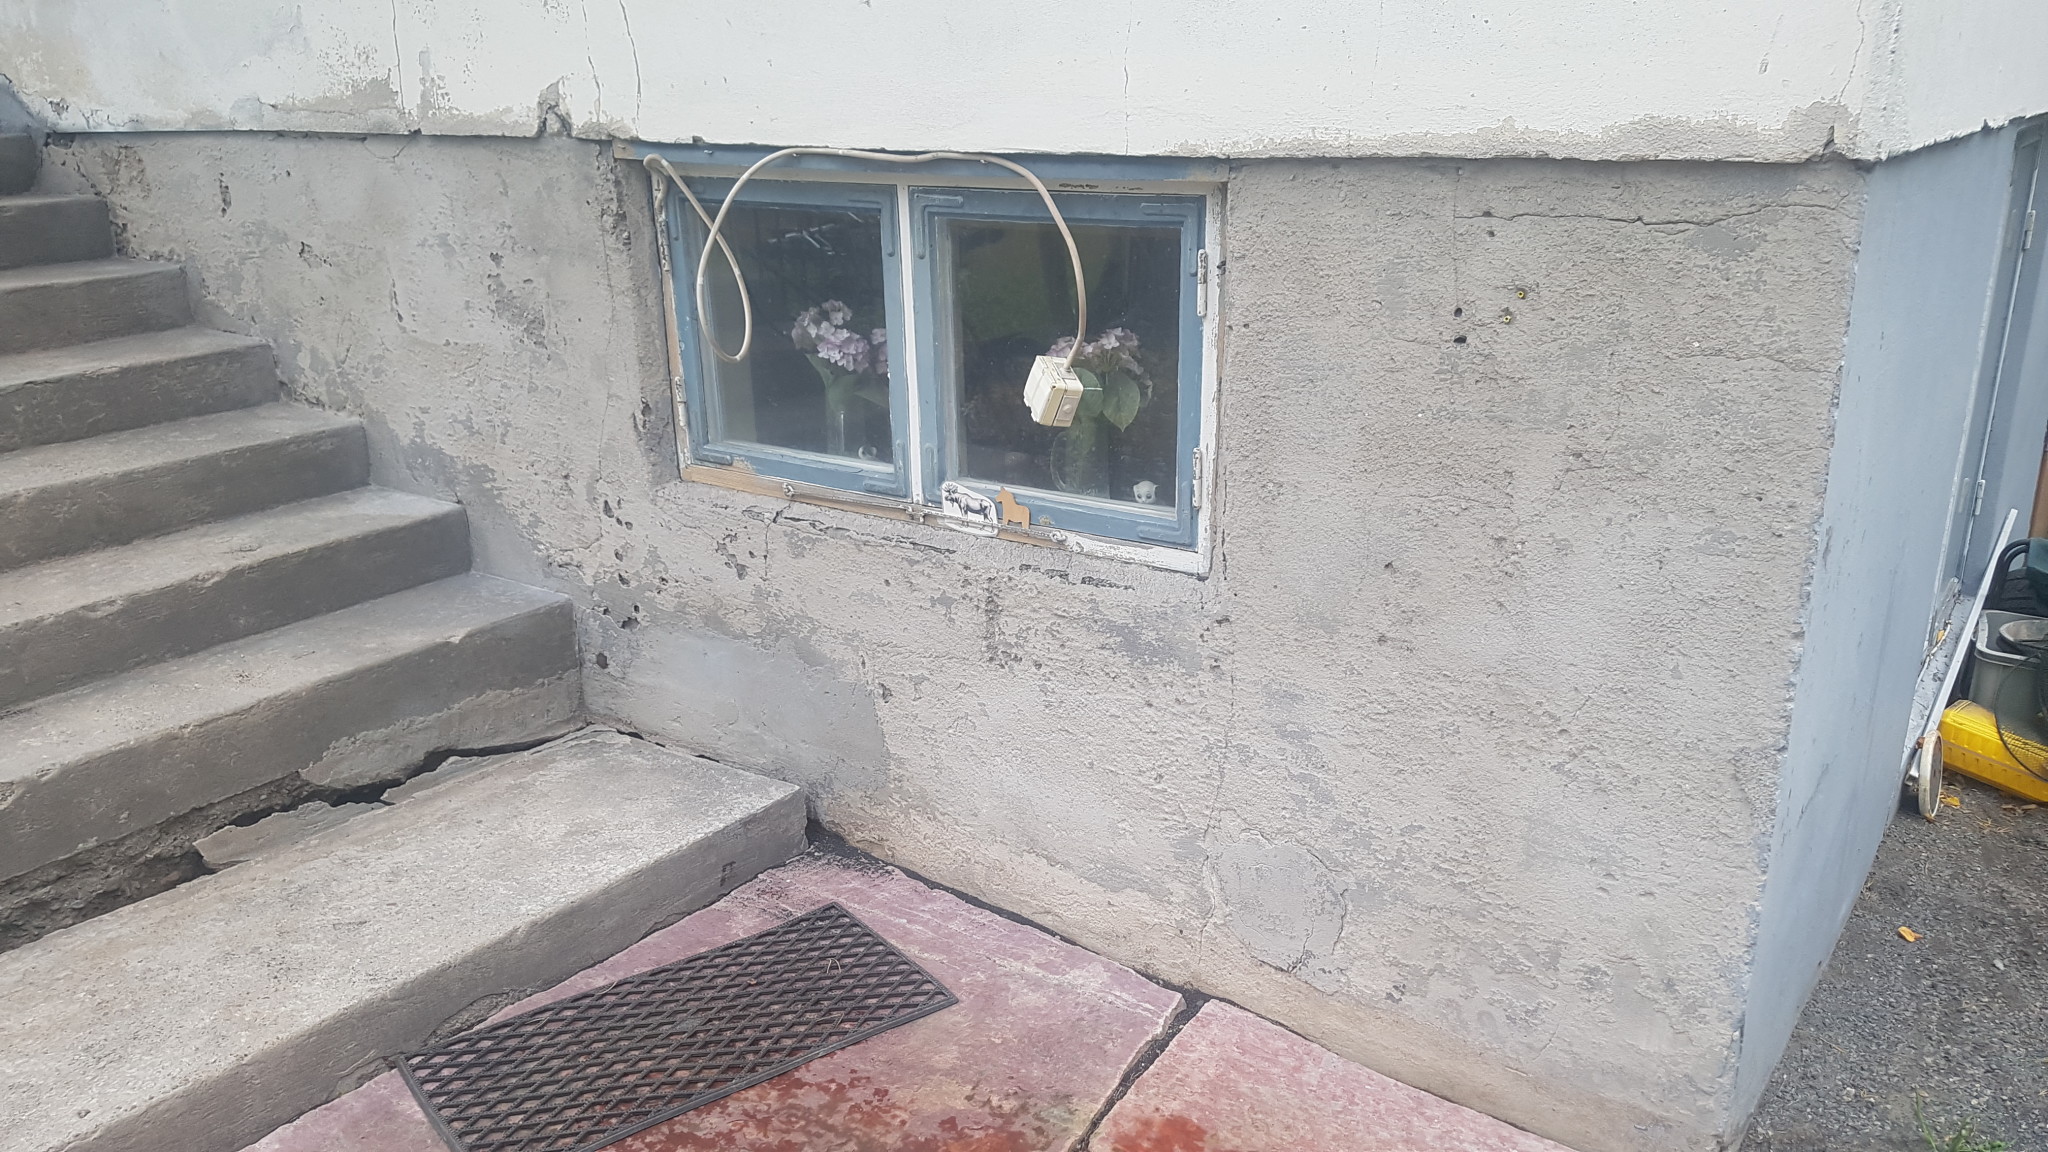
Mix in a bucket with a whisk, apply with a steel trowel about 0.5 mm. It dries quickly so you should ideally reach the entire surface up to the corners before you float.
Ok I have maybe 3-5mm irregularities as it is now, I thought I could take them with 133 but maybe that's not possible thenL Lerstenstegel said: