Hello!
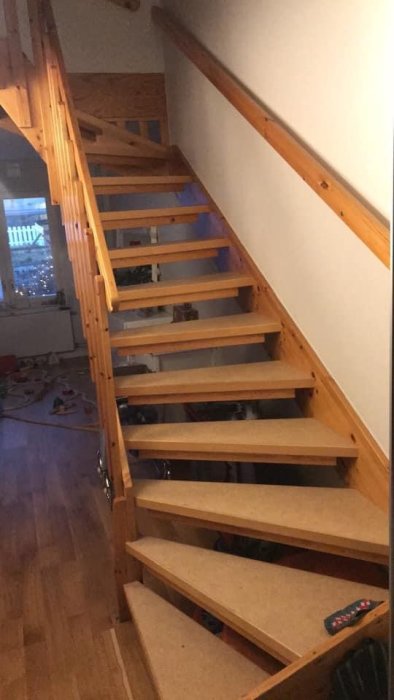
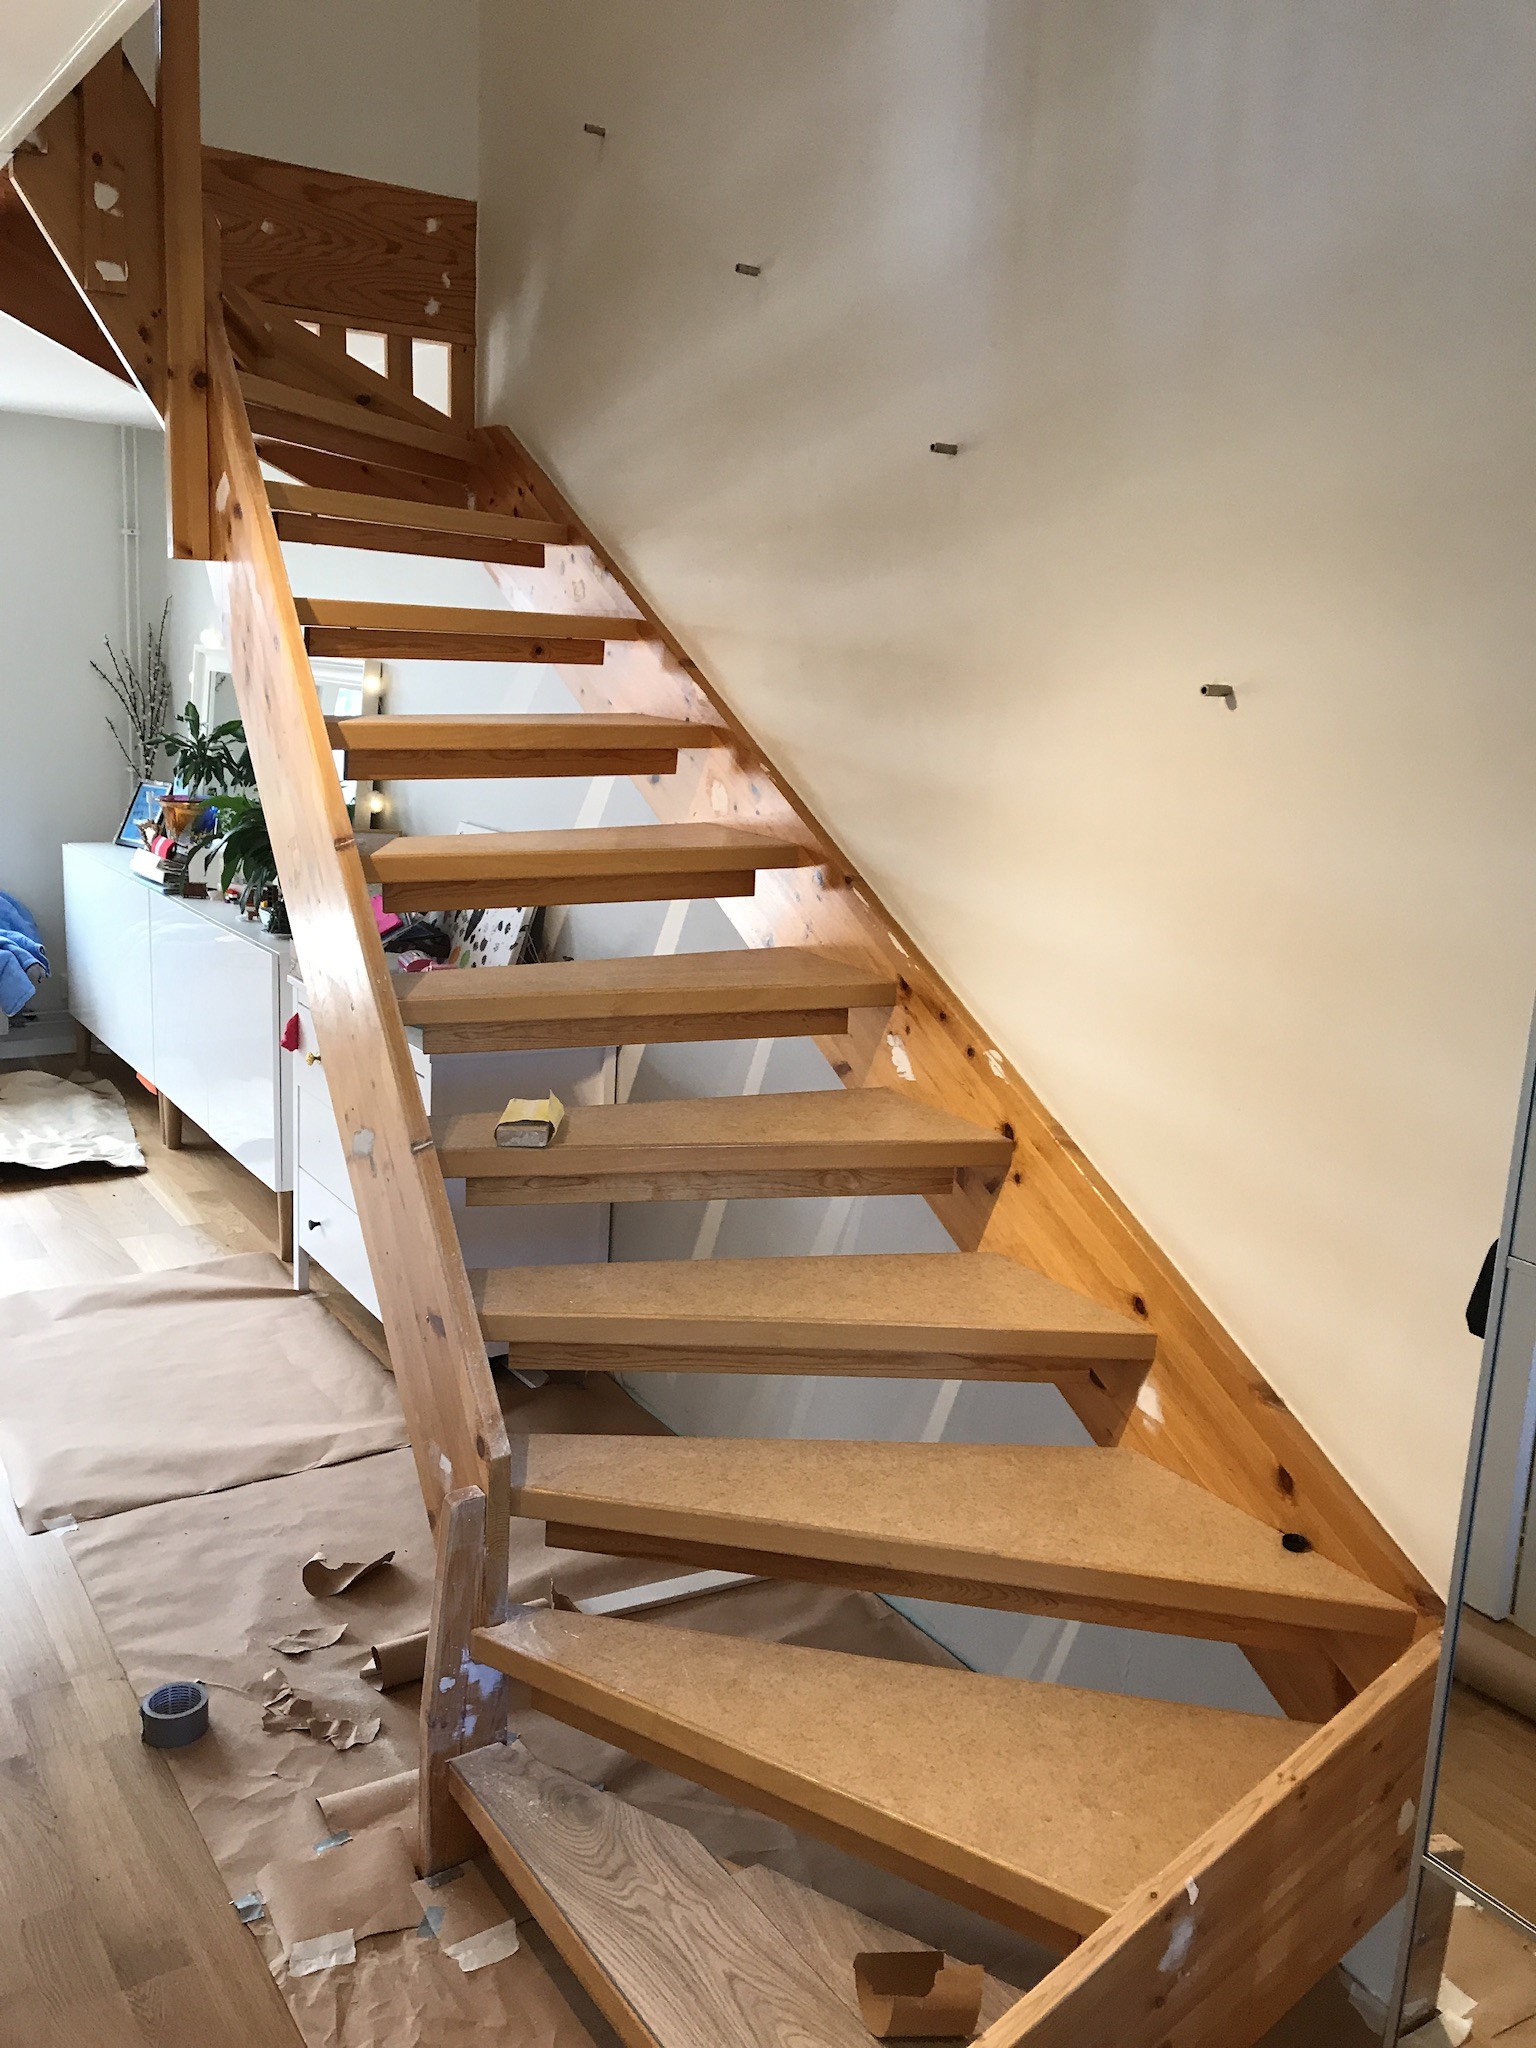
We are about to start renovating our stairs. They are curved with blue vinyl flooring that is stuck like glue.
Can you lay regular oak parquet on the steps?
What adhesive is used in that case?
What do you use for the stair nose?
Has anyone done something similar? Preferably with pictures of the result and possibly when you laid the parquet.
Hello.
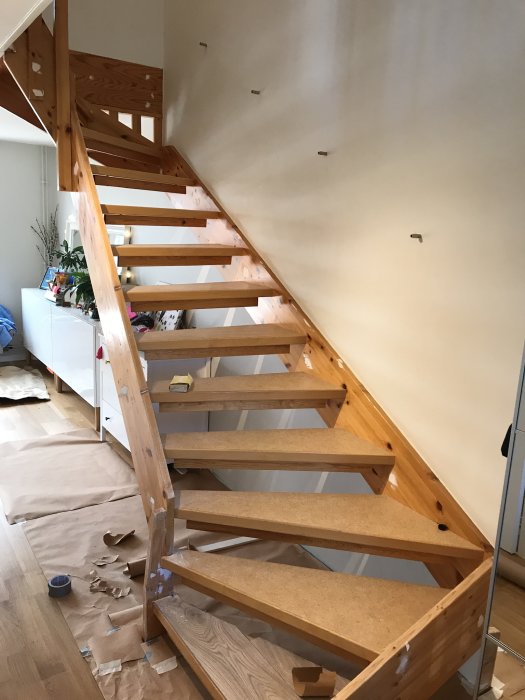
We finally tackled this now and it looks promising.
We started by getting quotes for painting and step kits, and the cheapest was around 10000 + 15000 for painting/step kit.
But after struggling to coordinate with craftsmen and time, we decided to do it ourselves instead.
The cost is about 5300kr
Brush, primer, filler, paint 1700kr
Nordsjö professional 15
Parquet 1600kr
Tarkett 8.5mm viva white
Stair nose 2000kr
Habo stair nose
Rear list 300kr
21x21mm about 13m
Origin
Not much to say, some kind of cork mat that was left in place.
We started by sanding/roughing and finished with paint wash on the entire staircase, railings, etc., were painted separately.
Damages and holes were filled and sanded.
Then a layer of primer was applied that had good adhesion, followed by about 2 more layers of paint. Here it's good to have plenty of paint on the brush to achieve a good surface.
This took a couple of weeks because we didn’t want to rush.
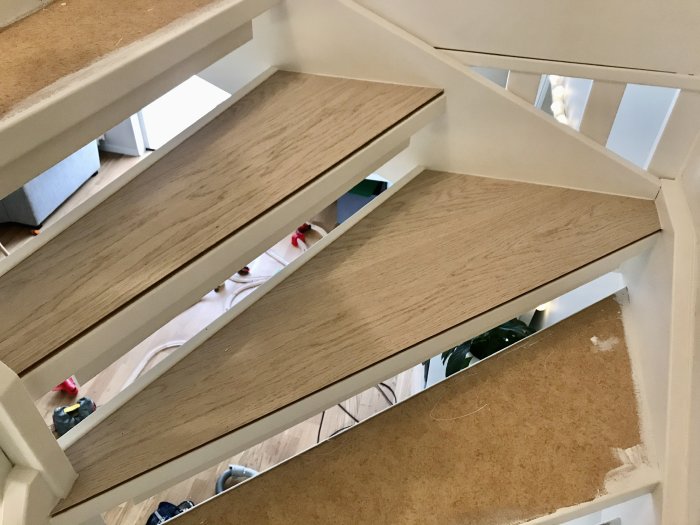
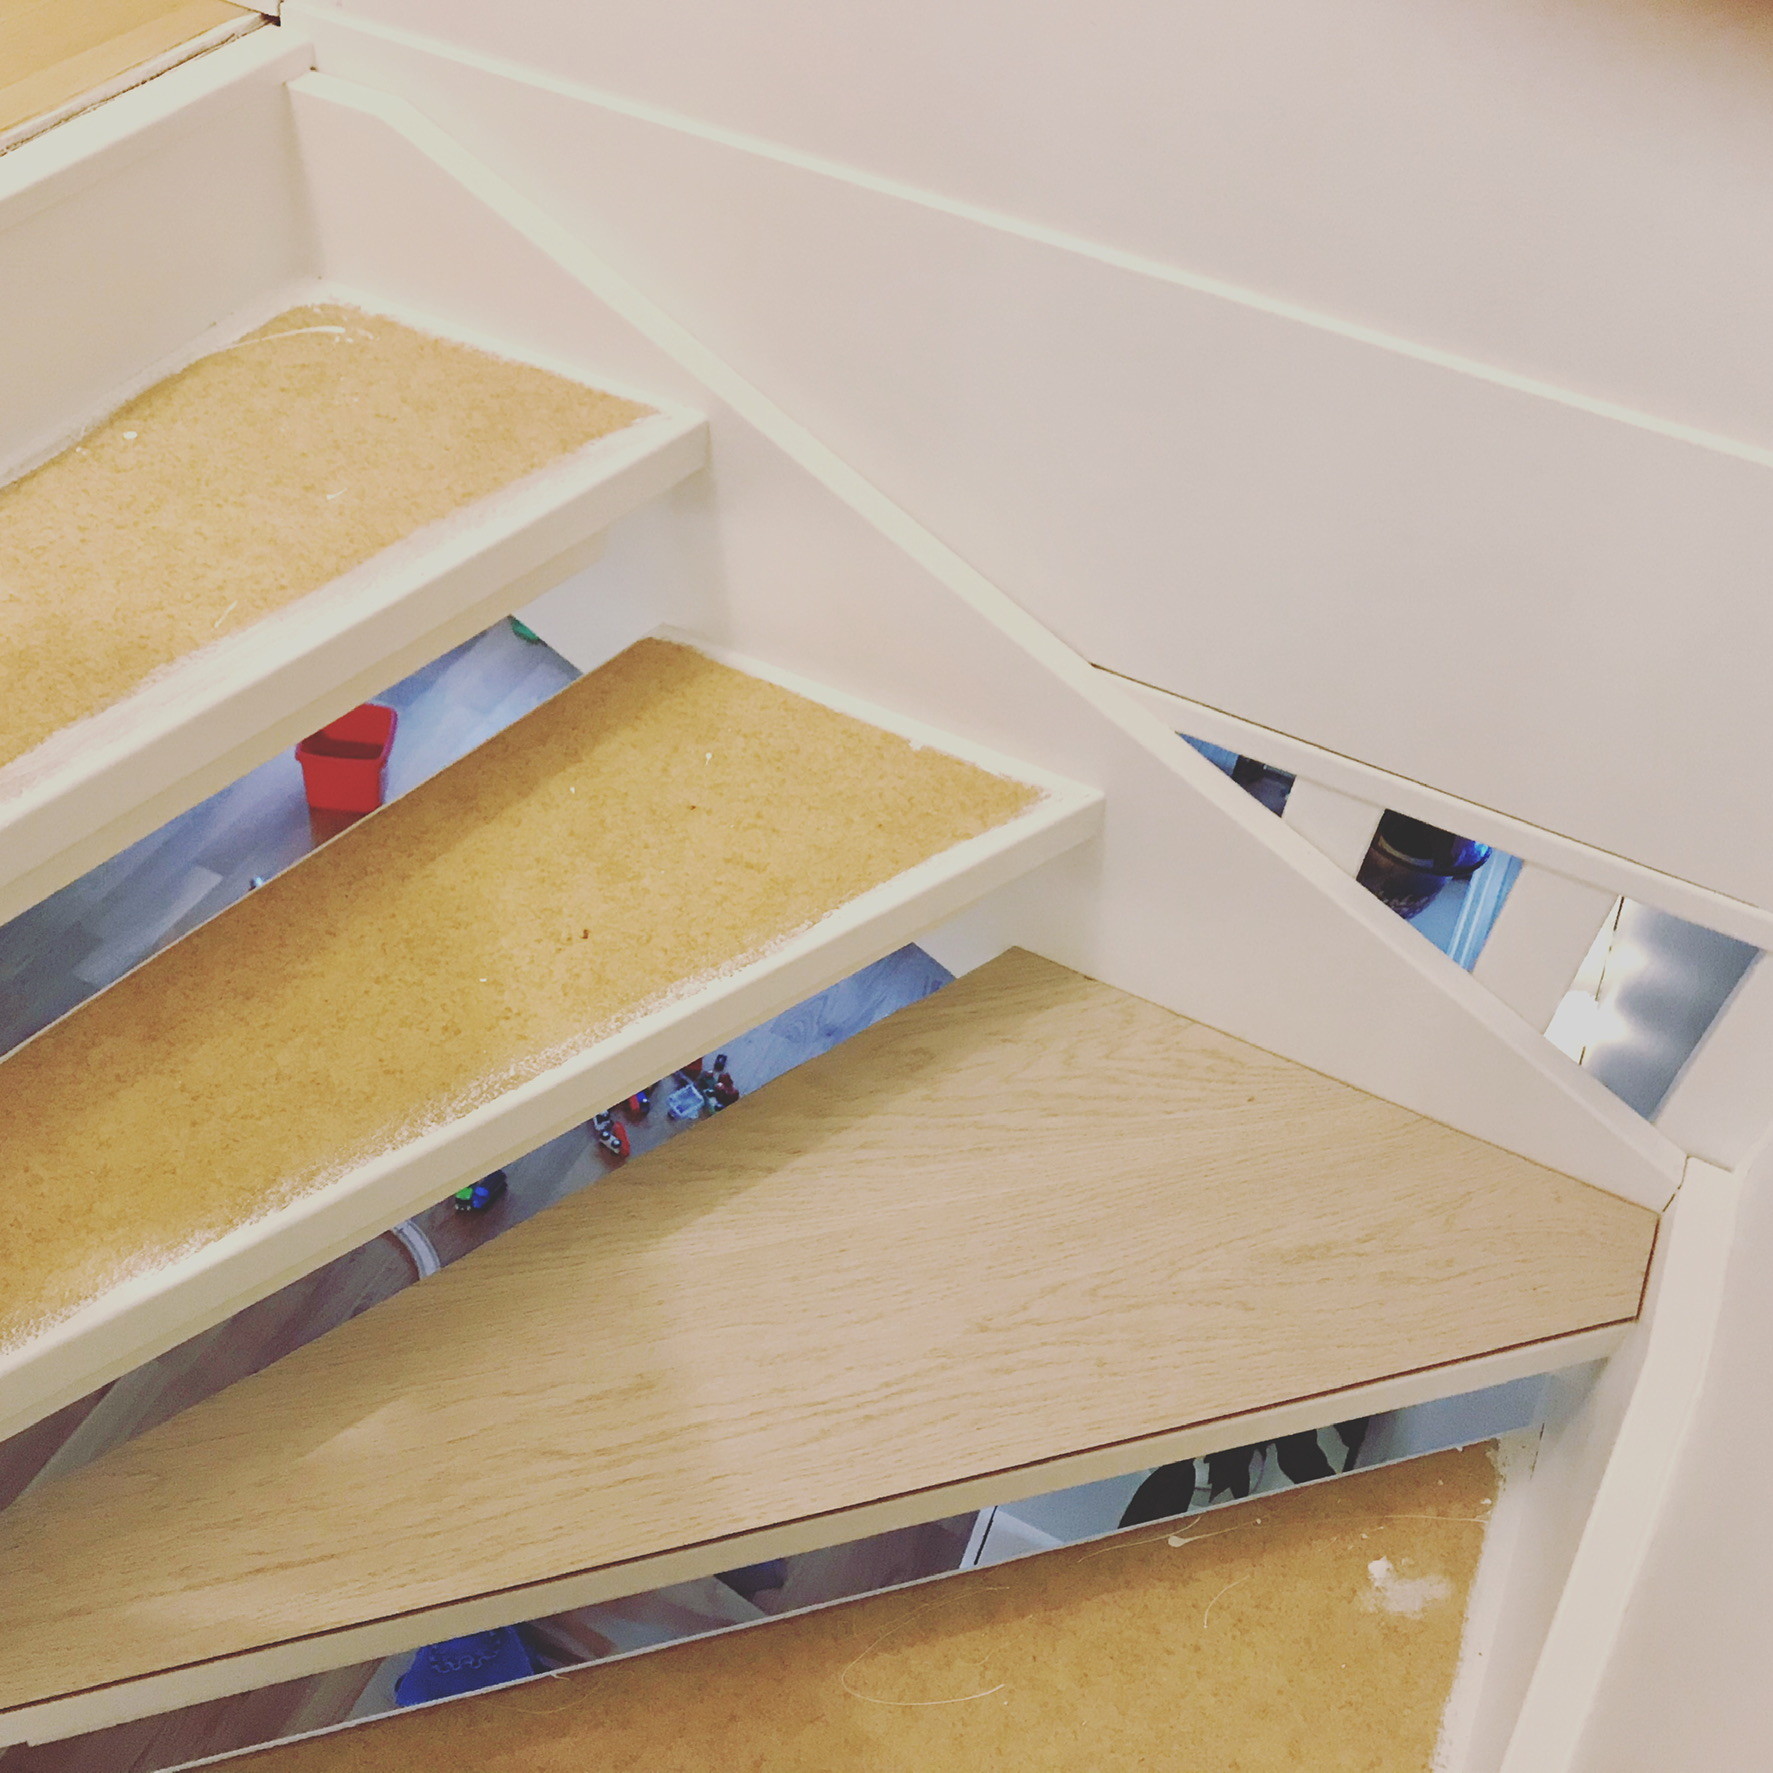
We then found this floor at a good price but really anything would work. It has some texture and isn’t super slippery and shiny like many others.
We used a stair template tool from Bauhaus.
We sawed with a jigsaw up and down and sealed along the edges. Might need two layers of sealant as it sinks a bit when it dries.
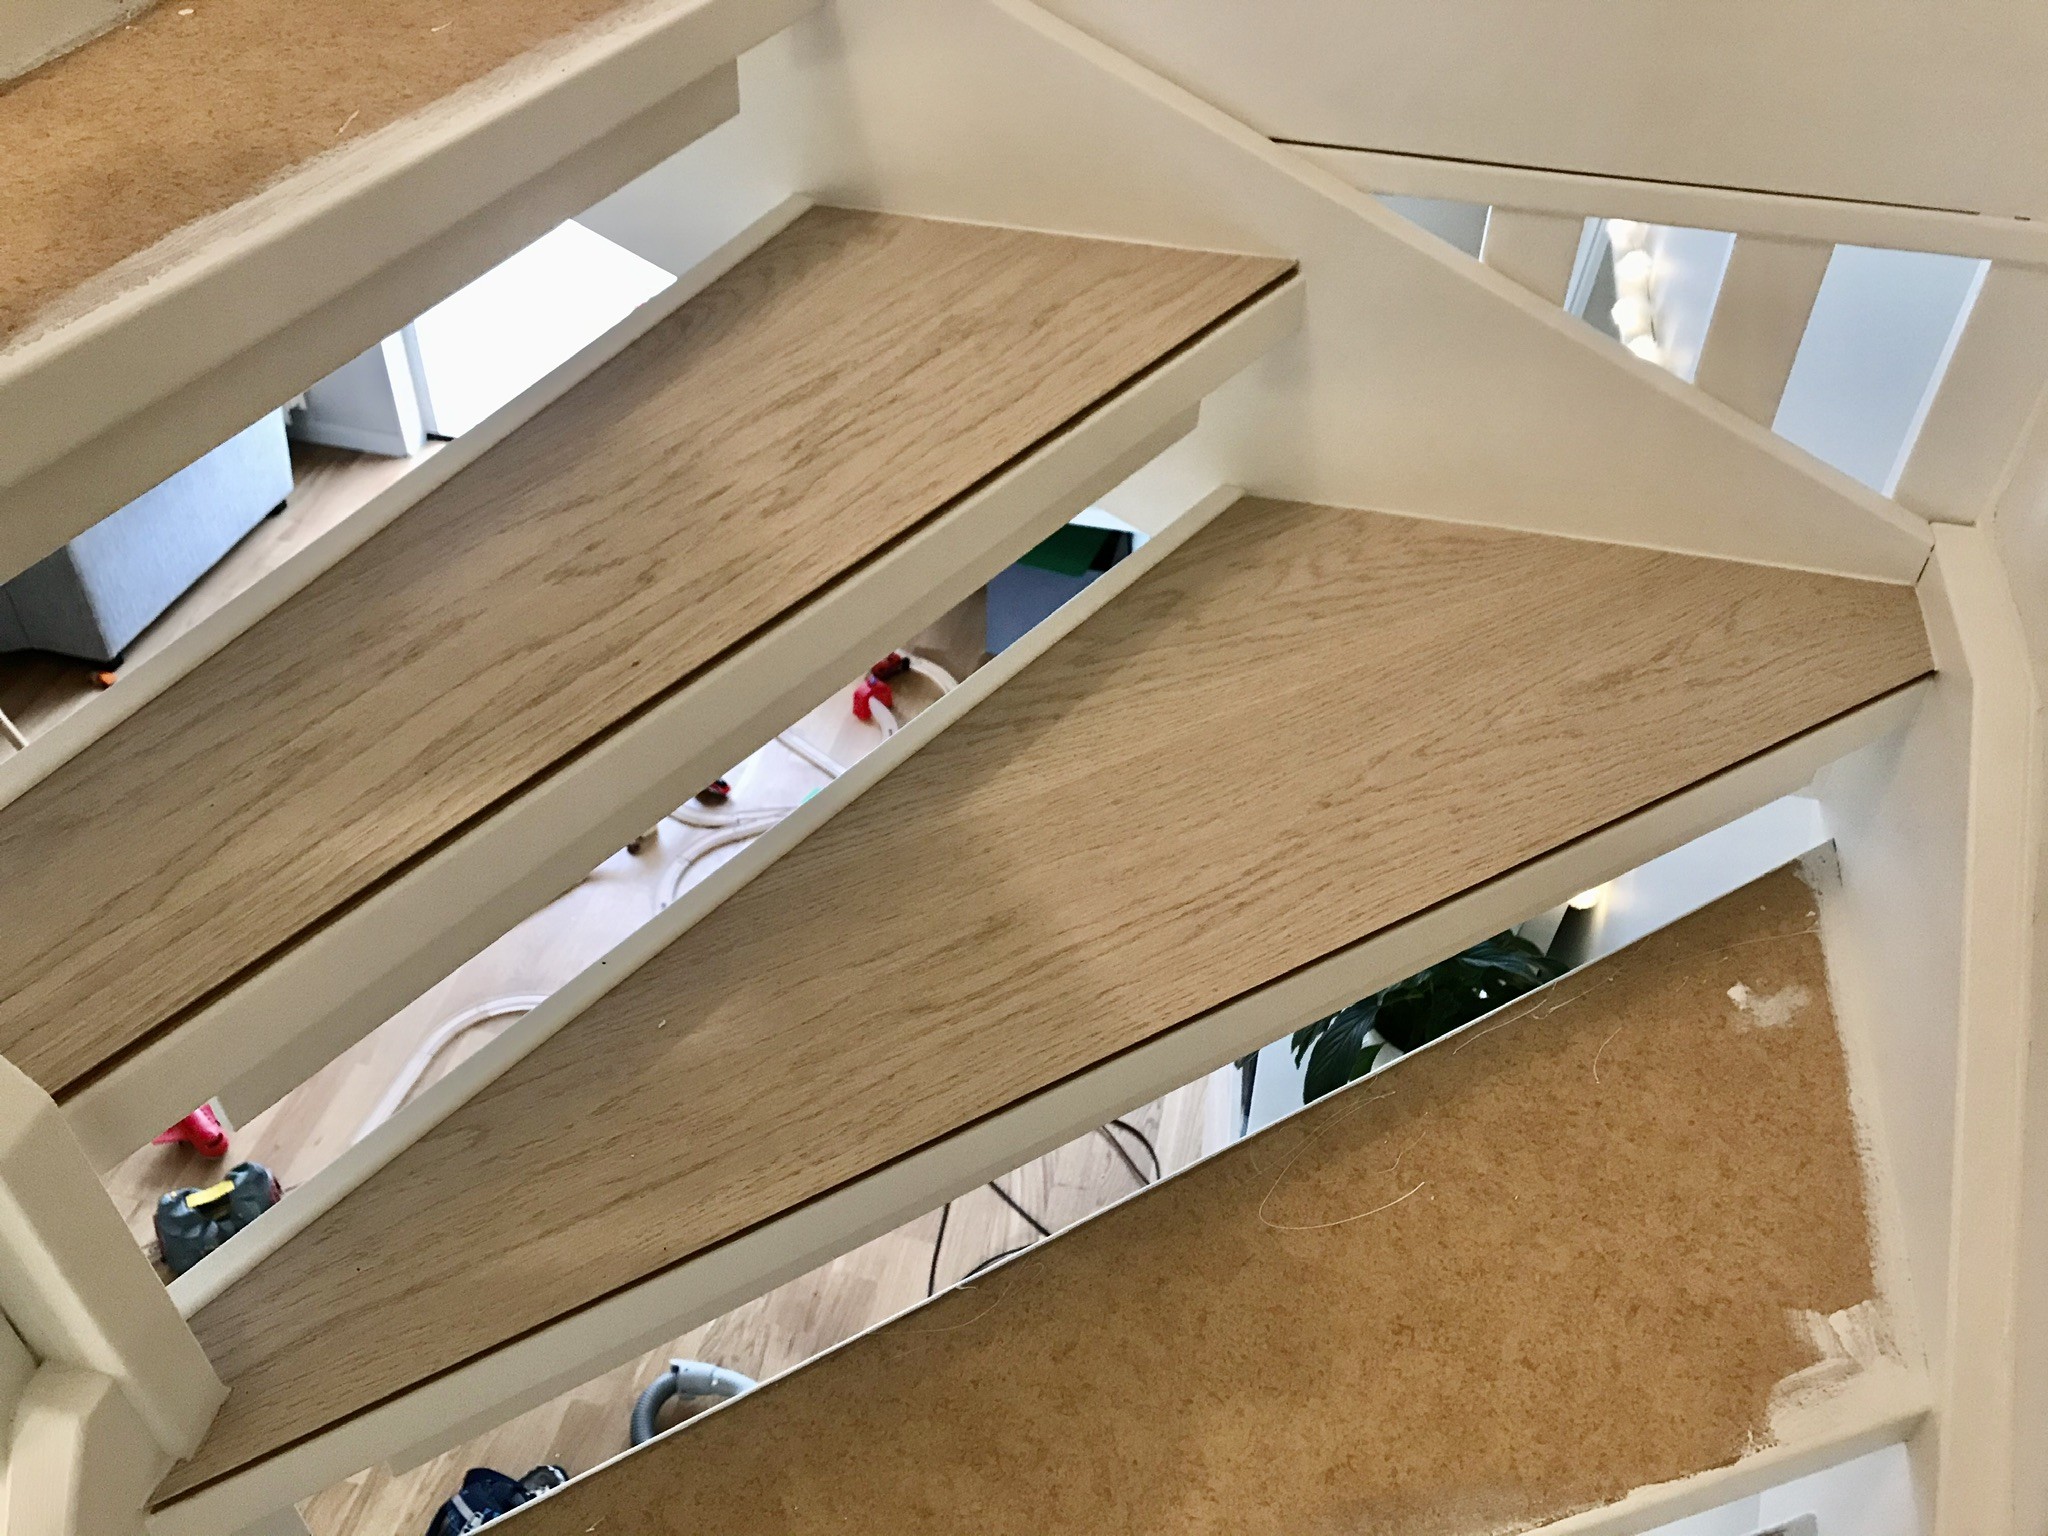
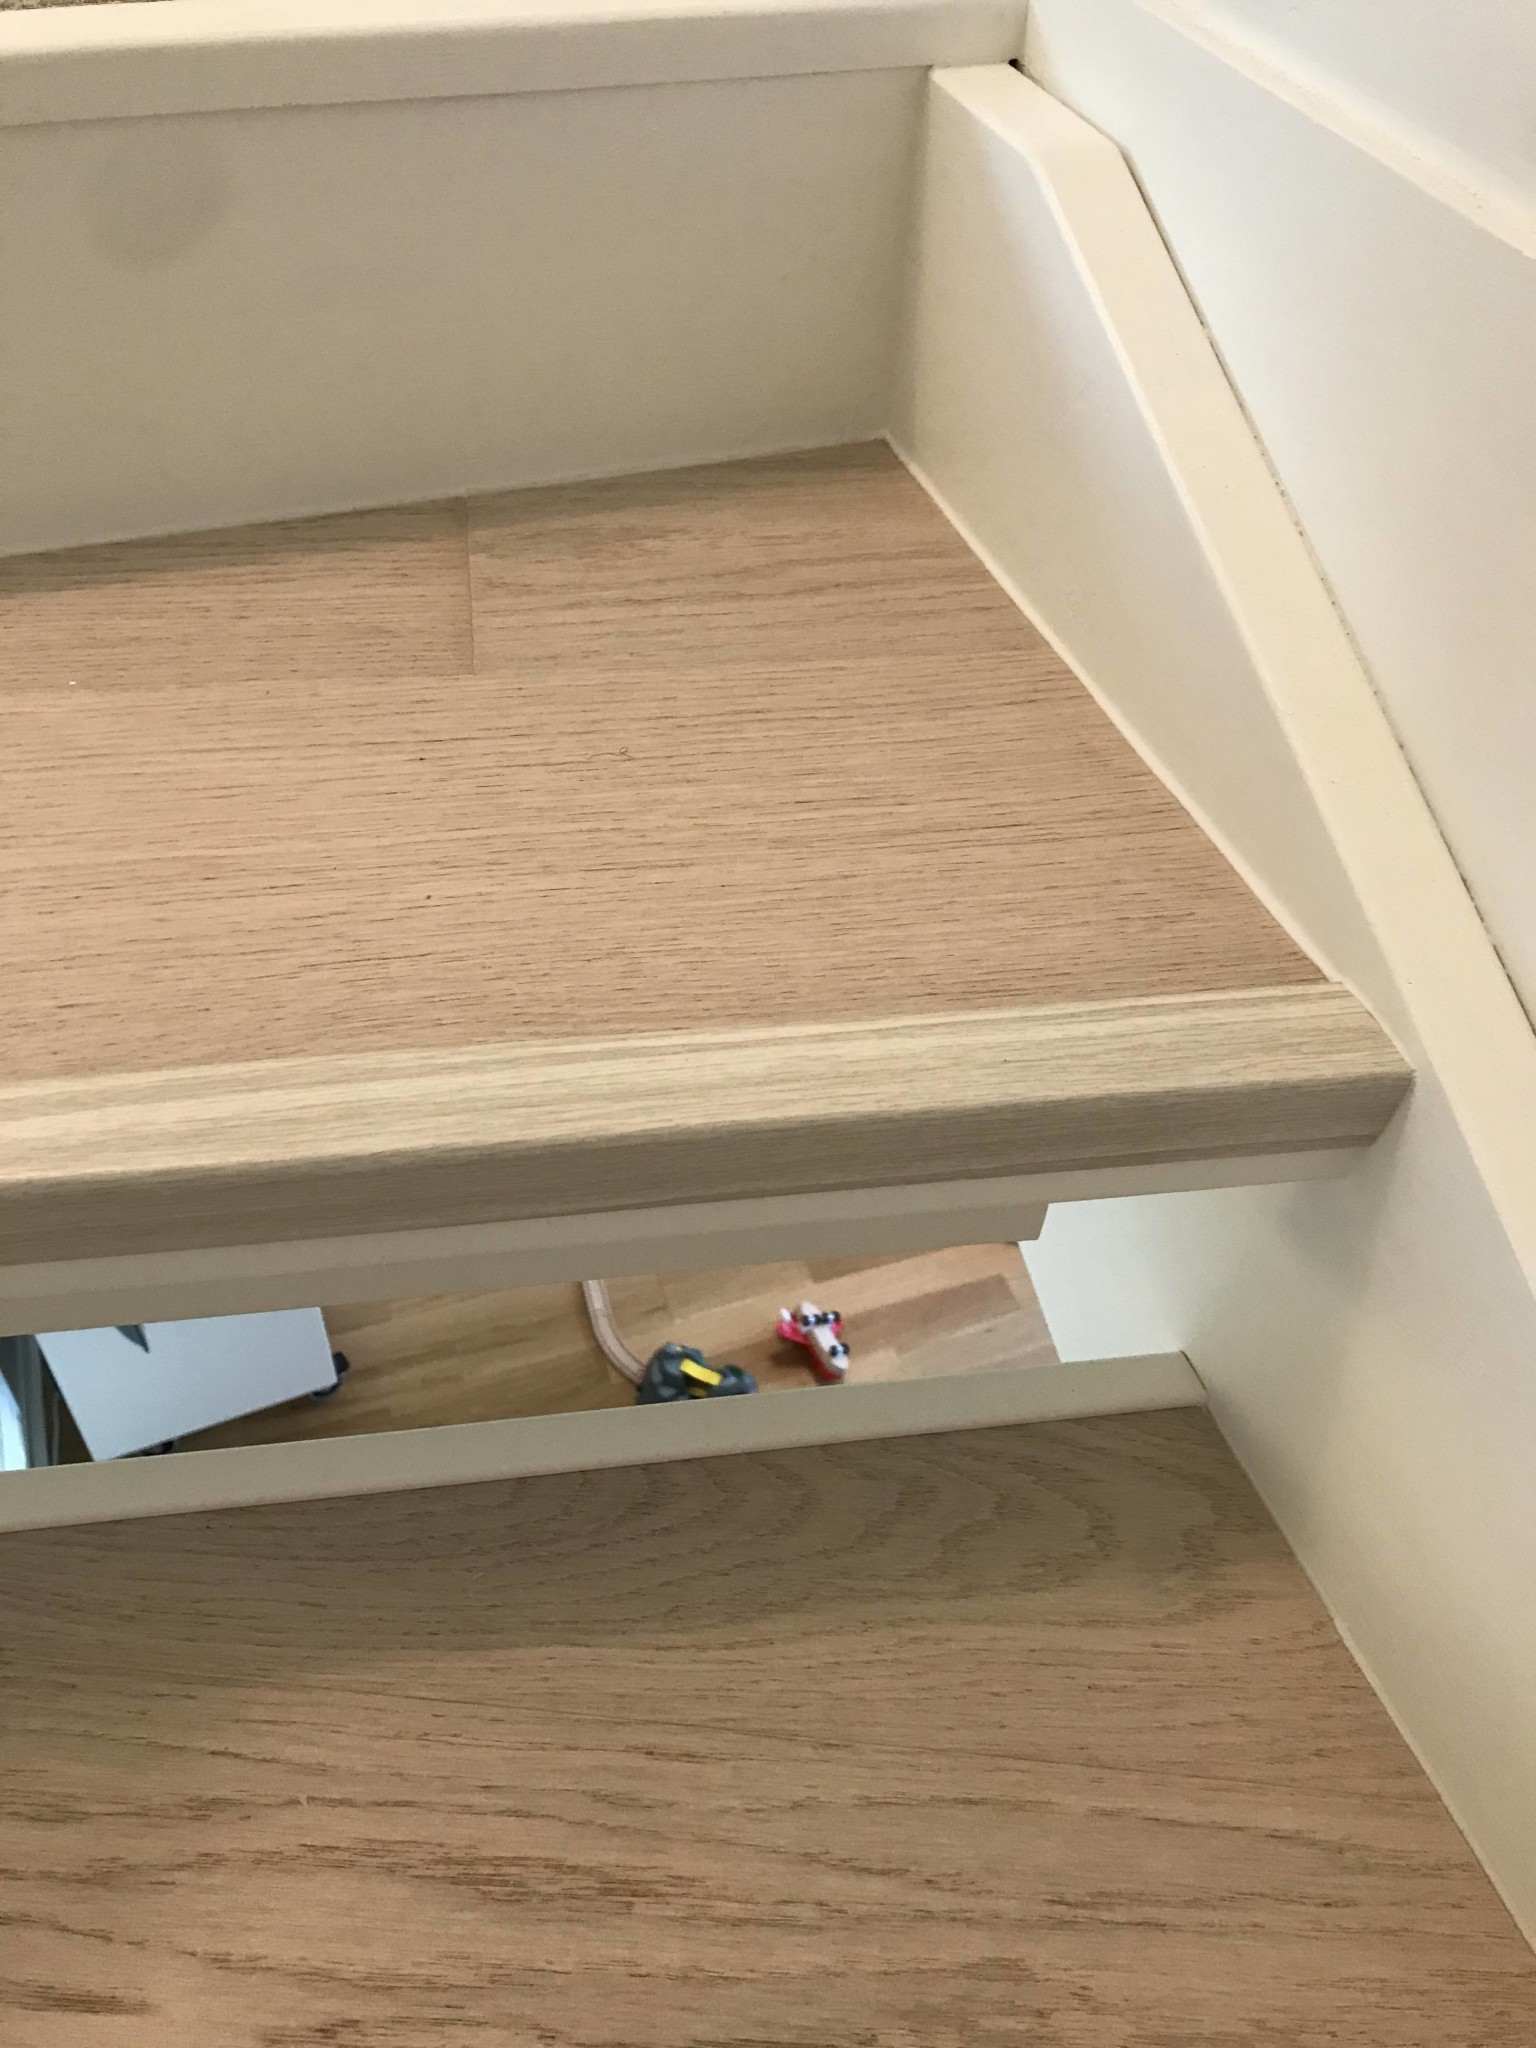
Then the rear list made of pine. There’s barely any load or support, as long as you don’t walk with shoes and step abnormally deep while going up.
We glued these with quick glue.
Finally, the stair nose. These took a while to find and order. They are made of aluminum with a durable foil on top. Available in different colors.
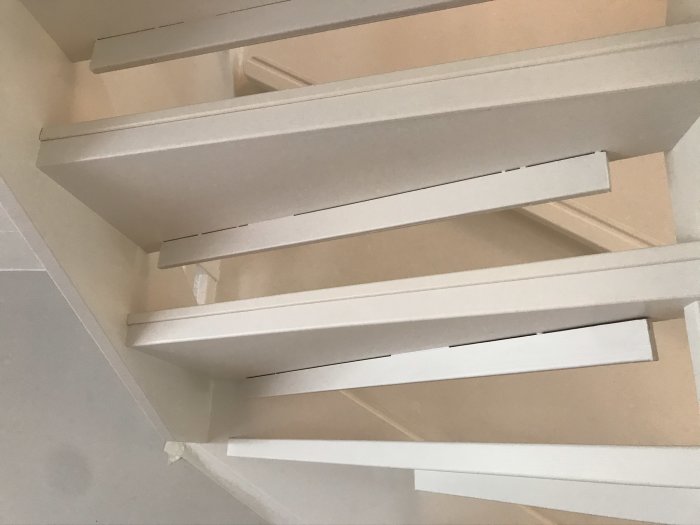
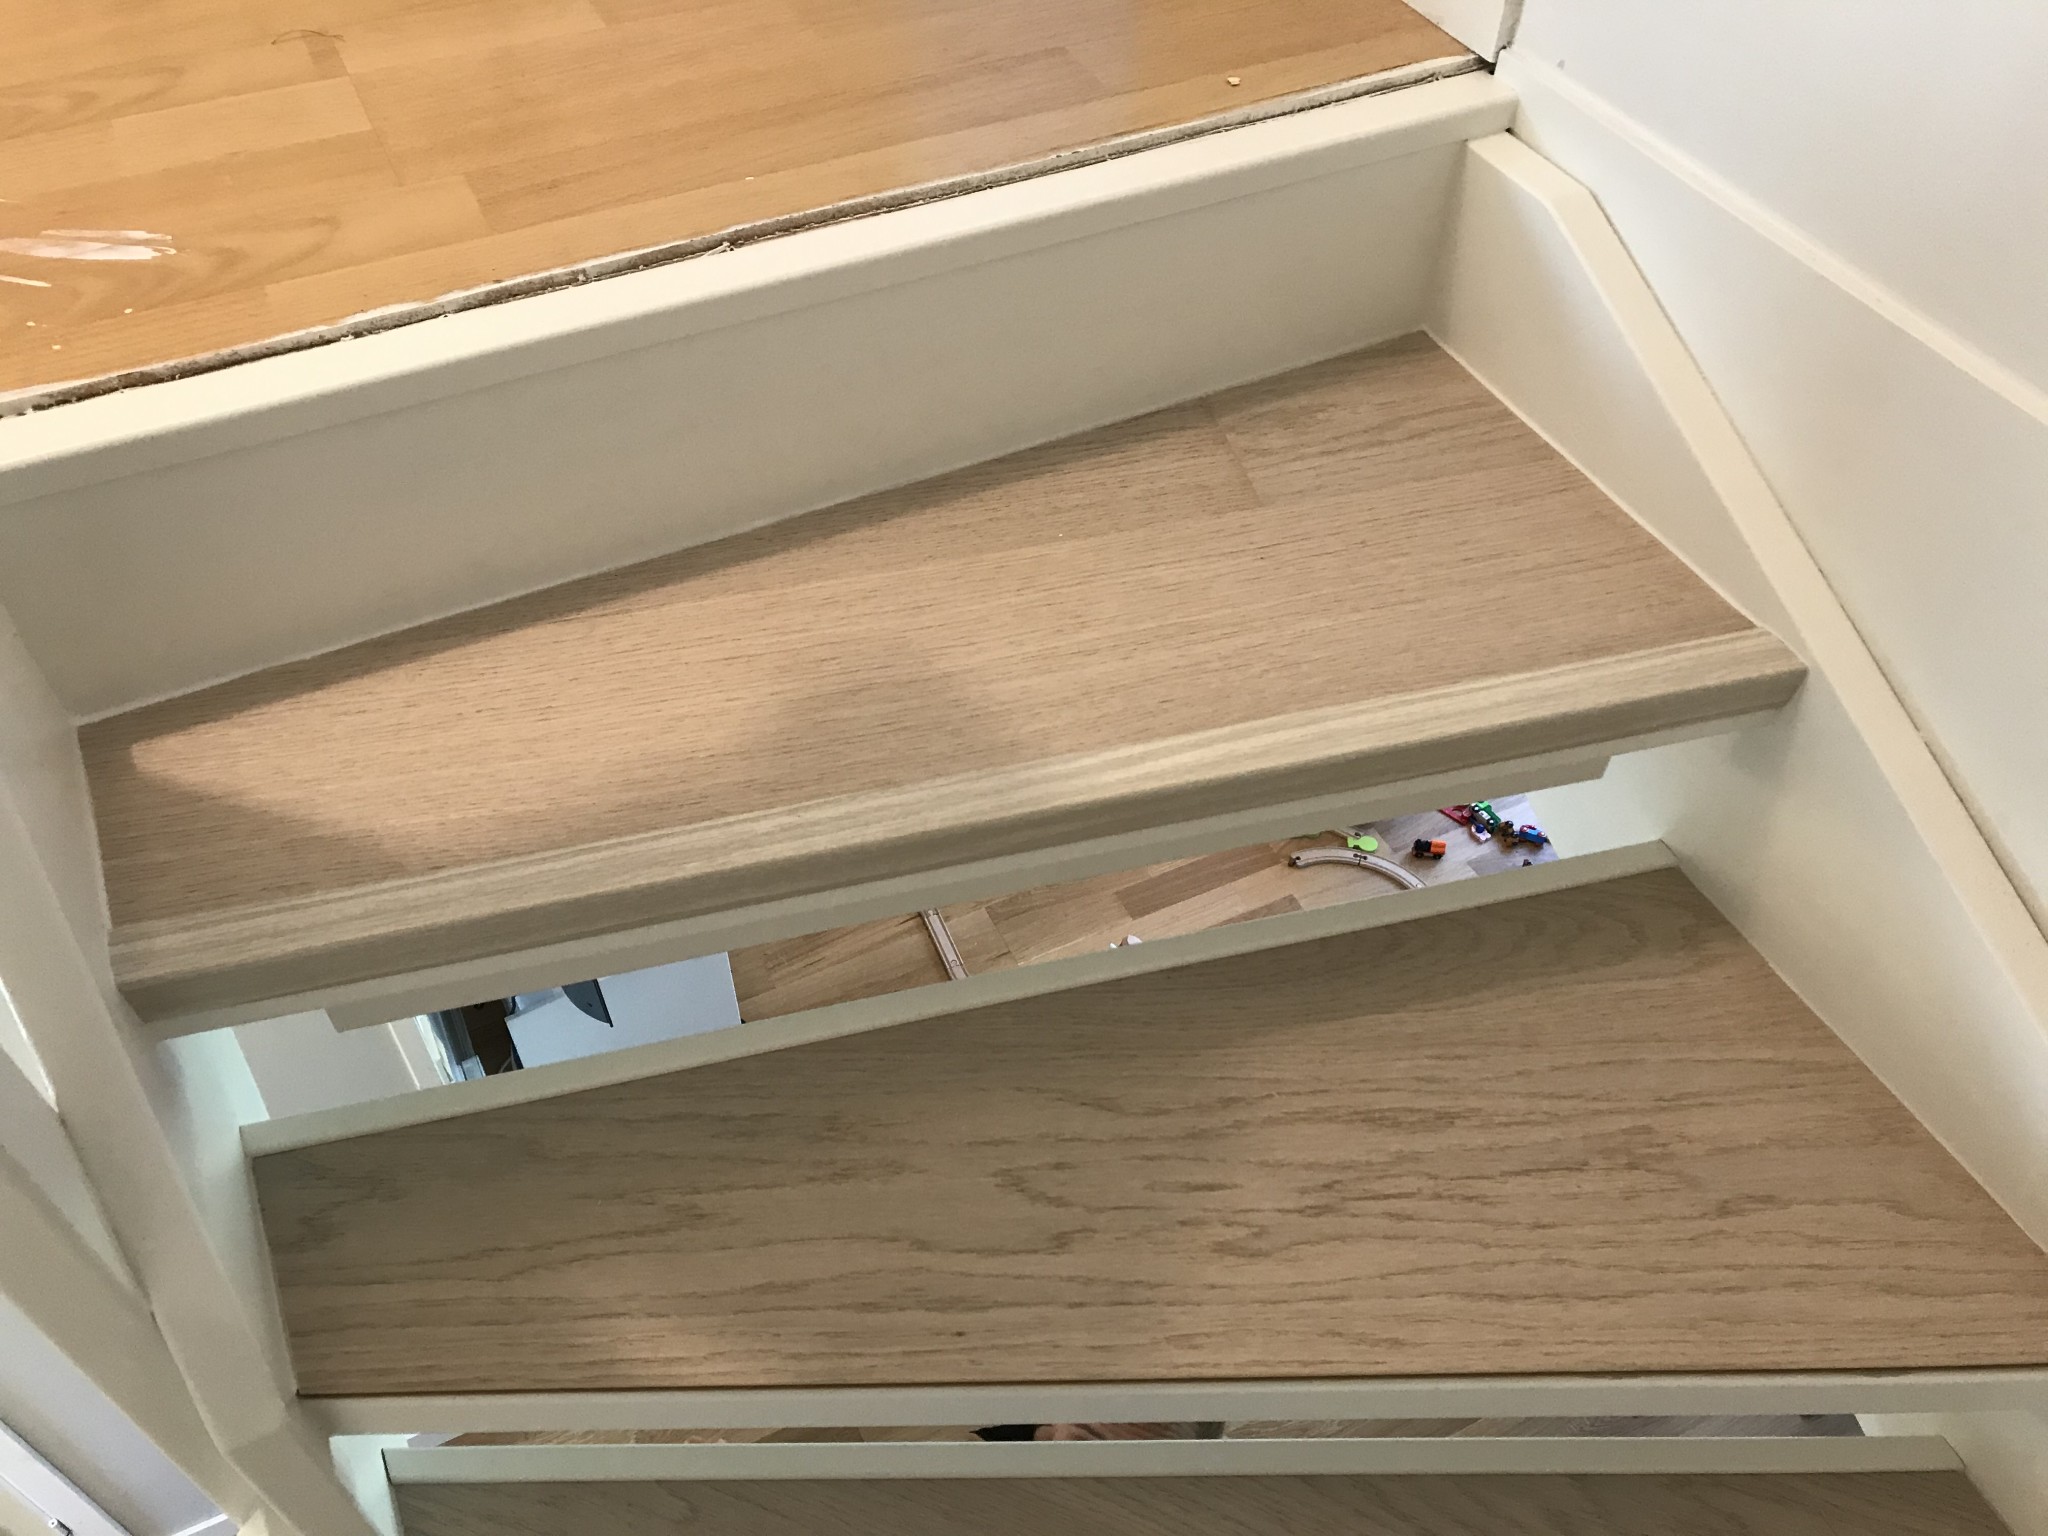
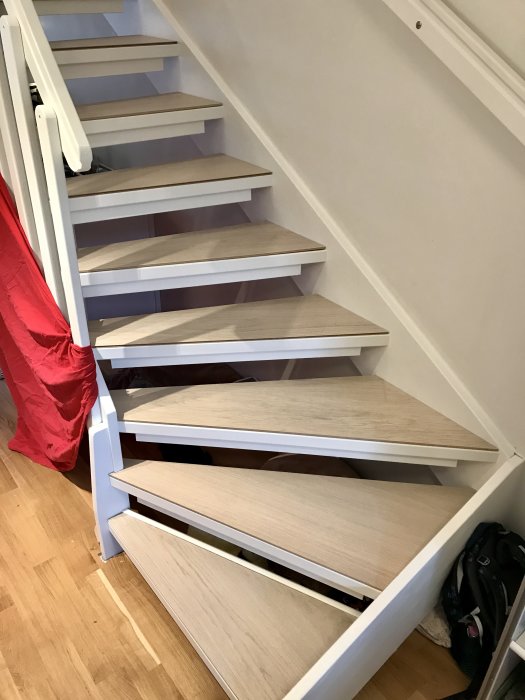
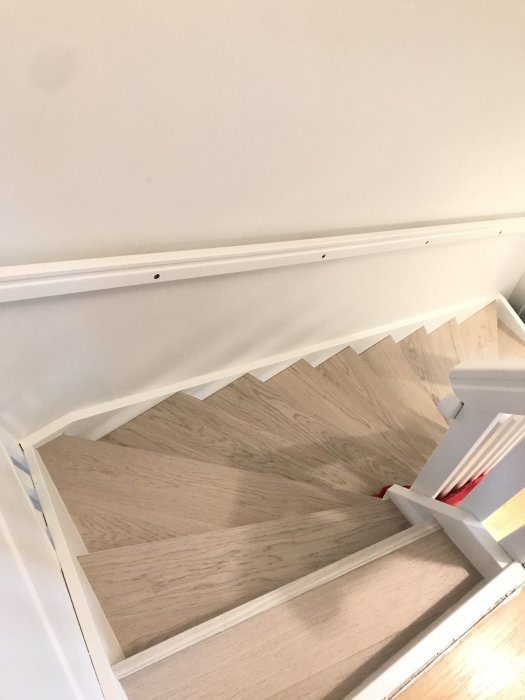
Sawed the rest of the steps today.
Rented a plunge saw from Festool with a guide rail and it was a great help, recommended.
What remains are the moldings front and back (ordered).
To glue we use PL200 adhesive.
[image] [image]
Hi!
Nice staircase! When you glued with PL200, did you apply a generous amount of glue on the steps and clamp the step after gluing while it cured? If not, how did you do it and were there any problems with creaking, etc.?
I glued with Sika T2 a tube to 2 steps. Laid beads with 3cm spacing and pressed down with body weight. That adhesive grips very well. No creaking, as the new step runs freely against the rest of the staircase.
I glued with Sika T2, a tube for 2 steps.
Laid stripes with 3cm spacing and pressed down with body weight. That glue grips pretty well. No creaking, as the new step runs freely against the rest of the staircase.
I didn't use any clamps.
Okay, that sounds good. I have PL200 at home, do you/anyone know if it's enough to press down with body weight for a while or do you need to use clamps before the glue grips?
Unfortunately, I don't know how PL200 behaves.
Sika T2 grabbed immediately though, it was even difficult to "slide" the new surface layer into exactly the right position - it grabbed that well.
Click here to reply
Vi vill skicka notiser för ämnen du bevakar och händelser som berör dig.