
Never thought this would be difficult. But I have installed the first molding/ceiling trim according to the picture. Right or wrong? The problem is that I can't get the next piece to fit.
I have had the molding lacquered and don't have the material to make more mistakes than I already have
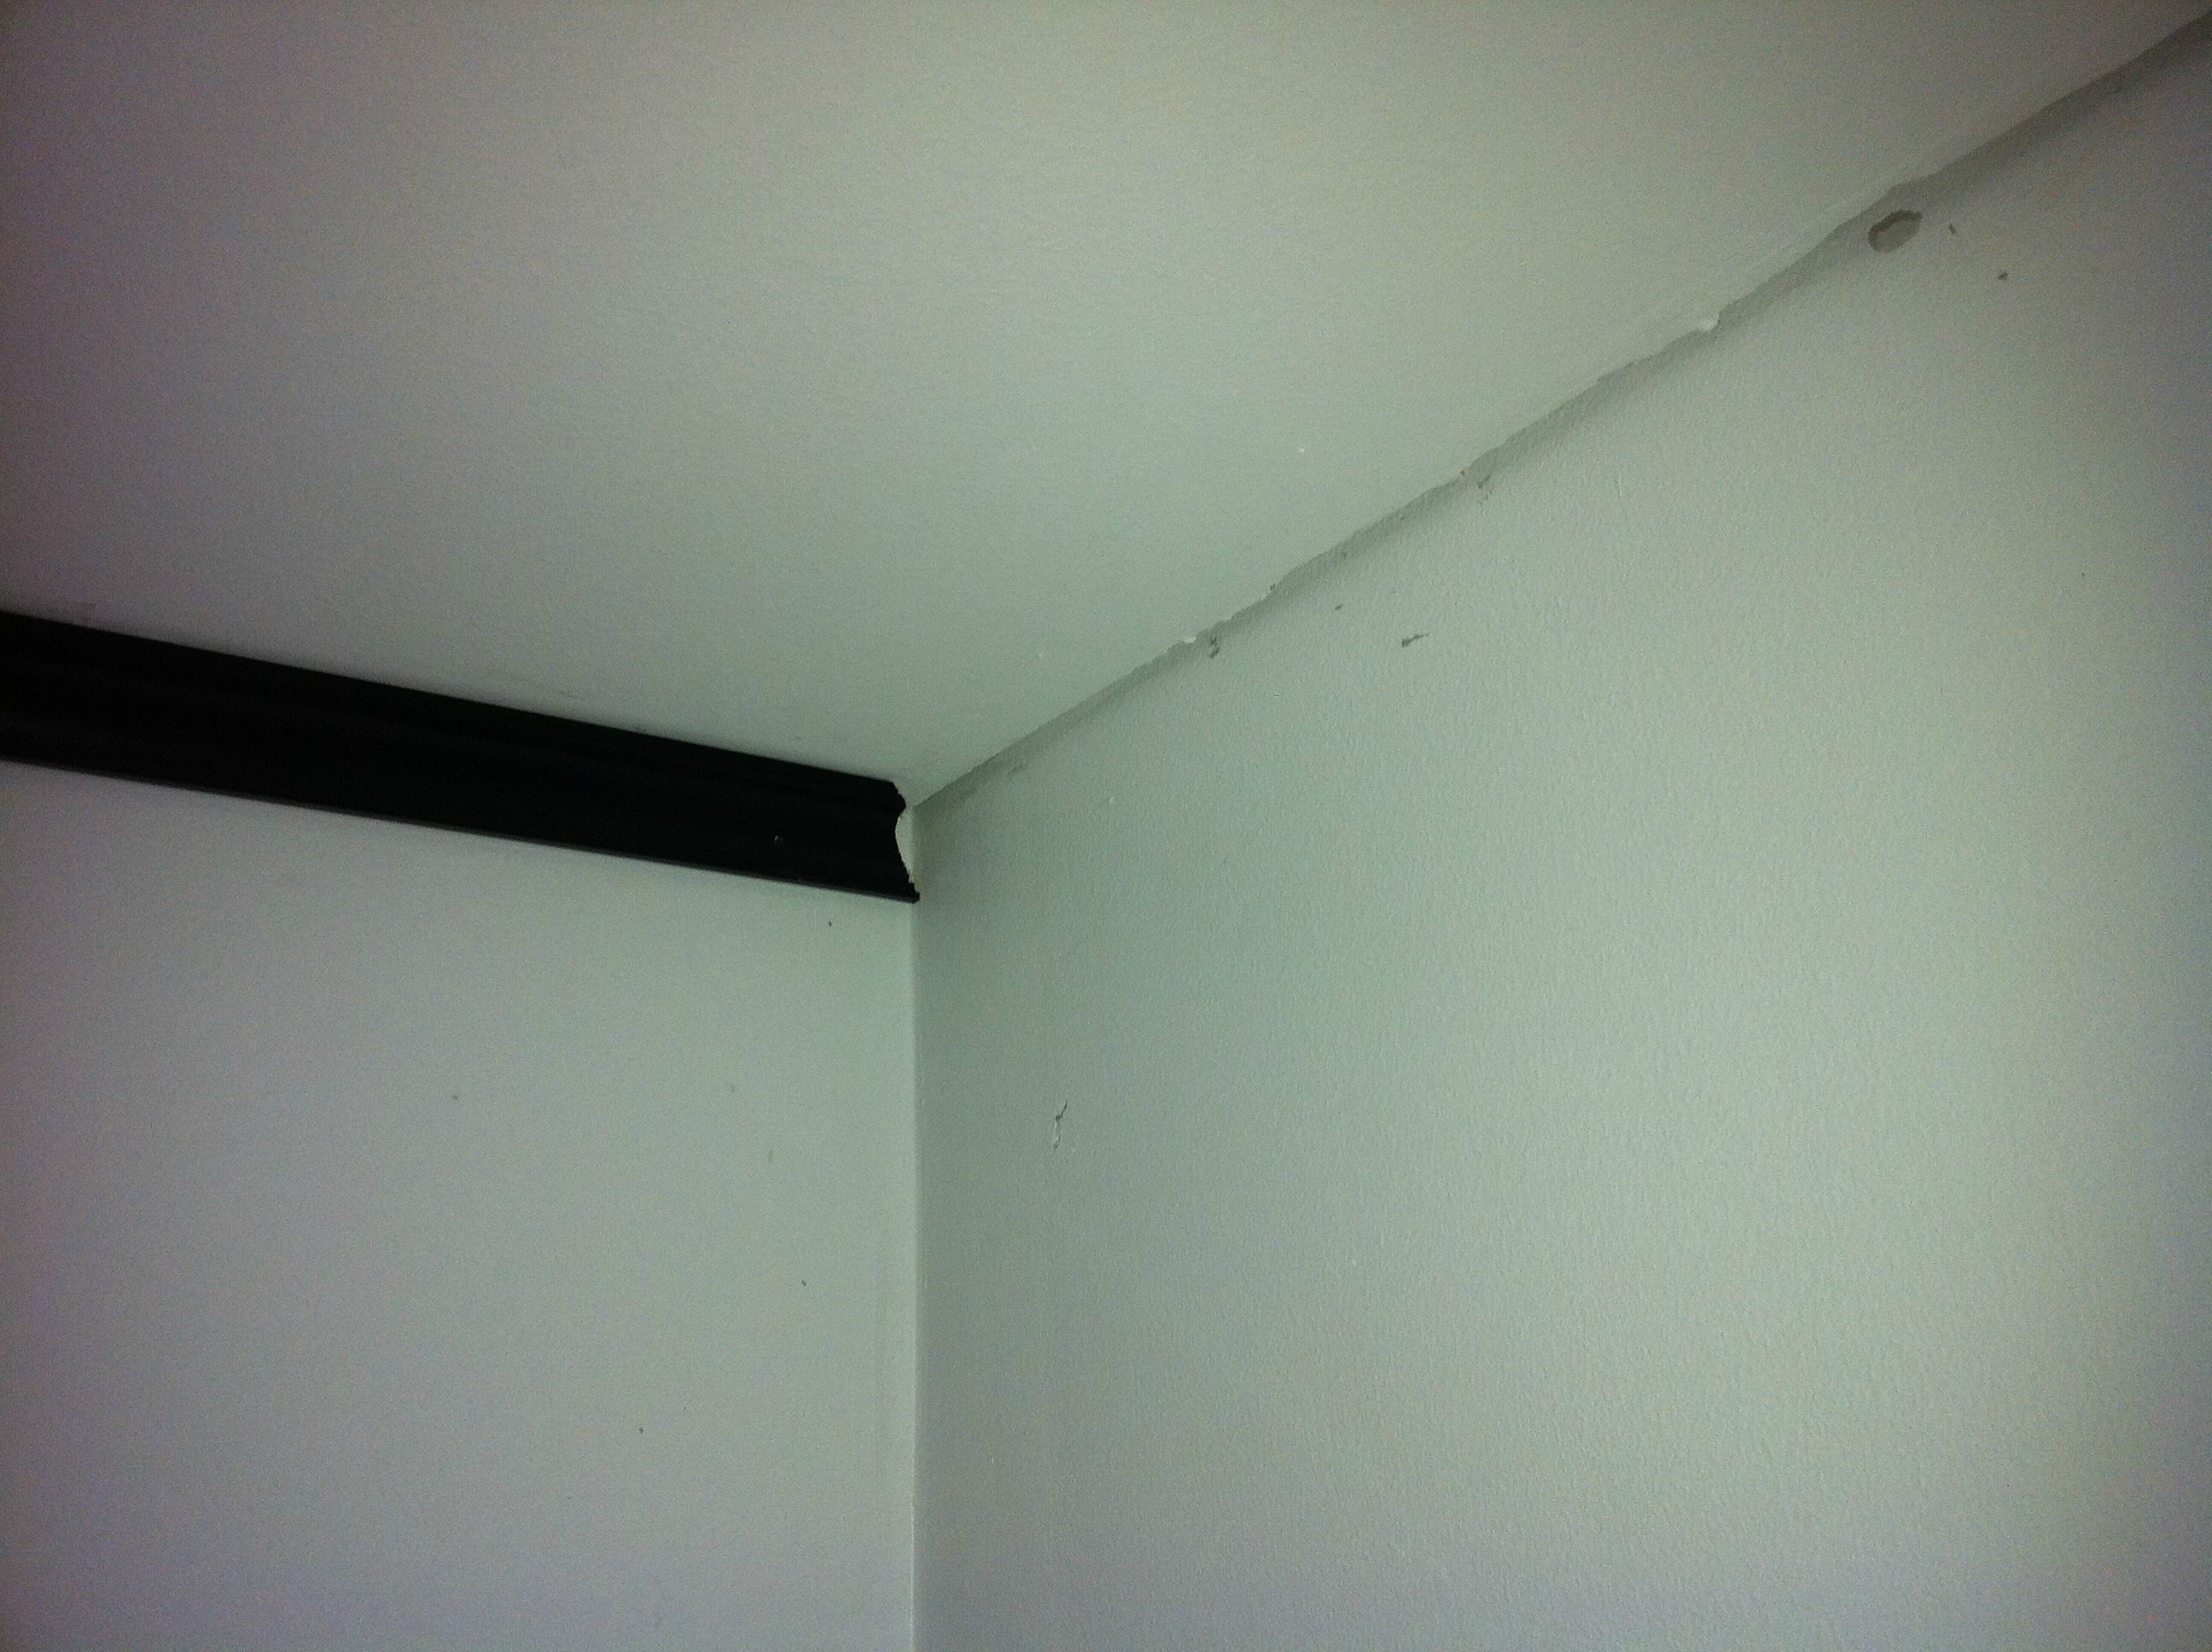
I have had the molding lacquered and don't have the material to make more mistakes than I already have


Take two small pieces and saw them so that they fit, then mark them as left/right. Make one set for inner corners and one for outer corners if you have them.
When making the small pieces, a tip is to hold them in the saw just as they'll sit on the wall later; it's easier to do it right that way. Then, when you saw the long pieces, just turn the small pieces the same way as the long one and compare to ensure the saw is set correctly in relation to how the long piece lies on the saw.
When making the small pieces, a tip is to hold them in the saw just as they'll sit on the wall later; it's easier to do it right that way. Then, when you saw the long pieces, just turn the small pieces the same way as the long one and compare to ensure the saw is set correctly in relation to how the long piece lies on the saw.

Hello and welcome to the forum... take 2 small pieces that you can test fit in the corners, it will make it easier to get it right...
Good luck
Good luck
Member
· Stockholms
· 1 555 posts
I also have problems with this! You think you're somewhat smart and logical, but hålkälslist always goes wrong. My only tip is to cut the angled end of the list first. Then you can cut it wrong a few times and when it’s right, you cut to the correct length with a cut on the straight end.
Member
· Västra Götalands Län
· 529 posts
But you are all wrong, really. Cove moldings, like all profiled moldings, should be coped, not mitered in inside corners. Mitered inside corners (in ceiling or base molding) will always separate, often already during installation because screws or nails pull the molding toward the wall, or they separate due to seasonal changes affecting the house. Looks terrible.
The first molding is then installed cut straight and firmly against both walls.
The meeting molding is cut at an angle and trimmed to fit into the installed molding. It doesn't have to be perfect; fill in with cheap latex caulk and paint over when everything is installed and finished.
If you install pre-painted moldings and think no further treatment on site will be needed, it also always looks terrible. Visible screws/nails and separated inside corners.
The above description is how you should do it if you want to learn to do it perfectly. If TS just wants to solve the situation now and is short on materials, the earlier responses in the thread apply better.
The first molding is then installed cut straight and firmly against both walls.
The meeting molding is cut at an angle and trimmed to fit into the installed molding. It doesn't have to be perfect; fill in with cheap latex caulk and paint over when everything is installed and finished.
If you install pre-painted moldings and think no further treatment on site will be needed, it also always looks terrible. Visible screws/nails and separated inside corners.
The above description is how you should do it if you want to learn to do it perfectly. If TS just wants to solve the situation now and is short on materials, the earlier responses in the thread apply better.
Last edited:
Member
· Stockholms Län
· 702 posts
The carpenters I had for a few rooms used a butt joint (i.e., one piece straight into the wall and the other carved to fit), a nice solution. I went crazy as I couldn't get it right and used a miter saw instead.
The problem with my miter saw was that they couldn't be cut standing (didn't fit) in the saw, which created problems.
This couldn't be done in my small miter saw:
But then I found lists online that showed how to set the miter saw to cut the moldings lying down. For example:
http://www.dewalt.com/us/mitersaws/downloads/MiterSawArticle.pdf
http://www.lowes.com/cd_Cut+Crown+Moulding+with+DEWALT+Miter+Saws_1285257812_
Conclusion: Both the carpenters' butt joints and my miter joints are cracking just as much now a few years later. I don't understand why, theirs should be better, but it feels good since it bothered me that I "slacked off" on this task.
The problem with my miter saw was that they couldn't be cut standing (didn't fit) in the saw, which created problems.
This couldn't be done in my small miter saw:
But then I found lists online that showed how to set the miter saw to cut the moldings lying down. For example:
http://www.dewalt.com/us/mitersaws/downloads/MiterSawArticle.pdf
http://www.lowes.com/cd_Cut+Crown+Moulding+with+DEWALT+Miter+Saws_1285257812_
Conclusion: Both the carpenters' butt joints and my miter joints are cracking just as much now a few years later. I don't understand why, theirs should be better, but it feels good since it bothered me that I "slacked off" on this task.
You probably don't need any lists. The simplest way is still to do as I wrote earlier in the thread, to have 2 short pieces that are correct. Then you just place them as the long piece should be in the saw and set the saw to cut as the cut is on the short piece.
But sure, förkroppning (or stumfog, never heard that expression before) is probably best.
But sure, förkroppning (or stumfog, never heard that expression before) is probably best.
Member
· Stockholms Län
· 702 posts
The simplest way is not to buy a larger hålkälslistet than what fits standing in the miter saw. Then it's just a matter of going ahead, but as mentioned, test pieces don't hurt since it's easy to make mental mistakes and cut incorrectly.
Member
· Stockholms Län
· 702 posts
I mean standing at 45° (like on the wall). By lying down, I mean on the back. The reason I needed mine lying "on the back" was that they didn’t fit standing (45°) in my miter saw. Then it becomes complicated how to set the miter saw...
Click here to reply