21,921 views ·
110 replies
22k views
110 replies
How to prevent the studs from showing through OSB and drywall?
Is it wallpaper? Frame it with some nice molding.M Mjärn said:I have built in an Ikea wardrobe. Framed around it and put OSB and plasterboard. Then restoration wallpaper. As the title says: How do you prevent the studs from shining through OSB and plasterboard? You can see where the studs are. They kind of shine through the wall.
It might not be as clear in the photo, but that's how it is anyway. On the left side of the photo, it's clearly visible. It would be interesting to know what I did wrong.
If it's painted, just fill and paint again.
I think so too.nino said:
And especially if you're going to have wallpaper, then you just fold the strip a few mm in over the corner and place the next strip from the corner, so you avoid getting a crack in the wallpaper when it moves in the corner.
With a straight edge on the gypsum there, there's no filling at all, or maybe just a little to fill a narrow gap.
Do you mean that the wallpaper replaces filler?Mikael_L said:
I think so too.
And especially if you are going to have wallpaper, then you just fold the wallpaper a few mm over the corner and place the next strip from the corner, so you avoid getting a crack in the wallpaper when it moves in the corner.
With a straight edge on the plasterboard there, there will be no filling at all, or possibly just a little to fill a narrow gap.
If I had a house that moves at the corners because it's old or poorly built, I probably wouldn't let the wallpaper strip go past the corner. Better to have an open seam in the corner then. I don't think there are wallpapers that are strong enough to replace filler and paper tape.
No, of course not.Nissens said:
Yes, that's exactly what I described.
Moreover, it's a good way to apply wallpaper even if it's a concrete house, where there won't be any movement at the corners. The painters probably always do that.
The chamfering ensures more filler usage. Good for the industry both at the production level and for execution. Long drying times that mess with the painter, then the customer complains that it takes too long, the painter goes home early, and it's expensive, here on the forum.
If everything goes wrong for an average amateur, there's also the option to cut off the paper pulp with the corner of the filling knife.
If you've got a significant gap in the corner because you didn't account for the chamfering on both boards, it's better to fill the gap with gypsum filler/gypsum plaster that dries quickly. A lifesaver is also Casco Onefill with which you can bottom the gypsum gap as it dries quickly. Just over a hundred for 1/2 liter. If you add a few tens, you get 10-20 kg gypsum-based. Onefill is best for fixing mistakes when you think you've finished filling. Then 250 kr/L is well worth the money.
In TS's case, I would have filled/sanded, then waited a few days and suddenly the wallpaper would have been in place. (The trick is to teach the wife to wallpaper and always buy an extra roll of wallpaper).
😀
That's probably to save time then. I don't believe painters can perfectly align the wallpaper edge-to-edge in a corner. It's difficult, more difficult than folding a few mm of wallpaper over the edge. You don't want a gap, right?
Wooden houses move. In our house, it's above the door to my office, above a kitchen window, and a corner against the outer wall where it tends to crack or move. I'm considering making a nice straight cut through the wallpaper to prevent it from looking ugly. One might wonder a bit about the point of doing it by the book with tape and filler... sometimes.
Yes, that's what I meant and described.blackarrow said:
You let a few mm, maybe up to a cm, go around the corner, then the next sheet continues on the next wall, from the corner, making the sheets overlapping.
I usually cut the wallpaper so it goes about 5 cm past the corner, and then after I've brushed and pressed the sheet properly into the corner, I cut it with a wallpaper knife supported by the wall next to it, so it usually leaves about 5-7mm that wraps around the corner. And these mm then make up the overlap.
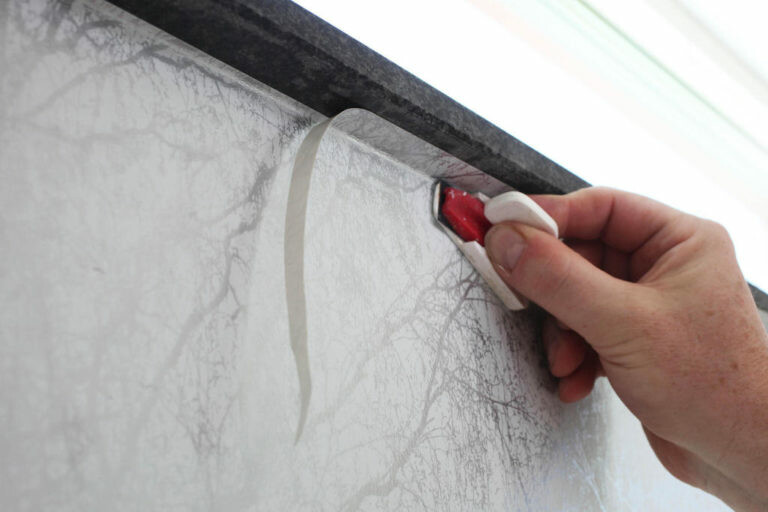
This picture illustrates what I mean, although it happens to be both a different kind of knife and cutting for another purpose
I use a wallpaper knife like this.

👍
But the regular wallpaper knife (image 2) doesn't have a flat underside, so isn't it hard to cut straight and neatly with it?I usually cut the wallpaper so it goes about 5 cm past the corner, and then after smoothing and pushing the strip well into the corner, I cut it with the wallpaper knife supported by the adjacent wall, usually leaving about 5-7mm that goes around the corner. And these mm then form the overlap.
This picture illustrates what I mean, although it happens to be both a different kind of knife and cutting for another purpose
[image]
This is the kind of wallpaper knife I use.
[image]
Straight enough to arrange a few mm overlap in the corners, it's absolutely no problem.
And honestly, I have sometimes even cut wallpaper that needs to connect to something else, like the picture I posted, with this wallpaper knife, with sufficiently good results. But you have to make sure to be steadier with your hand and maintain the same angle all the time.
But I think it's much more difficult to lay a nice soft joint in the bathroom or against the kitchen tiles, which the professionals do neatly freehand. I end up taping, etc., for it to even feel acceptable at all.
Yes, this is an interesting question for me as a new homeowner who doesn't even know which end of the ladder should be upwards. Do you need to make holes and install ventilation grilles for this kind of thing?D daugaard said:
You need to consider primarily 3 parameters:slothy said:
1. How much moisture is generated in the space
2. How diffusion-open is the enclosed space
3. What are the temperatures inside and outside.
If there is no moisture source in the space (someone breathing, water leakage, moisture through diffusion from an adjacent space), then it's almost risk-free, but you should still allow for the possibility that a tiny bit of moisture can always form.
If walls or ceilings/floors are diffusion-open to dry spaces next to them, then small amounts of moisture will always be removed.
Temperatures can be important; if it's colder in the enclosed space, the risk of moisture levels increasing is higher, and in the worst case, it can lead to condensation.
Yes, there's a lot to consider if you want to think about all parameters, but it's probably easiest to have a practical example in mind to think about and discuss.

Advanced trolling in that case, to build up a wardrobe wall to be able to do it.Viktor.J said:
I think TS is a beginner and simply missed that the boards are beveled and that you don't do it that way if you want to make it easy for yourself. TS probably feels dumb and refrains from replying because of it.
Everyone is a beginner at first, nothing strange about that. When the mistakes are not dangerous, it doesn't matter that much, you can redo and do it right, and that's how you learn. I've made so many mistakes, that's how I've learned the most.
It depends a bit.
There should be an exhaust vent in a walk-in closet. Then a little leaking supply air between the door and the threshold is sufficient. You saw off the door 1-2 cm at the bottom, or there is a routing in the frame at the top. Our walk-in closet has a routing at the top of the frame.
A closet built against an exterior wall in a poorly insulated house, like an attic space, can give clothes a bad smell in a poorly insulated house.
Normally, the gap between the "Ikea door" and the closet is enough. You can adjust the door a bit more if you want.