Yes, since we planed it ourselves I know it is 20 mm thick. Since we installed it as Schwingen describes, it is not a problem. We did not have any old joinery to take into consideration in that room, so everything is newly made.
However, if you are going to install it against existing joinery, you should probably try to reduce it as much as possible in thickness.
It looks like the tongue-and-groove goes behind the baseboard, didn't it then become double thickness, tongue-and-groove + baseboard, that the skirting block should cover?
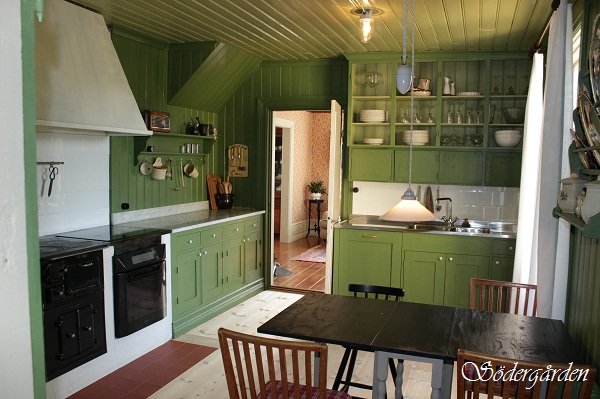
Well, the beadboard goes all the way to the door frame, and then there's a trim piece on top of the frame. The door casing sits flush over the beadboard and trim, and the baseboard is flush over the beadboard. The plinth block is slightly thicker than the baseboard and casing but sits over the beadboard, aligned with both the casing and baseboard on the backside.
This got a bit confusing, I think, but I hope you understand. The main point is that the woodwork (all three) is mounted on top of the beadboard.
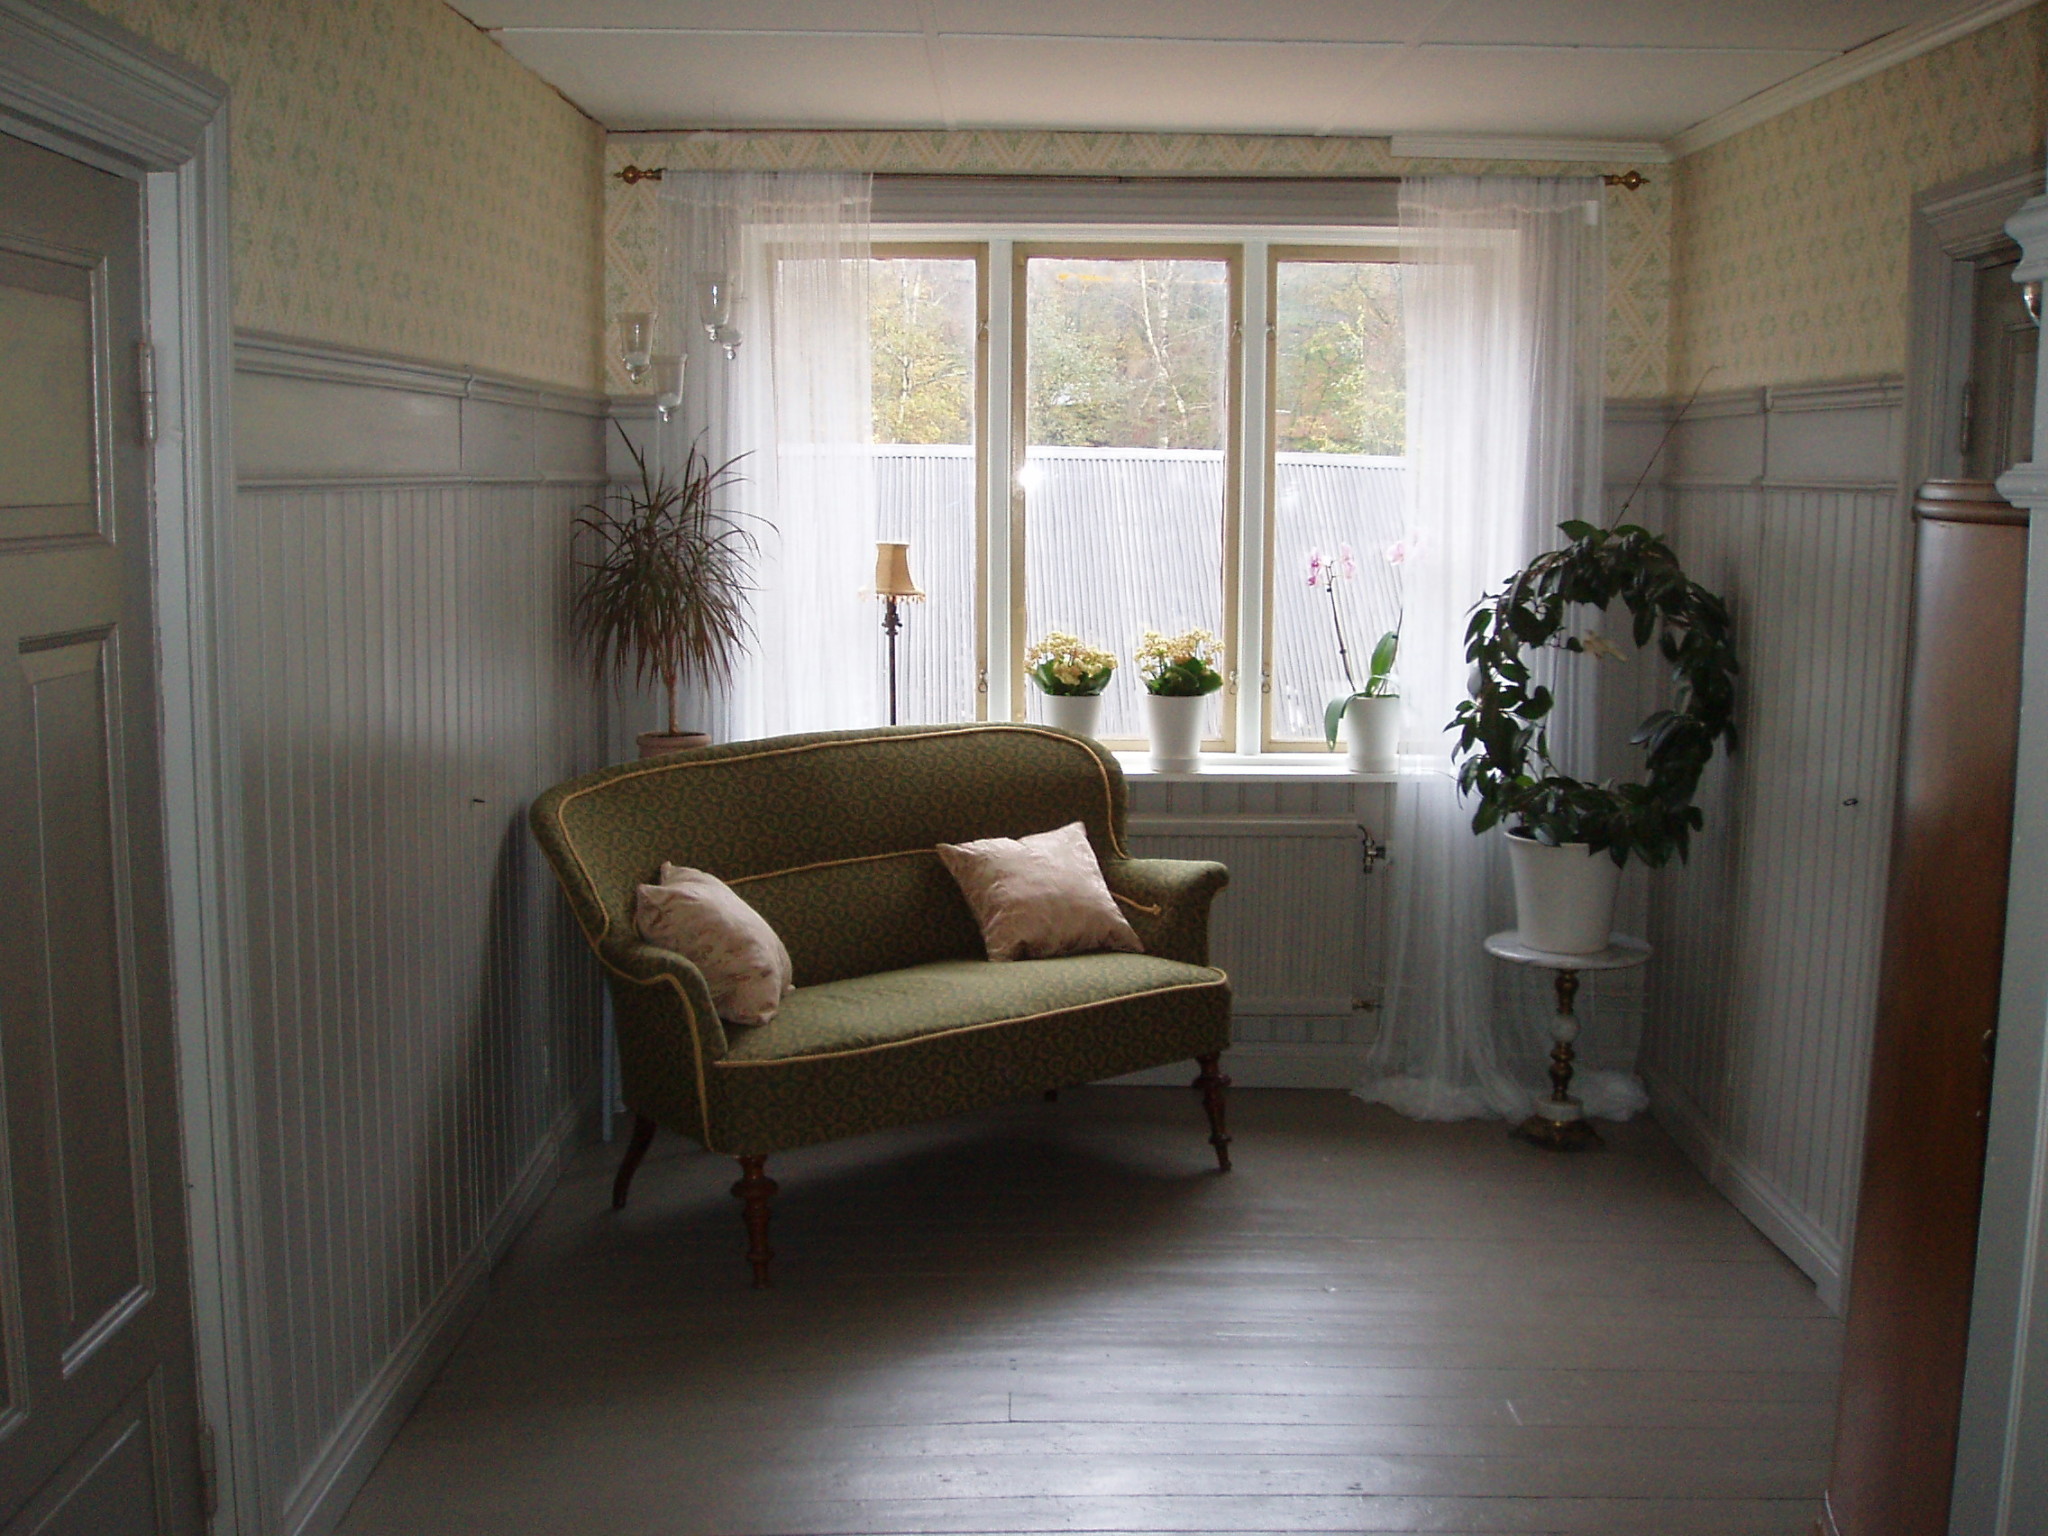
Aha, ok I understand how it's done. What I wonder, though, is how to solve this if you only want beadboard, for example 3/5 of the wall's height. I assume then that this solution of bringing the beadboard to the frame and using trim on the door frame to get everything together doesn't work. Sophie, I assume the beadboard goes from floor to ceiling in the mentioned room?
Does anyone perhaps have a good solution if you don't want beadboard covering the entire wall? I assume you would have to use trim where it will be needed.
If the question is about the gap that remains on the other 2/3 at the door frame, the answer is to make the door frame thicker with a strip on just that part.
If the question is about the gap that occurs on the remaining 2/3 at the door frame, the answer is to make the door frame thicker with a strip on that specific part.
Exactly what I was thinking about. I'll have to add an extension where it's needed.
We have done it this way before in a hallway, where we first applied the beadboard to the lower 3/5 portions and then put a sheet above it to wallpaper on. This way, there was no gap and the dado rail that covers the seam between the sheet and the panel is smooth on the back with no rebate.
It is correct that the paneling in the pictures above is from floor to ceiling.
Click here to reply
Vi vill skicka notiser för ämnen du bevakar och händelser som berör dig.