37,262 views ·
70 replies
37k views
70 replies
Coming home and the whole ceiling has collapsed :(
")
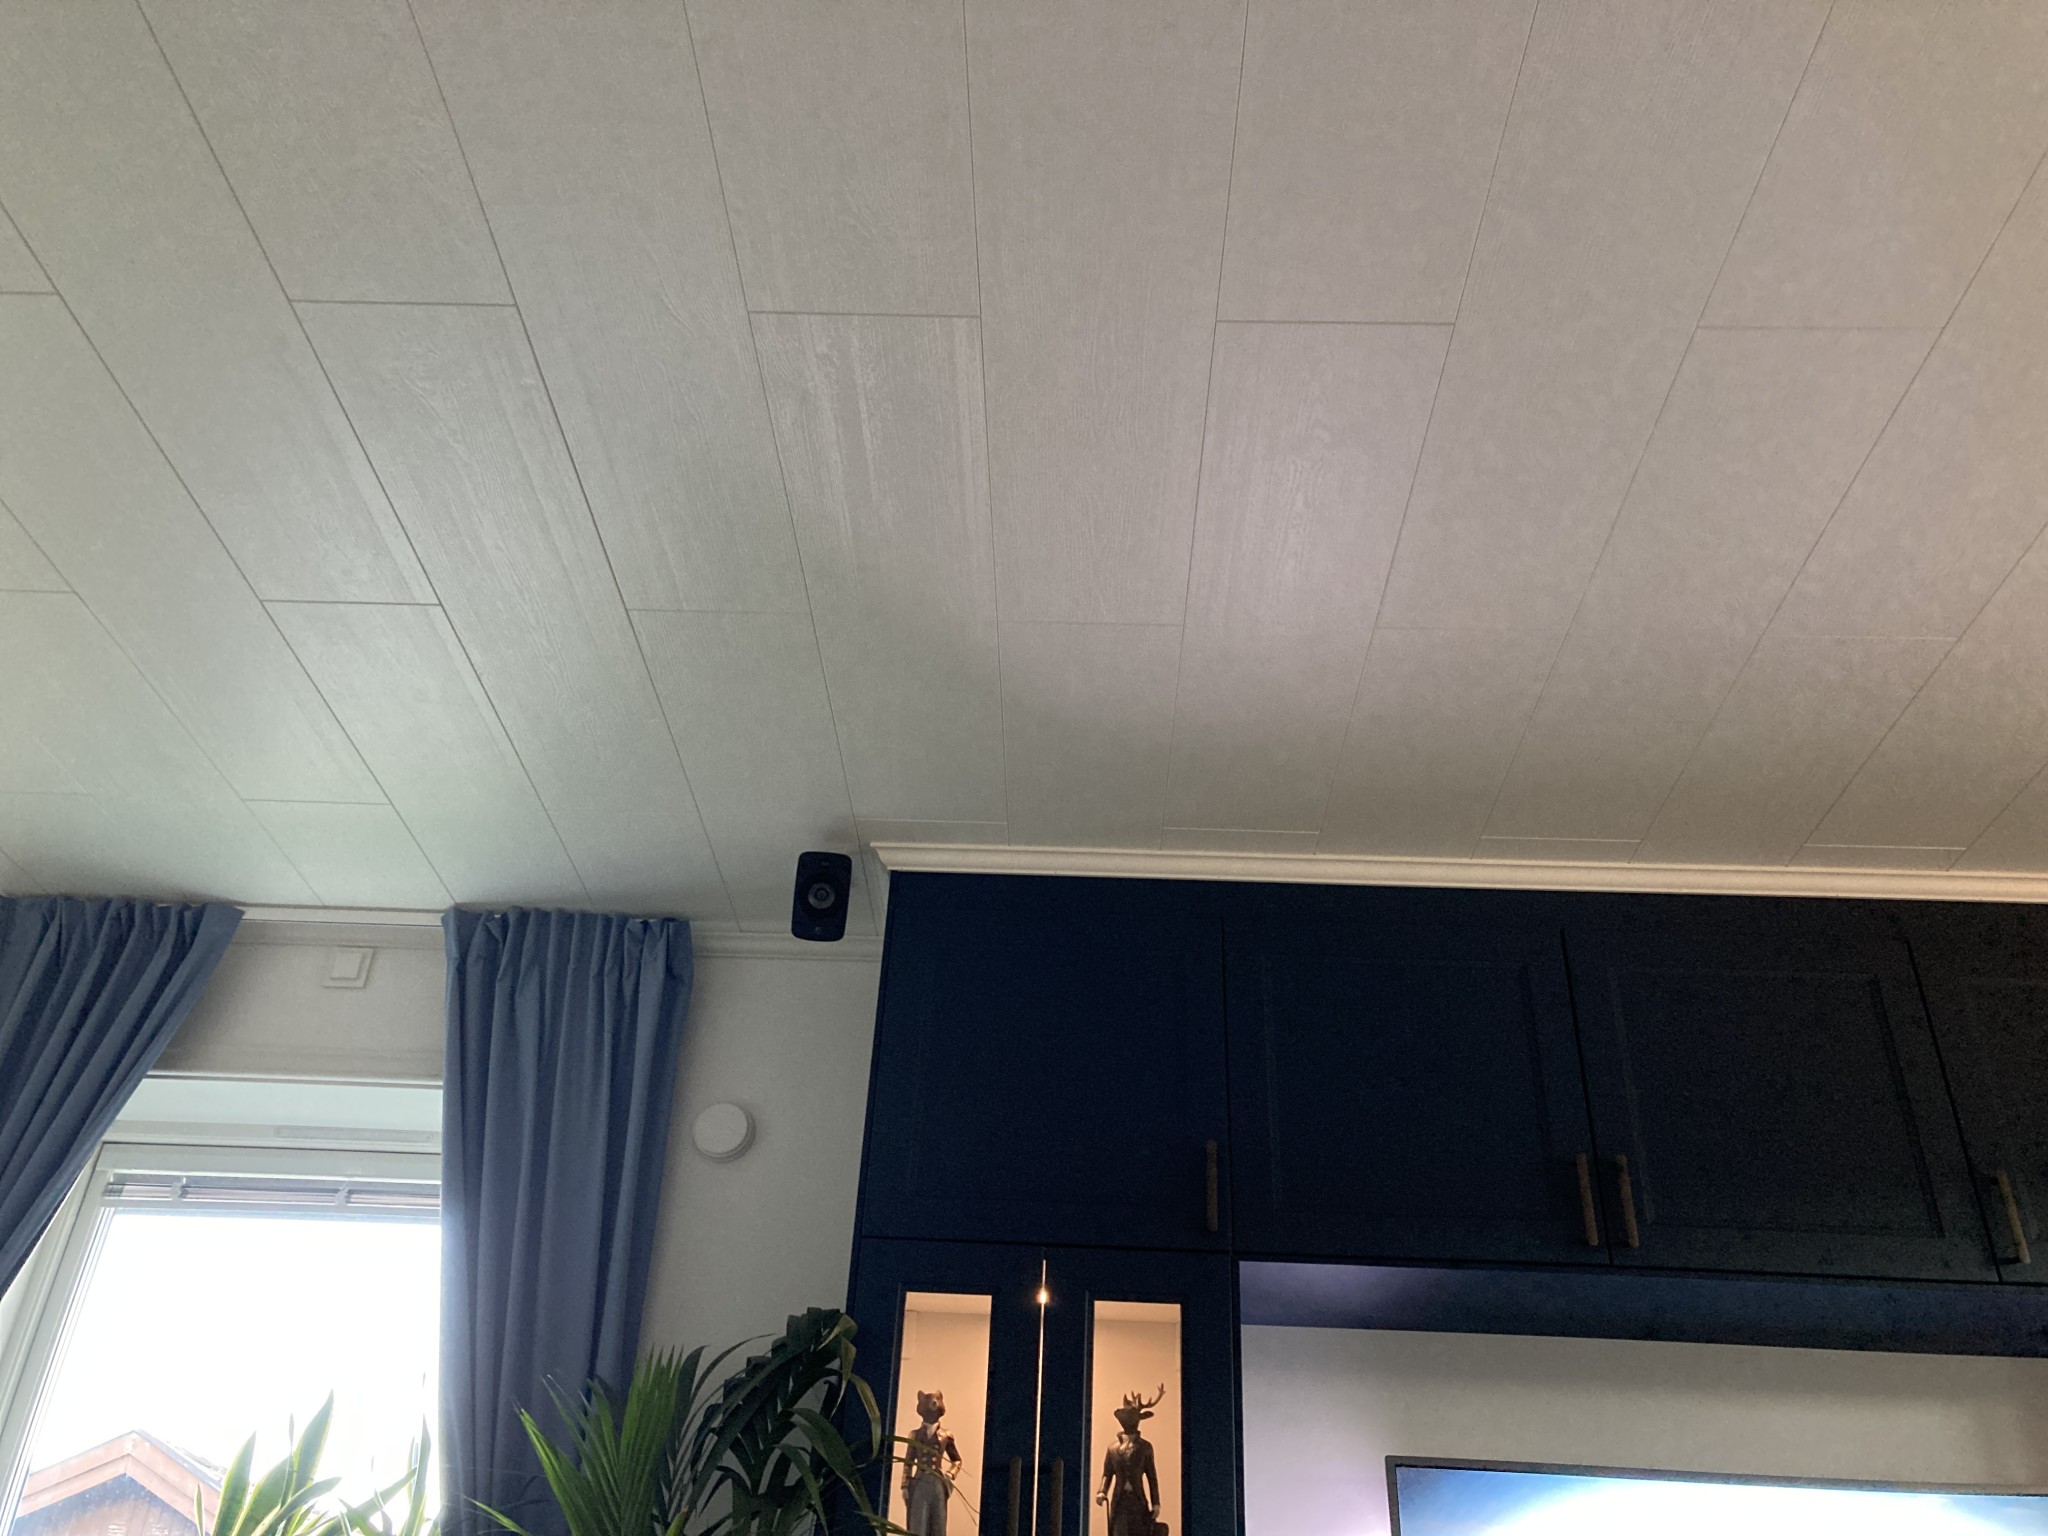
I have already set up my.....trying to figure out how to install the crown molding (standard concave 15x33) since the drywall screws made big craters.....sigh
only realized afterward that I wouldn't be able to get the molding flush against the ceiling and wall
only realized afterward that I wouldn't be able to get the molding flush against the ceiling and wall
I have crown moldings that are around 50x50 (kind of swan neck?) to cover all the screw holes outsideD Derbyboy said:

Too small ceiling molding, same here with Huntonit and a little drilling by hand as insurance, then the board won't get any valkari. To cover it, I have a cornice 50x50 mm, no problem to push into the crease and screw with looooong thin list screws that go through everything and attach to the wood behind. The screws should be staggered, one in the ceiling and one in the wall, to avoid gaps. My screws are spaced about 400 mm apart.
Why not attach the mouldings with a brad nailer?J jonaserik said:For a small ceiling moulding, the same here with Huntonit and a little drilling by hand for insurance, that way the board won't warp. To cover, I use 50x50 mm hollow trim, no problem pressing it into the seam and screwing with loooooong thin moulding screws that go through everything and attach to the timber behind. The screws should be staggered, one in the ceiling and one in the wall, to avoid gaps. My screws are spaced about 400 mm apart.
The thing with nailing ceiling moldings and baseboards is a hassle; if the nail doesn't pull as it should or comes in a bit crooked, the moldings don't sit properly. How do you get the nail out then? With screws, you just unscrew it and tilt a little sideways; then with wallpapering or painting, it becomes tricky without being able to remove the moldings without them cracking.Ramnemark said:
I have already set the ceiling with drywall screws and created craters so that my thin fine crown moldings can't lie flush against the ceiling.
These are small rooms, 238cm in ceiling height, thin moldings, thin baseboards, etc., so 50x50 ceiling moldings are not an option (I think right now).
As I see it, I have two options.
1) Ignore that they don't lie flush (we're talking about 2-3 mm)
2) Unscrew all drywall screws. Sand down the crater. Use staples or pre-drill and screw all the edges again.
3) Put up the moldings as best as possible with the current craters. Use a thin sealant against the ceiling (tech7).
So!
What do you say, friends?
The Huntonite has an ability to be squeezed out right at the screw head and there will also be a small elevation (ridge) outside the head, happened with me, I took a new mora and cut away the ridge that was formed when the screw was pressed in. The ceiling molding is flush with the wall/ceiling.
Click here to reply