
I've seen many pictures of white-painted ceilings without joints in interior magazines but never seen any description of how it's done. What type of wood has been used (planed/unplaned, dimensions), how has it been attached to the ceiling, there are rarely visible nails, what paint has been used, etc.
We have decided to install such a ceiling in our old house, but does anyone have tips and advice on the points above, perhaps someone who has installed such a ceiling themselves?
We have decided to install such a ceiling in our old house, but does anyone have tips and advice on the points above, perhaps someone who has installed such a ceiling themselves?
It is probably most often tongue and groove wood that is used. The gaps you see appear when the wood dries and shrinks a little. There is, for example, tongue and groove wood that has one side planed and one side sawn, called råspont.

Currently installing the kind of ceiling you, Carla, are looking for. Anaitis is right, it is tongue-and-groove, using planed 4" (17x95mm) spruce tongue-and-groove, also called groove paneling. The right side almost looks like V-groove, but we use the backside to achieve a "smooth" look without beveled edges. We found that raw tongue-and-groove had very poor quality, with lots of broken knots and large cracks.
We painted it with knot sealer and primed it on the ground. Currently putting it up (it's taking forever! Crooked boards are no fun!). Using a brad nailer so the nails aren't visible. Then it will be finish-painted on site, and I think one coat will be enough.
However, we're unsure about how big the gaps should be now... It looks nice now, just hoping they don't get too big in the winter...
We painted it with knot sealer and primed it on the ground. Currently putting it up (it's taking forever! Crooked boards are no fun!). Using a brad nailer so the nails aren't visible. Then it will be finish-painted on site, and I think one coat will be enough.
However, we're unsure about how big the gaps should be now... It looks nice now, just hoping they don't get too big in the winter...

Diversearbetare
· Göteborg
· 11 228 posts
On the west coast, it's called slätspånt. I myself have 80m[sup]2[/sup] 15x120 spruce slätspånt that needs to be painted and nailed up sometime in the future. 
Are you really sure that it's tongue and groove wood that should be used? I think there are other methods with regular untongued boards, I've seen that the gaps are often very dark, almost black when you see them against the white wood, that doesn't happen if you use tongue and groove wood.
I am inclined to agree with you. Now our bedroom ceiling is finished and the gaps are too lightCarla said:
They don't show as well as I'd like... I thought they would get darker when the ceiling is completely white, it's just primed now. But they won't then?!
I used raw planks 21x120 in our bedroom ceiling with black paper underneath, had a ruler's thickness (2-3mm) between the wood. I screwed with decking screws so that the heads disappeared into the wood, you could probably nail or use a brad nailer too. But I had to adjust the boards because they became a bit warped after bringing them in from -20°C to +20°C. I'm very pleased with the result.
I also painted the sides. I "primed" with water to raise the fibers (I'm not sure if it was necessary, but it was a tip I received). Then I painted with matte white ceiling paint, installed the boards in the ceiling, and applied another layer of paint to cover the screw holes. This is a cathedral ceiling. One thing to consider when you have such a narrow gap between the boards (2-3 mm) is that it becomes very noticeable if there's any unevenness between the boards, and with a cathedral ceiling like ours, you see the ceiling much more (it's in the line of sight) compared to a regular ceiling.
Okay, thanks for the tips, I'll use them when I do my roof. I will probably paint the ceiling black with some cheap paint (instead of paper) before I put up the boards. I have plaster with glass fiber fabric on it, which I plan to screw the new ceiling directly to.
I also installed raw boards on the ceiling but sent them to a carpentry shop for tongue and grooving.
I used three different widths, 145, 170, and 195mm. I mixed these without any system. This, among other things, made it not look so "structurally striped."
After installing flush, there are now gaps of up to 5 mm between the boards and, pleasingly, they've started to crack a bit in the middle too, so it's beginning to resemble old planks.
http://www.krobykvarn.se/dagbok/2005/05sept.htm
(Scroll down a bit on the page and the ceiling appears)
I used three different widths, 145, 170, and 195mm. I mixed these without any system. This, among other things, made it not look so "structurally striped."
After installing flush, there are now gaps of up to 5 mm between the boards and, pleasingly, they've started to crack a bit in the middle too, so it's beginning to resemble old planks.
http://www.krobykvarn.se/dagbok/2005/05sept.htm
(Scroll down a bit on the page and the ceiling appears)
So you mean you installed the ceiling without gaps? But when it dried, there were gaps up to 5mm? If I want gaps of 2-3 mm in a dried ceiling, should it be completely joined together? So it wouldn't be good if there's about a 1mm gap now? The "gransponten" (17x95mm) we're using is bought from a regular lumberyard, if that could be of any help.SnickarPelle said:
Yep. It probably depends on the moisture content of the wood when you install it. The width (mass & volume) likely also affects it as the wood dries at room temperature. I see that on my roof, the widest (195mm) have shrunk the most and have the largest gap.¤ maria ¤ said:
Hello Carla! How did it go with the roof?
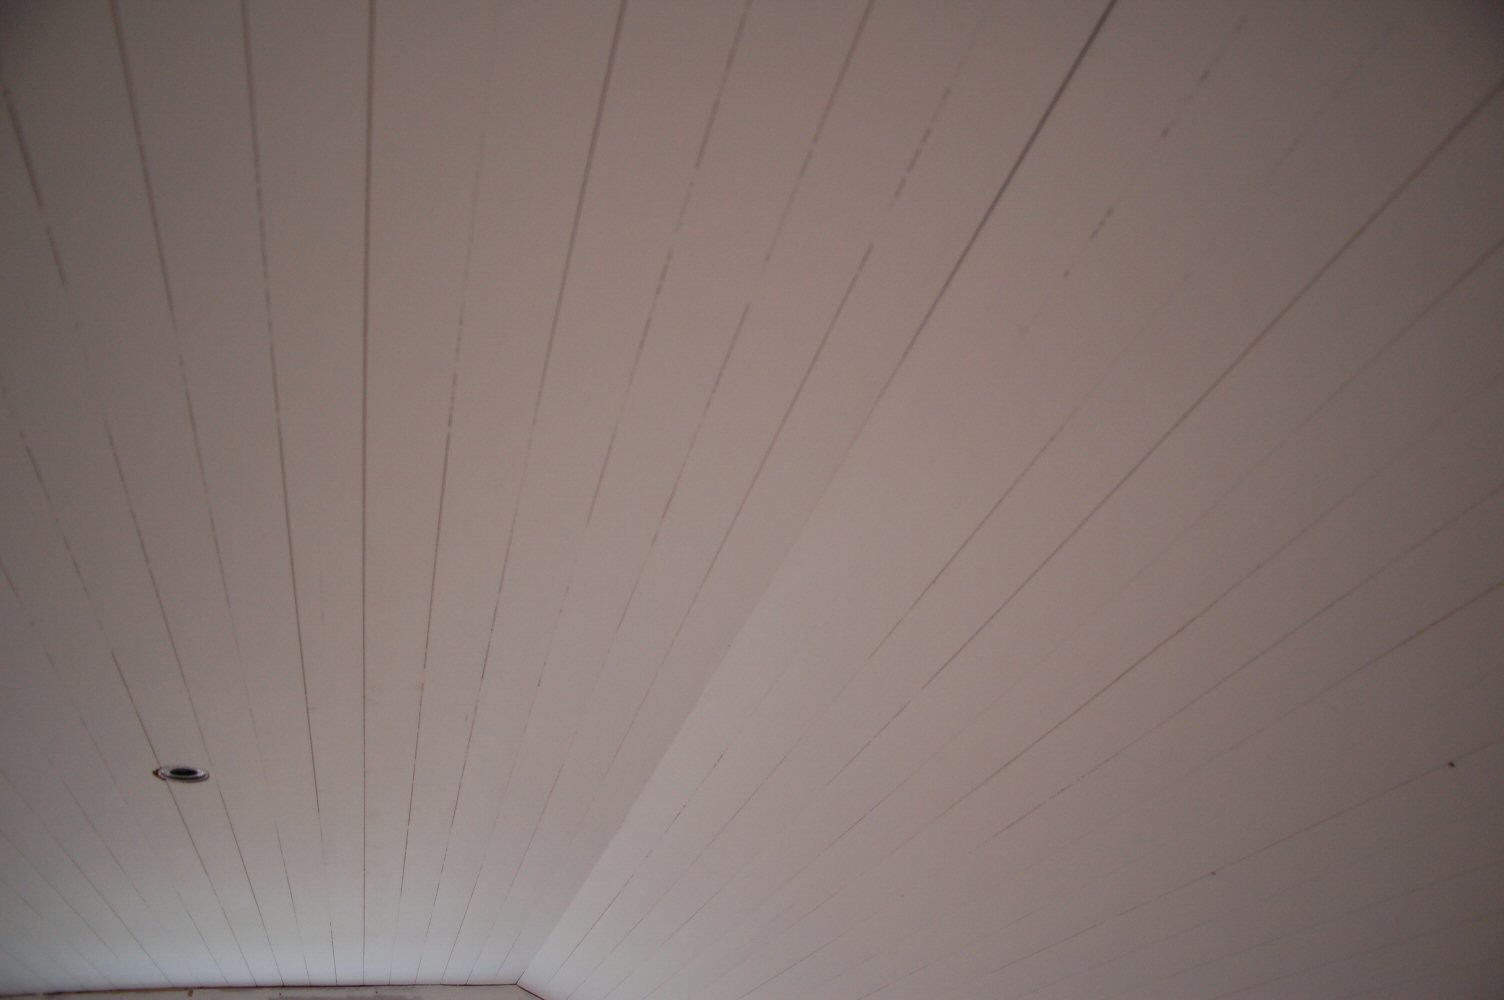
We've put up our spruce panel and painted it covering white now. And it turned out just like we wanted with gaps Some gaps of varying widths, some with paint in them and the occasional knot.
Attaching a picture so you can see. The lighting in the picture is terrible but it's the gaps that are the point.
We've put up our spruce panel and painted it covering white now. And it turned out just like we wanted with gaps
Some gaps of varying widths, some with paint in them and the occasional knot.Attaching a picture so you can see. The lighting in the picture is terrible but it's the gaps that are the point.
Click here to reply