Hello!
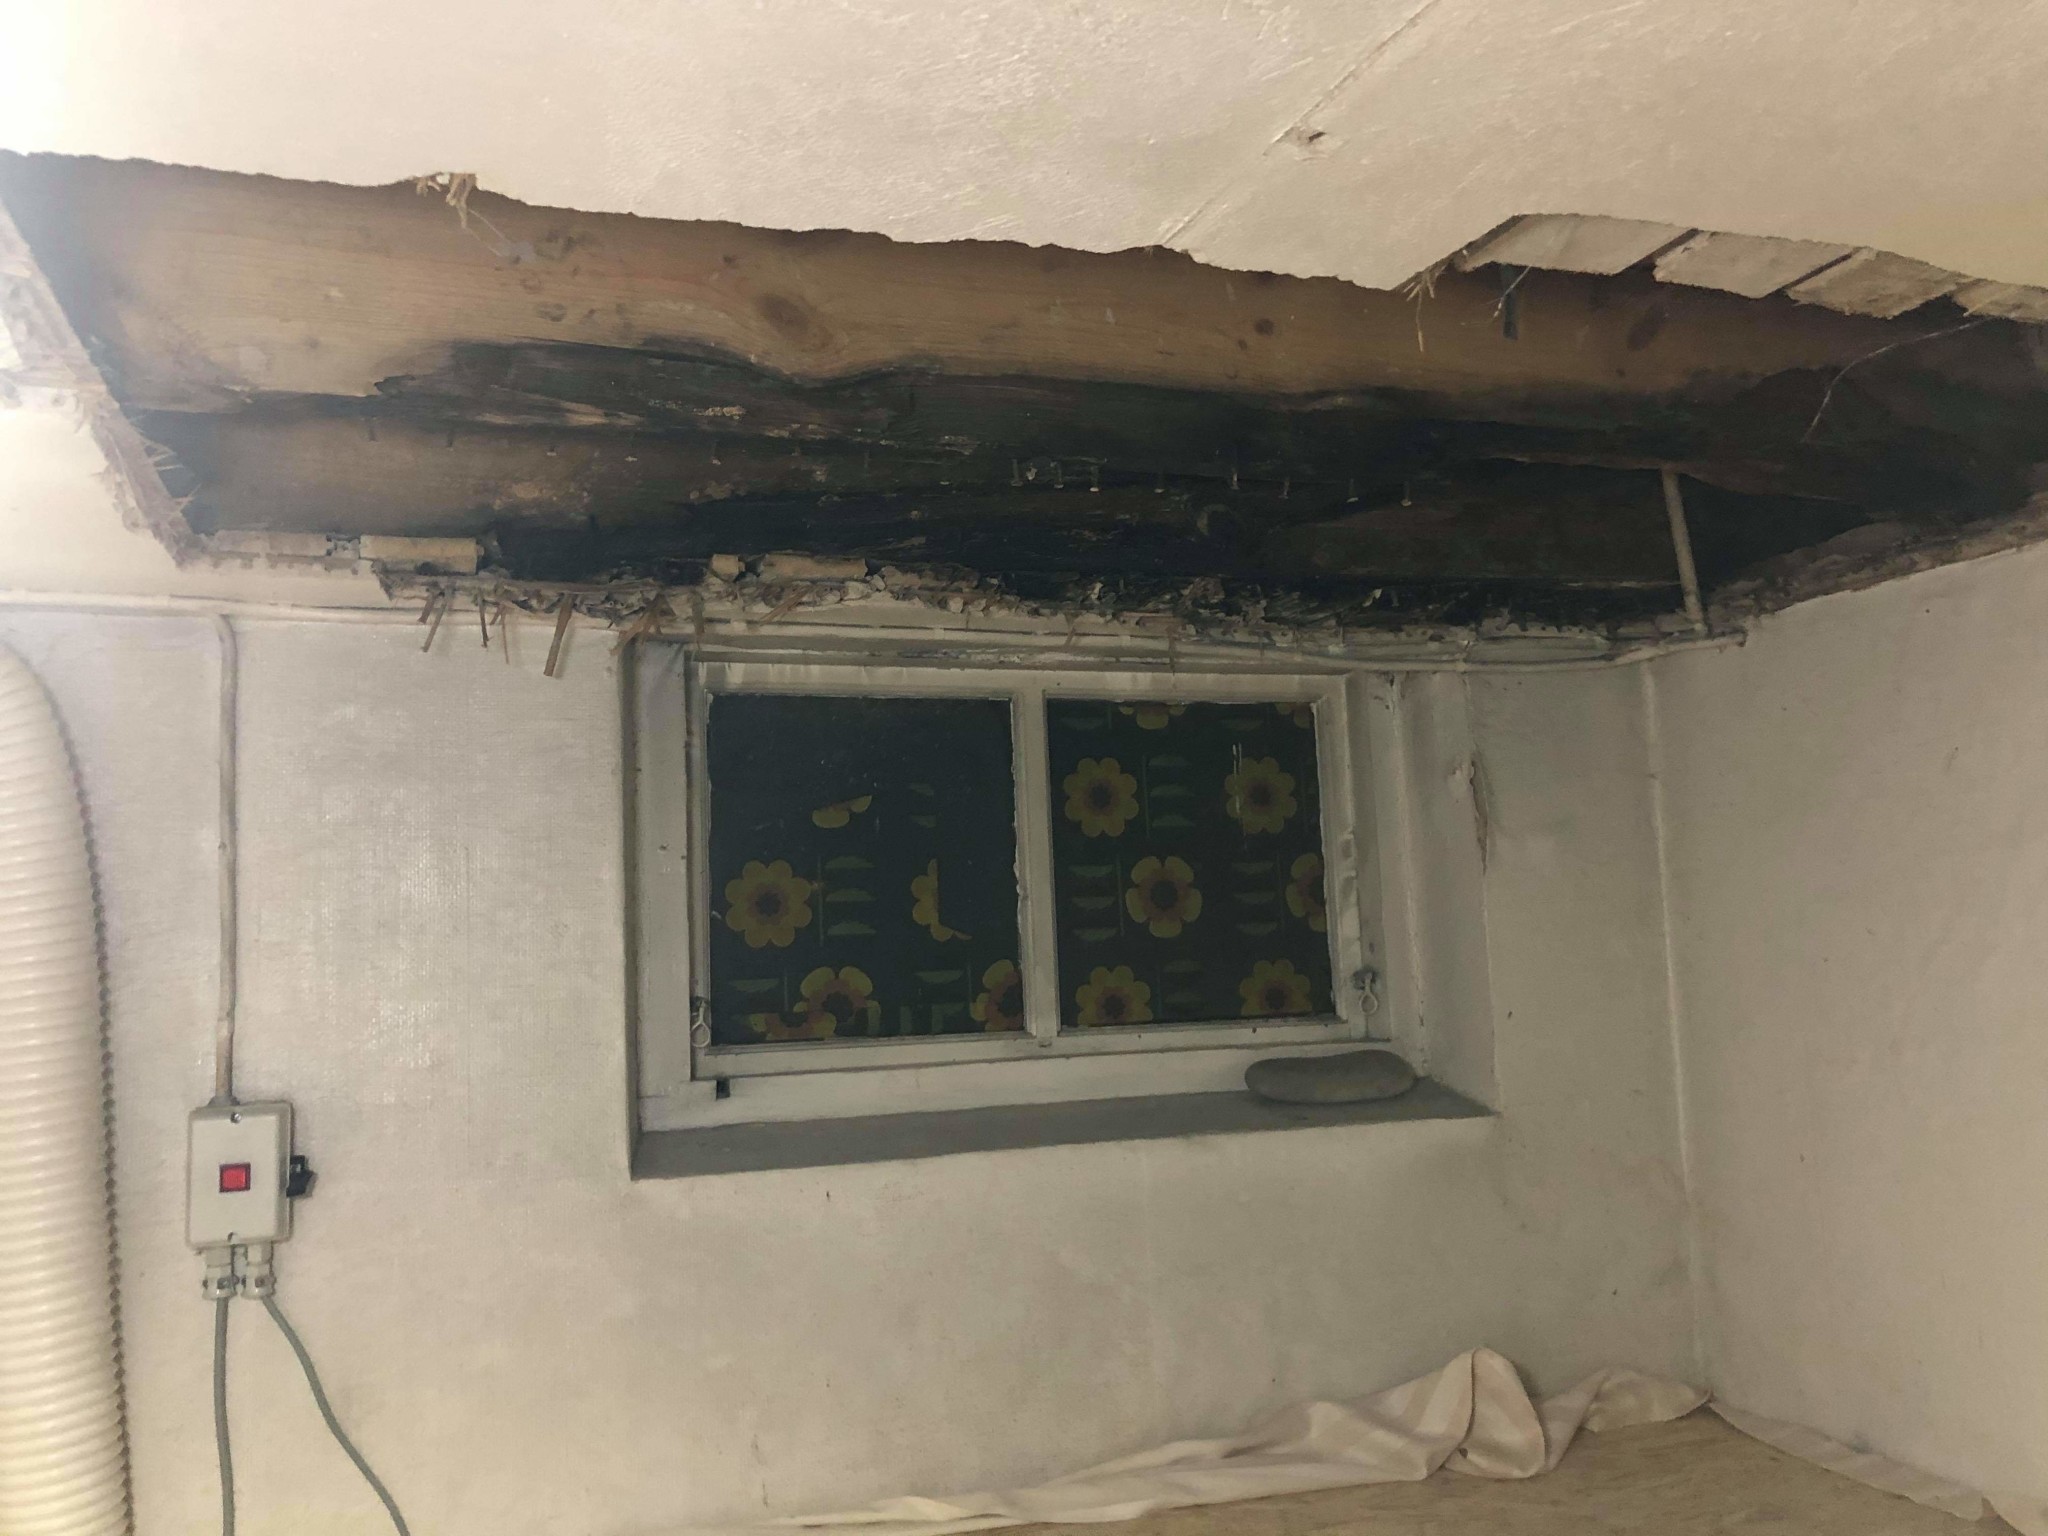
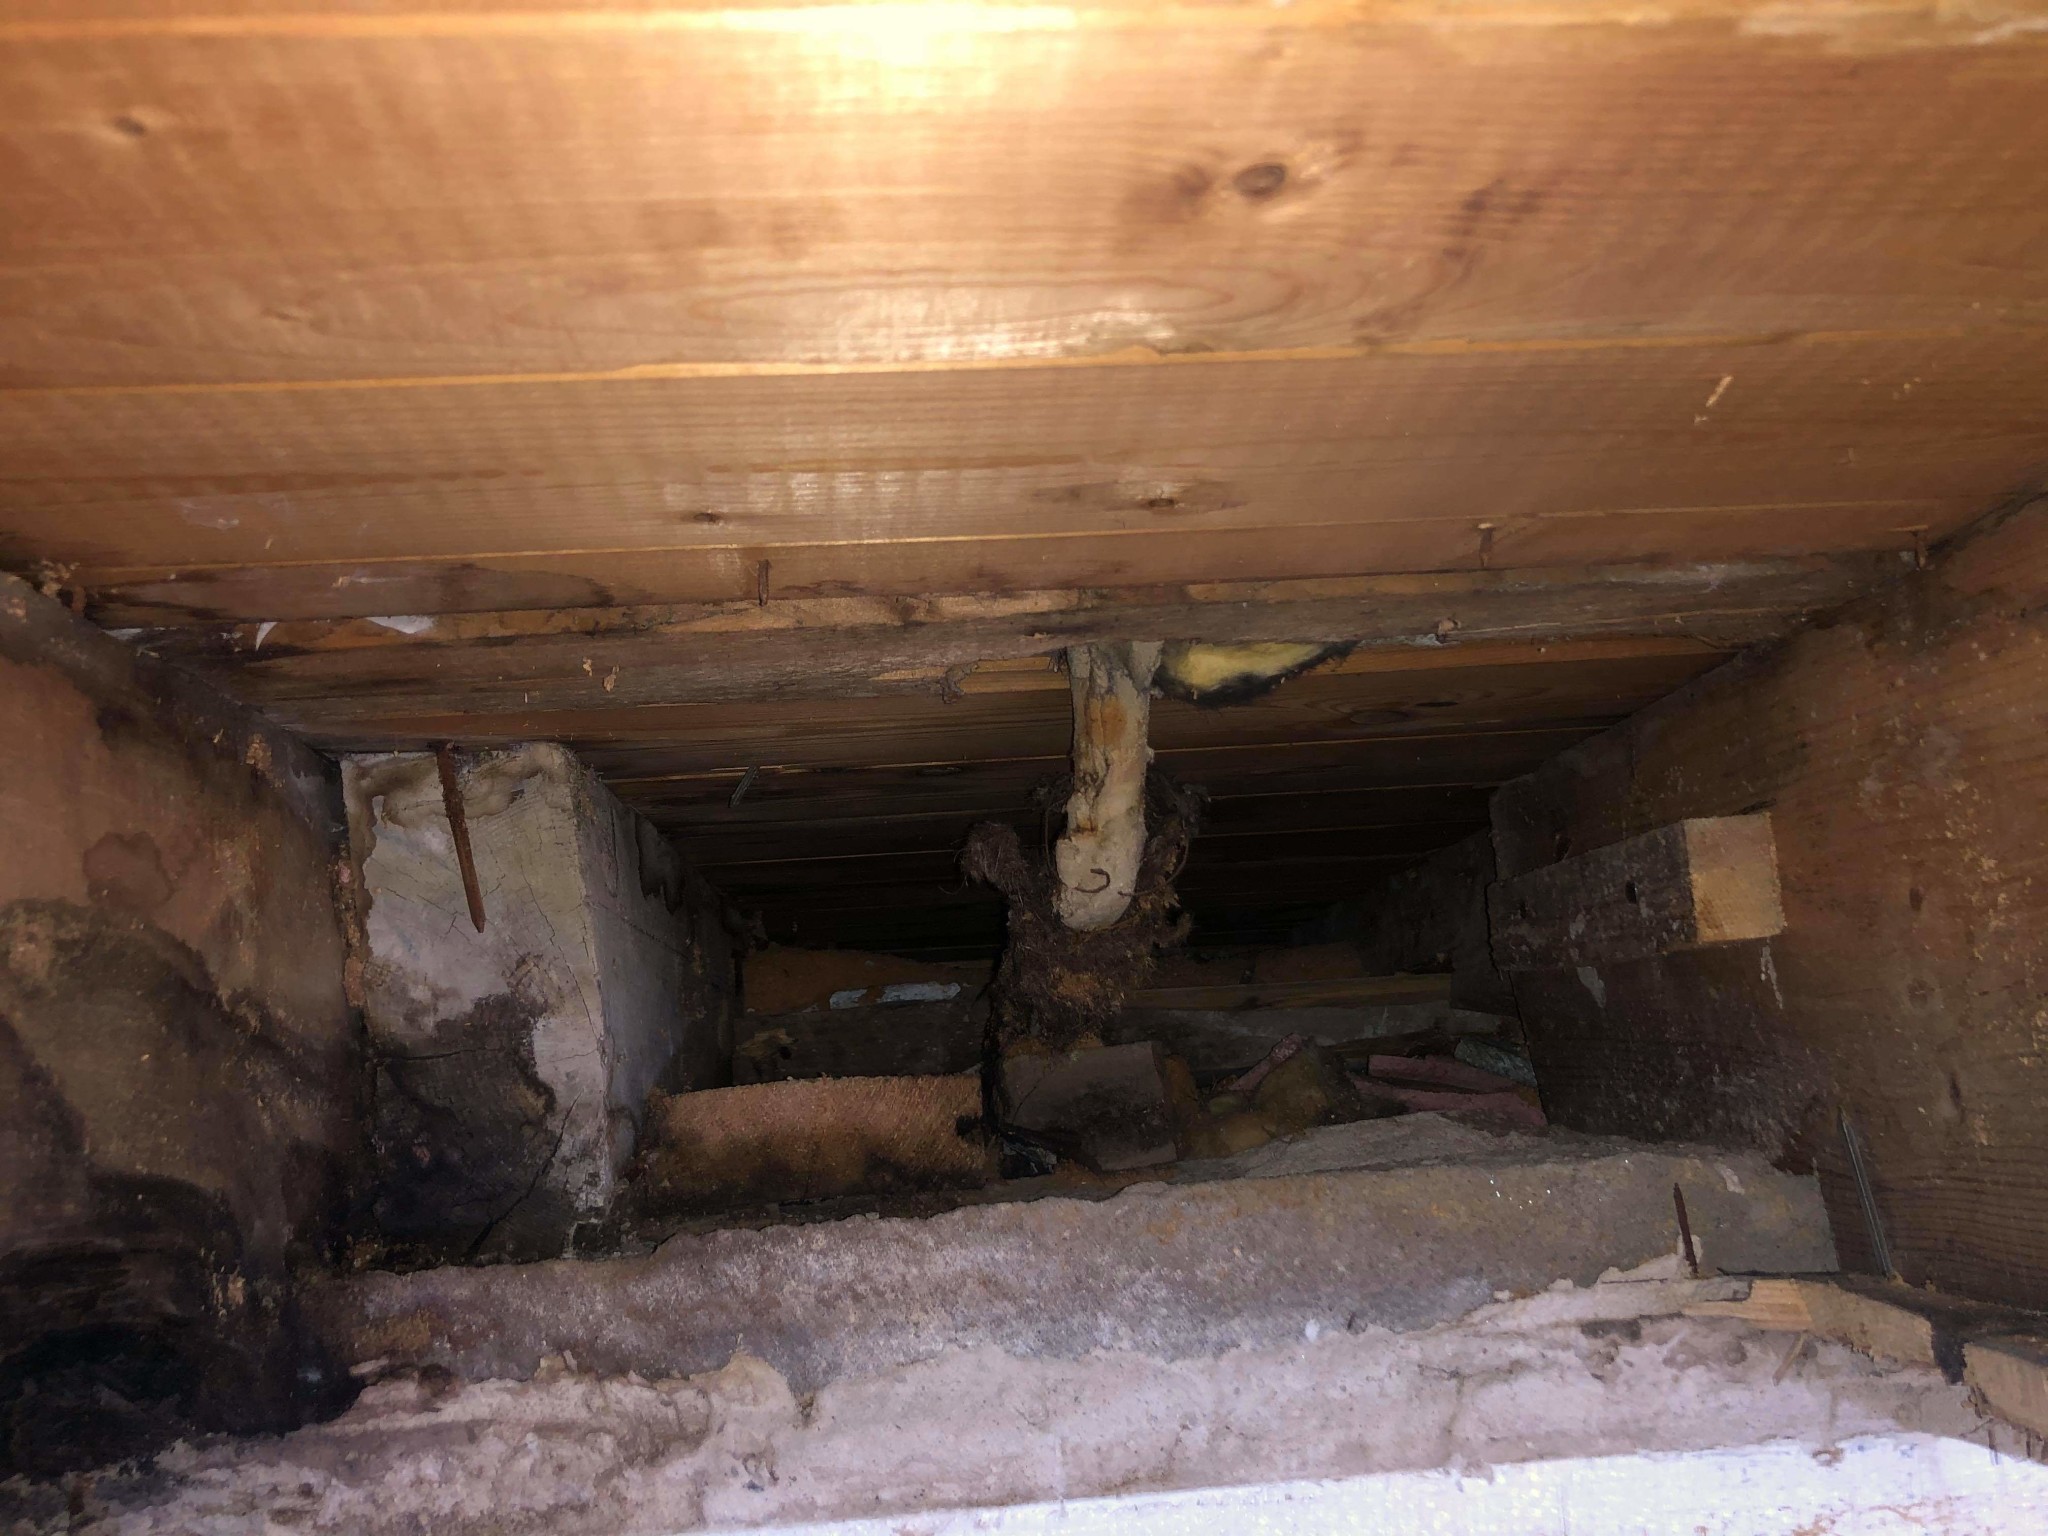
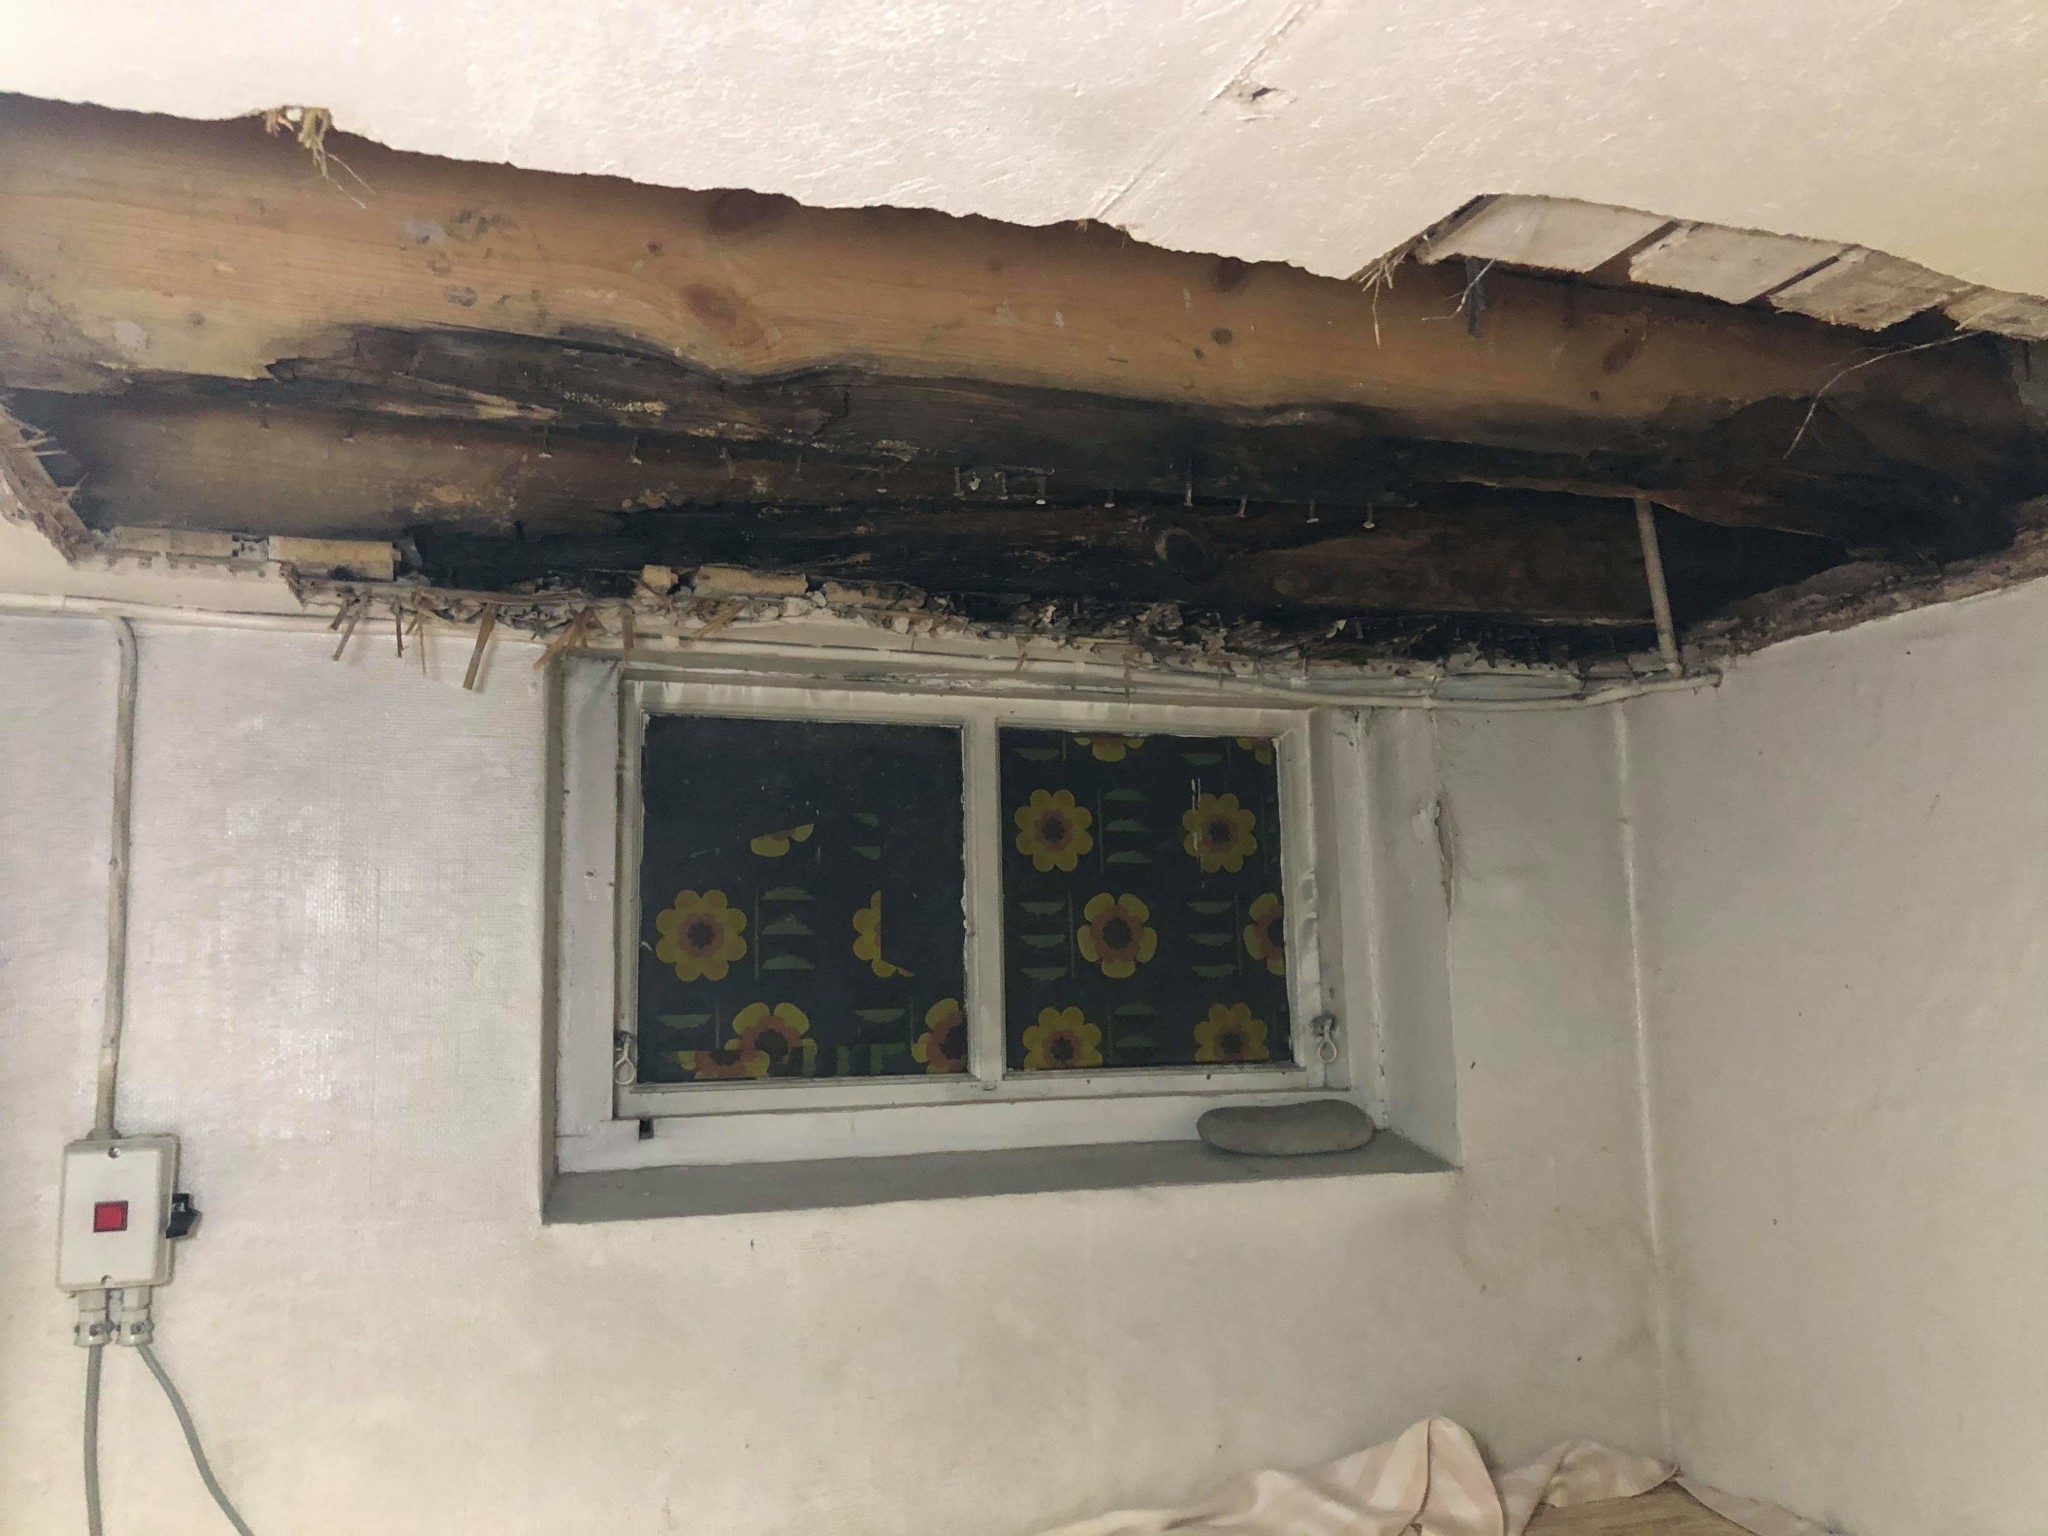
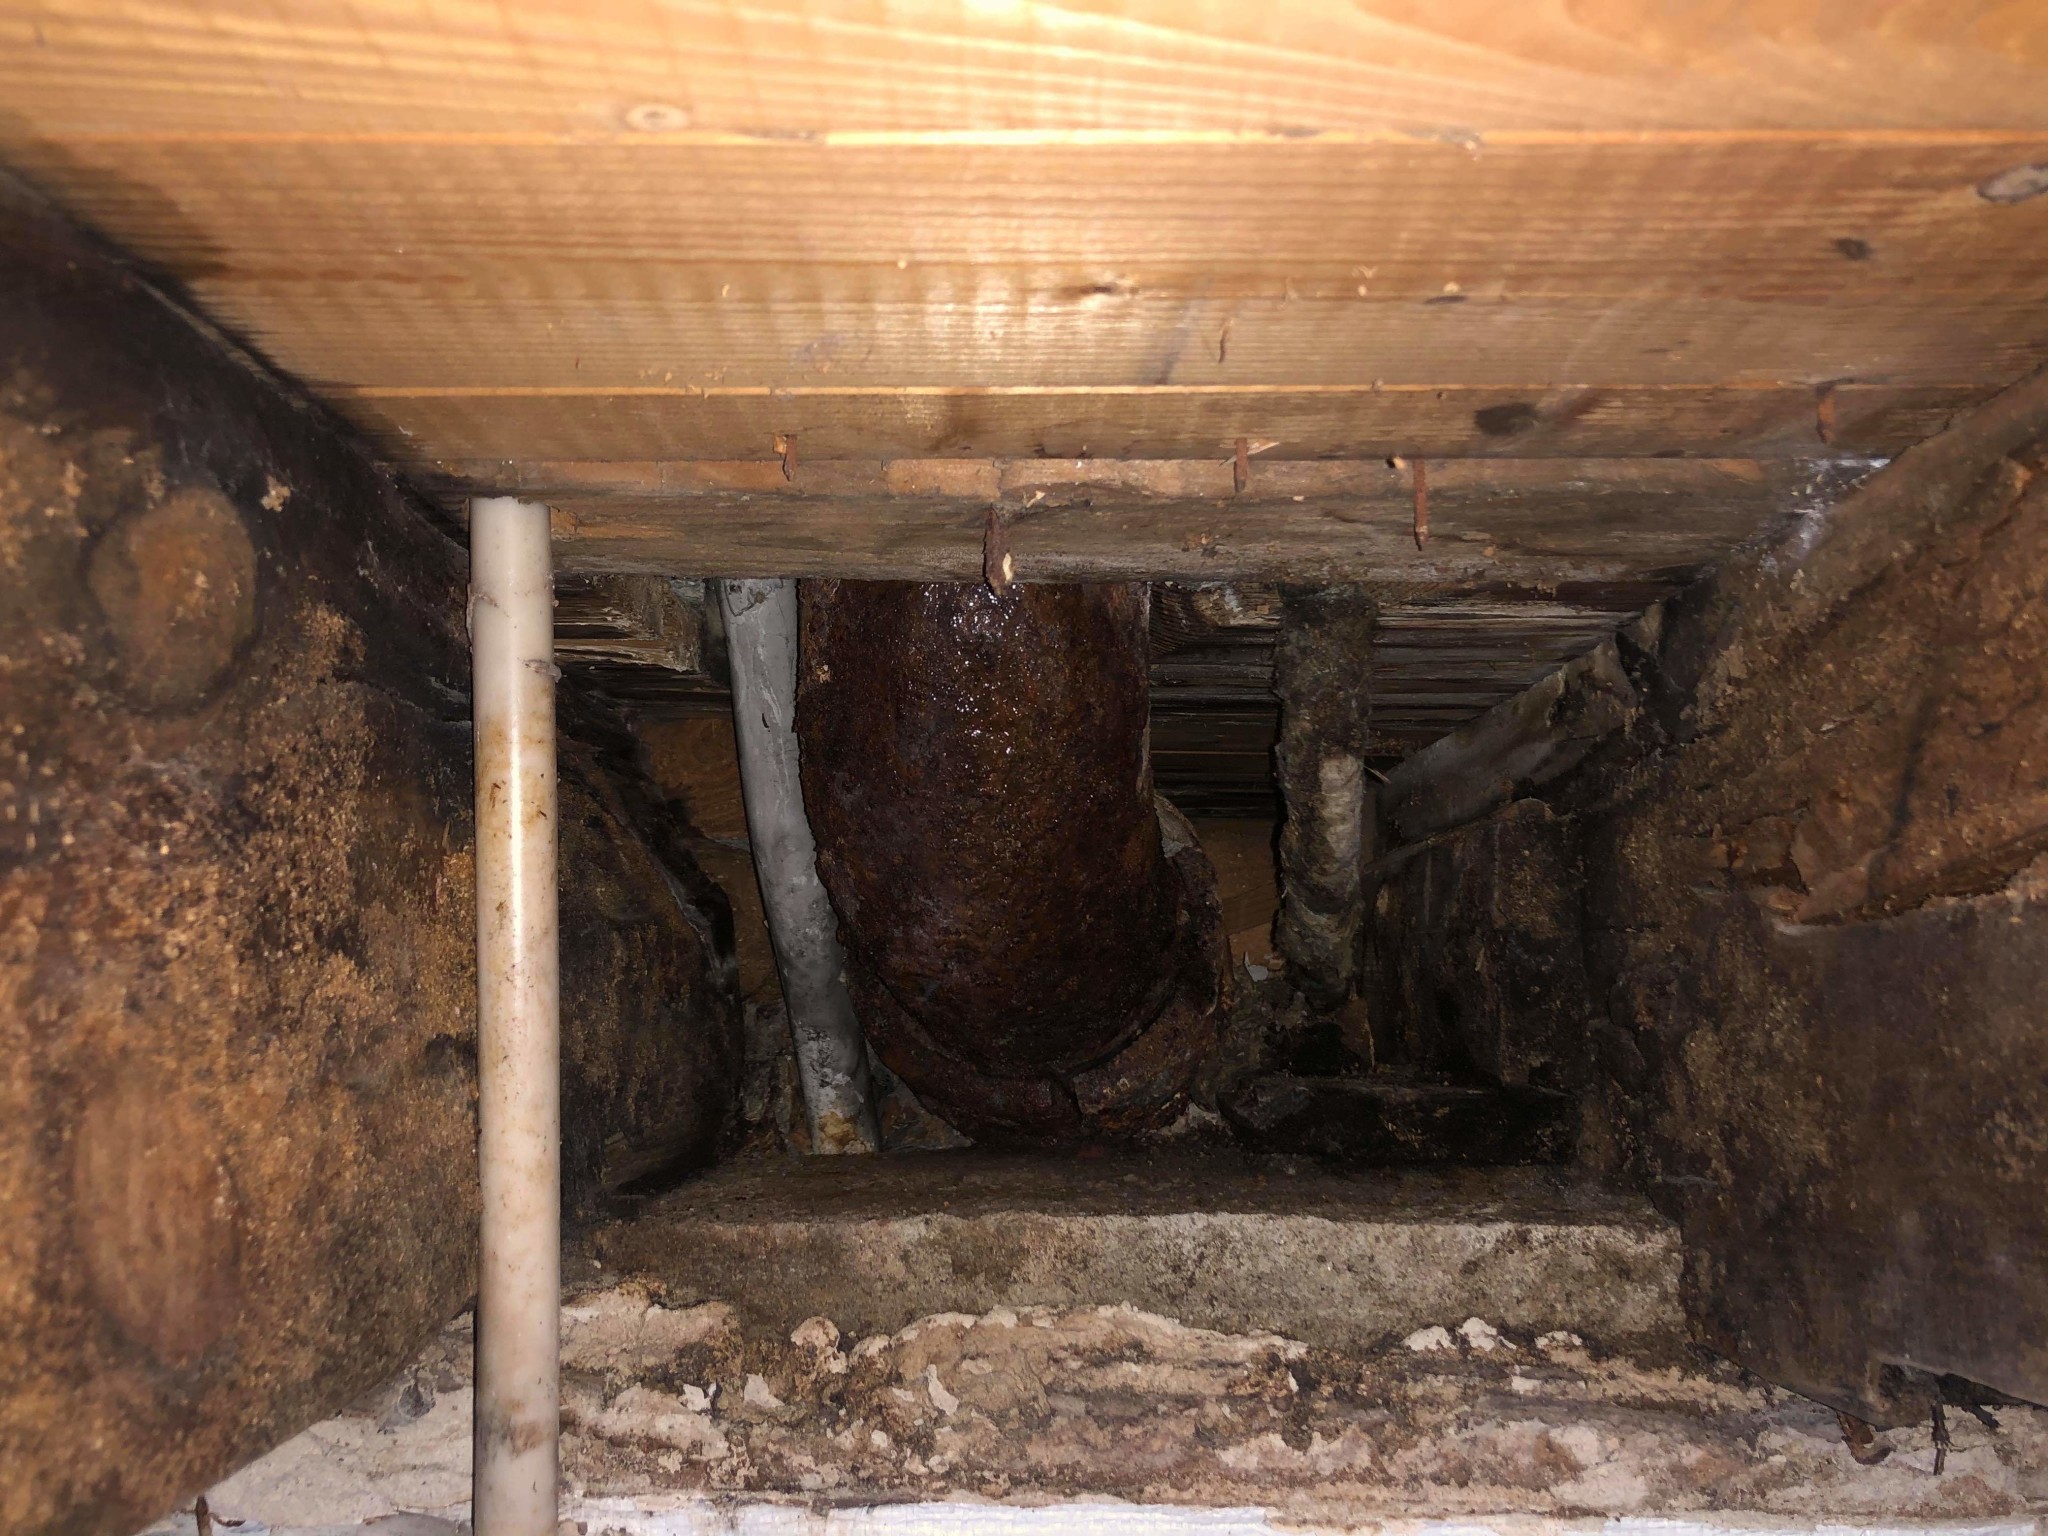
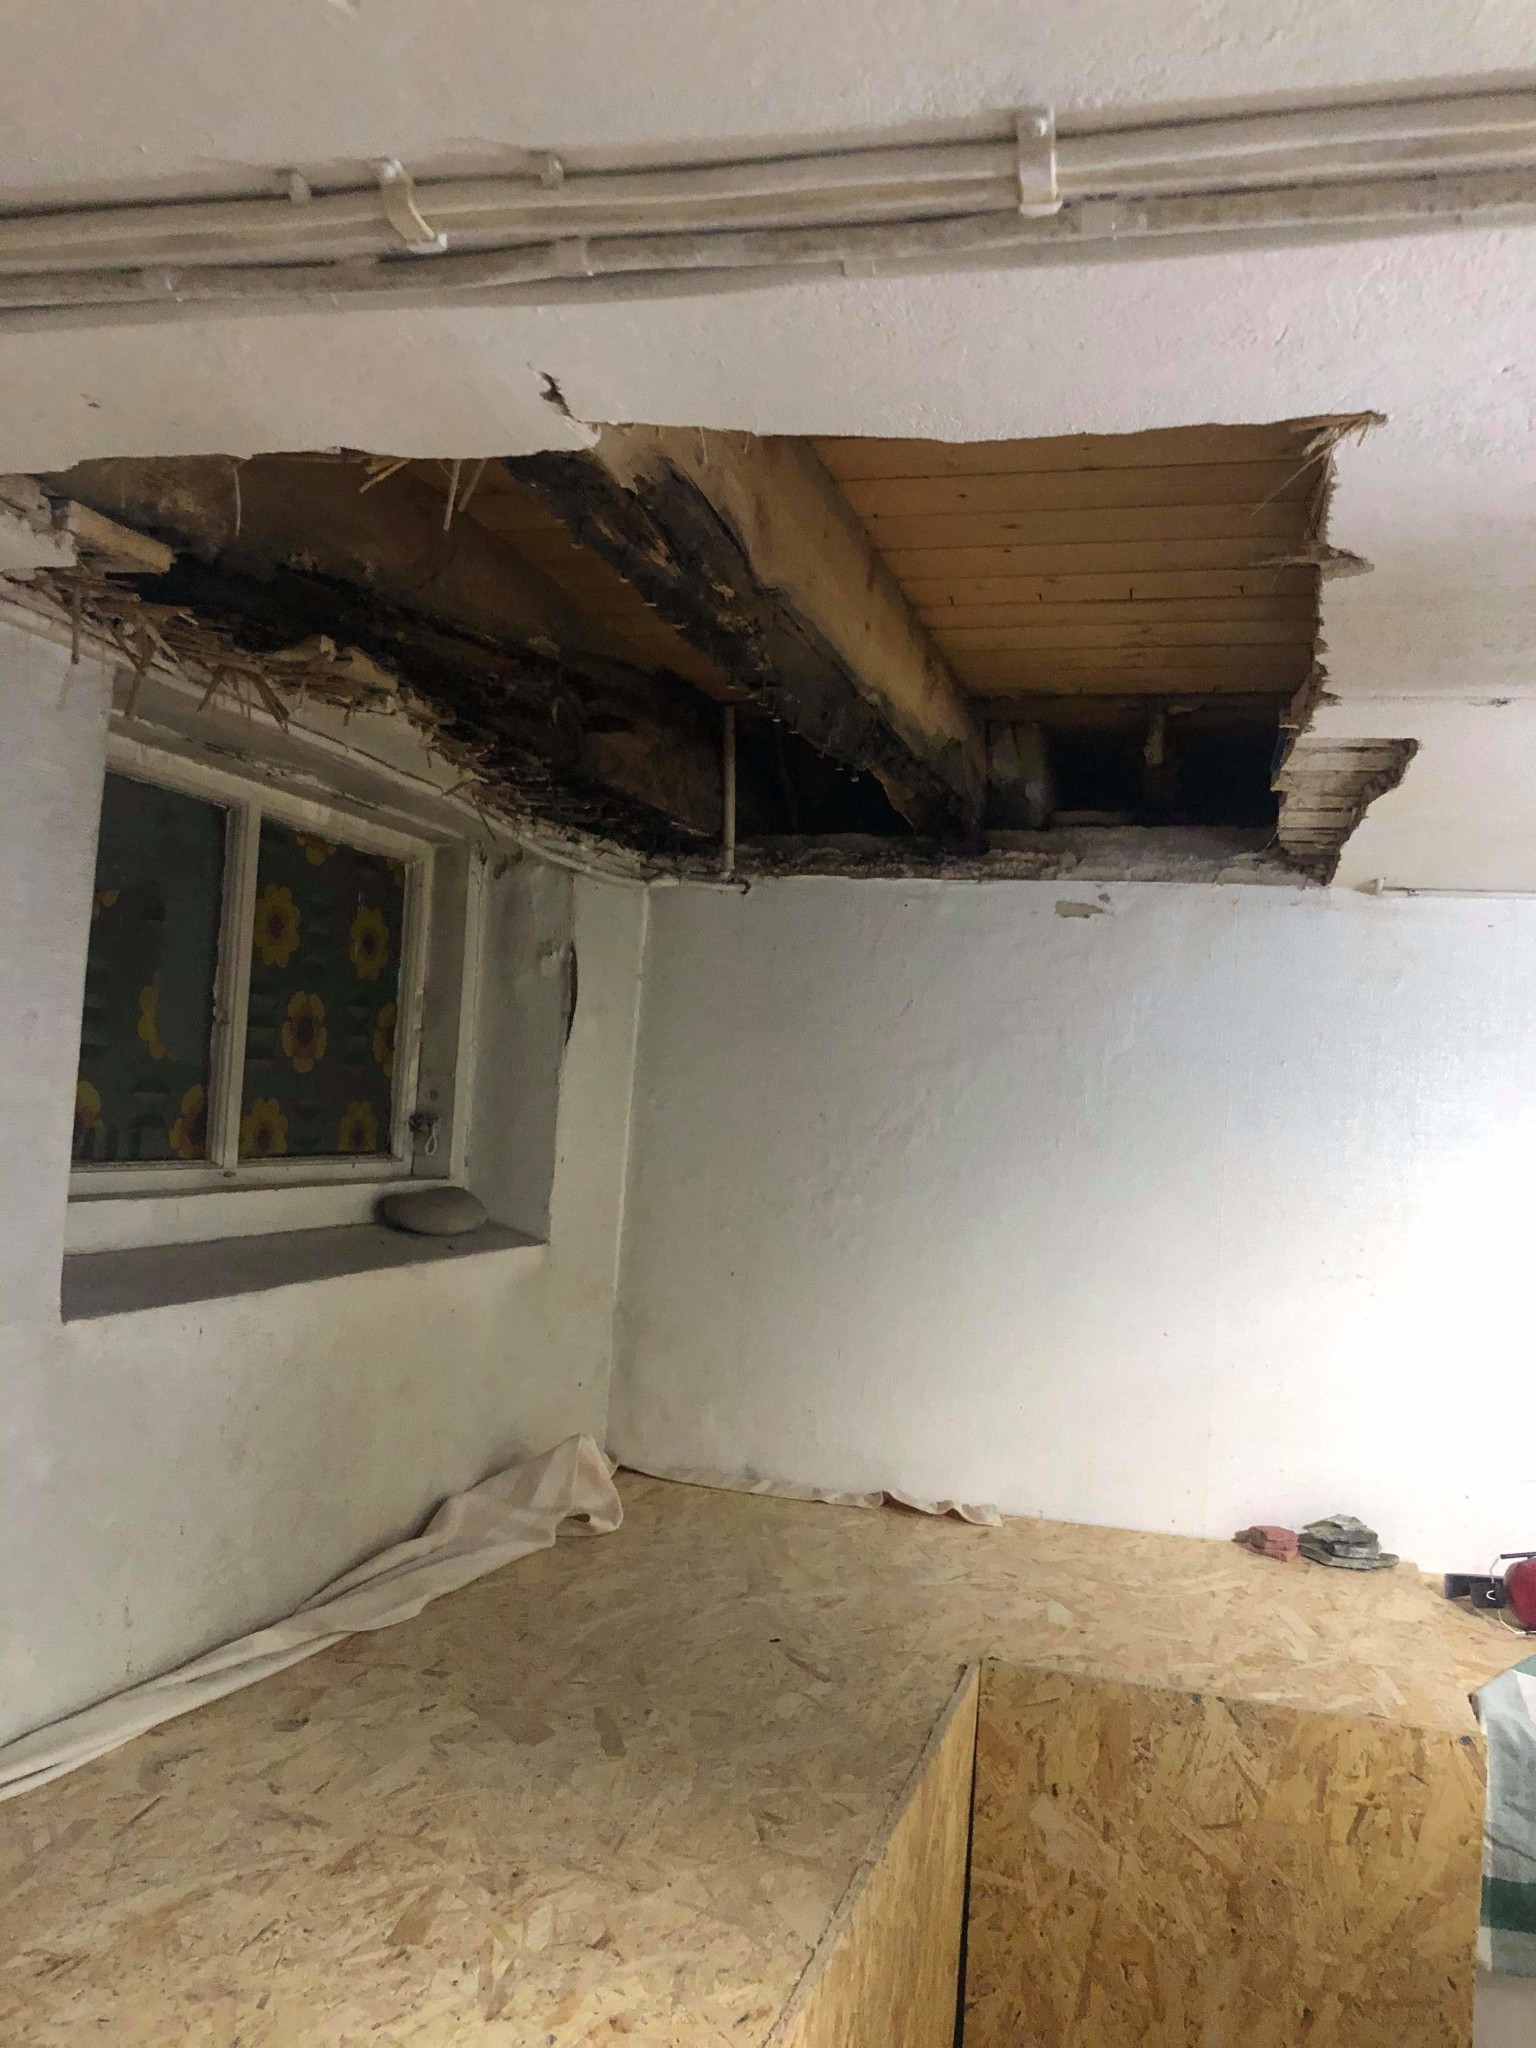
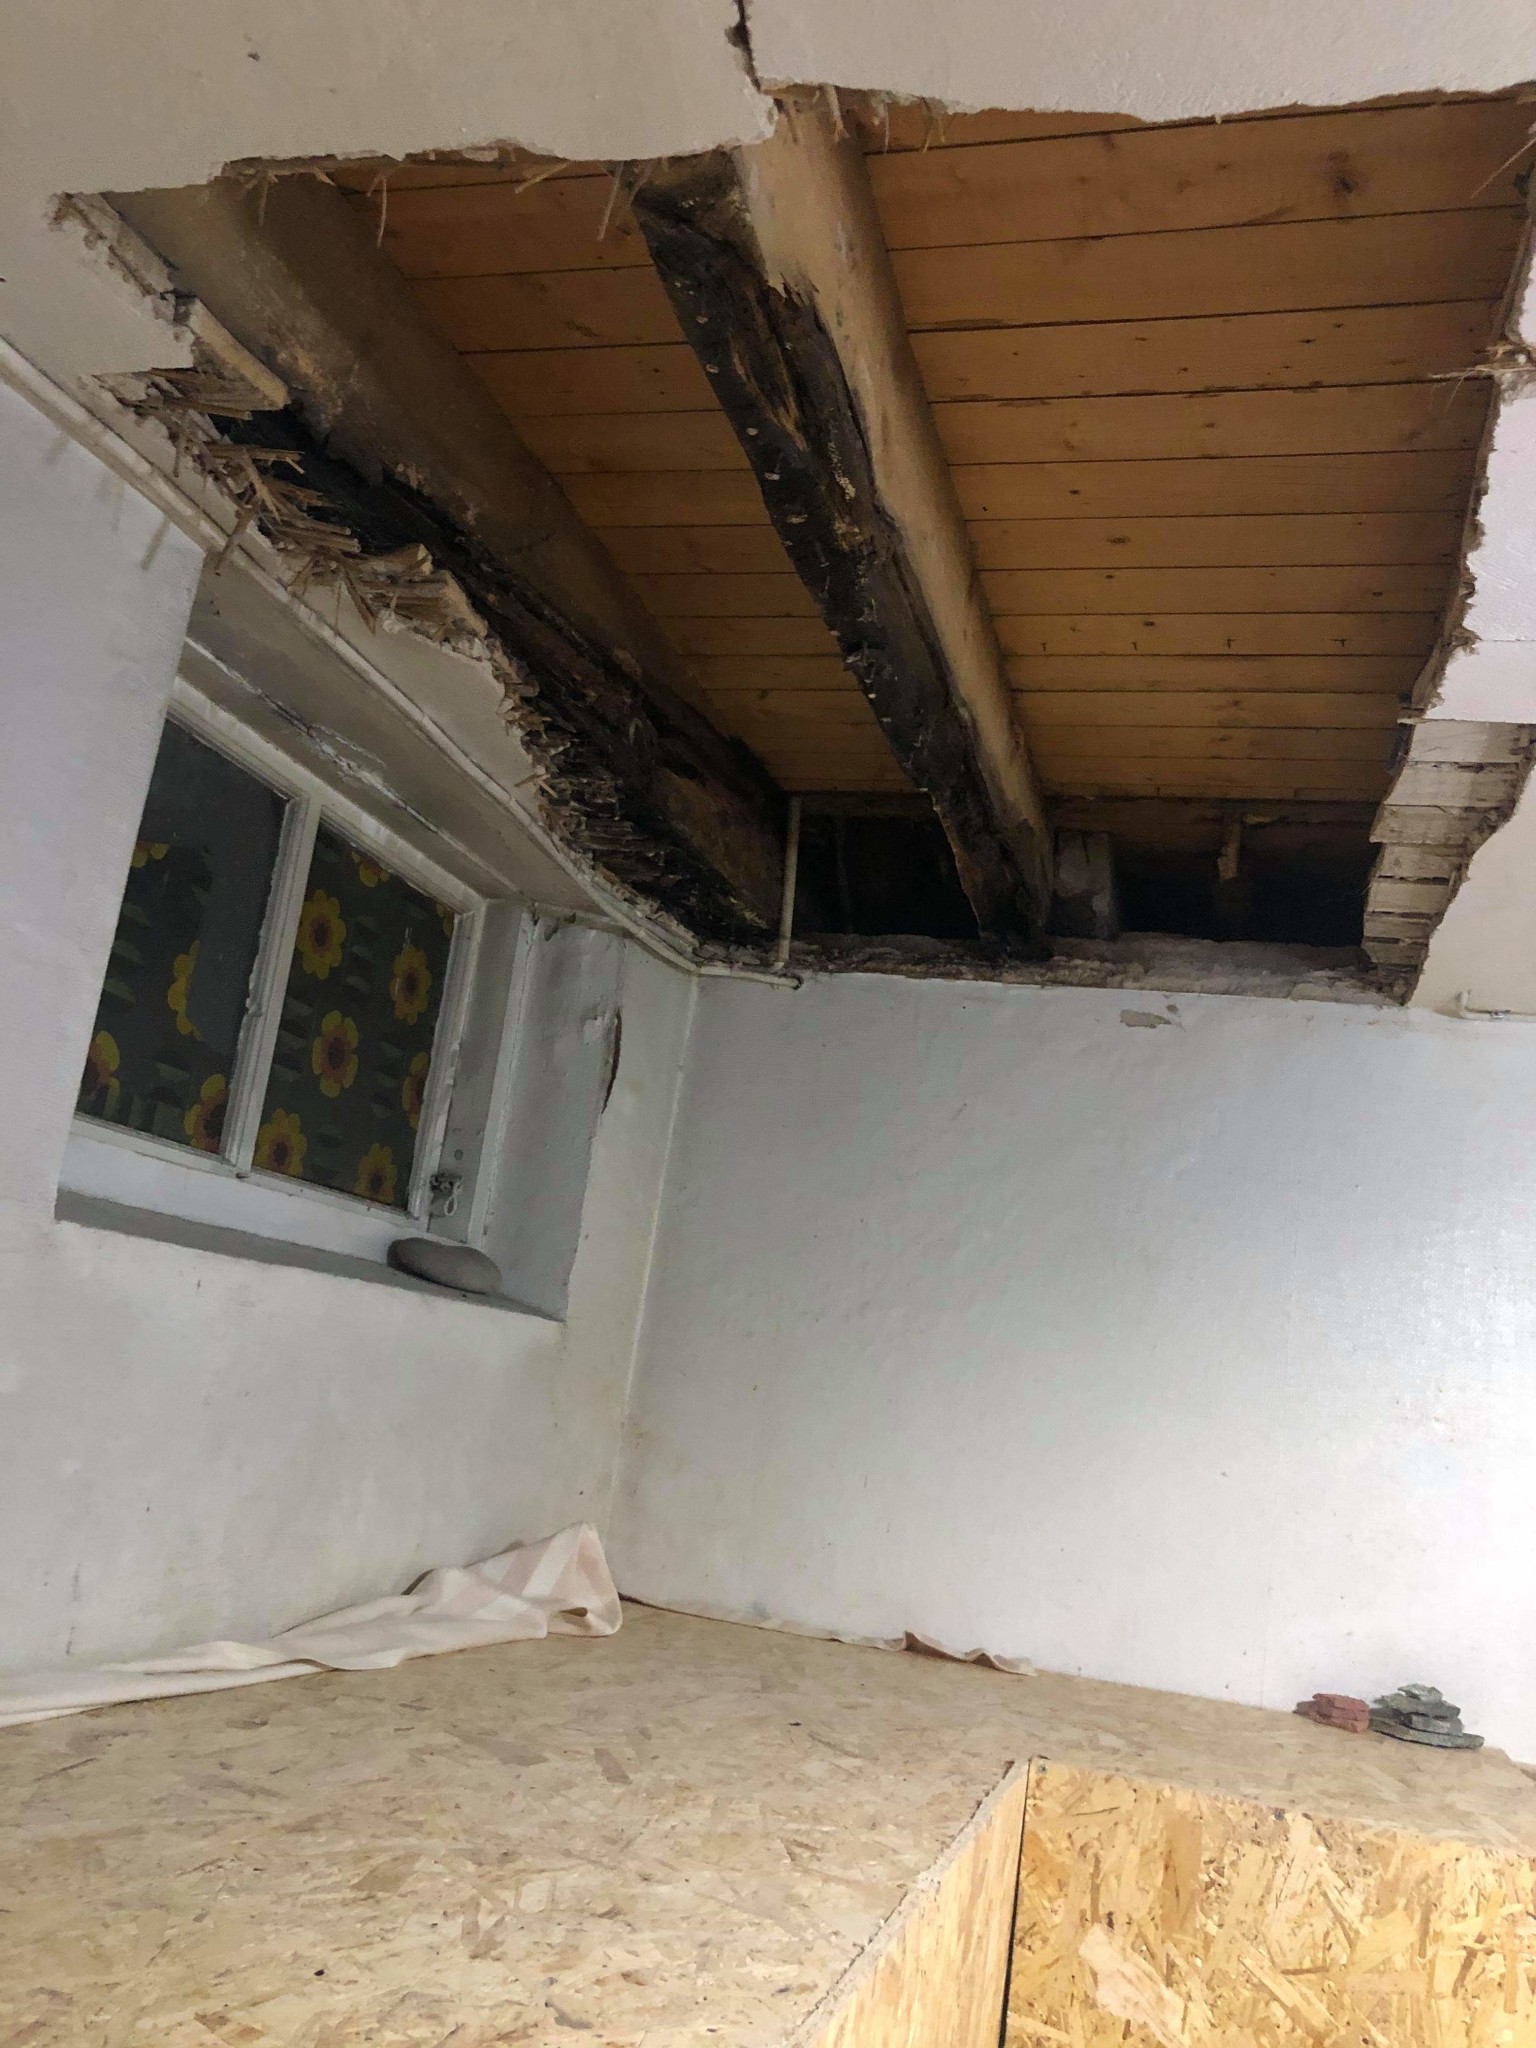
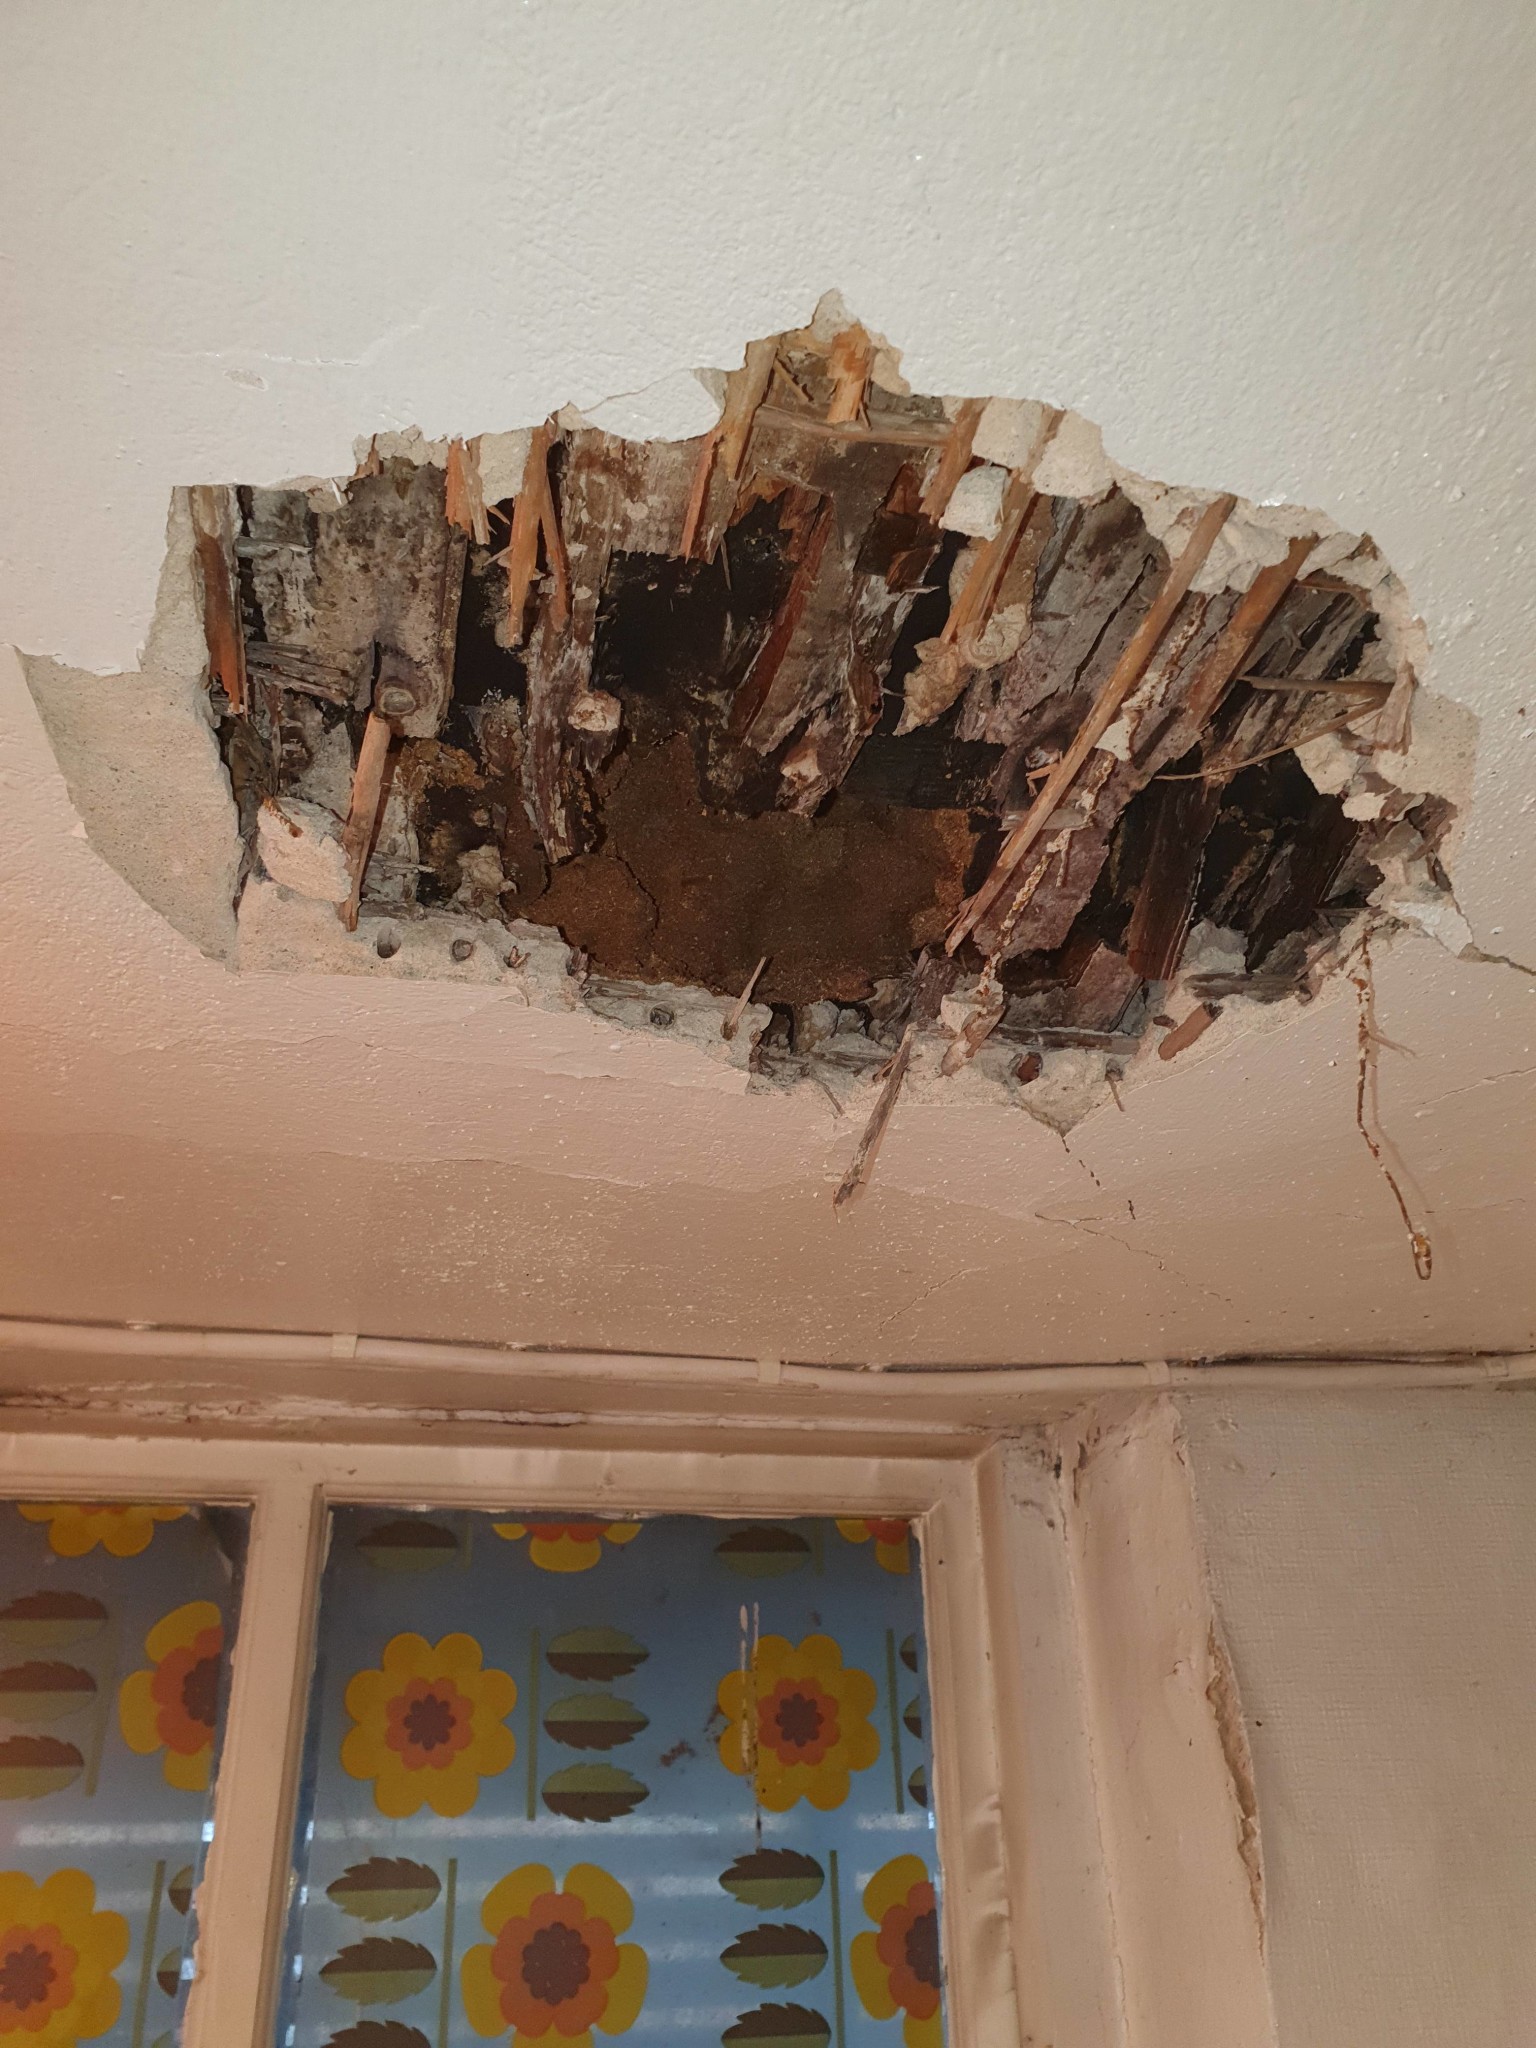
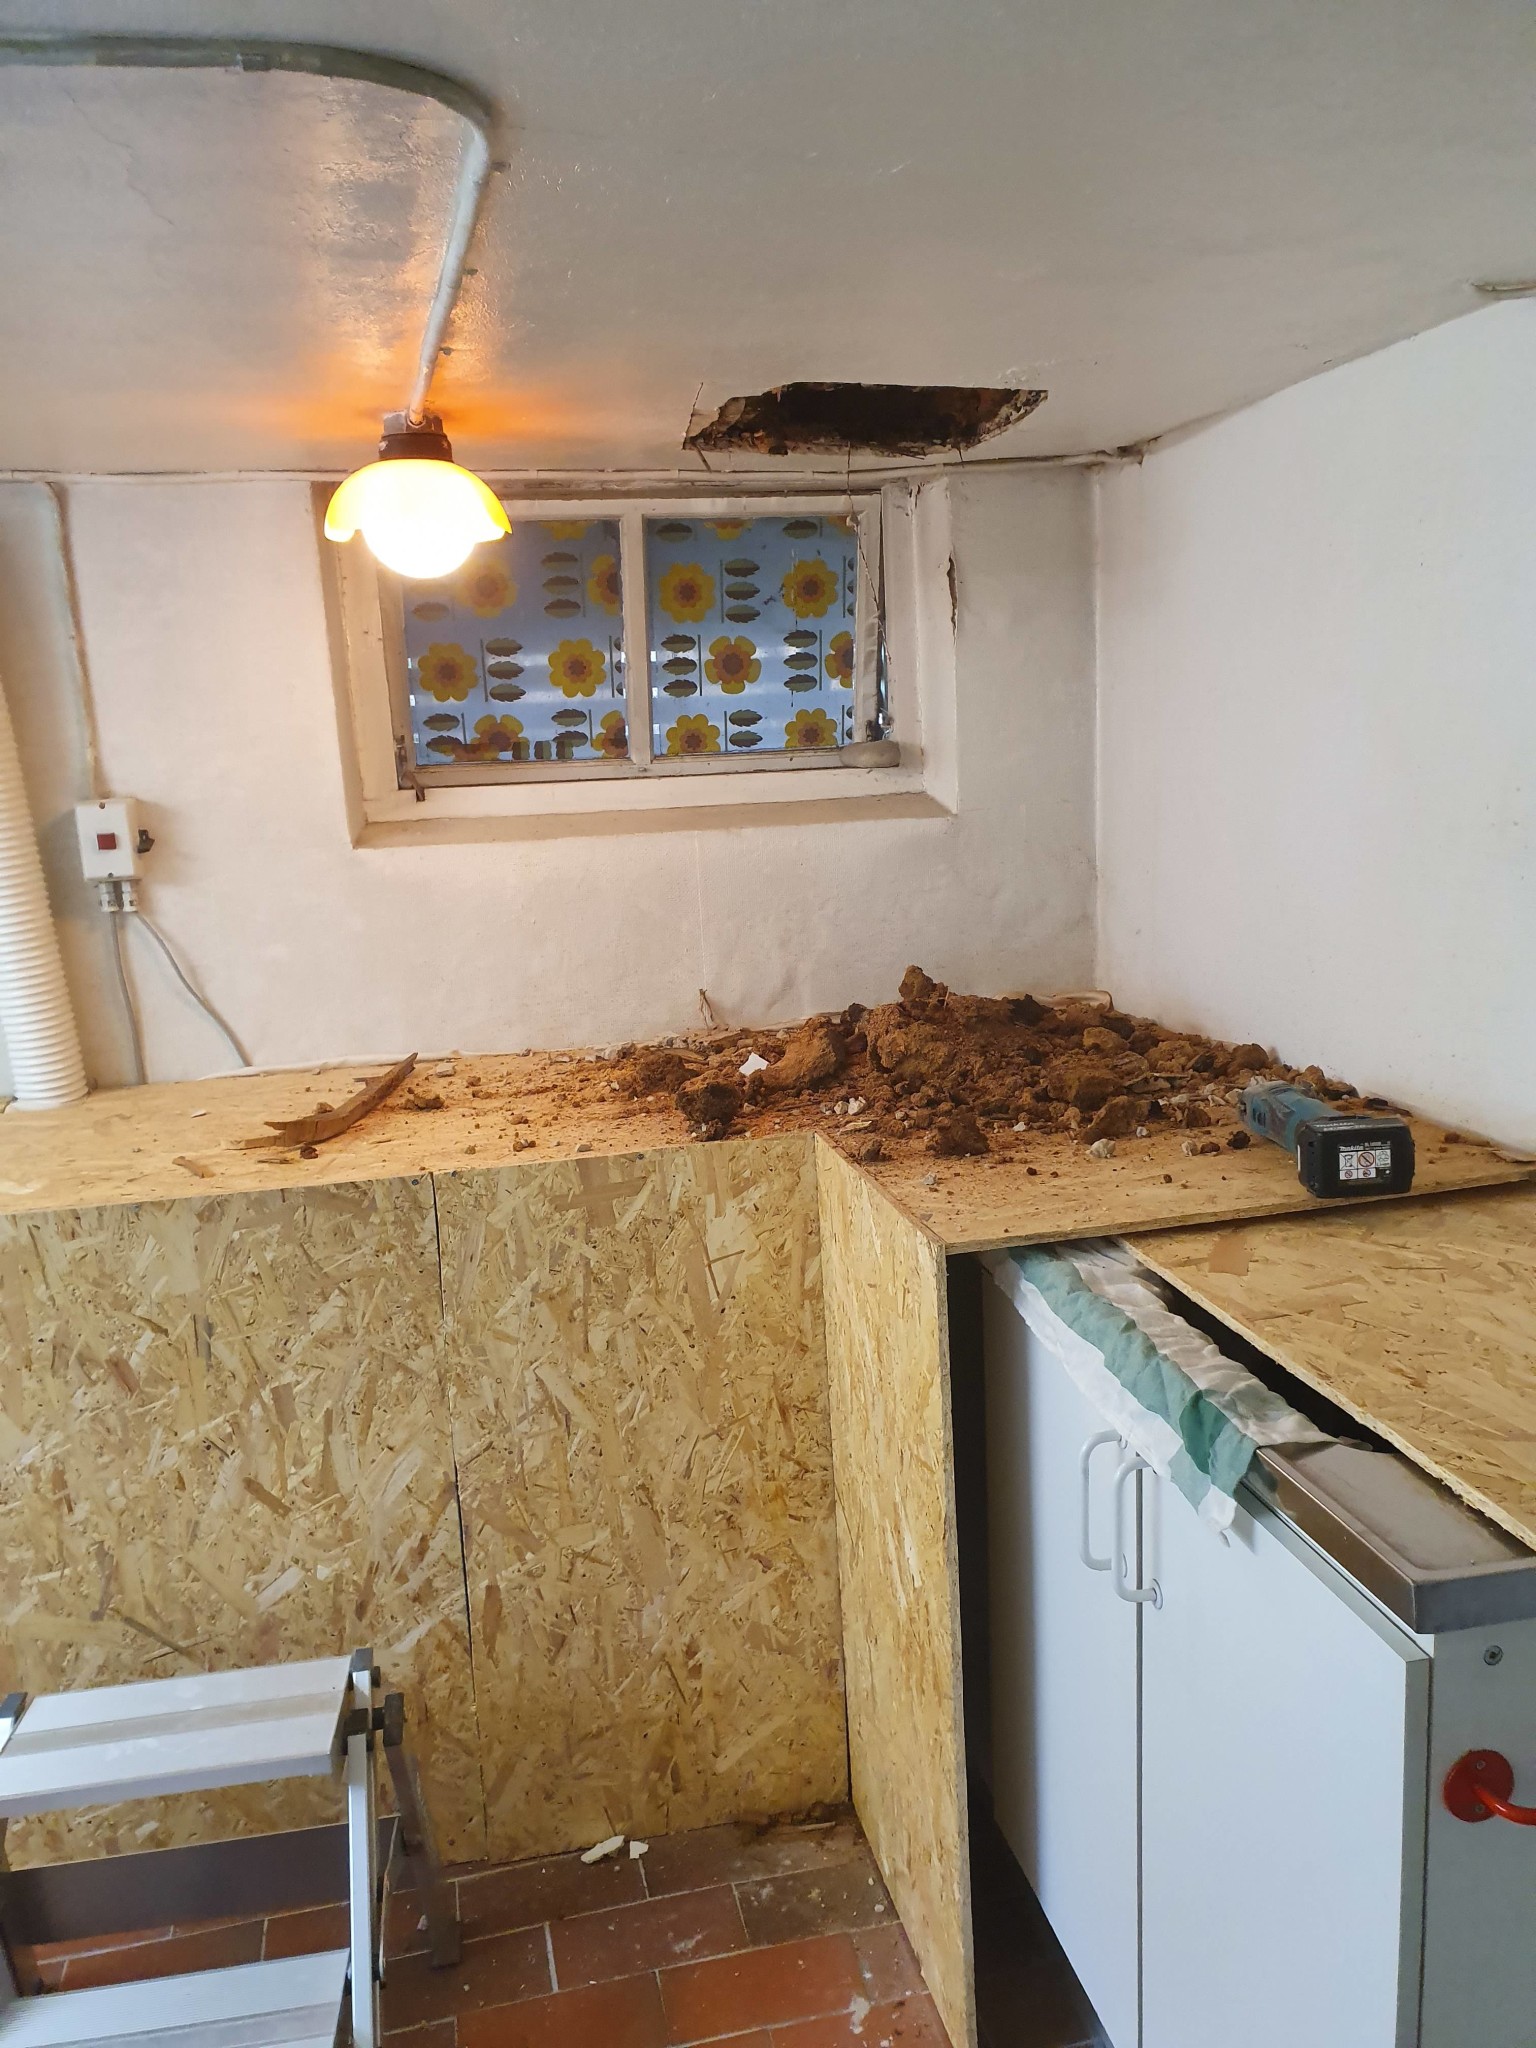
A few weeks ago, I gained access to a house with various renovation needs. The ceiling in the laundry room was sagging locally right above the kitchen and the drainage stack. I removed the ceiling, which consisted of rough cladding with plaster on straw and something like chicken wire. Since it was insulated with sawdust, it has absorbed the water quite well locally, and only two beams have been affected and need to be replaced. The beams are described as 3"x8", which is slightly over 76x203 mm (also cross-measured). About 2 m need to be replaced on both. In the picture, they rest on a concrete wall. What are the equivalent planed beams today, I wonder? It seems like they built quite solidly in the past. The house was built in '38, and most of the walls consist of vertically cladded planks.
How do I replace these most easily? Brace up and cut them away, replacing them with new beams of equivalent strength, or saw away the affected part and splice new beams directly onto the existing ones with coach screws? I also intend to replace the cast iron stack in connection with this.
Grateful for a bit of feedback!
Best regards, Erik
Rip from one dimension higher and after removing the damaged material, glue and screw against the old one. The screw is just to fix it so you can reuse it bay by bay.L Limträ said:
If the distance or load-bearing capacity seems weak with 45 mm, place one on each side.
The width affects far less than the height on the calculation of deflection.
Okay, thanks for the answer. It seems to be cross bonded between joists a bit further away. Might that be needed also where I am going to replace?K kest said:Split from a layer higher and after removing damaged material, glue and screw it against the old one. The screw is just to fixate so you can reuse it section by section.
If the distance or load-bearing feels weak with 45 mm, put one on each side.
The width affects far less than the height in the calculation of the deflection
If you attach one on each side, you might be able to skip these. But be careful and tighten a string or use a laser if you have one so you don't encounter problems with the floor above. Depressions, waves, etc. Check the floor with a level, straightedge (straight board). Prop it up before securing and gluing the new floor joists. It's frustrating to have to tear up the floor and plane the new floor joists.L Limträ said:
Click here to reply