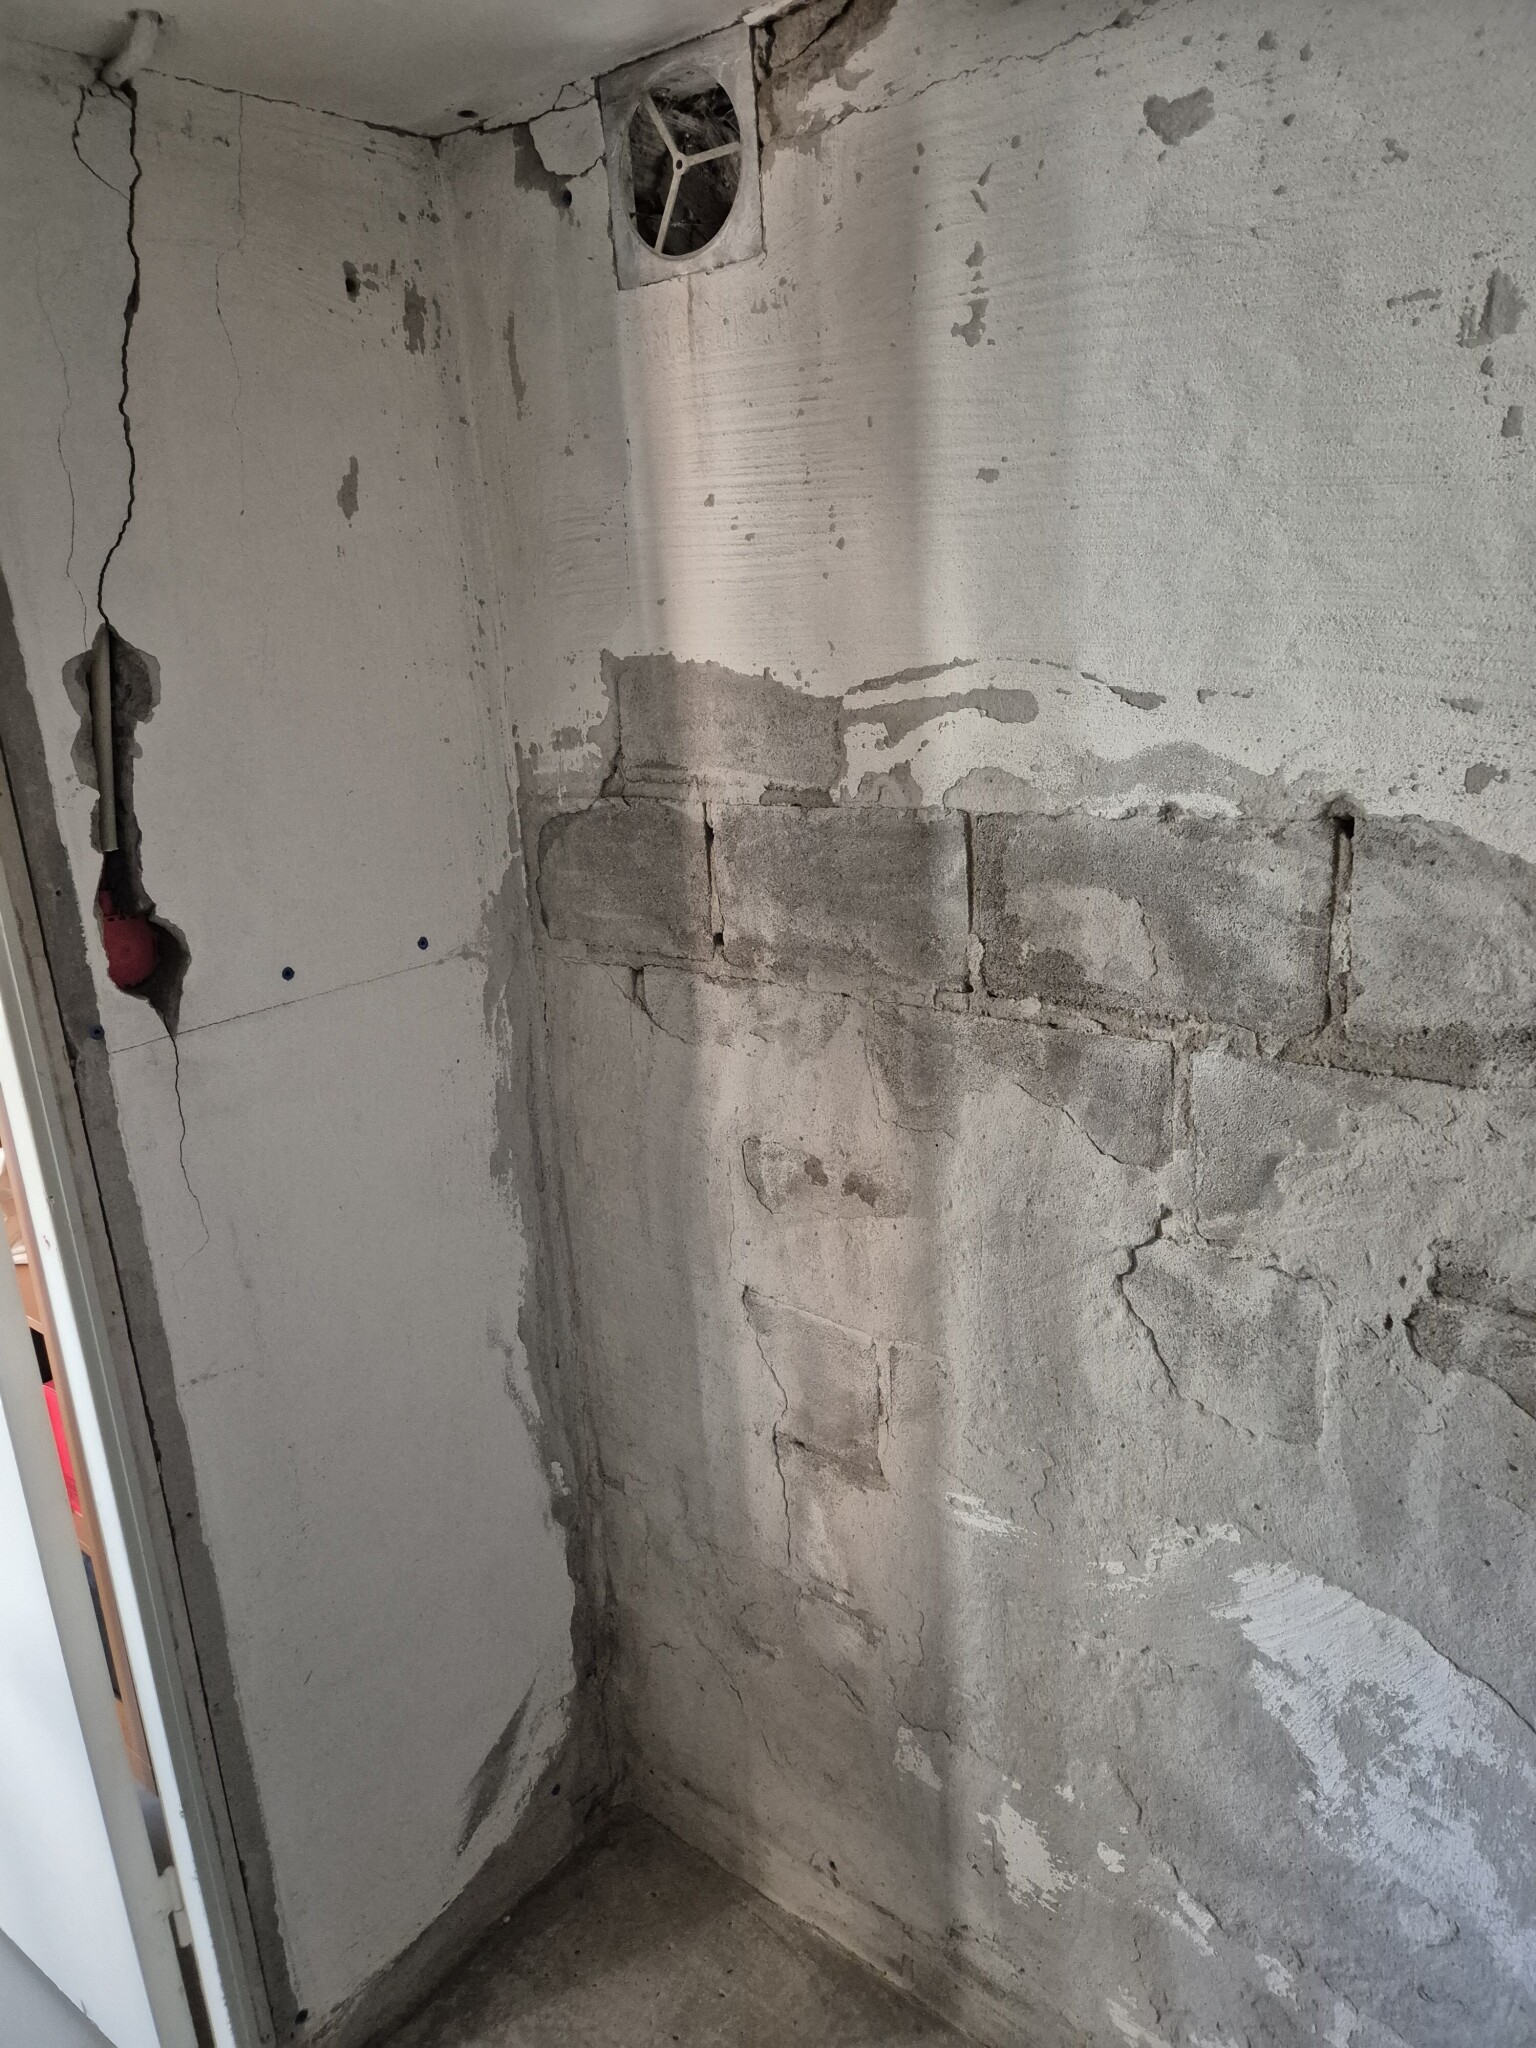
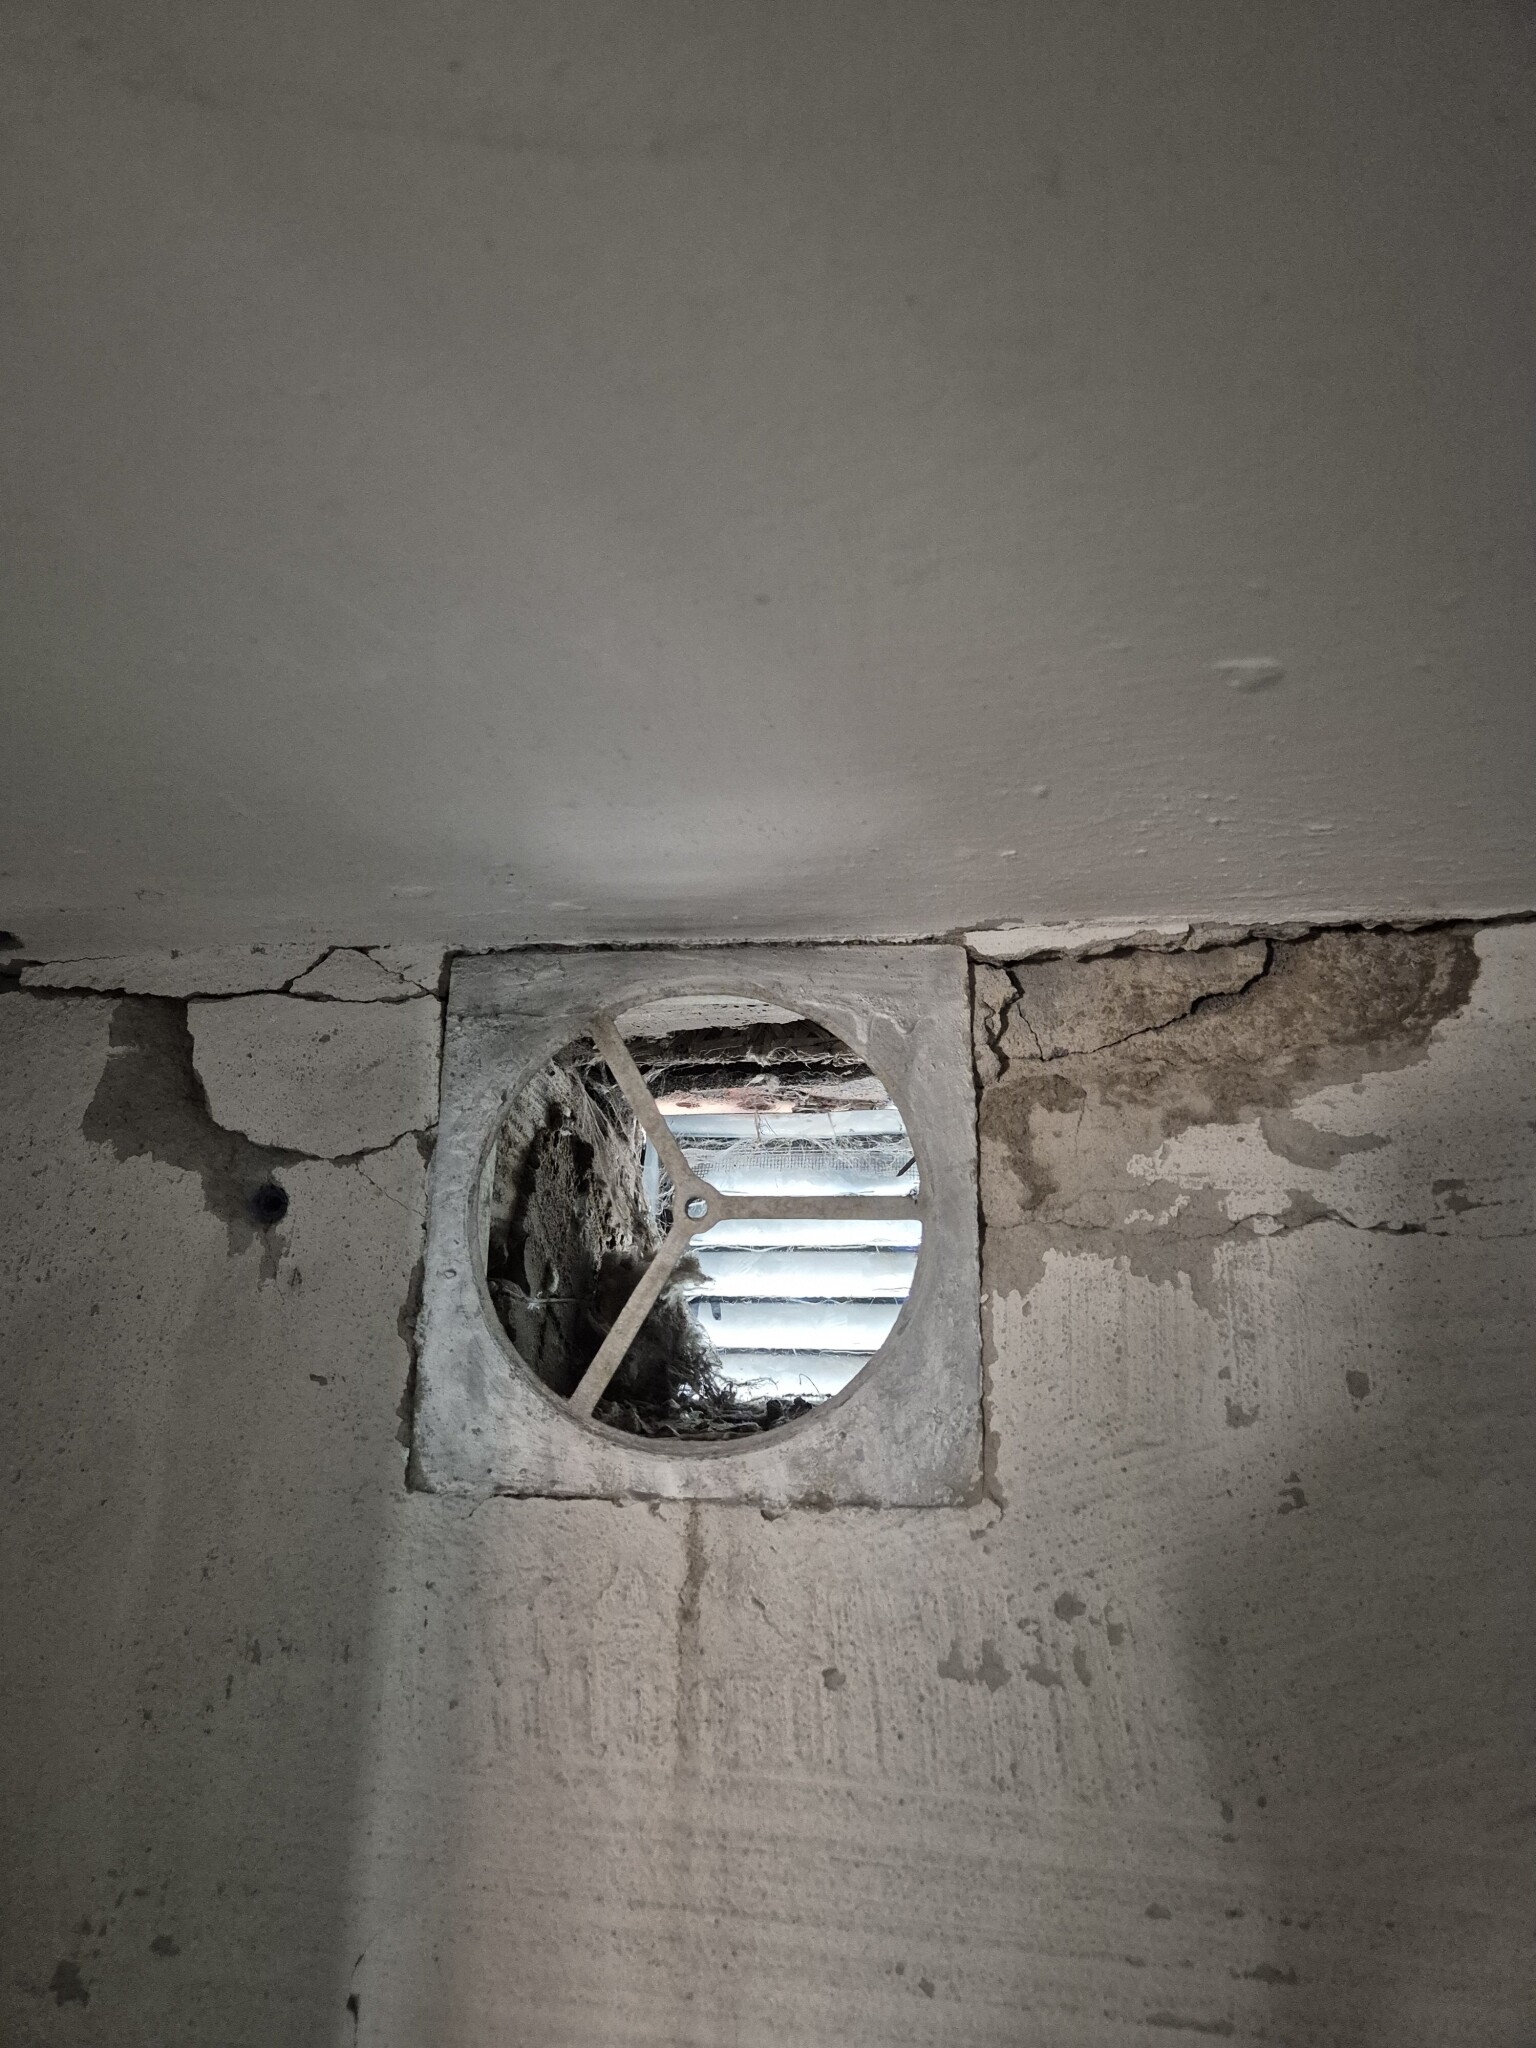
When we moved in, someone had built a sauna in a closet in the basement, which we had intended to demolish from the start as it was anything but properly constructed. Now we have torn it down, and it was quite an experience, to say the least. The vent was clogged with fiberglass, wooden framing and fiberglass on the walls, followed by a vapor barrier, and finally sauna paneling. The wall with the vent is an exterior wall in the basement.
Many of the studs looked like they had been on the ocean floor for many years.
Our plan now is to even out the walls somewhat for storage purposes, so it's a perfect room to learn how to do fix-ups in the basement. However, I feel that I have little understanding of the work steps and materials I should use.
The house is from the 60s, the basement walls have the blocks you see in the pictures below, and in some places, you see porous blue-tinted concrete, so I suspect blåbetong.
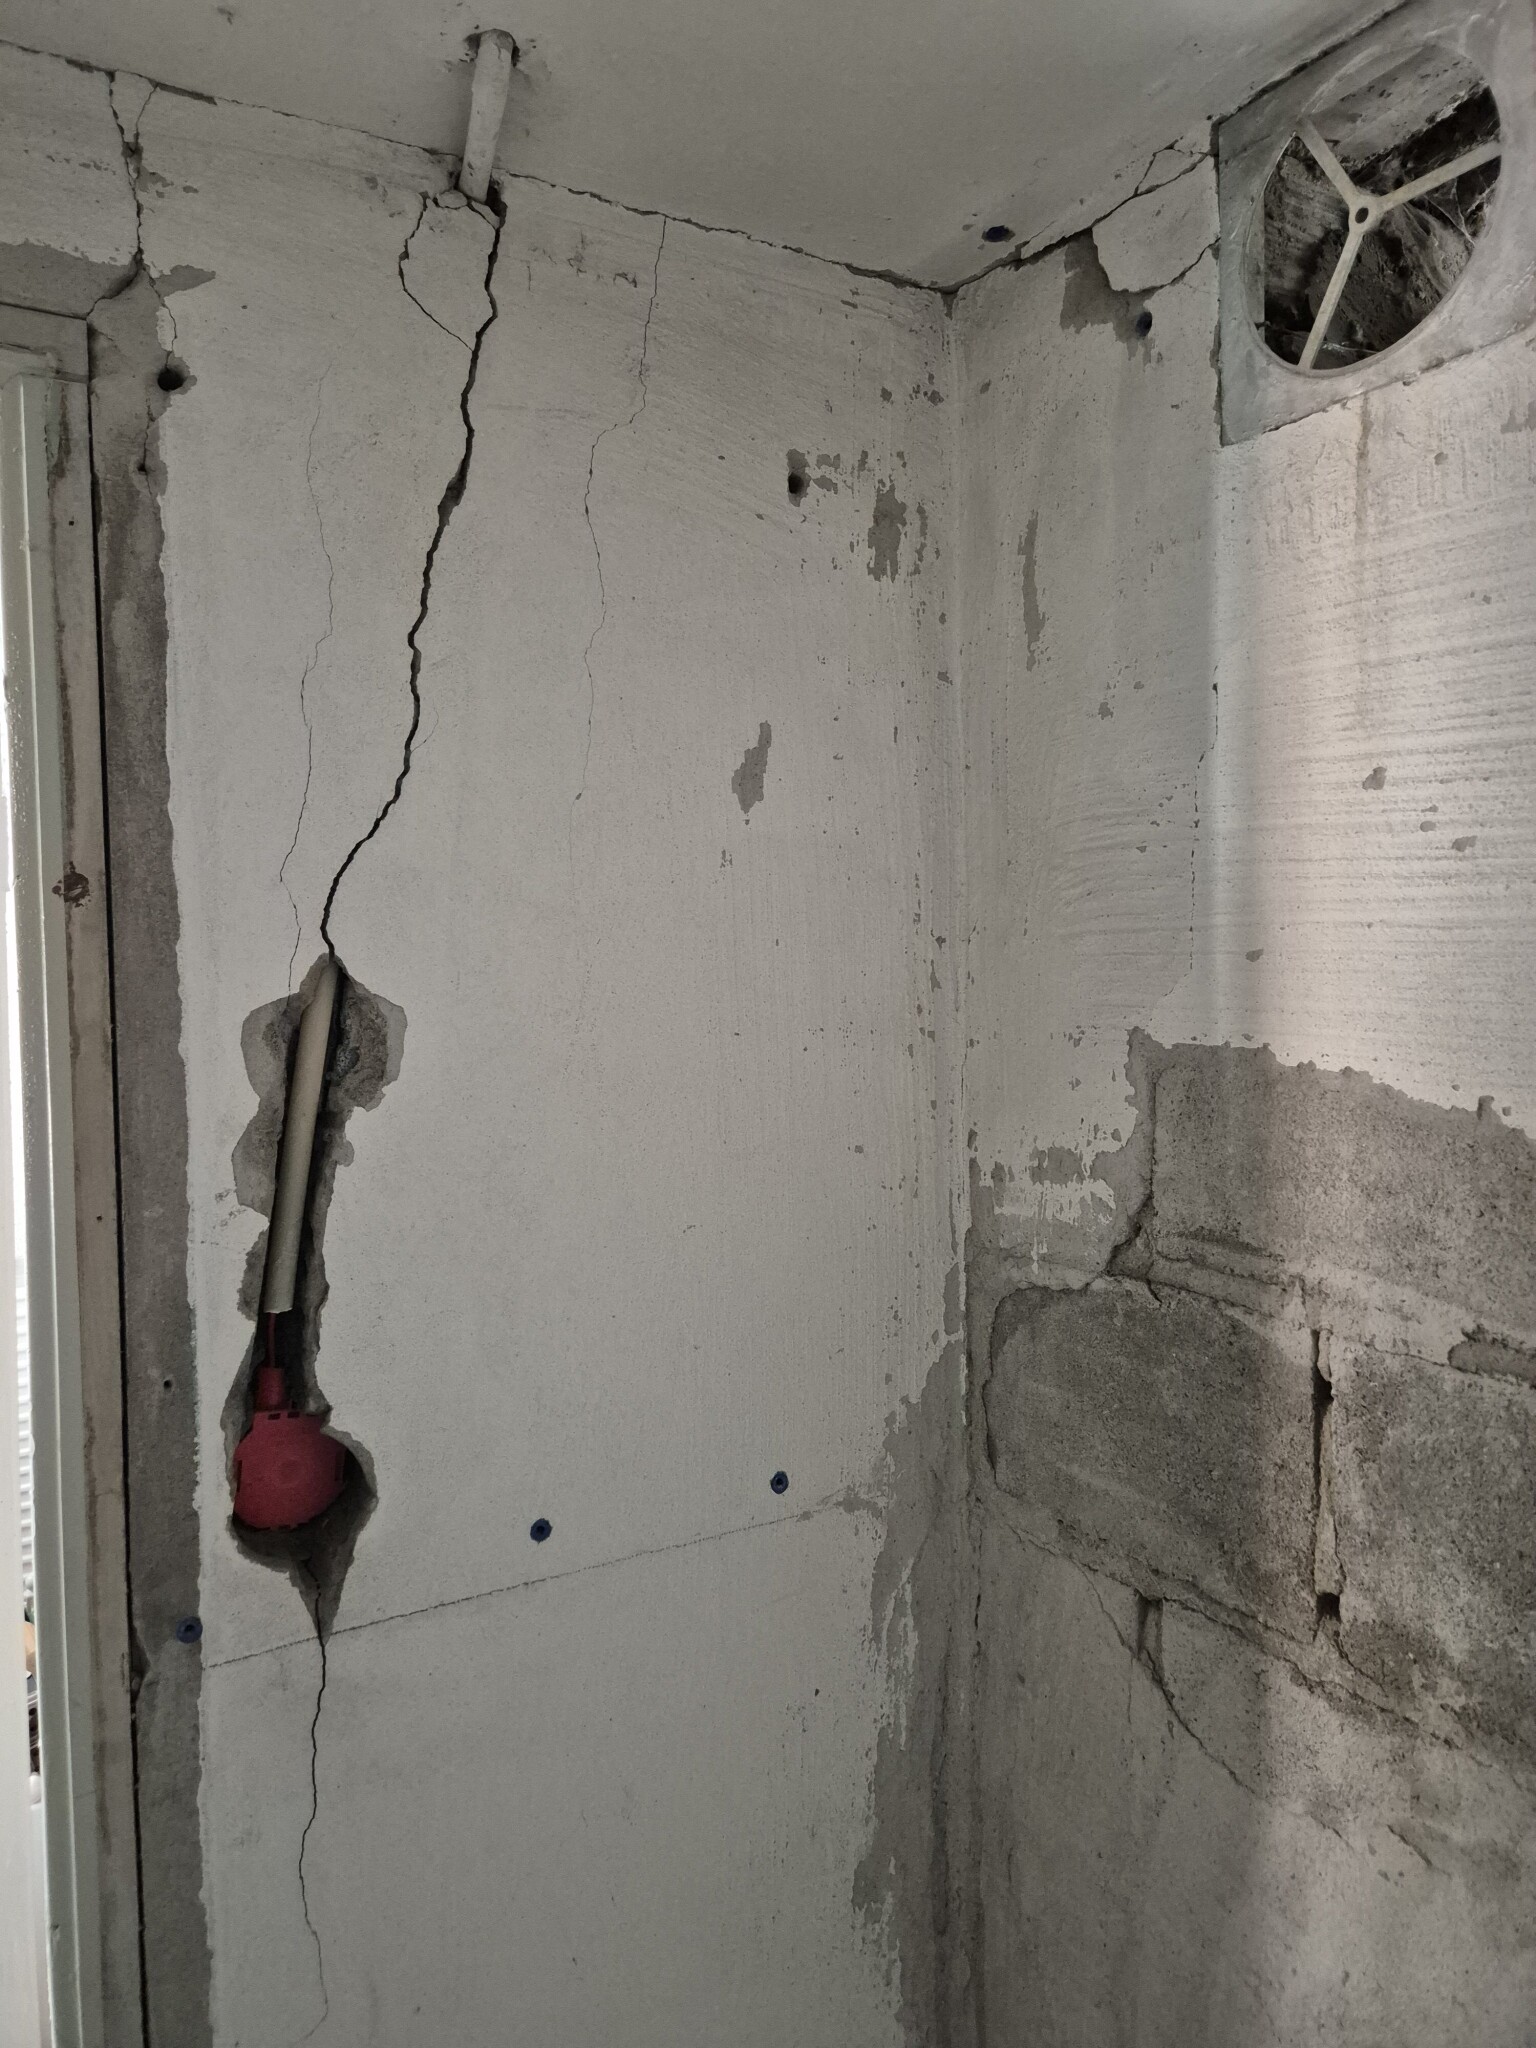
Here I guess the light switch was inside the room, but the one who built the sauna turned it around, not a beautiful job either inside or outside. The idea with the electricity is to either fill in or completely remove the electricity to later have it only surface mounted. I also don't know the reason why someone had to run VP-tubes from the ceiling to the wall visibly.
Regardless of the solution, I will of course ensure that there isn't loose FK laying around like that.
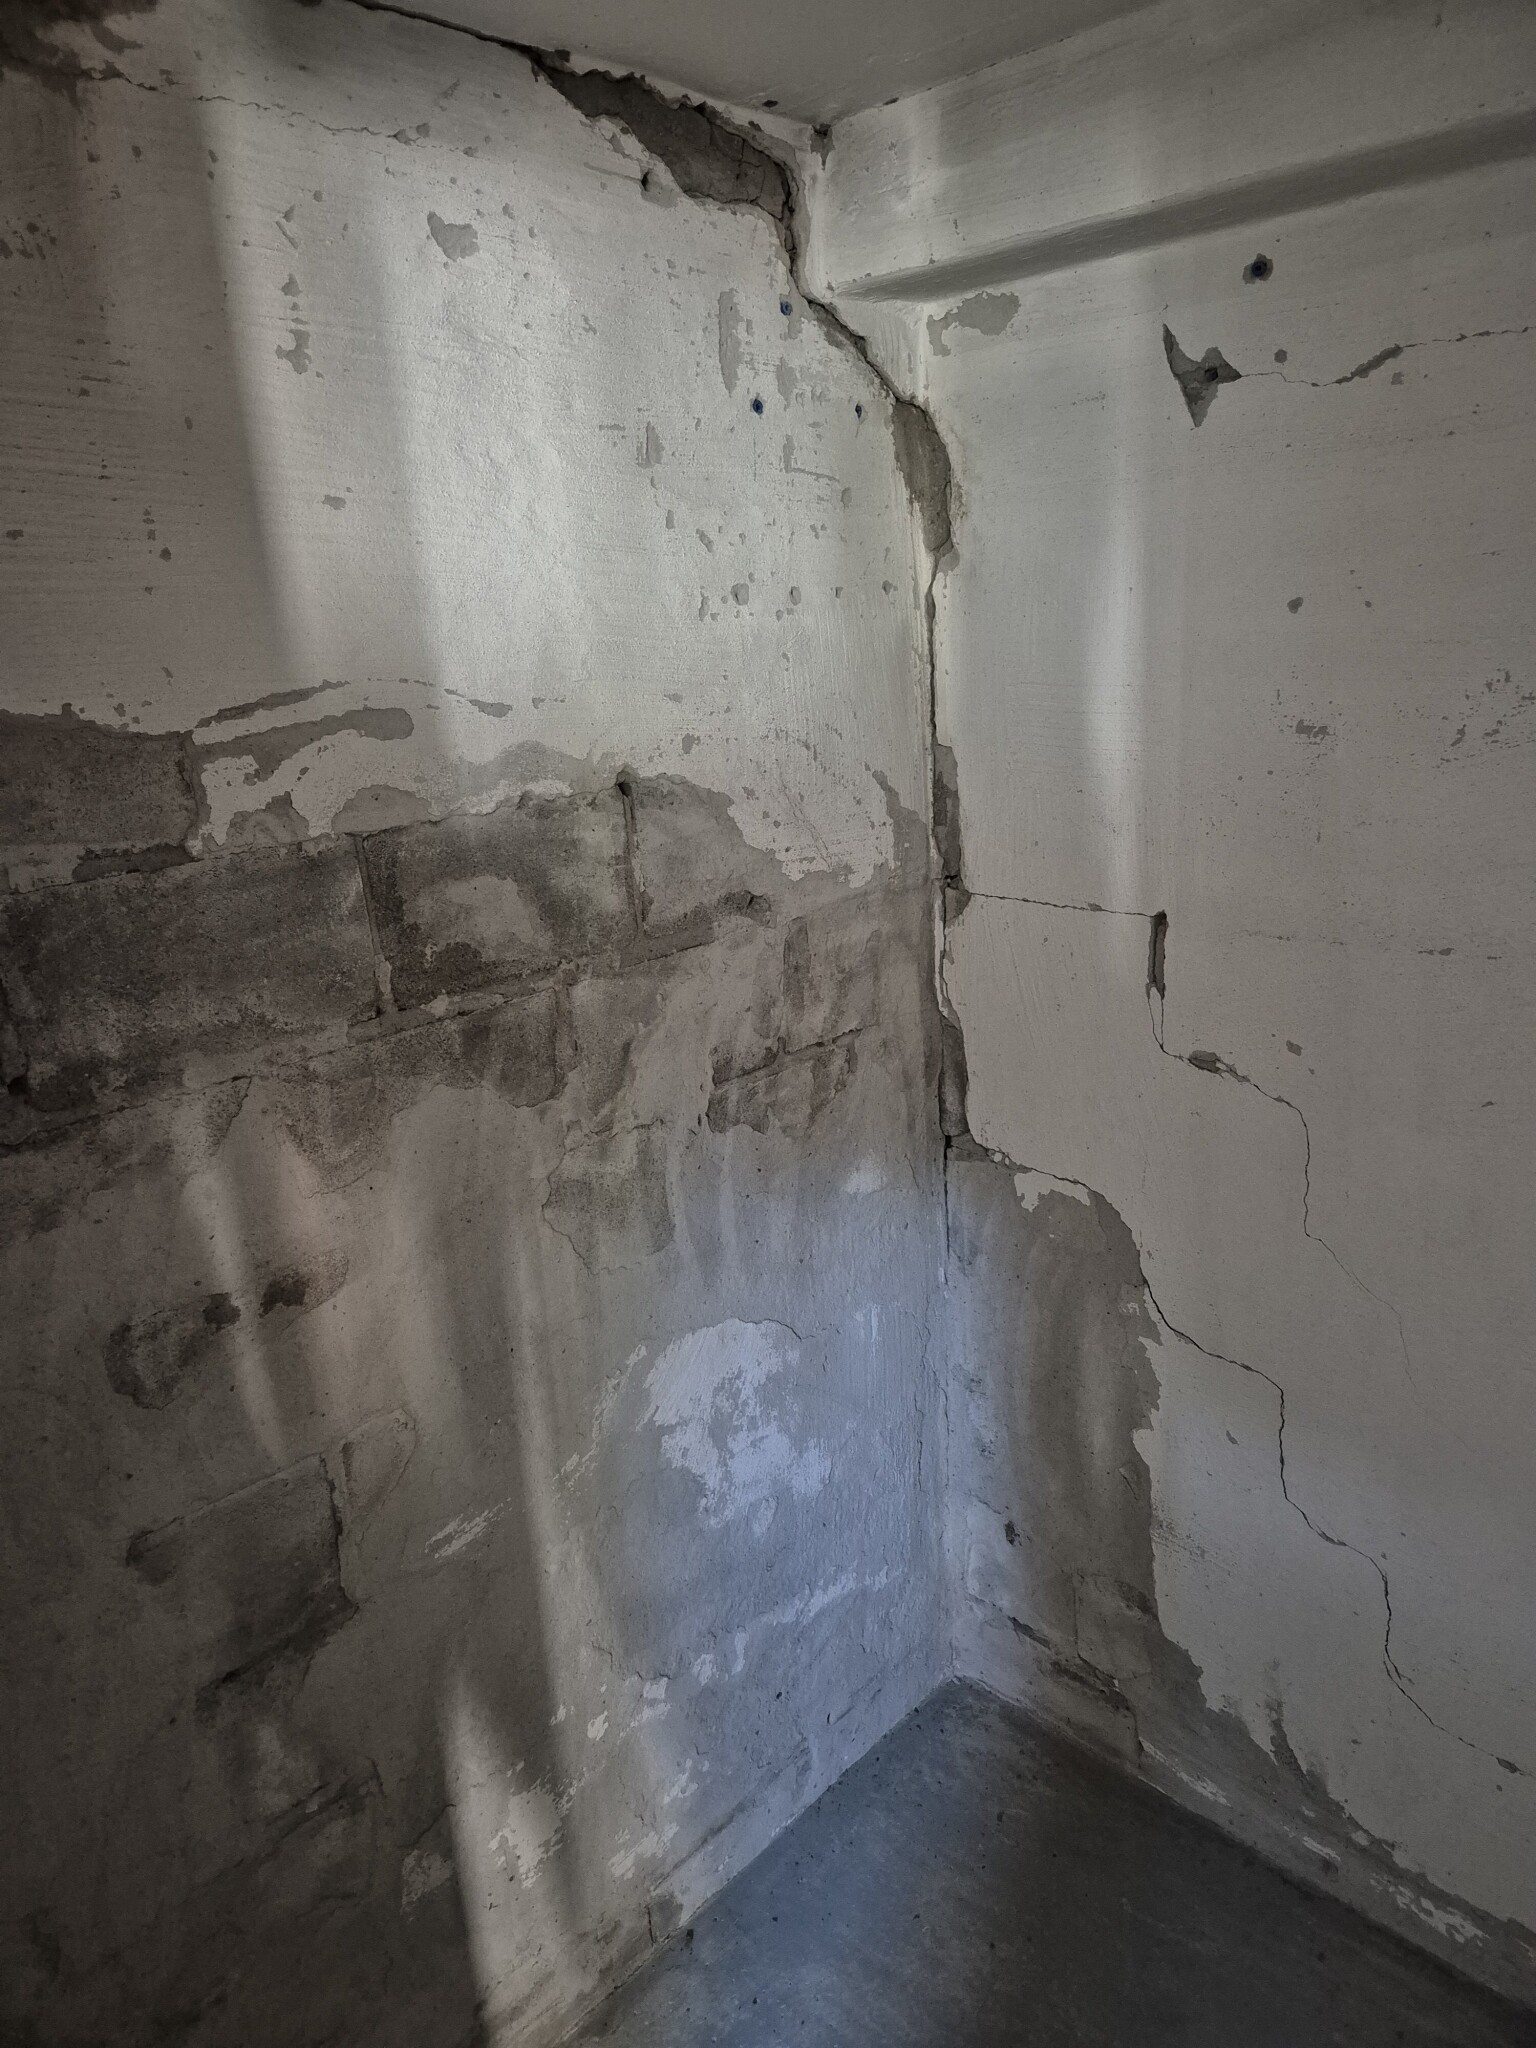
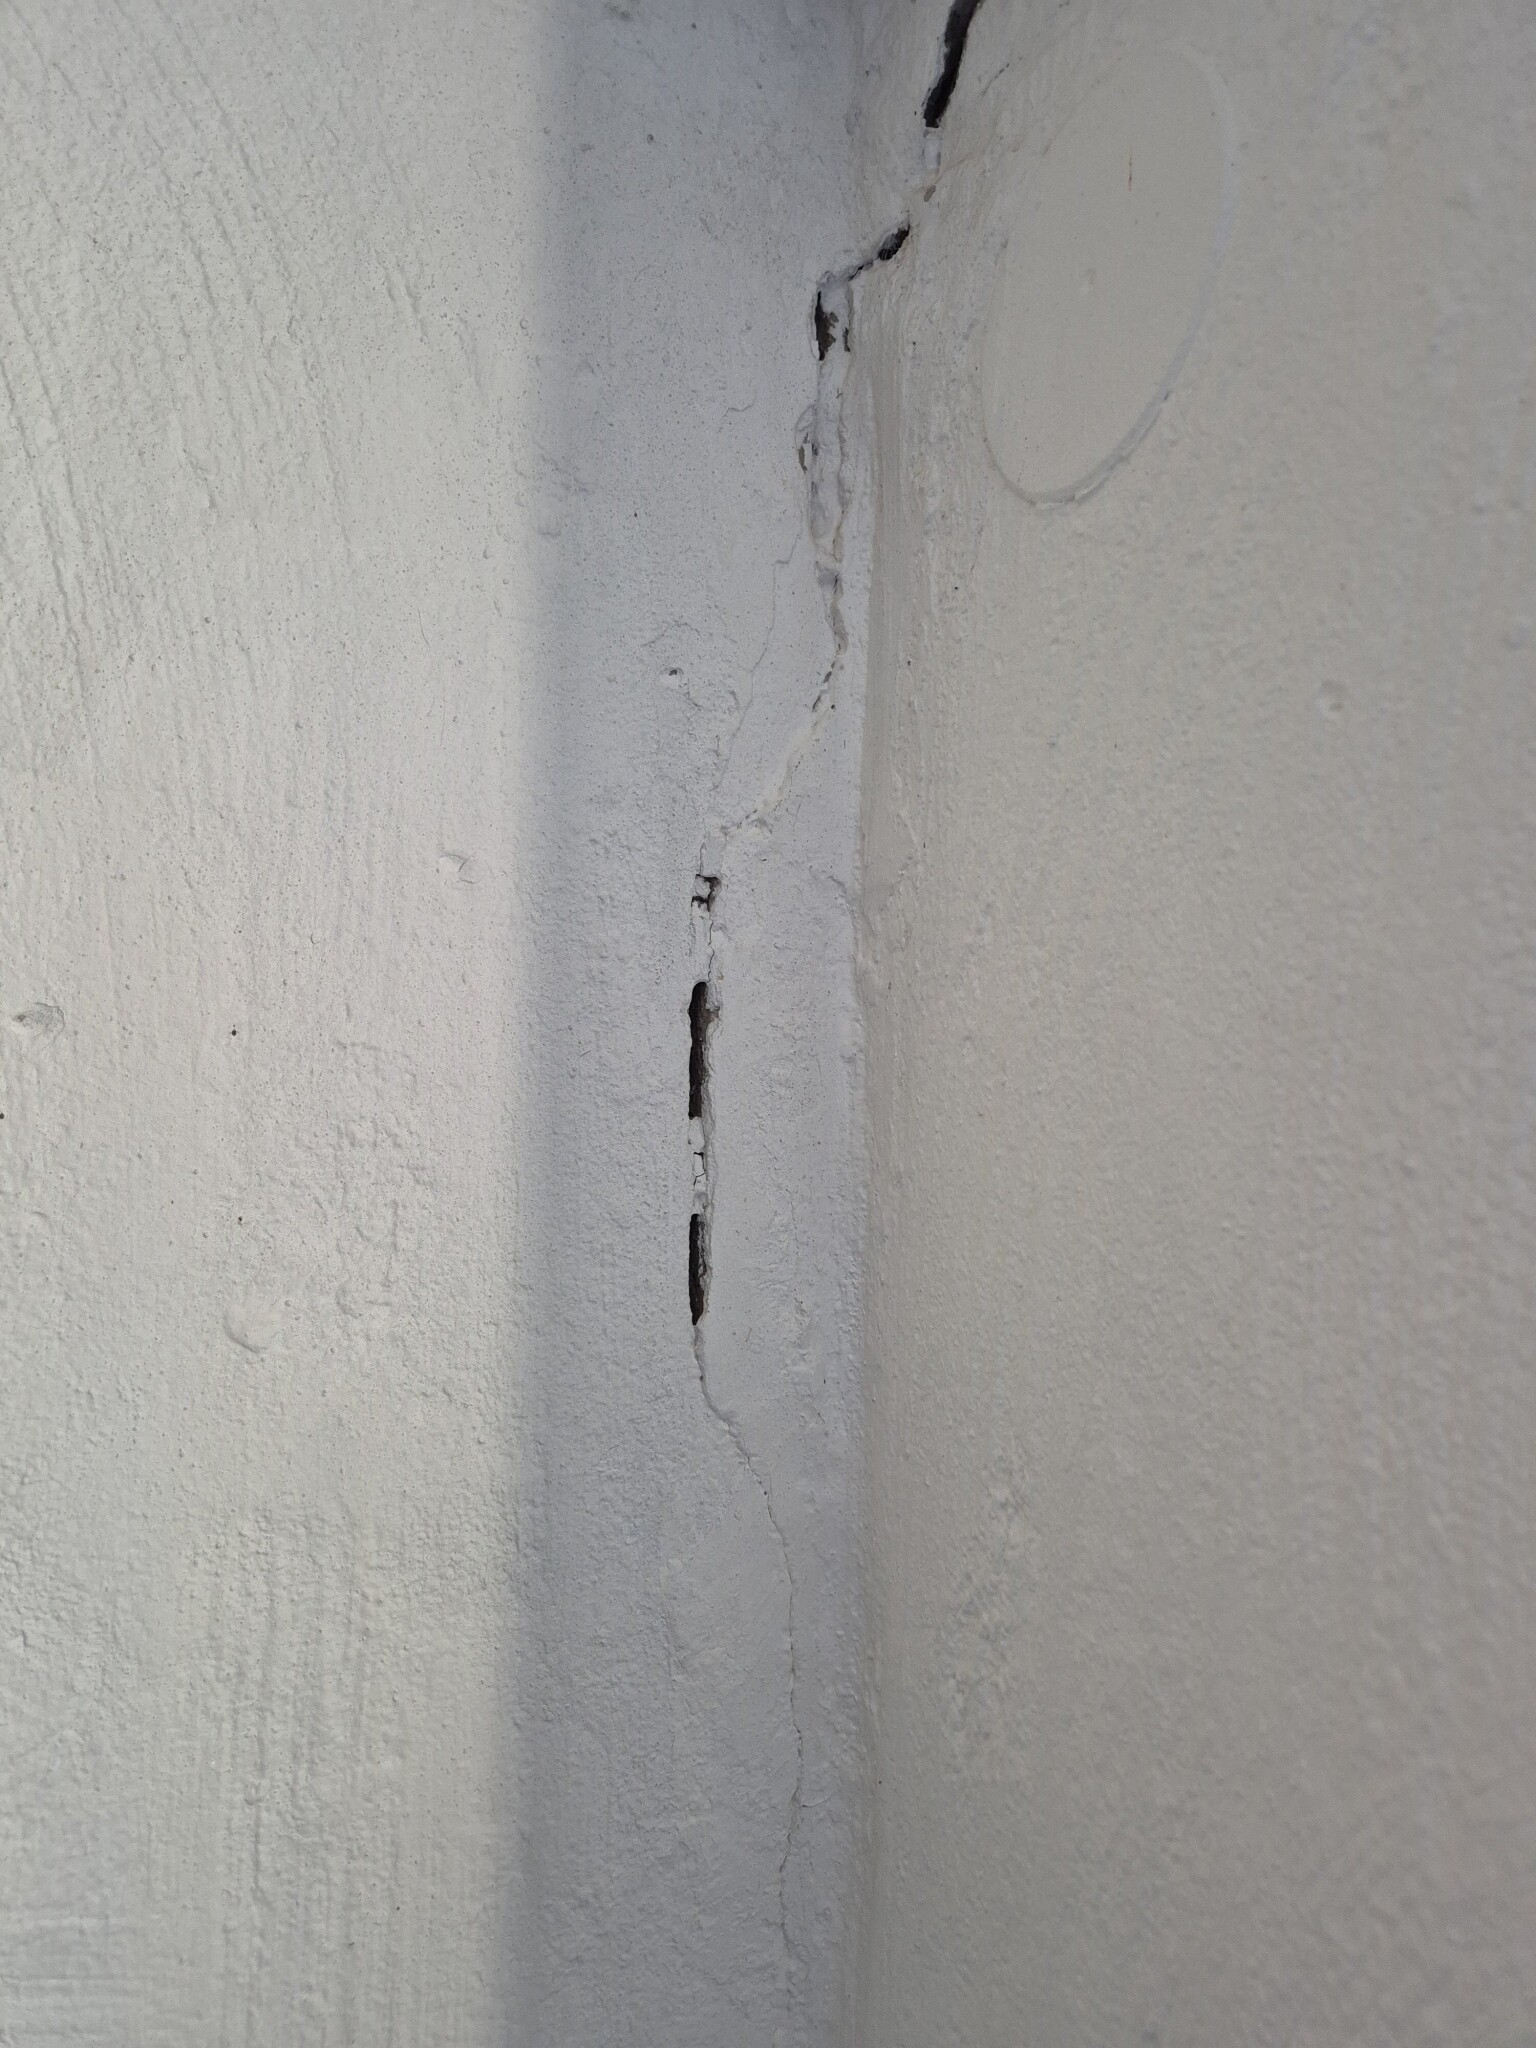
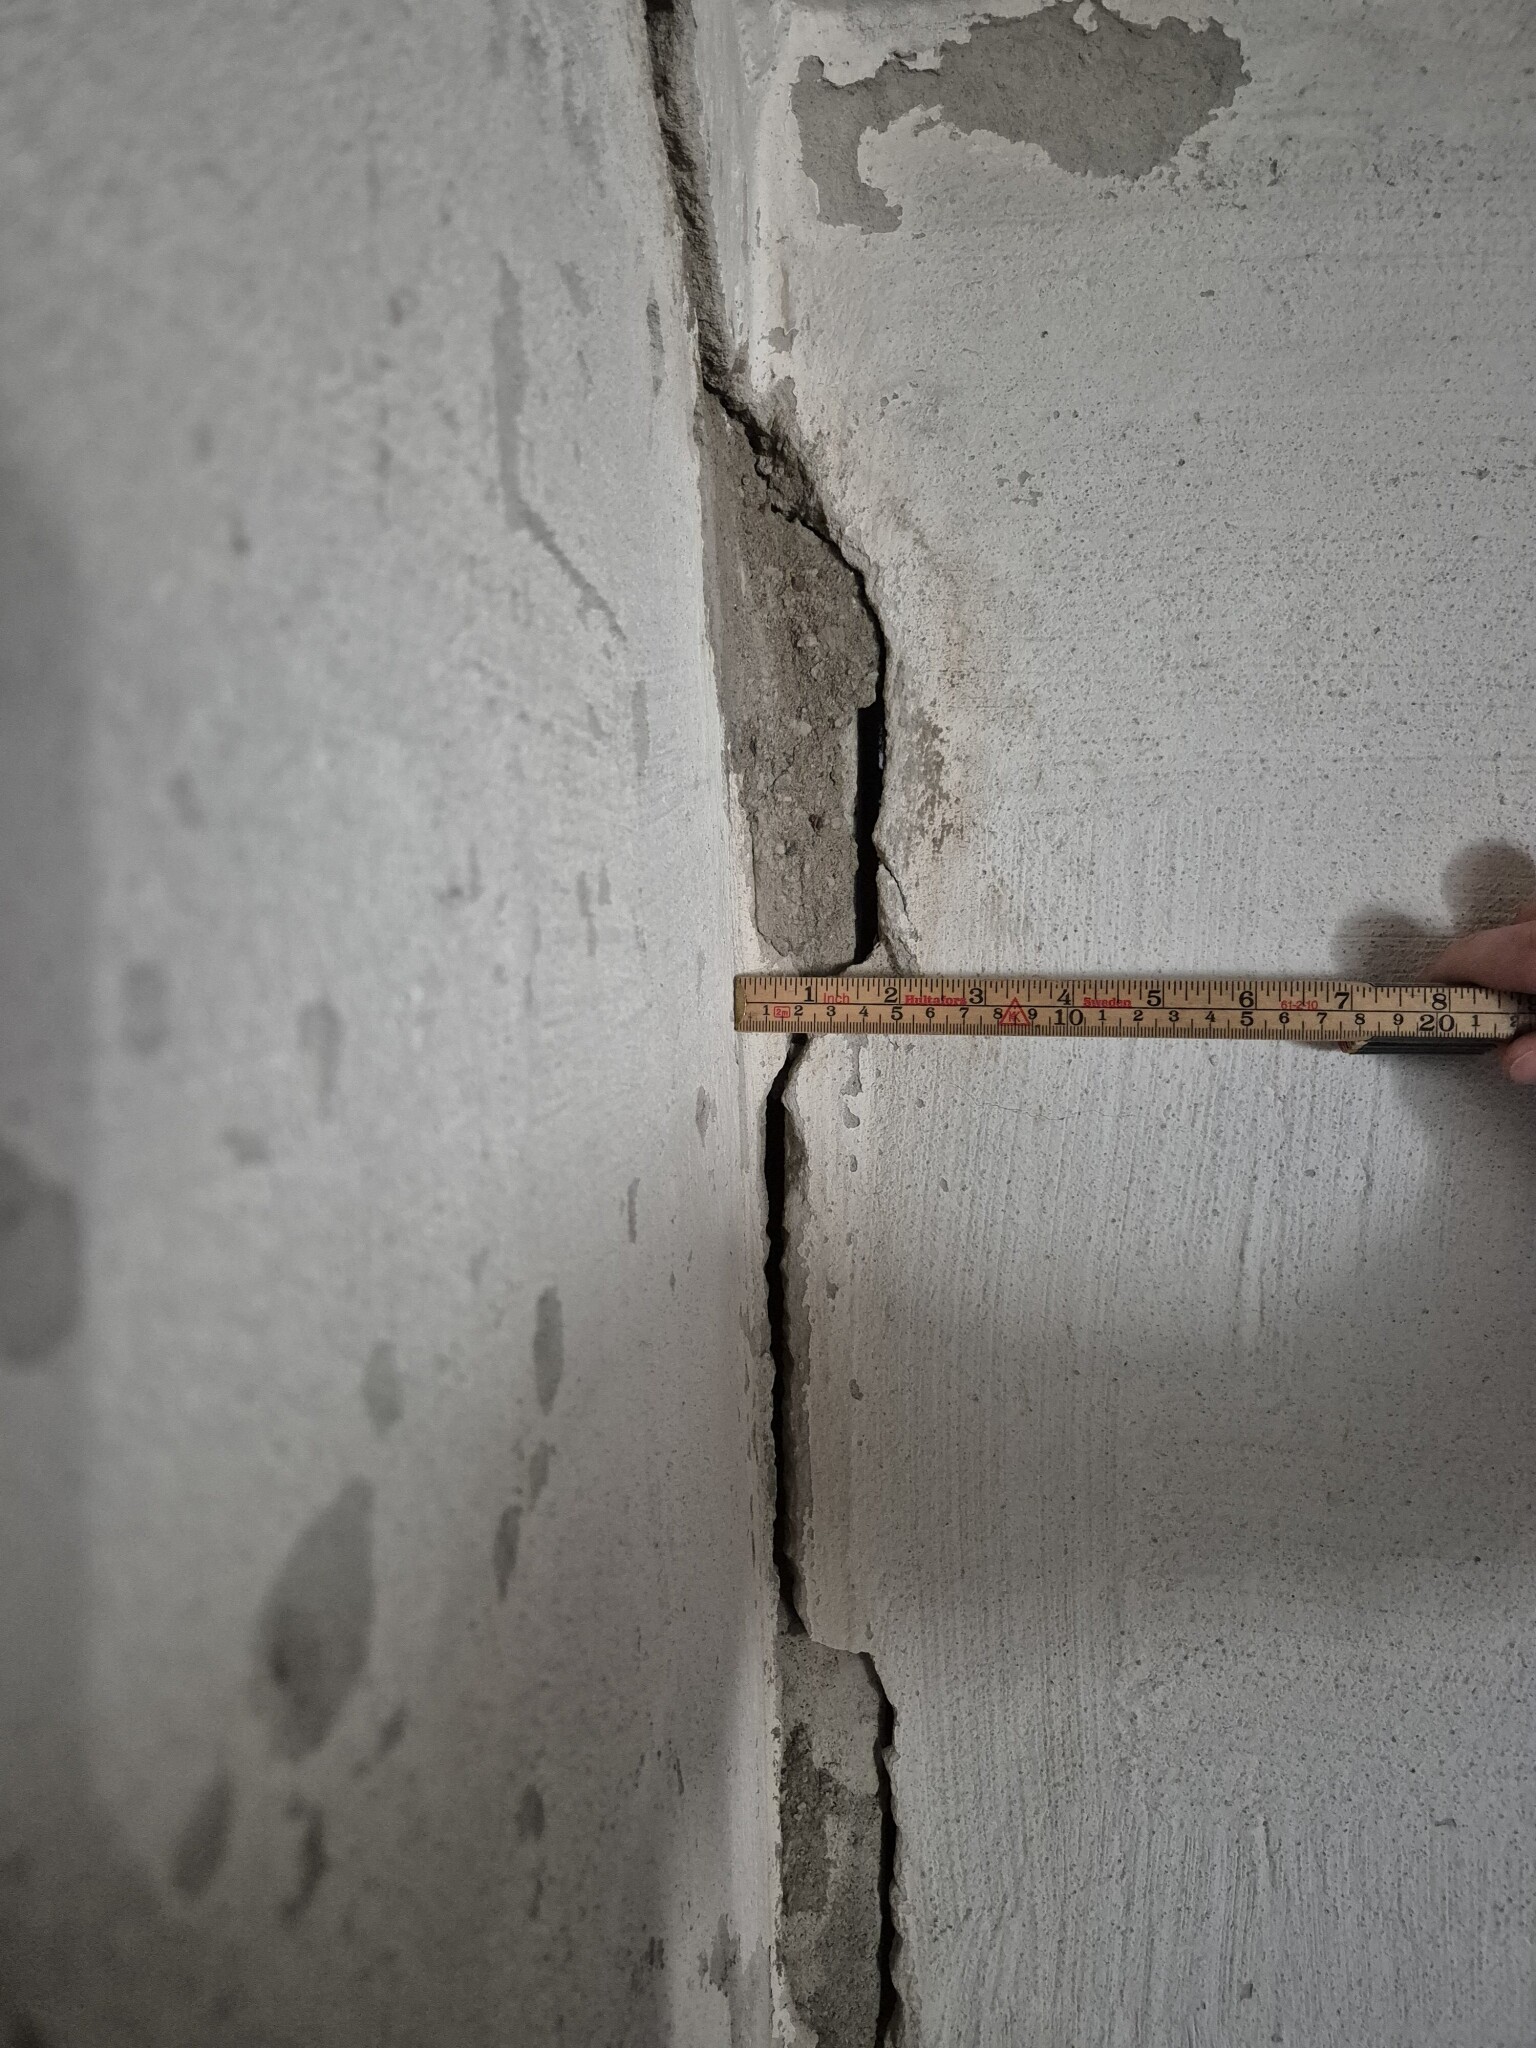
The crack that runs in the corner from the vent, which is to the left in the picture, is through-and-through and you can see the crack from the adjoining room. That is, the white wall to the right in the second picture above is an interior wall, and the wall where much of the plaster has come off is an exterior wall.
This is the crack as seen from the adjoining room, to the right is the exterior wall. As far as I remember, the crack has always looked like that in the 5 years we've lived here.
Considerations:
- Should we bring in someone to assess the through-and-through crack?
- I had plans to open up and remove everything loose, which I think is quite a lot. This with the help of either an angle grinder or chisel with a megsel on the rotary hammer. Then fill in with Ardex A46.
However, I feel unsure if this is the correct approach or if it should be done in another way or with different material.
- Should one reinforce with something?
- It will also be quite deep patching in some places, so the question is whether Ardex A46 is suitable for that?