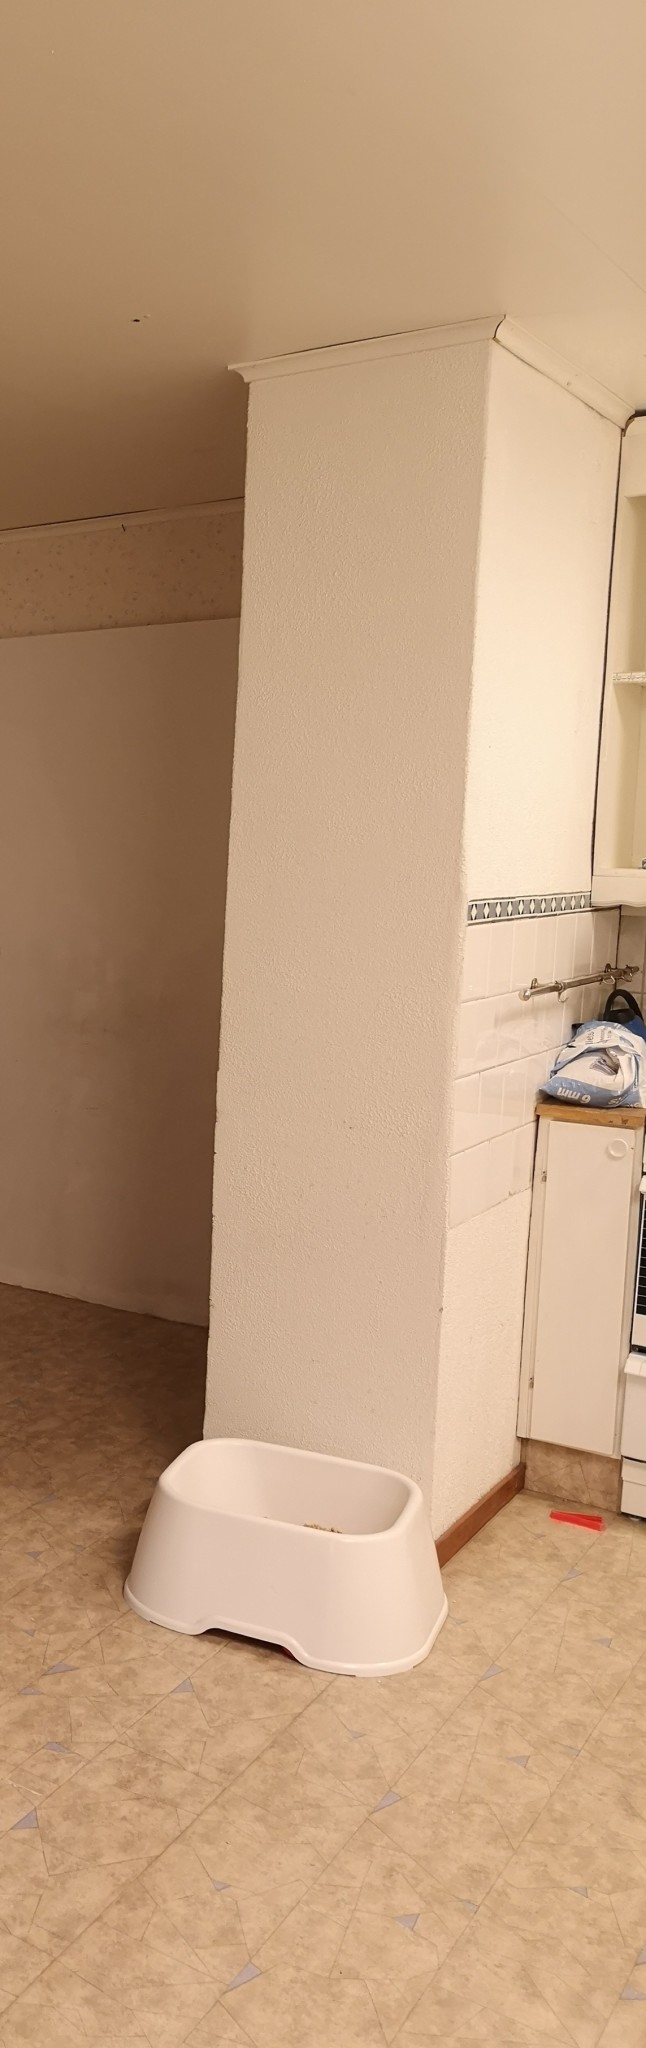
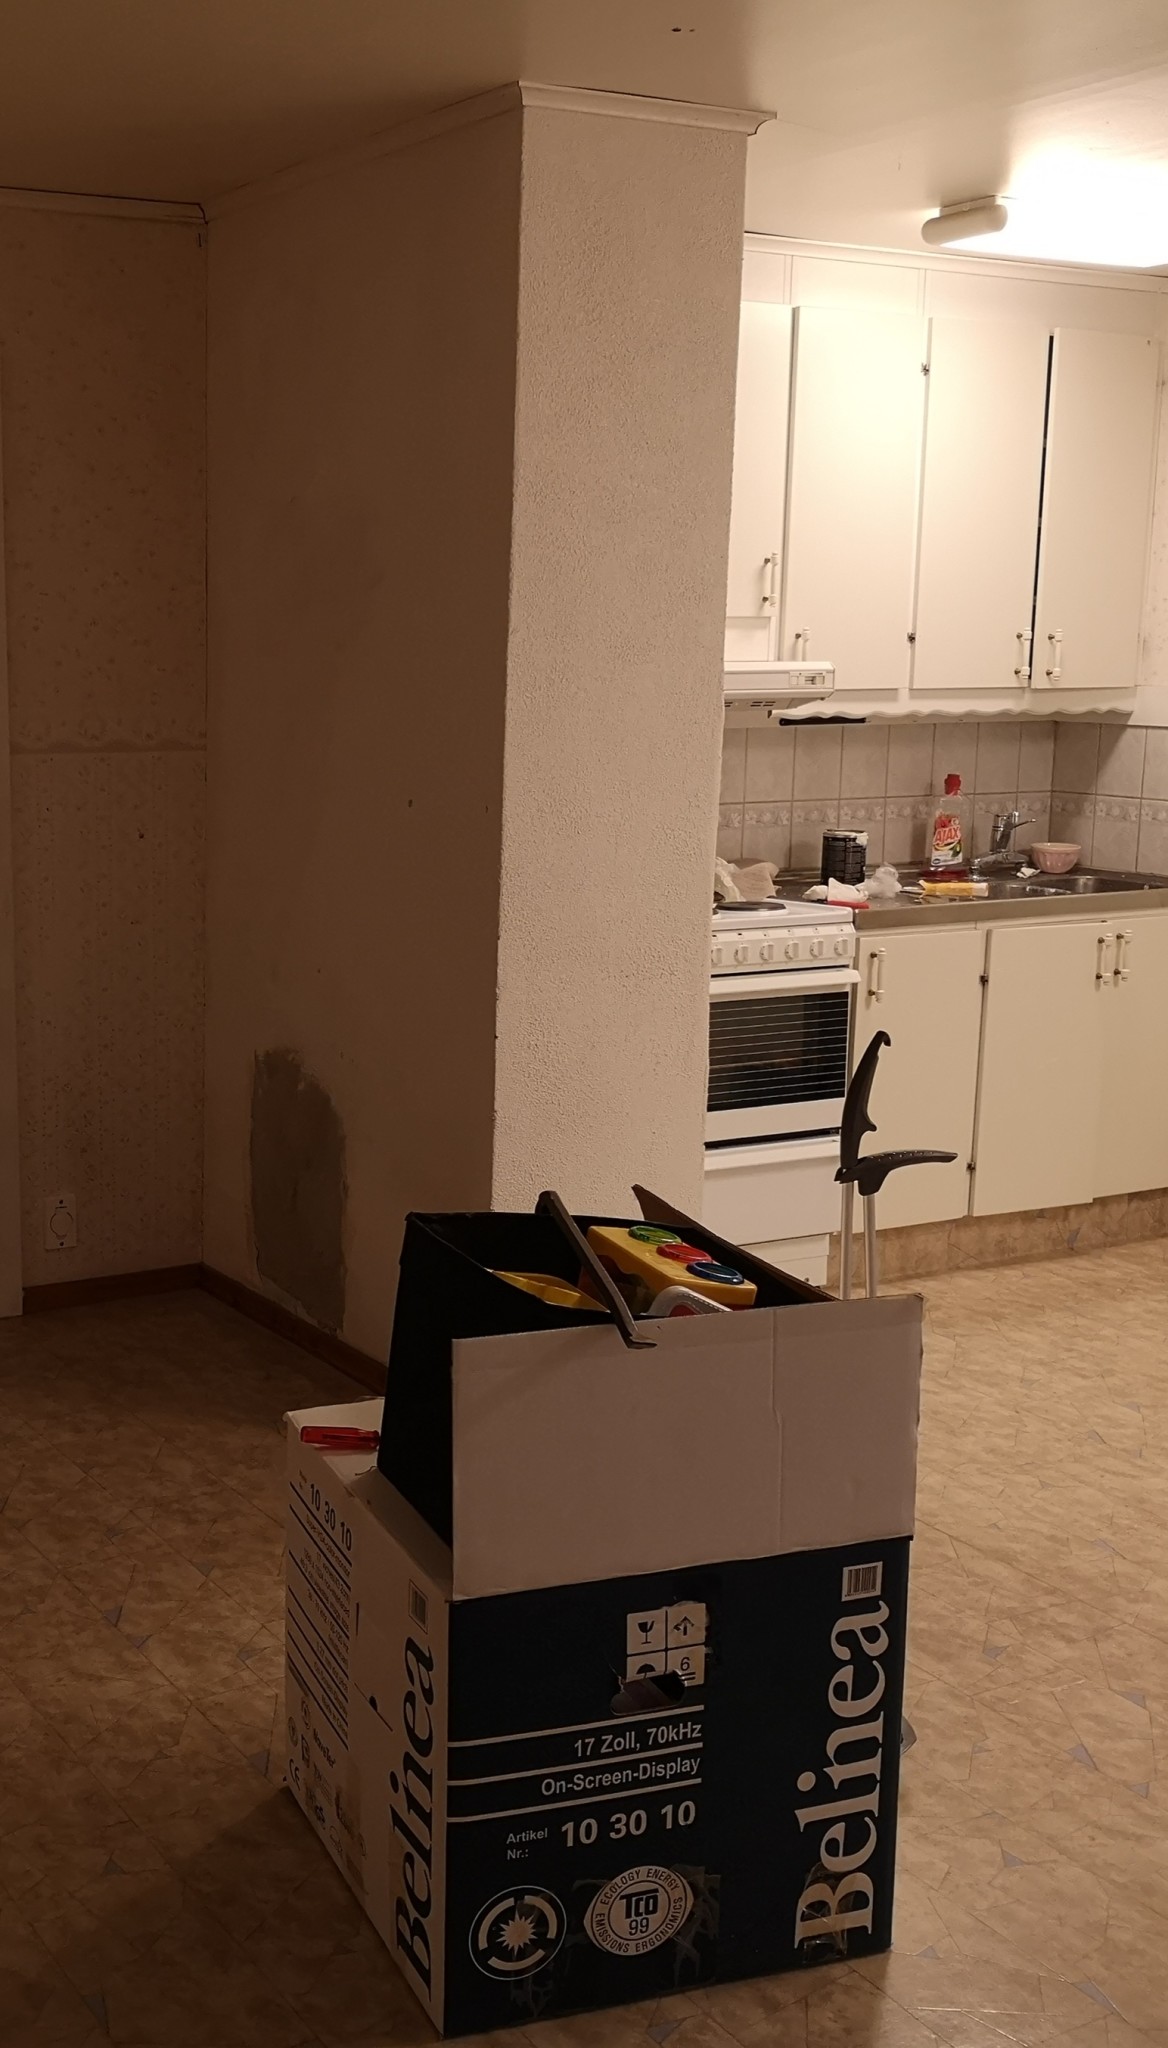
Currently renovating a room upstairs and am at the stage of deciding what to do with the chimney! It's currently plastered and painted. But the tiles shown in the picture will be removed, so how should it be fixed once the tiles are gone? I've tried to read up on it but I'm none the wiser. As shown in the picture, there's also what I believe is a repair or the removal of an old stove since the house is from '38. What do you paint with afterwards?
On the lower floor, there's a kitchen stove that's used almost daily in the winter for supplemental heating. So the chimney is in use.
On the lower floor, there's a kitchen stove that's used almost daily in the winter for supplemental heating. So the chimney is in use.
Thanks for the answer! But then come follow-up questions: cement-lime mortar? What is that? And what kind of primer?Silver78 said:
I went ahead and chipped off the tiles tonight, which was surprisingly easy, and it wasn't as damaged underneath as I thought.
Now for possibly the dumbest question ever. The surface is quite rough, is it because of the render or do you have to experiment with different tools, like dabbing with a brush or similar to achieve this texture?
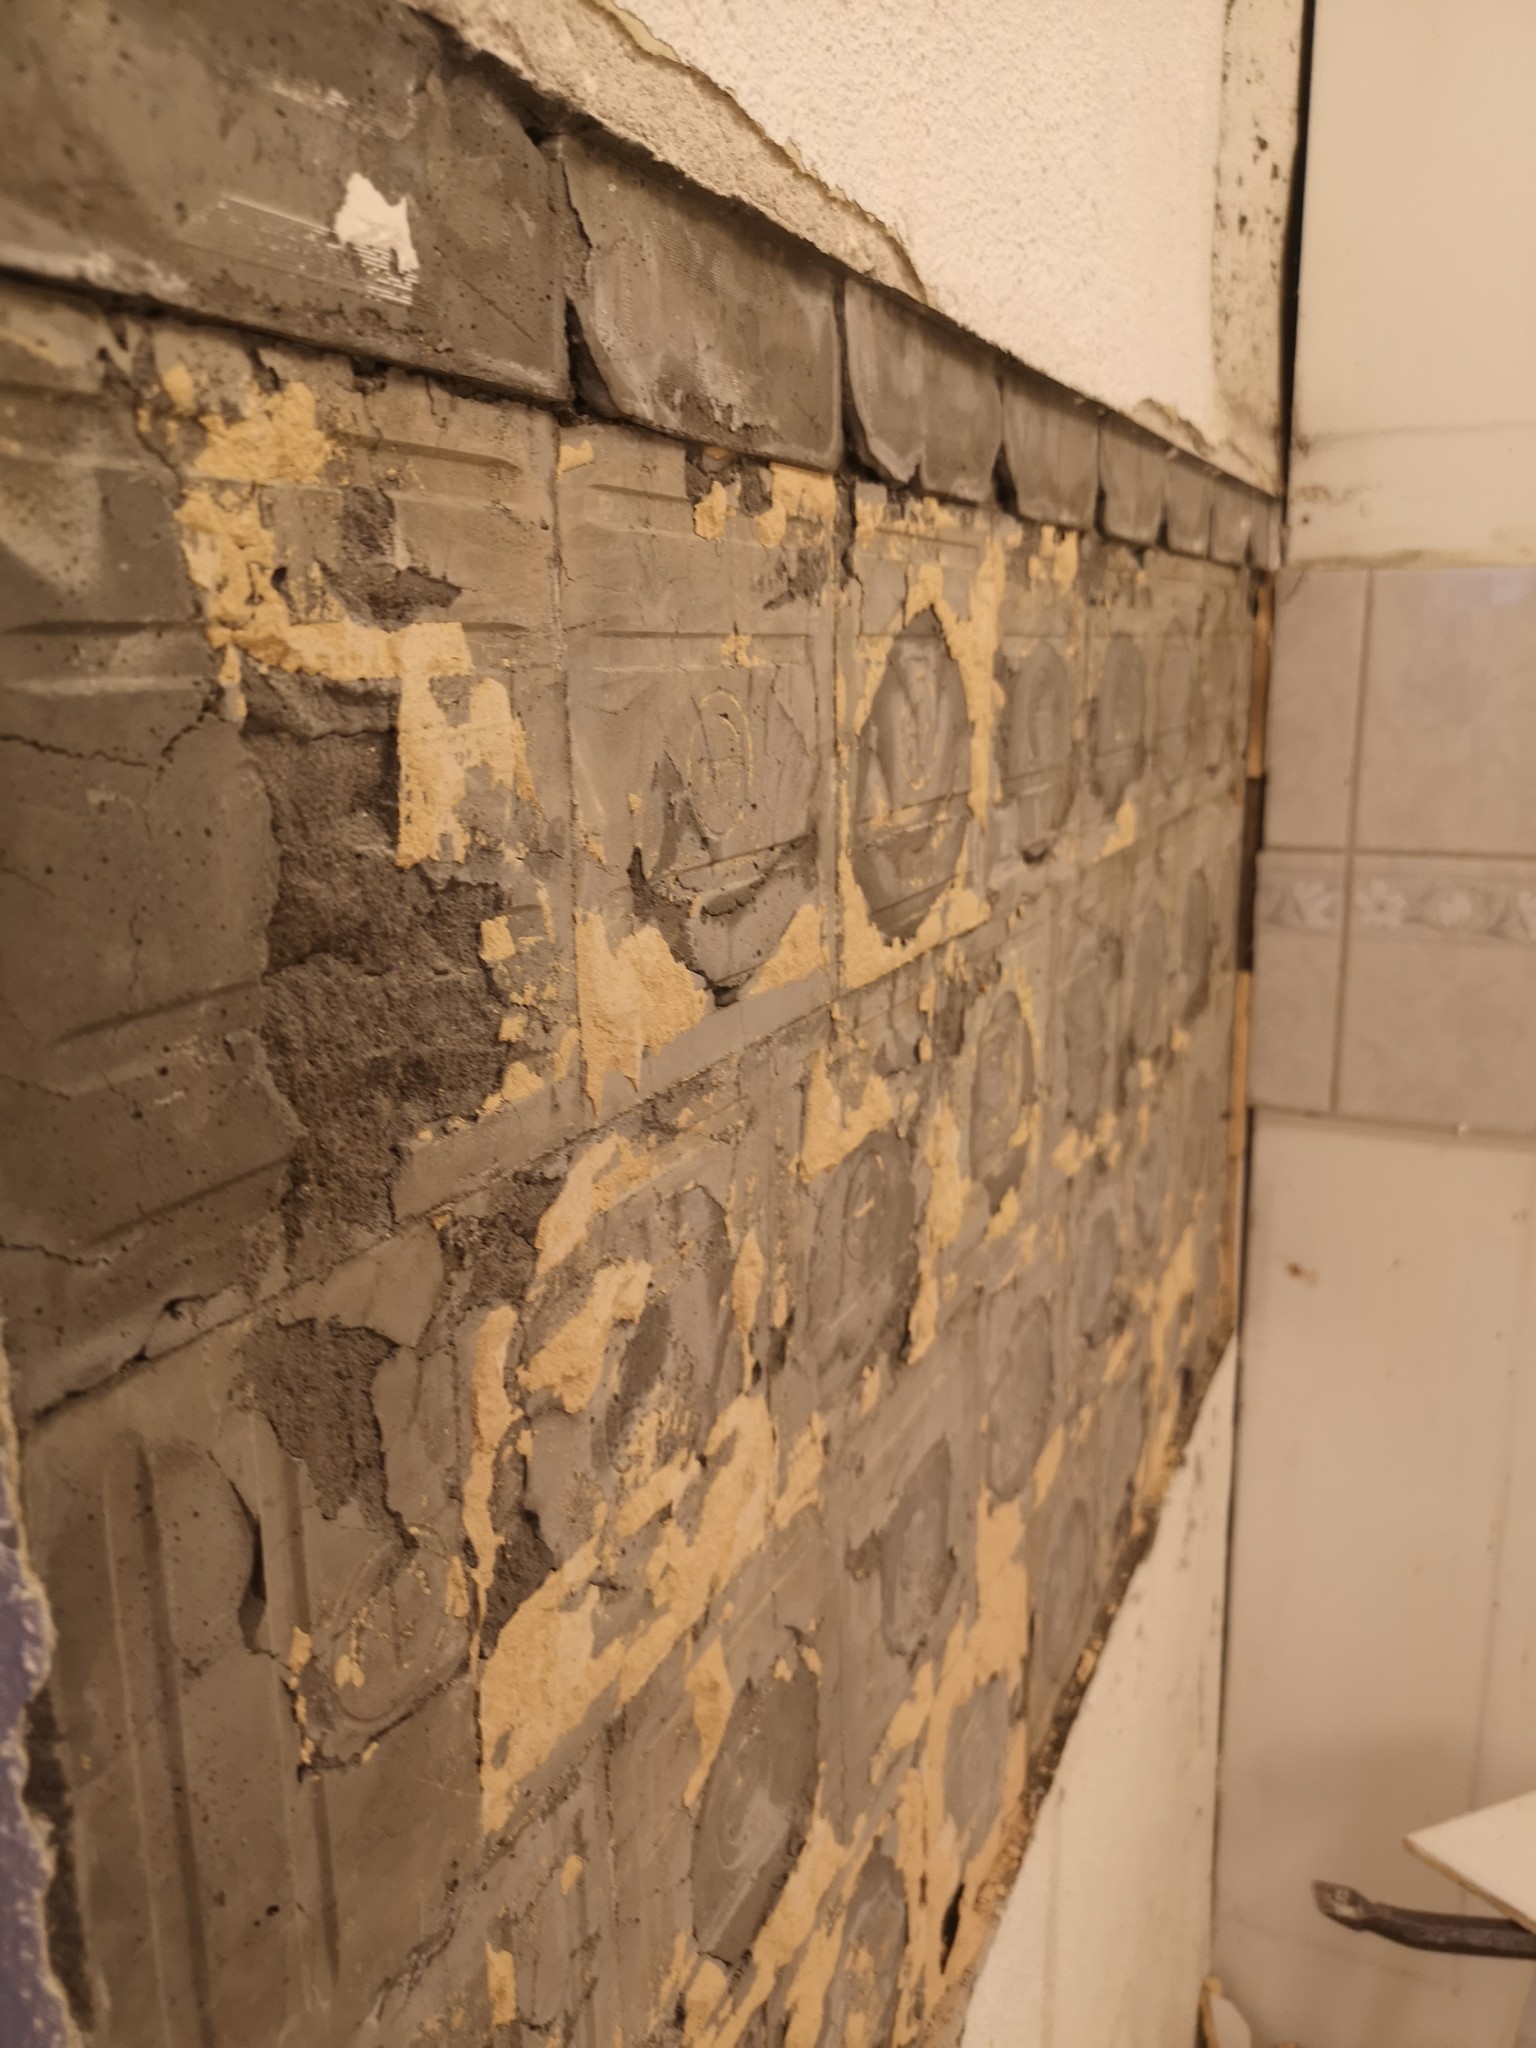
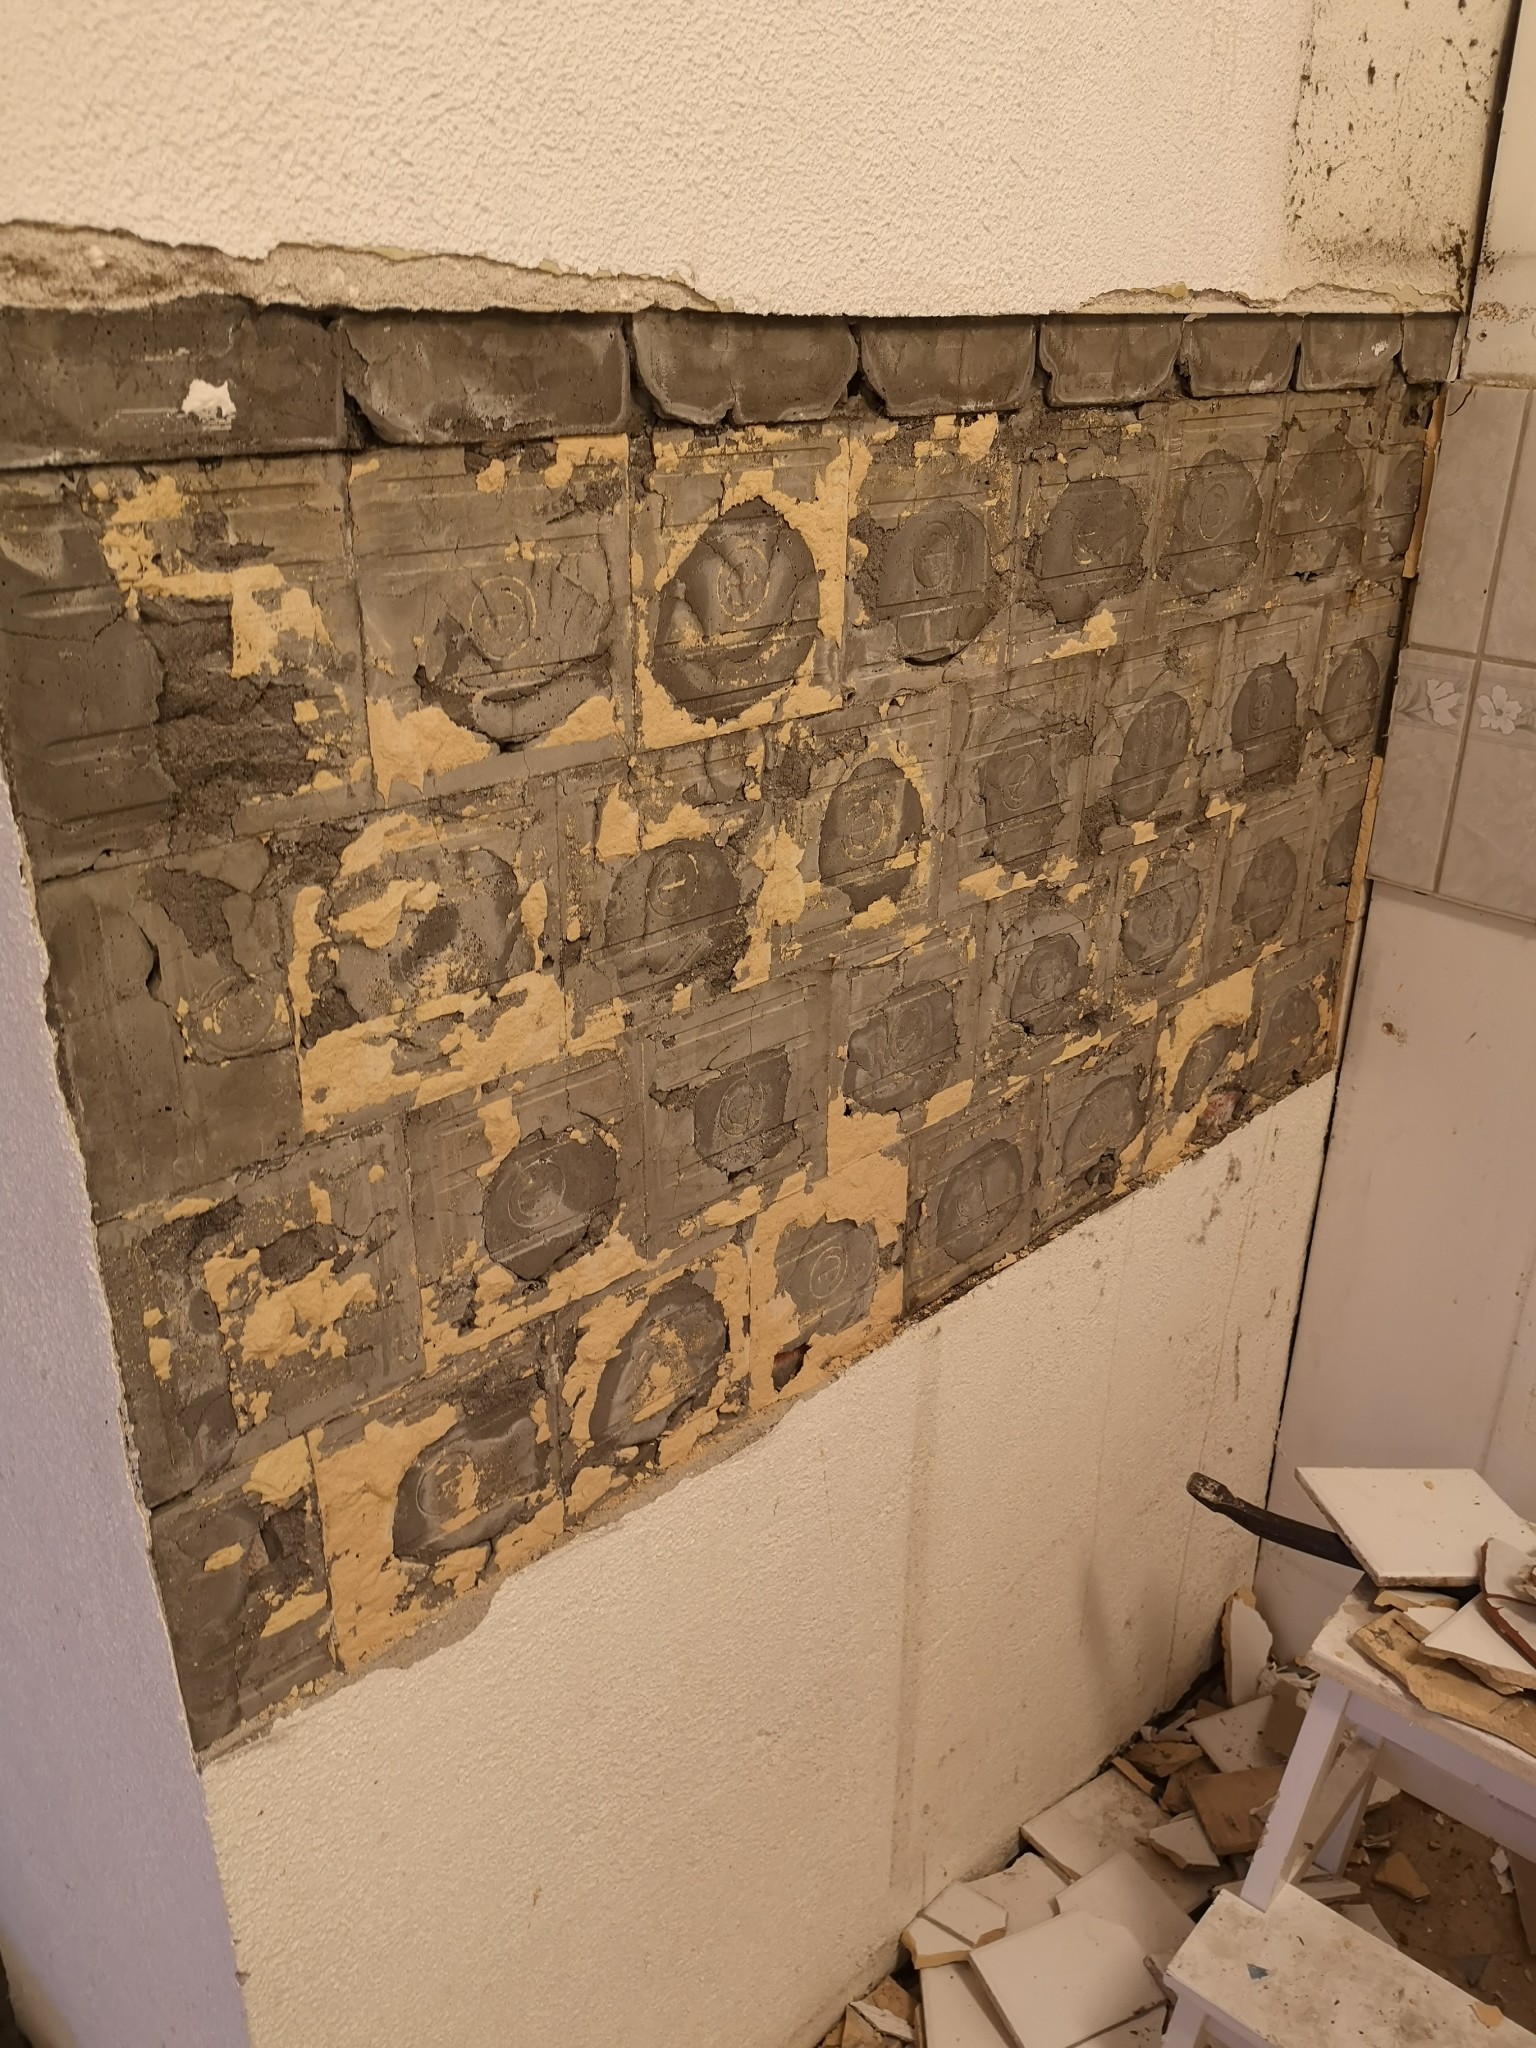
What you see where the tiles have been is the adhesive that the tiles are fixed with. Just chip away the worst of it since you don't want a softer material behind a harder one. You need a concrete primer so that the substrate stops absorbing over time. Otherwise, the plaster won't adhere well and will eventually come off, which you don't want. It looks like they have used some type of c-mortar. Kc-mortar is lime mortar with mixed-in cement. The advantage of such plaster is that it withstands some movements while still providing a reasonably hard surface. I would plaster with c-mortar or d-mortar.
The steps are as follows:
1. Primer
2. Apply a thin coat. Use a slightly looser consistency than the mixing ratios indicated on the bag. Use a regular putty knife to apply it to the surface to be plastered. You need about a liter for that surface. It should only be superficial. Then mix as usual. You can use a putty knife to pick up the mortar to avoid spilling too much. Start from the bottom and work your way up.
3. Ideally, you need a long float to work the plaster into the substrate, but if you don't have one, you can use a suitable piece of wood. It's important to have a little excess so that when you level it off, everything is covered. Don't apply too much.
4. Take a straight edge or a long enough straight board to remove the excess with. Usually, you should draw it from bottom to top. But since you have an edge at both the top and bottom to work against, you can do it by holding the board slightly angled so that the plaster moves upwards. The corner can be a little fiddly, but if you hold a board along with it, you can gently scrape away some excess with the putty knife.
5. Let it set. After 12 hours, you can sponge the surface to make it smooth. Water it after a day. Do the same on day two. You can use a regular wet towel to dampen it.
6. On day four, you can resurface if it hasn't become completely smooth. Wait two weeks before painting, otherwise, the paint will crack.
Click here to reply