I thought I'd share this weekend's project: 50 meters of fencing in two days.
-70x70 pressure-treated posts 800mm high 27kr/m
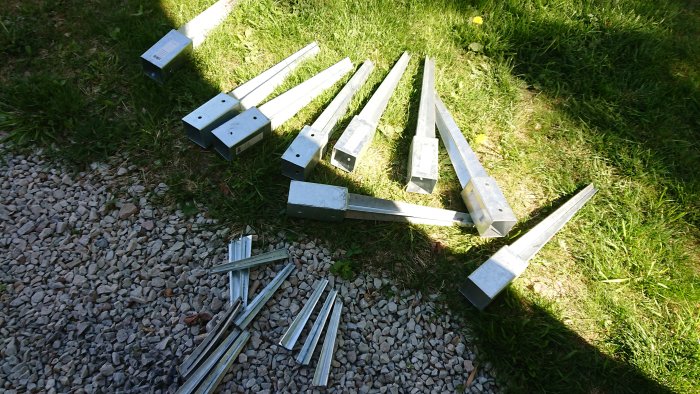
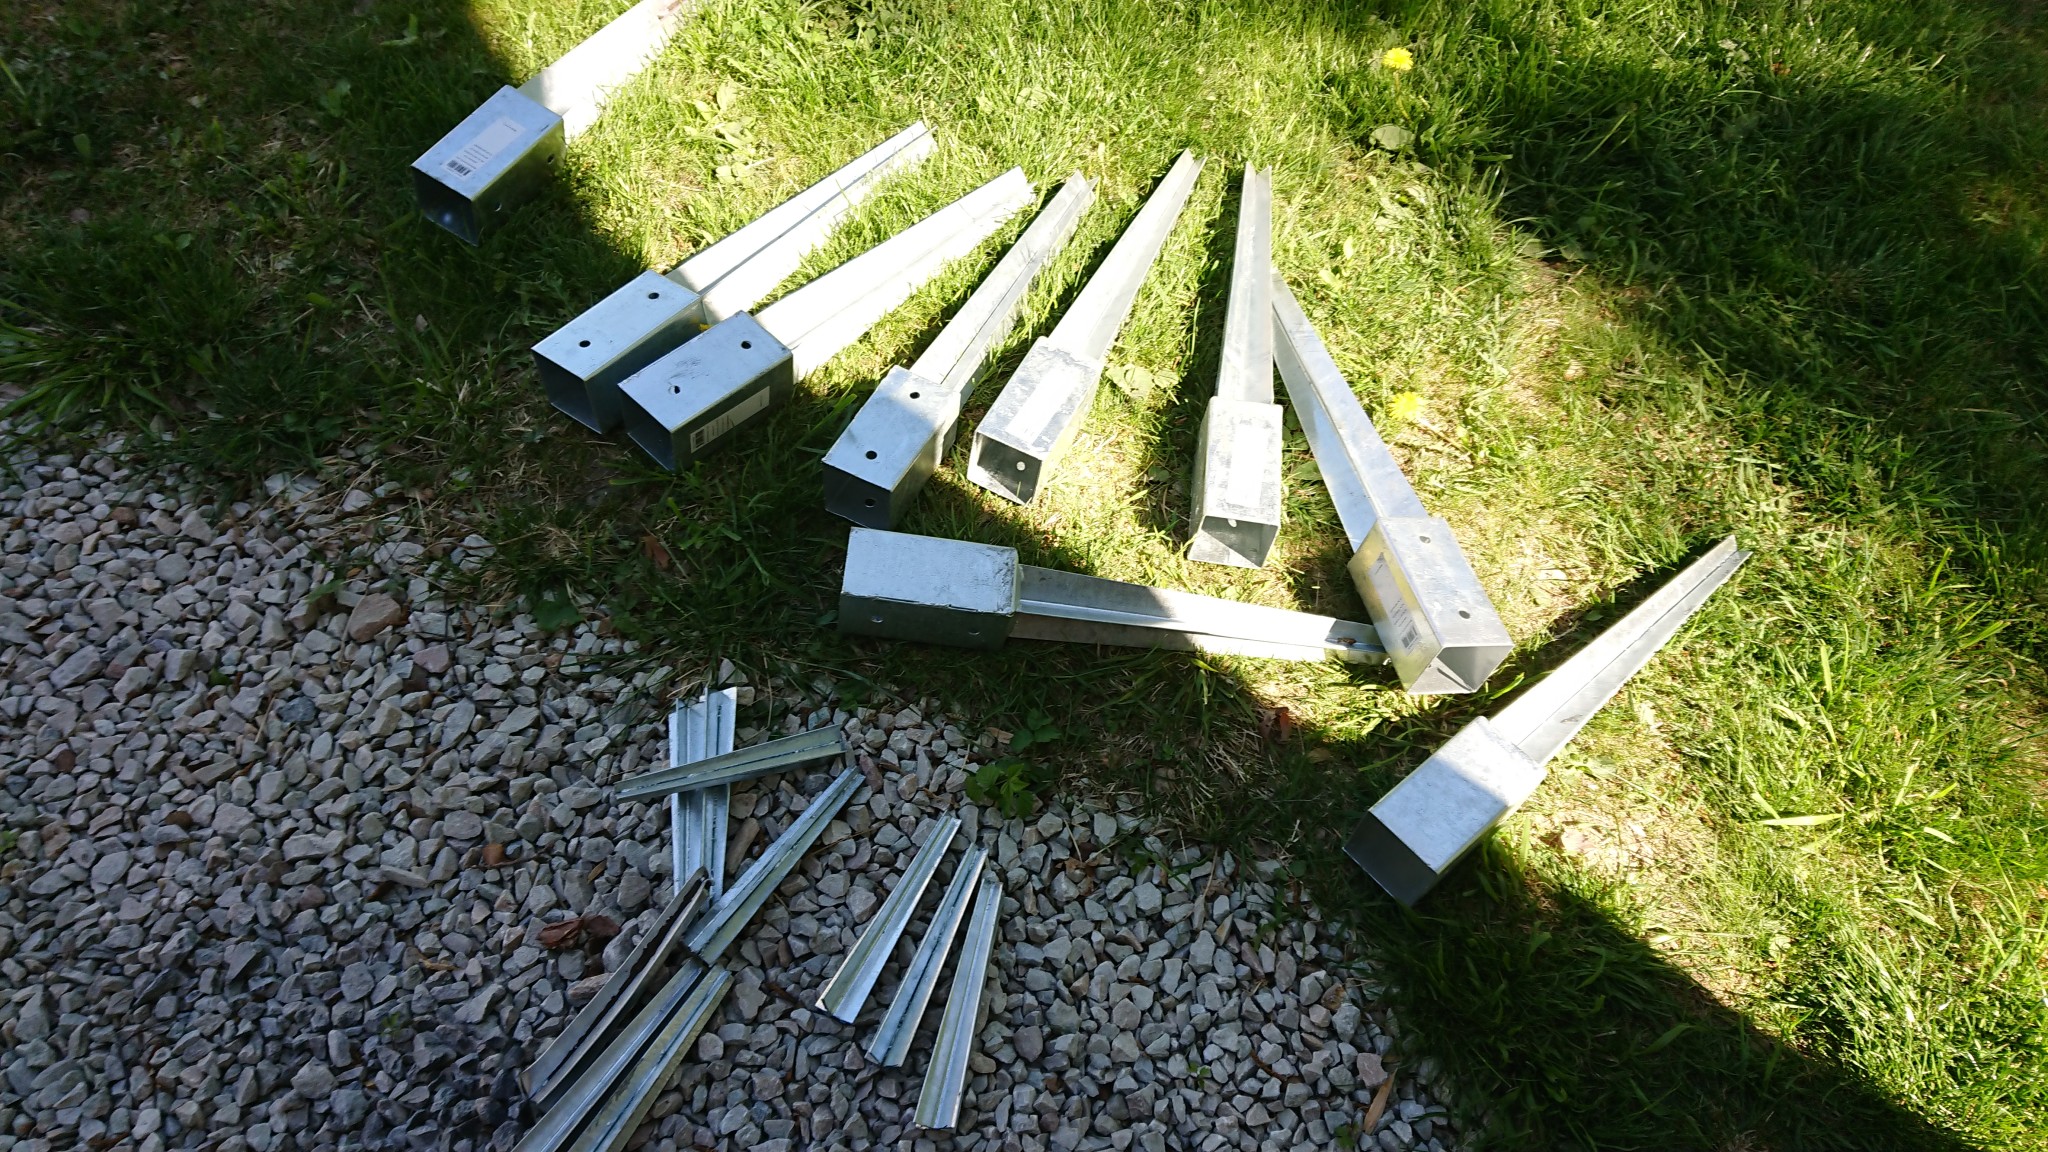
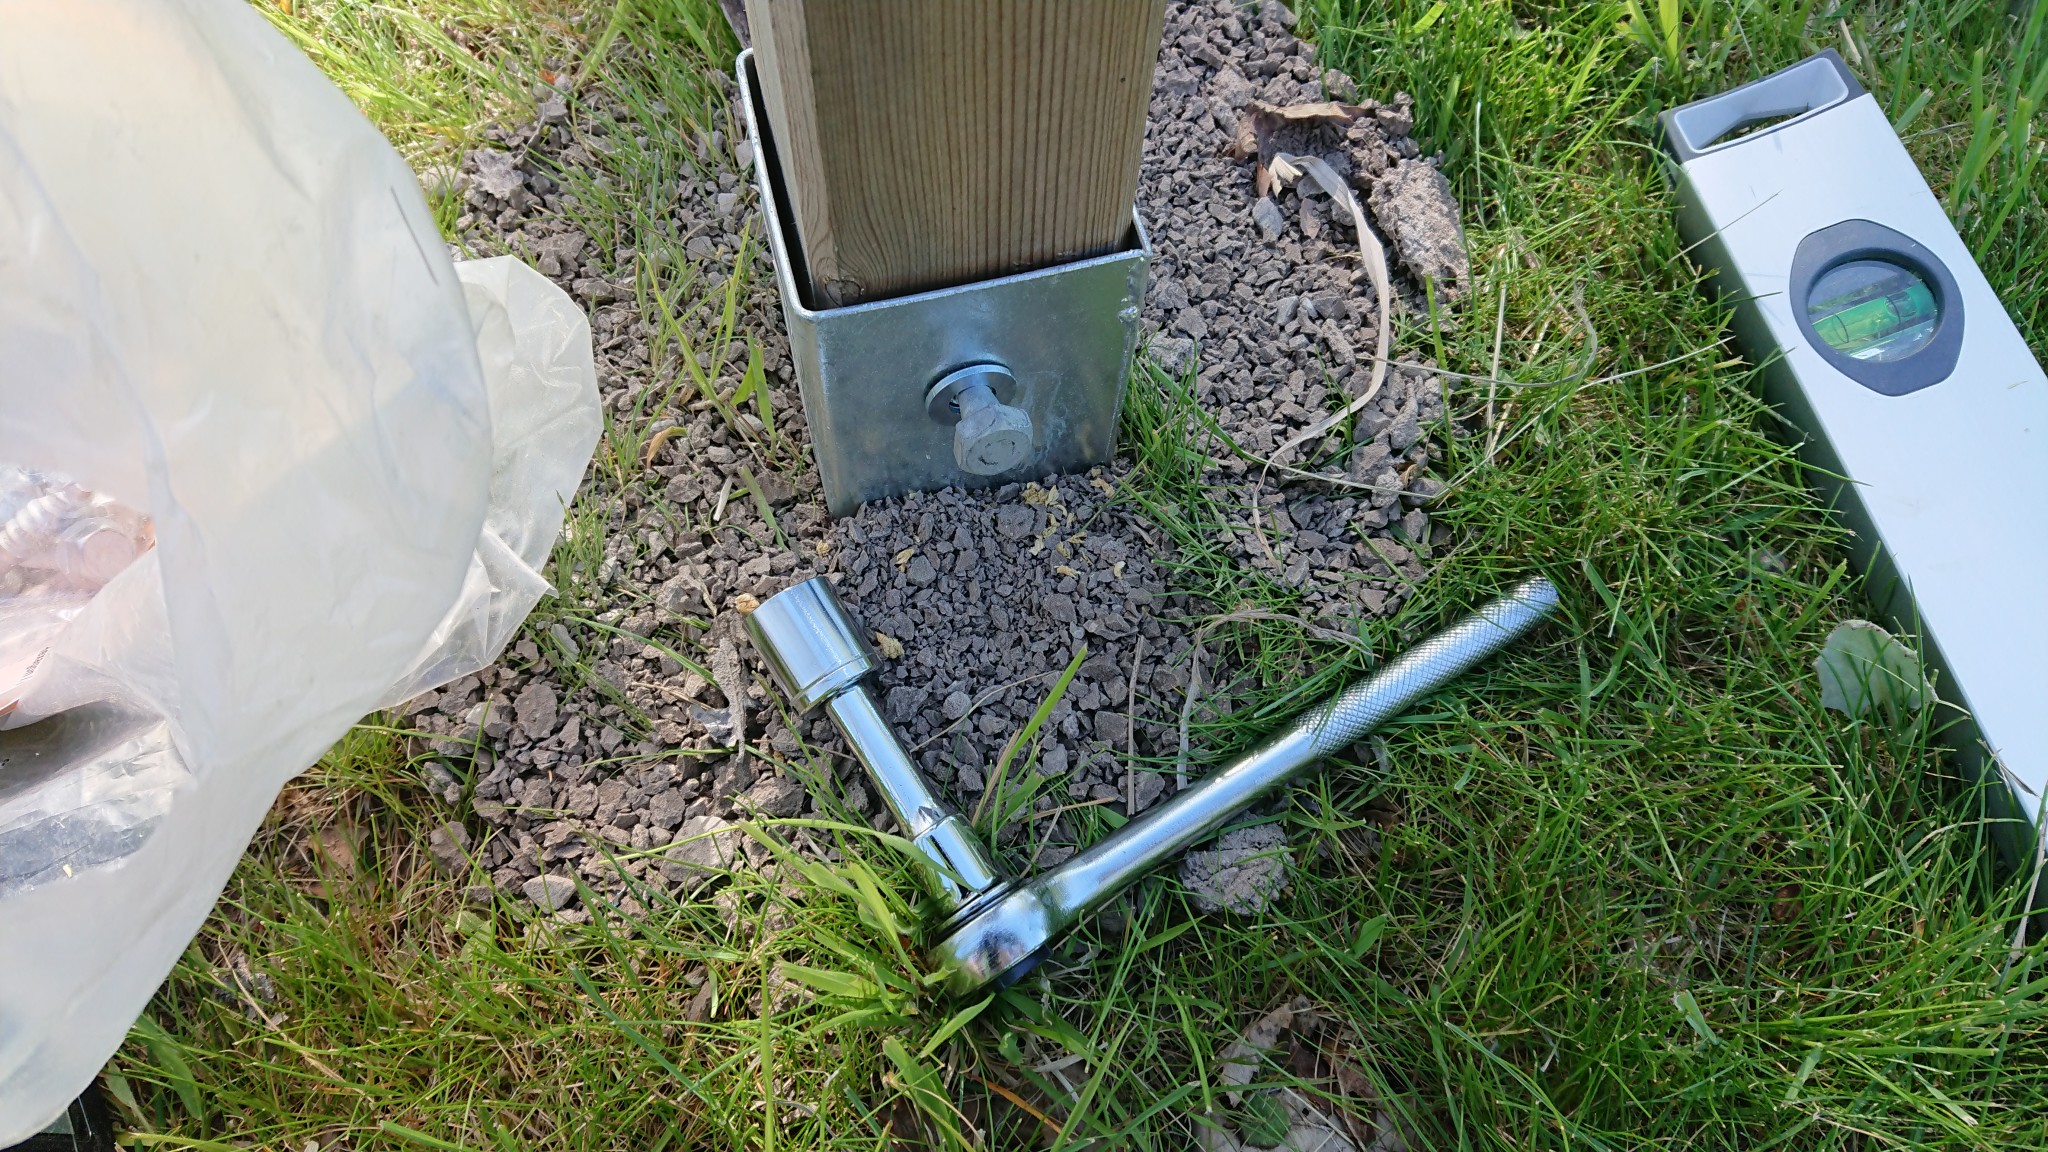
-750mm ground anchors from Jula 40kr/piece
-M10 carriage bolts with washers 99kr/kg
-Rails pre-primed white 21x120 12kr/m
-Deck screws
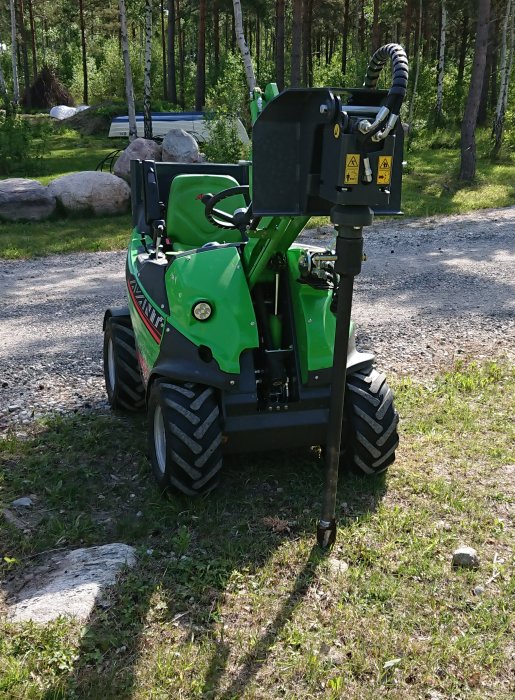
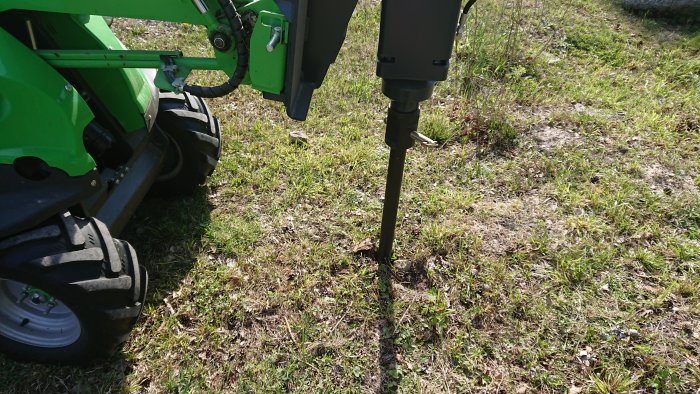
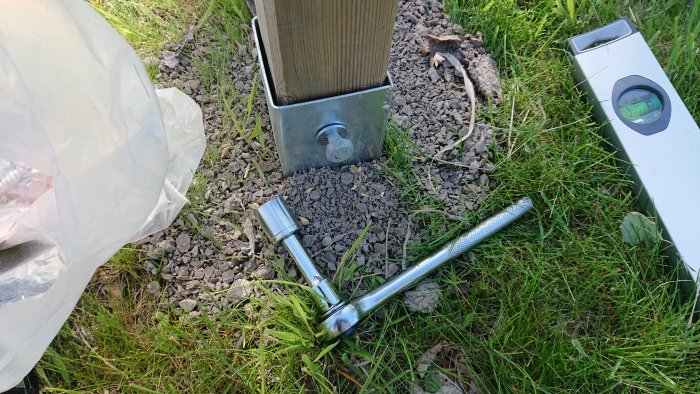
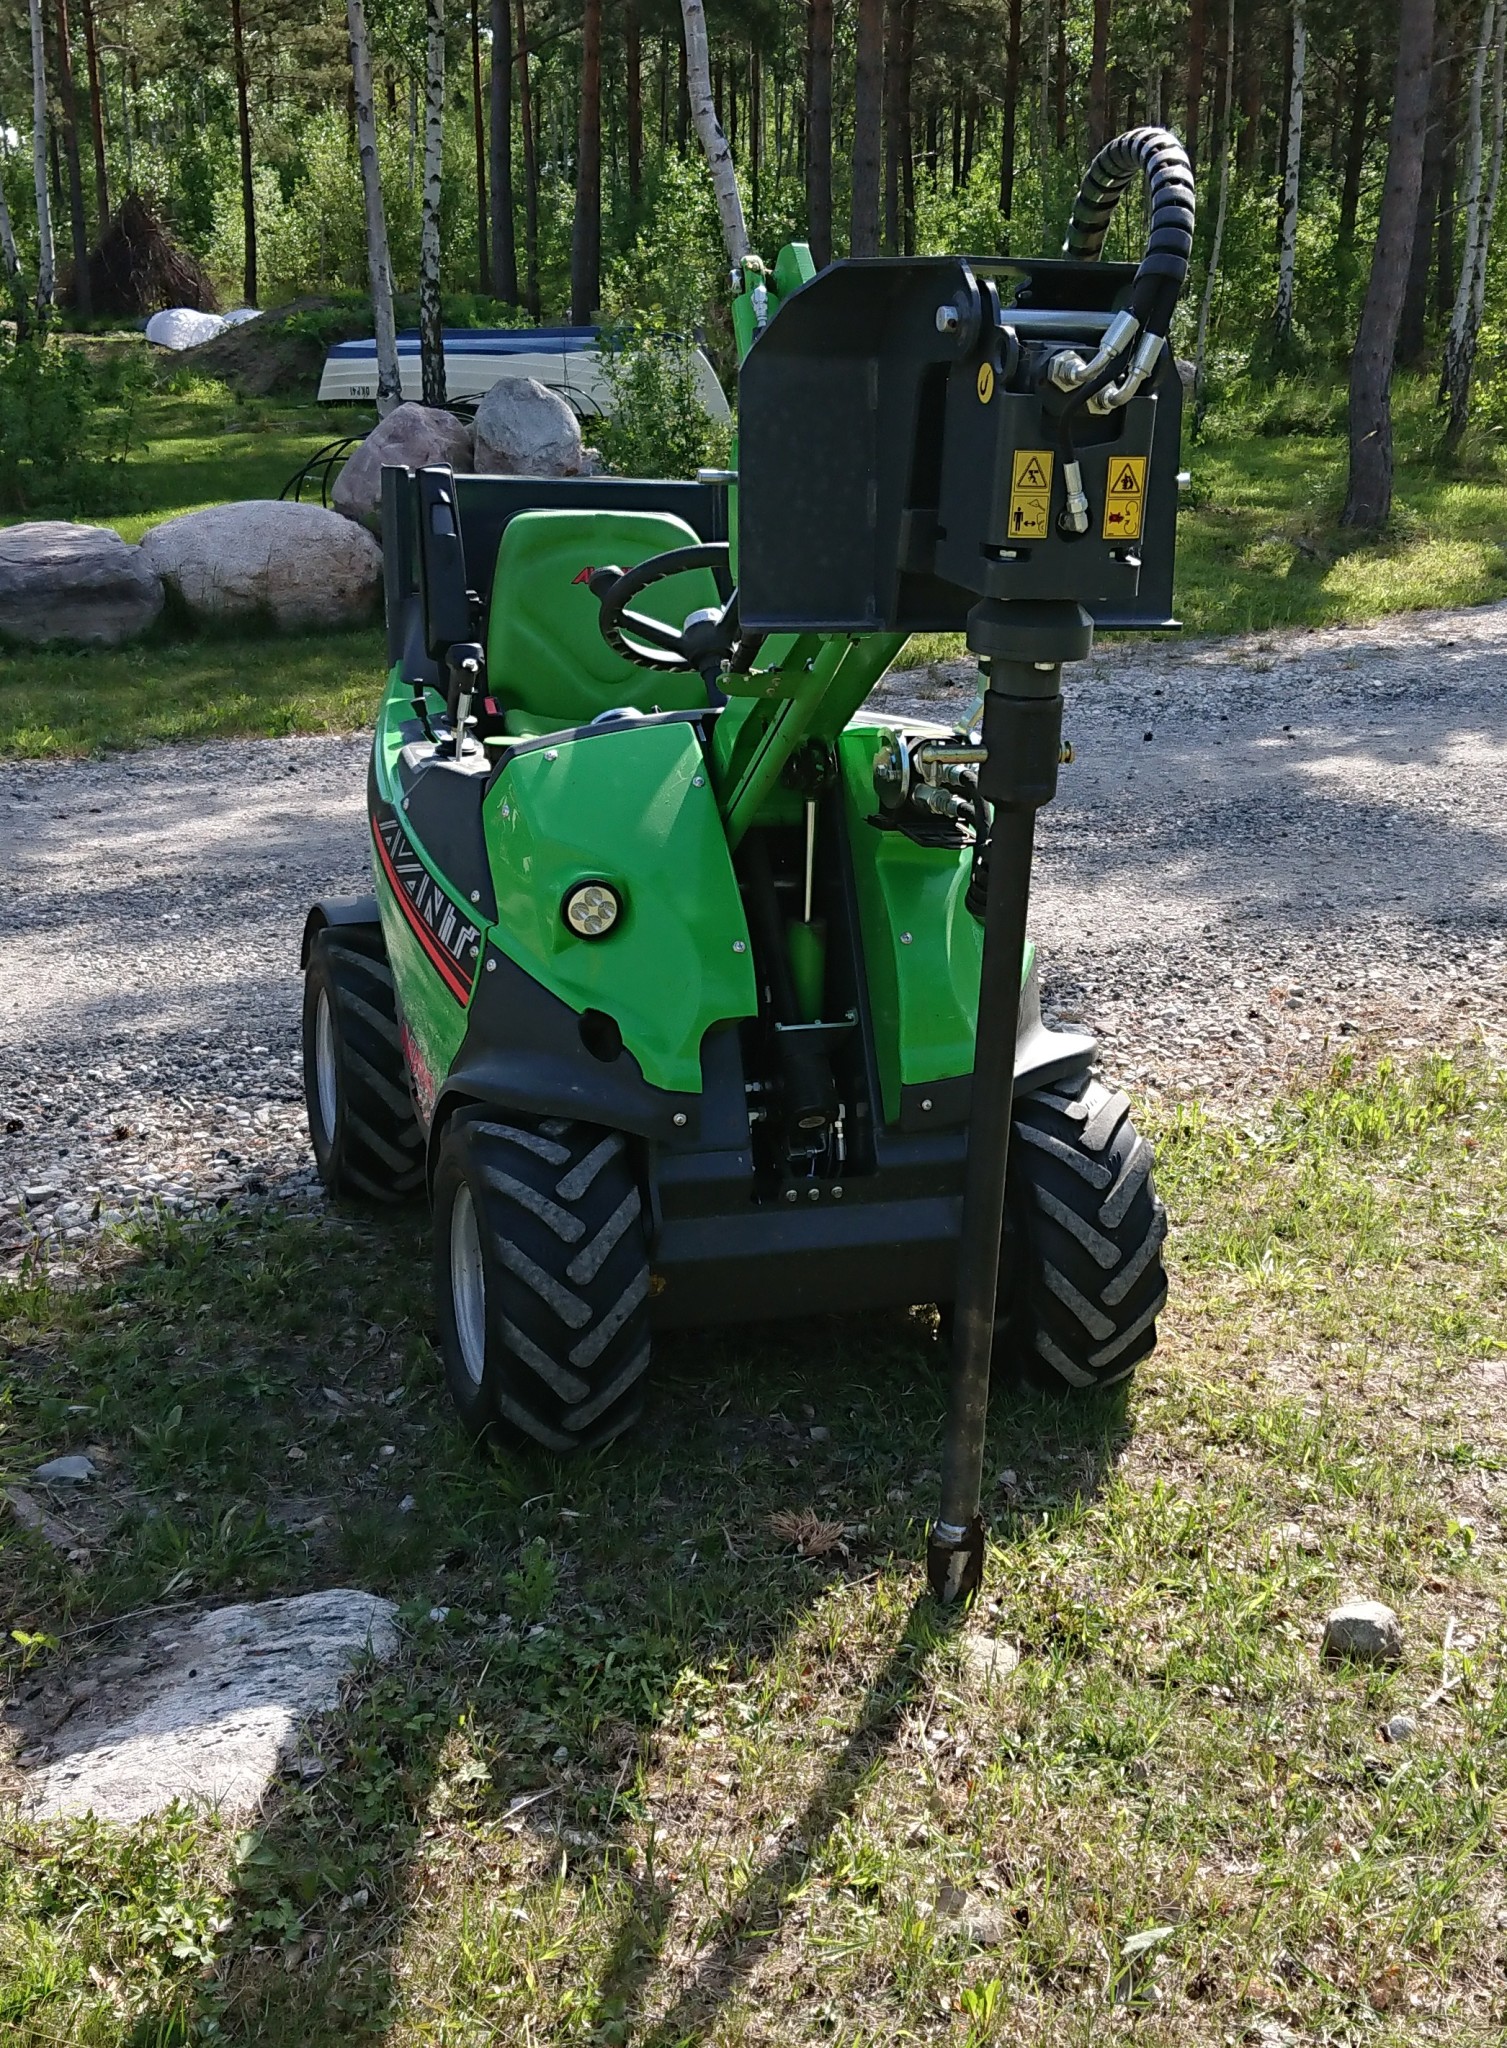
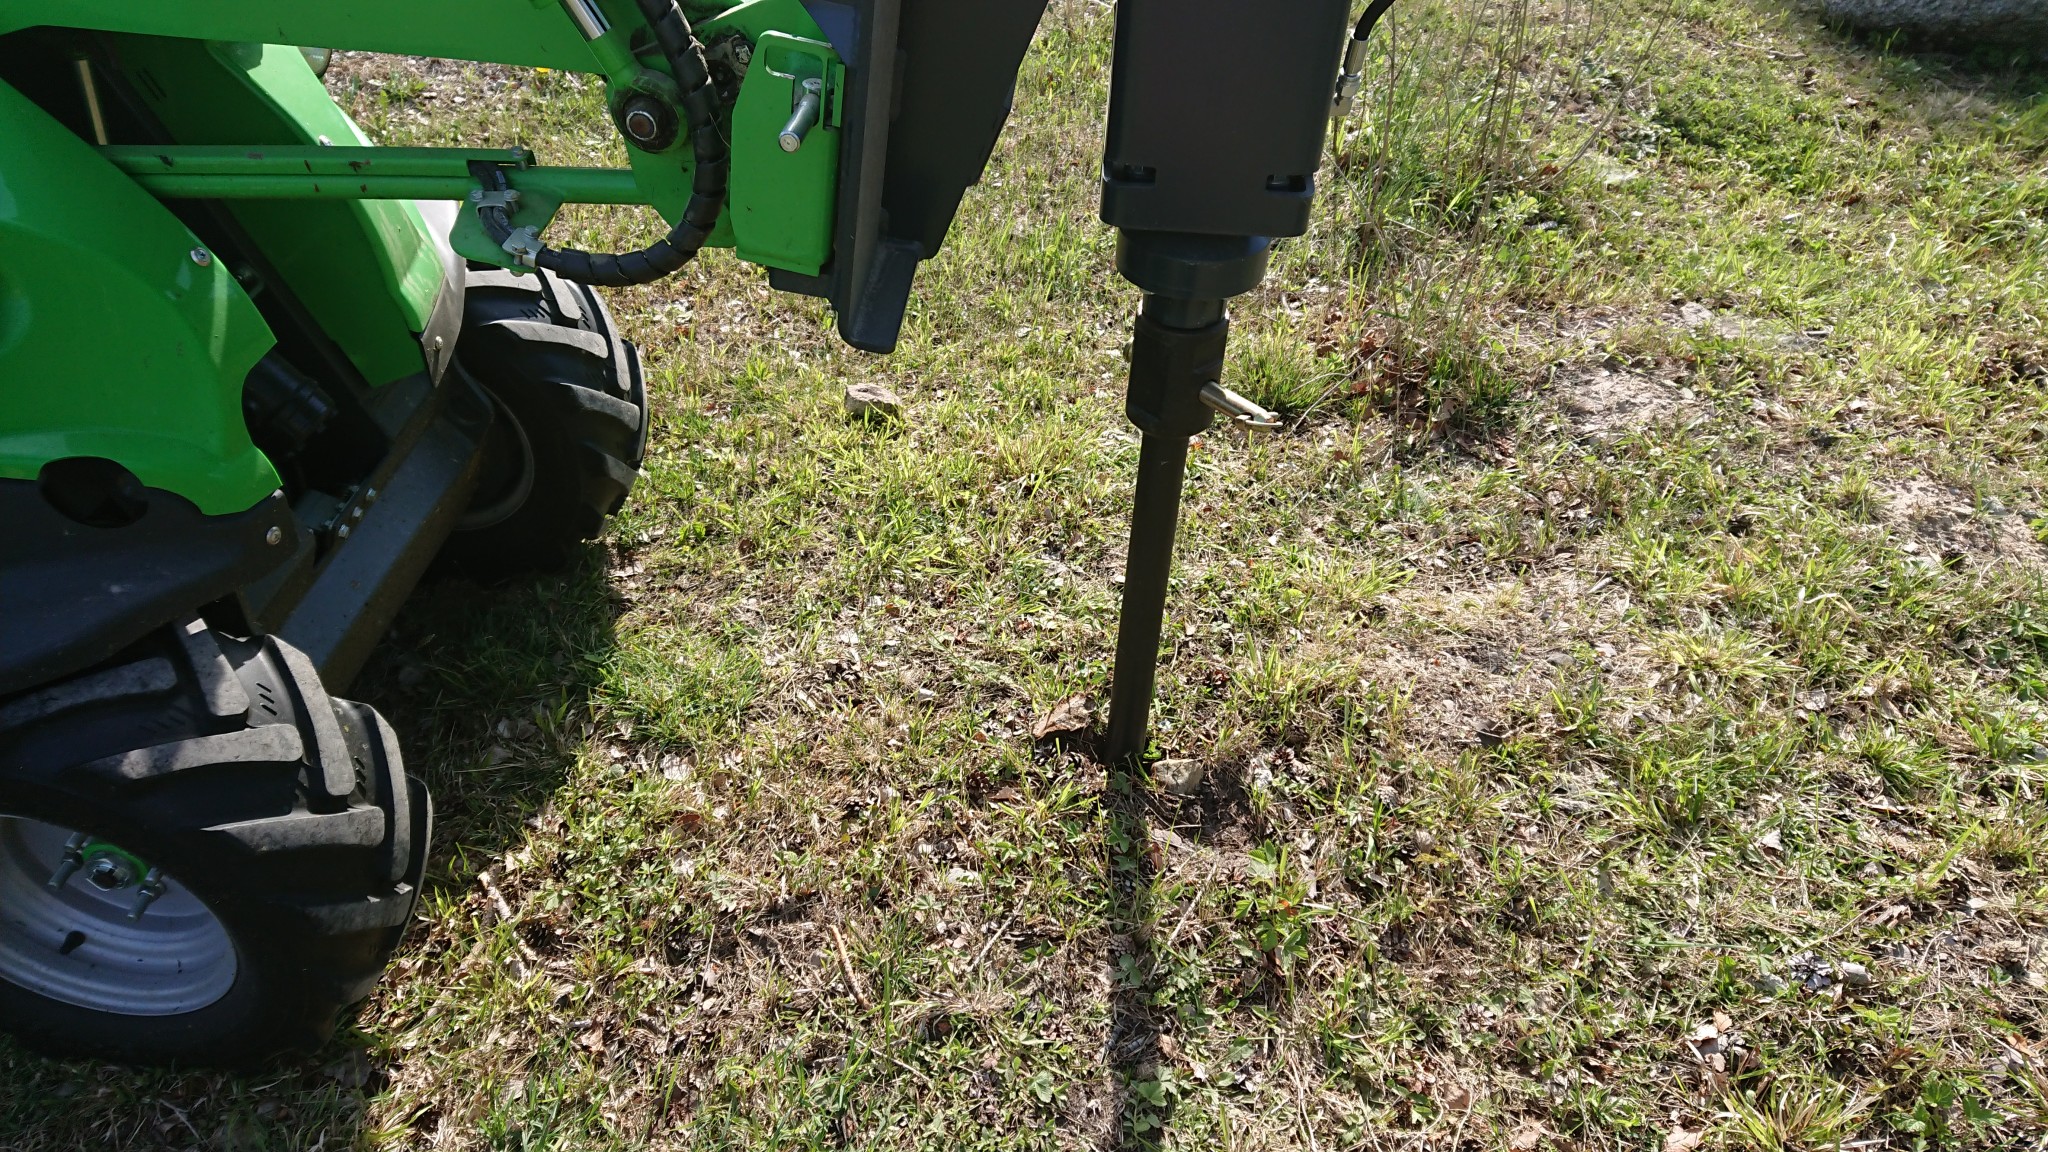
Saturday morning started with making holes or "pre-drilling" a bit for the ground anchors.
There's a lot of stone in the ground, so pre-drilling was a must. Otherwise, I would have been standing with a crowbar for a week and still ended up with crooked posts.
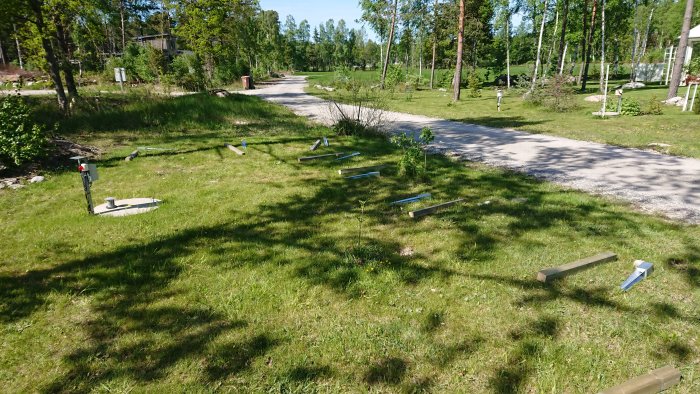
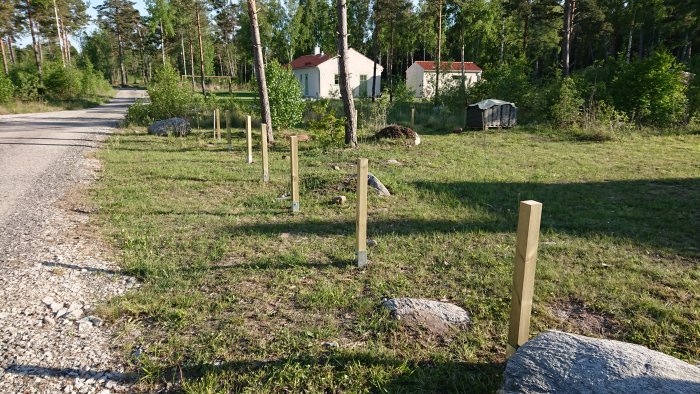
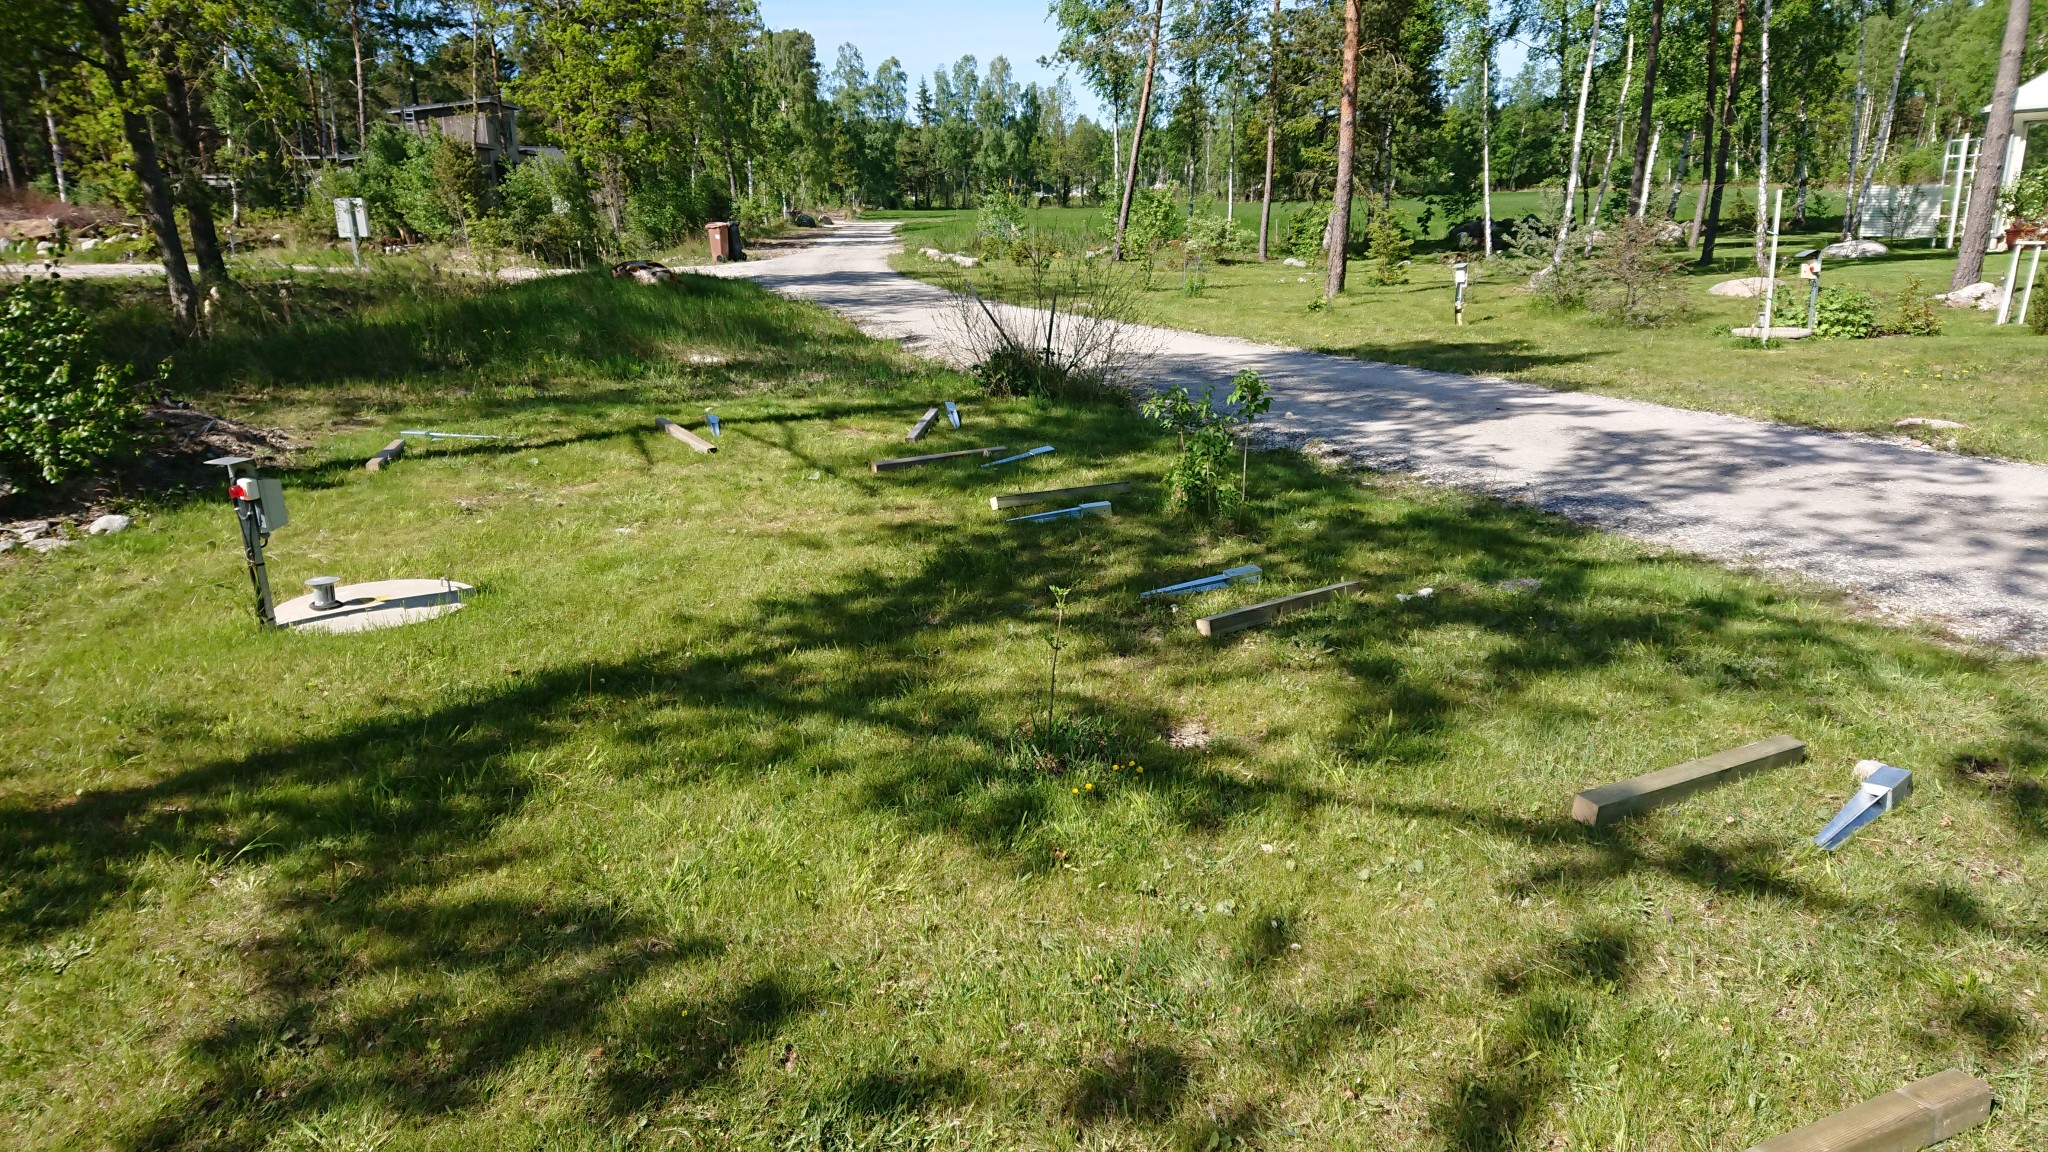
Cut posts and lay them out by the holes.
I was worried about incoming electricity/fiber, so I chose to cut some ground anchors to 400mm to avoid problems.
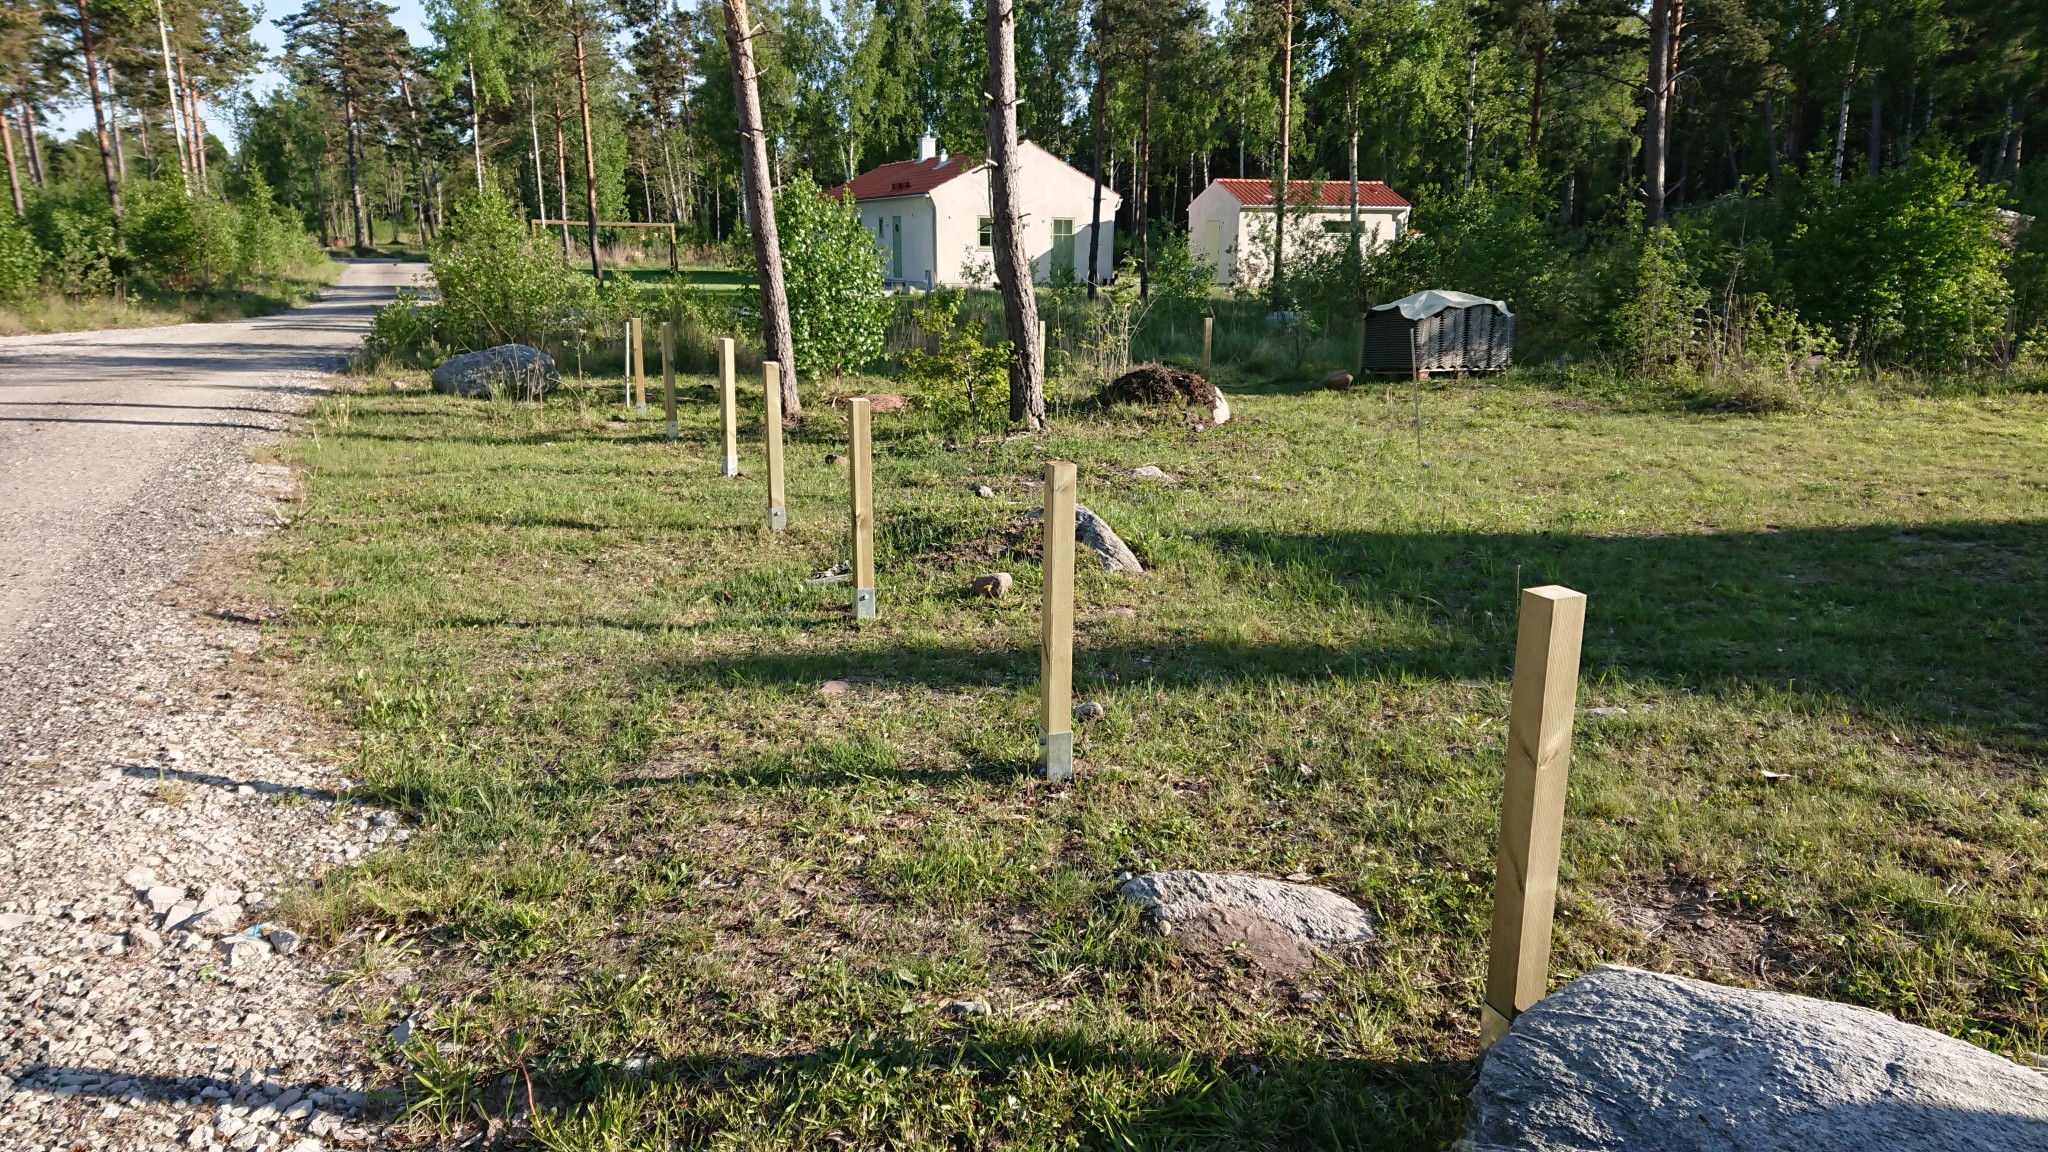
Backfill a bit where the holes were too wide, hammer down the post, and screw it in. Used soap and pre-drilled to make the screw go in easily.
Turned out reasonably straight in most places, although some posts twisted. The closest posts in the picture below will soon be removed as there will be a carport there.
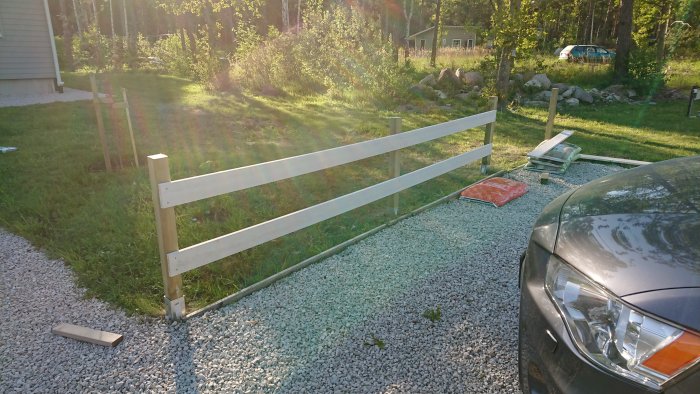
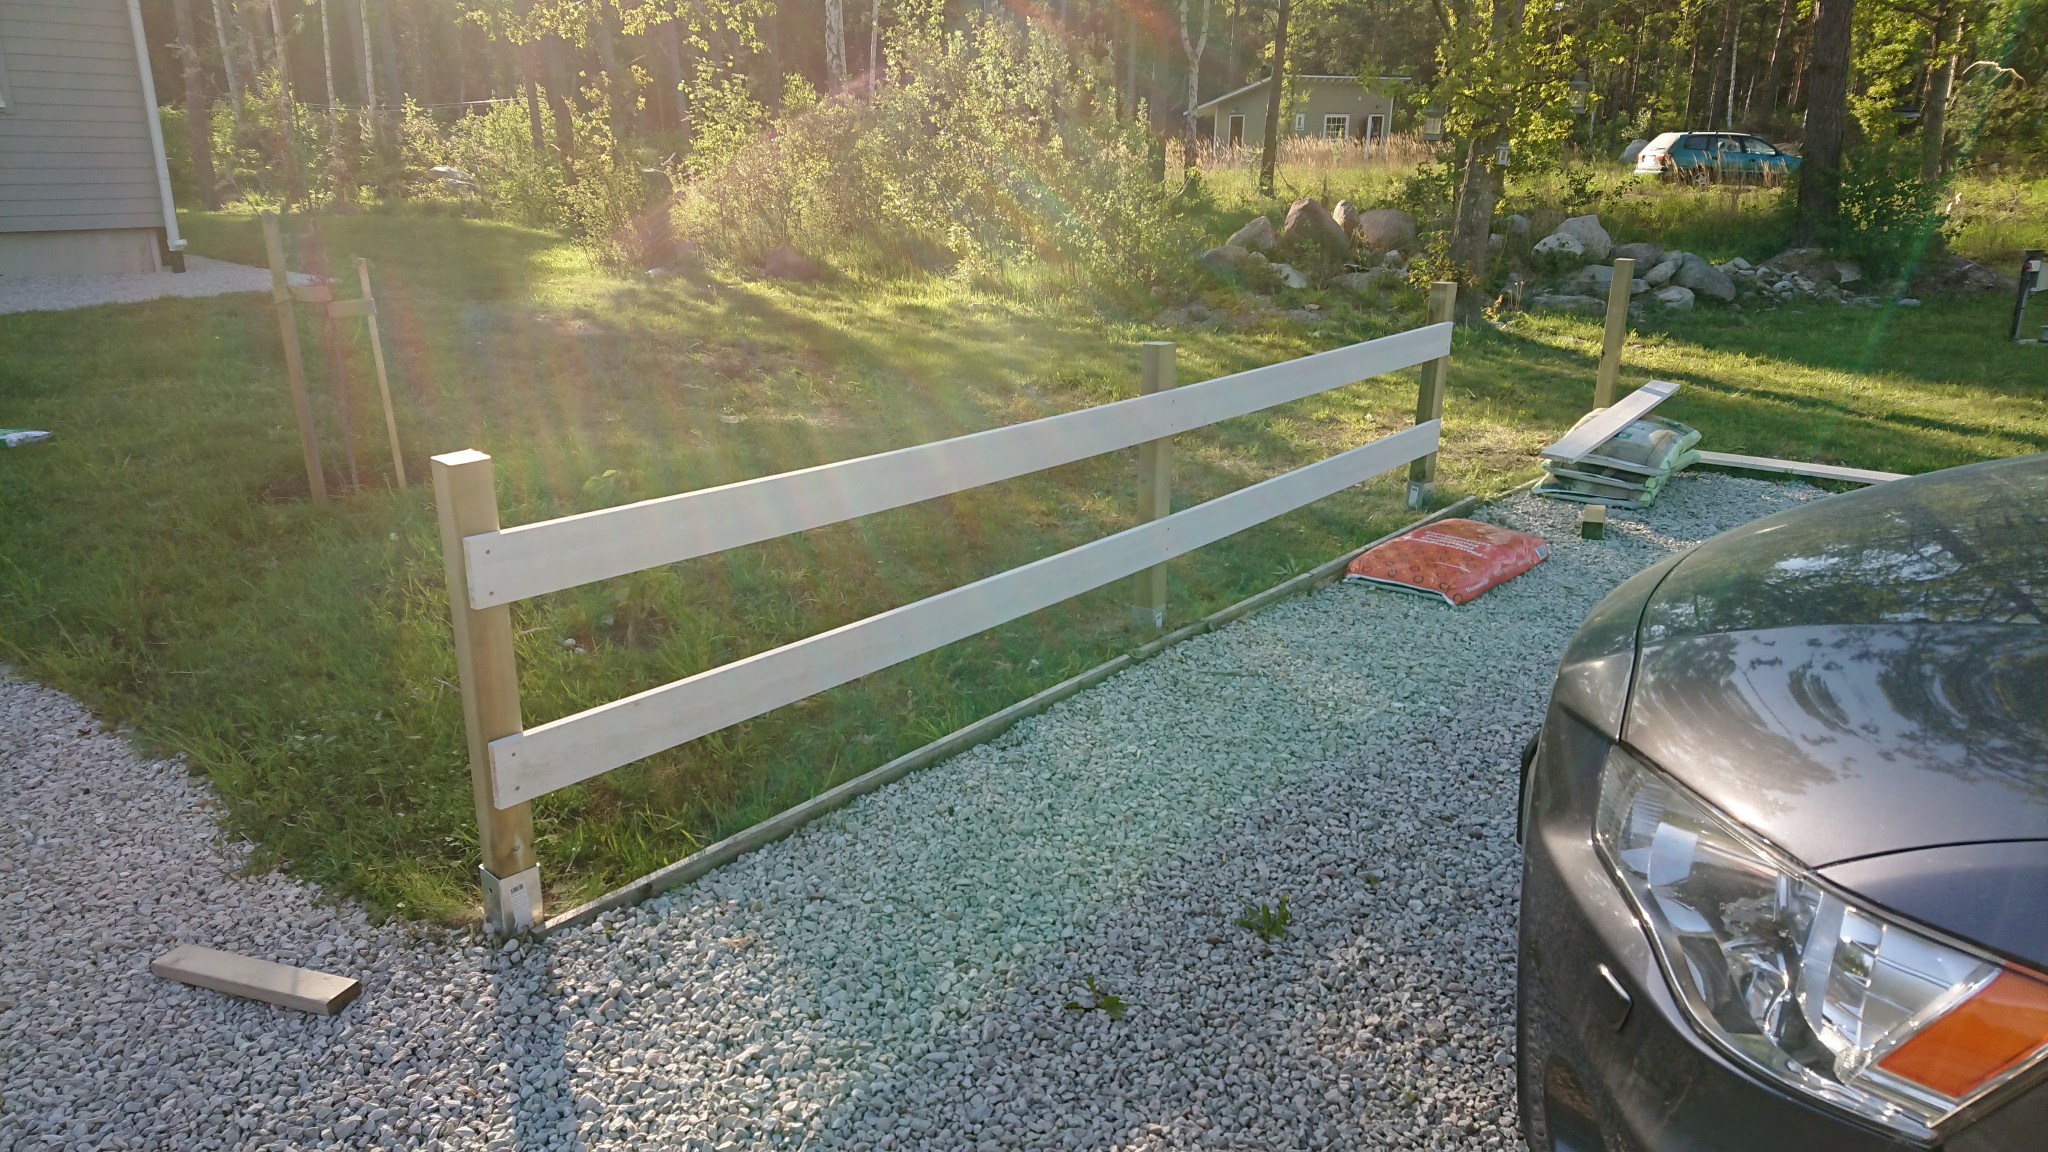
Align posts and rails a bit with a spirit level, then screw and cut where needed.
Primed the posts with oil acrylic primer or whatever it's called, even though I know they should dry for a year. I have both fresh and two-year-old posts, so I see this as an experiment others can learn from. In a year, I'll know if it will flake or not. The topcoat will be the Test winner in Folksam's paint test: Biltema Painting will be next weekend...
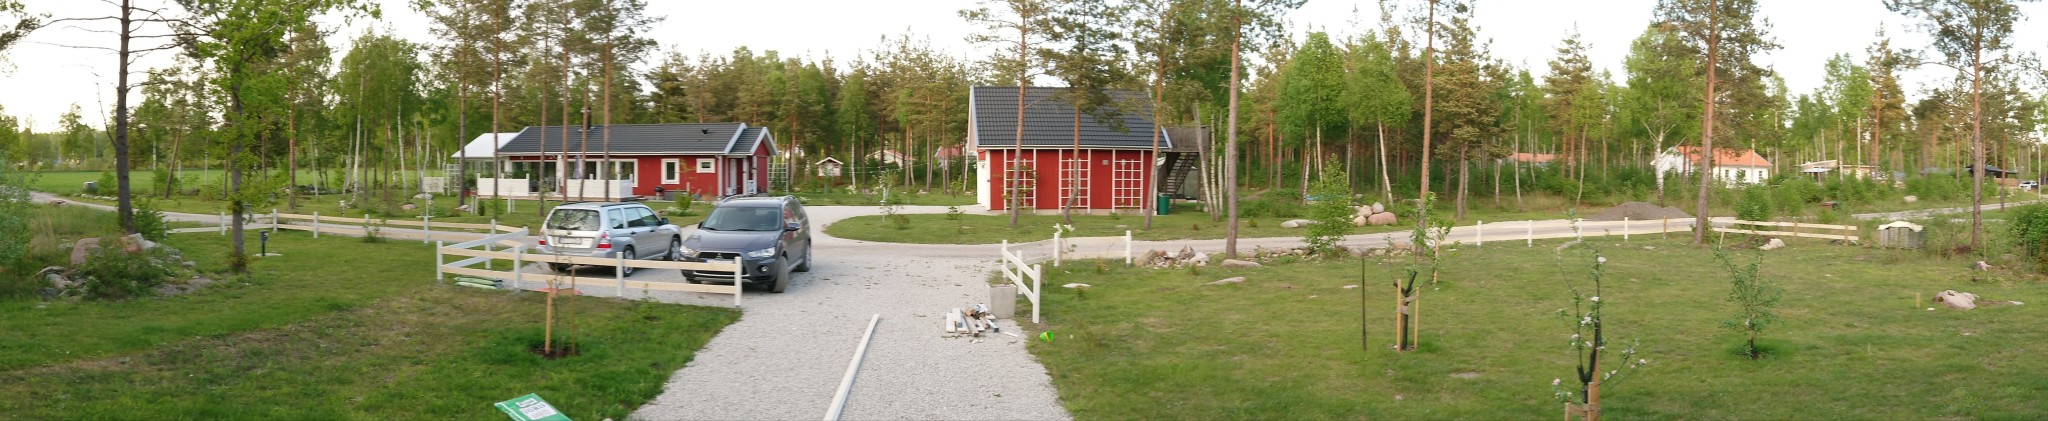
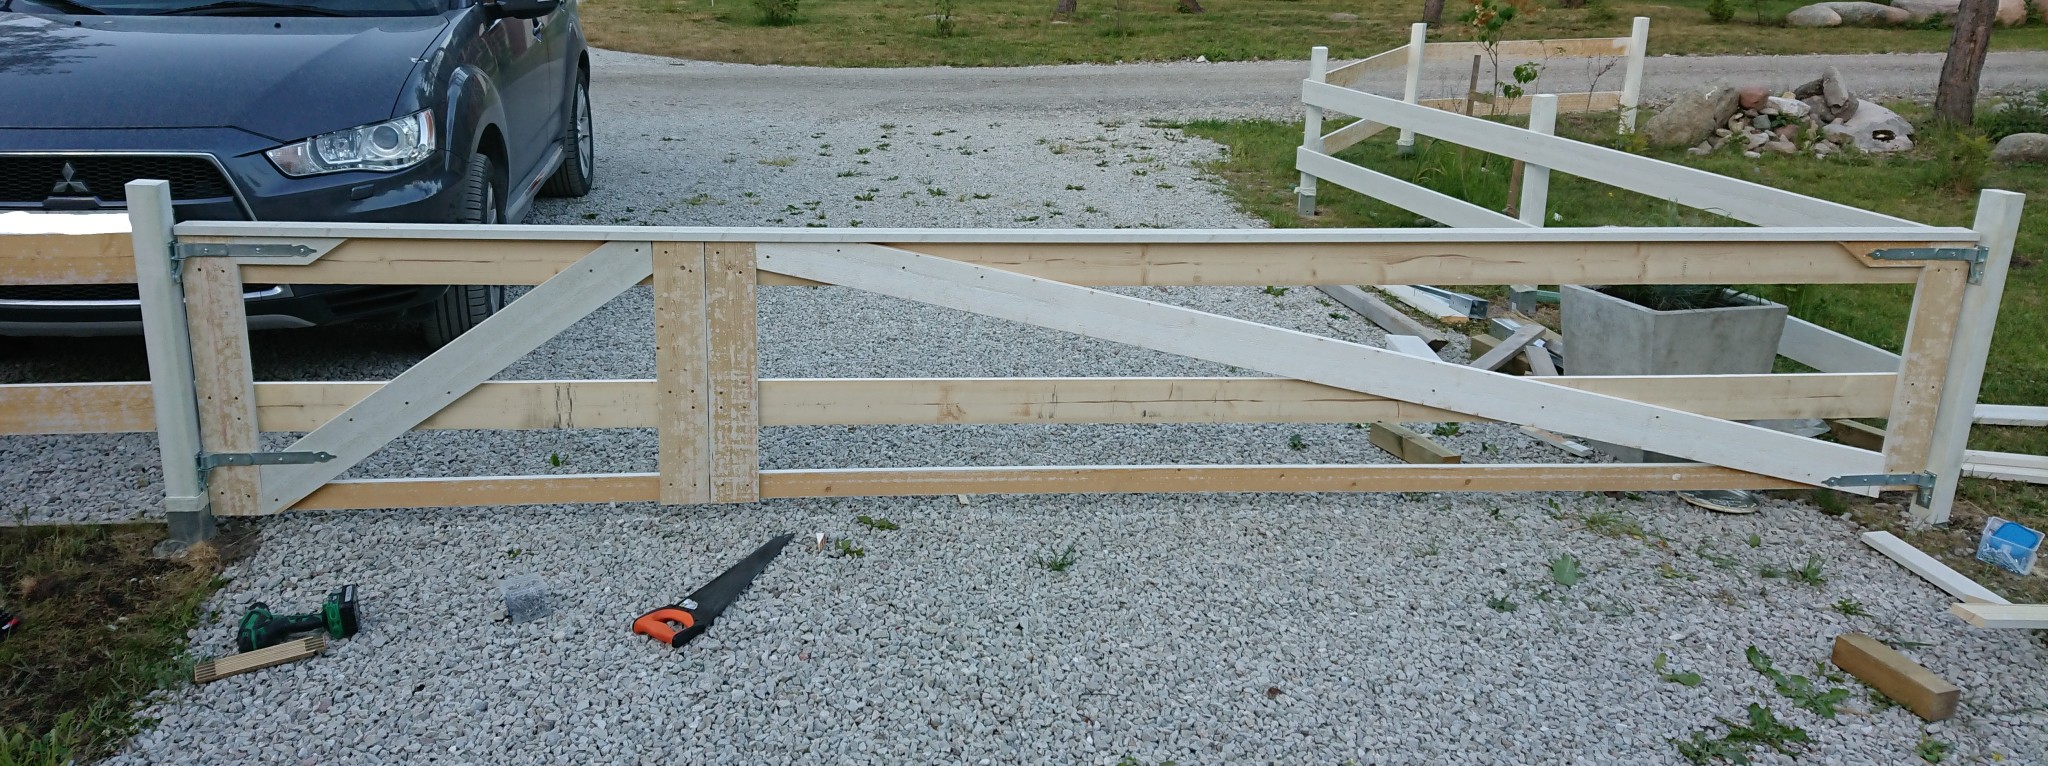
The result was good, considering the desired function, time spent, and cost. There will be a two-part gate in the opening. More on that next time.
Thanks for a great forum!
Thinking about a similar fence, 120 meters with uneven ground.
Do you level the "slanor" or measure them with the same measurement from the top of the exp post?
Which is best to do?
Just planning to make holes with a bar (old farmland) and fill up with gravel when the post is in place.
Considering a similar fence, 120 meters with uneven ground.
Do you align the "slats" with a level or measure them with the same measurement from the top of the reference post?
Which is best to do?
I'm thinking of just making holes with a crowbar (old farmland) and filling up with gravel when the post is in place.
I aligned the slats that are towards the road with a level, but all the fence strips going towards the property are not leveled. They became what they became when I adjusted them against the strips that run parallel to the road. Slight uphill towards the house.
Personally, I don't think it looks wrong when the slats follow the ground. You can image search a bit for some inspiration. In your case, maybe it's easiest to use a spacer between the ground and the first slat? Then a spacer between the first and second slat, then cut the posts afterwards.
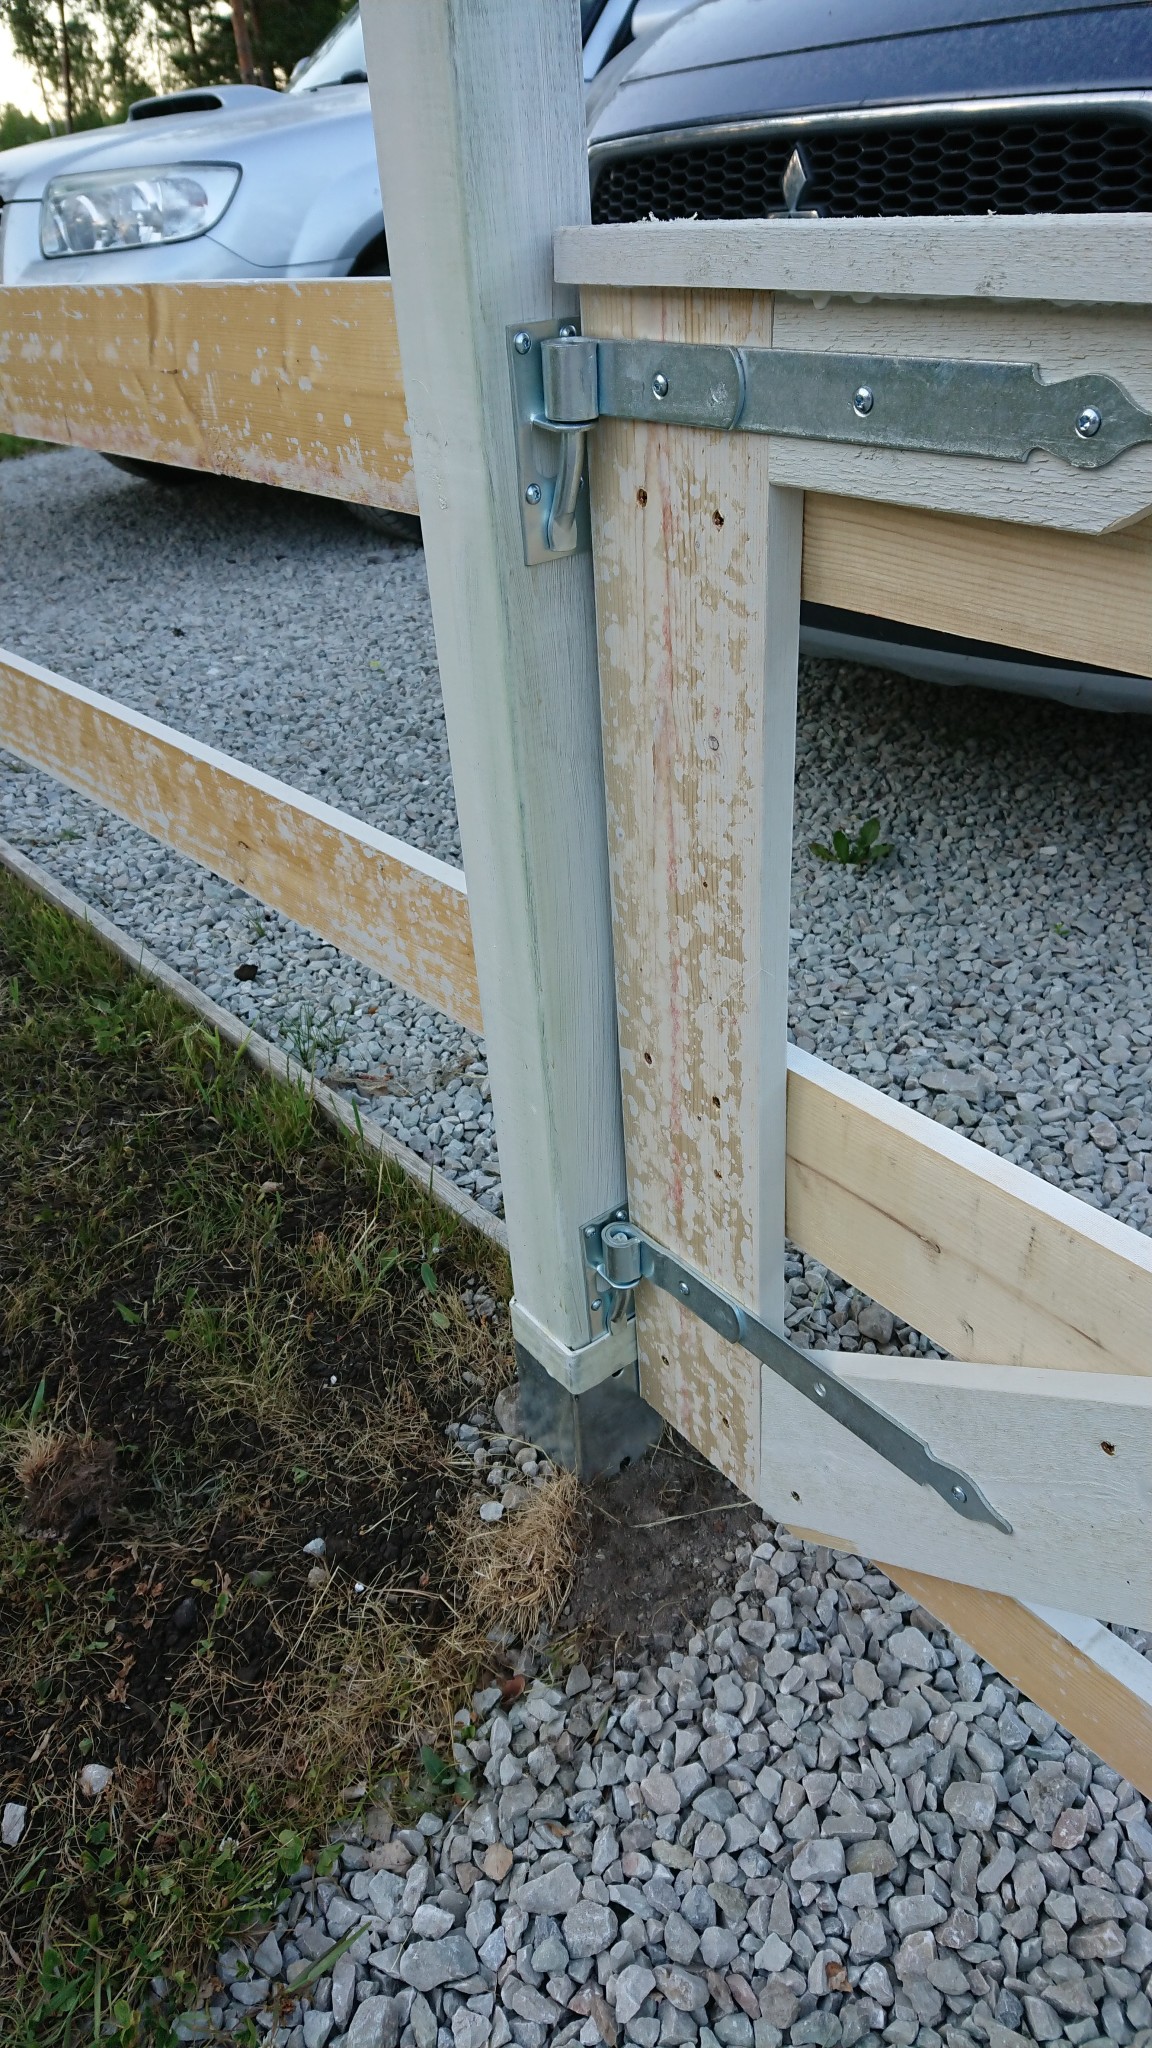
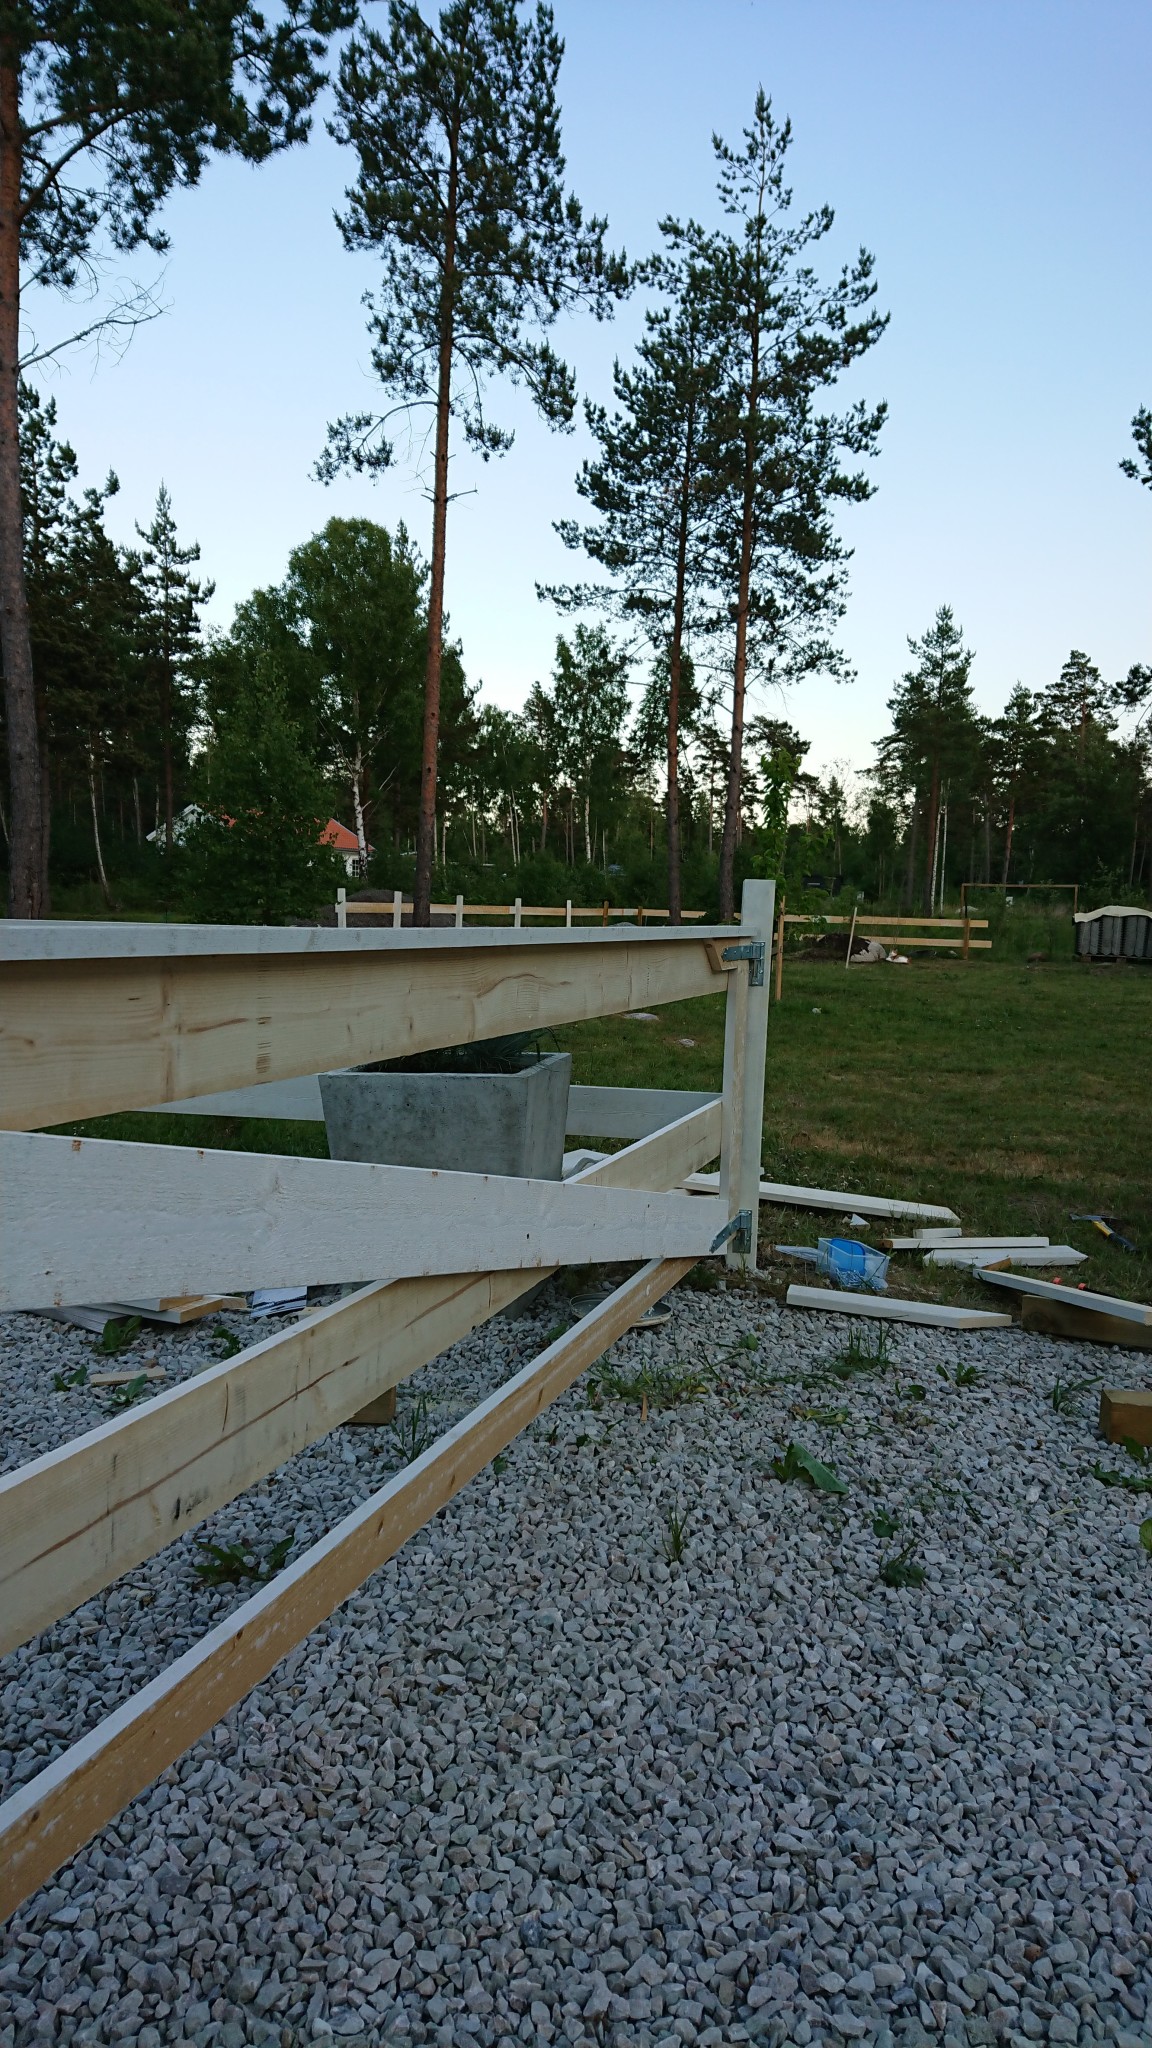
I can also inform you that the wet posts caused a slight discoloration on the primer in a few places, but I haven't noticed any peeling or similar. Topcoating will be done first in the spring. Attaching a couple of pictures of a half-finished gate where you can see where it has become a bit green on a post.
I think you need to support your gate posts if you don't want leaning posts already after winter. The simplest way is to have a foot that the gate rests on in the closed position (and only have it open when you go through), otherwise, you need considerable reinforcement and bracing.
I think you need to support your gateposts if you don't want leaning posts already after winter. The easiest way is to have a foot on which the gate rests in a closed position (and only open when you go through), otherwise you need considerable reinforcement and bracing.
Absolutely correct. The small gate has managed just fine because there's a couple of meters of fence providing support, but the large one got a support (I don't know what it's called, but it's a sliding, galvanized steel rod that in turn rests on a stone. I'll see if I can take some pictures when I get home). The large gate is only opened when you need to back in with a car etc., while the small one is used daily.
Click here to reply
Vi vill skicka notiser för ämnen du bevakar och händelser som berör dig.


 Painting will be next weekend...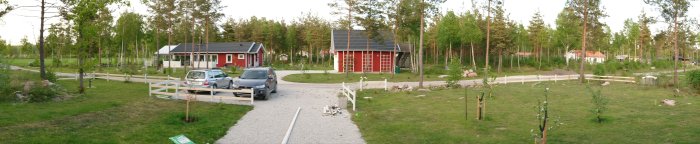
ylven said: