If it can be removed entirely, you can temporarily place a wide molding, just to cover it until you have the time and resources to replace the floor and paint the ceiling.
Hello again!
I have now been up in the attic and looked at the roof trusses. It looks like the horizontal walls on the drawing are directly under each roof truss. Could this matter for whether they are load-bearing? On the other hand, they don't go through the whole house now either.
The wall between the living room and the bedroom is load-bearing. Load-bearing walls are always perpendicular to the rafters/joists. They act as central supports to reduce the span that would otherwise occur if they were only supported by the exterior walls.
Load-bearing walls are always perpendicular to the rafters/floor structures.
I've Googled a bit, and it usually says "often perpendicular," so I was a bit unsure. But it's a small single-story house on a concrete slab, so now I think I've decided that it's not load-bearing.
If you look at the section drawing, a partition wall is drawn there, which is possibly load-bearing/supportive, and no other partition walls are load-bearing. If I understand it correctly, it is the wall between the living room and bedroom 1 and its continuation downwards in the drawing that is load-bearing. Then there are trusses, and with those, the roof load is intended to be transferred to the exterior walls and not borne by any interior wall.
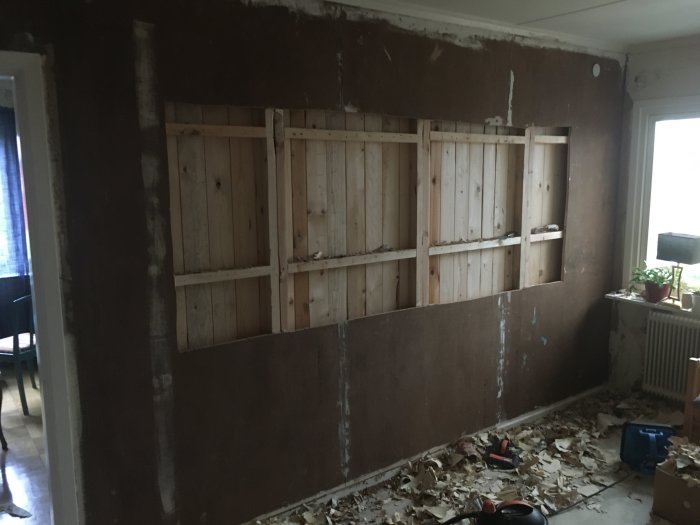
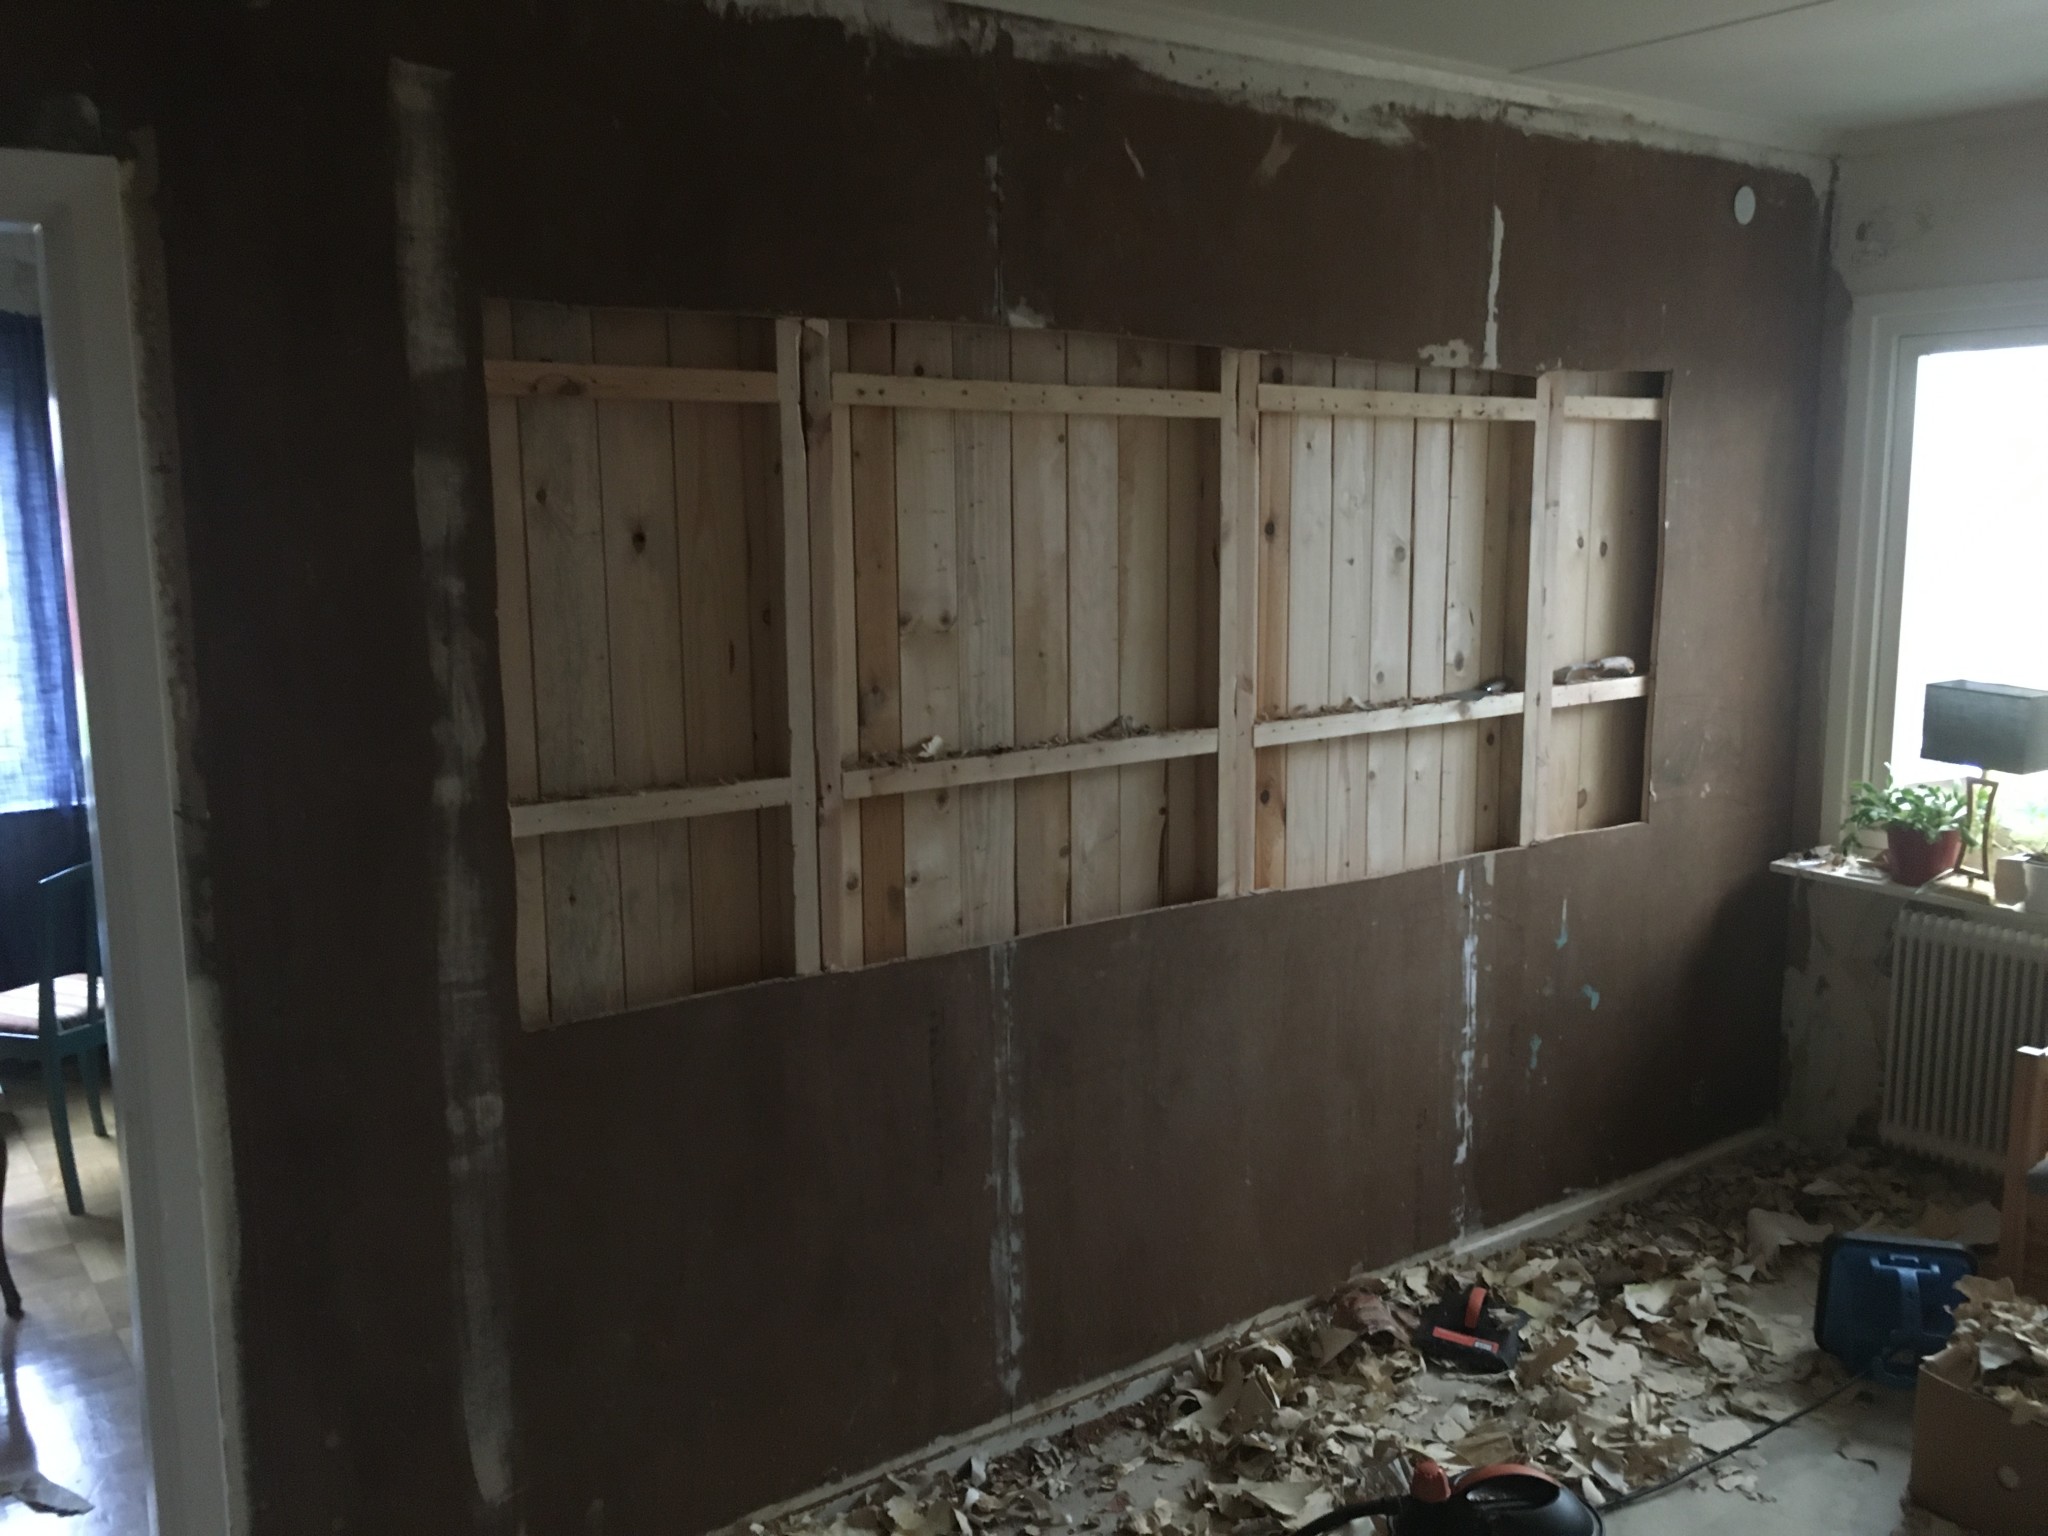
I have a winter break now, and in the absence of snow, I'm tackling the work on the wall. I've cut a hole that's a bit smaller than intended to get an idea of how the studs are laid out. It's some special arrangement with 1-meter sections of 2.5" studs and noggings to attach the planking to. I think it'll work well to cut the studs and reuse the noggings at the level of the hole and move a couple of cut studs to the sides. But first, I need to remove all the wallpaper and paint the ceiling with sealing paint to get rid of the smoke smell from previous owners. It takes a bit of time.
The work is progressing. Jigsaw and multitool for the panel and handsaw for the studs. Everything went well but I got a bit nervous when the saw pinched while cutting the studs. We'll see if the house is still standing tomorrow.
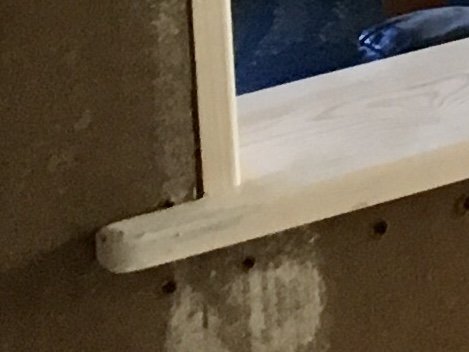
"Fine carpentry" in progress. I've made a small windowsill that extends 24 cm on both sides of the wall and is 55 mm wider than the opening to protrude a bit outside the moldings that will be added later. The question is whether you should have a bit of space between the sill and the wall and seal with soft caulk or if, as now, you can have it tight with millimeter precision. I think there's a risk that the sill might crack, especially the two "horns" that extend slightly onto the wall.
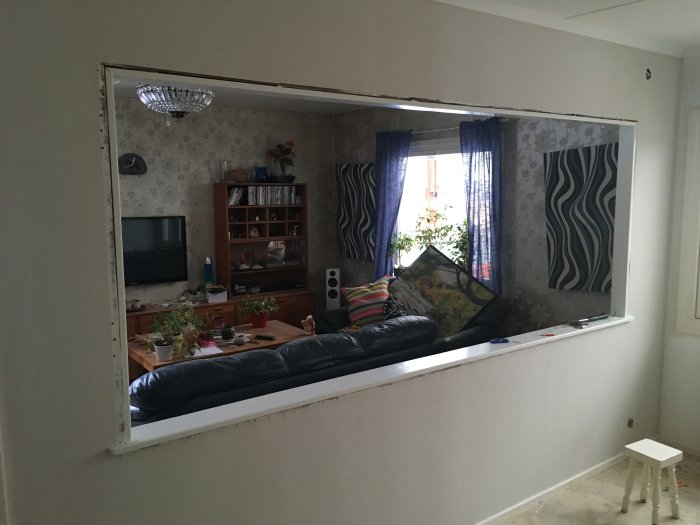
It's going slowly but surely forward. I sanded down a bit with the mouse so it wouldn't be too tight. The observant will notice that I accidentally filled the board with ordinary wall filler, but of course, I had to redo it with proper wood filler. Now I have nailed the boards with 50 mm nails in angled pairs with 50 cm spacing. Hope that's enough. Filled over the nail heads but regret it because the filling is probably much more visible than the nails themselves would have been. Now it's just the moldings around left. We'll see how well I do with the miter box, haha.
Thank you so much! Still a bit unusual for now. It almost feels like one of those serving counters in community halls, haha. I also panicked a bit when I was about to test the moldings. It looked like I had accidentally mounted the upper board crookedly, but luckily it’s the molding that isn't straight. I can surely pull it with a bit of force.
A final update, unfortunately without a picture. I've now put trims all around and also an upside-down baseboard under the countertop. Then I noticed a slightly annoying thing I should have addressed from the start. The wall under the opening bulges out 1 cm in the middle, and it's quite visible now that the trim is in place. Maybe I could have straightened the wall before attaching the board. I thought this might be good information if someone else attempts the same.
Click here to reply
Vi vill skicka notiser för ämnen du bevakar och händelser som berör dig.



 I've cut a hole that's a bit smaller than intended to get an idea of how the studs are laid out. It's some special arrangement with 1-meter sections of 2.5" studs and noggings to attach the planking to. I think it'll work well to cut the studs and reuse the noggings at the level of the hole and move a couple of cut studs to the sides. But first, I need to remove all the wallpaper and paint the ceiling with sealing paint to get rid of the smoke smell from previous owners. It takes a bit of time.