I was referring to the thin pre-painted boards available at the hardware store. Convenient but expensive. If it's a small area, they're unbeatable in terms of ease
Where does the convenience lie?
Is the advantage that they don't absorb much paint? Because you will still need to fill any seams and screws and paint the entire surface.
Is the advantage that they don't absorb so much paint? Because you'll still need to fill any joints and screws and paint the entire surface.
The boards have "tongue and groove" so they just fit together, but there will be a visible narrow joint...
You have the option to put up a whole board without joints so it's much better/easier, no filling at all, just a little filling in any gap against the wall maybe. Fill gaps against the wall with byggfix/gipsbruk so it goes quickly and easily and then caulk (for wet rooms) over it.
Is the advantage that they don't absorb much paint? Because you will still need to fill any joints and screws and paint the entire surface.
You screw in the joint, the tongue/groove. Then they are covered by the next sheet. Without on the edges, you cover the screw heads with ceiling trim. Such an incredibly convenient ceiling to install. Avoid filling and painting.
The boards have "spont" so they just fit together, but there will be a visible narrow seam...
You have the opportunity to put up a whole board without seams, so it is much better/easier, no plastering at all, just a little fill-in at a gap against the wall maybe. Fill gaps against the wall with construction fix/plaster so it goes quickly and easily and then grout (for wet rooms) on top.
Yes, I am completely uninterested in anything that is visible, it should just be a plain white ceiling.
So if I can put up a board without seams, it doesn't matter as much that one is white-foiled. So maybe not much easier in this particular case then.
Now I'm thinking of tackling this project, but a few questions have come up.
1)
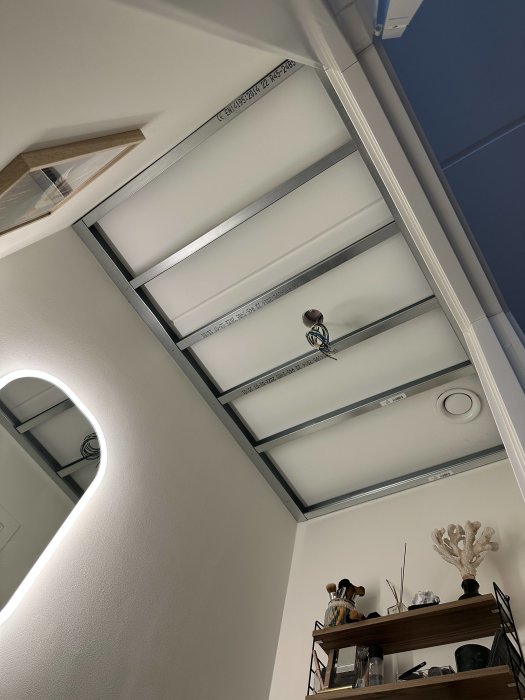
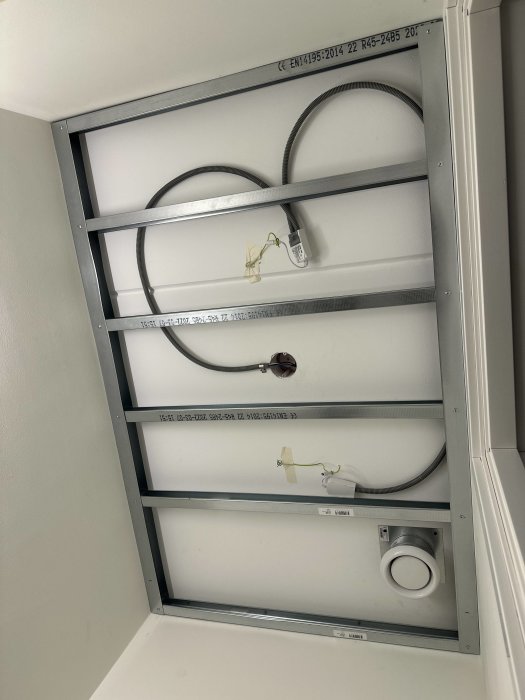
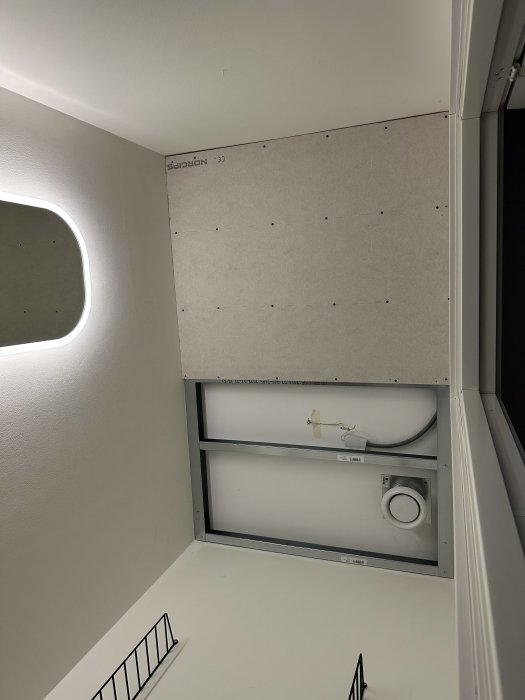
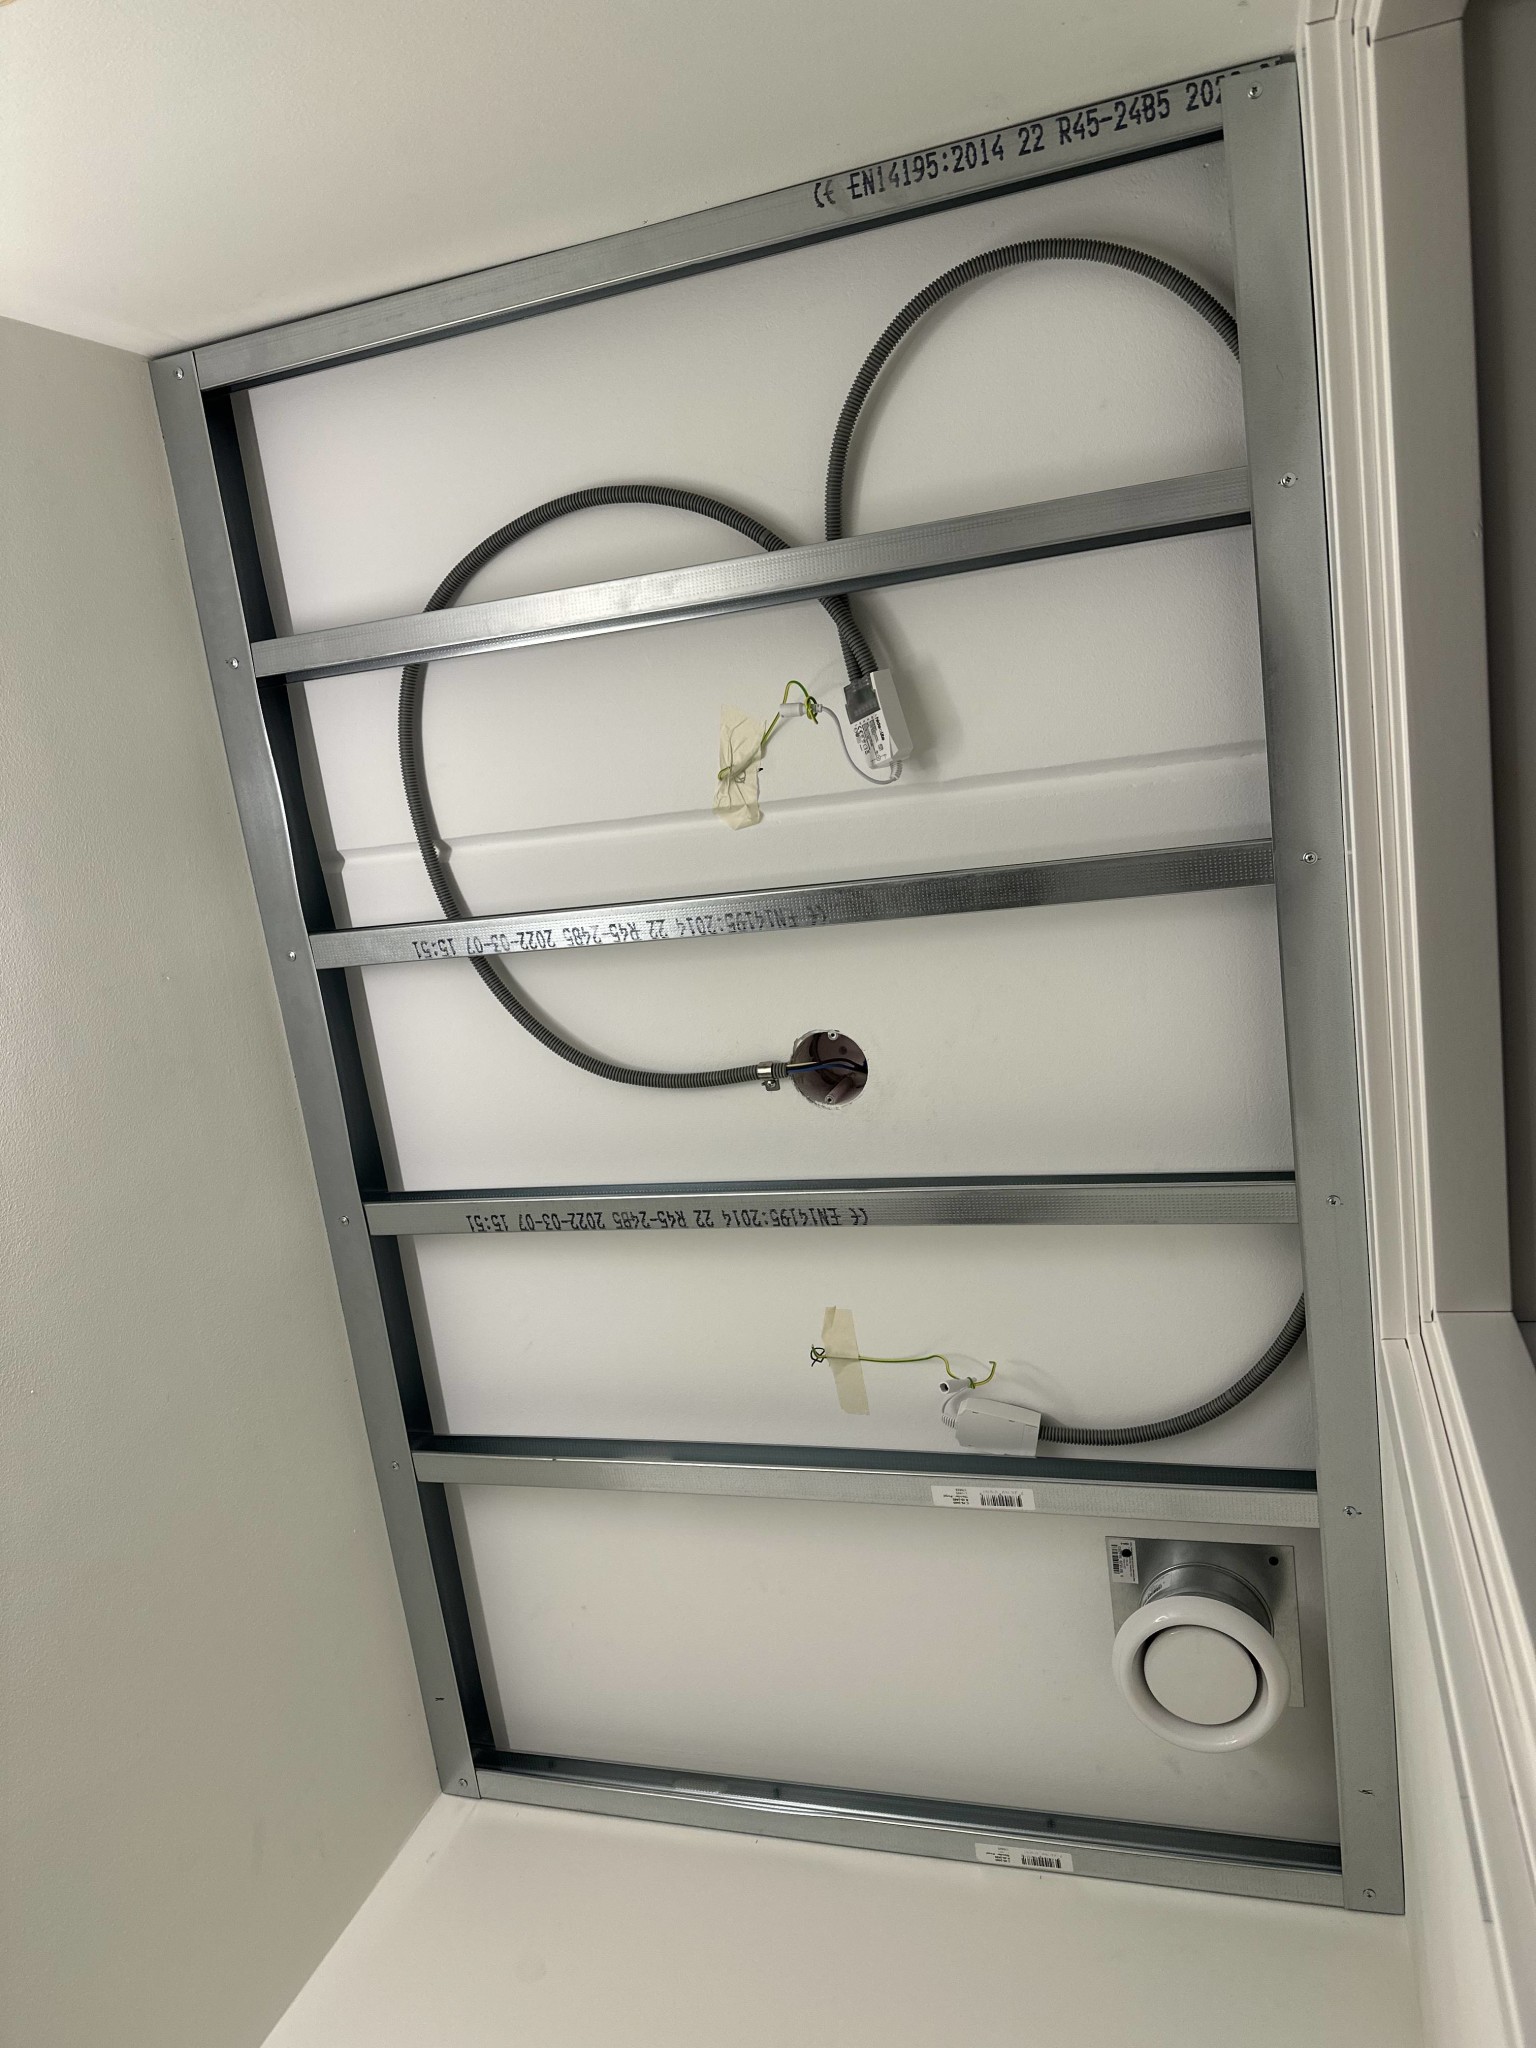
I checked how they did in the 7 sqm bathroom:
Do you set the studs this way? Shouldn't a single large one suffice, or is it built this way to make it easier to lead the flex hose forward?
In the much smaller toilet area, should the construction technique be simplified?
Which studs should be used for my purpose?
Just do it in segments or also a frame around?
Or a frame with some reinforcement in the middle?
2)
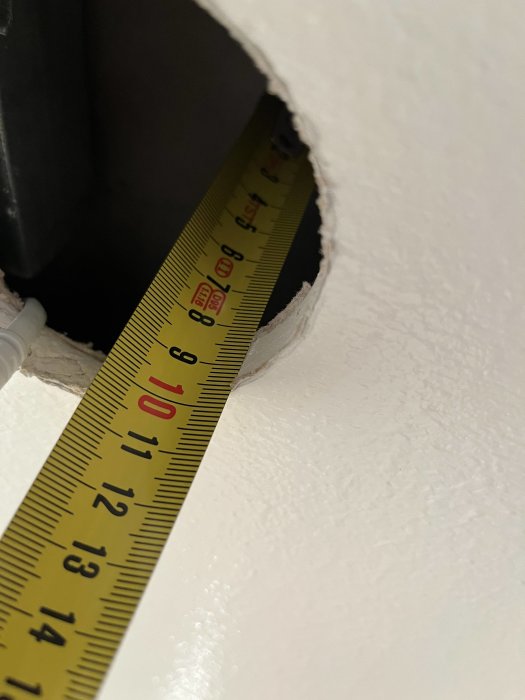
It also feels like the ceiling has been lowered much more than necessary? The spotlights have a 38mm installation depth and can be put against insulation. Lowering it by 95mm seems overkill?
I'm planning to start this project but a few questions have come up.
1)
I checked how they did it in the 7 sqm bathroom:
Do you set the studs like this? It should be enough with one that is big enough or do you build this way to guide the flex hose more easily?
In the toilet, which is much smaller, should the construction technique be simplified?
Which studs should be used for my purpose?
Just write one at a time or also a frame around?
Or a frame around with some reinforcement in the middle?
[image]
2)
It also feels like they lowered the ceiling much more than necessary? The spotlights have a 38mm installation depth and can be placed against insulation. Lowering by 95mm seems overkill?
[image]
It says in your first post that the spotlights require a 28 mm stud (+ 13 mm gypsum I would guess, since the spotlights are 38 mm) and the flex hose requires 16/20 mm depending on the choice of hose.
Thin paneling is typically 28x70 mm and as someone wrote earlier, you can either place them at c/c 300 mm along the ceiling and then screw up the gypsum and skip a stud at the short end or place thin paneling at the short ends and then between them, thin paneling at c/c 400 which you screw the gypsum into. This assumes gypsum that is 1200 wide, if you are working with gypsum that is 900 mm wide you can set them at c/c 450 mm.
If you want metal studs instead of wood, I would suggest a 45 mm stud (you get the advantage that you can run the hose more easily if you need to cross a stud (metal studs often have holes for this).
That way, you get a building height of 41 mm (wood panels) or 58 mm (metal studs).
It says in your first post that the spotlights require 28 mm studs (+ 13 mm plasterboard, I would guess that's what's meant since the spotlights are 38 mm) and the flexible conduit requires 16/20 mm depending on the choice of conduit.
Sparse paneling is 28x70 mm and as someone mentioned earlier, you can either set them c/c 300 mm along the ceiling and then screw up the plasterboard and disregard any stud at the short end, or you set sparse paneling at the short ends and then between them sparse paneling at c/c 400 which you screw the plasterboard into. This assumes plasterboard that is 1200 wide, if you work with plasterboard that is 900 mm wide you can probably set them with c/c 450 mm.
If you want metal studs instead of wood, I would suggest 45 mm studs (then you get the advantage that you can run the conduit more easily if you need to cross a stud (metal studs often have holes for that).
In this way, you get a building height of 41 mm (wood spars) or 58 mm (metal studs).
TTestarn said:
It says in your first post that the spotlights require 28 mm studs (+ 13 mm plasterboard, I would guess that's what's meant since the spotlights are 38 mm) and the flexible conduit requires 16/20 mm depending on the choice of conduit.
Sparse paneling is 28x70 mm and as someone mentioned earlier, you can either set them c/c 300 mm along the ceiling and then screw up the plasterboard and disregard any stud at the short end, or you set sparse paneling at the short ends and then between them sparse paneling at c/c 400 which you screw the plasterboard into. This assumes plasterboard that is 1200 wide, if you work with plasterboard that is 900 mm wide you can probably set them with c/c 450 mm.
If you want metal studs instead of wood, I would suggest 45 mm studs (then you get the advantage that you can run the conduit more easily if you need to cross a stud (metal studs often have holes for that).
In this way, you get a building height of 41 mm (wood spars) or 58 mm (metal studs).
Metal studs seem preferable to wood which is a living material, right?
Regarding the construction depth, it's that they have almost 80mm that surprised me, feels like overkill but maybe it's necessary to be able to remove the transformer through the spotlight hole. I'll check on that so you don't mess up and build too low.
Finally, the project has started. It's been a bit on hold because I couldn't find a mirror for the bathroom. But suddenly on Sunday, I saw Hafa's new (store soft led) mirror at Hornbach, and that got me going.
I've also had some issues with the fan extension but have now found a solution for that.
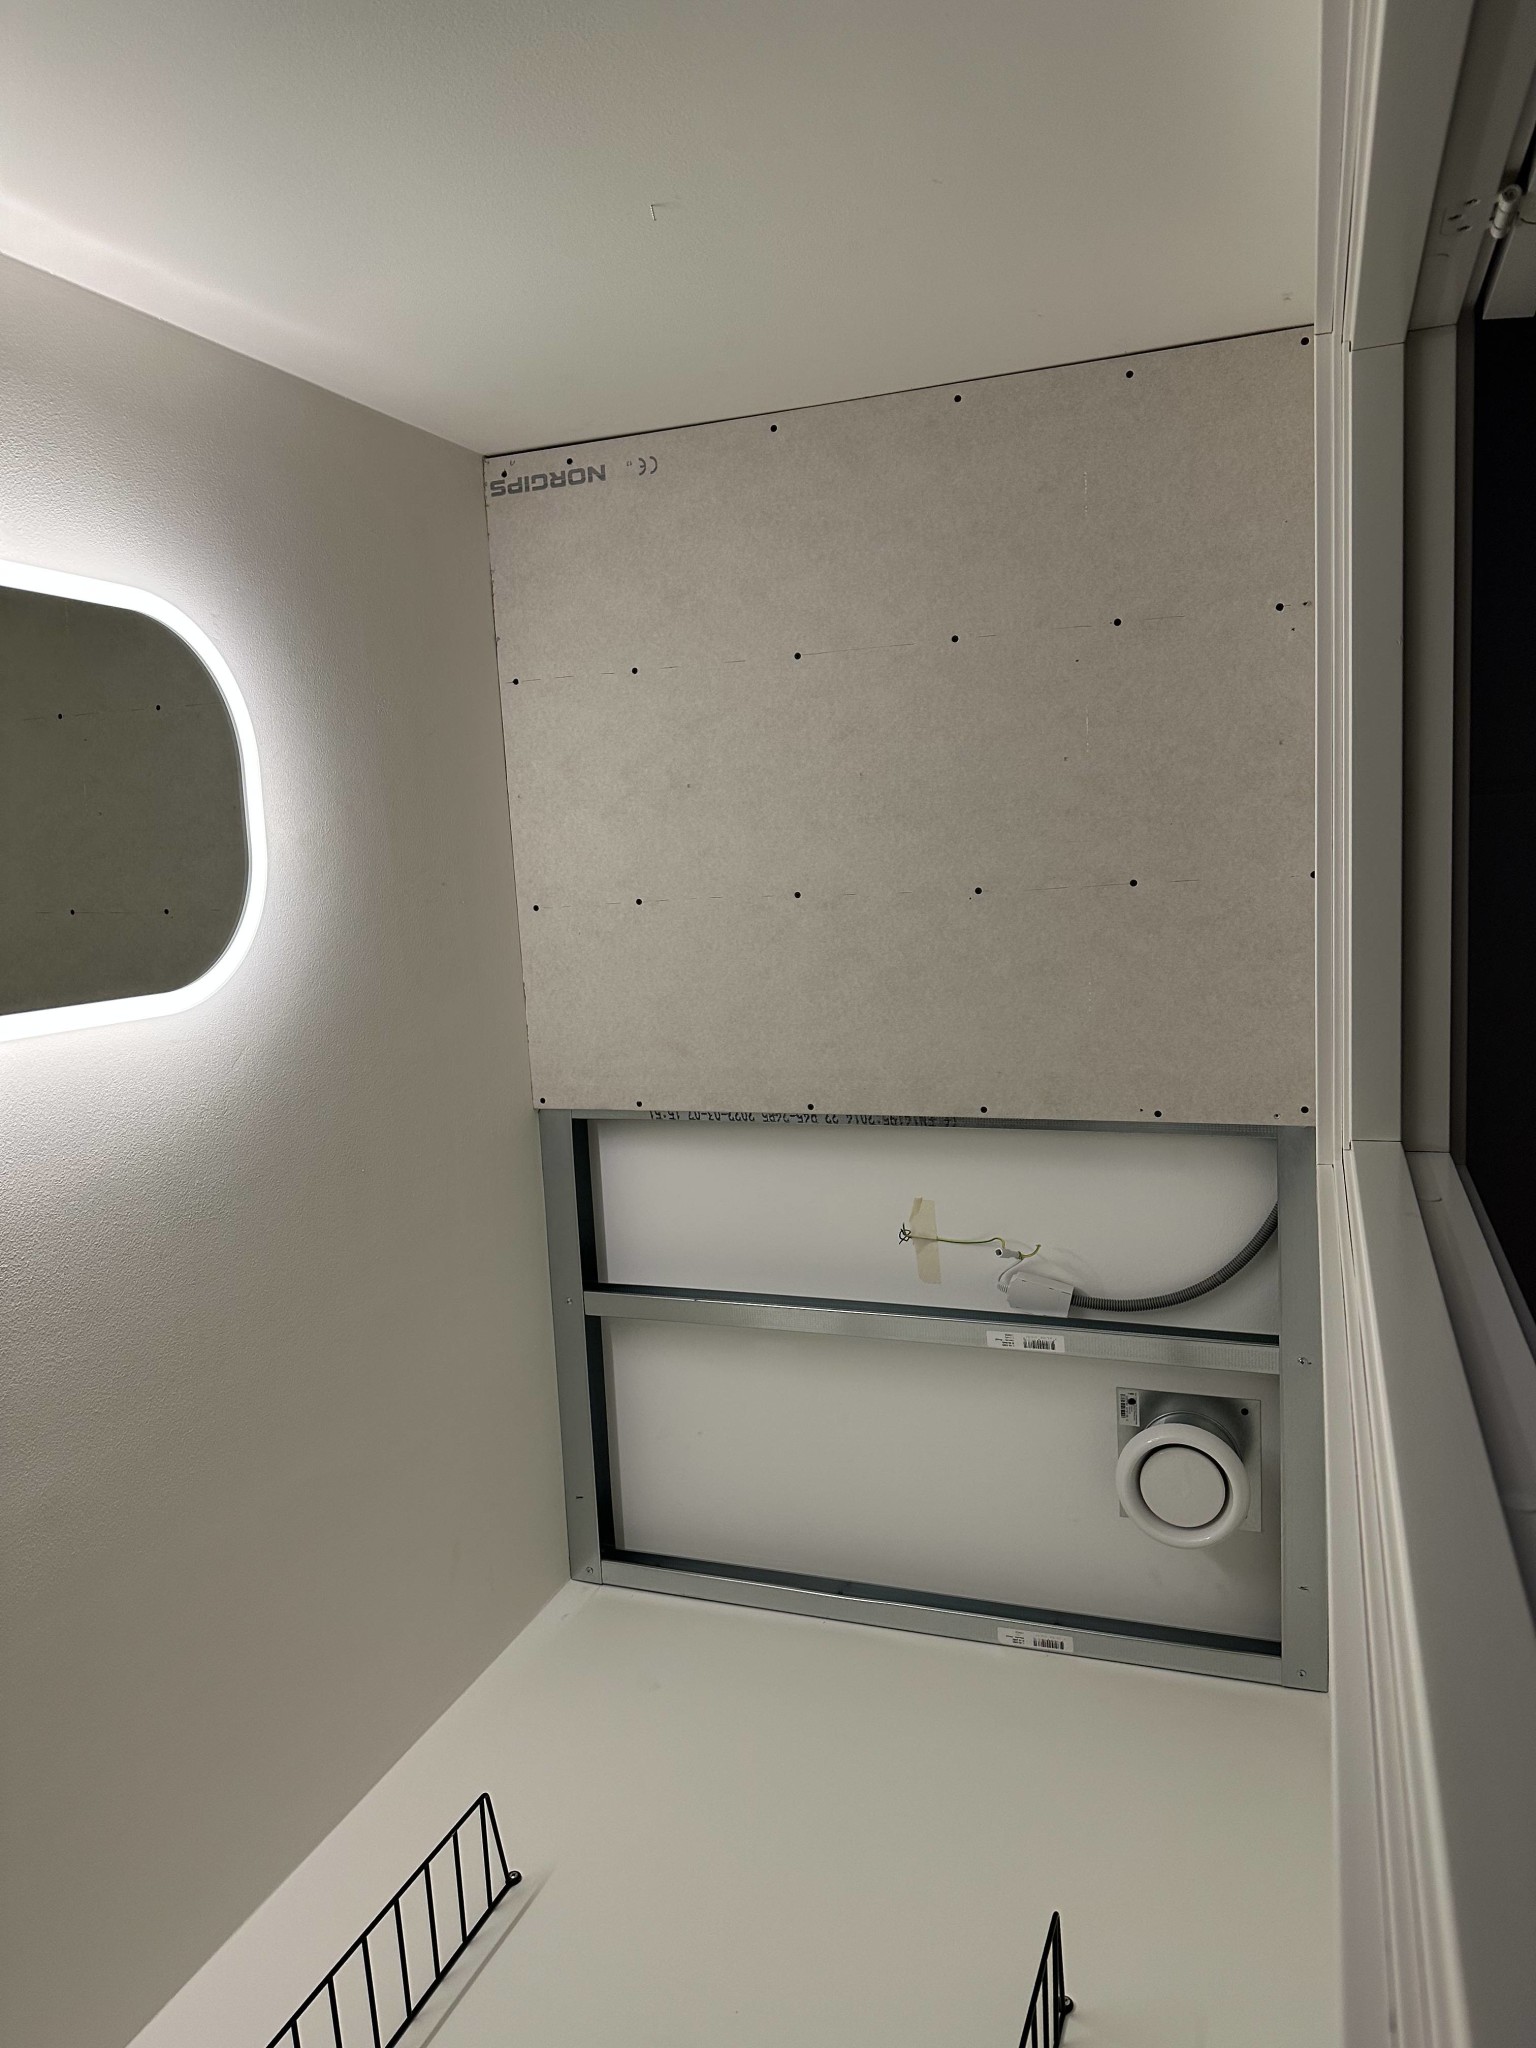
Studs CC30, but the last part will have to be 40, I guess that works. The frame in the ceiling is attached to the studs I could find with a magnet, also them cc30, so it should fit well.
The cross braces are 105cm, so I think I'll skip attaching them to the ceiling, this should be stable enough.
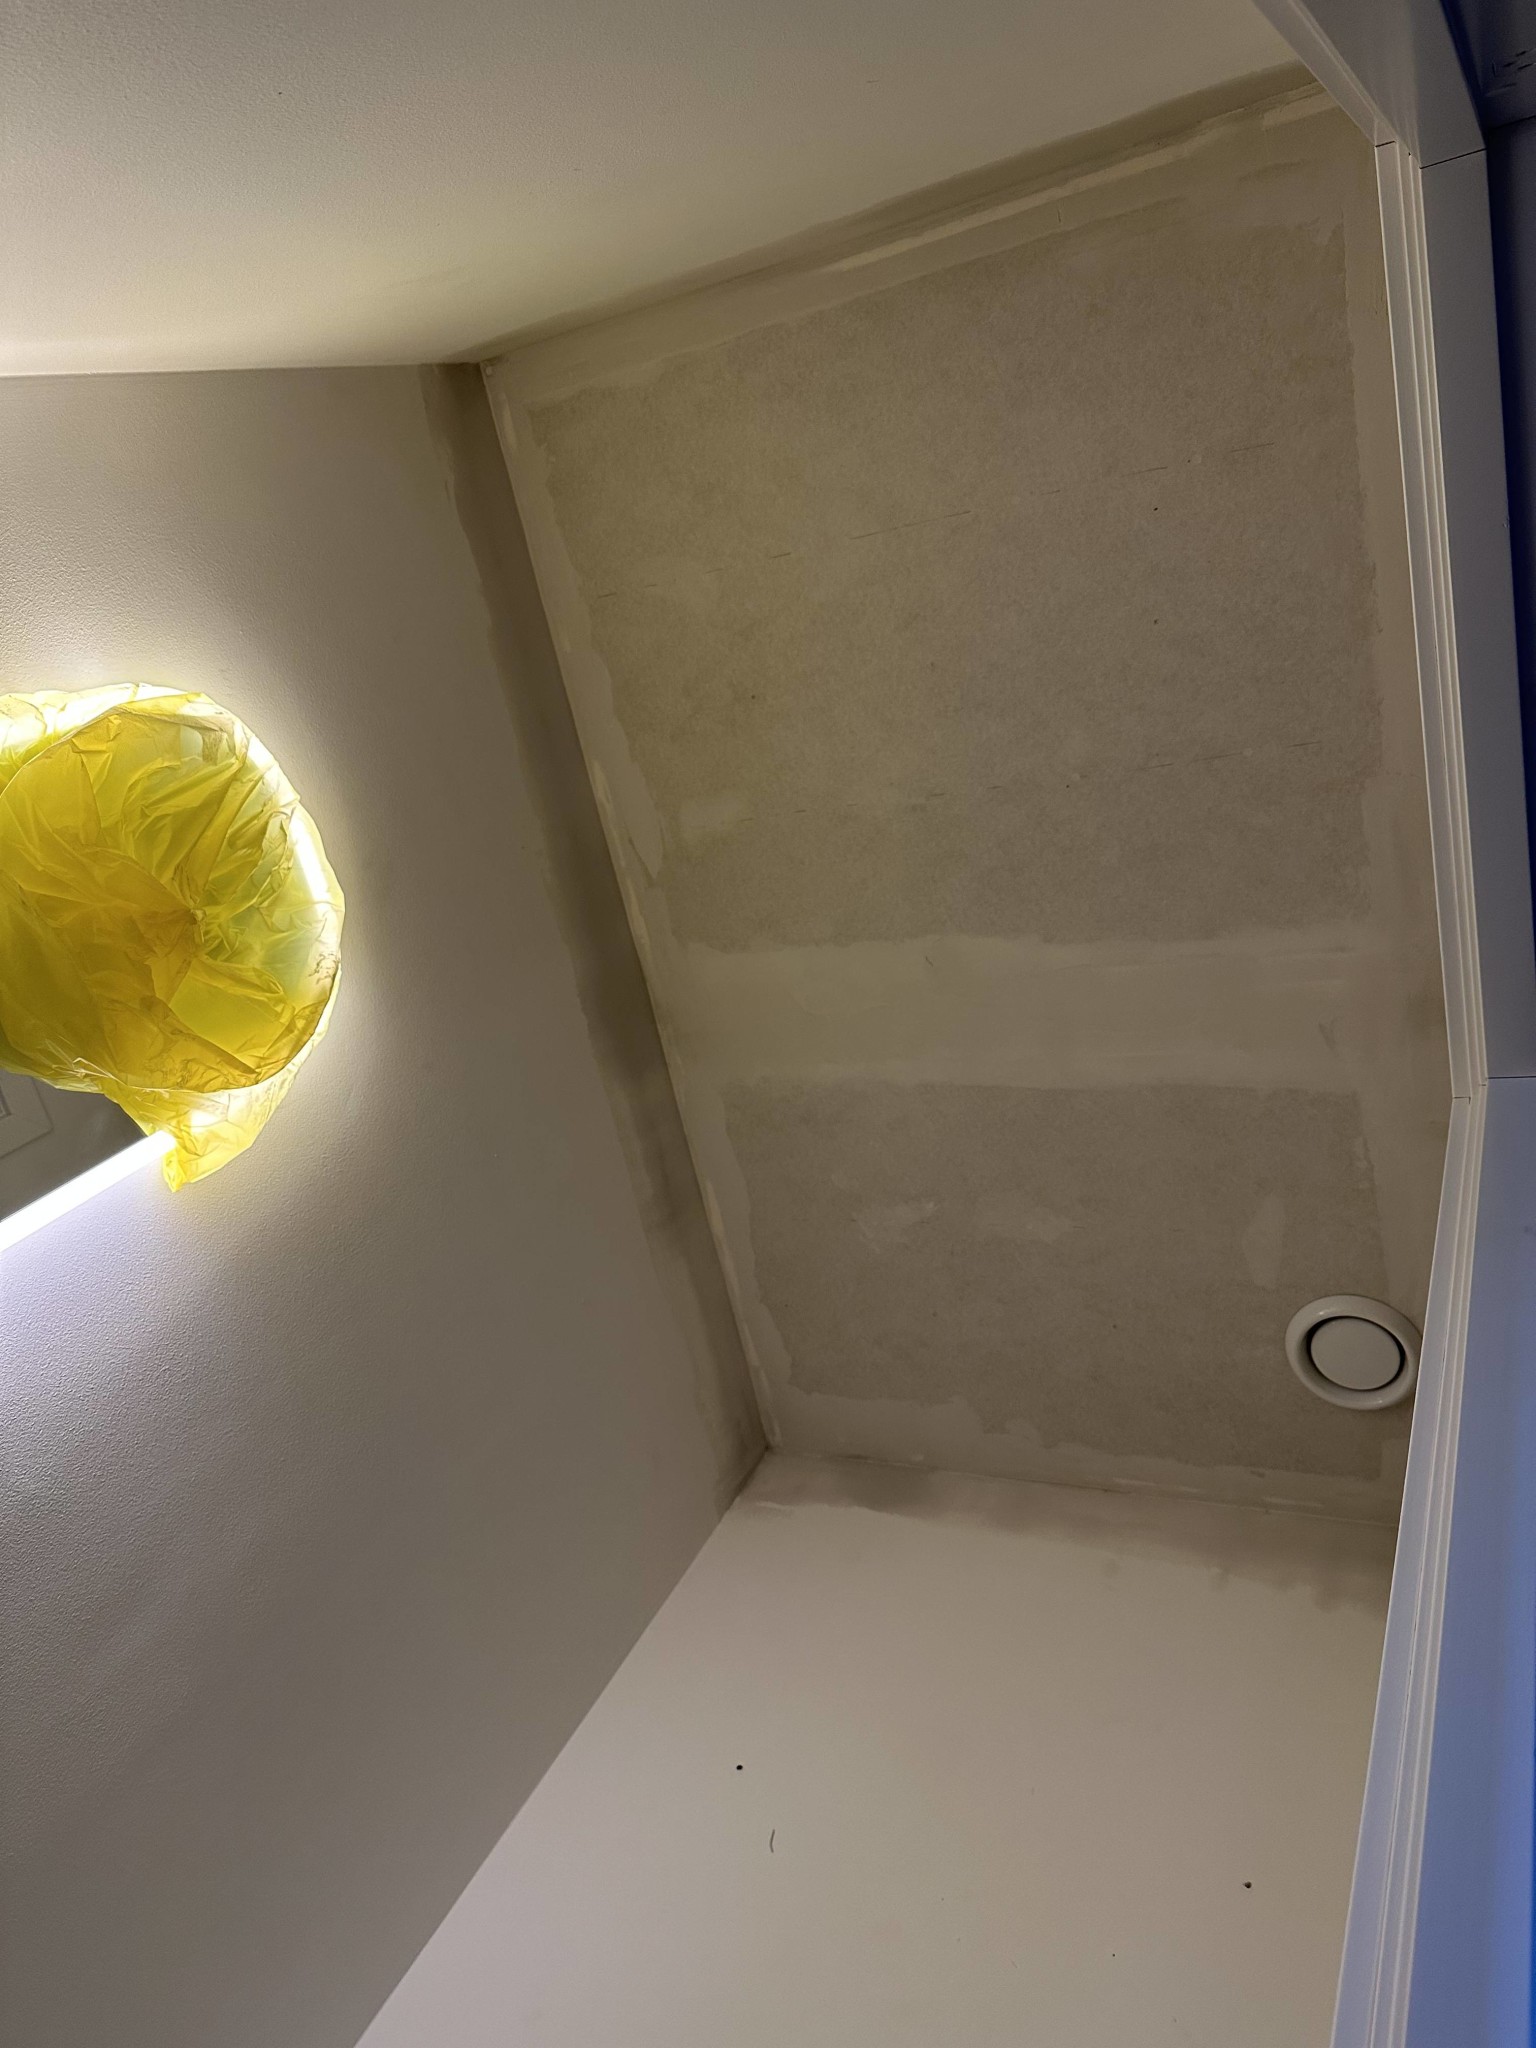
Electricity and new ventilation duct in place. Soon it's time for the last plasterboard, and then the final phase begins. The walls will probably be dark green.
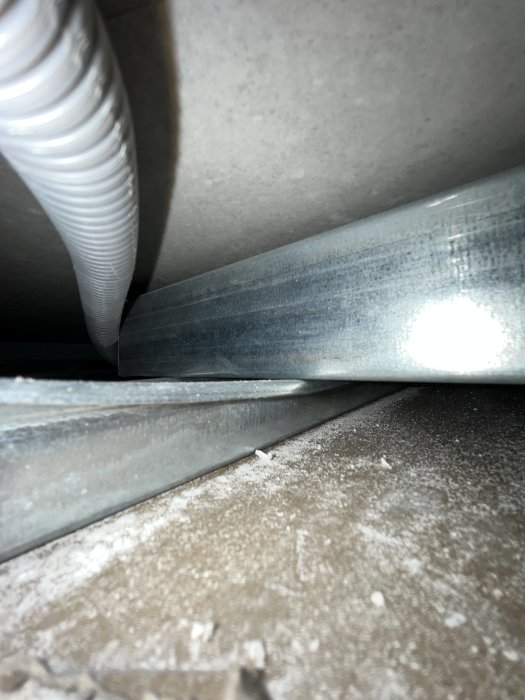
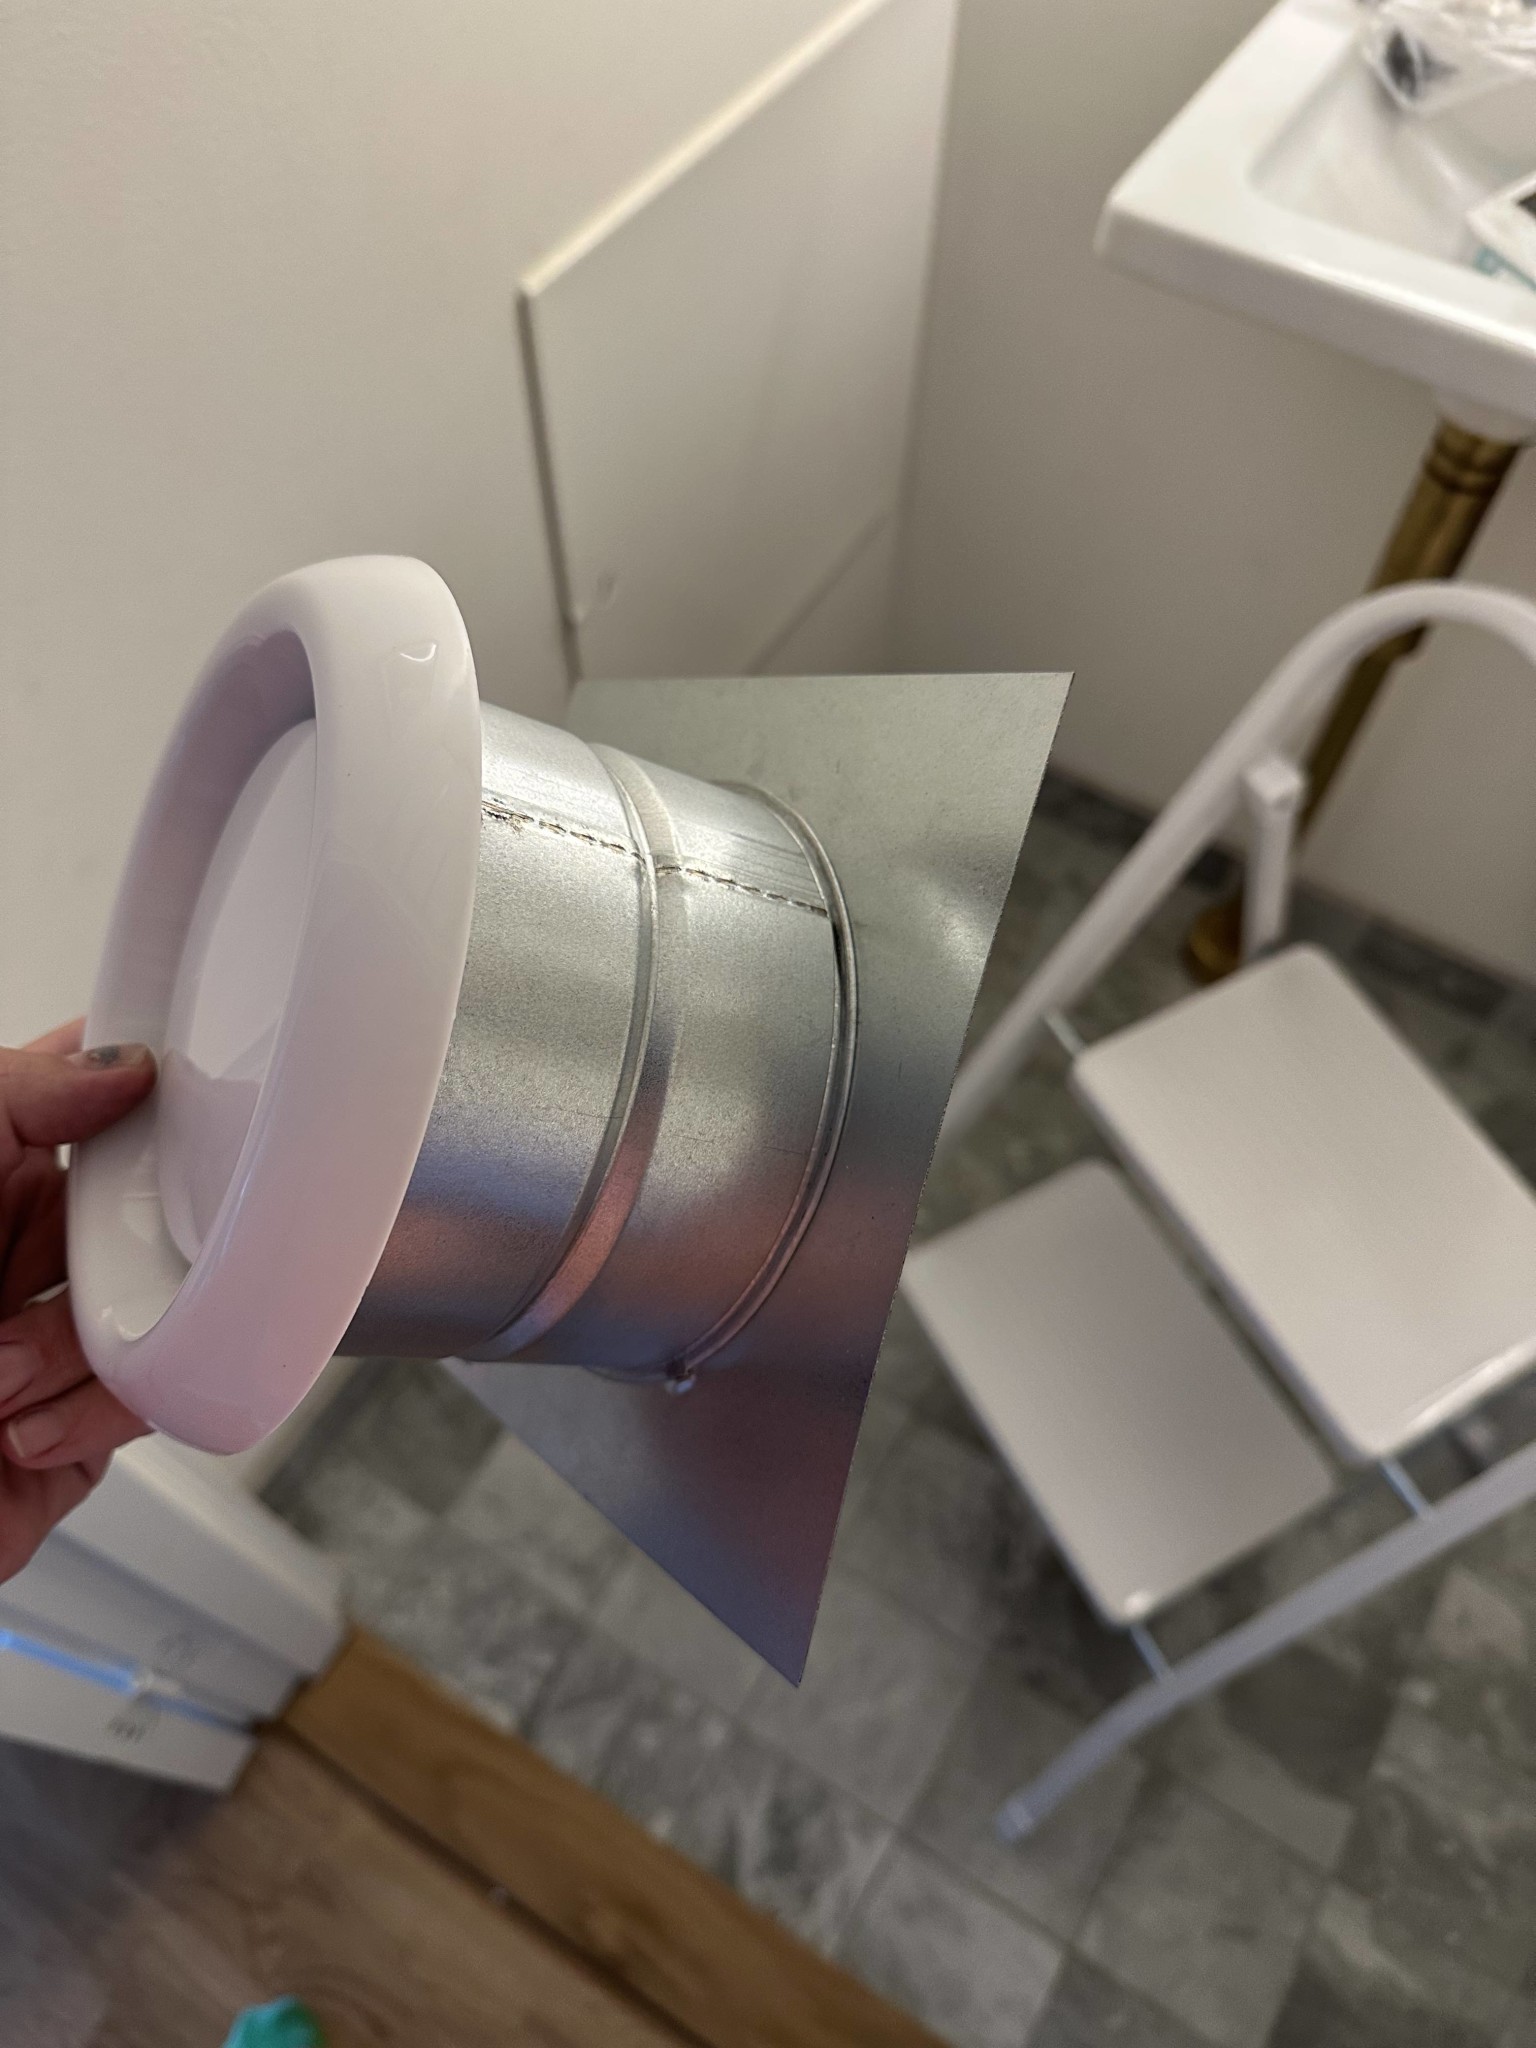
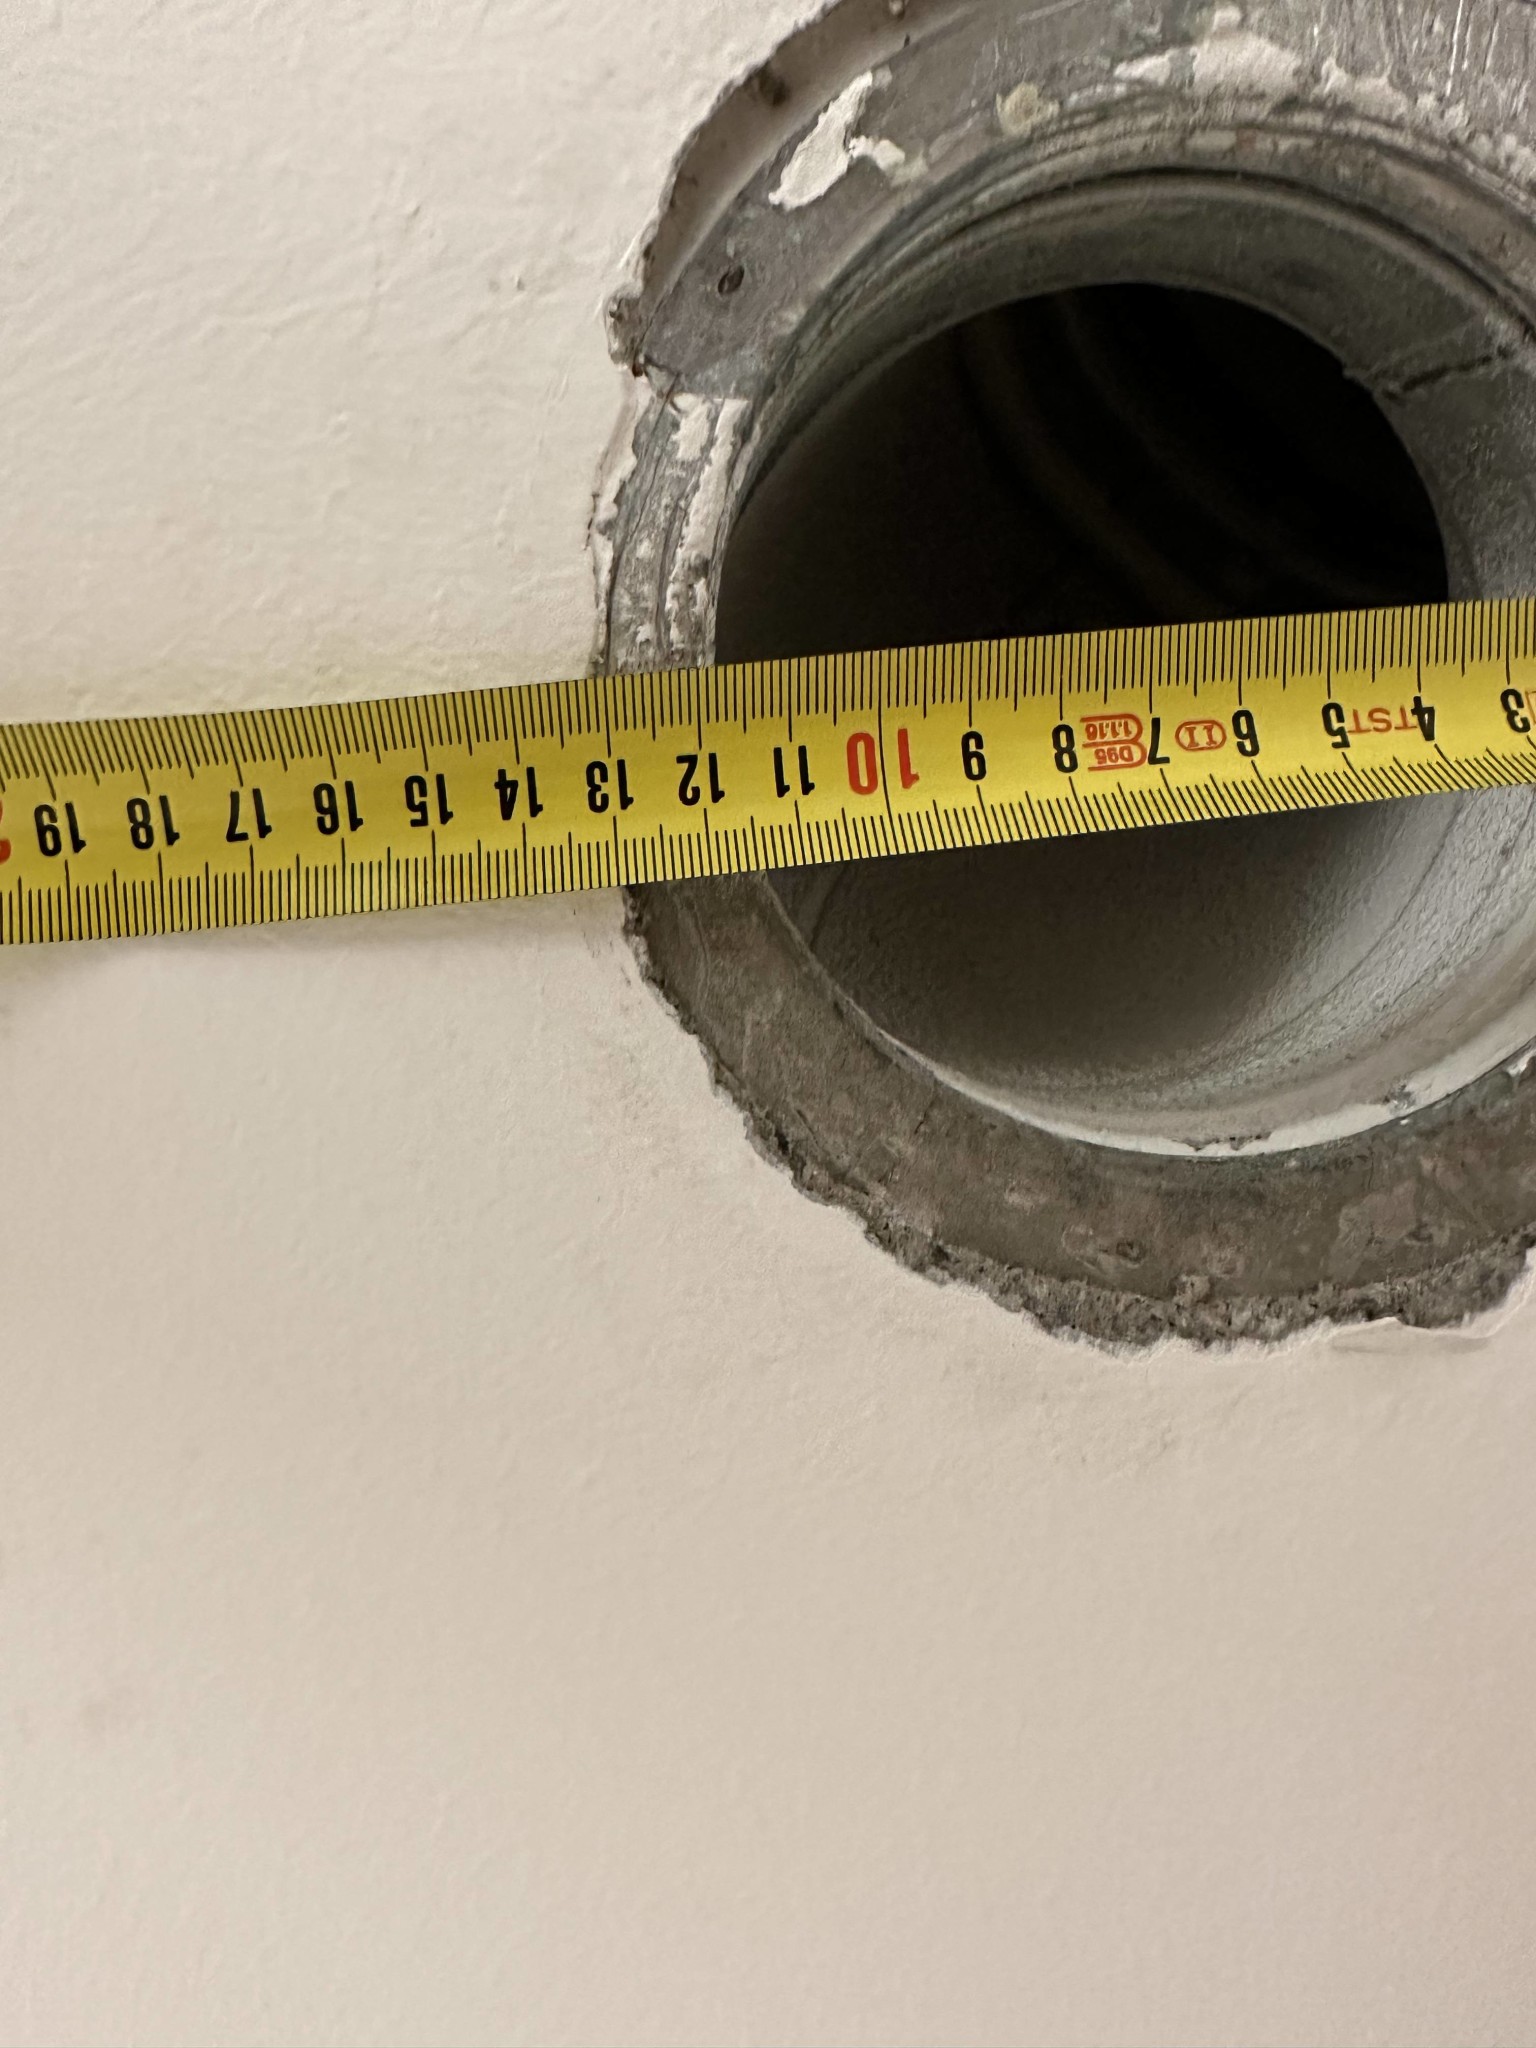
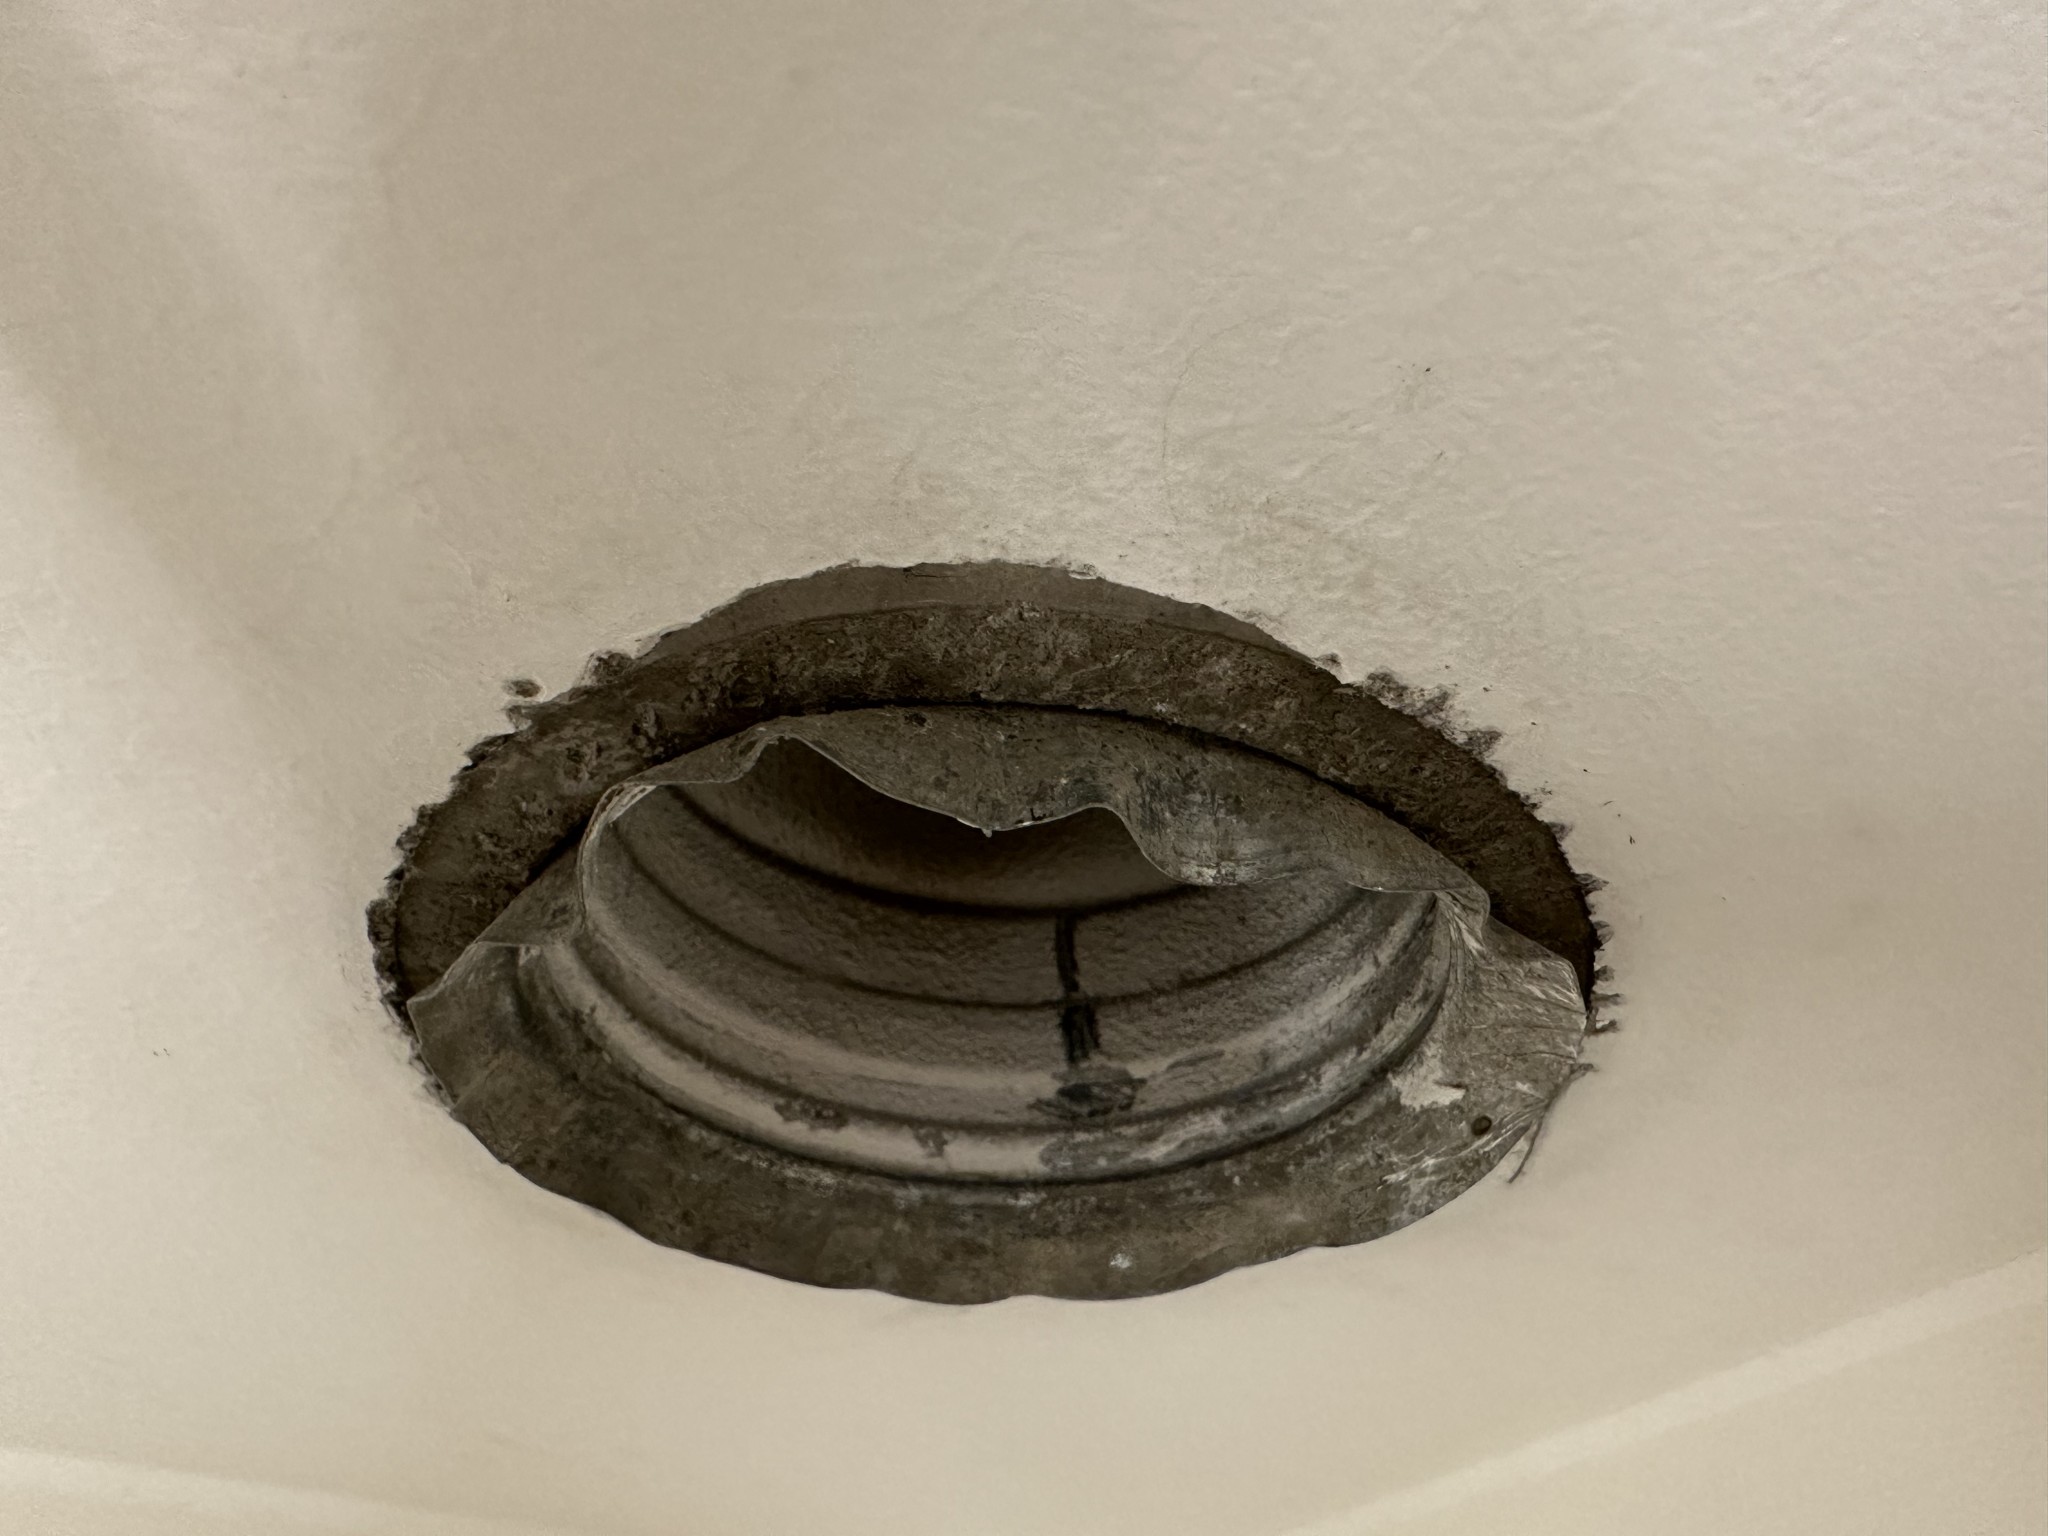
The ventilation had to be drilled into the ceiling with a sealant strip around it, so it should be a fully acceptable extension. The previous mounting frame is cast in the floor slab, hence this solution.
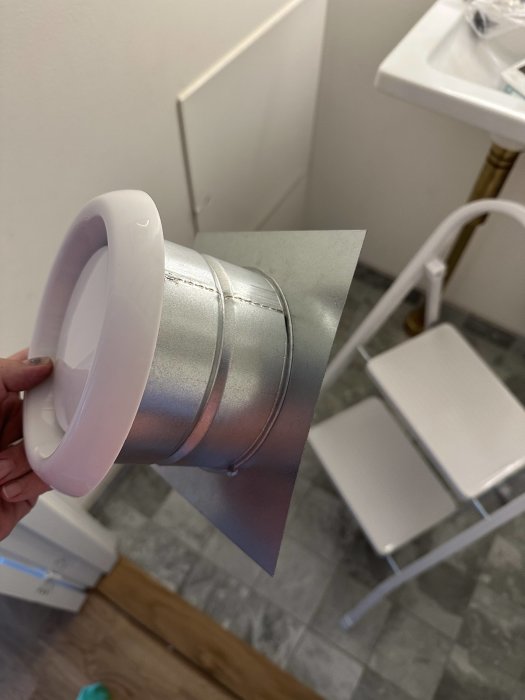
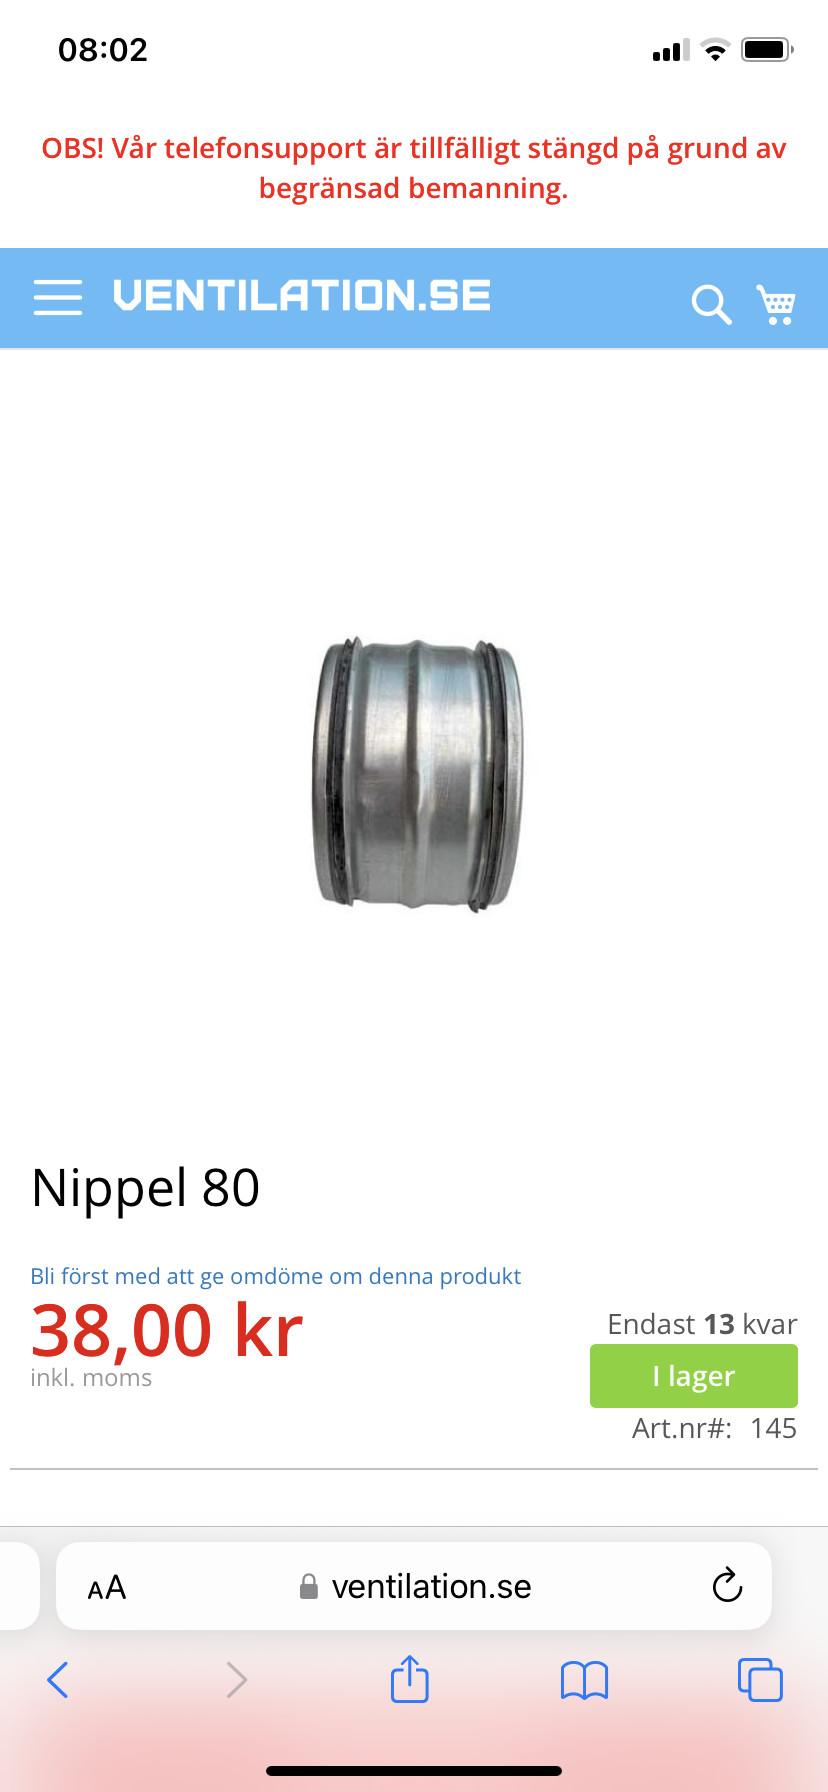
[image] I think the most correct thing would have been to use a nipple and a piece of pipe instead, but your solution will probably work well.
That was the initial thought, but my embedded pipe ends in a curve, so that nipple and the accompanying mounting frame are fixed in the concrete. So the hole I have access to is approximately 115mm, so no nipple fits.
Tekniker said:
anders07 said:
The boards have "spont" so they just fit together, but there will be a visible narrow seam...