3,189 views ·
4 replies
3k views
4 replies
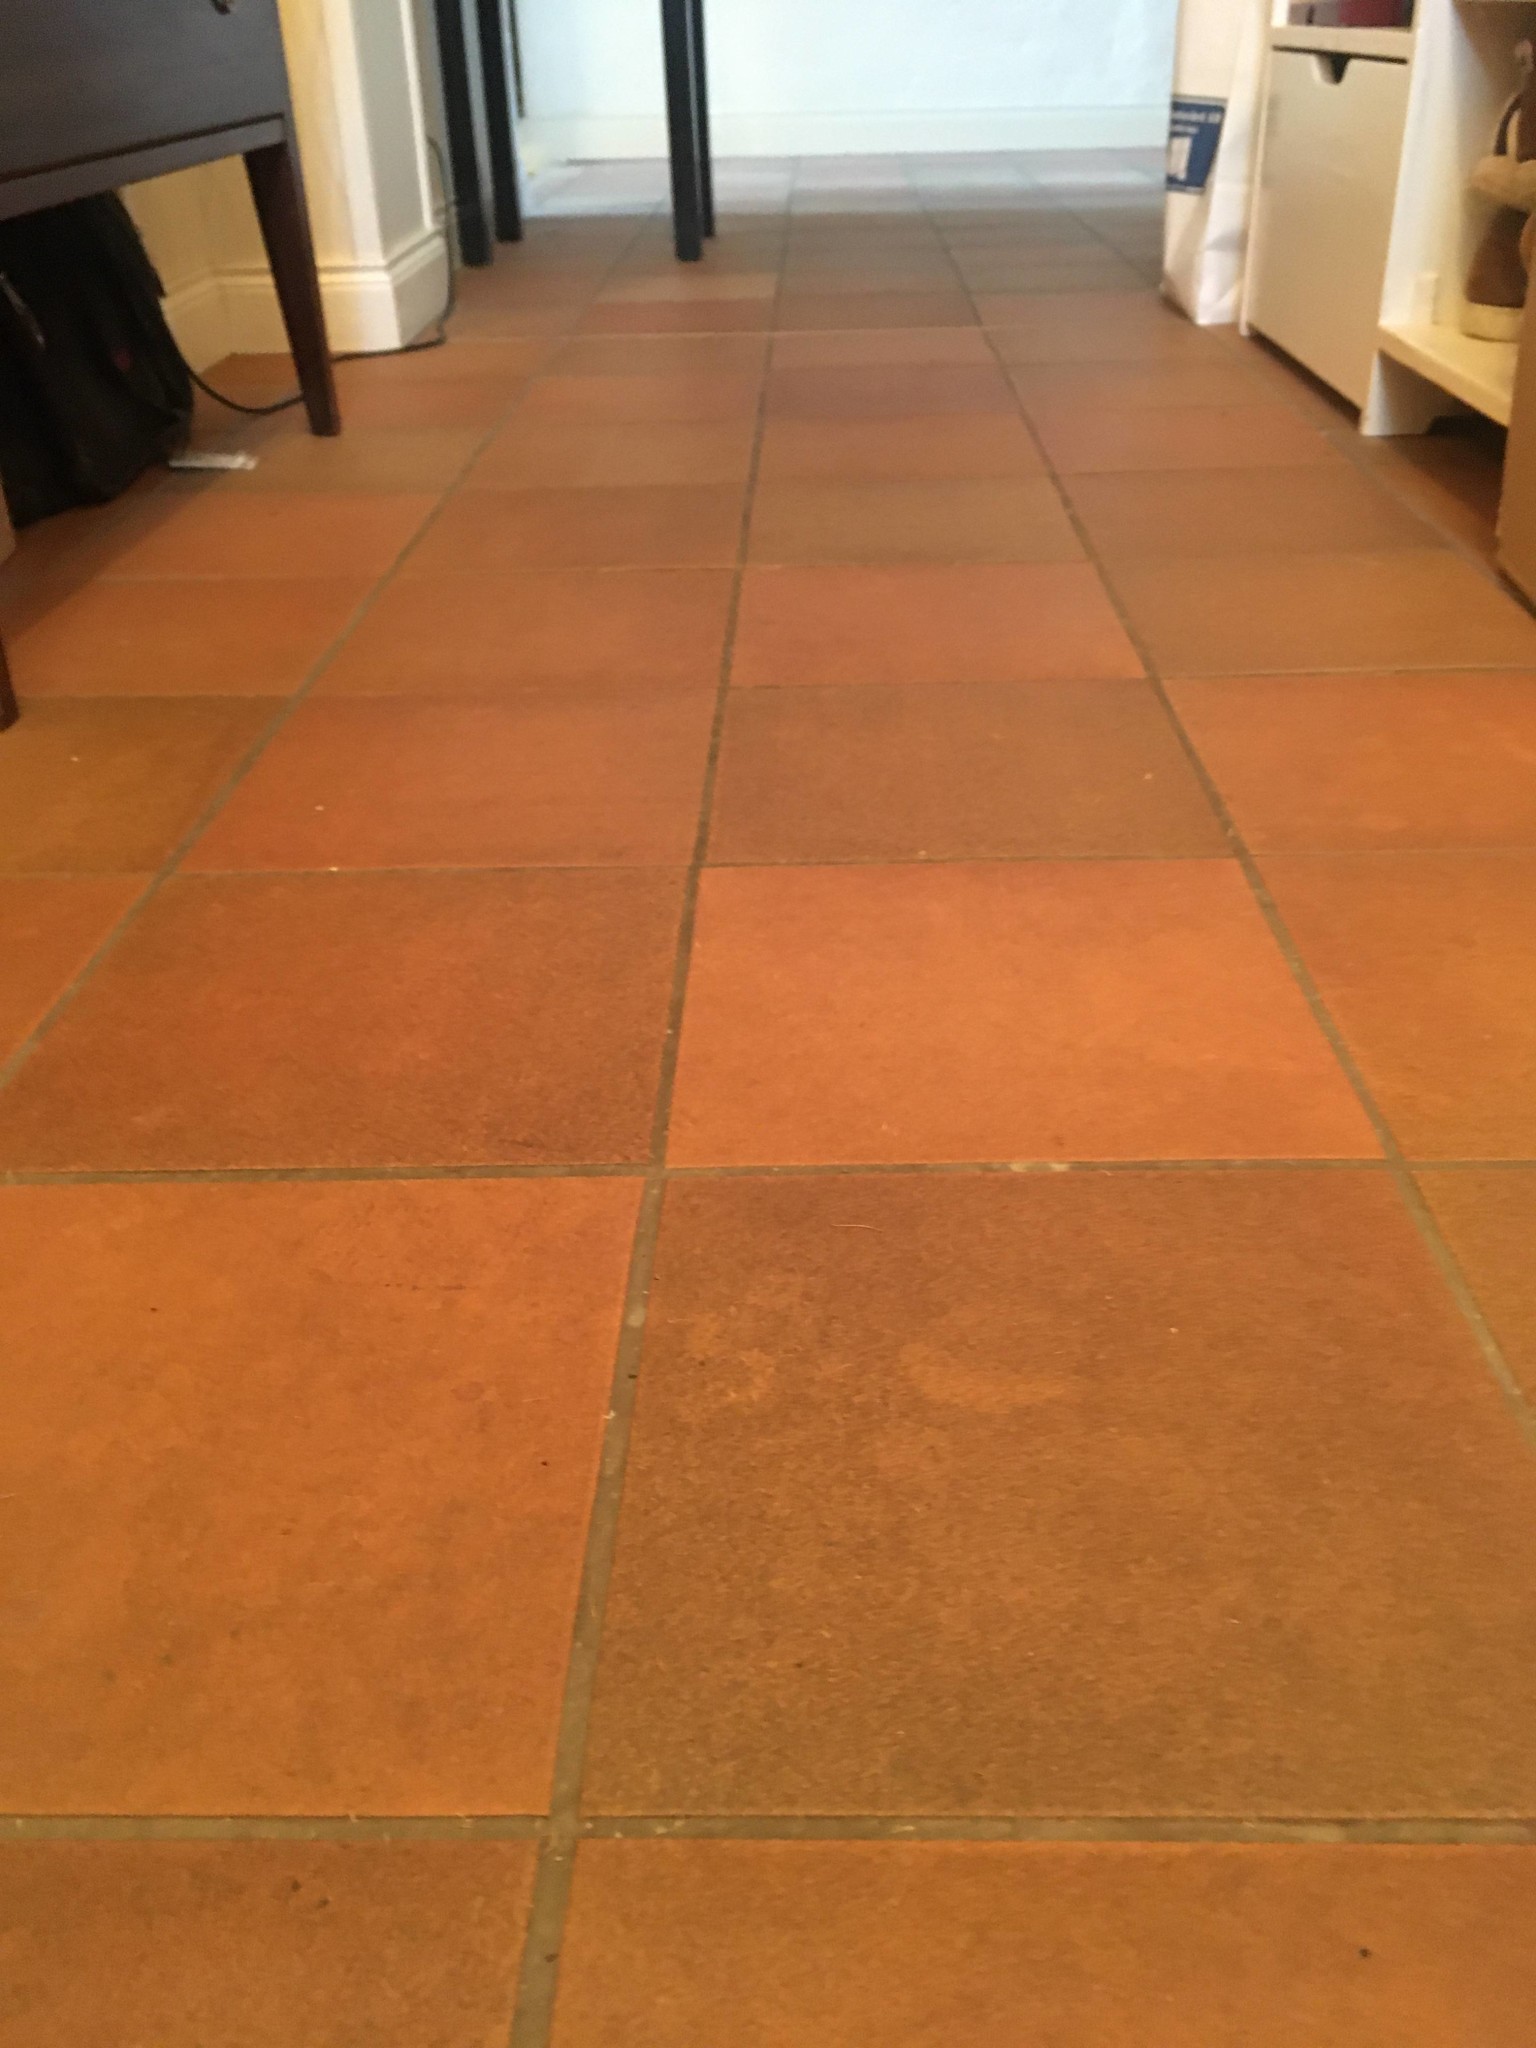
Is it possible to remove floor tiles without damaging underfloor heating cables?
Hi, I want to replace a dull floor tile of 20x20 tiles with another tile, limestone, or possibly floor tile. The floor was installed by previous owners, so we don't know how the heating cables are laid. Naturally, it would be valuable if they can be preserved. One part is in the original section built in the 1880s and is completely in line with the extension from 2001. Has anyone tried this and can offer tips on how to do it?

I would say you have two choices.
1. Ask the previous owners.
2. Experiment. You can chip away tiles at the level of the substrate, and if you do it neatly without gouging downwards, you kind of plane off the tiles. However, if they were careless and laid the electric cable too loosely, it might have floated up when they laid the leveling compound, and it could get damaged. Then it might stick up into the adhesive used for the tiles.
Beforehand, make sure to disconnect the underfloor heating, not just remove the fuse. It would be unfortunate if you damage the earth/neutral wire and end up with intermittent ground fault circuit interrupters tripping when you're away for the weekend...
After you've chipped away the tiles, have the electric cable measured to ensure it's okay, any electrician should be able to "megga" it. By the way, I would have measured it carefully before as well, it's good to have a value both before and after.
Then when the new tiles are laid, measure again before connecting, and then it's done.
Pop one of these in the rotary hammer and it's a piece of cake! (and turn off the rotation!)
https://www.jula.se/catalog/verktyg...bilningsmejslar/kakelmejsel-sds-181800/#tab04
Of course, there are both better and more expensive variants, but you understand the principle. With this, you chip away tiles and as much adhesive as possible. If you're lucky, it slides smoothly against the leveling compound and you'll have a decent surface when the adhesive is gone. Tiles, the grout (joints as you call them), and the adhesive underneath should be removed as much as possible.
Then how much new adhesive is needed depends on how even you get it and which tile you are going to use. The larger the format, the more and more fluid adhesive is needed to get good coverage on the tiles.
Click here to reply