4,124 views ·
9 replies
4k views
9 replies
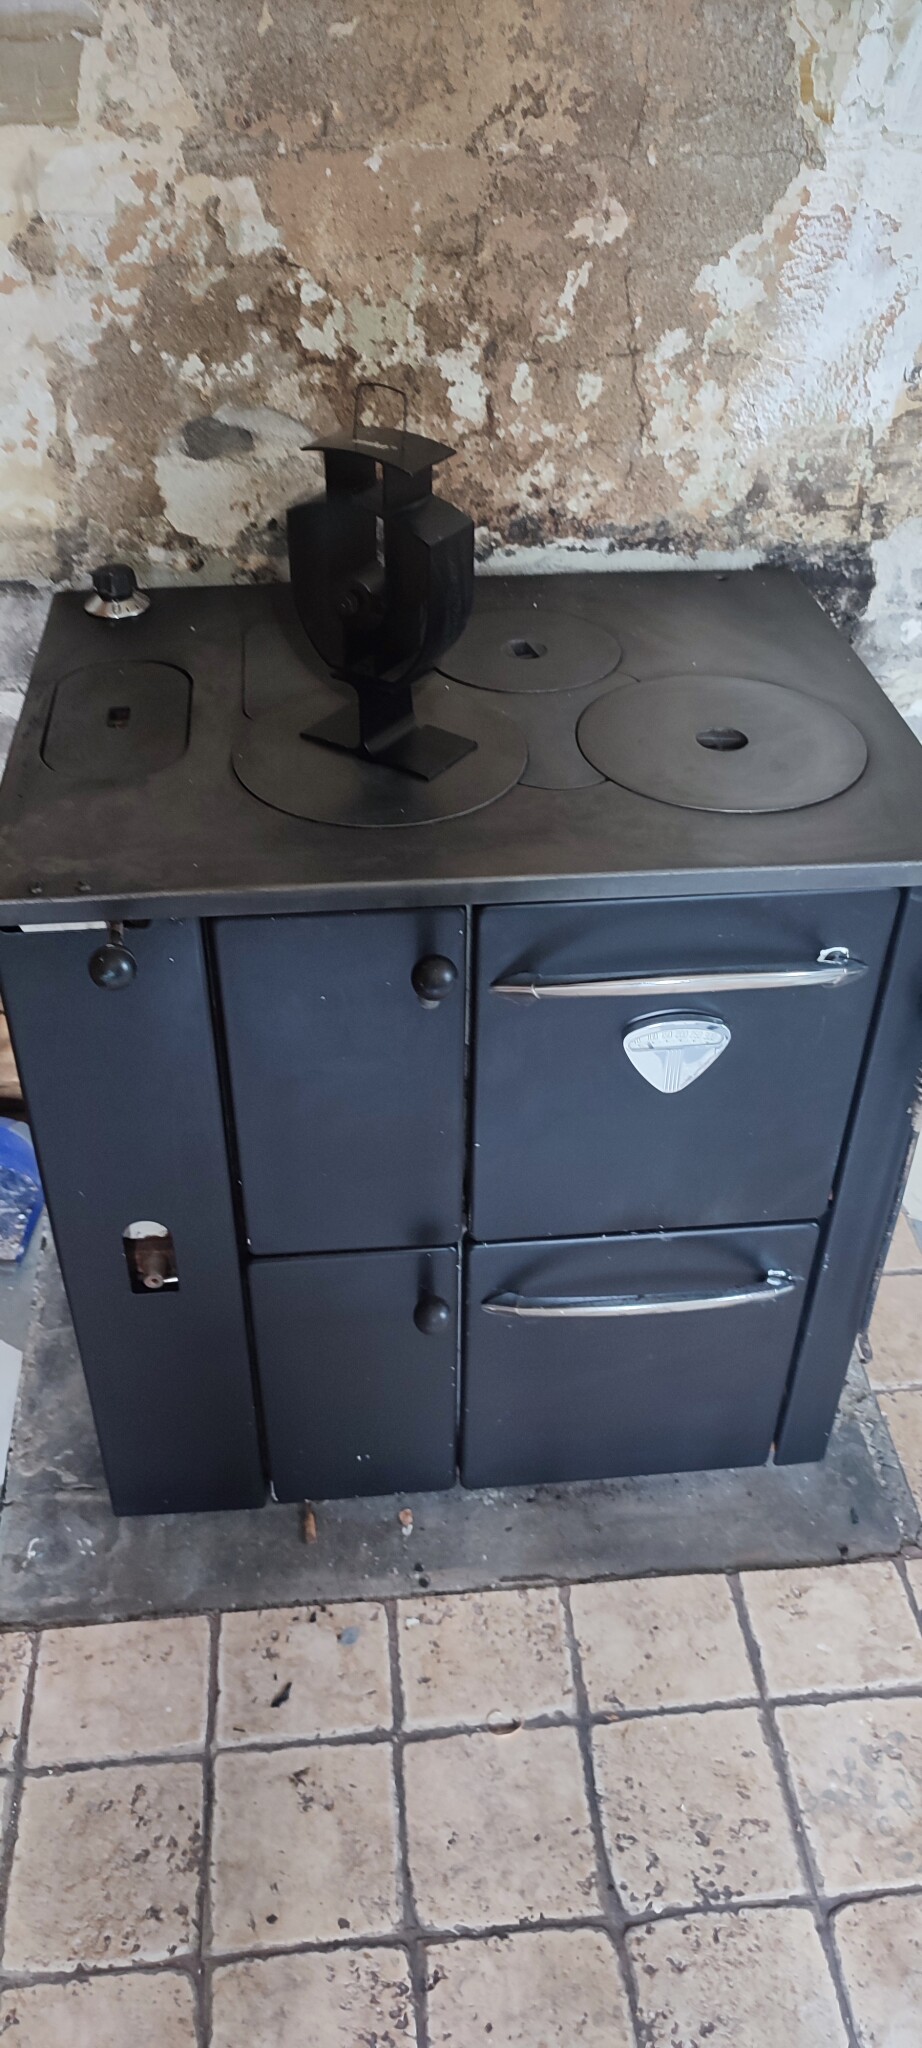
Improve chimney for old Husqvarna 3027
Hello forum members,
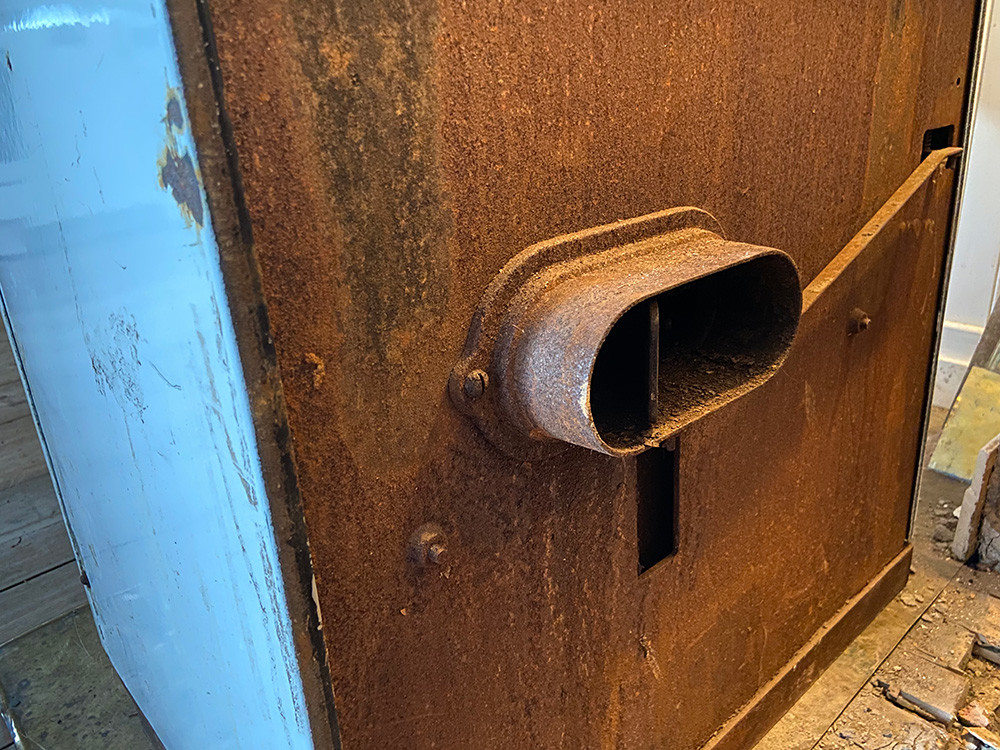
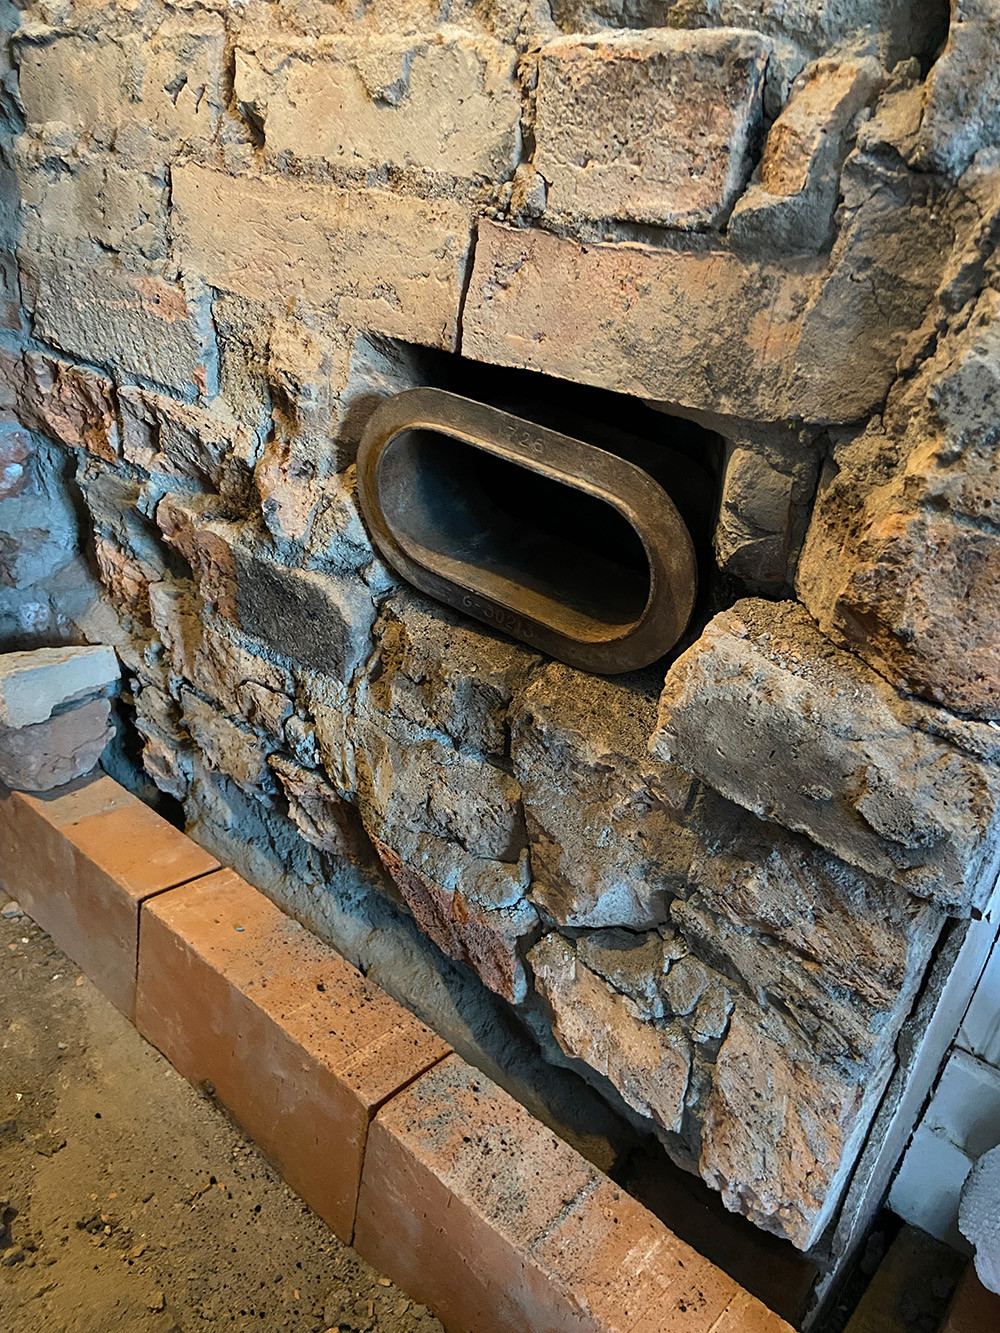
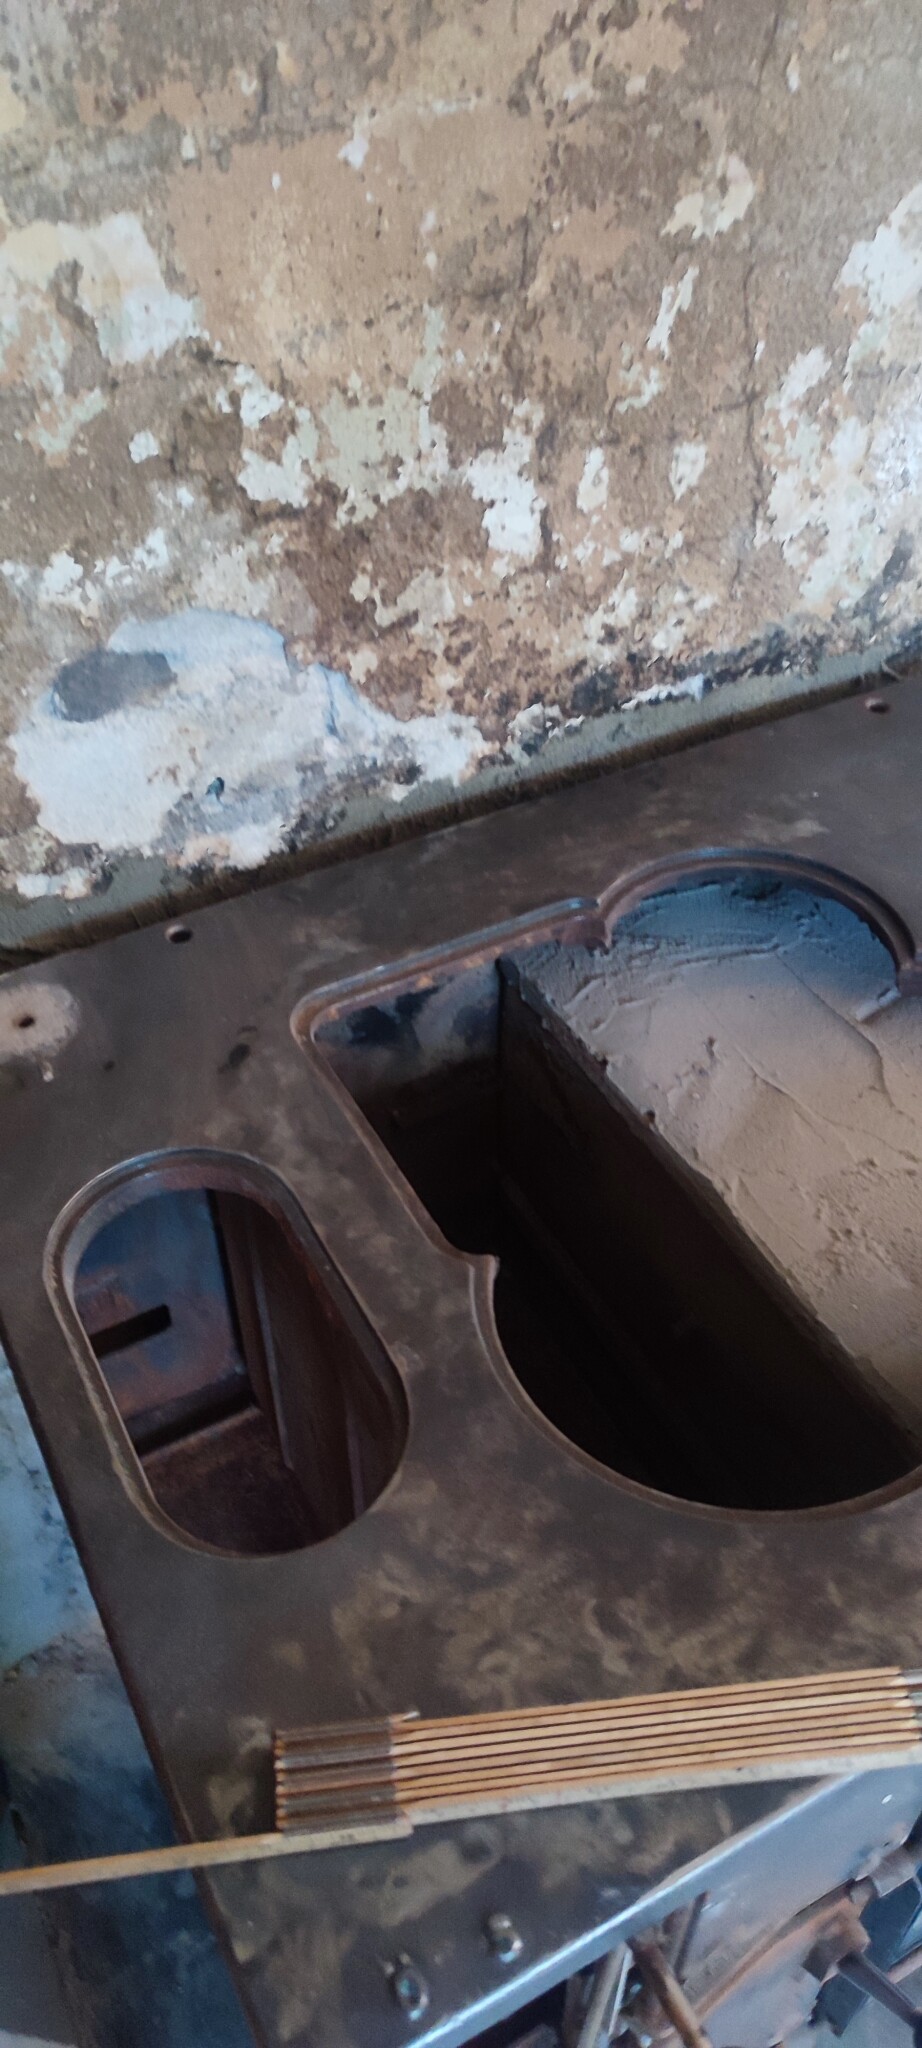
I have a corner in the kitchen of my old cottage where there used to be a wood stove. I am now planning to install an older Husqvarna 3027, but to make it fit, I need to add a row of bricks and embed a "Stos" so that the connection between the wood stove and the flue in the chimney works optimally.
I am a complete beginner in masonry and wonder if anyone in the forum can explain step-by-step how I should proceed?
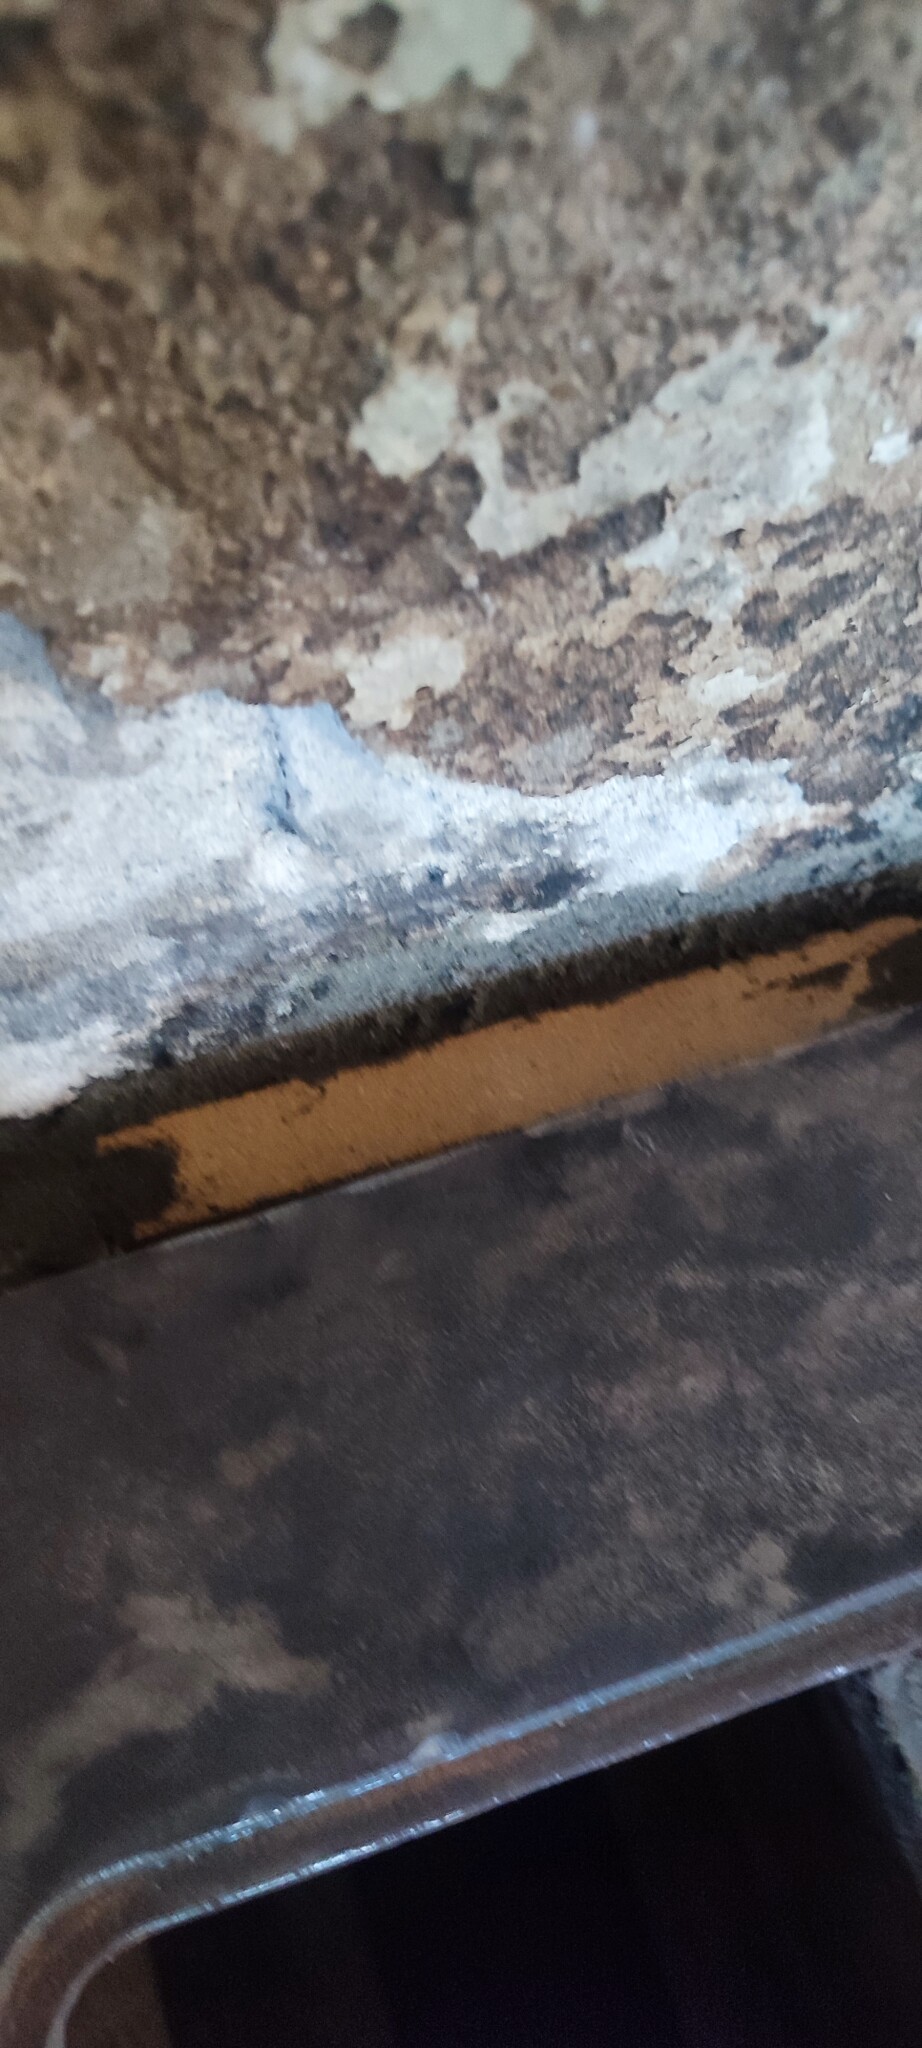
1. One question I have is, for example, how to make it tight between the stos and the wall. Is it just a matter of sealing with enough mortar around?
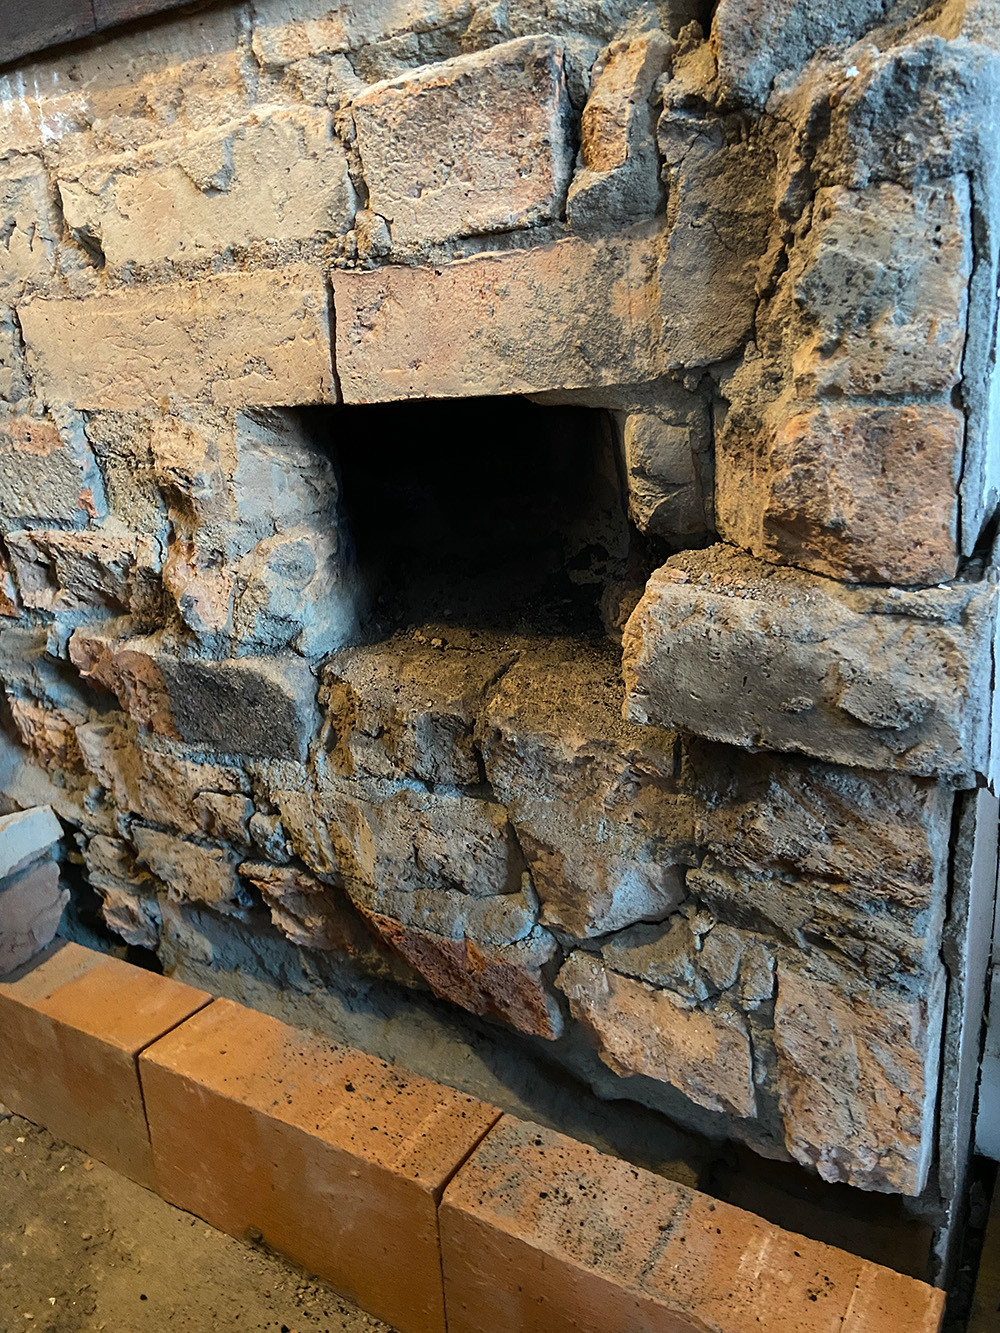
2. Another question is how to stabilize the new row of bricks. The old chimney is very uneven. Should I fill in with mortar here to get an even surface? How thick can the mortar be?
Grateful for answers and advice.
I have a corner in the kitchen of my old cottage where there used to be a wood stove. I am now planning to install an older Husqvarna 3027, but to make it fit, I need to add a row of bricks and embed a "Stos" so that the connection between the wood stove and the flue in the chimney works optimally.
I am a complete beginner in masonry and wonder if anyone in the forum can explain step-by-step how I should proceed?
1. One question I have is, for example, how to make it tight between the stos and the wall. Is it just a matter of sealing with enough mortar around?
2. Another question is how to stabilize the new row of bricks. The old chimney is very uneven. Should I fill in with mortar here to get an even surface? How thick can the mortar be?
Grateful for answers and advice.


Hi, unfortunately something else came up so I haven't fixed this yet. I'm considering trying to do it myself by chipping away the loose mortar and then building up a new layer of brickwork.
If that doesn't work, I'll reach out to a professional.
Will keep you updated 👍
If that doesn't work, I'll reach out to a professional.
Will keep you updated 👍
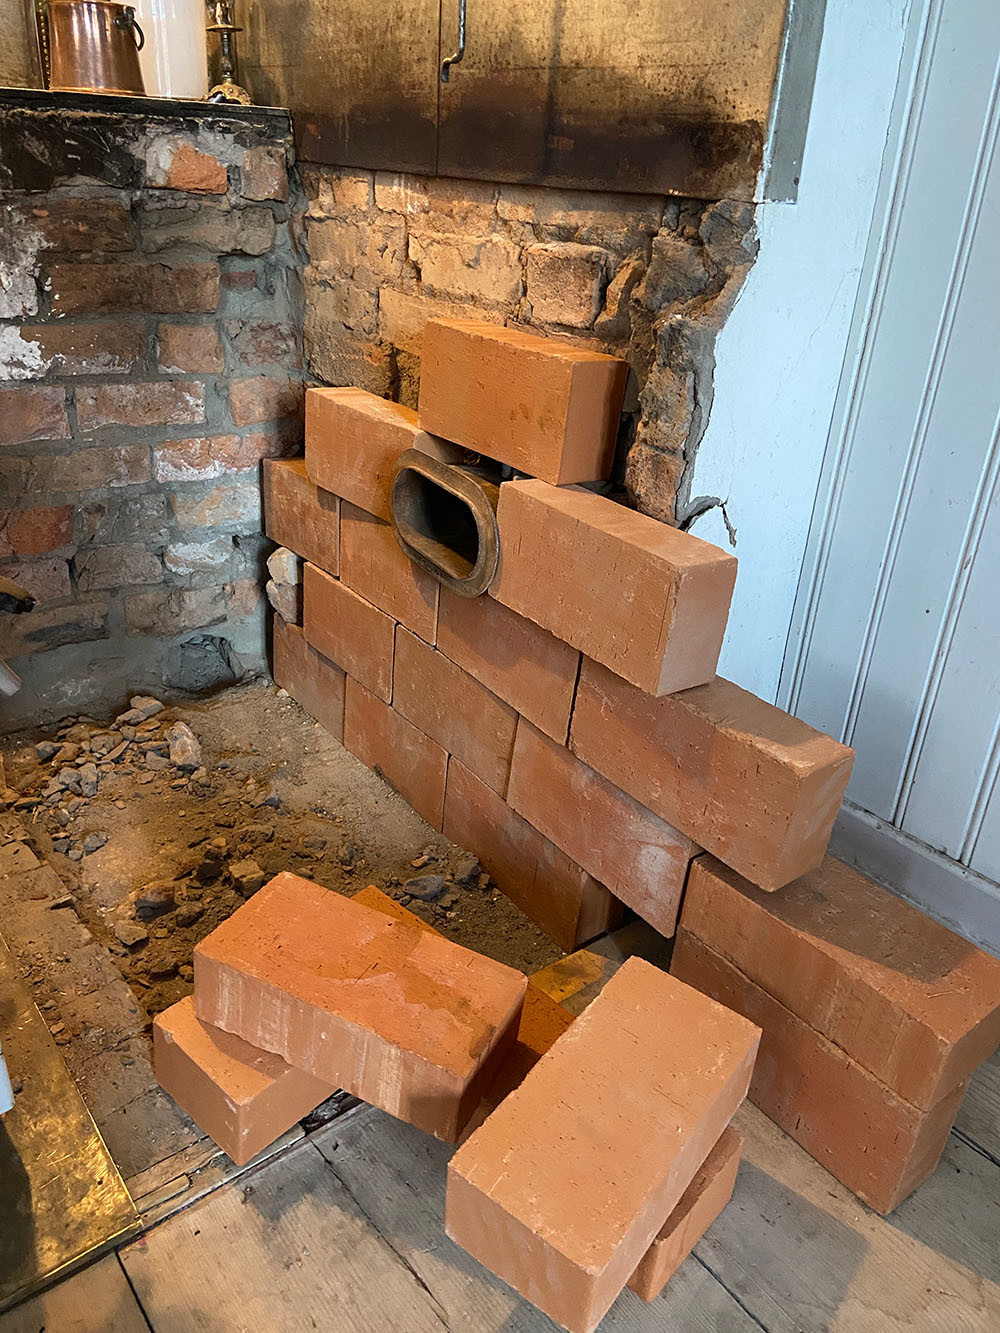
Good. I've got started now. I'm using ridiculously expensive fireproof thinner brick to make it closer to the chimney. I'll try to brick in the flue later today. I had a more even chimney, so I don't need to put as much mortar in between. I've used regular C mortar but will switch to fireproof around the flue. I probably should have leveled the chimney beforehand considering how uneven yours was. Maybe an angle grinder with a diamond blade. The downside is that it smokes and dusts like crazy.


Member
· Västernorrland
· 12 029 posts
why insanely expensive refractory stones then? There's no reason for that? They don't have to be directly against the brick either.
Well, that was quite unnecessary. But I wanted the stove closer to the wall. Previously, there was a layer of horizontal bricks there and then tiles against the wall. Now the stove will be closer, and then we will cover the chimney with faux brick. They are supposed to lie roughly against the back edge of the wood stove.
Now the masonry is finished. It will be about 3 cm from the back edge to the chimney. The faux brick is about 2 cm, so either I'll leave a gap or think of something there. It wasn't that difficult. I had to slather around inside the collar to make it even and tight. And make sure the collar ended up at the right height.A akby said:Well, that was quite unnecessary. But I wanted the stove closer to the wall. Previously, there was a row of horizontal bricks there and then tiles against the wall. Now the stove will be closer, and then we're going to cover the chimney with faux brick. They are supposed to lie approximately flush with the back edge of the wood stove.

Very inspiring. Nice! I'm following your advice and getting an angle grinder to even out the chimney. Any tips for a decent purchase that doesn't cost too much?
/Thomas
/Thomas
Thanks. Buy one on sale or something. I have a B&D one-hand model with a 125 mm disc. So nothing fancy.
One like that is good to have for a bit of everything.
I removed the enamel on the hob with a short putty knife that I tapped on with a hammer. That way, I kept the sandblasted surface underneath.
Then I went over it with the angle grinder and a rotating wire brush. And then stove polish.
One like that is good to have for a bit of everything.
I removed the enamel on the hob with a short putty knife that I tapped on with a hammer. That way, I kept the sandblasted surface underneath.
Then I went over it with the angle grinder and a rotating wire brush. And then stove polish.
Click here to reply