Hello,
I am going to build a deck directly on slabs, and I have read that the best pressure-treated wood for direct contact with stone slabs should be class A, but most available in stores are class AB. Does it matter? I also want the brown treatment instead of the classic green - does anyone have experience with this?
Thank you.
Know-It-All
· Västra Götaland
· 12 286 posts
All decking is AB (above ground) and joists are in A
https://www.hornbach.se/shop/Proffs...d_Ojw90eCb5586ufyEpBzzQo5o8_kdCRoC5yIQAvD_BwE
https://www.hornbach.se/shop/Proffs...d_Ojw90eCb5586ufyEpBzzQo5o8_kdCRoC5yIQAvD_BwE
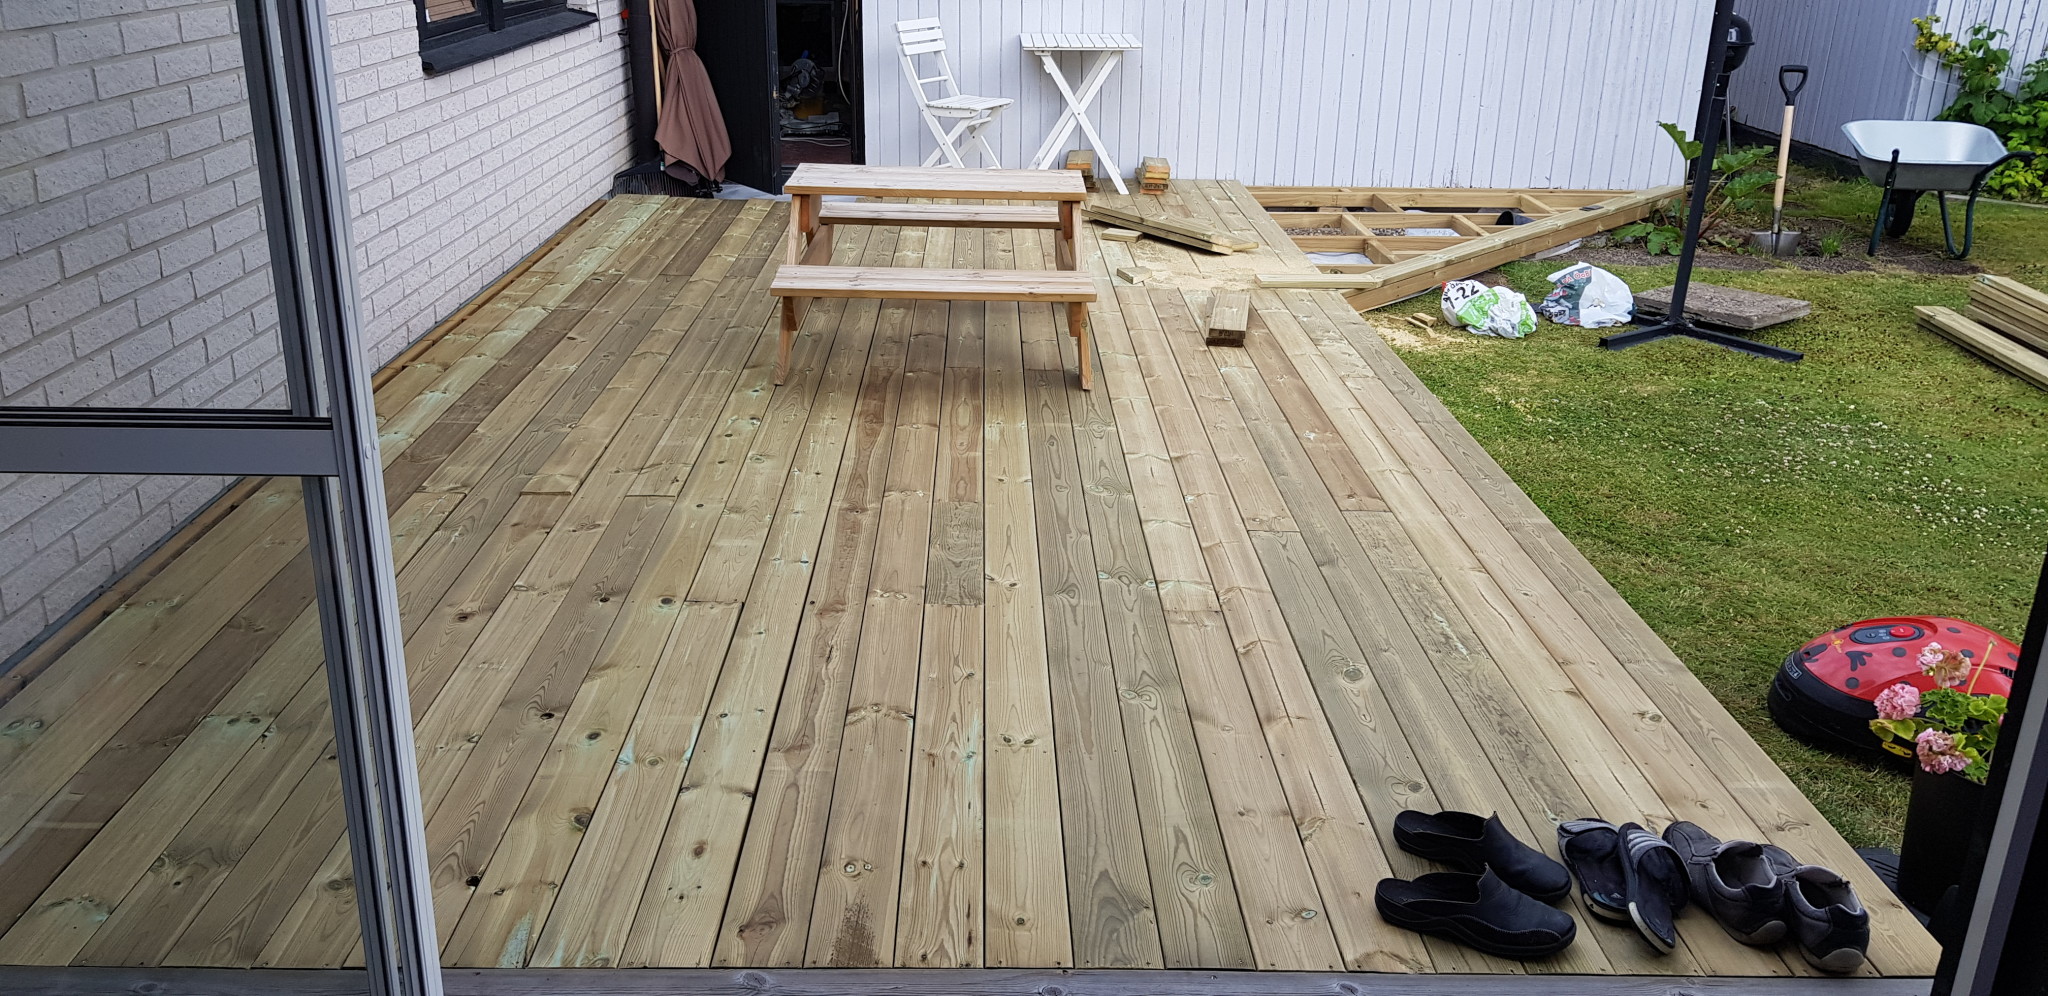
Last year, I built a wooden deck on top of the existing pavers, placing plastic spacers (100*100*20mm) between the pavers and the joists (A/B) so that the joists were raised about 40mm. I thought that as long as they don't come into contact with the ground/pavers, the water would drain away from there. There's always a risk that I might have to redo the deck in a couple of years since I used A/B lumber underneath, but it should be enough with about 40mm above the pavers.

Member
· Etelä Pohjanmaa
· 2 467 posts
AB impregnation is probably fine as long as there is no direct ground contact. The difference is how much of the impregnation solution is used in the bath where the decking was impregnated. I recall that AB means 12-24 liters of solution per m3, while A is at least 24 liters.
You can buy a roll of sill paper https://www.byggmax.se/syllpapp-p17065 and place it between the slab and the joist to prevent moisture from traveling through the concrete into the wood.
The brown impregnation is the same as the green, only with pigment mixed into the impregnation. The color fades very quickly. After a couple of summers, it no longer appears brown. Go with the regular green, leave it for a year, and then you can paint/treat the decking in whatever color you like.
See post #8
https://www.byggahus.se/forum/threads/altan-direkt-pa-mark-utgraevning.324234/#post-3067396
Our deck is on cement slabs but with plastic blocks as protection against standing water.
https://www.byggahus.se/forum/threads/altan-direkt-pa-mark-utgraevning.324234/#post-3067396
Our deck is on cement slabs but with plastic blocks as protection against standing water.
Basic question perhapsJohanlidman said:
Last year I built a wooden deck on top of the existing tiles, placed plastic spacers (100*100*20mm) between the tiles and the joists (A/B) so the joists were raised about 40mm, thinking that as long as they don't come into contact with the ground/tiles, the water will drain away. There is always a risk that I might have to redo the deck in a couple of years since I used A/B timber underneath, but it should suffice with about 40mm above the tiles.
") but did you use joist hangers or angle brackets to attach the joists to the frame?
but did you use joist hangers or angle brackets to attach the joists to the frame?I used angle irons to attach the studs to each other, and the entire wooden deck is not attached to the house wall because the whole deck will be heavy enough that it won't move significantly.
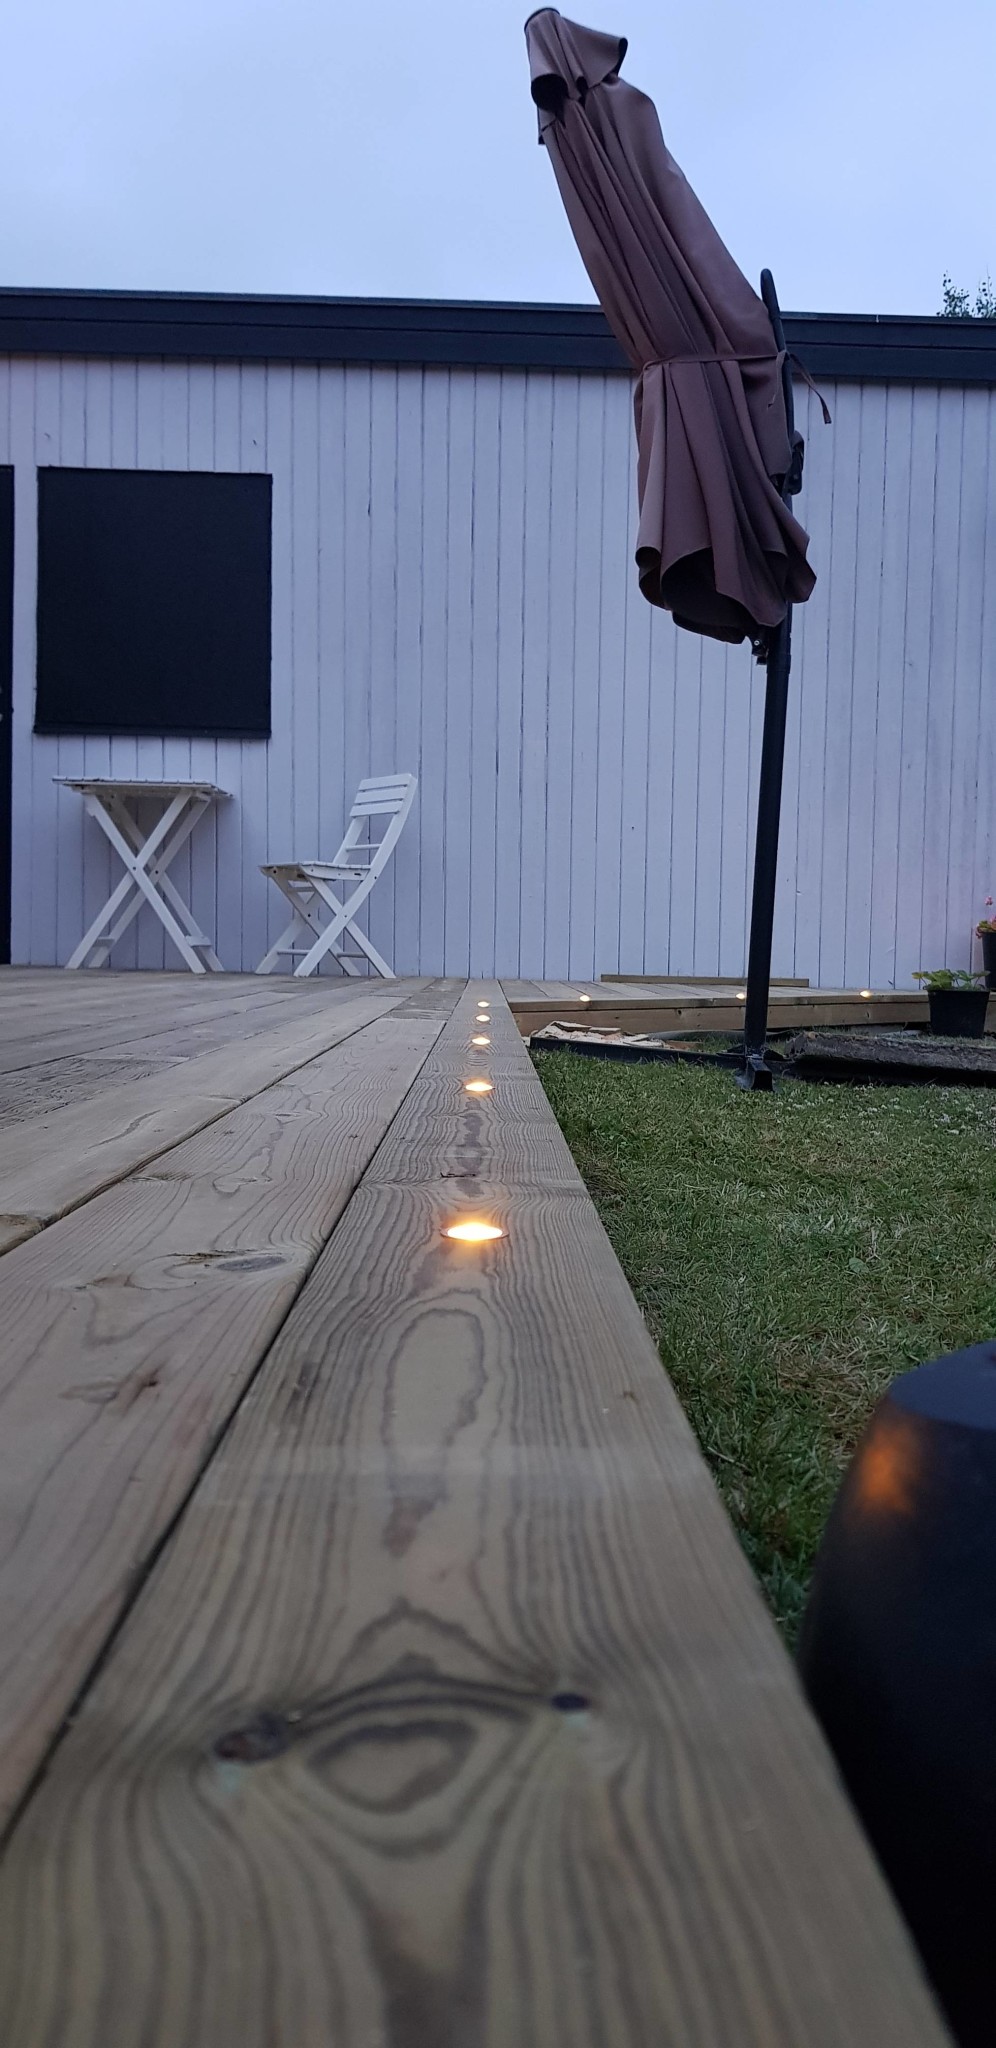
I also installed LED lighting with a dusk relay around the outer edge of the deck, which became very pleasant when it starts to get dark.
I also installed LED lighting with a dusk relay around the outer edge of the deck, which became very pleasant when it starts to get dark.
No, regular construction screws about 70-80 mm long, you drive them at an angle so they pass through as many growth rings as possible. However, you need some short braces to keep the beams in place so they don't shift. I had bearing lines underneath, but you only have a frame with beams between C-C 600. Take the opportunity to check out some lighting, LED strips from China 12V about 120:-/5mP pajson said:

Last edited:
Alibaba or DX.com (deal extreme).M MasMats said:
https://www.dx.com/s/Led strip?cateId=0
Or from Sweden
https://www.ljustema.se/281-12v-led-slinga
Last edited:
That's exactly how our patio looks. But it's surrounded by a waist-high brick wall, so I'm not sure how easy it will be to build the frame when you can't access it from the outside, so to speak. Was it difficult to level the frame due to unevenness? What did you use to adjust it?
Lengan said:
I used angle brackets to fasten all the parts in the frame but could probably have pulled out the entire frame and fastened the back part to the house wall in an easy way, but laziness said angle brackets would be the simplest. I have a slope of about 2cm from the house towards the lawn, which I used a longer model spirit level and plastic shims at 100*100mm (2.5 and 10mm thick) under the frame to get it level on the tiles.
Didn't find it too difficult to get it straight and level as I was very picky with the wood for the frame, making sure it was straight and hadn't warped in any direction; some pieces were almost like corkscrews and shaped like bananas in the wood stacks.
Click here to reply