I will make a valiant attempt to build in our wardrobes, that is, build a trim from the top of the wardrobe to the ceiling.
The measurements are as follows:
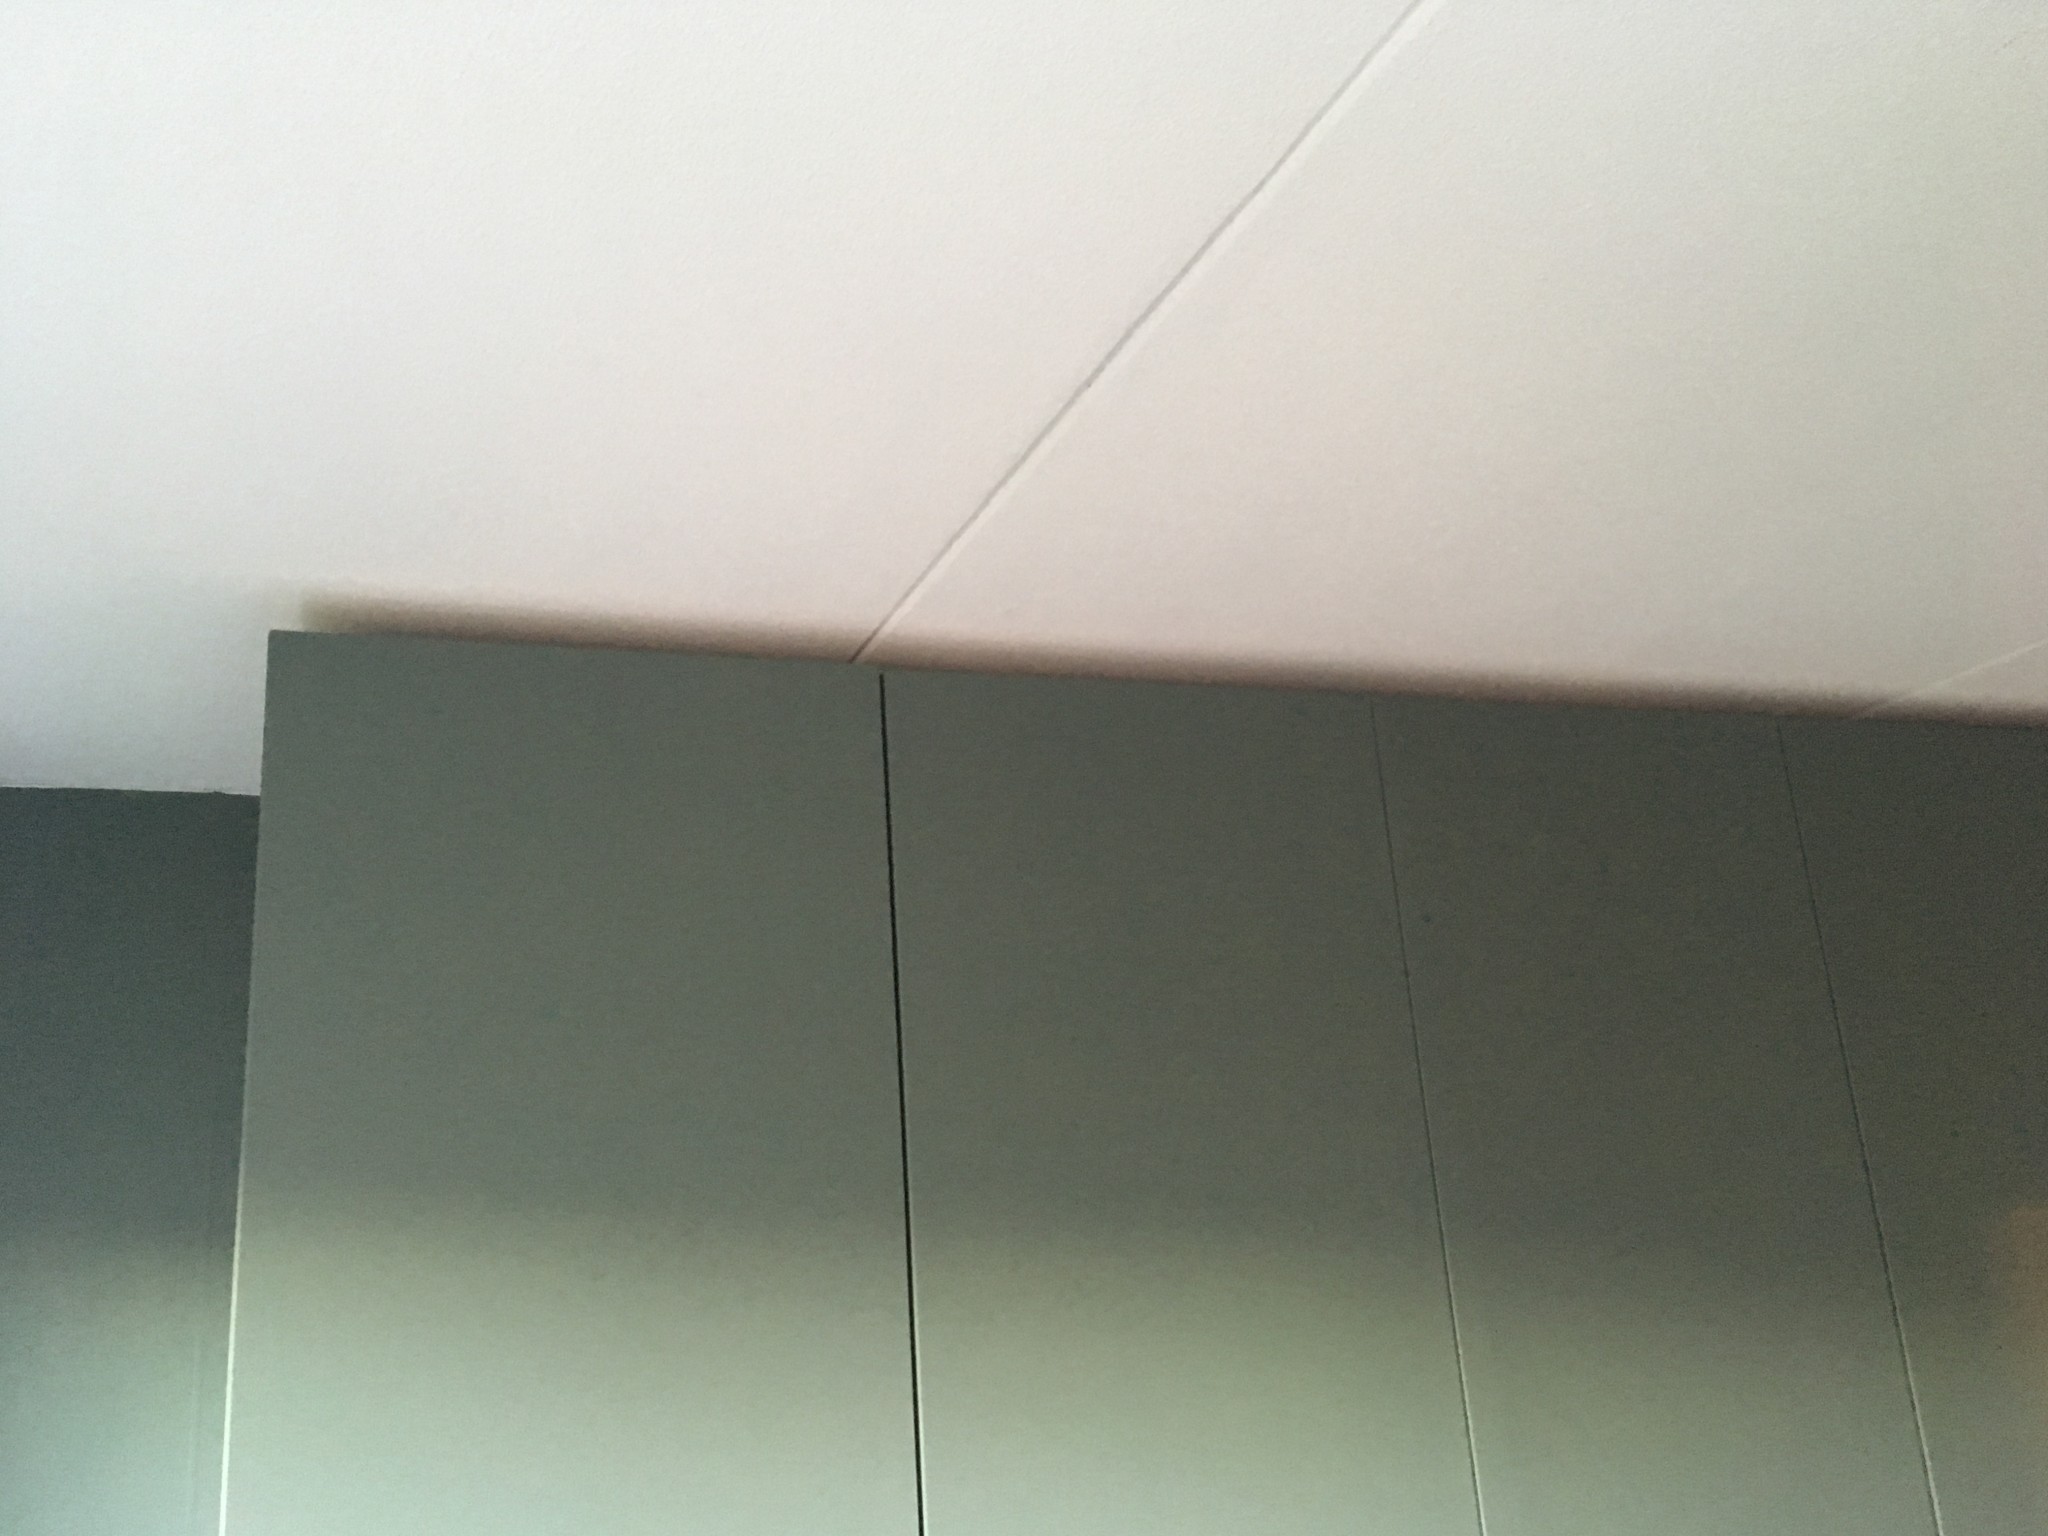
Height: (from wardrobe top to ceiling) 34mm.
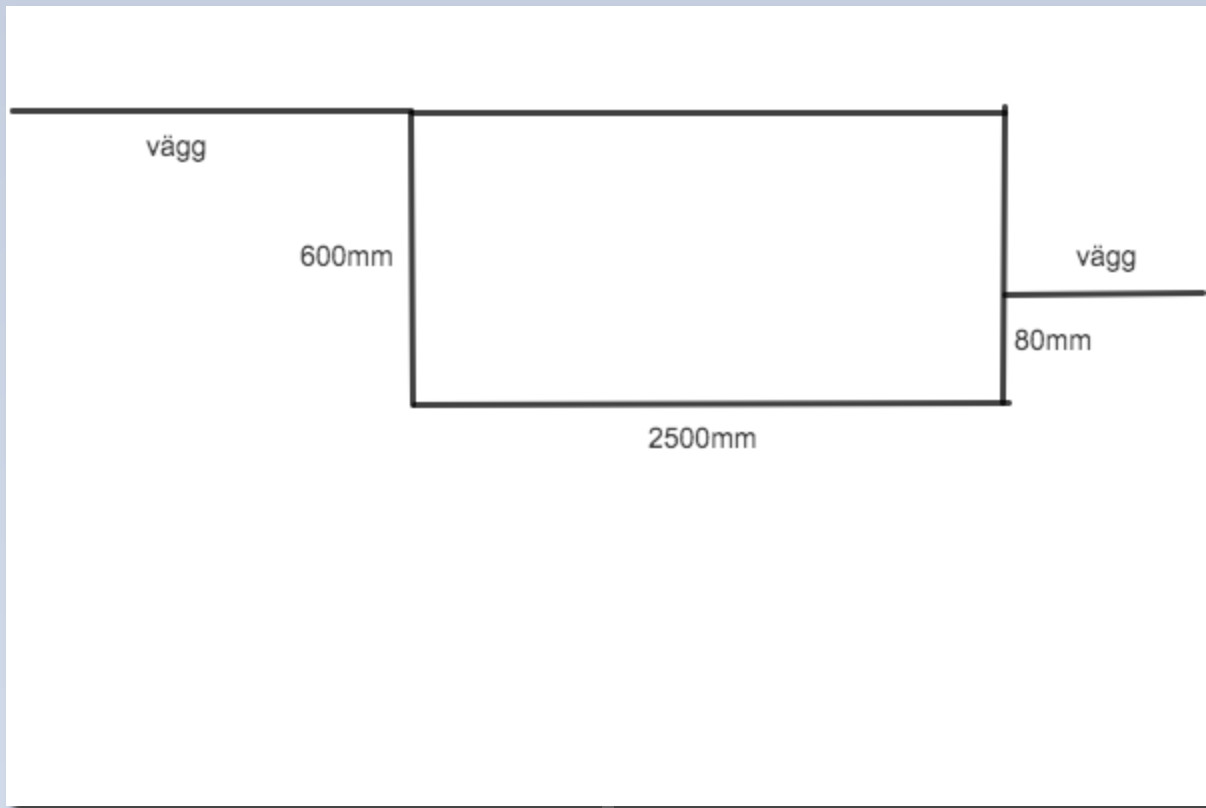
Lengths: 600mm, 2500mm, 80mm
Attached are pictures that describe a bit more for better understanding.
What I have done so far is buy a filler piece that is 15x33mm, fits very well in the gap, and I plan to cut it with a miter saw to get the corners 45 degrees and fit nicely together.
What I'm wondering about a bit is where I should place the front trim.
Should it sit just above the doors, so it becomes almost a flat wall surface up to the ceiling, or should it just sit a bit in, on the wardrobe frame itself and not above the doors?
Then I'm wondering what the best way to attach everything is?
I thought you could screw from inside the wardrobe and upwards, but that doesn't work if the trim goes above the doors, should you then instead screw the other trims from the inside and then take the outer trim with screws in the corners to the shorter ones at the side?
I would have placed a 34x45 regel as a frame on top, aligned with the wardrobe frame, and screwed it in from inside the wardrobe. If you need to secure it to the ceiling, use angle brackets and attach them to the regel and the ceiling.
Obviously, paint the regel; if you want it white lacquered, there is surely some trim in a suitable dimension.
/Martin
Click here to reply
Vi vill skicka notiser för ämnen du bevakar och händelser som berör dig.