Hello!
As the title suggests, I have removed the ceiling gypsum to facilitate electrical work, and now I need to install a new ceiling (pre-painted panels, like Huntonit). Since I kept the wall gypsum when I removed the ceiling, I now have an approximately 1.2 mm gap between the gypsum and the battens. The new ceiling is a few mm thicker than the gap, so it can't be slid into it.
How do you think I should proceed to achieve the simplest, neatest edge against the wall? Should I cut out a strip of gypsum from the wall, install the ceiling, and then add new gypsum, or is there an easier way?
I've also considered installing the ceiling with as little gap as possible and then caulking the joint, but since I won't be painting the ceiling, that's probably not an option?
Yes, if you have a cornice, the issue is quite easily solved, just put up the ceiling, then hide it with the cornice... so I assume you are not going to have a cornice?
Depending on your tool arsenal... you could saw off the existing gypsum on the wall with a fein or similar tool using a piece of ceiling panel as a stop so you can slide the ceiling panel in above the gypsum...
Shouldn't your ceiling panels be visibly screwed along the wall? That's how I've done it with that type of ceiling.
I can't see how you can install a ceiling of pre-made panels without a ceiling list.
That's kind of the problem... I'm not very fond of ceiling lists, but maybe I'll have to use them to make it easier. One thought was to let the panel rest on the gypsum walls (and saw down the walls with a multi-tool to the exact right height) and screw properly on the remaining three sides, but then there might be problems on the last row... I would then need to remove some of the gypsum to install the ceiling first.
Or will it be too heavy for the gypsum to take some of the ceiling's weight?
To fit a Huntonit panel, you will likely need to remove at least one plasterboard wall; otherwise, you'll never get the last row up.
My thought was, in such cases, to just remove a strip (30 cm?) at the top near the ceiling to be able to "fold up" the last row, and then put up new plasterboard and fill. The ceiling list certainly saves a lot of work; I’m starting to wonder if it's worth it?
Is there anyone who has a guess if the gipser can handle the weight of the boards? I will only screw on the other three sides (in the corners it will only be screwed on two sides) the last side rests in the gap between the gipset and the ceiling.
Does anyone have a guess if the gipser can handle the weight of the boards? I will only screw on the other three sides (in the corners it will only be screwed on two sides) the last side rests in the gap between the gipset and the ceiling.
During the autumn, we set up a new ceiling in the kitchen, hallway, and living room in exactly the manner discussed here. Our old plaster ceiling was damaged to the extent that it was deemed irrecoverable with a reasonable effort. The walls were in OK condition, so we had no interest in spending energy on redoing them. Ceiling moldings are not approved in our home, so we had to find a solution.
We did just as mentioned earlier and sawed off the plaster according to a template. The template was made marginally thinner than a ceiling tile so that the template plus the thickness of the saw blade would be the same thickness as a ceiling tile. The tiles were then nudged into the gap created and screwed in where accessible. If you screw into the tongue close to the edge, there shouldn't be much stress on the plaster, so it shouldn't be a problem.
The problems arise when you reach the end of the room. What was done here was that the board was sawed to be a millimeter narrower than the distance between the farthest protruding edge of the tongue and the joist the plaster was attached to. It was then possible to nudge the board in, slightly angled, above the plaster far enough to get it past the tongue. Then, using some small holes made in the plaster, a small crowbar was used to bend the board back so the tongue fit together. Here, too, it was screwed into the tongue as close to the wall as possible, so very little force is on the plaster. The only piece that couldn't be solved this way was the final corner. Here, a slightly larger piece of plaster had to be removed to fit the last piece. The small holes were then filled with plaster, of course with masking on the ceiling. The thin gap (0.5-1mm) that remained was covered with a flexible sealant.
I'm not trying to convince anyone that this is the easiest way to install a ceiling. It also goes against what is stated in the manufacturer's installation instructions (the melamine can be damaged if pinched, and the ceiling changes size with humidity fluctuations). But it can be done, and we thought it was worth the extra effort to avoid the ceiling moldings, and I'm not particularly worried about the melamine.
In some places, such as in the corners, we also used some glue (pl400) to keep the board in place and reduce the load on the plaster.
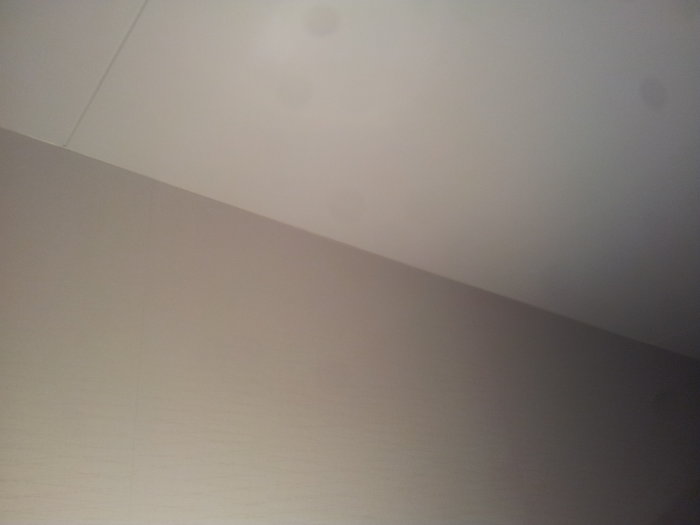
I’m uploading a few pictures of how it looks after the holes have been filled, the gap sealed, and the wallpapers put up. (Not super-quality images, but they should suffice to show the result). Unfortunately, I have no pictures from when the work was in progress, so you'll have to make do with my description of the process. I understand if it’s not very clear, but I'm happy to clarify if something was incomprehensible.