63,351 views ·
29 replies
63k views
29 replies
tools and "think" for miter sawing of moldings
If you only need to trim a few doors or windows, there's no need to rent a miter saw. A simple miter box will suffice.
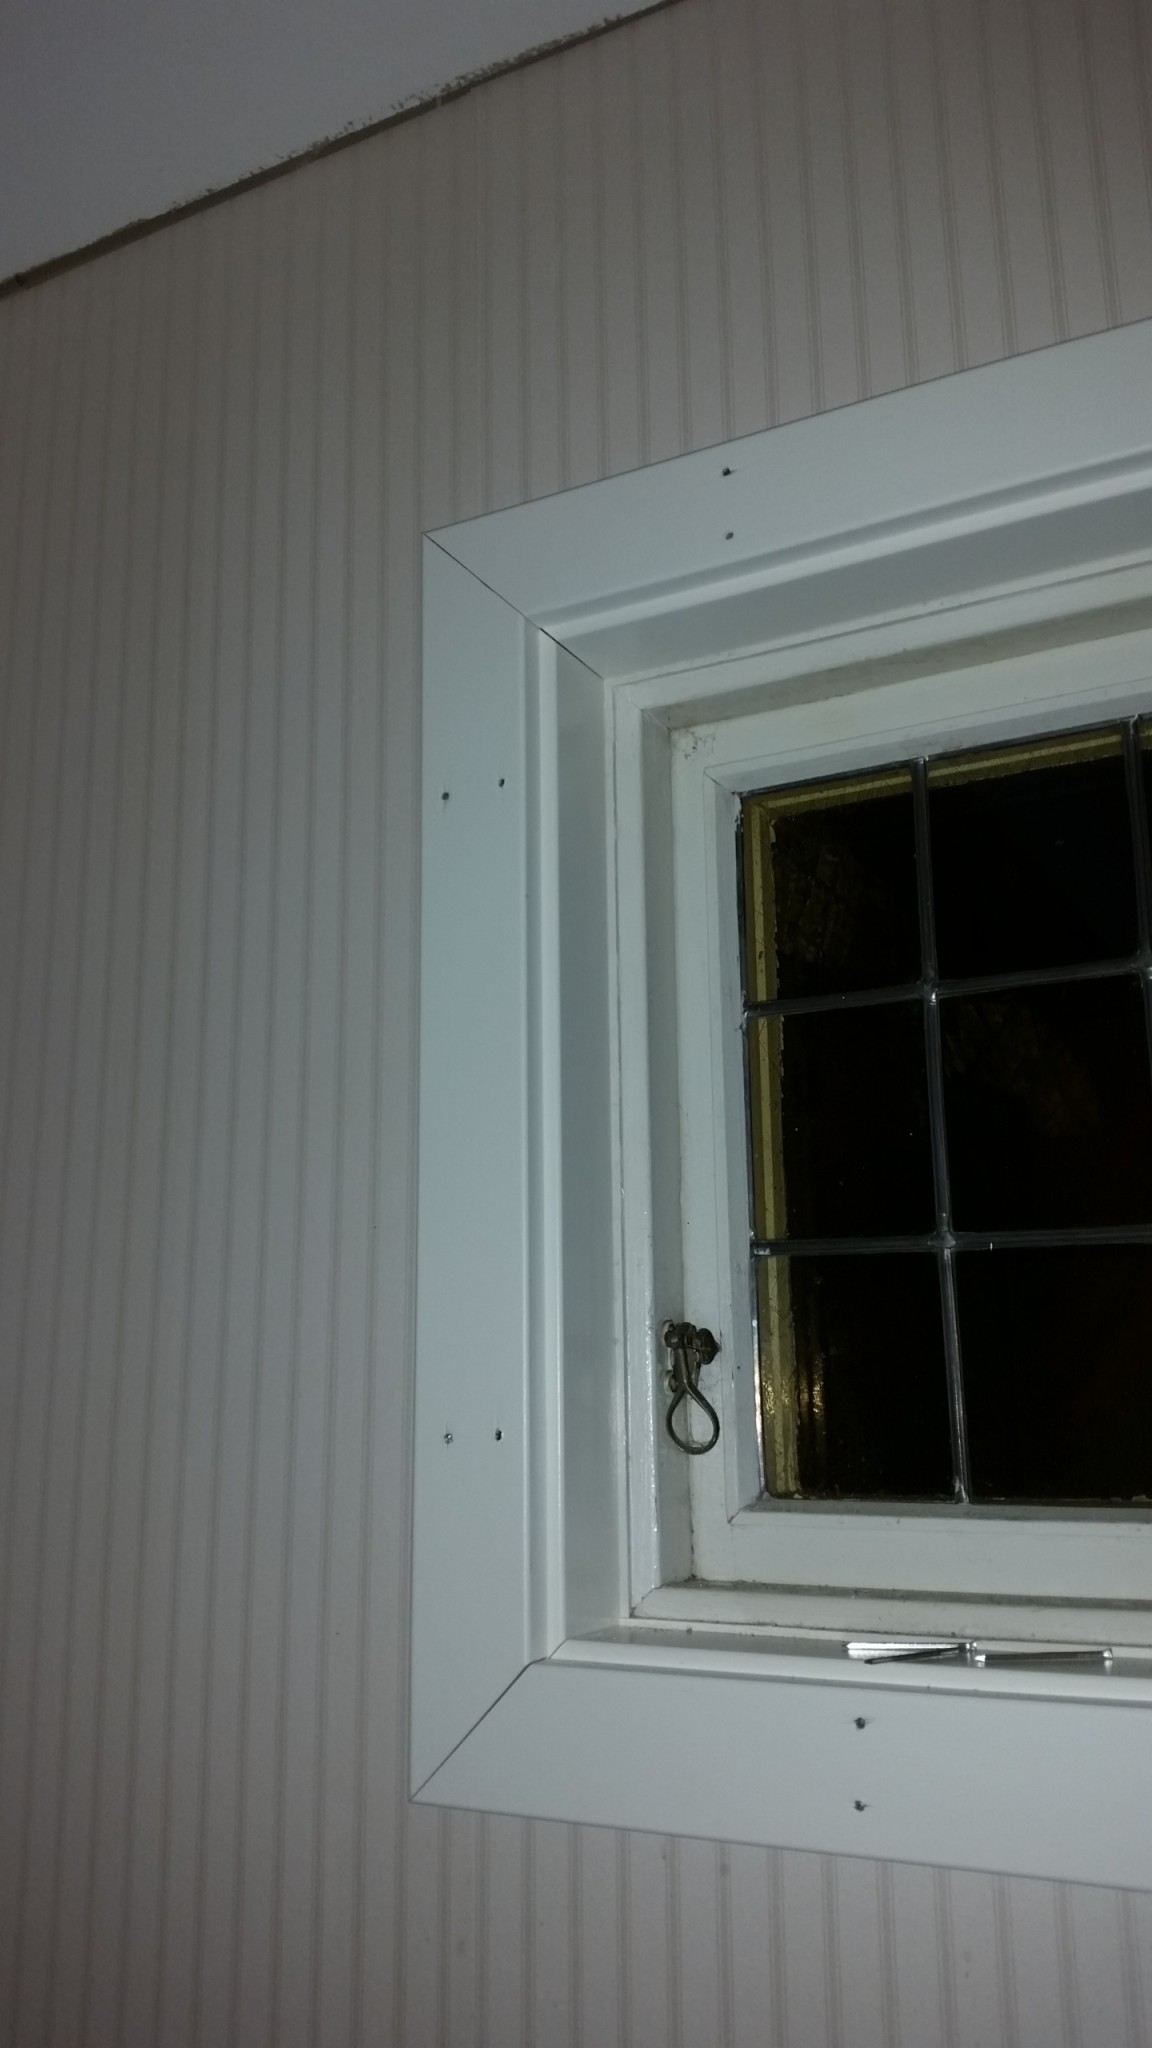
When I trim a door, I always go side-top-side.... cut at 45 degrees (of course). I nail the miters together first and then fully nail the moldings without pulling the miters apart.
When I trim a door, I always go side-top-side.... cut at 45 degrees (of course). I nail the miters together first and then fully nail the moldings without pulling the miters apart.
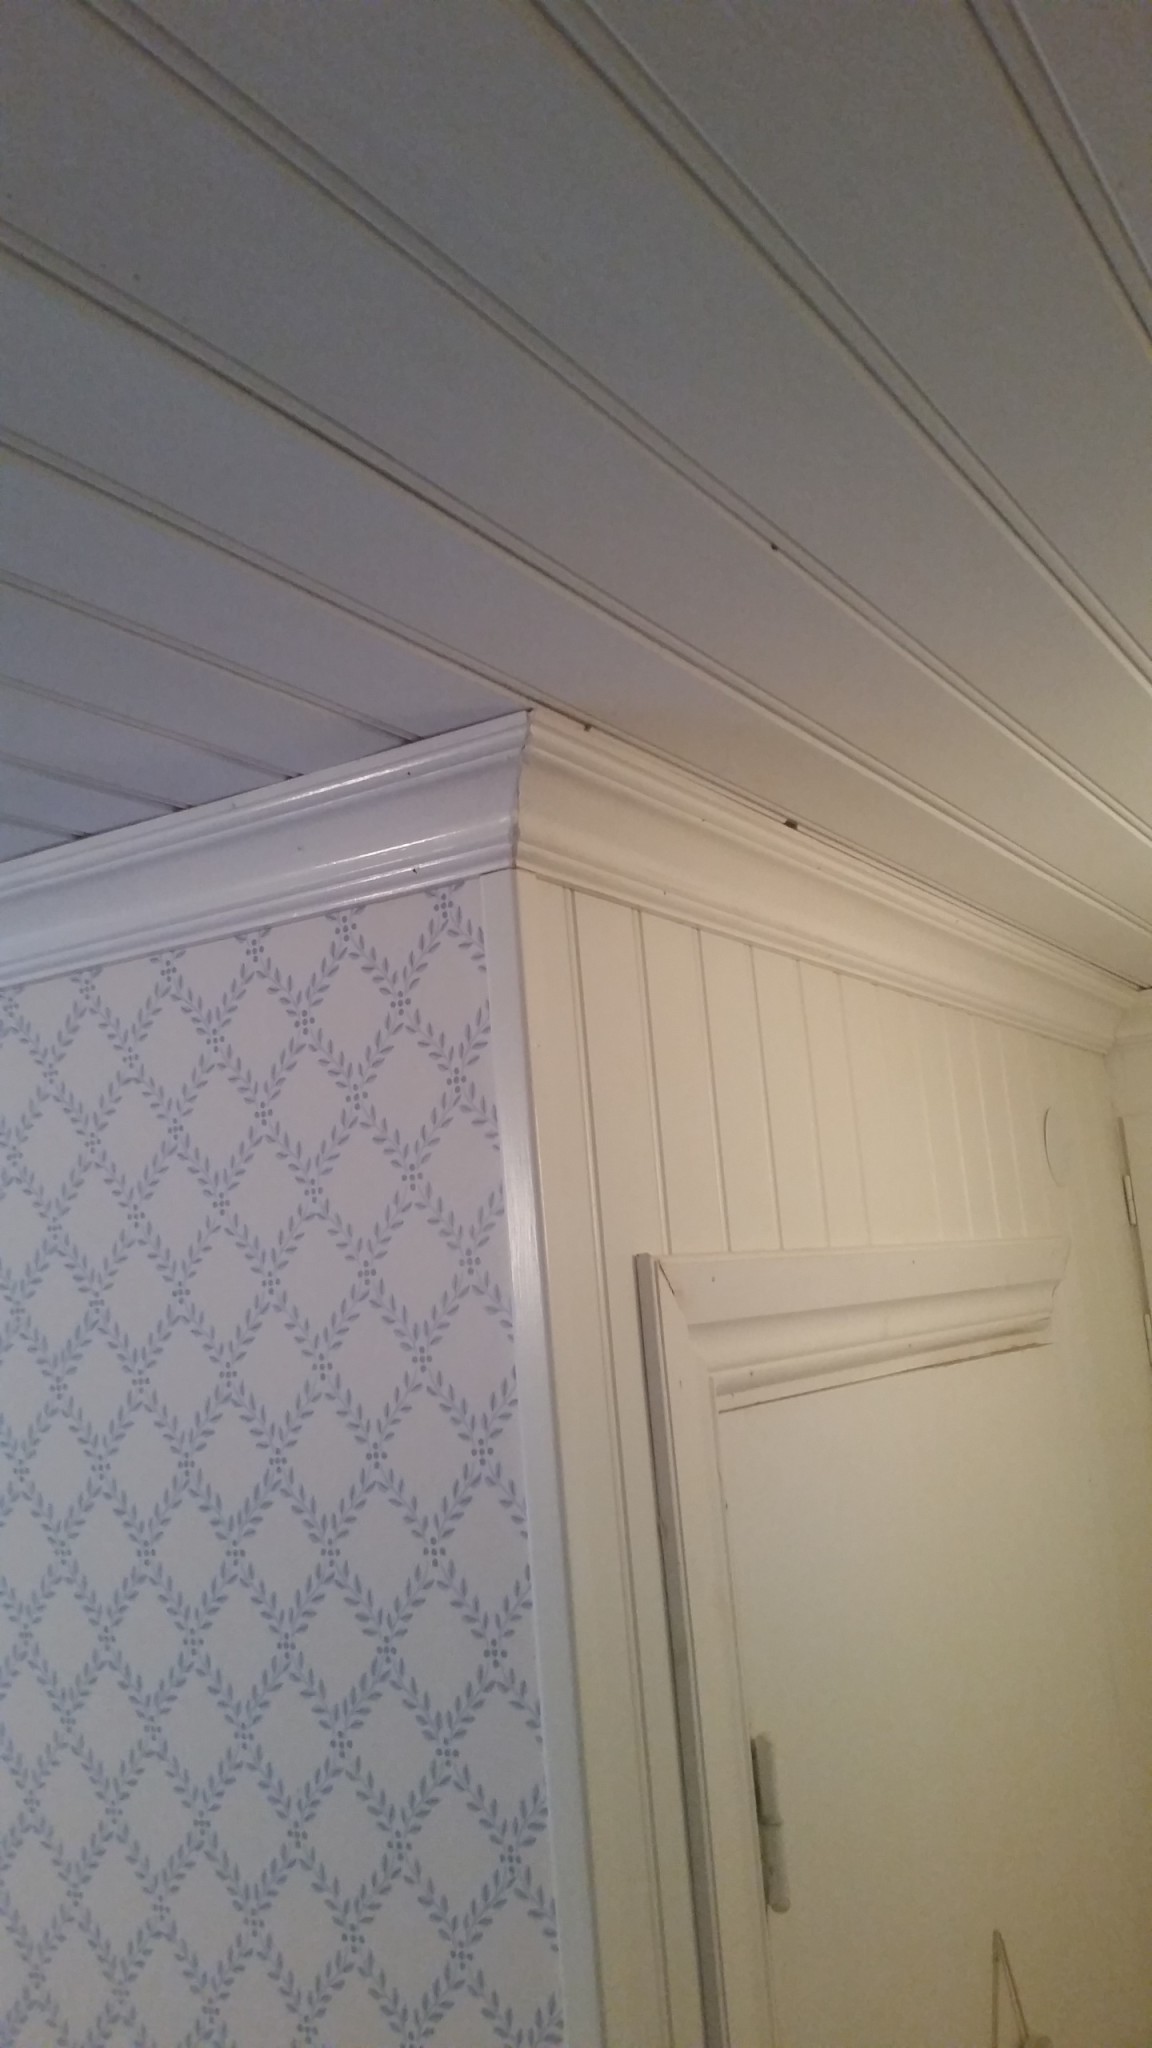
The carpenter acquaintances I've talked to almost always cope, and I think the result is better than mitering. You can't see the seam in the corners.verktygsgurun said:
So if you hire a carpenter for molding, ask if they can do coping, it takes a little longer, but a much better result, especially if the corners are not exactly 90 degrees or the moldings are profiled.
I plan to install cornices, pre-painted, and cope. But then I saw somewhere that pre-painted ones are normally mitered (Hus-AMA?). Will it look bad to cope pre-painted, or is it just a waste of time?
I have 9 inside corners in the kitchen...
I have 9 inside corners in the kitchen...
Member
· Stockholm
· 1 397 posts
I usually mount the top rail on the trim first, then cut the side pieces at a 45-degree angle, turn the tip downwards and place it in position, then you can mark the exact length for cutting with a pencil.

Relatively new to the forum, but it seems to host a lot of prejudices. As a carpenter, I personally only set up moldings mitered at 45 degrees unless the customer wants 90-degree cuts on the moldings.
I am happy to cope moldings, but it's not often one works with that type of moldings, though it does occur.
If you want the best possible result, I think you should go with bare wood and paint the moldings installed (at least the final coat).
But if you're going to install pre-painted moldings, a nail gun is almost necessary to get a good result. Another tip is to find moldings that are 15mm thick, so you hide the end grain on the baseboard, which tends to creep out at the baseboard-molding junction.
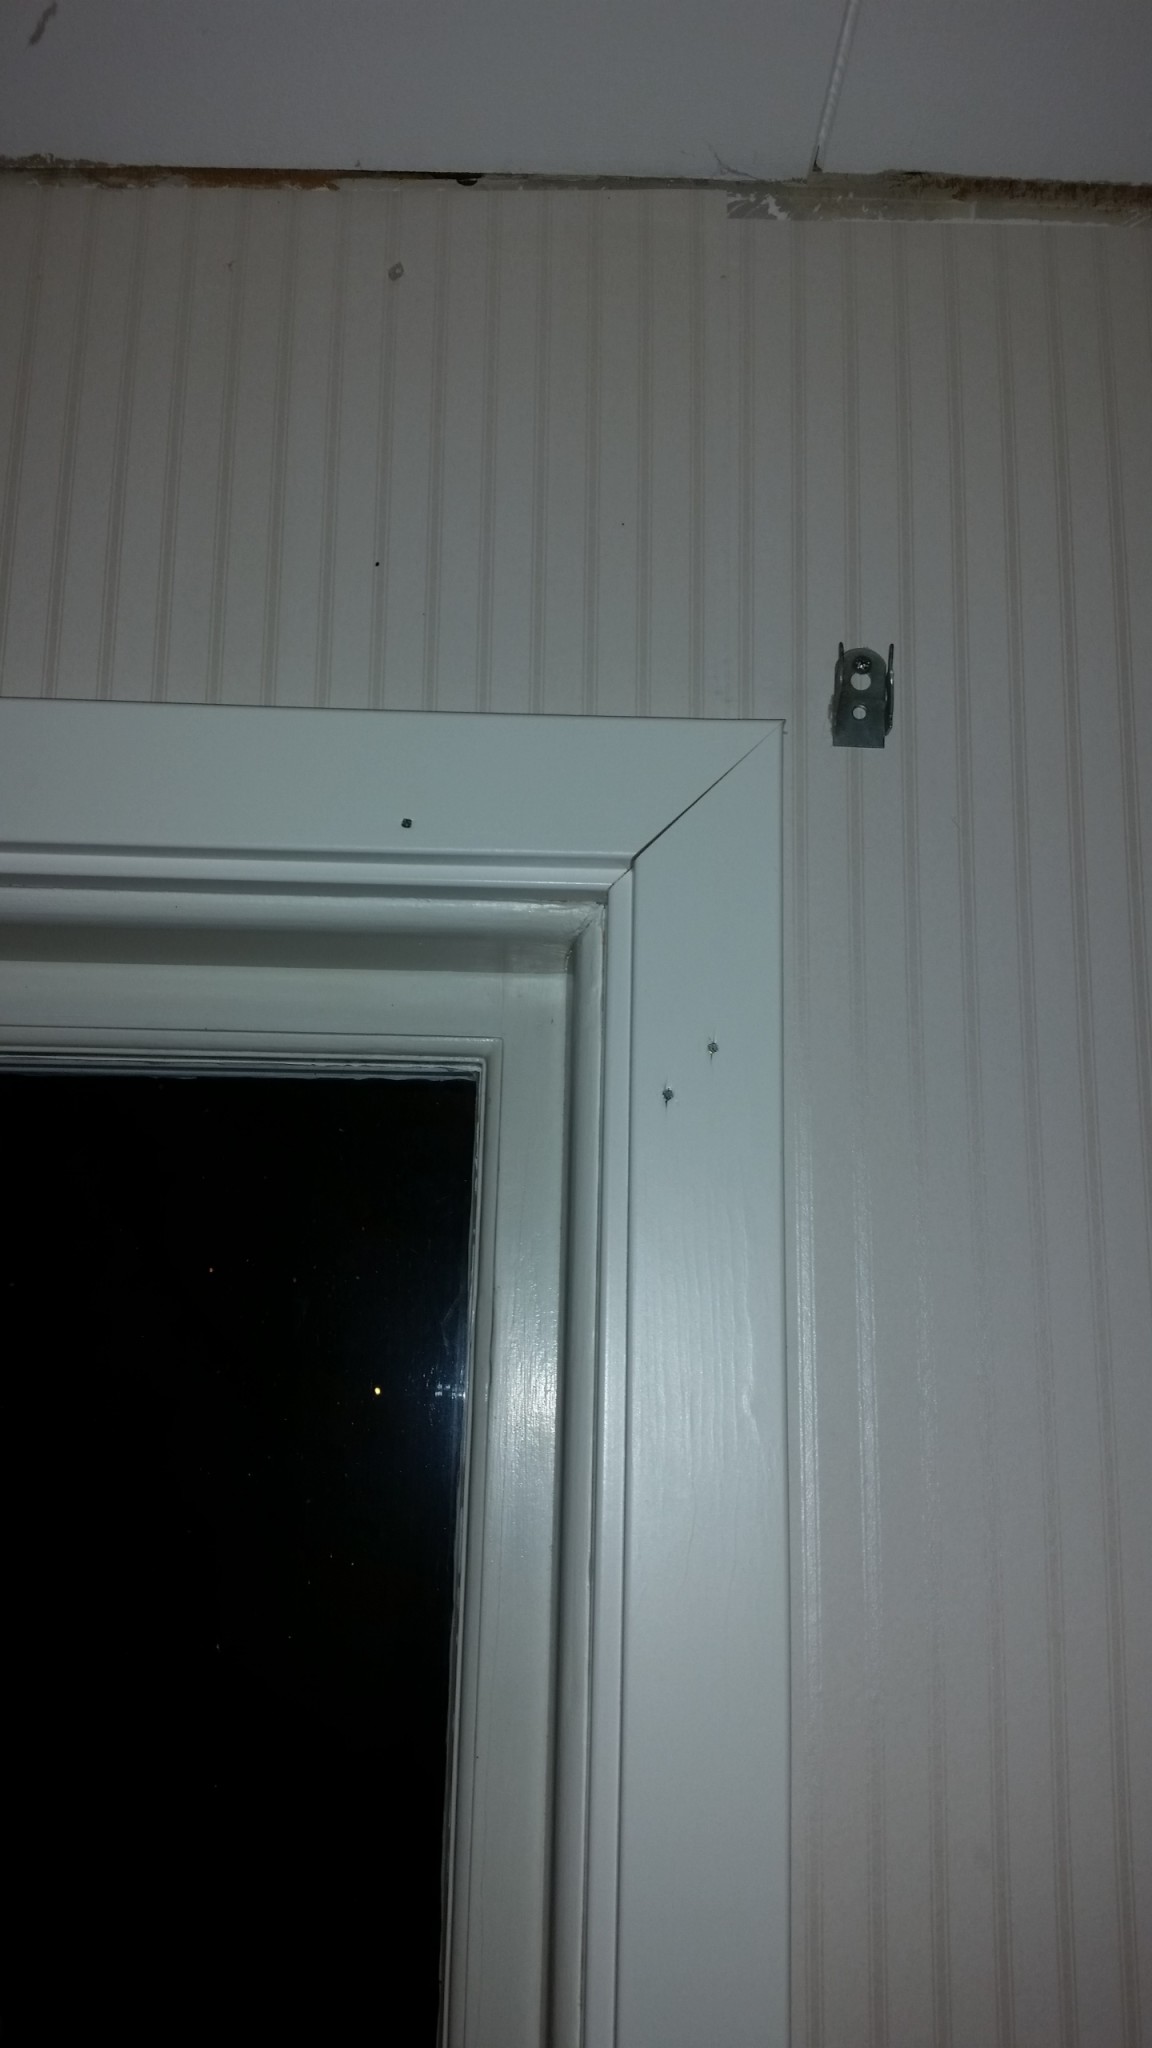
I always have the saw angled at 45 degrees to the left. I first cut the top piece with the painted side up, then turn it and mark where the other miter should be (on the back side of the piece) and cut it with the painted side down. That way, you avoid pencil marks, and it results in a nice cut in the inner corner.
I always install the top piece first and then miter the standing moldings. Then I turn them upside down and position them against the frame (carefully) and draw on the top of the top piece, so you avoid measuring and they are always perfect.
Hard to explain, but feel free to ask if you don't get it😉.
I am happy to cope moldings, but it's not often one works with that type of moldings, though it does occur.
If you want the best possible result, I think you should go with bare wood and paint the moldings installed (at least the final coat).
But if you're going to install pre-painted moldings, a nail gun is almost necessary to get a good result. Another tip is to find moldings that are 15mm thick, so you hide the end grain on the baseboard, which tends to creep out at the baseboard-molding junction.
I always have the saw angled at 45 degrees to the left. I first cut the top piece with the painted side up, then turn it and mark where the other miter should be (on the back side of the piece) and cut it with the painted side down. That way, you avoid pencil marks, and it results in a nice cut in the inner corner.
I always install the top piece first and then miter the standing moldings. Then I turn them upside down and position them against the frame (carefully) and draw on the top of the top piece, so you avoid measuring and they are always perfect.
Hard to explain, but feel free to ask if you don't get it😉.
Click here to reply