Now that it's time to continue with the panel replacement, I see that the base panel boards have warped quite a bit. What is the reason for this, and is it acceptable? I bought the timber from Beijer last summer, and it comes from Martinsons.
Have you oiled and primed them on the backside?
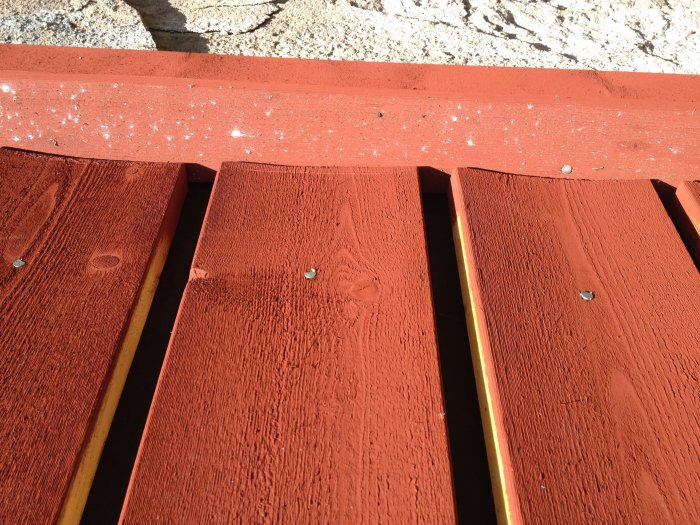
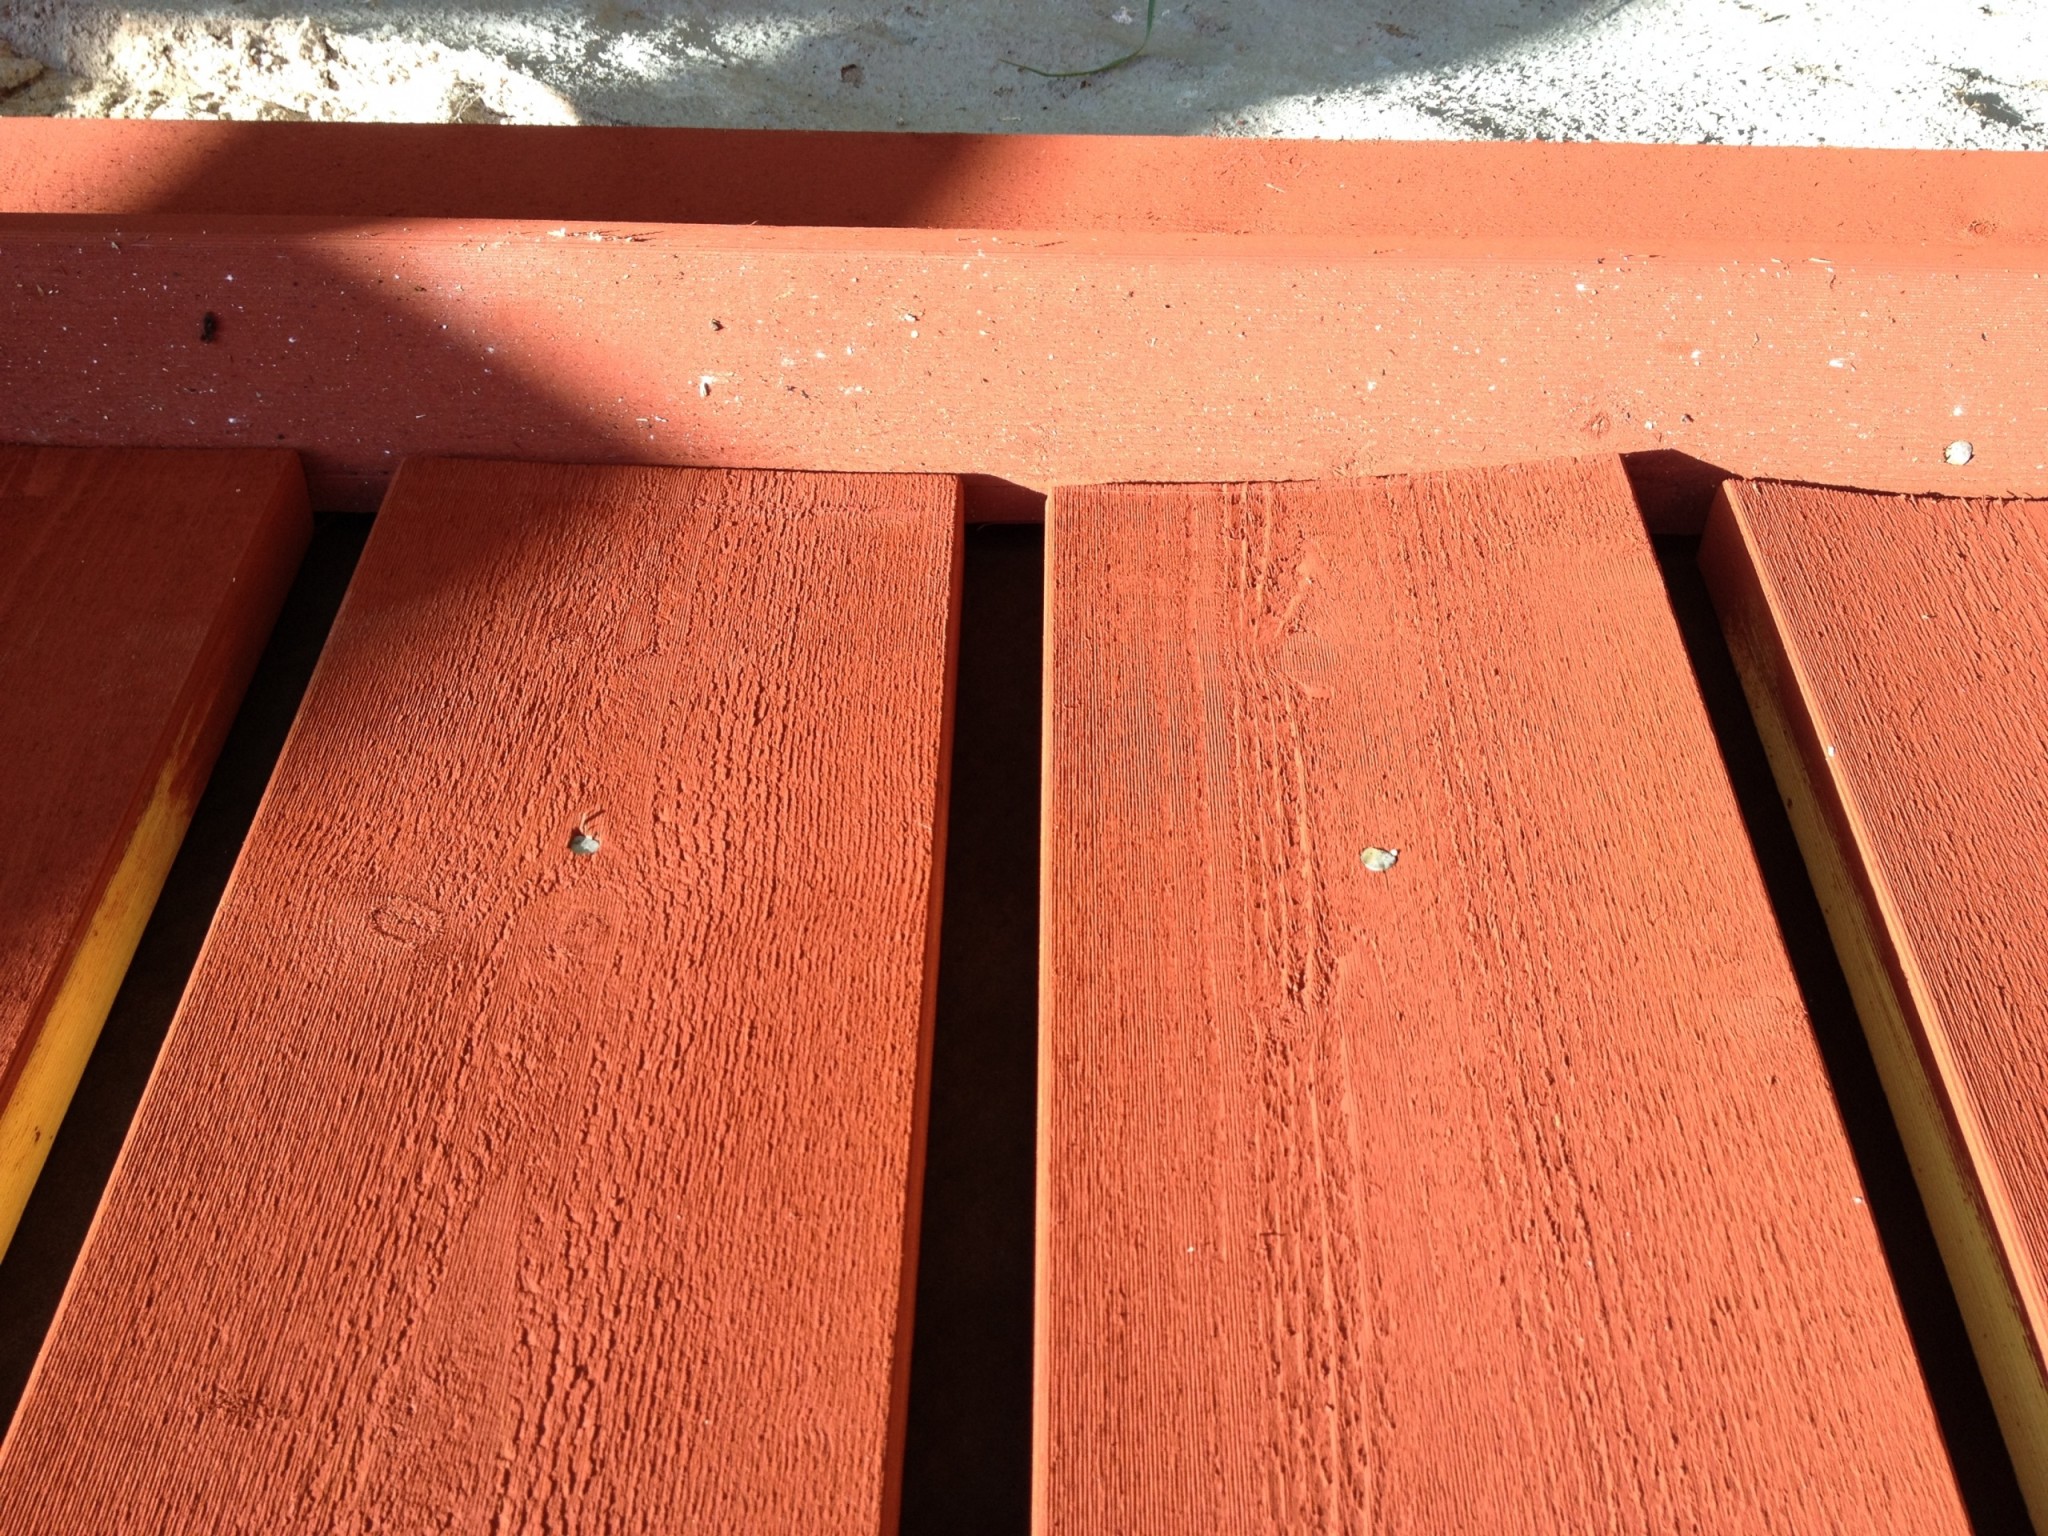
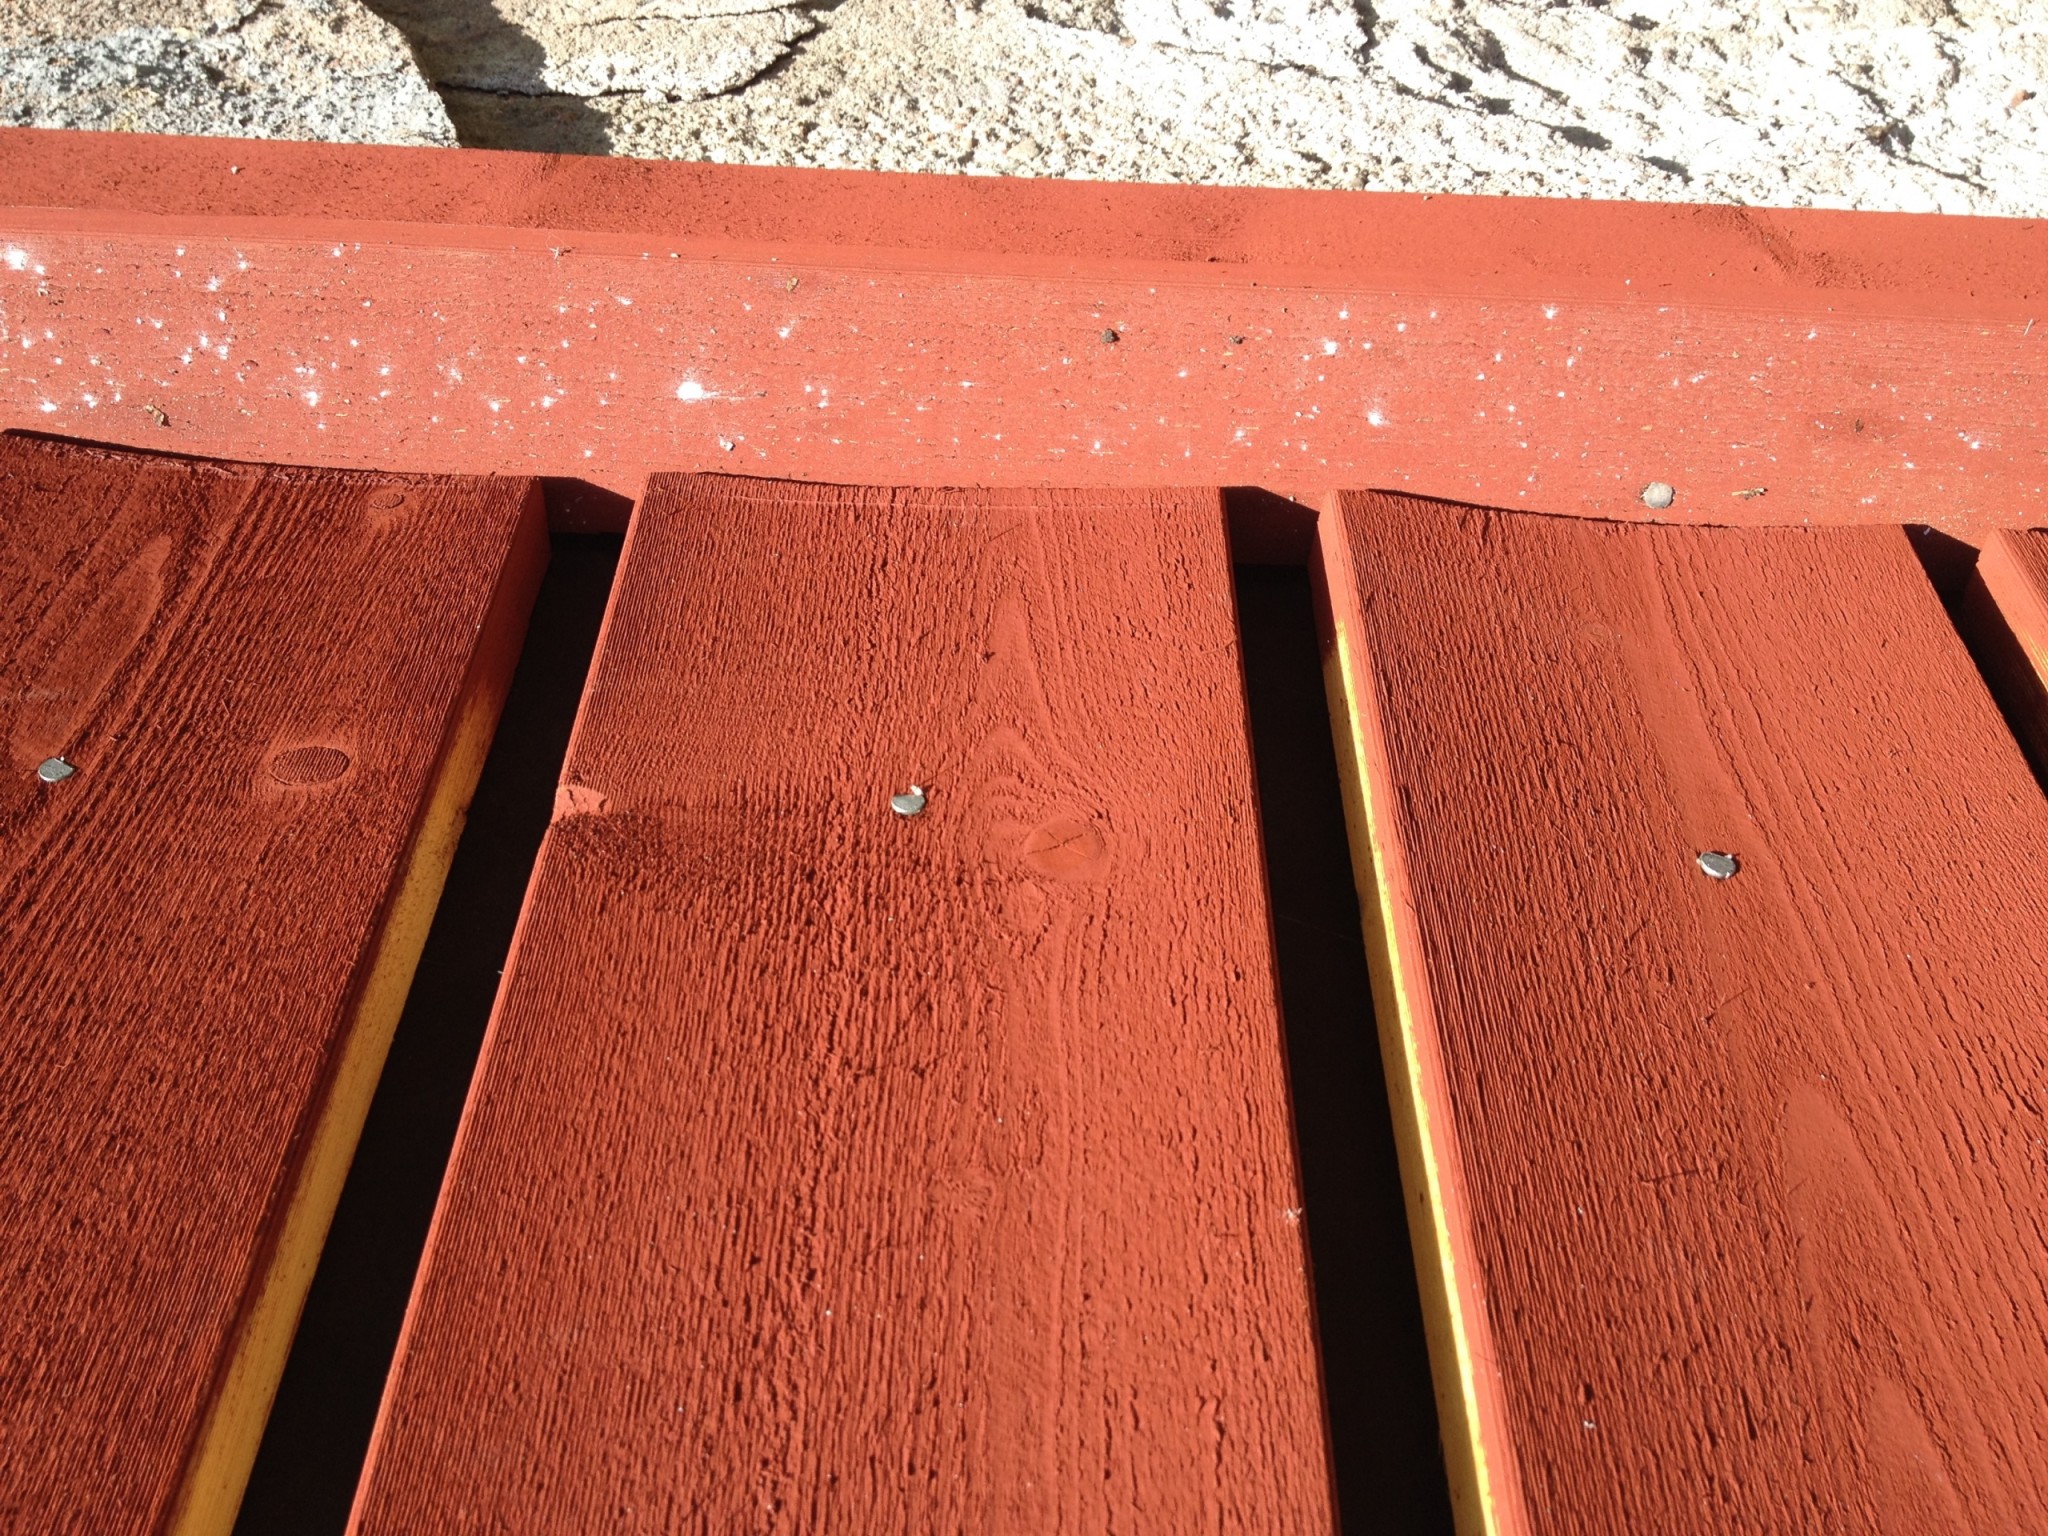
There are different opinions on whether to use one nail to let the board move, or two to try and stop it from moving.
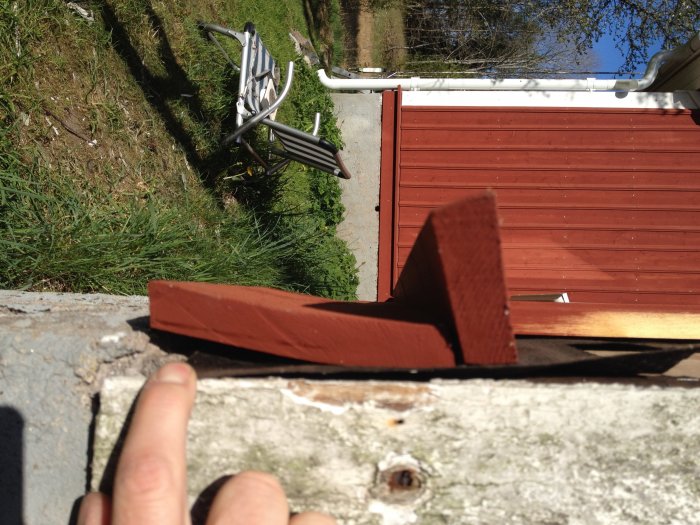
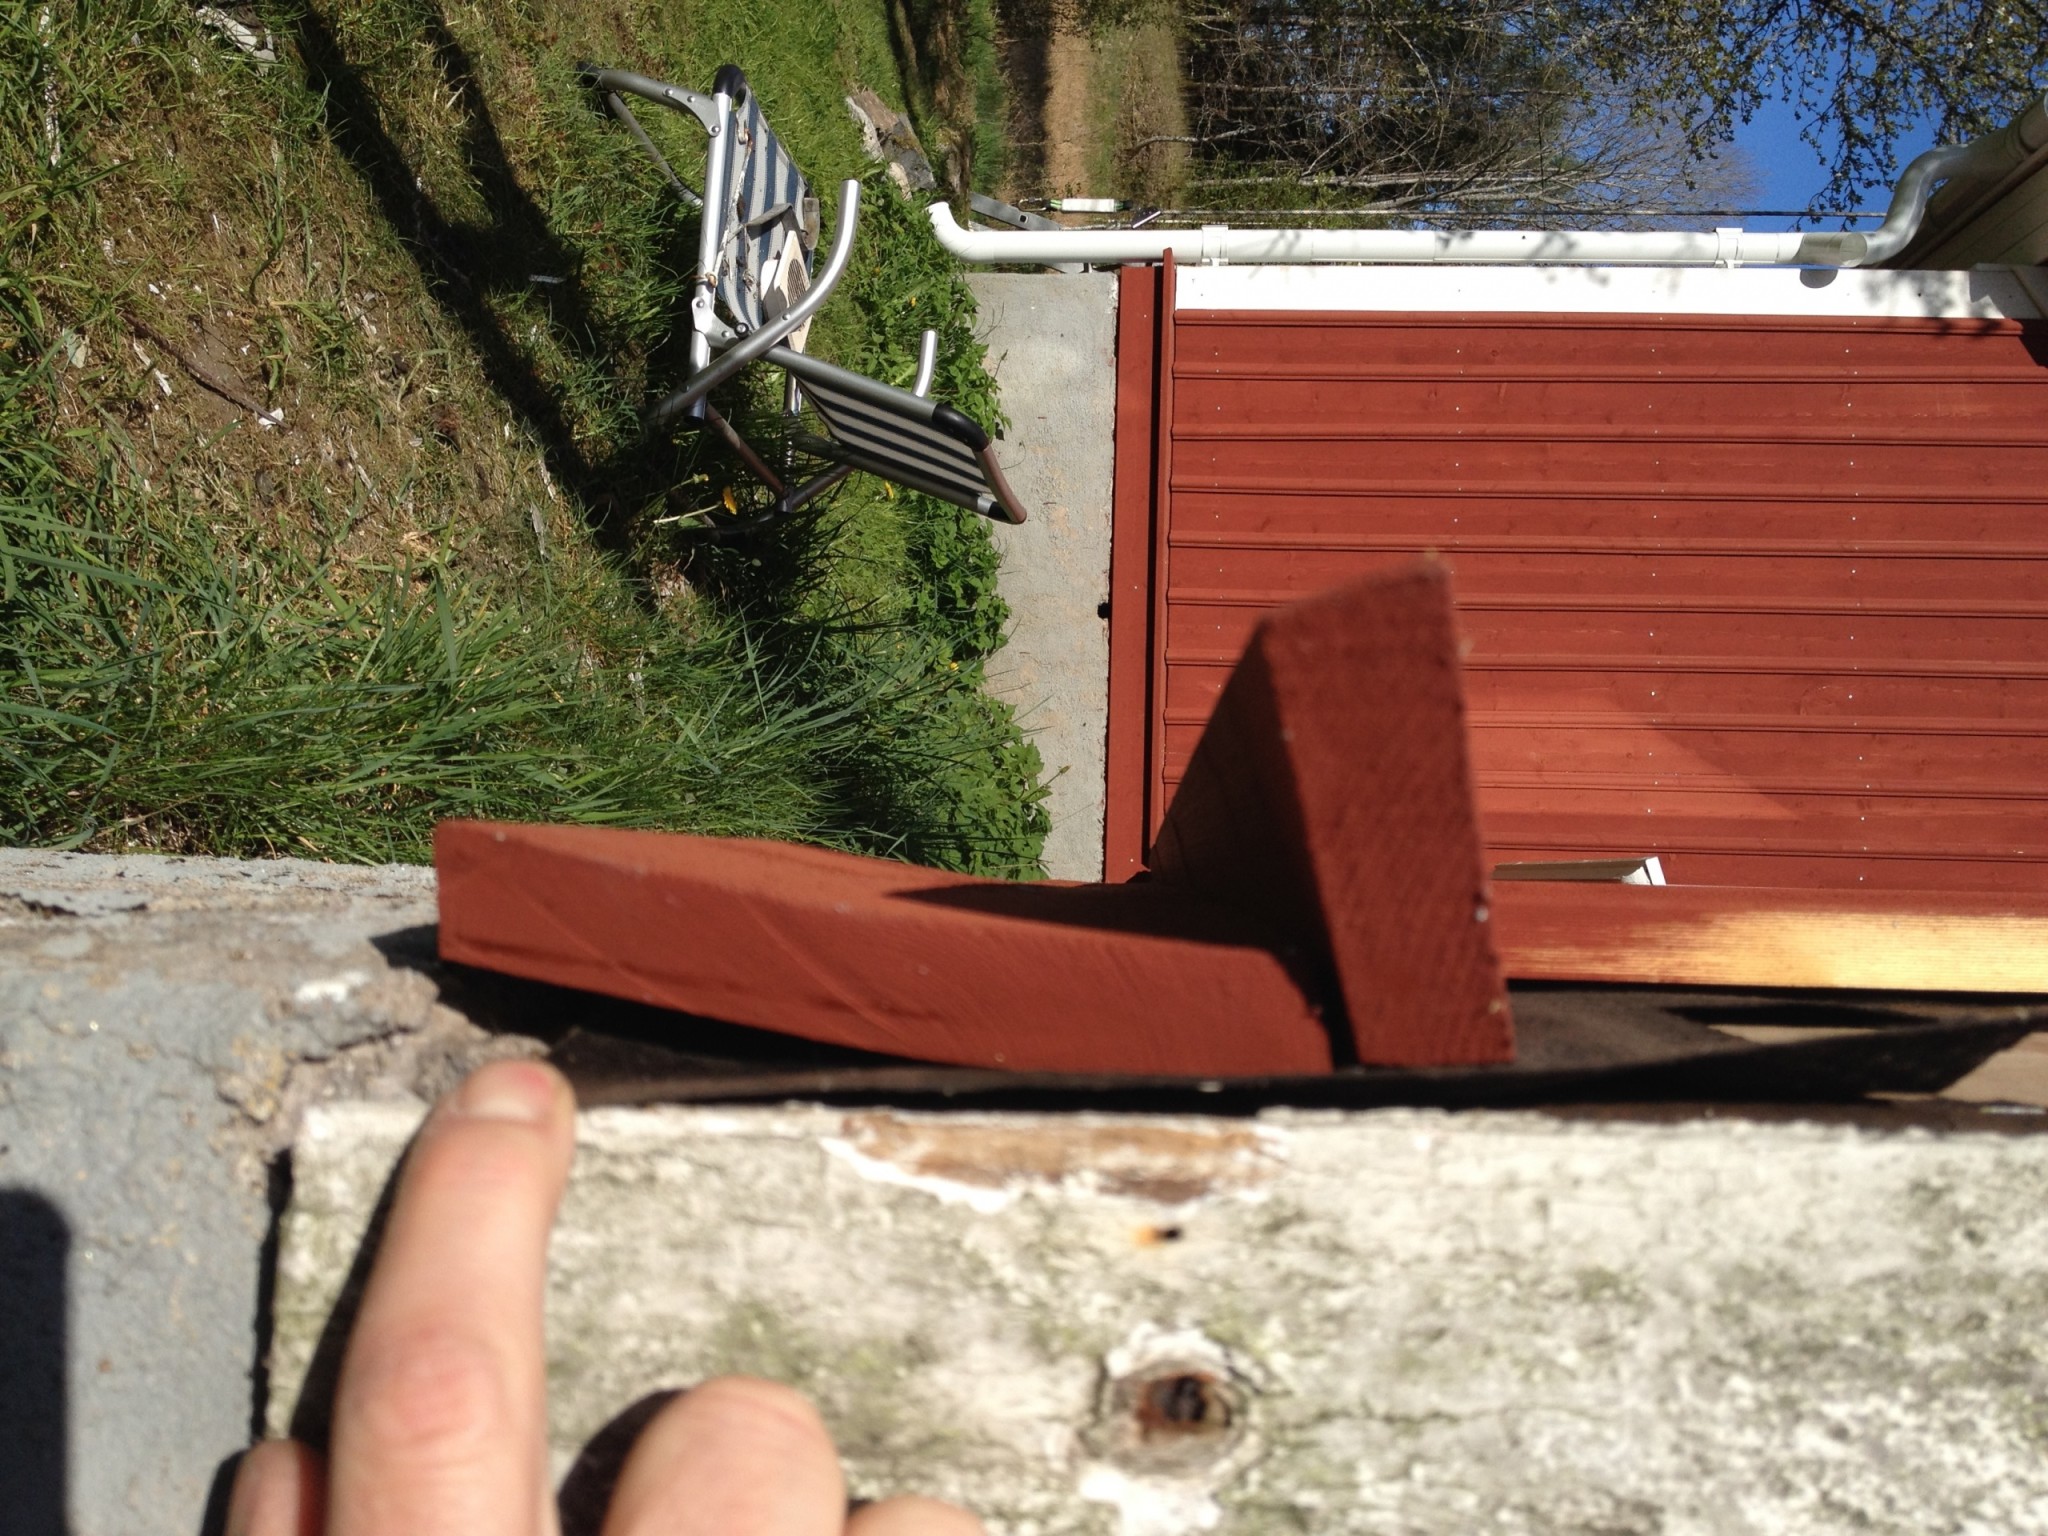
The second picture, the tilted one, doesn't look like the board has warped, but that it's fastened like that and goes outside the edge.
Otherwise, I don't think it looks completely abnormal. Wood behaves like that and "tries" to straighten out its growth rings. As mentioned, it might help to have oiled/primed the backside as well.
You can also put two nails/screws in each short end so that it won't warp, just like when laying decking! However, you might get a few cracks instead, which is preferable in my opinion as you'll have straight boards + you can simply paint over the cracks so they're less visible!
For my part, I never nail in the middle of the panel, it becomes a weak point when you put on the cover. The fact that all panels are like that is because they are planed, they always become concave towards the unplaned side. An advantage of unplaned panels is that you can turn them so the convex side faces out.
Two nails in each board would have minimized the problem.
I have read that two nails in each board means the panel is nailed incorrectly, causing it to crack as it cannot move. That's exactly what has happened to the panel I am now taking down. But I didn't foresee that the panel would warp..... The old one looks straight and nice. :-/
As for me, I never nail in the middle of the panel, it creates a point of fracture when you put on the cover
that all panels become that way is because they are planed, they always become concave towards the unplaned side
an advantage with unplaned is that you can turn them so the convex side faces out
Had I known, I would have bought unplaned. Unfortunately, everything is already purchased.
Do you nail off-center in a vertical line or do you vary where you place the nails on the panel board?
You can also put two nails/screws in each short end to prevent it from warping, similar to when laying deck boards! However, you might get some cracks instead; I prefer this as you get straight boards and you can just paint over the cracks so they are less visible!
On my old panel, it's clear that two nails in each board have caused them to crack and the end grain has rotted, so it doesn't feel entirely okay to place two nails in the most sensitive and exposed part, the end.
Seems like I'll have to live with concave boards! I hope those that have been indoors drying for a year won't warp as much.
If I had known, I would have bought unplaned. Unfortunately, everything is already purchased.
Do you nail off-center in a vertical line or do you vary where you place the nail on the panel board?
I try to place the bottom panel with such a large gap that the lid's nail doesn't attach to the bottom panel.
Fasten the bottom panel with 63X 2.3 so it doesn't crack so easily, and pre-drill the lid at the ends.
NOTE no nail gun. Nail with feeling.
The baseboard is nailed in a zigzag pattern on each nail rule and then you make sure to get the lids on as quickly as possible, and you nail them so that the nails do not hit the baseboard, minimizing banging and cracking.
It shouldn't rot in the end grain even if it's cracked, as long as you bevel the end downward and the end is not in contact with the ground! At the summer cottage, there are boards that are 20 years old now...a few cracks (20 years is nothing if you do good groundwork and oil where it's sensitive), but we always let the end grain side stand in oil overnight or at least soak it in oil a couple of times before painting!

")