Perfect, then I'll look for the ball-peen hammer that's in storage and do this
Absolutely, then you'll learn a bit of blacksmith work. But take it easy and see how the sheet metal reacts to your hammer blows. A tip could be to have a small anvil, through the hole and hammer against it. But it should definitely work fine with light taps with the ball-peen hammer. You can also easily tap the sheet metal so it becomes almost like new.
Some complications with the construction mean that I have to chisel up and recast the concrete foundation. Therefore, I have paused the work until spring. Will post updates then!
Hello everyone, the weather is starting to warm up so I hope the repair project can start again soon. Posting pictures
I will need protruding studs in the new concrete base and then screw the post's base plate with nuts. But I can't find a suitable bolt for embedding! It feels a bit silly to drill holes afterwards and use expansion bolts.
Is there a type of bolt available to buy that, for example, has embedding flanges similar to post anchors for embedding?
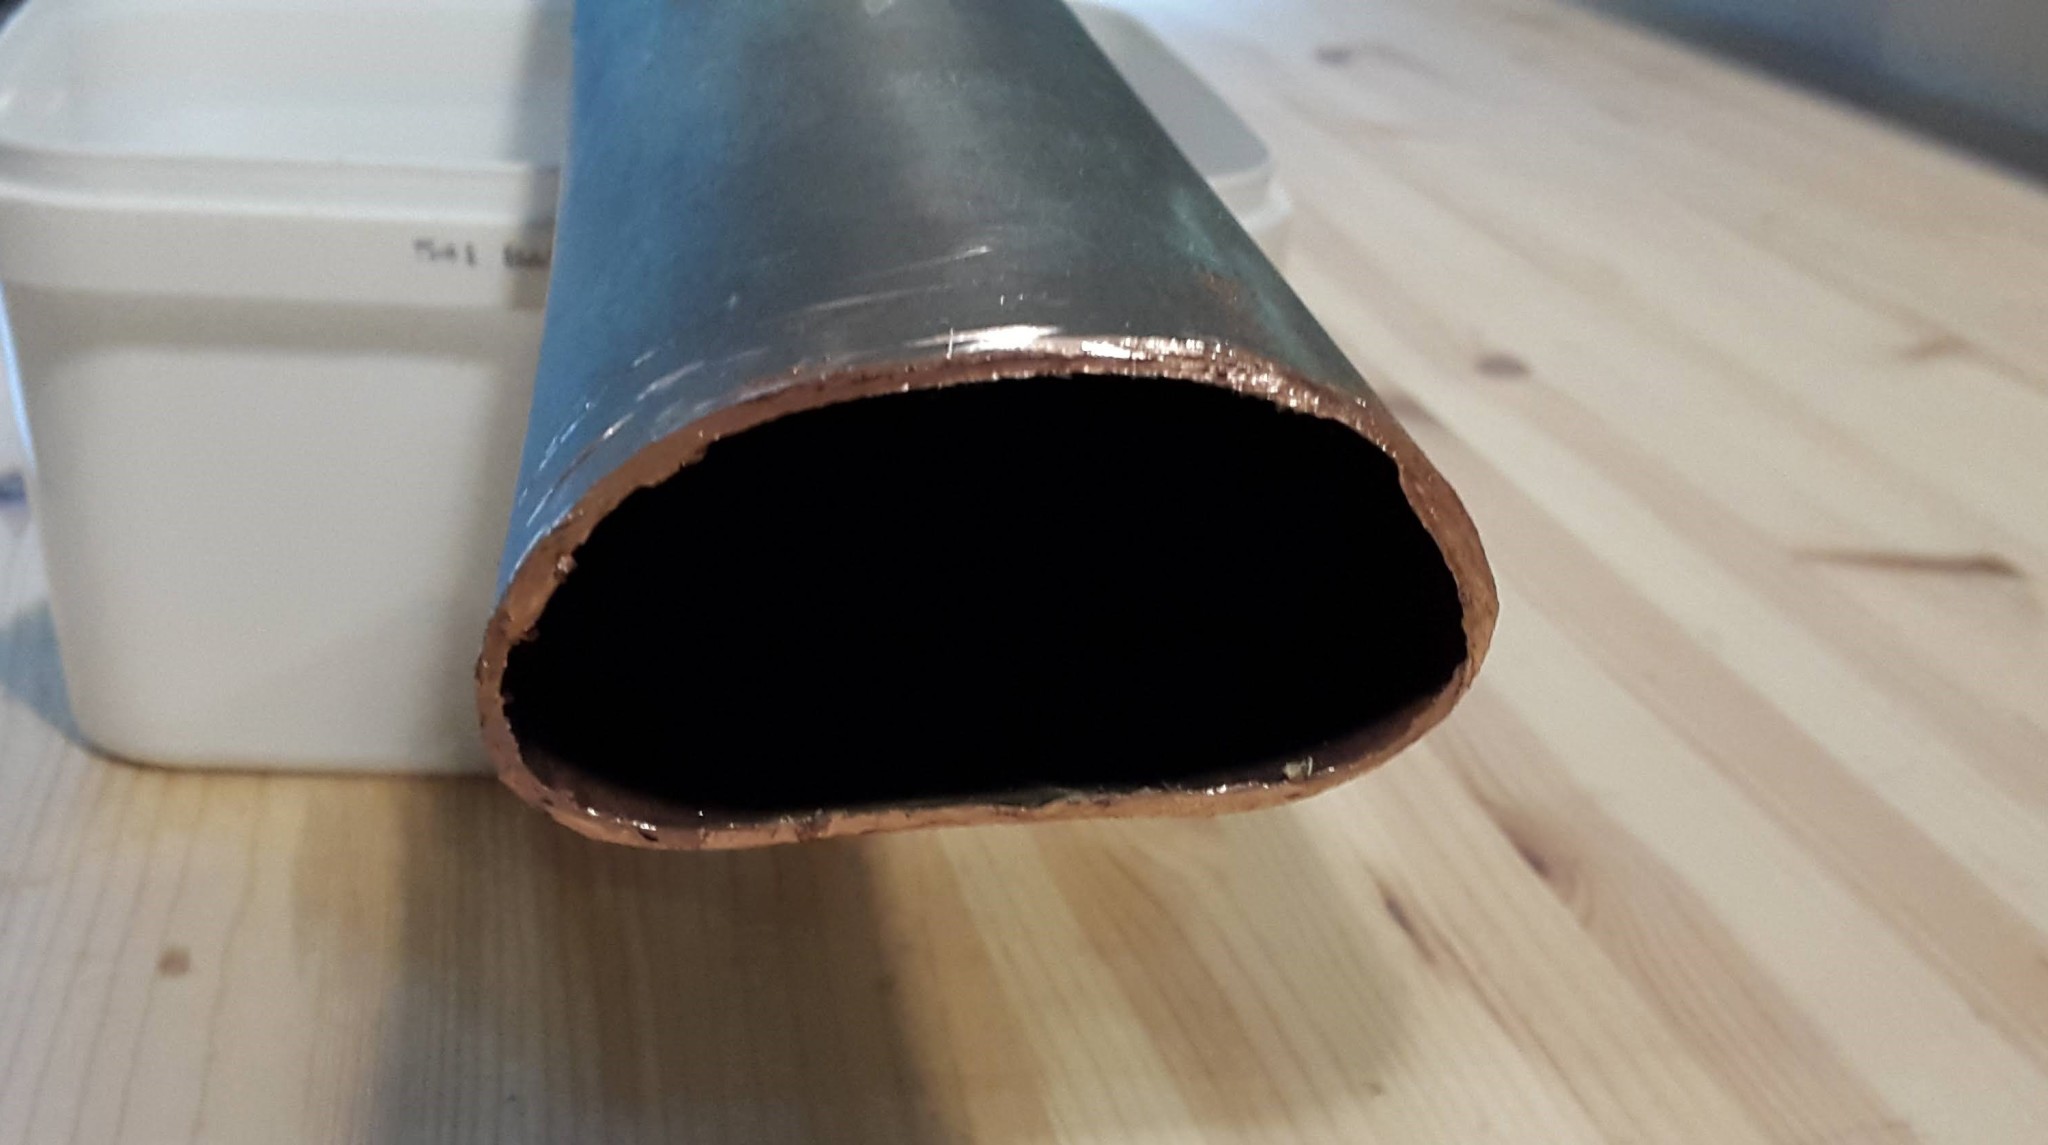
It looks like a pipe-in-pipe construction. Many solderings are typically done with capillary pipes. It is probably difficult to just replace the damaged part without reinforcing in some way. What is the inner dimension? Can one fit a pipe inside so you can use an external joint without a coupling? This pipe must also not flatten so that the soldering breaks when it is windy.
I cut off the "bend" and cleaned up the pole ends. I wanted to cut off as little as possible, so one end was still a bit oval:
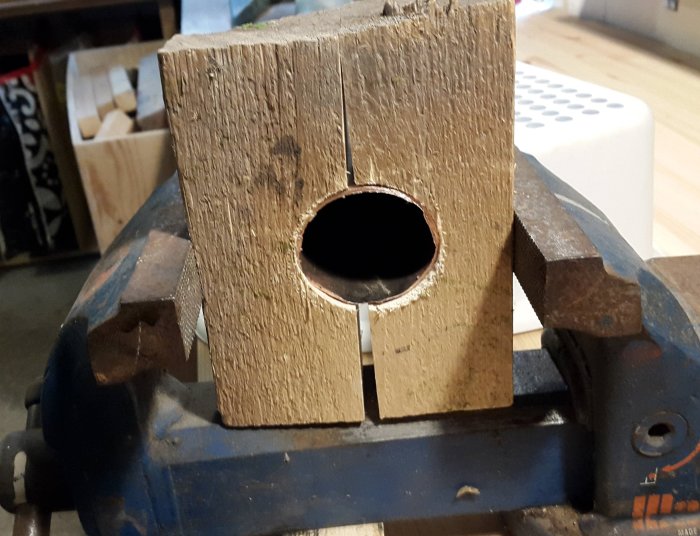
I fixed that by making a small pressing mold that I placed in the vise:
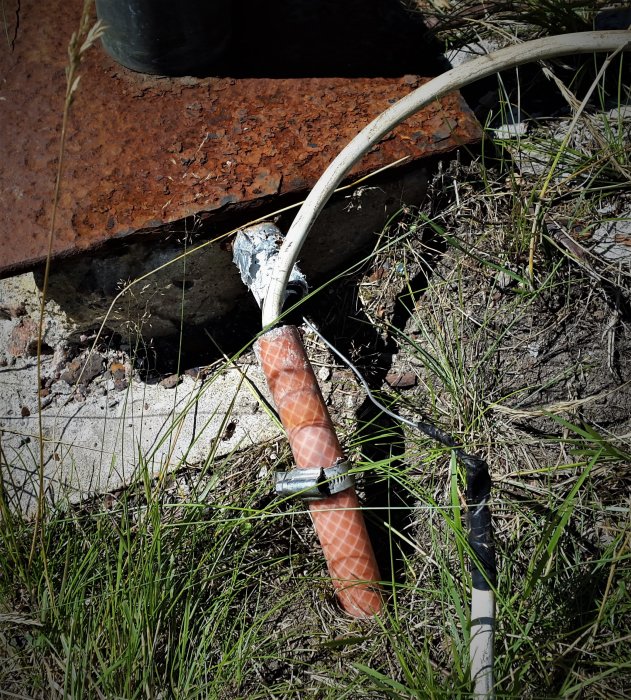
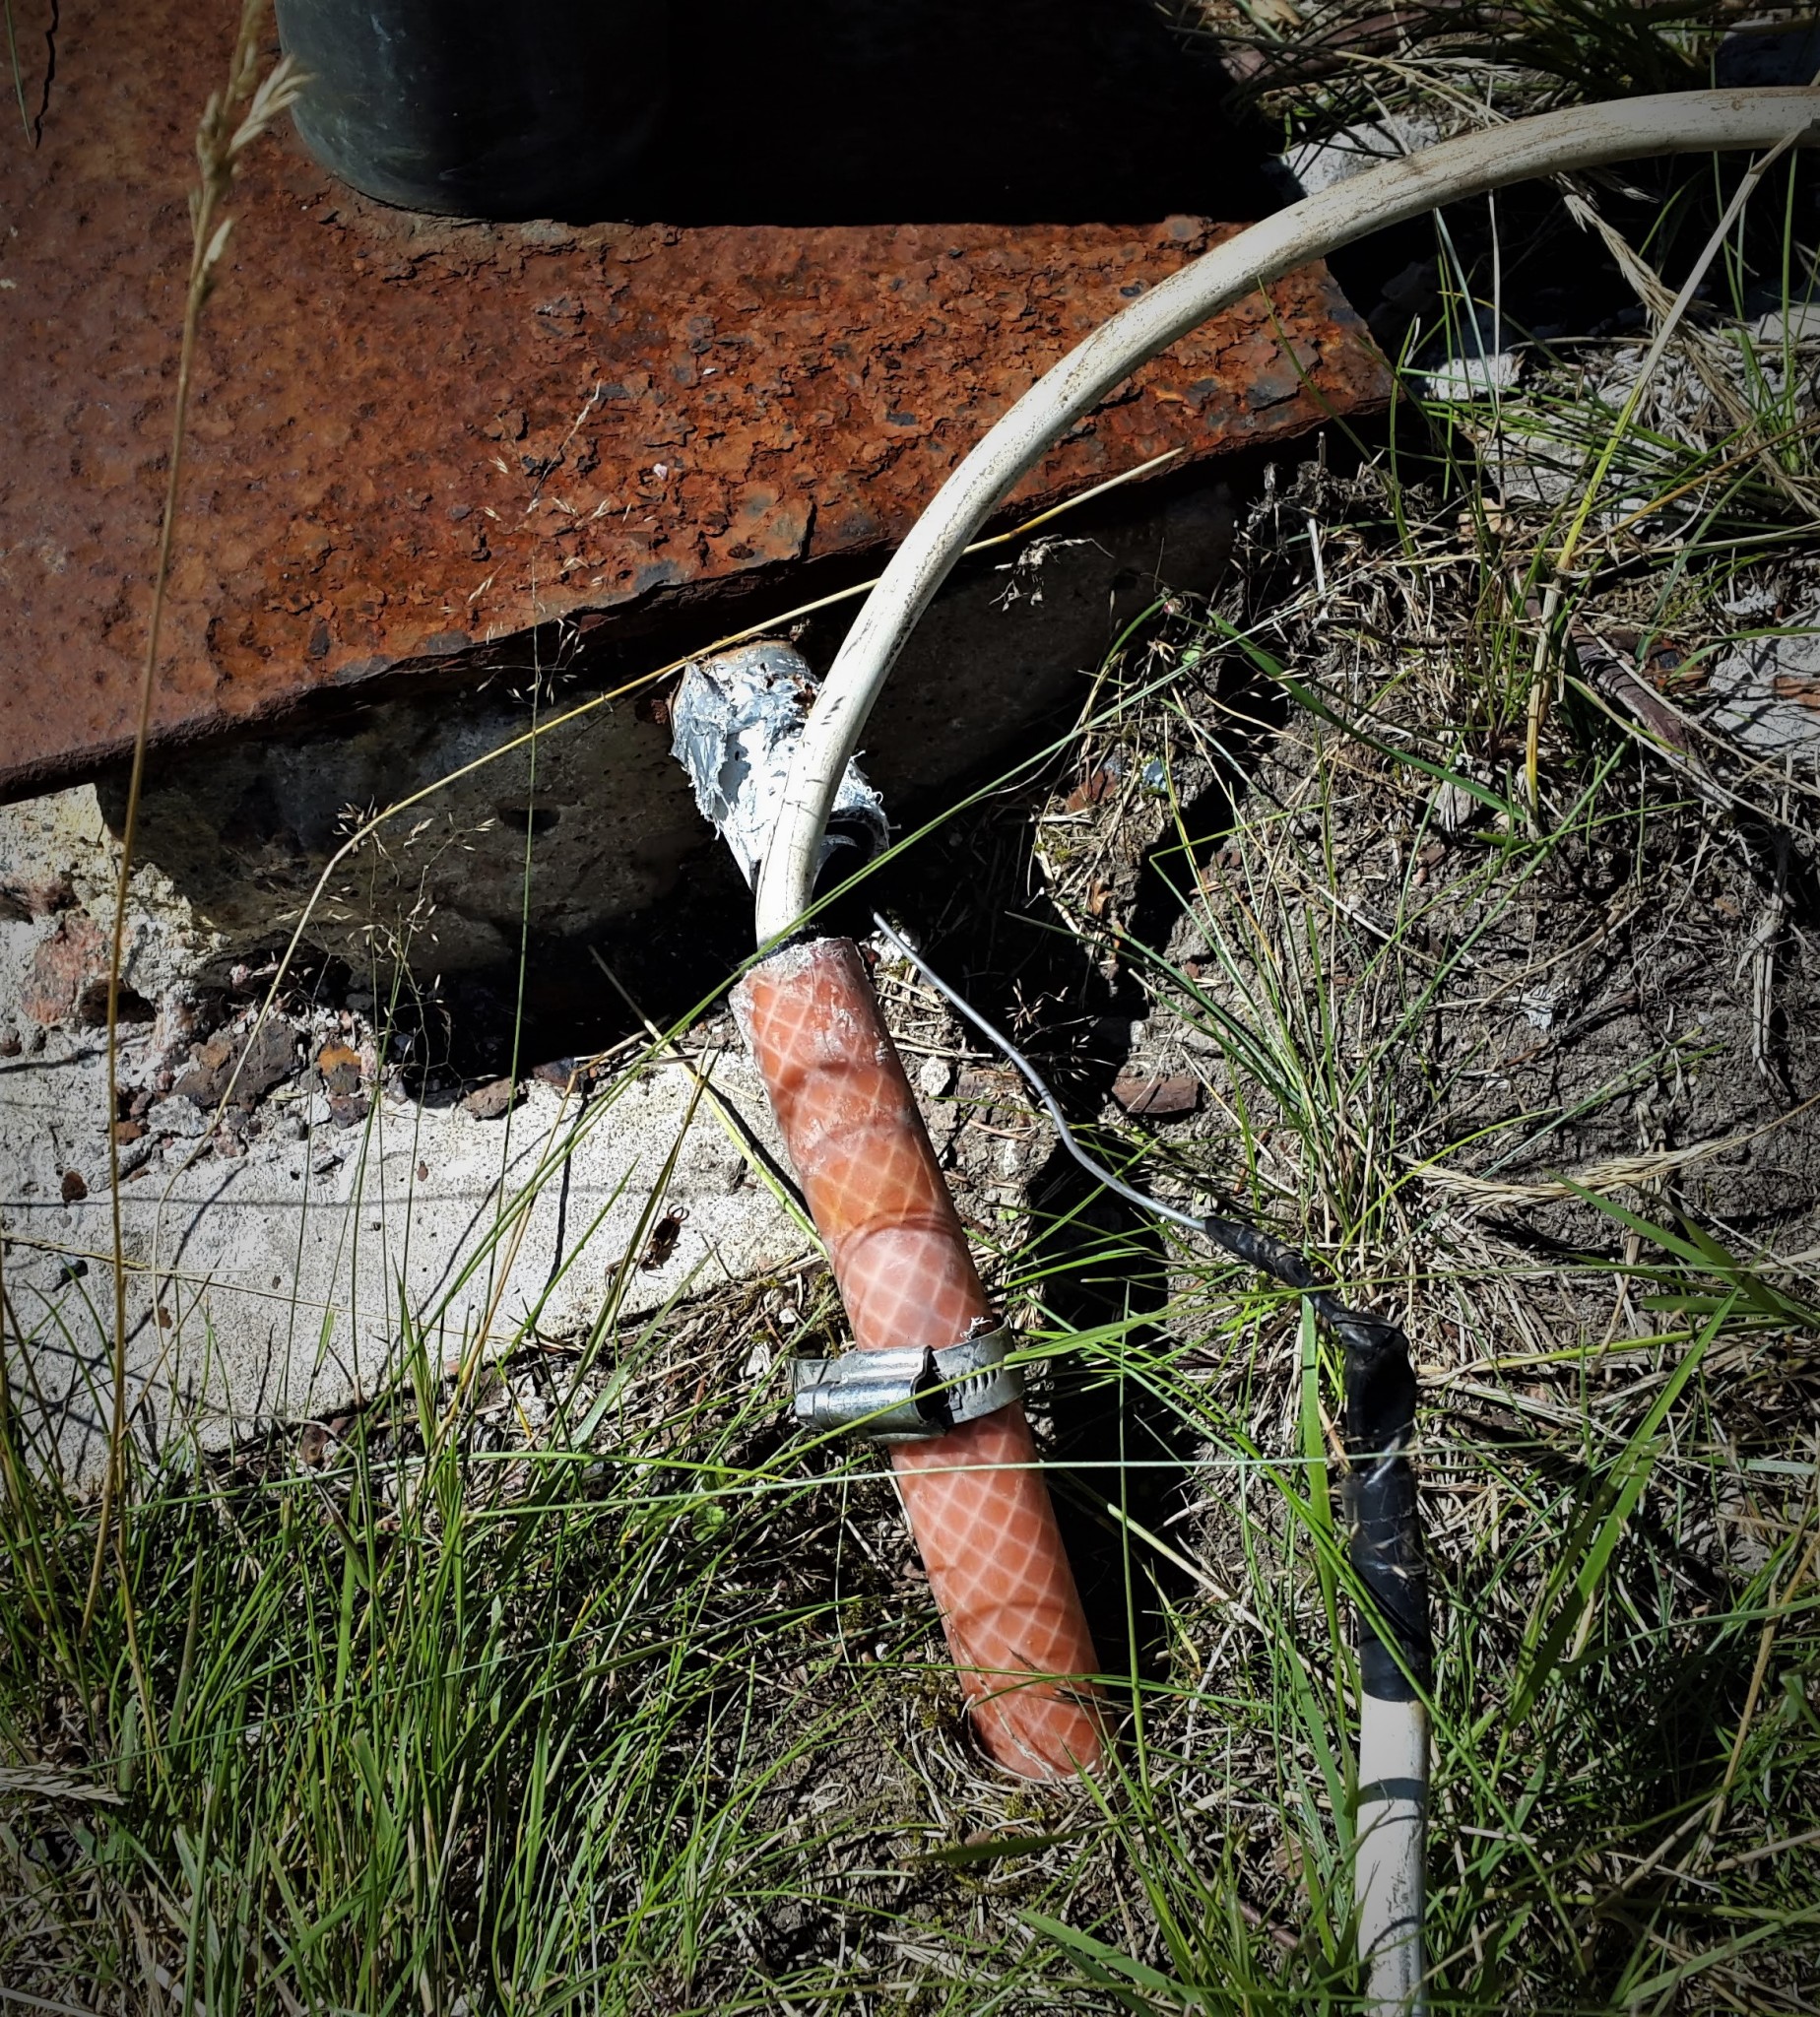
Before soldering, we had to remove the electrical cable from the pole since the cable would otherwise burn up from the heat. We attached it with a stainless steel wire threaded through all parts to easily pull the cable back later:
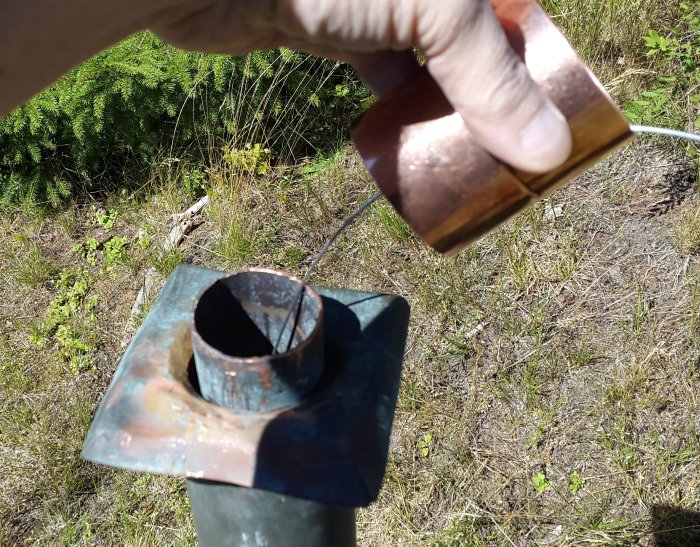
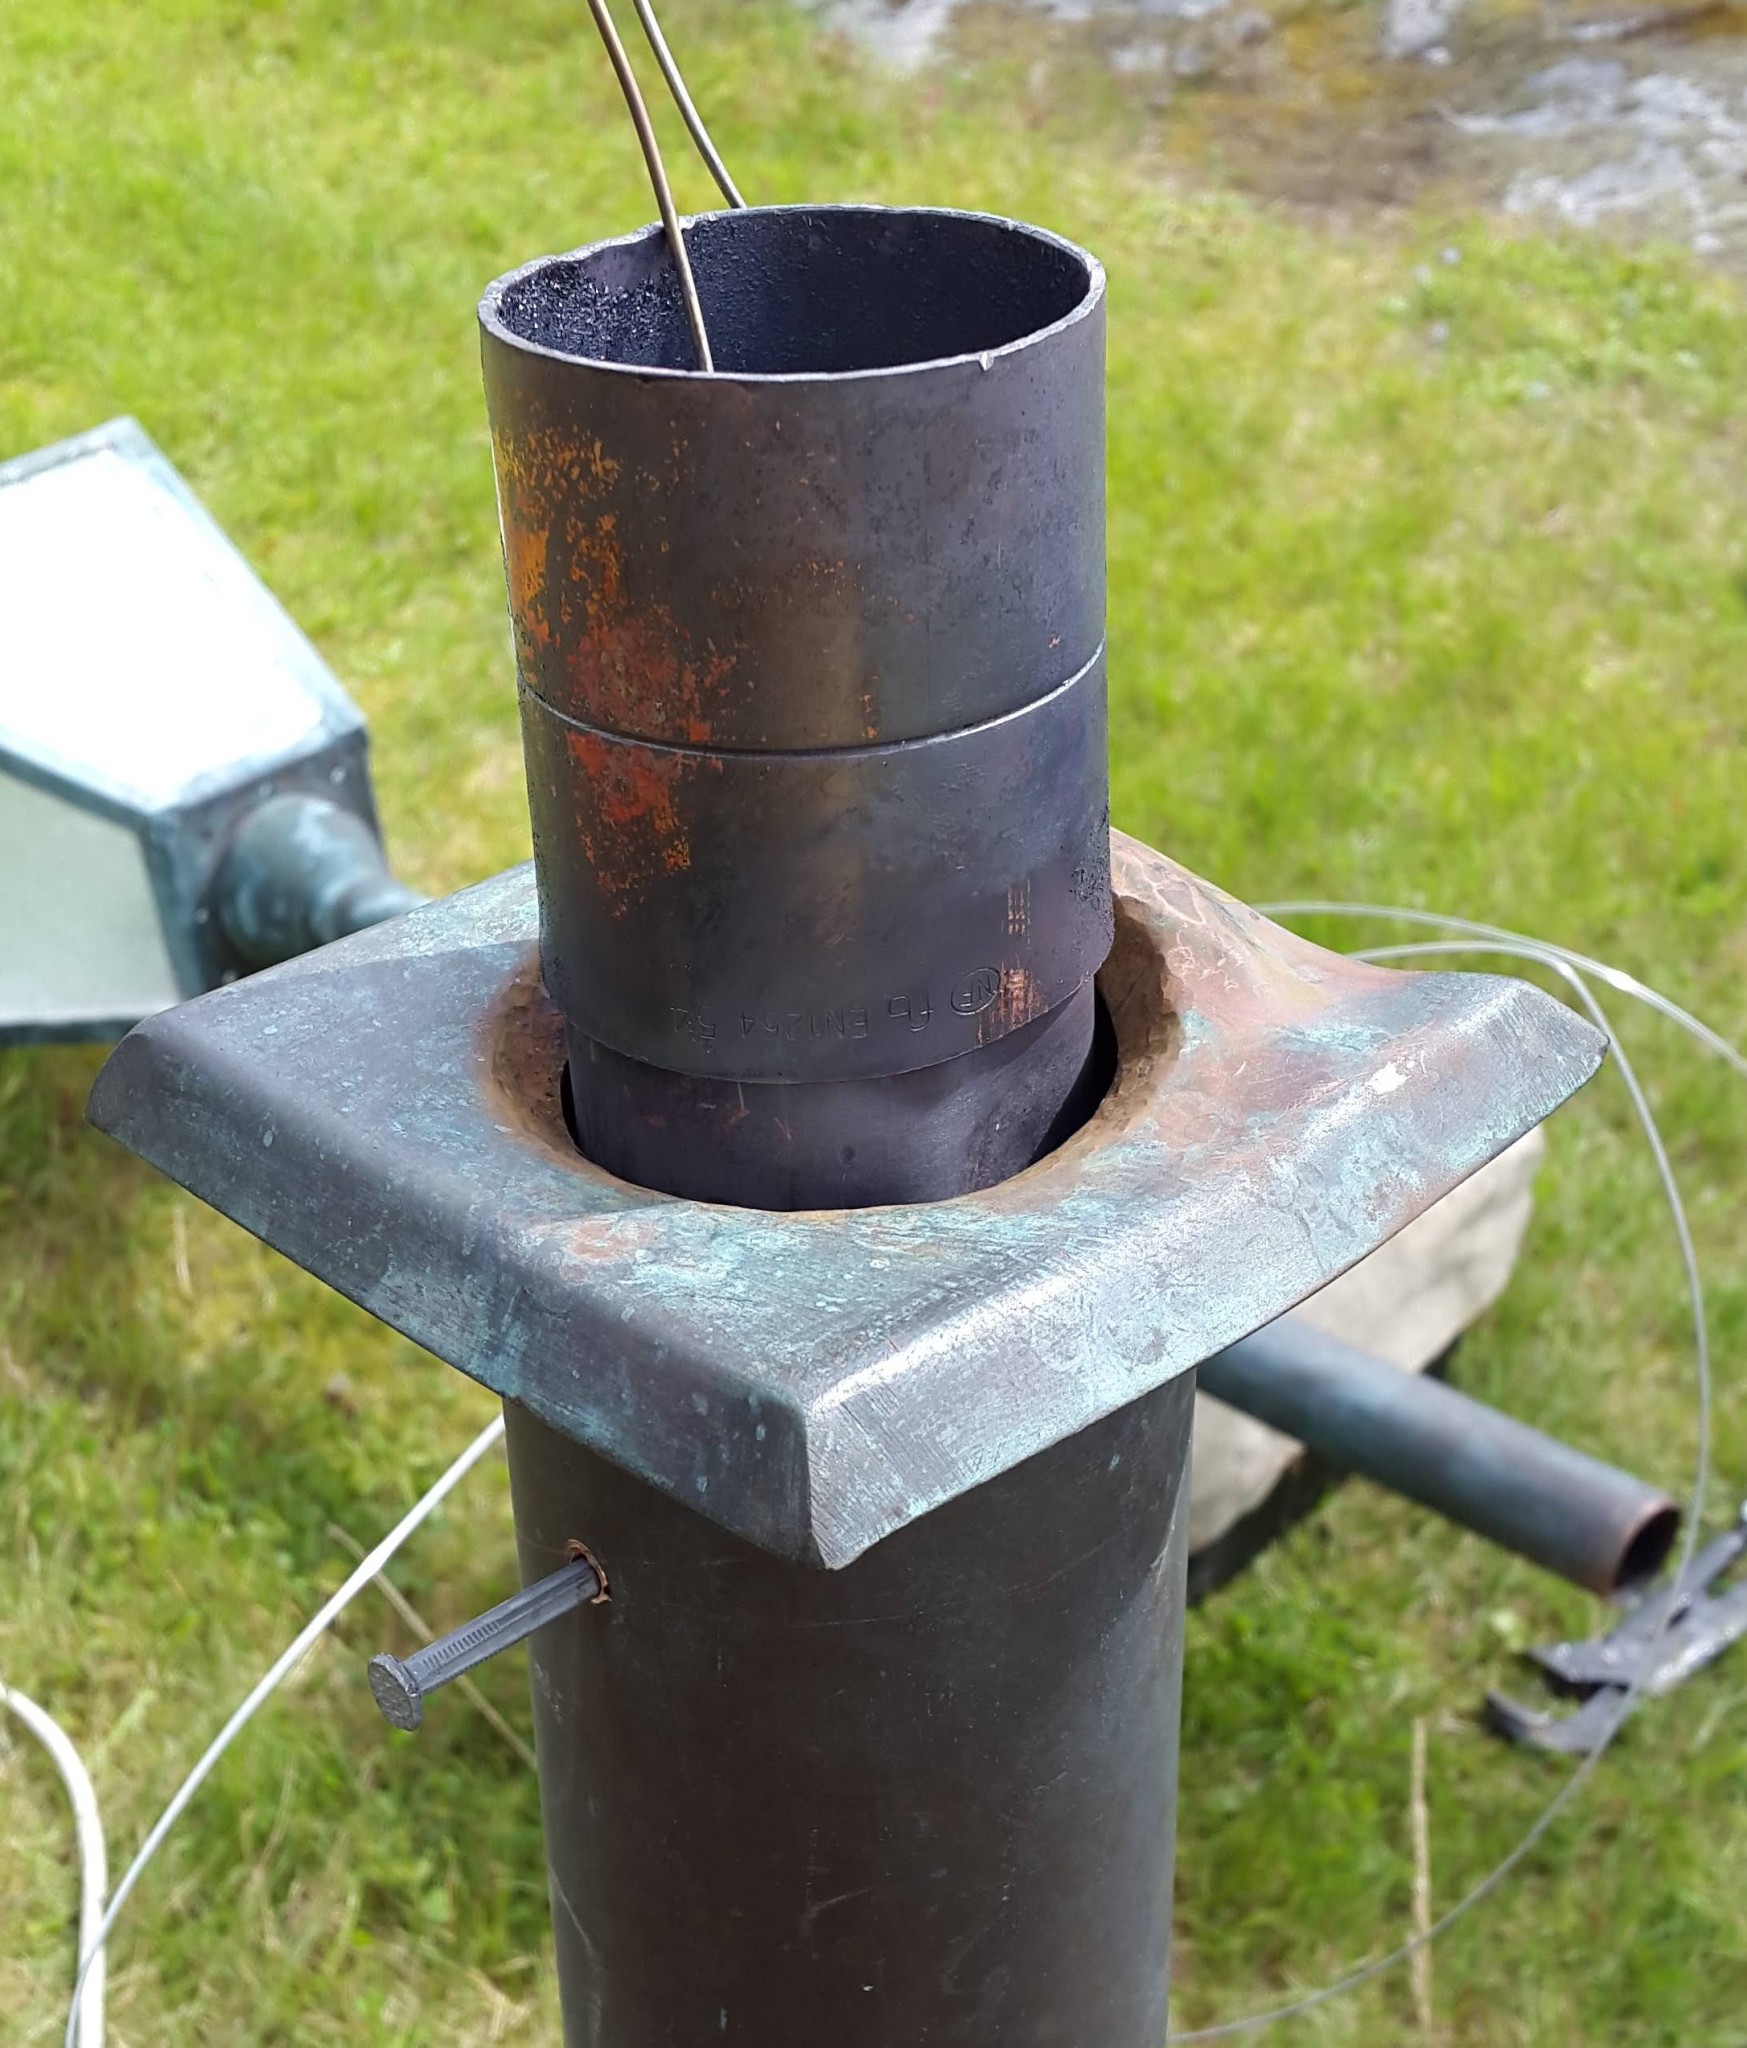
Then we started assembling everything, and we had to soften the joint piece with a little heat to fit it with the not perfectly round pole ends. Here the joint is heated on the lower part of the pole:
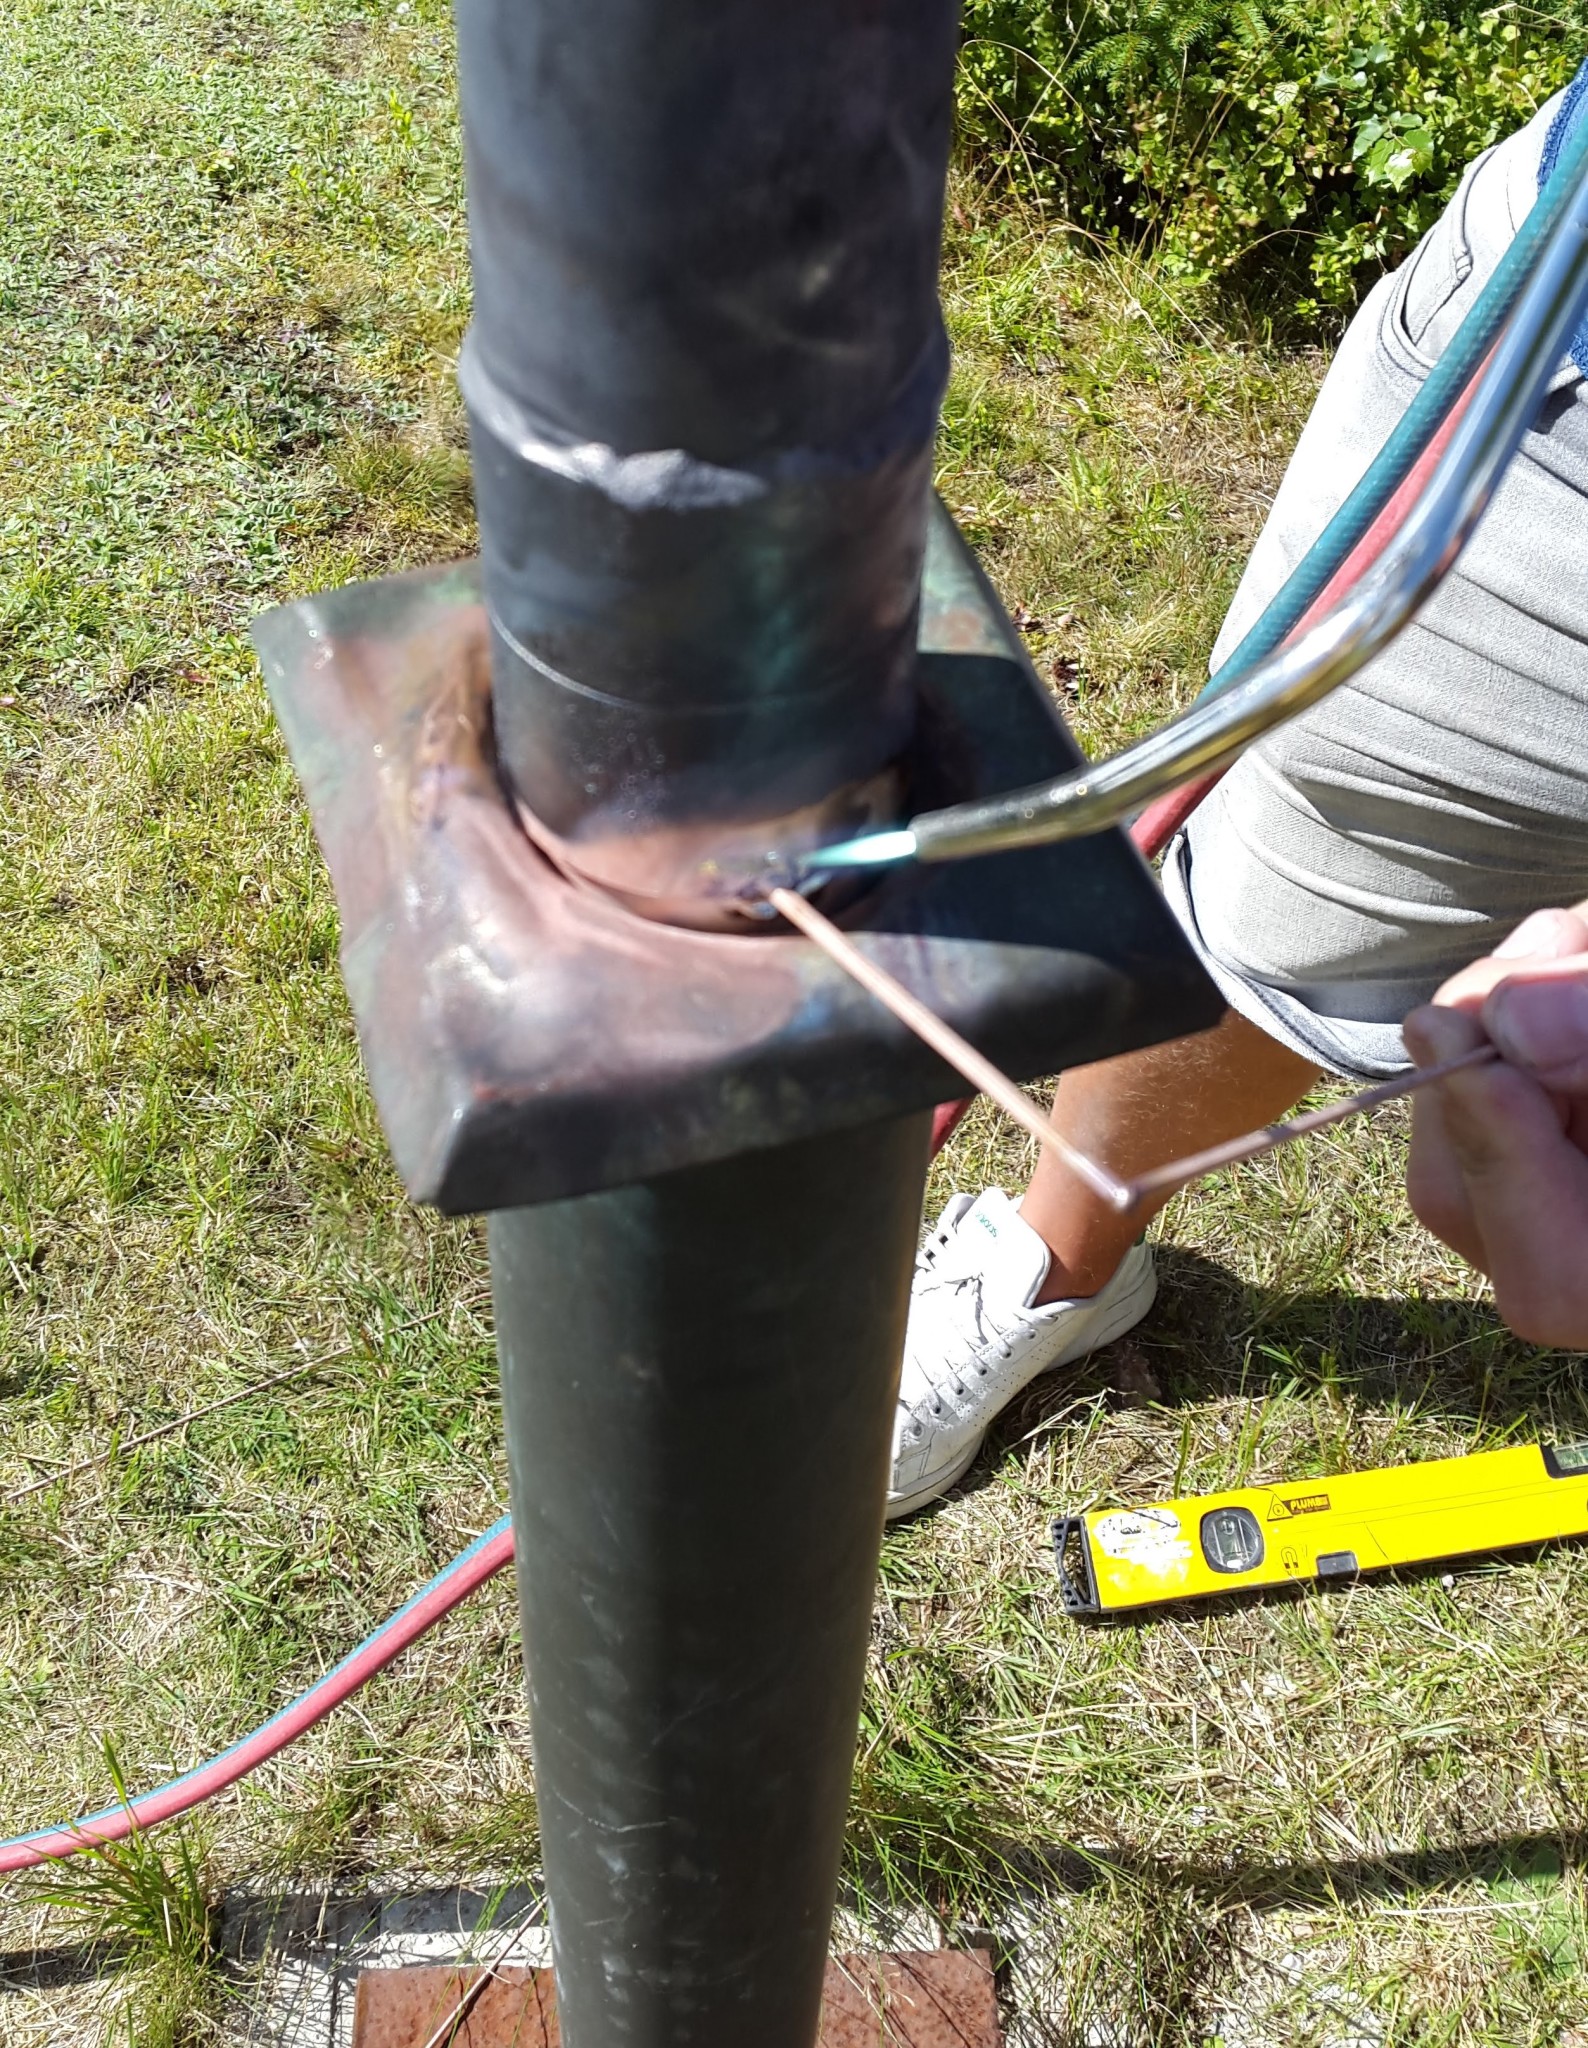
Here we have heated and soldered the upper pole part and are about to capillary solder the lower joint:
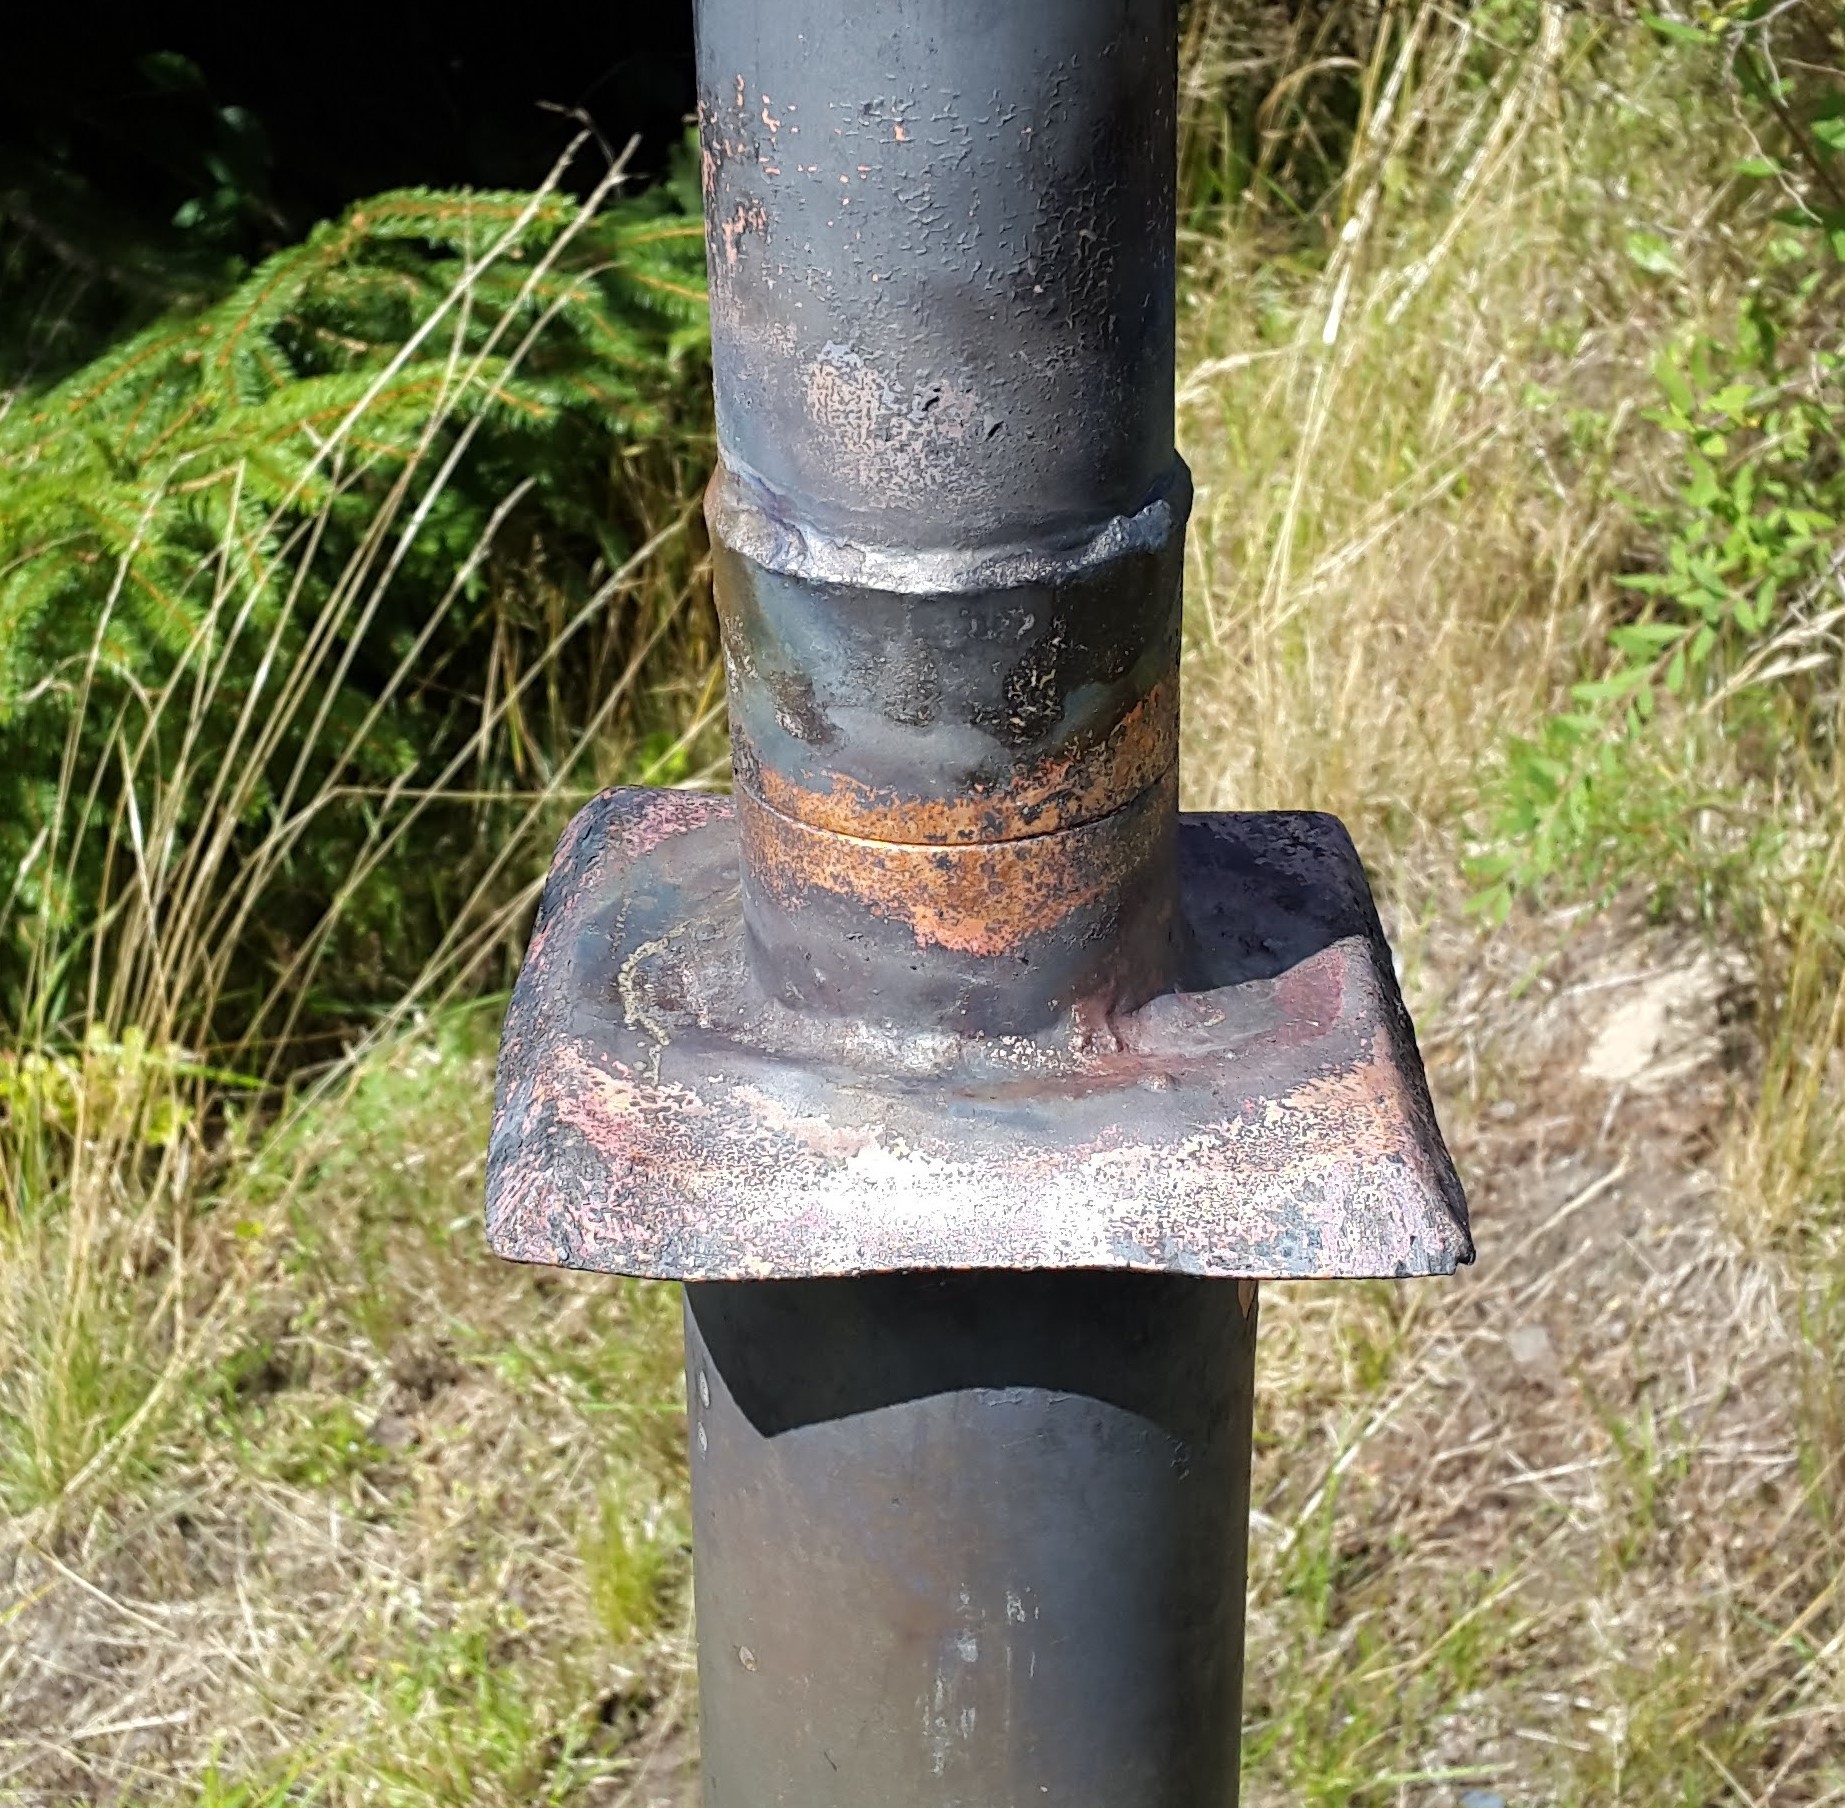
Here is a close-up of the finished soldered joint:
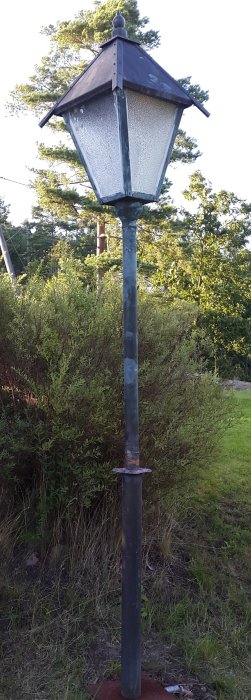
And here is a picture of the fully repaired pole with cable inserted, connected, and ready: