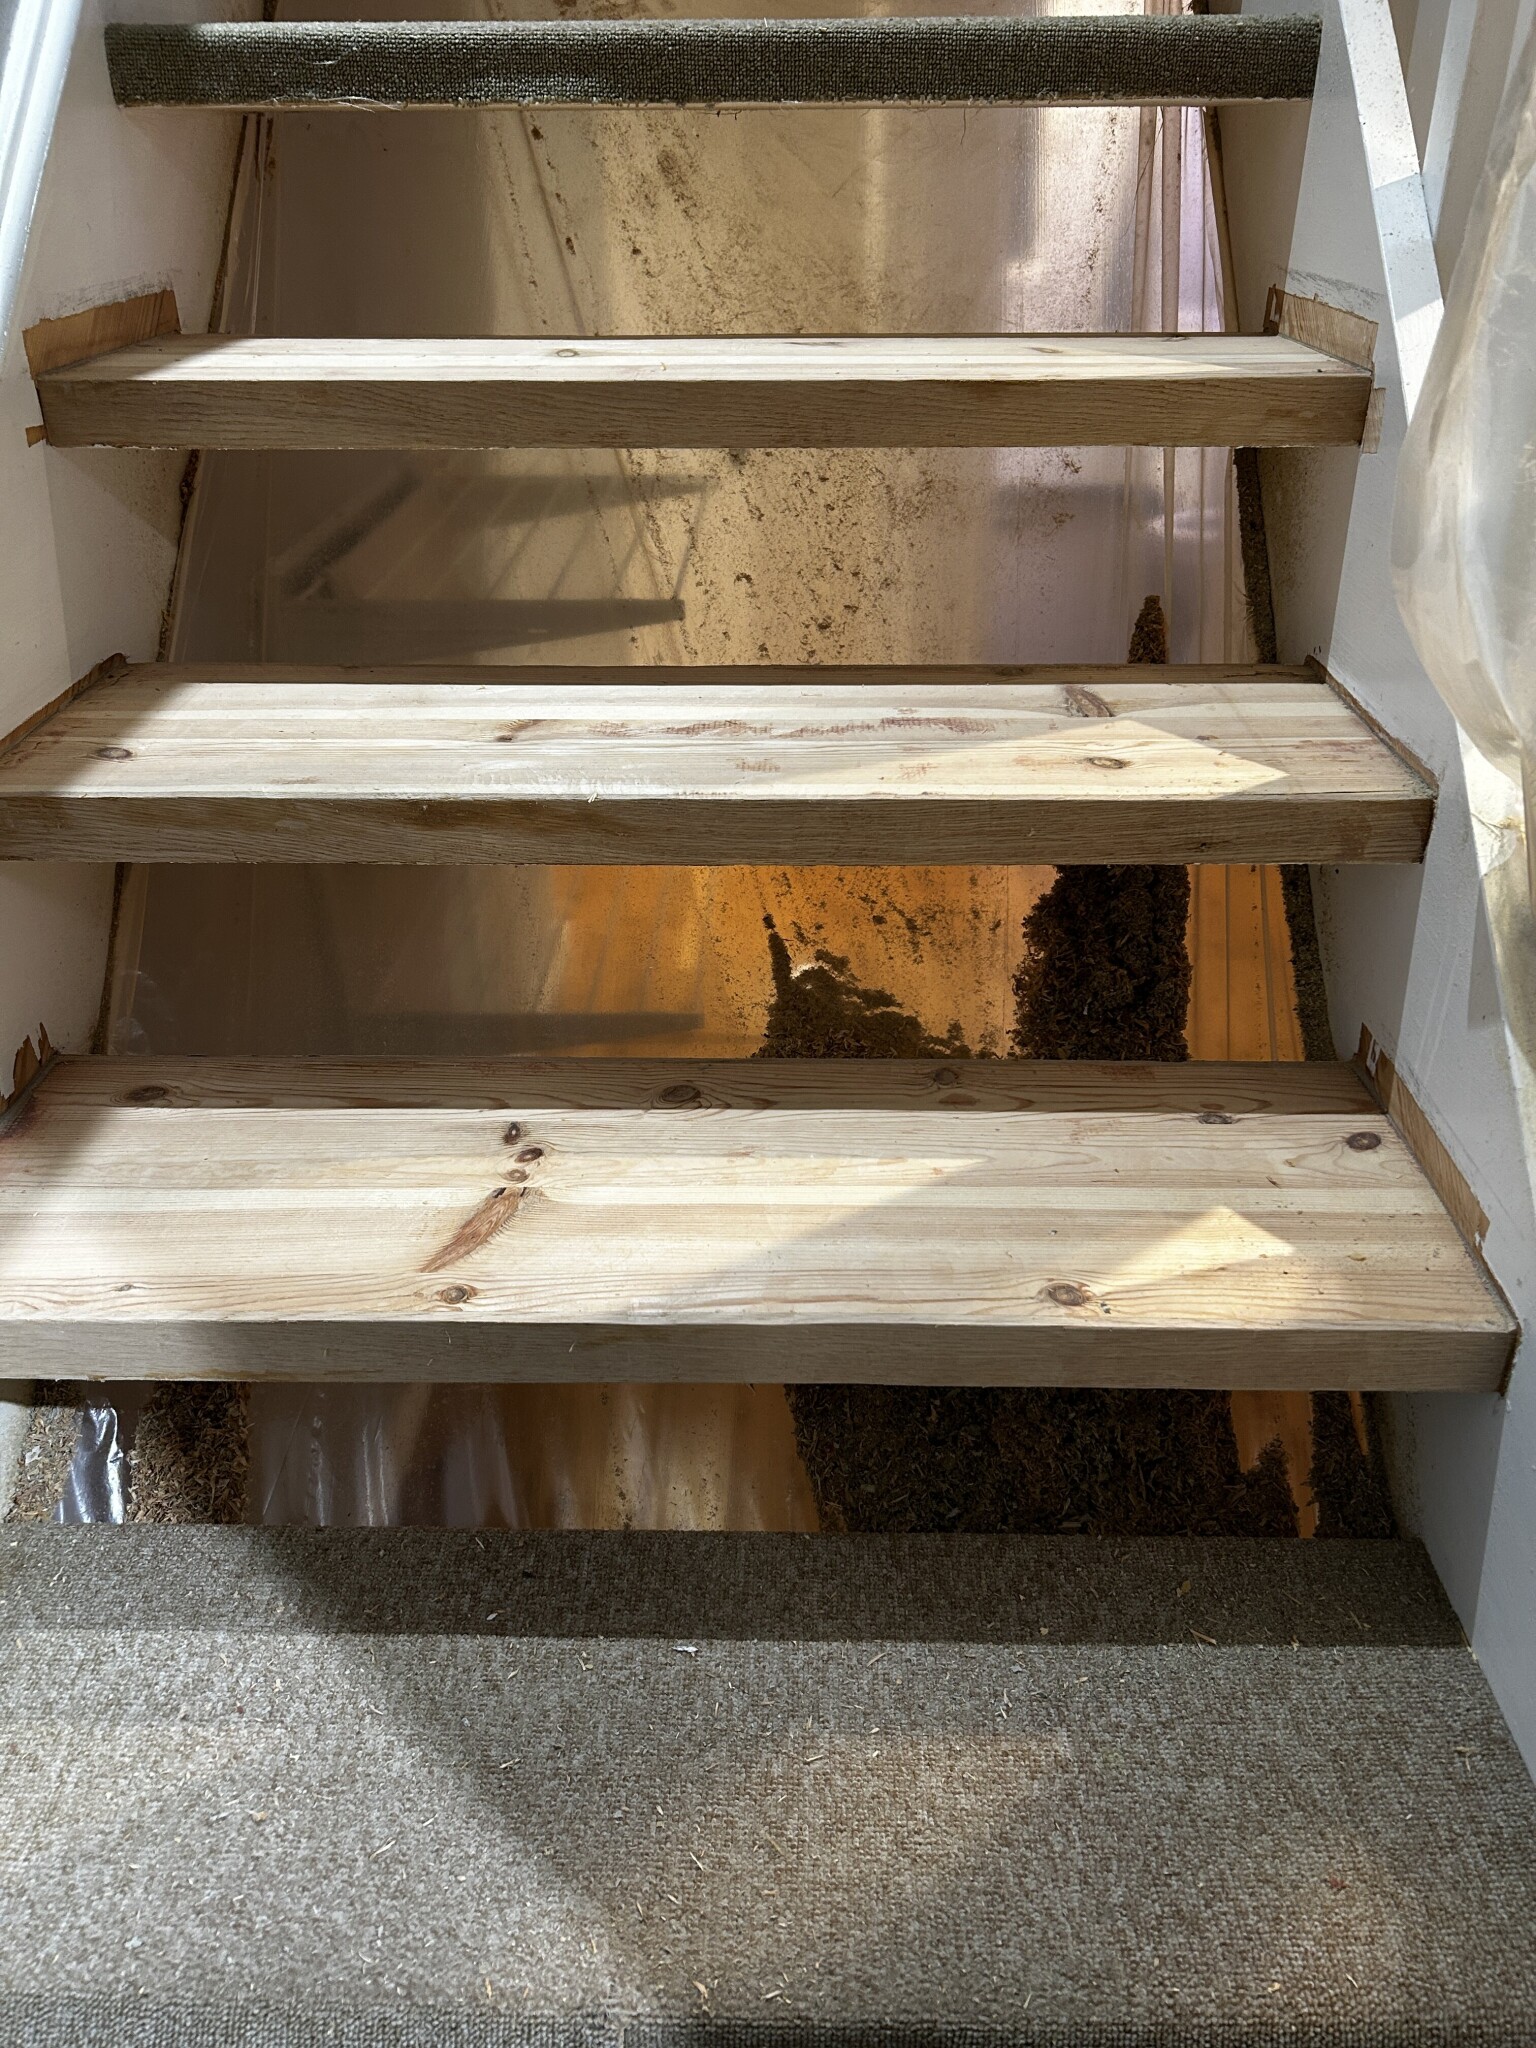
Hello forum! New year, an old-new project. We have a staircase where the steps need refreshing. Accidents with small children have led to the removal of some carpets.
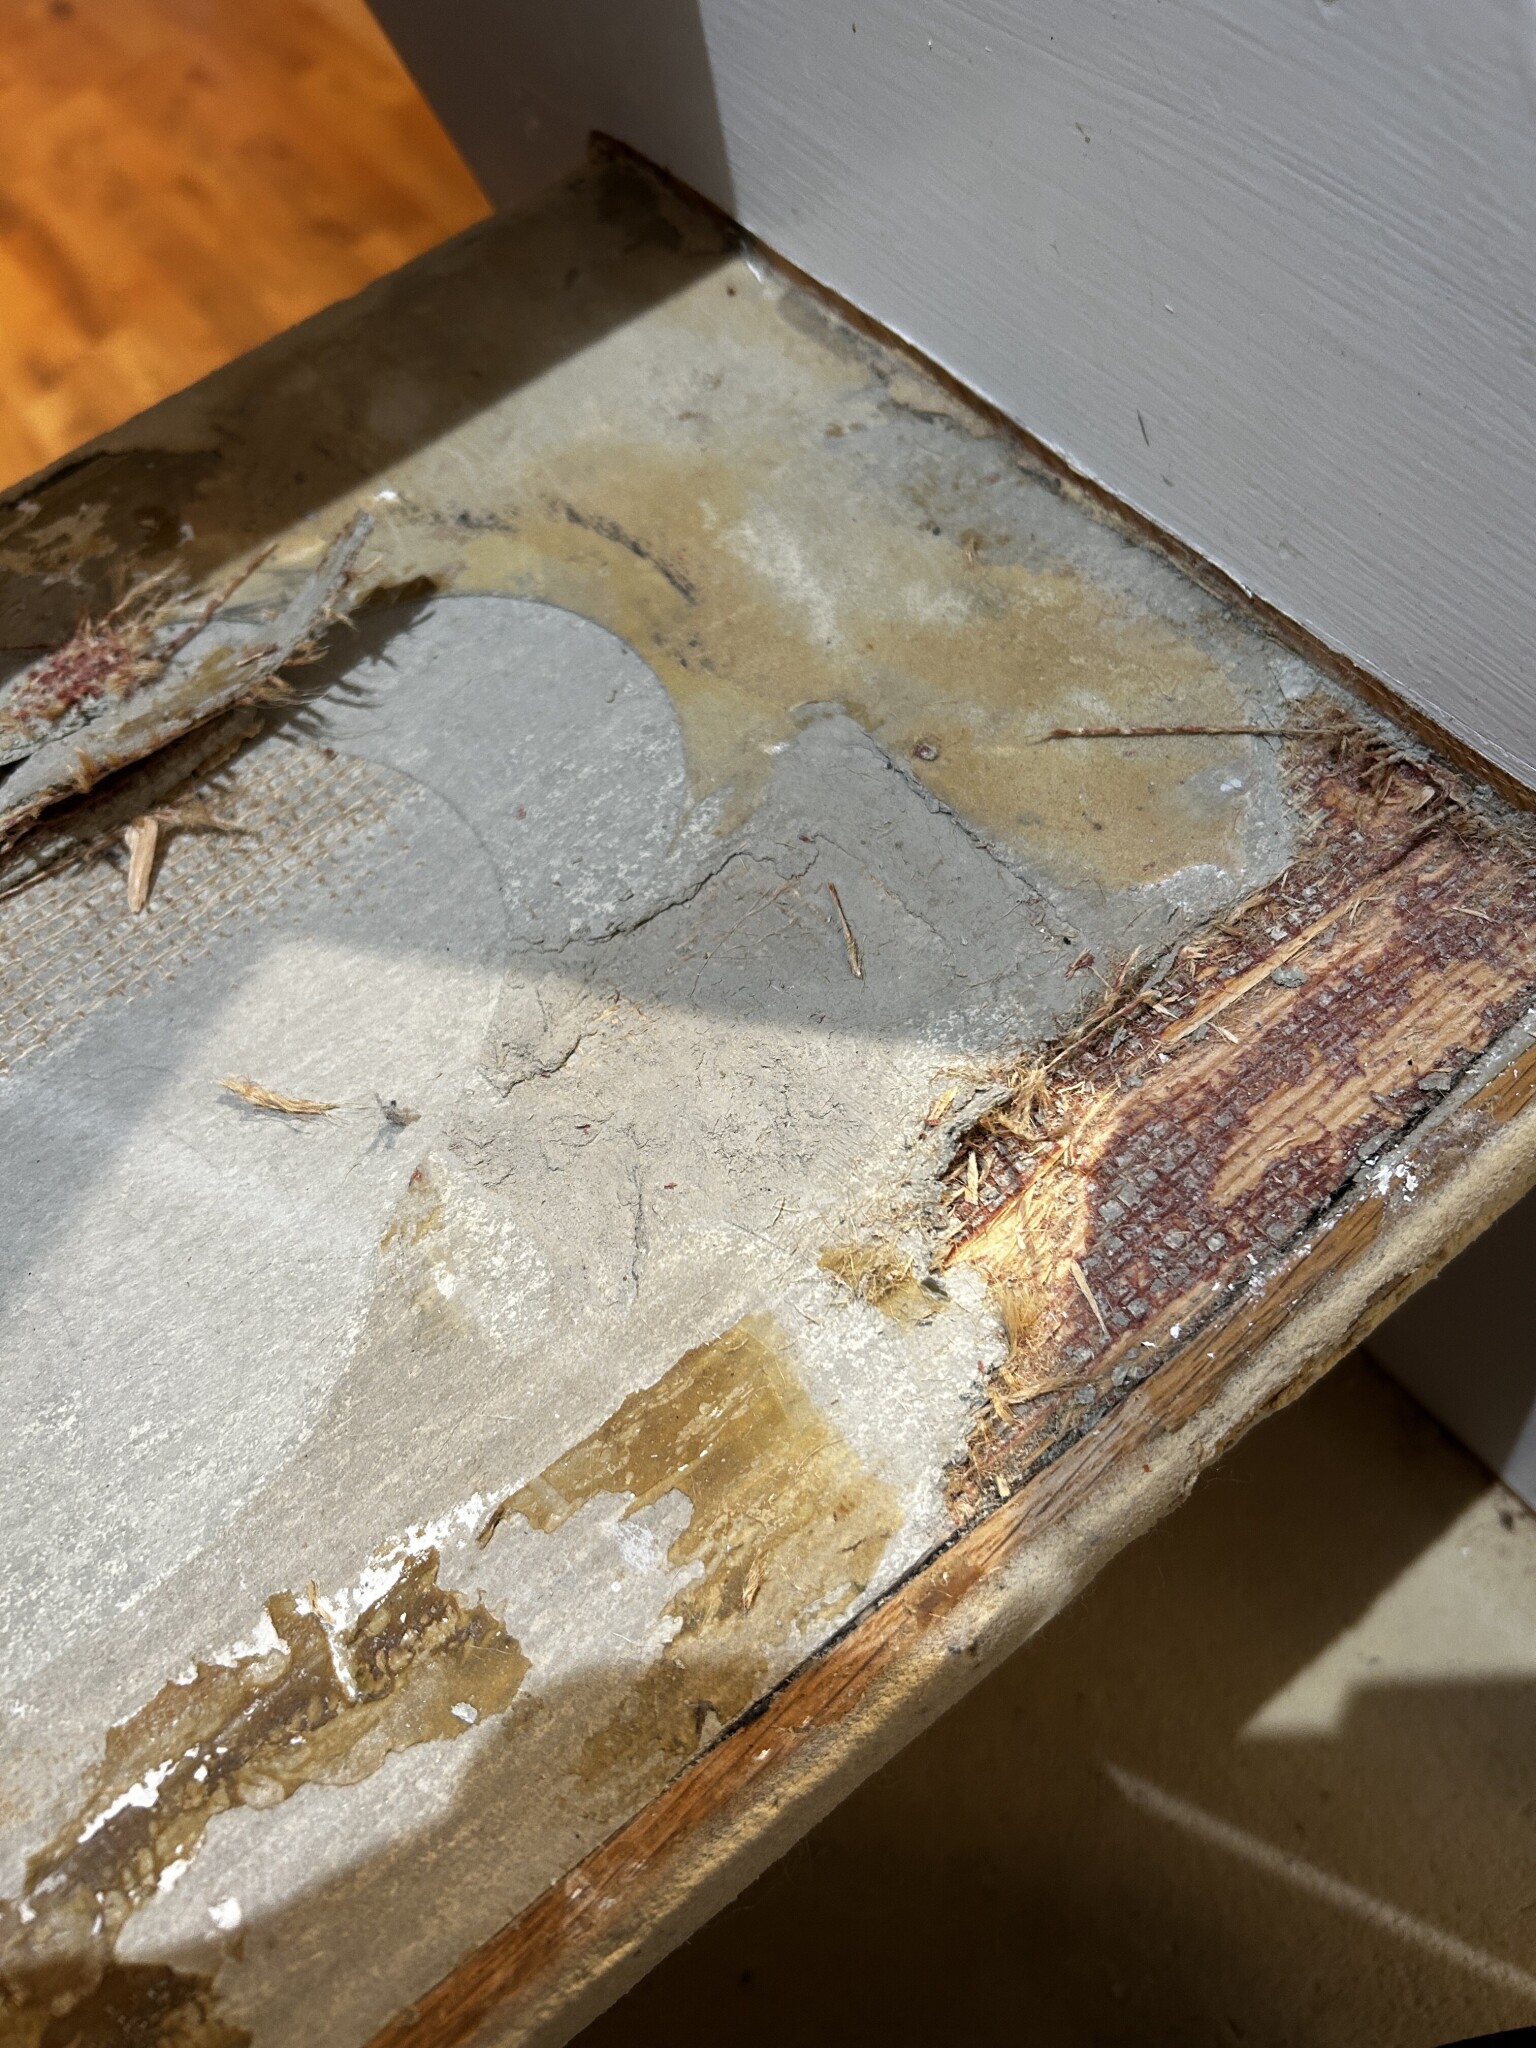
Under the steps, there's some old form of linoleum and glue residue that I've been trying to figure out how to remove or counter to be able to renovate by either carpet or preferably new steps on top of the old ones.
So to my thoughts:
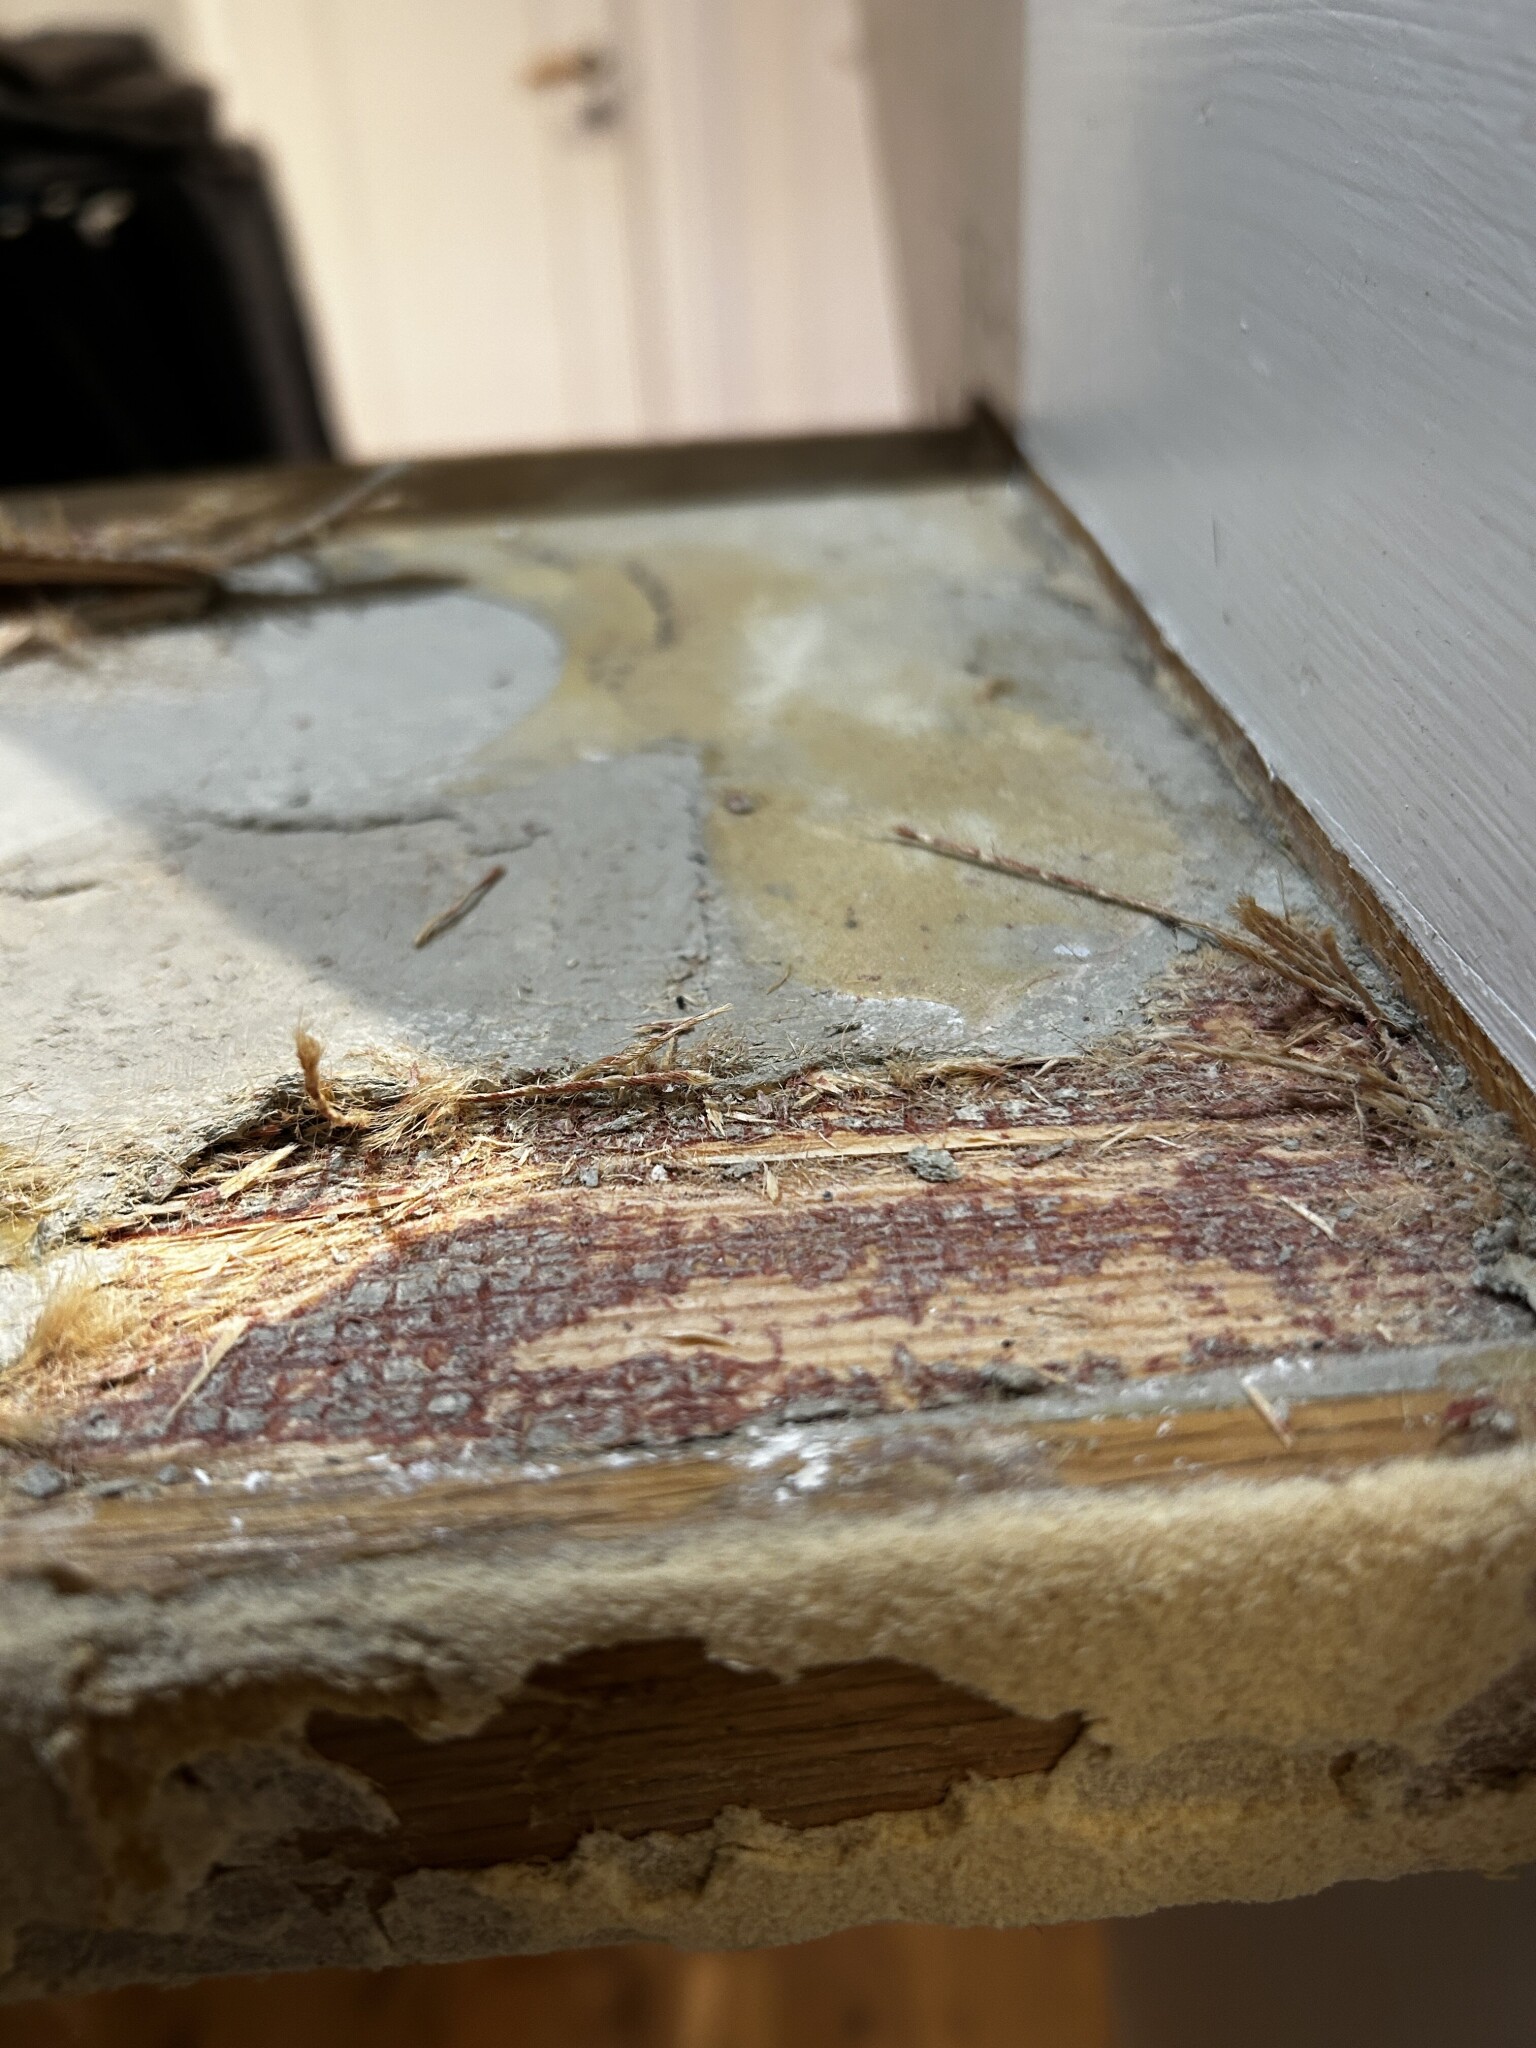
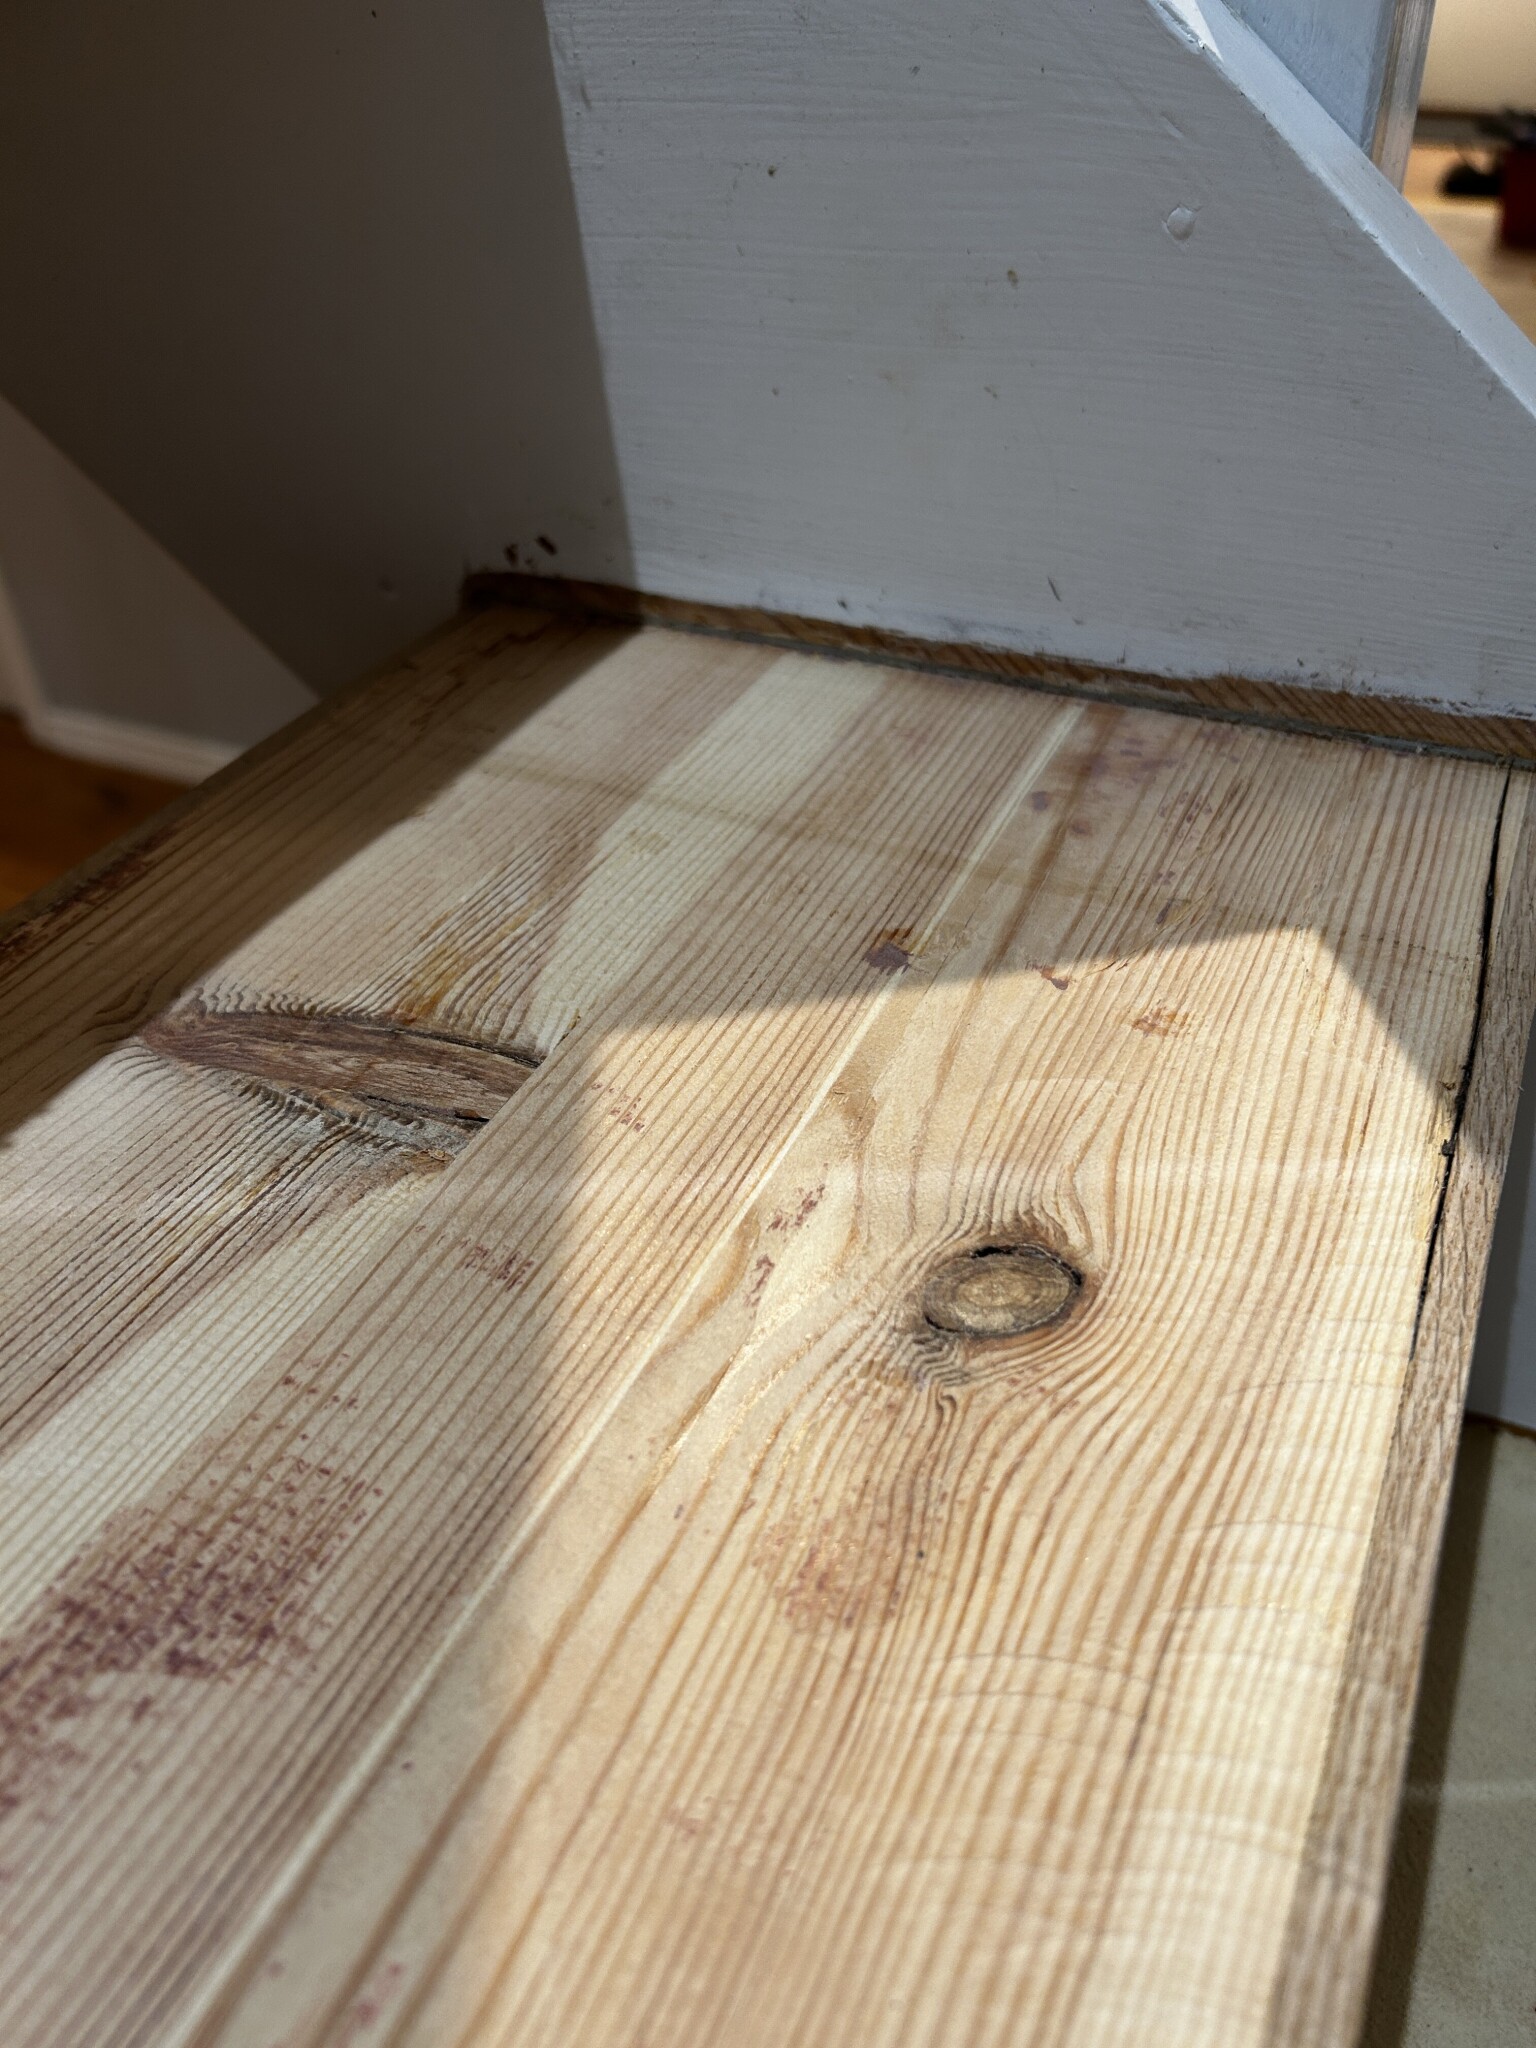
1. When you finally manage to get down to the wood, as seen in the picture, there's about a 1-2mm gap between the wood and the stair nose. Can you advantageously glue a linoleum carpet there and thus renovate the step?
2. If I would instead like to try to "restore" the stair step after removing just the glue residues (which are not clearly visible in the picture but it's a bit "black-brown" residue) to get a flat surface, can you do so with something semi-liquid like microcement or similar?
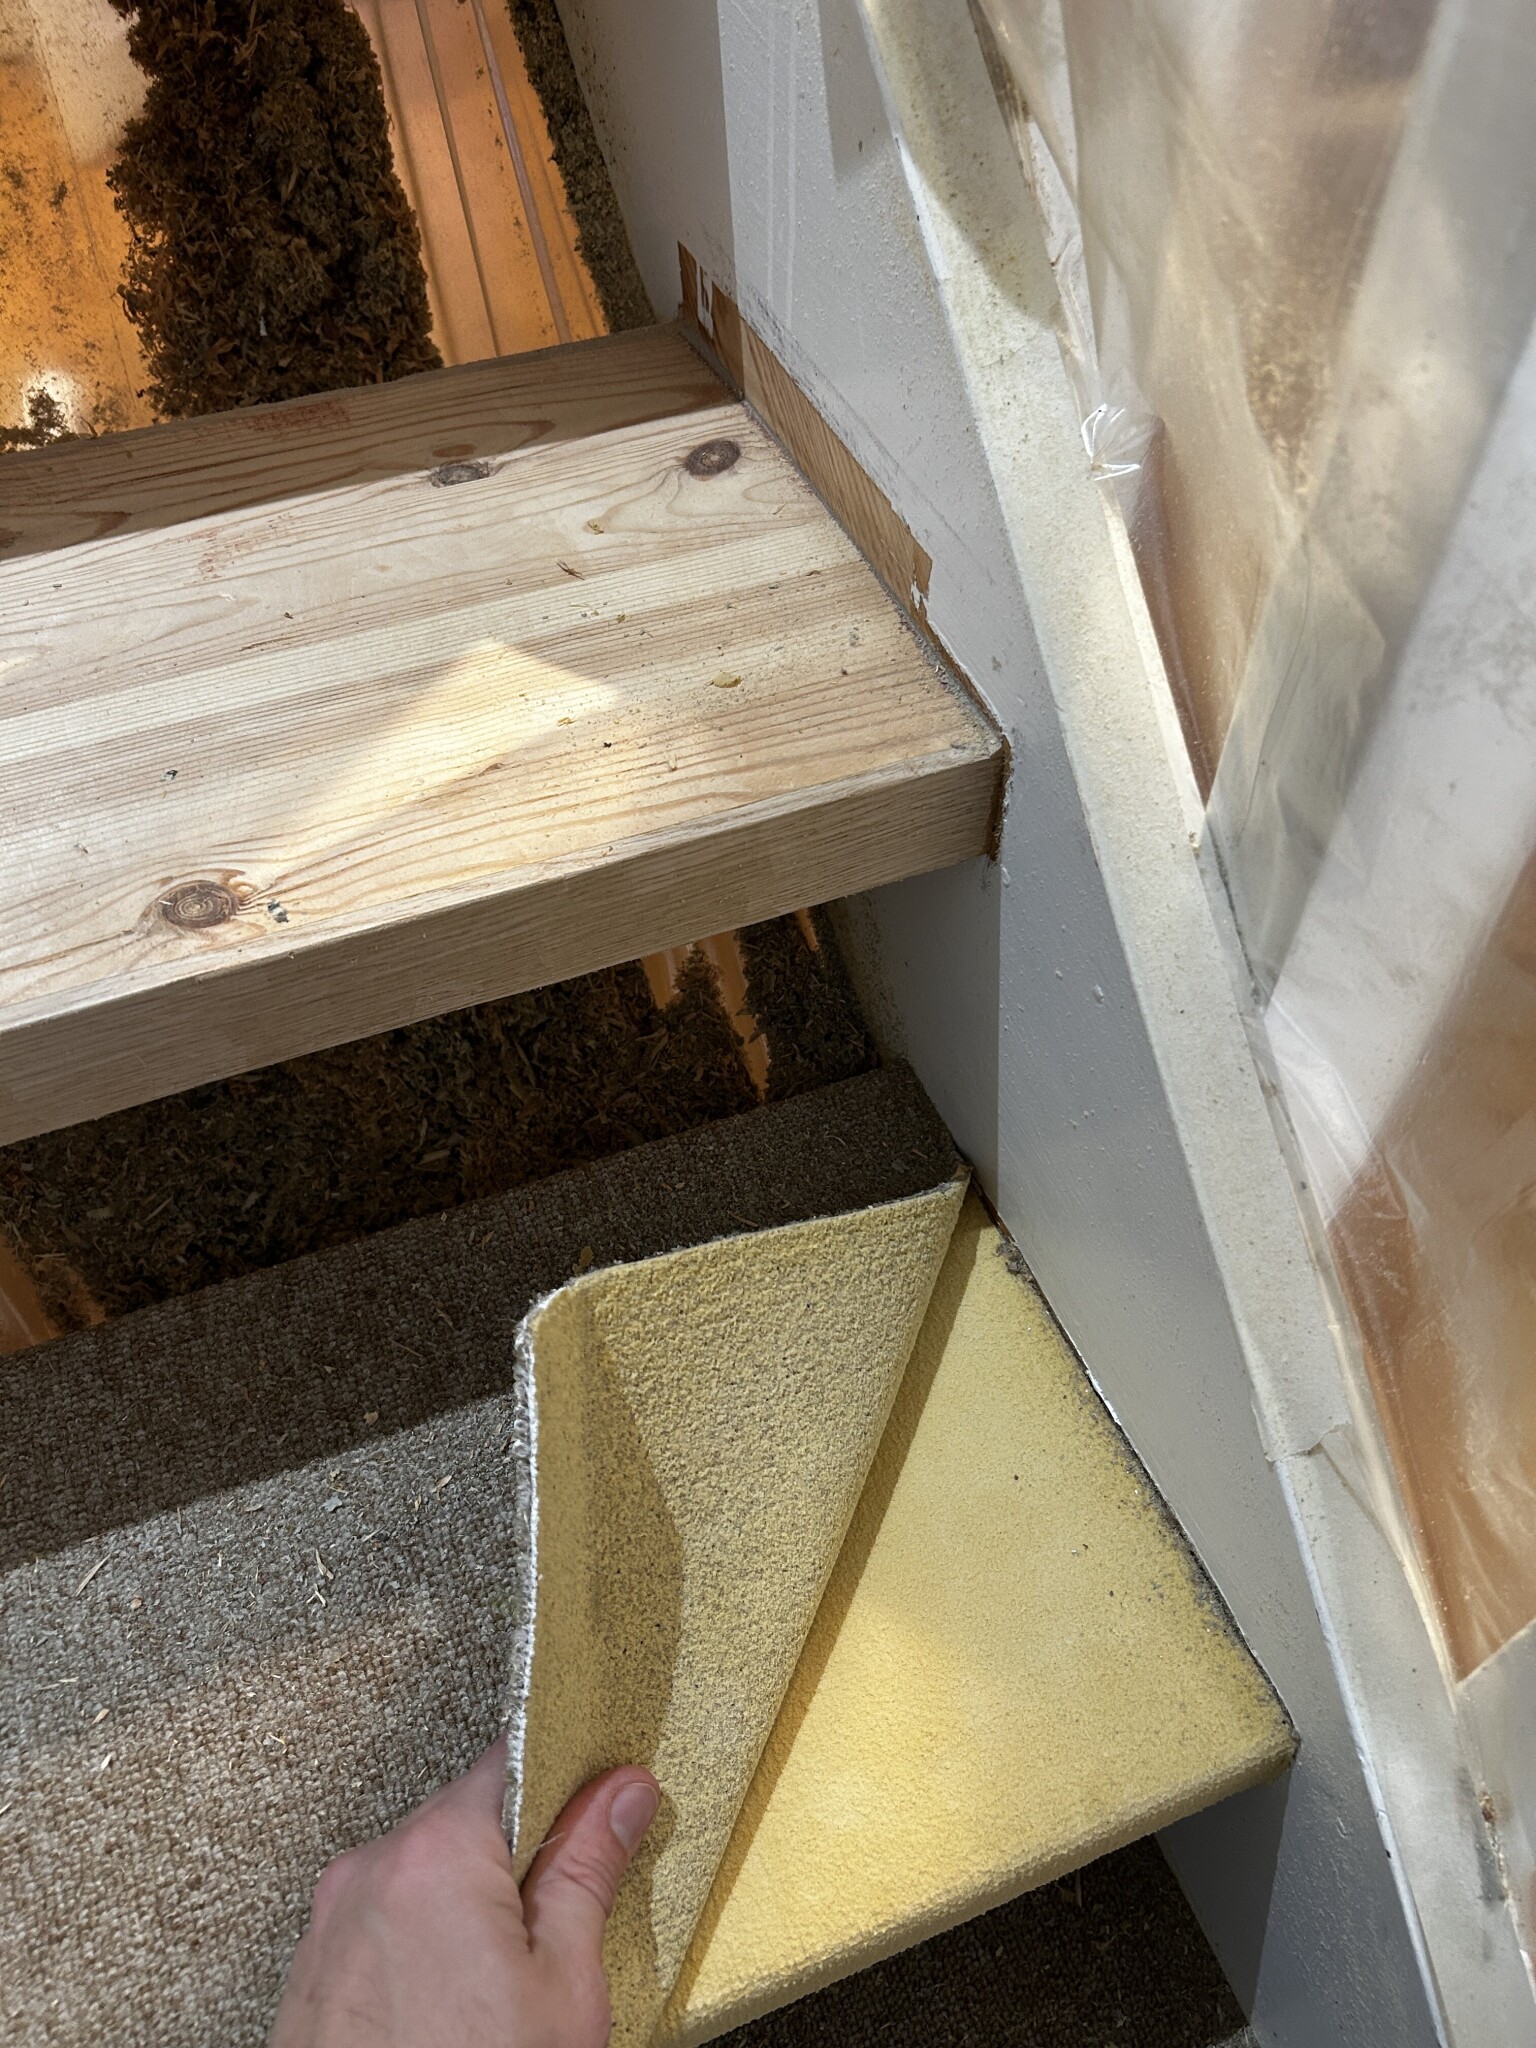
3. If I just ignore everything, pull off the old carpets and glue new ones directly on top of the old insulation (the yellow visible in the picture), should that be an OK solution, or can the carpets not compensate for any minor unevenness in the surface/the glue cannot adhere?
Under the steps, there's some old form of linoleum and glue residue that I've been trying to figure out how to remove or counter to be able to renovate by either carpet or preferably new steps on top of the old ones.
So to my thoughts:
1. When you finally manage to get down to the wood, as seen in the picture, there's about a 1-2mm gap between the wood and the stair nose. Can you advantageously glue a linoleum carpet there and thus renovate the step?
2. If I would instead like to try to "restore" the stair step after removing just the glue residues (which are not clearly visible in the picture but it's a bit "black-brown" residue) to get a flat surface, can you do so with something semi-liquid like microcement or similar?
3. If I just ignore everything, pull off the old carpets and glue new ones directly on top of the old insulation (the yellow visible in the picture), should that be an OK solution, or can the carpets not compensate for any minor unevenness in the surface/the glue cannot adhere?
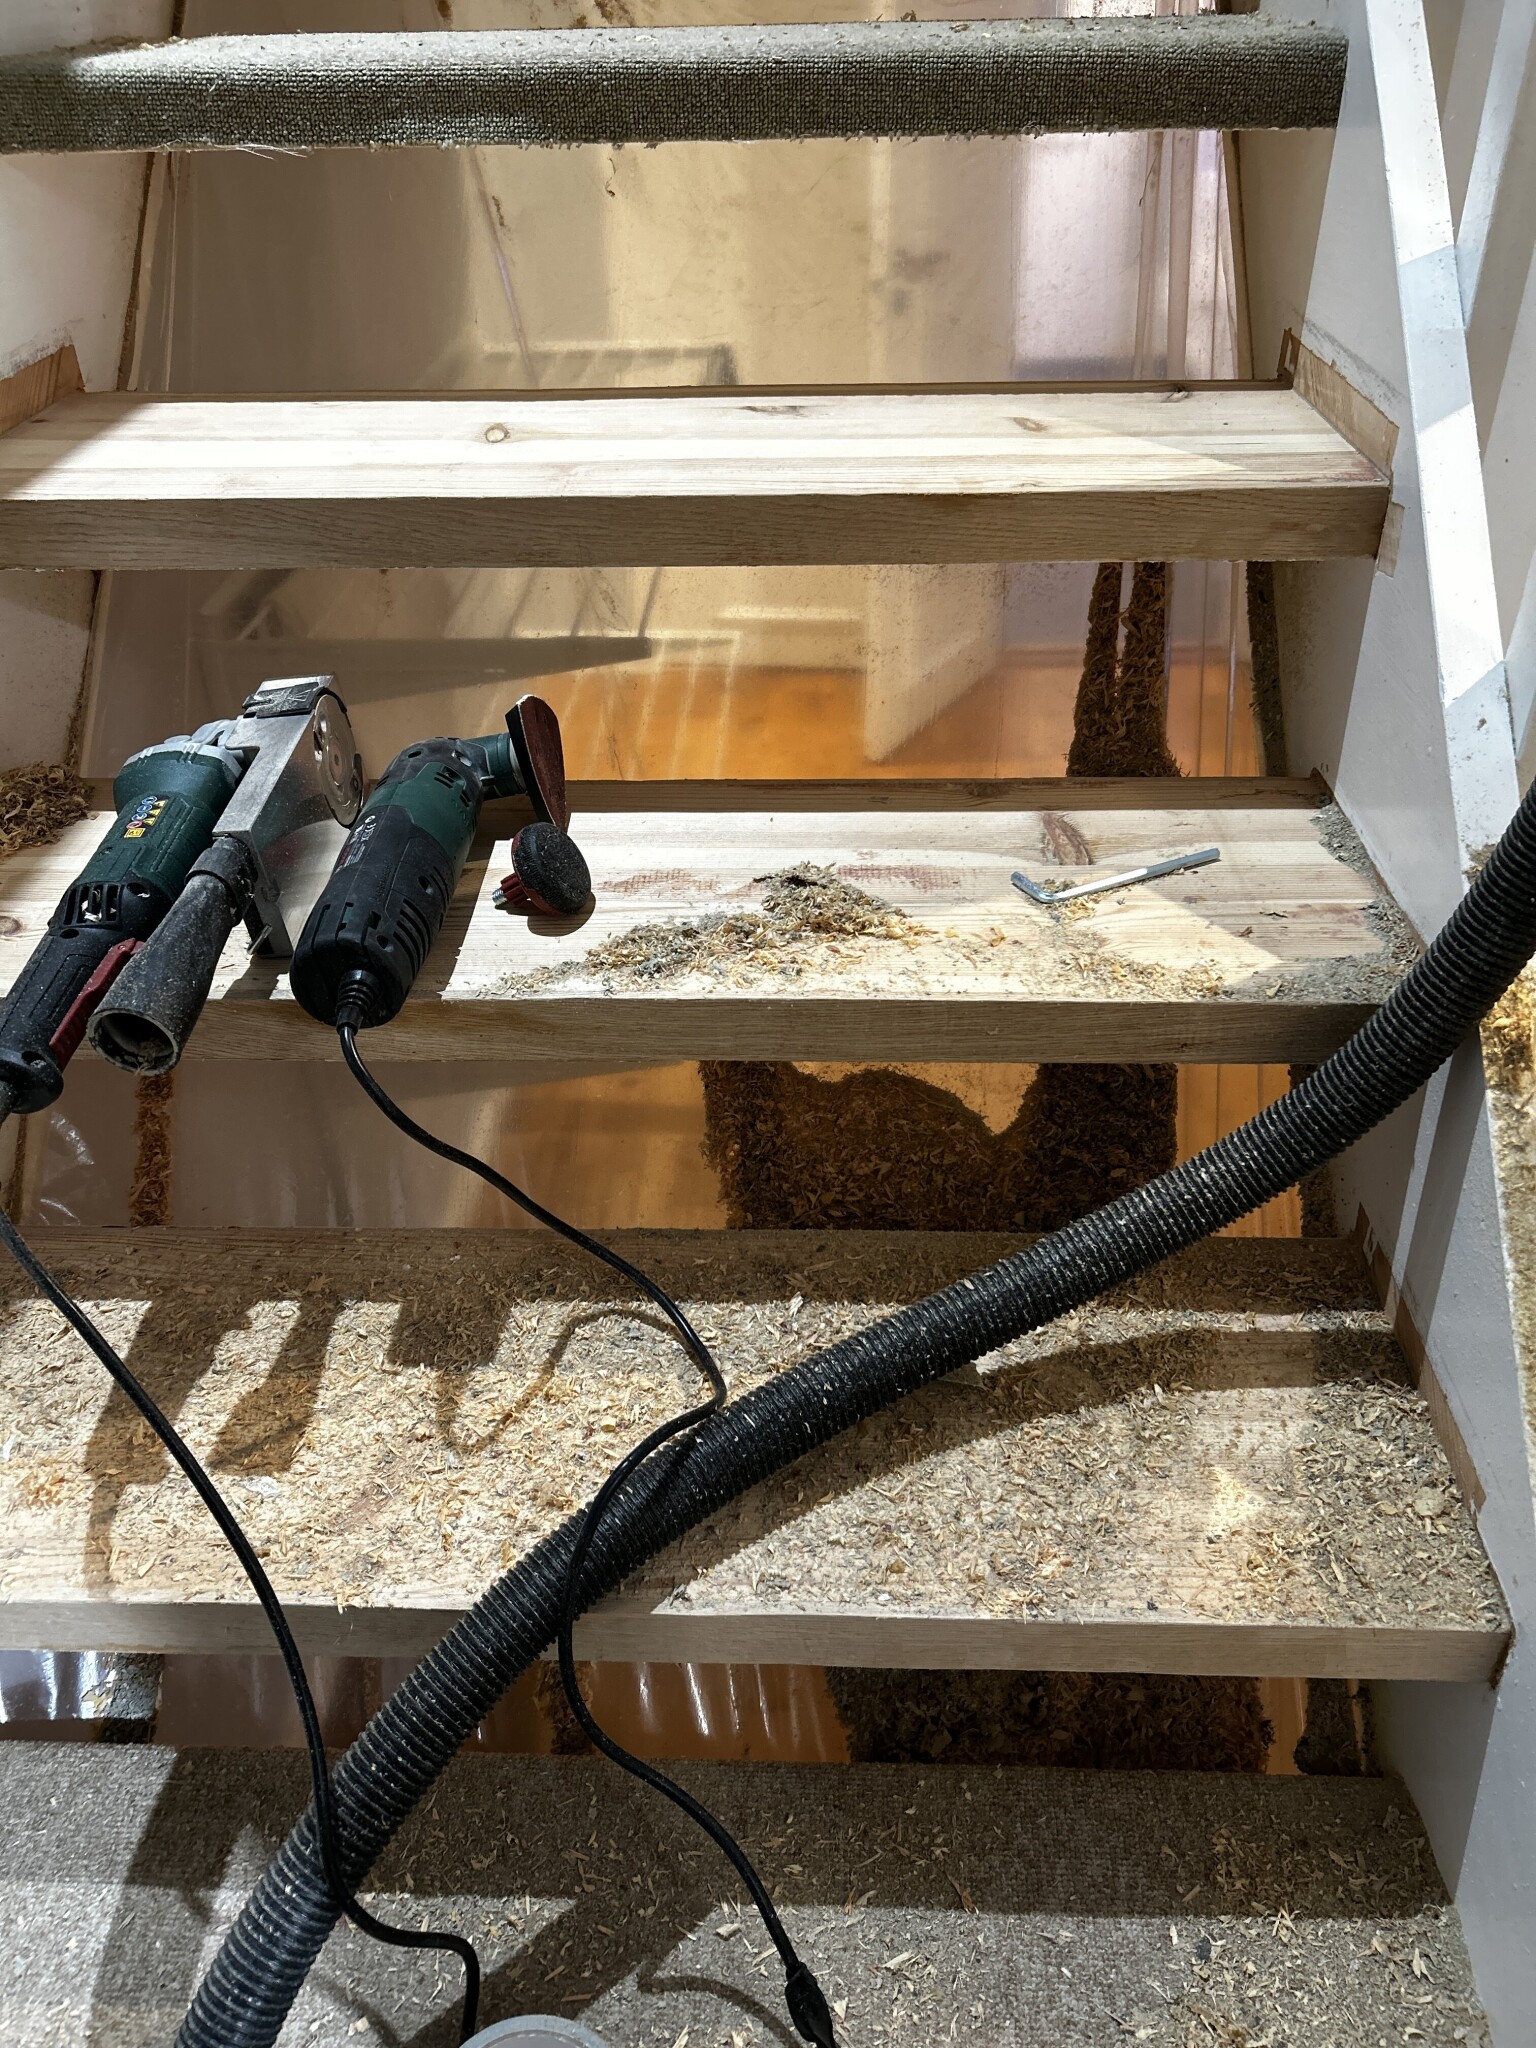
After experimenting, I got tired and resorted to the paint stripper. The only tool that actually gets the job done and makes the least impact on the wood.
In my case, I used one that I bought at Lidl (turns out Scheppach makes it as well, I have two, price difference about 1000 kronor and approximately 2-2500 compared to Metabo) and used 0.3 for the rough work and decreased to 0.1 at the end. Finally, I sanded with 60-grit paper. A chisel was needed along with a knife to remove the last bits on the edges.
It's worth mentioning that the protective covers on the sides of the paint stripper always break, in this case on the front. Not of much importance in this case but worth being aware of.
I simply sanded down the stair nosing and the back edge with the paint stripper (it will never be possible to remove with the original adhesive and they are also mounted into the stringer) and new ones will be mounted on top.
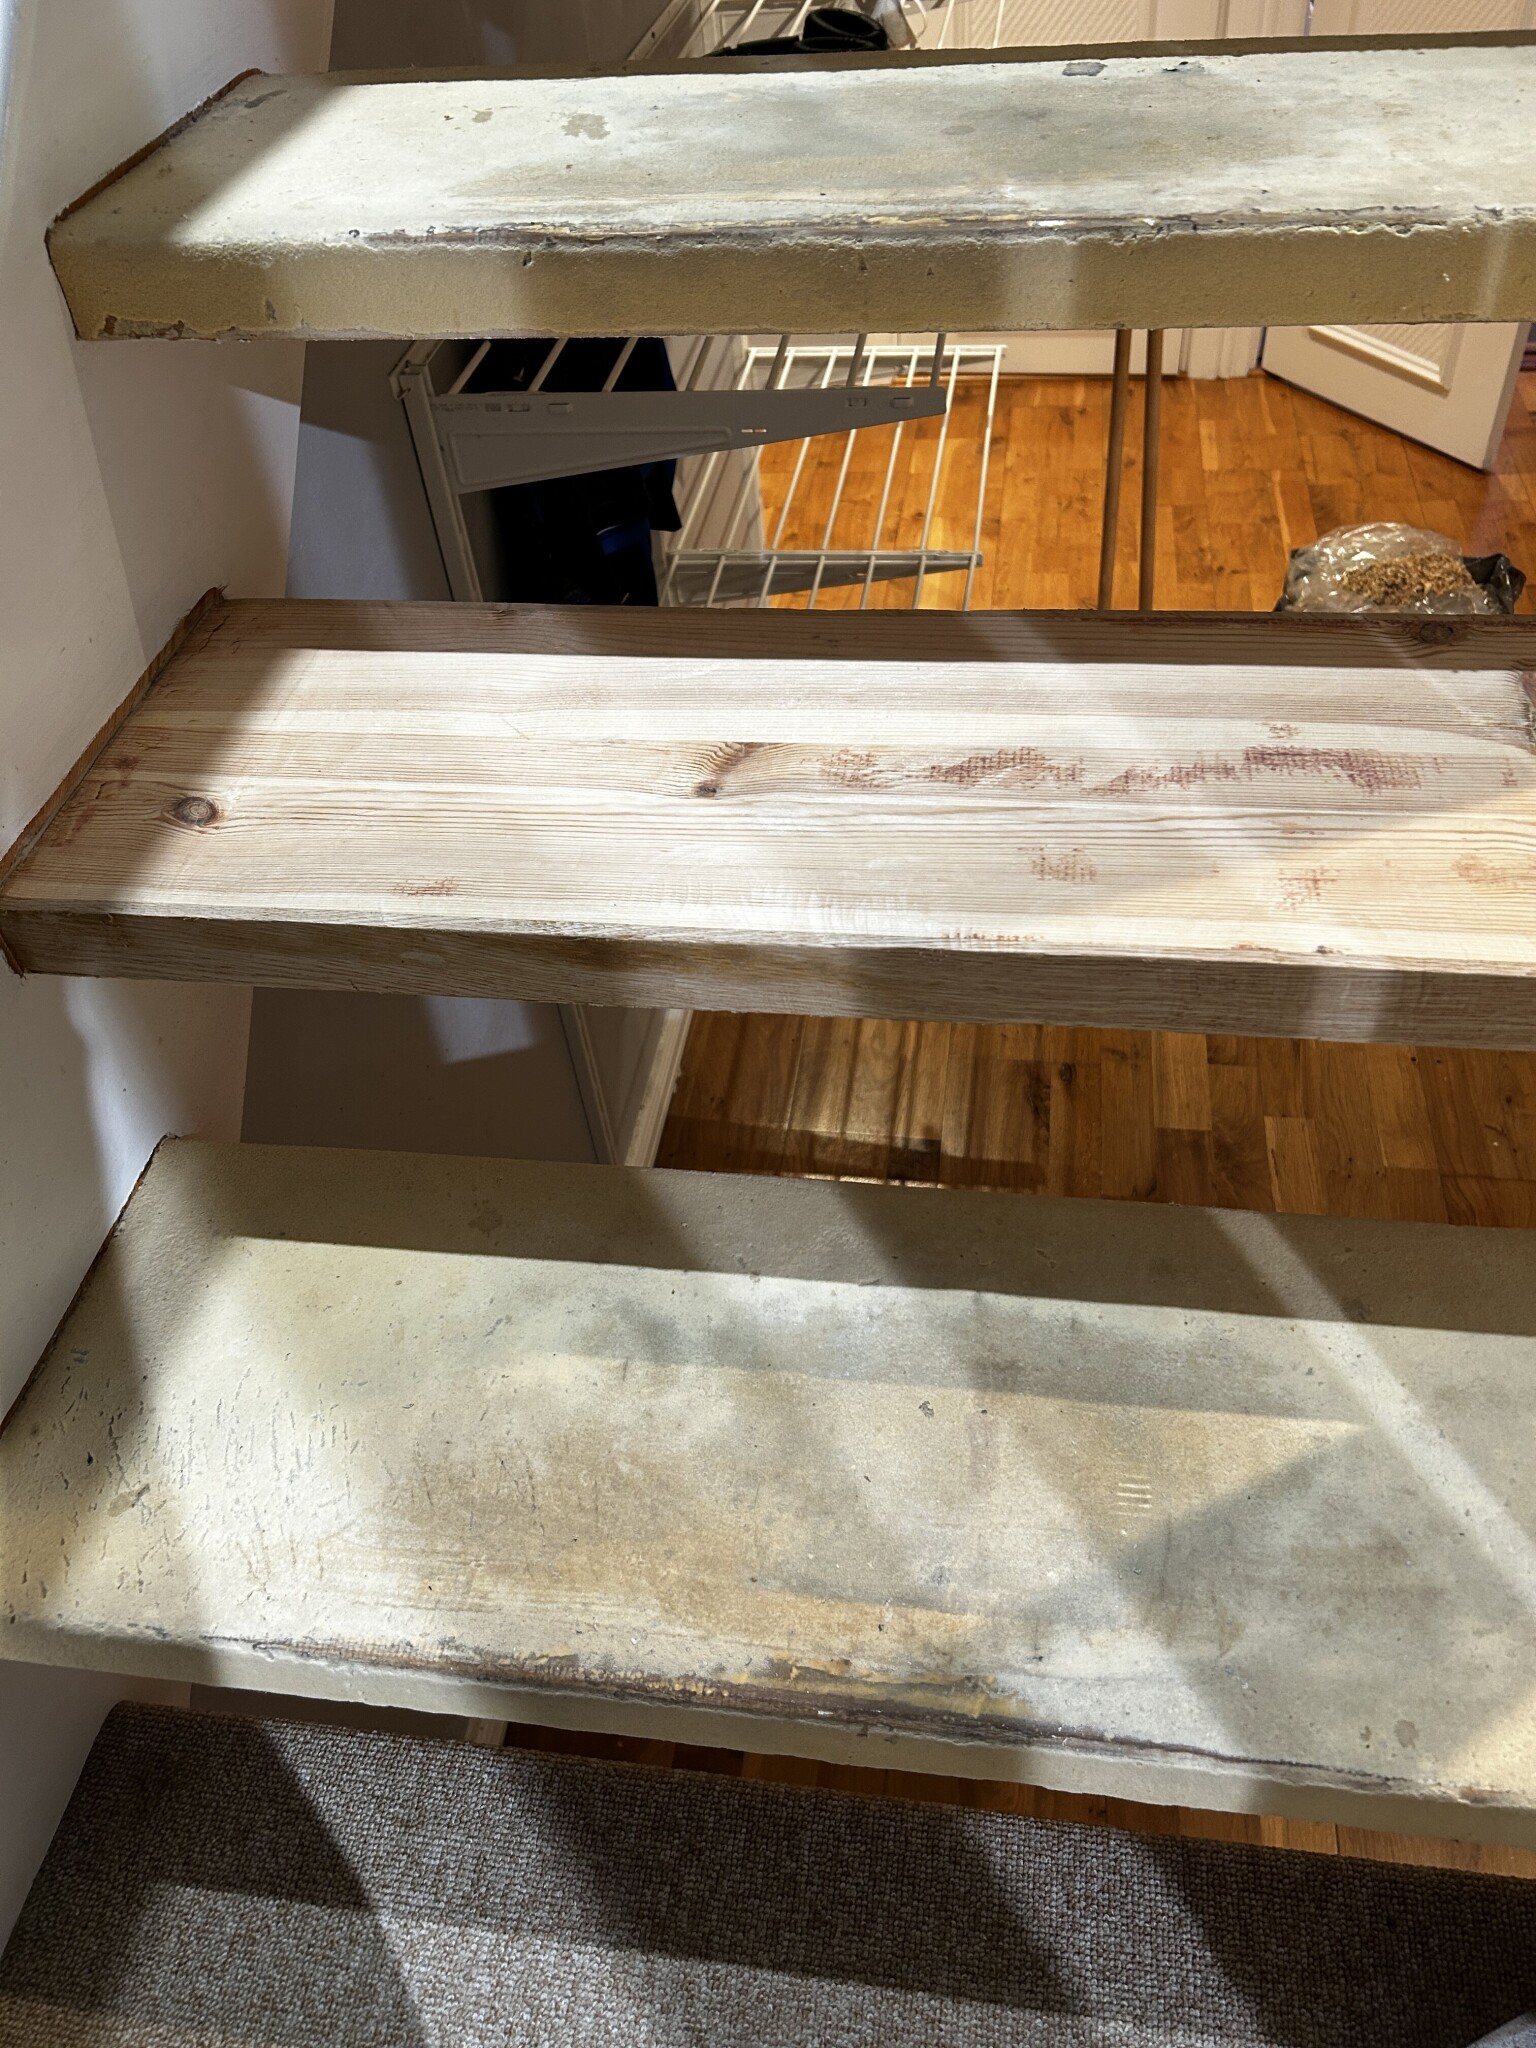
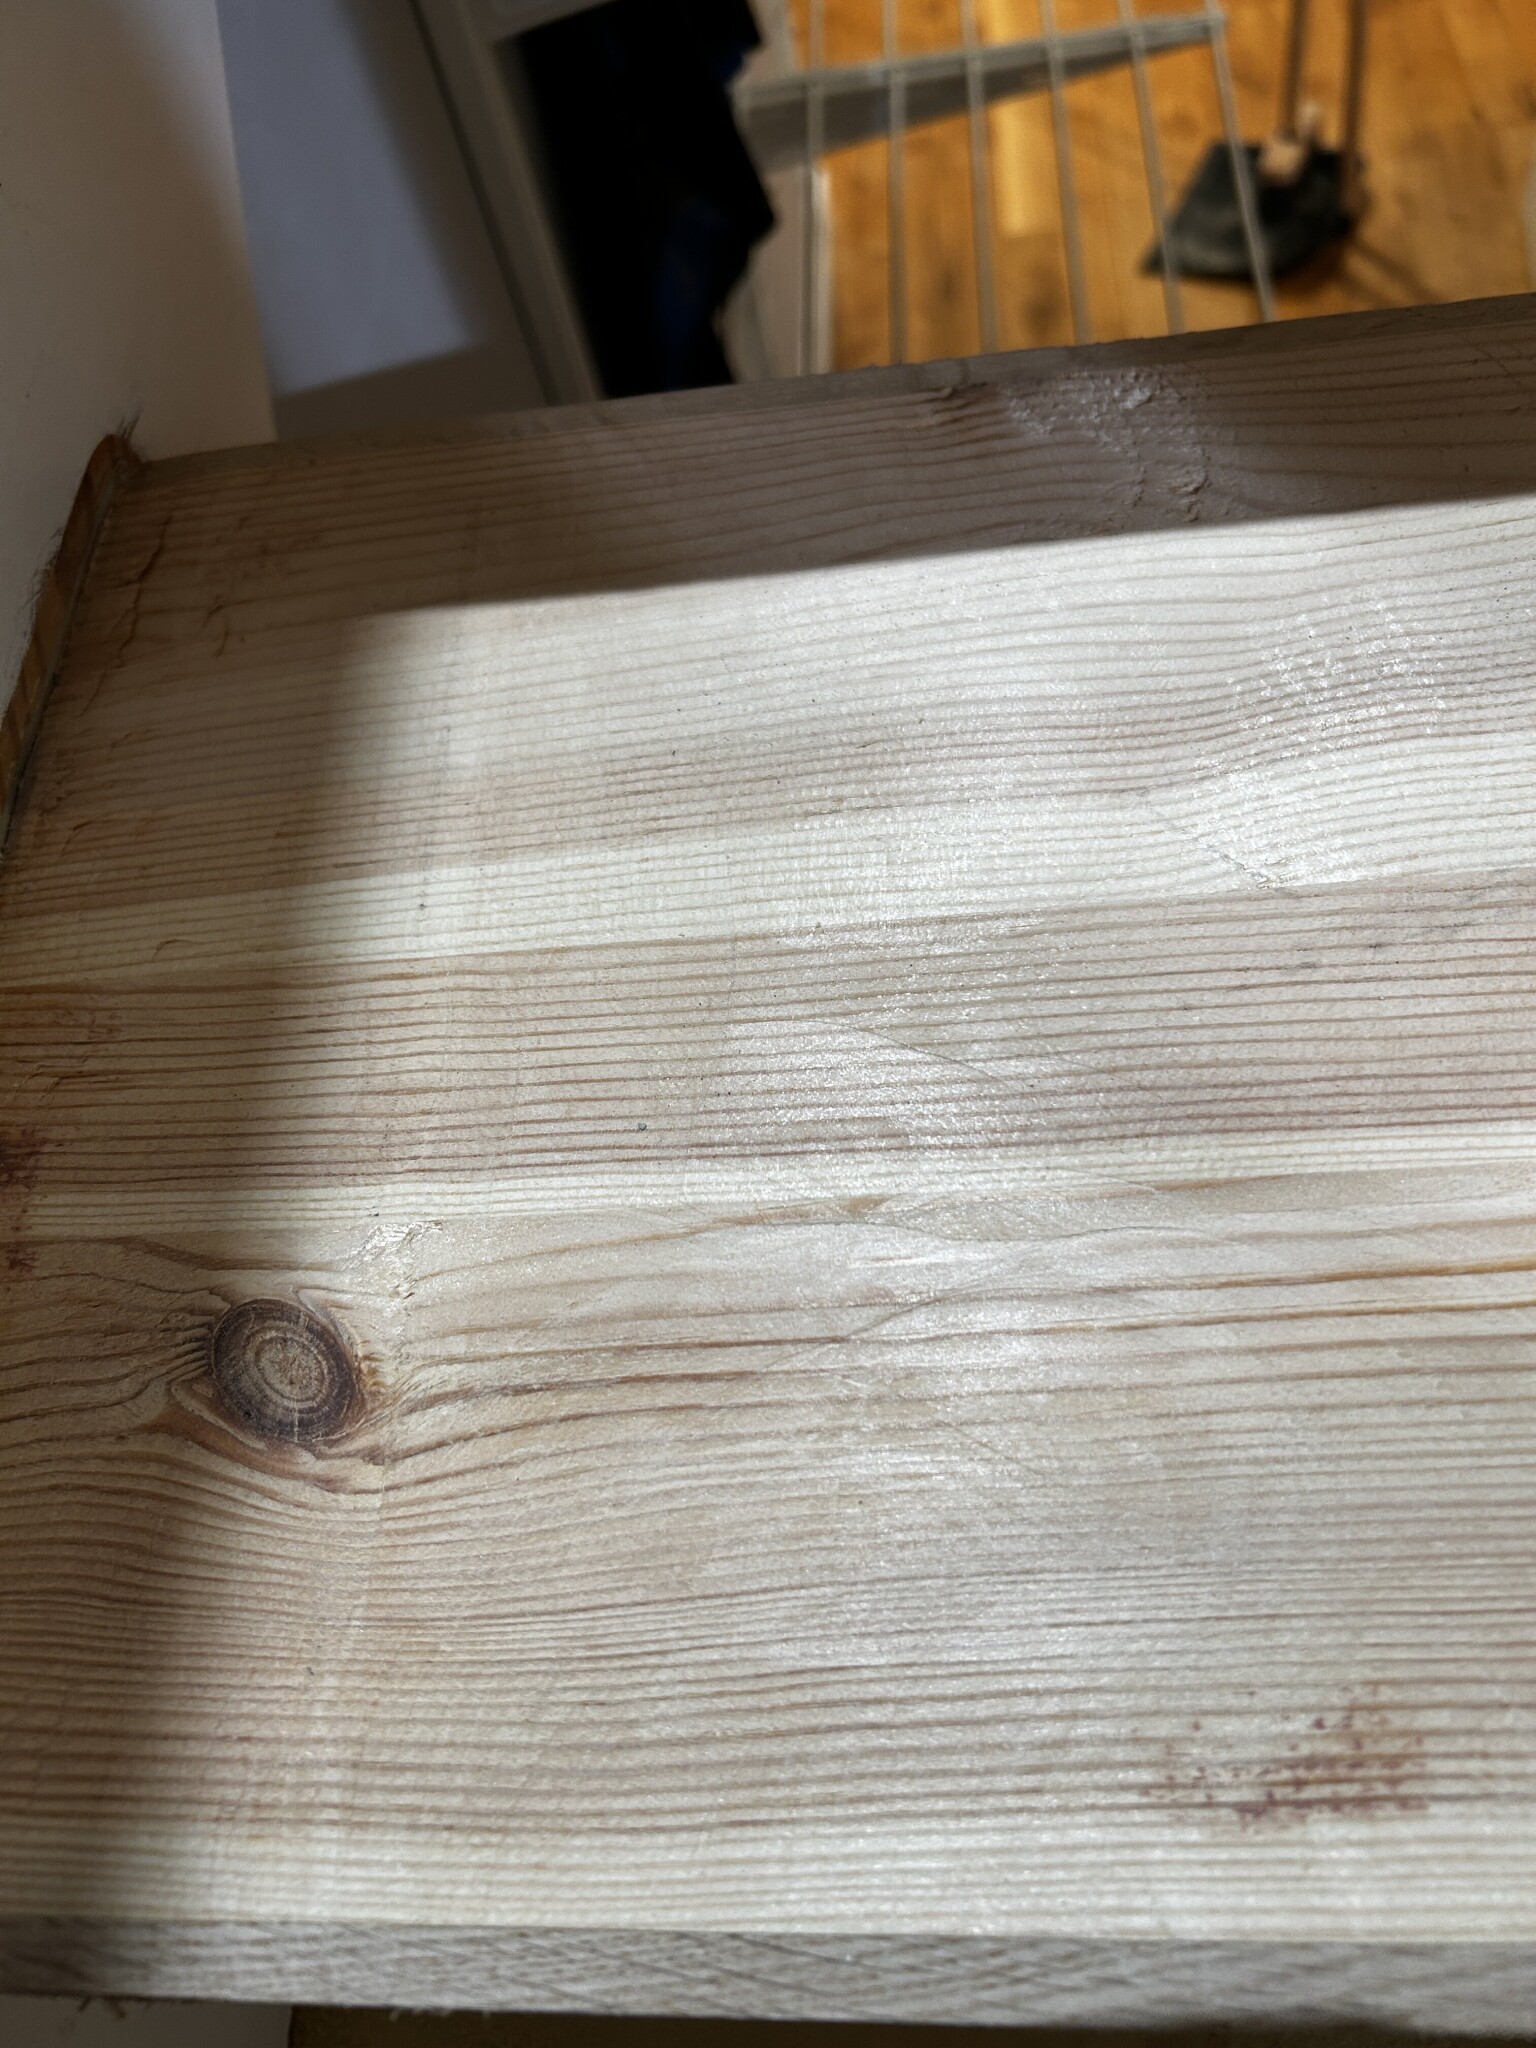
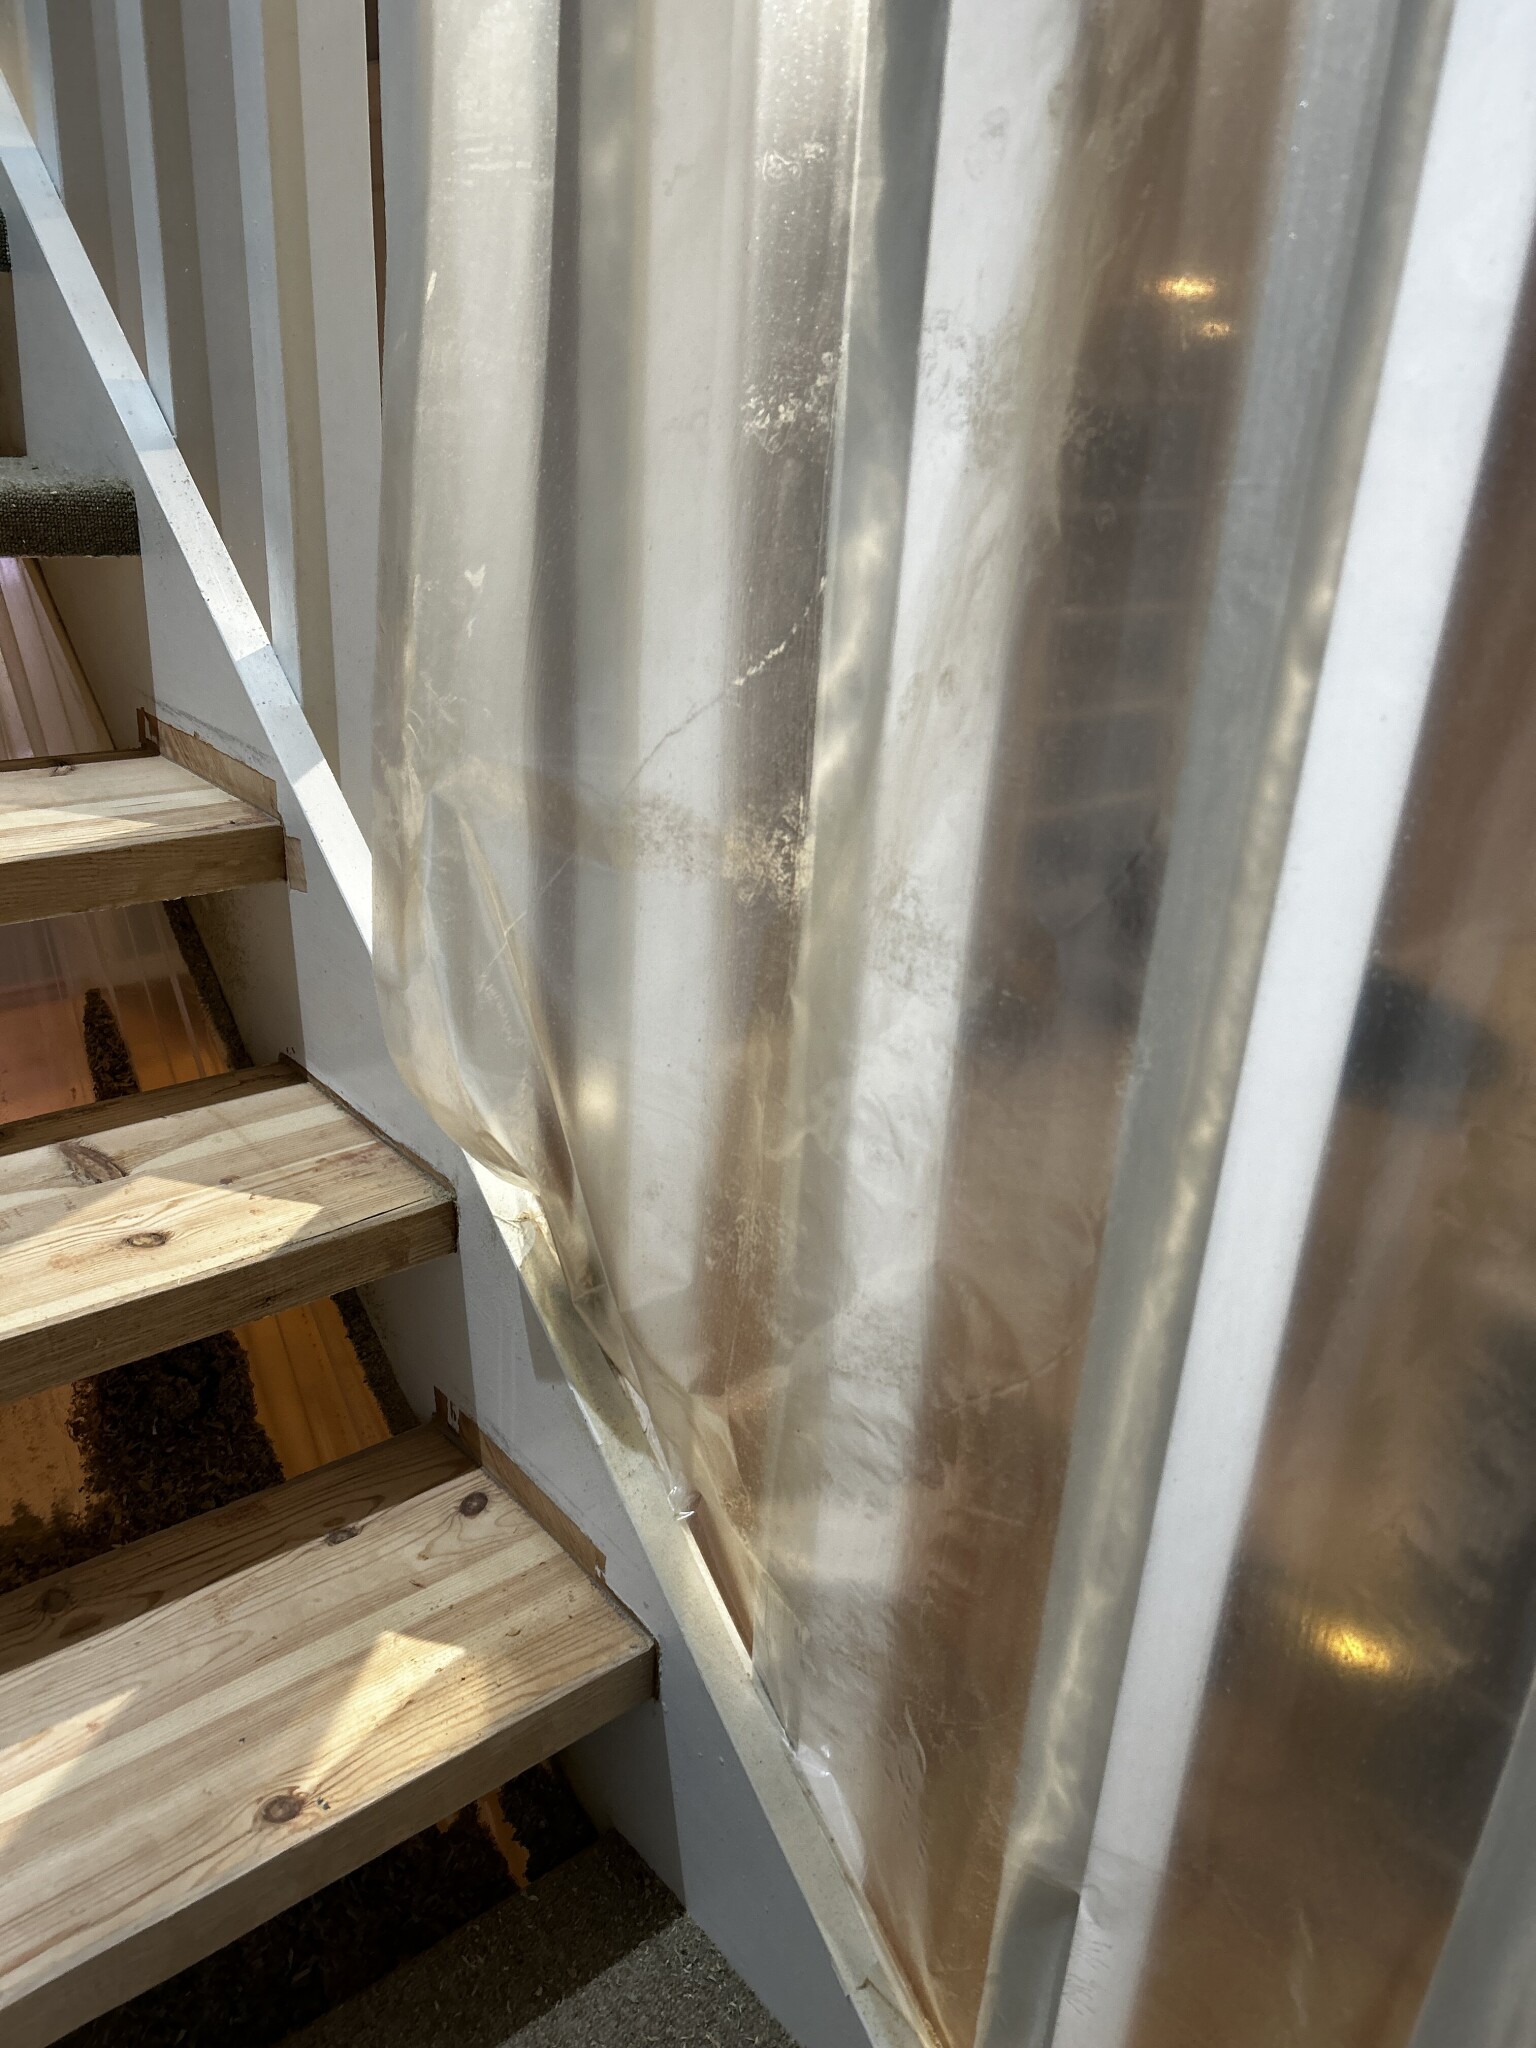
Did 2 steps today - hardly factory-perfect, but it serves the purpose when new steps are going to be placed on top anyway. One step, including after-sanding with 60-grit paper on a multi-tool, takes about 30 minutes, but it makes a terrible mess - went big by wrapping everything in plastic today, and it really paid off.
The plan is to then go over each step with a cement-based filler (Casco Husfix) to even out larger irregularities, mainly where I've experimented with a chisel, but considering the coarsest setting on the paint stripper only removes 0.3mm at a time and I finish by going over with 0.1mm, I think it will turn out quite well anyway, pondering whether to add some sound-dampening intermediate layer, which would help a bit.
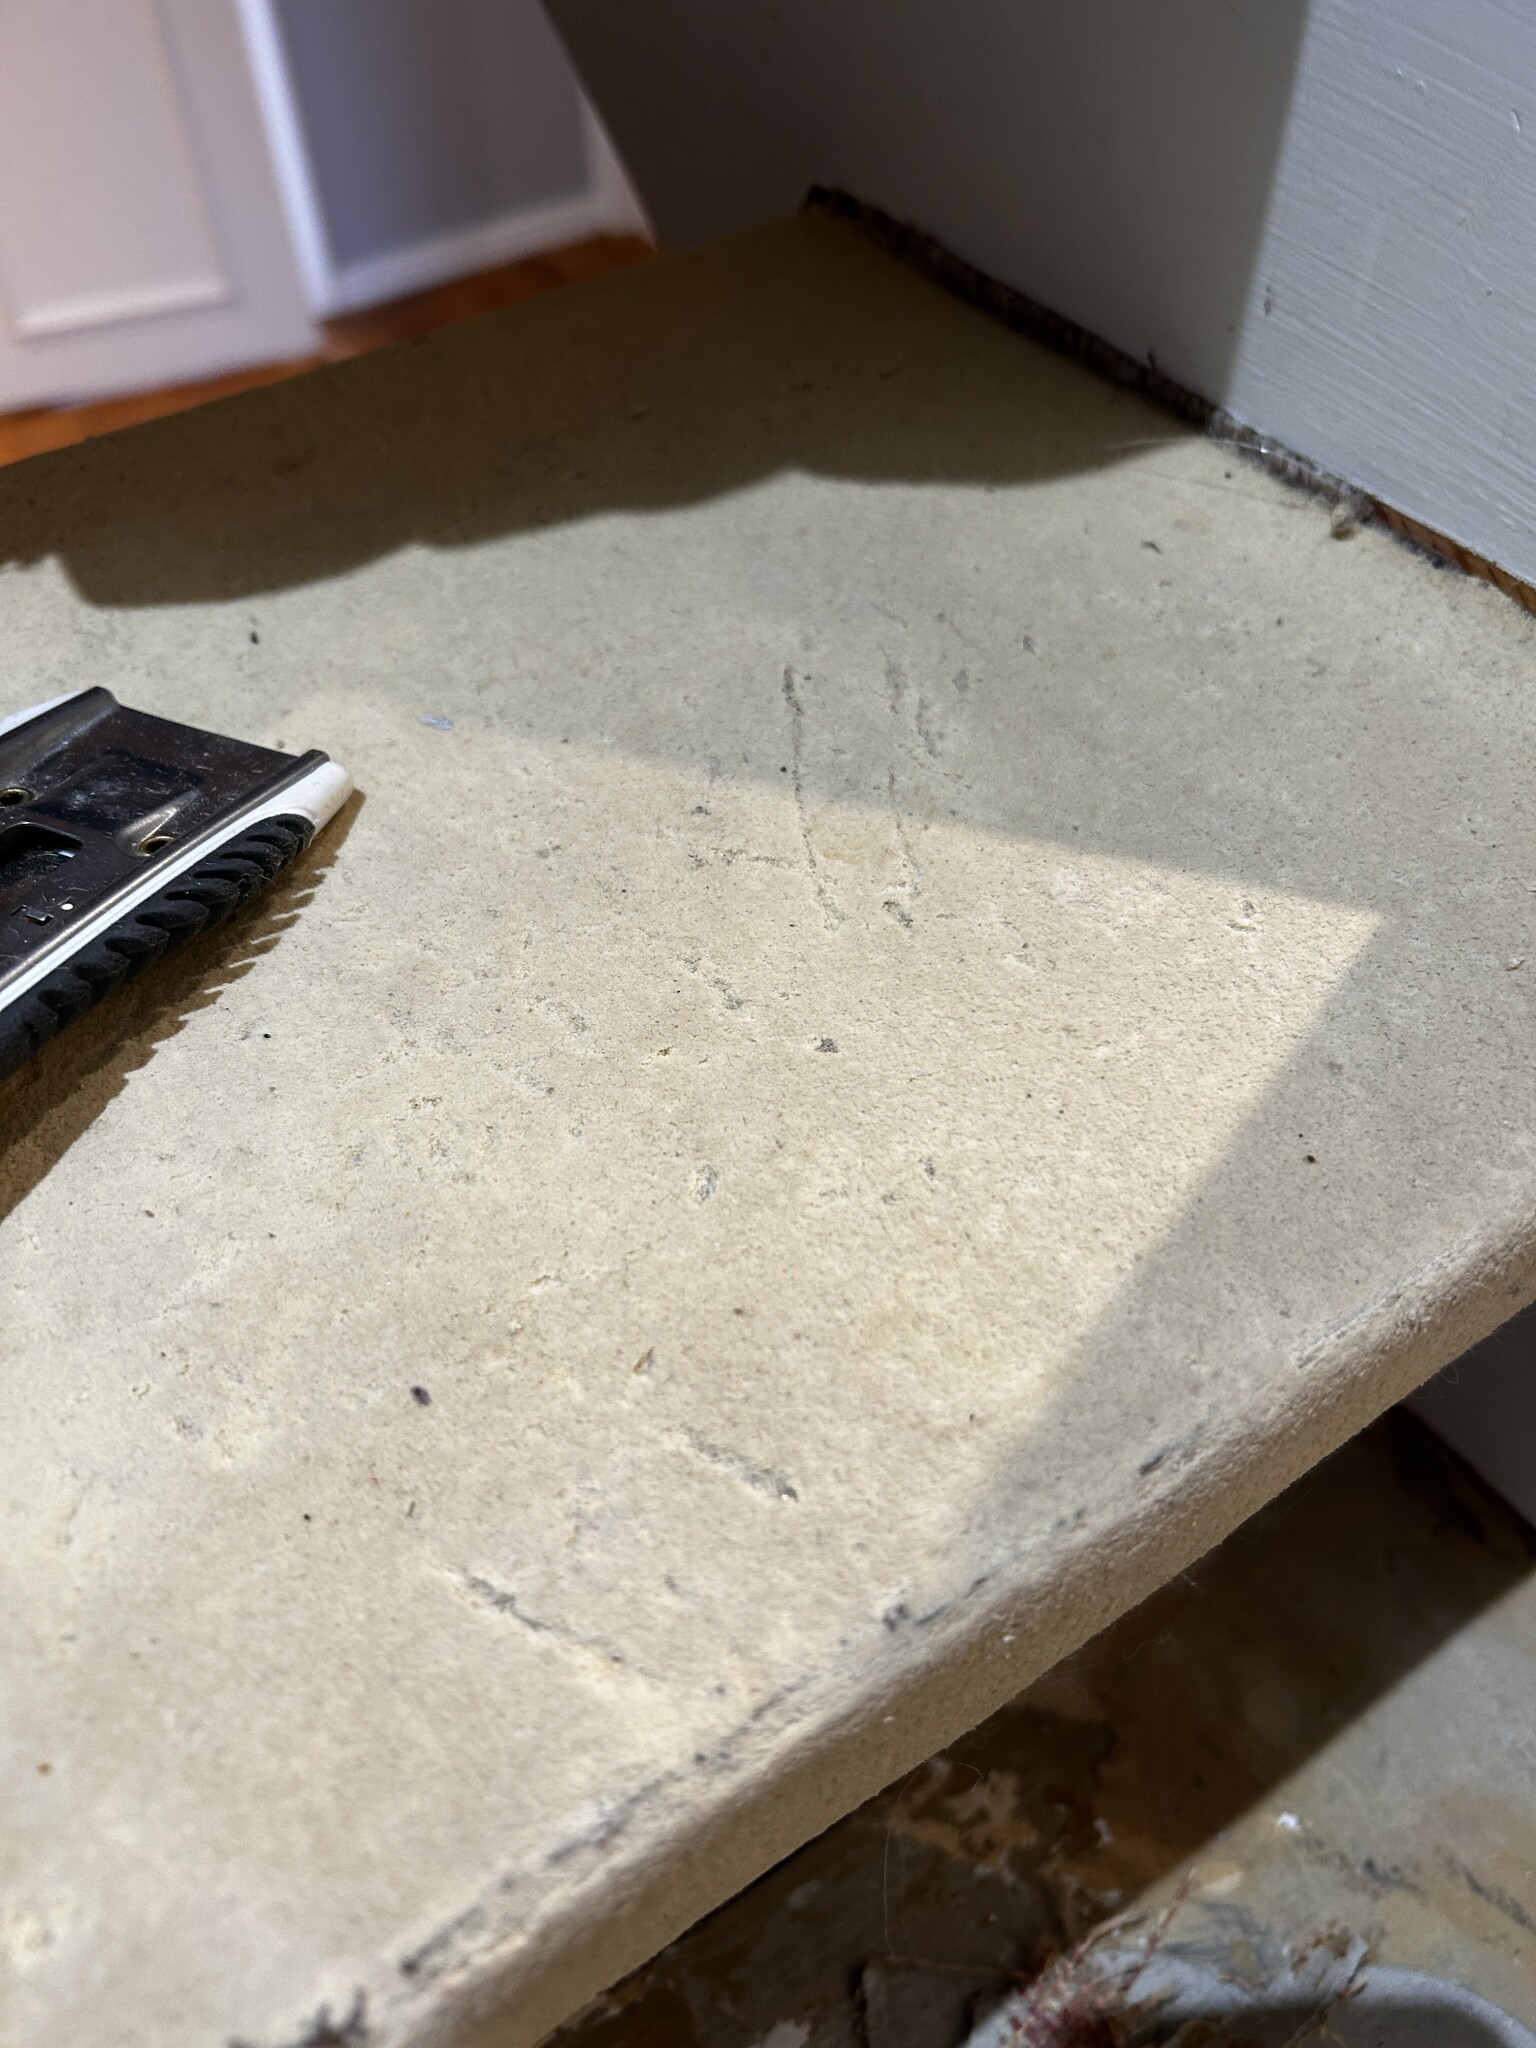
In one picture, you can see how I'm pulling off the old carpet - in hindsight, the smoothest solution would absolutely have been just leaving the foam underlay and installing new carpeting, but... the old carpet comes off without significant effort - the glue and linoleum underneath have reacted and turned like stone, and it's to remove that that I've undertaken this task. The neighboring house with the same staircase was renovated much earlier with the same approach.
The plan is to then go over each step with a cement-based filler (Casco Husfix) to even out larger irregularities, mainly where I've experimented with a chisel, but considering the coarsest setting on the paint stripper only removes 0.3mm at a time and I finish by going over with 0.1mm, I think it will turn out quite well anyway, pondering whether to add some sound-dampening intermediate layer, which would help a bit.
In one picture, you can see how I'm pulling off the old carpet - in hindsight, the smoothest solution would absolutely have been just leaving the foam underlay and installing new carpeting, but... the old carpet comes off without significant effort - the glue and linoleum underneath have reacted and turned like stone, and it's to remove that that I've undertaken this task. The neighboring house with the same staircase was renovated much earlier with the same approach.
Click here to reply