106,499 views ·
82 replies
106k views
82 replies
Mortar for outdoor bake oven?
@johanras, I have a question about your arches/chimney opening. You have two arches, the innermost with half bricks, the outer one with whole bricks. It looks like the door rests against the inner one, but where is the opening up to the chimney? It looks like it's in the outer one, but then the chimney opening is outside the door?J johanras said:
You don't have a roof over your oven, does it work well? I recall seeing someone claim it's necessary, but it doesn't seem so? Personally, I only want to build a roof if it's really needed.
What a wonderful build! Beautifully done, nice to see someone build with a bit more *cough* taste than the Americans on FB.J johanras said:Bought lime, sand, and cement from Beijer, the stove clay from a stove builder. It took barely 20kg of lime, clay, and cement each. The stones I bought were really fireproof bricks made in Höganäs, via a dealer. Whole stone standard format about 220x110x65mm cost around 50kr, if I remember correctly. It becomes expensive and went upwards of 10k just for the stone, but I think it's worth it to avoid potential problems especially when you spend so much time on the work. It gets really hot in the oven, something to keep in mind. Maybe regular bricks would suffice but I didn't feel like taking a chance and from what I see on FB everyone uses fireproof. What dimension are you considering?
")
Regarding the fireproof bricks. The ones from Höganäs are hard-fired and have higher thermal conductivity than those generally recommended - potentially resulting in bread and pizza bottoms cooking too fast compared to the rest. Is that something you've experienced? Do you think it's worth getting different bricks for the baking surface?
Know-It-All
· Västra götaland
· 10 931 posts
It's often said that the amount of "alumina" has an effect, but I think Höganäs has different variants as well... If you buy the firebricks available at building supply stores, they tend to be somewhere in the middle of the scale... One thing you definitely don't want is insulating firebrick...A arkTecko said:What a wonderful build! Beautifully done, nice to see someone building with a bit more *cough* taste than the Americans on FB.
Regarding the firebricks. The ones from Höganäs are hard-fired and have higher thermal conductivity than those generally recommended—potentially resulting in bread and pizza crusts cooking too fast compared to the rest. Is that something you've experienced? Do you think it's worth getting different bricks for the baking surface?
Everything sold in Sweden as "fireproof" seems to be very hard and compact - the thermal conductivity then also goes through the roof, I've only found products around 1.5 W/(m*K), which is at least three times more than ideal. Therefore, it would be nice to hear some real-world experiences.
Perhaps what is called "medium duty firebricks" is also sold in Sweden, but without being labeled as fireproof...
But who am I kidding, when it comes to that point, it might be about special ordering a kiln bottom from Italy...
Perhaps what is called "medium duty firebricks" is also sold in Sweden, but without being labeled as fireproof...
But who am I kidding, when it comes to that point, it might be about special ordering a kiln bottom from Italy...
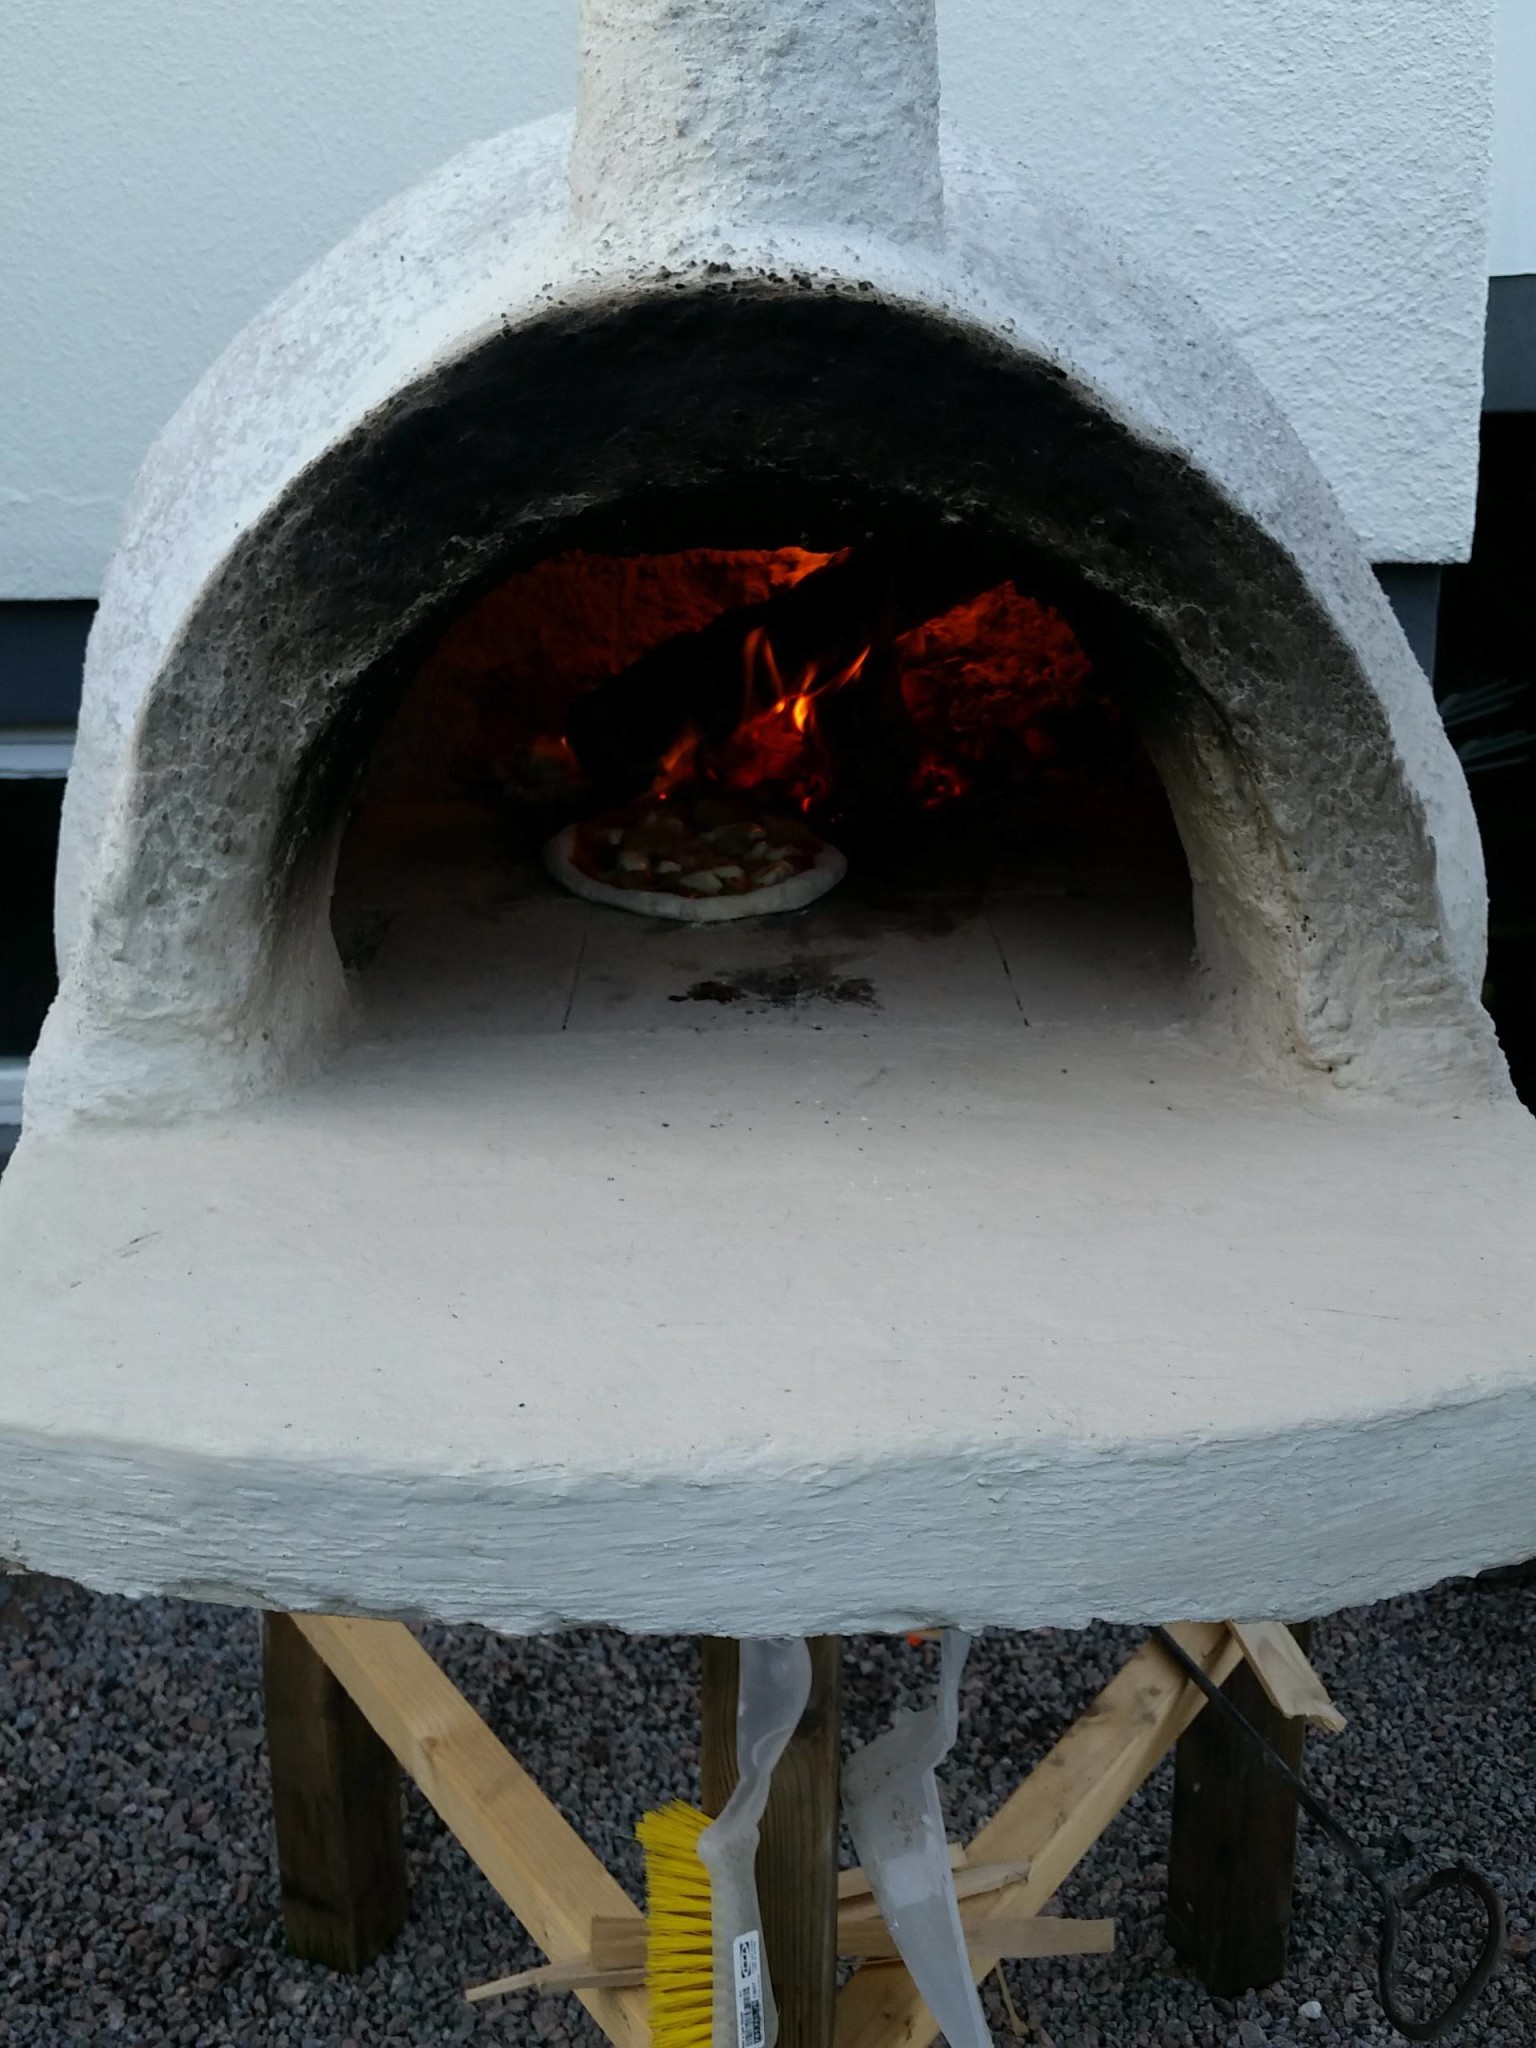
@arkTecko I never considered the thermal conductivity when I chose the oven floor. What I've noticed is that if I don't move the fire/embers in time before baking the pizza, the bottom of the pizza gets cooked too quickly. I usually move the embers to the sides and the back about 30 minutes before I start baking, so the floor has some time to cool down a bit. Then I add wood to the sides during the baking so there's always a fire burning to maintain the heat from above. I am not dissatisfied with the oven floor in any way, but there are probably even better materials and unfortunately, I have nothing to compare it to. Baked pizza yesterday, going to bake bread with the residual heat now. The next step for the oven will be to cover the dome in mosaic. Hope to do that in the next week.
@kayakerboy Sorry for the late reply, haven't checked the thread in a while. No roof is needed. You can cover it with a tarpaulin in winter to reduce the risk of frost damage. The chimney opening is outside the oven, and as you said there is an inner and outer arch built and the door rests against the inner one.
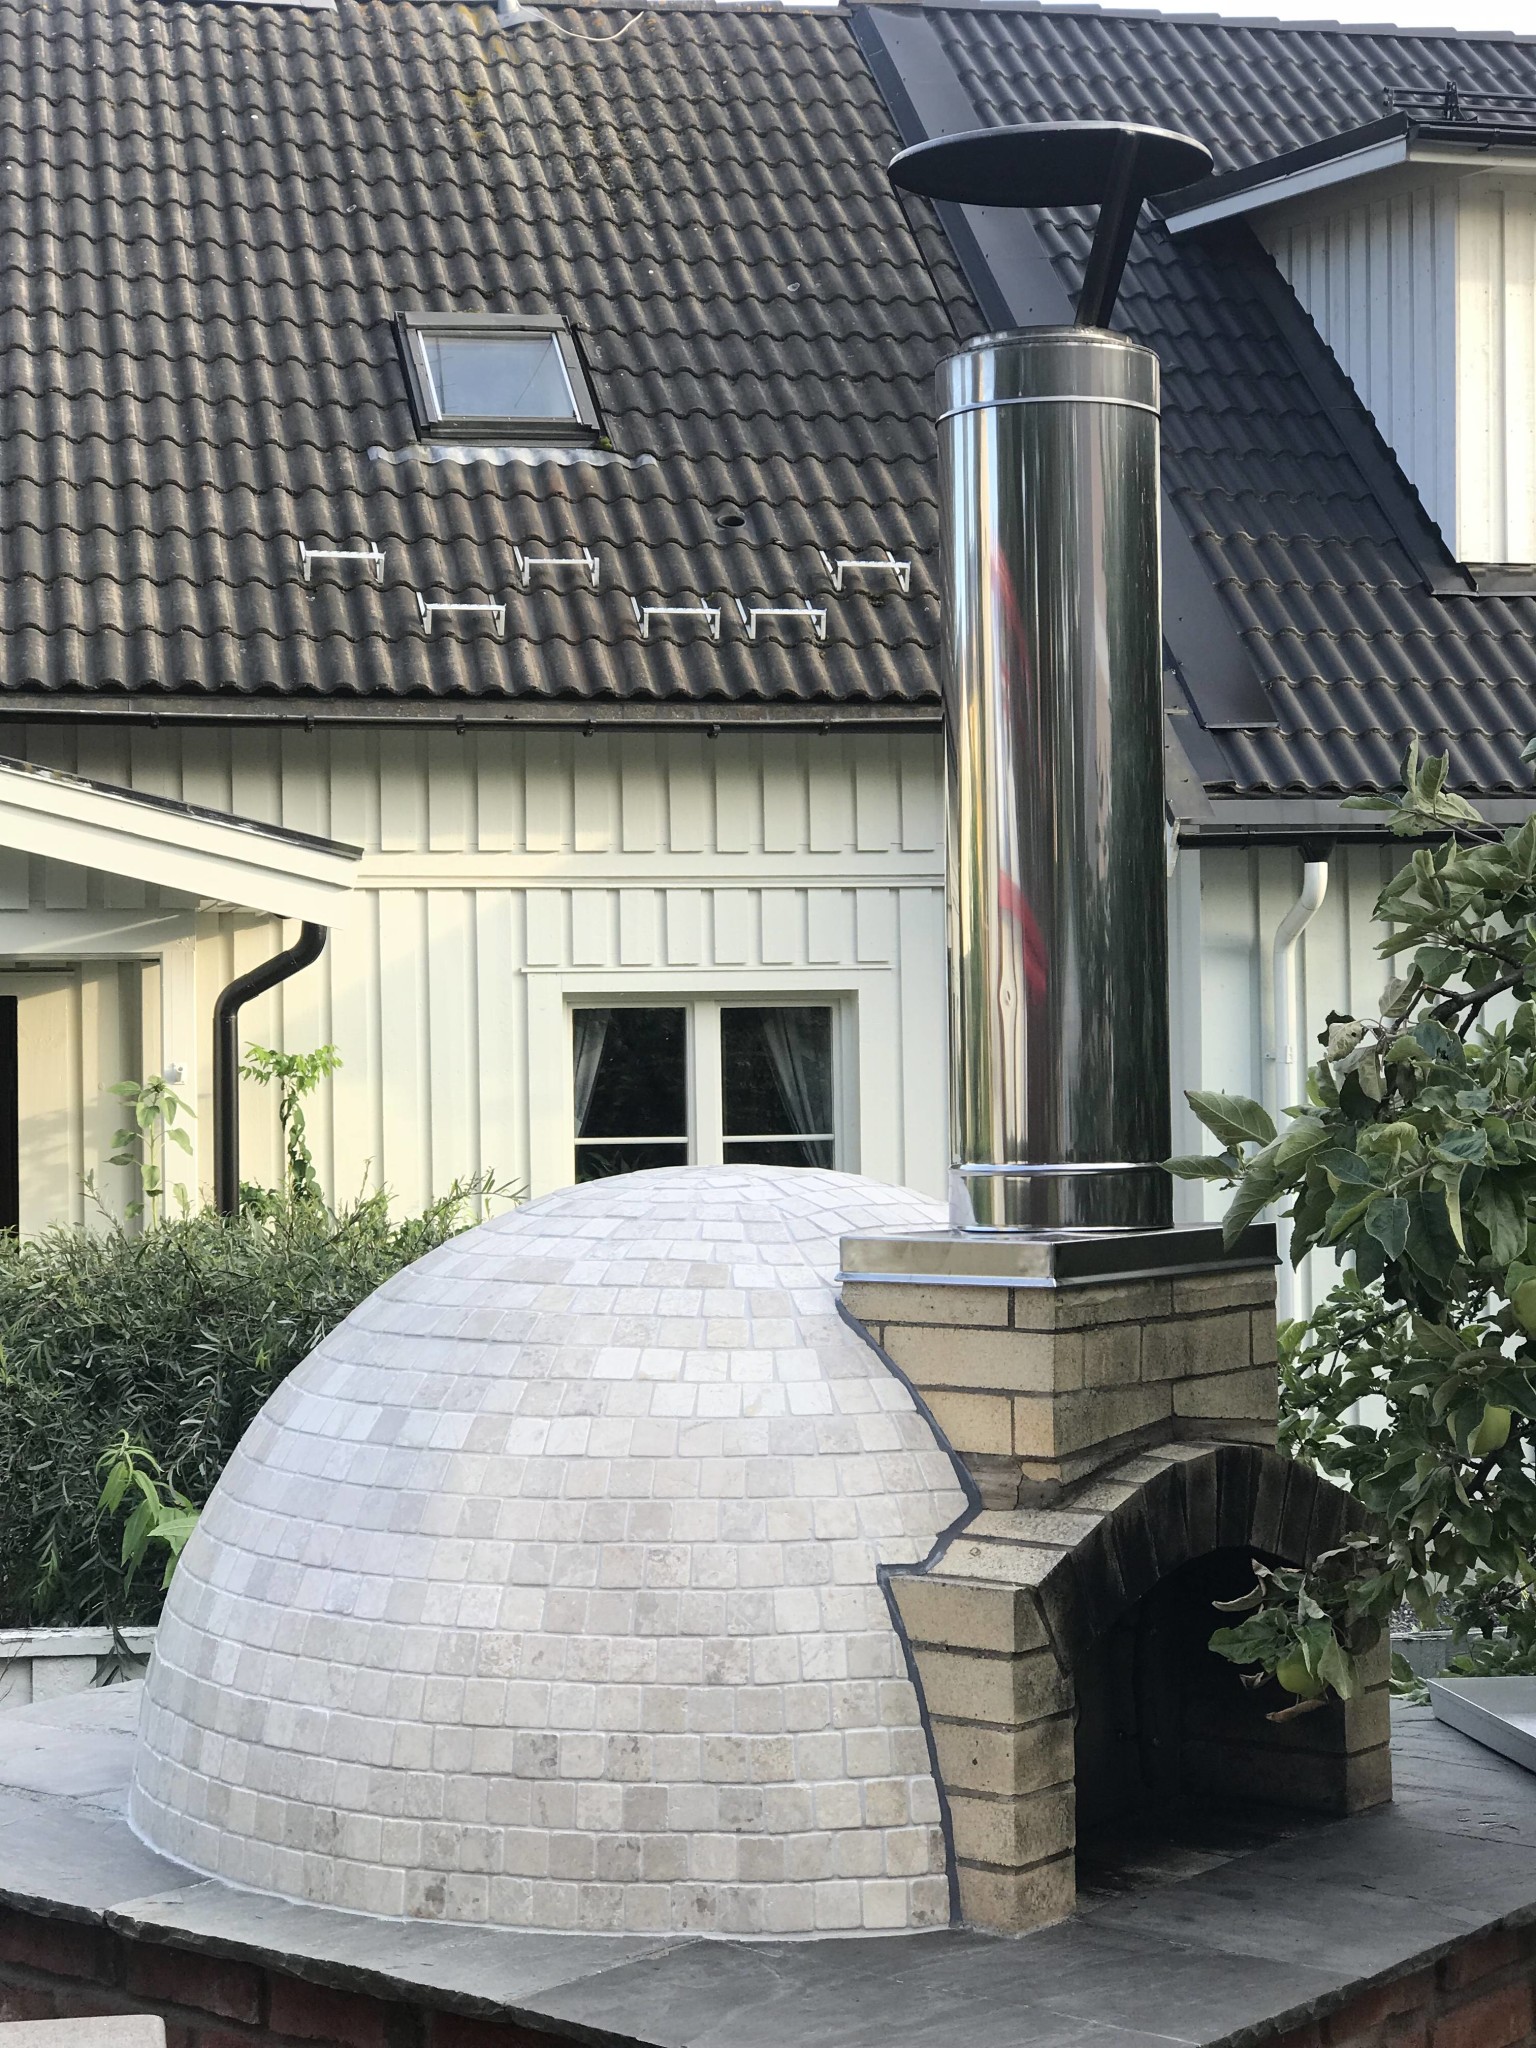
The oven dome was finally clad in stone. It was quite simple to achieve at least a decent result. After the joints had cured, I impregnated the dome and the surrounding stones so that water would run off even better and reduce the risk of frost damage. I will still cover everything carefully during the winters to keep it dry, so this might not be necessary. But as a bonus, I got a wet look on the stone, which turned out nicer. Now that everything has rested for over a week, I look forward to firing it up and baking pizza again.
Know-It-All
· Västra götaland
· 10 931 posts
Well done!
Thanks! I've been eager to fire it up again. Today, I got it going after a few weeks of resting due to building. I was a bit uncertain about how the silicone joint against the chimney would withstand the heat. Didn't go full blast with the heat today but didn't see any problems either. I've applied neutral-curing fire silicone between the mosaic and the chimney. It should withstand 150 degrees with shorter periods (30 min) up to 300 degrees, so I think it should do the job. I chose silicone instead of a refractory cement-based joint to allow a bit of movement in order to avoid cracking with varying temperatures. Unfortunately, the silicone wasn't light gray like the cone but darker, but it will have to do.
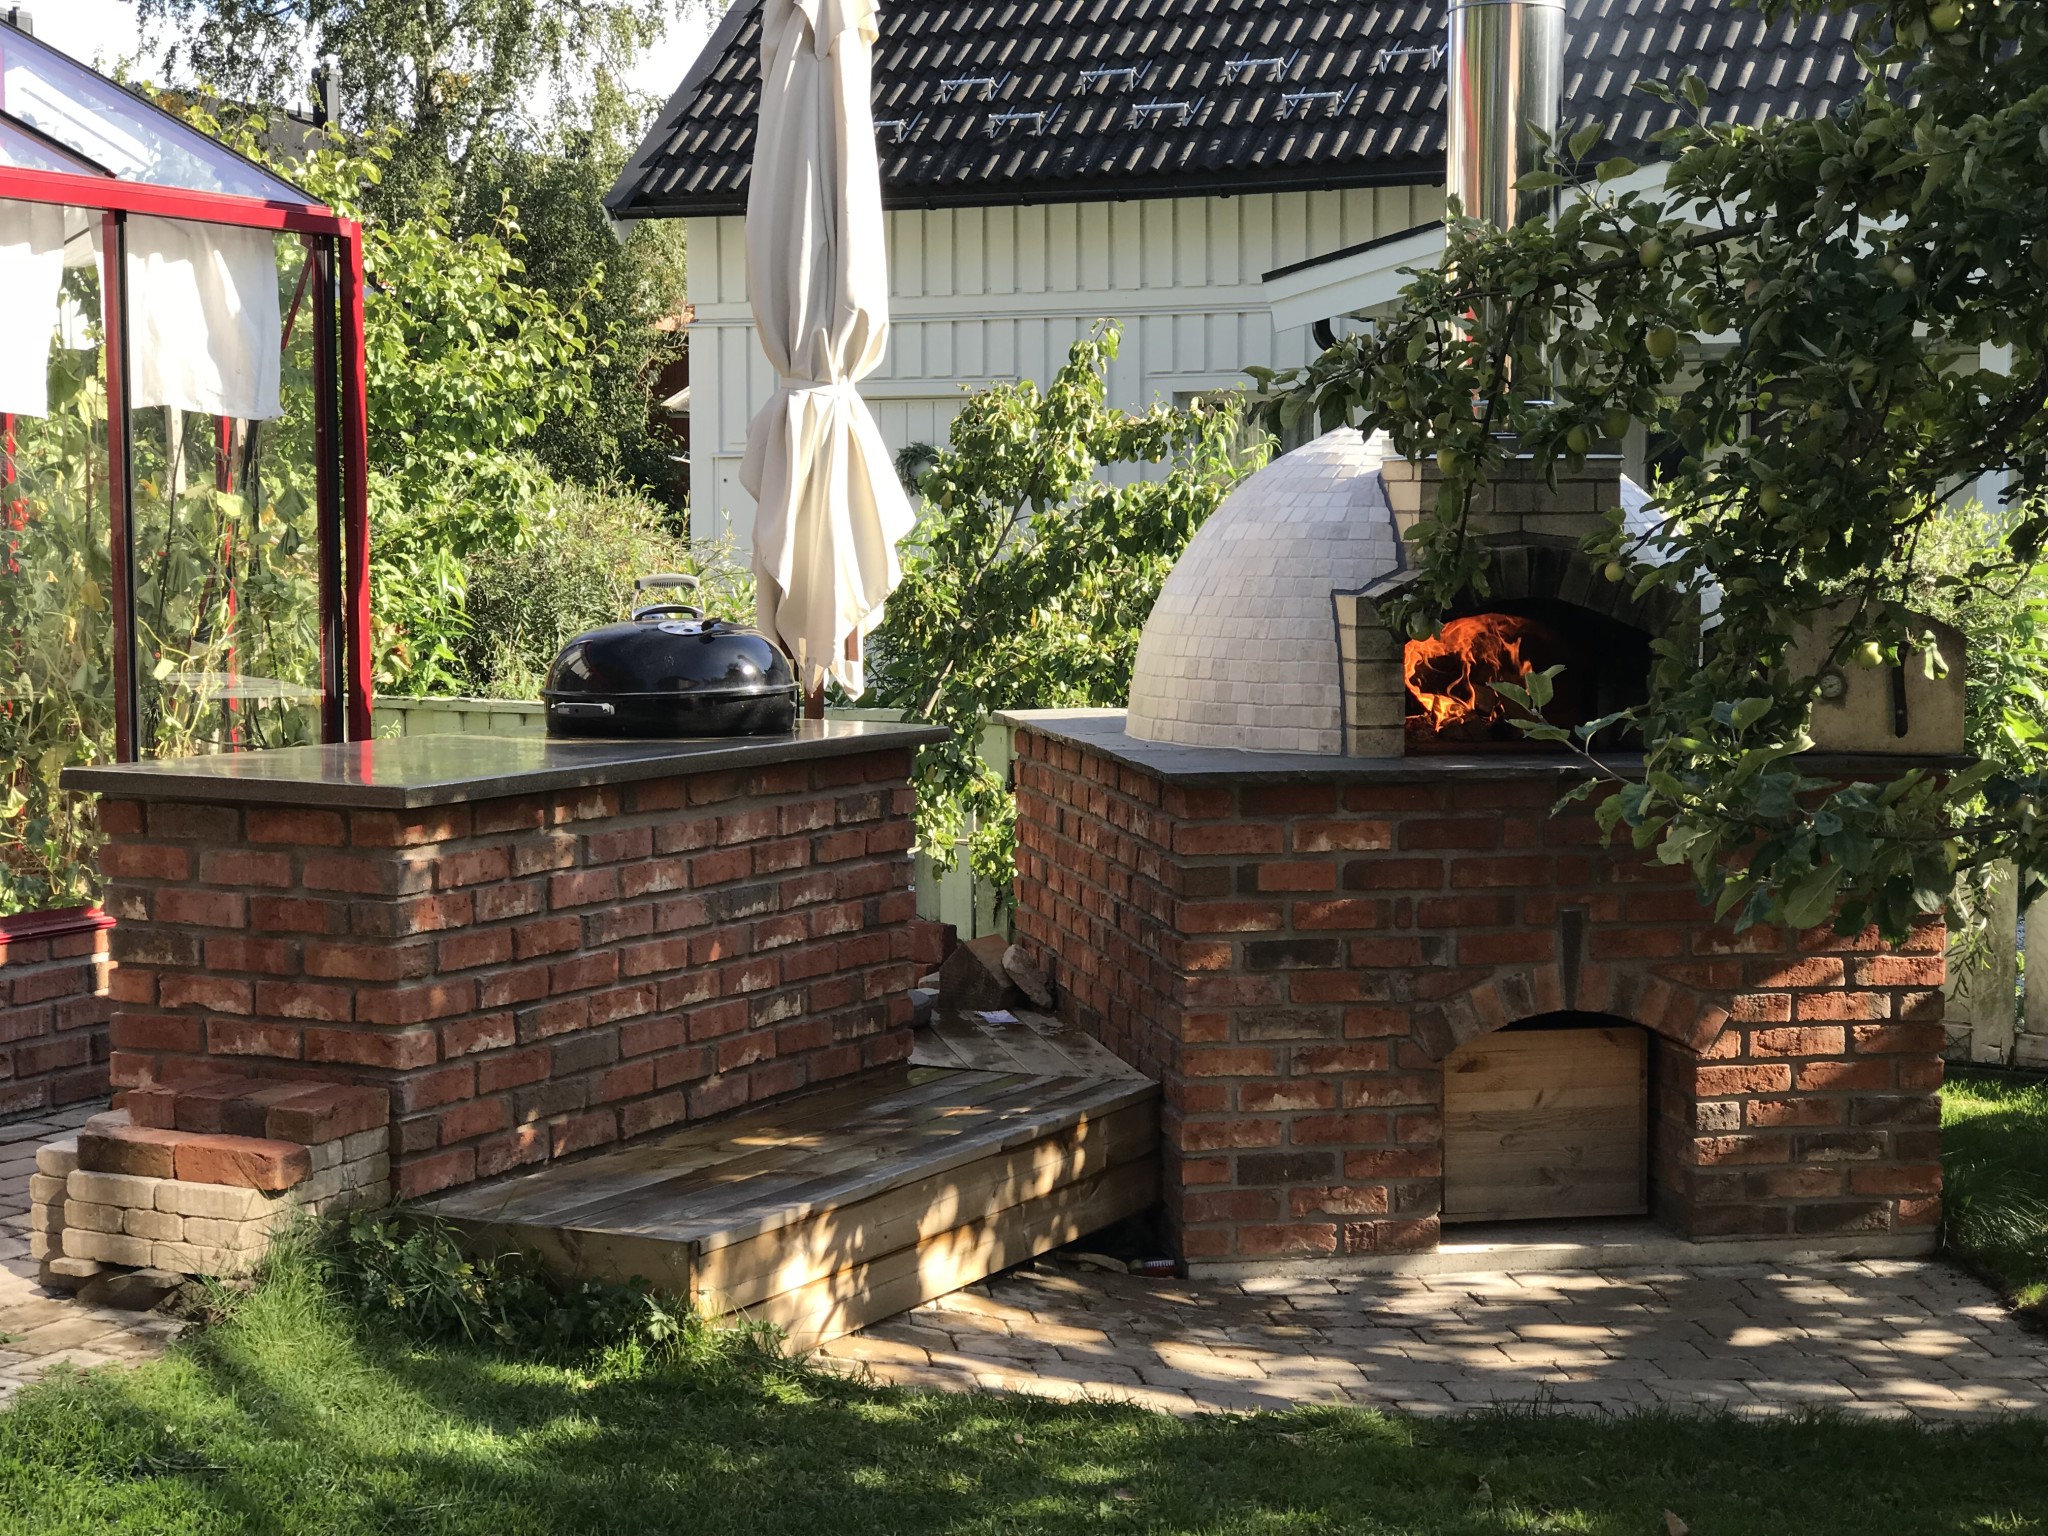
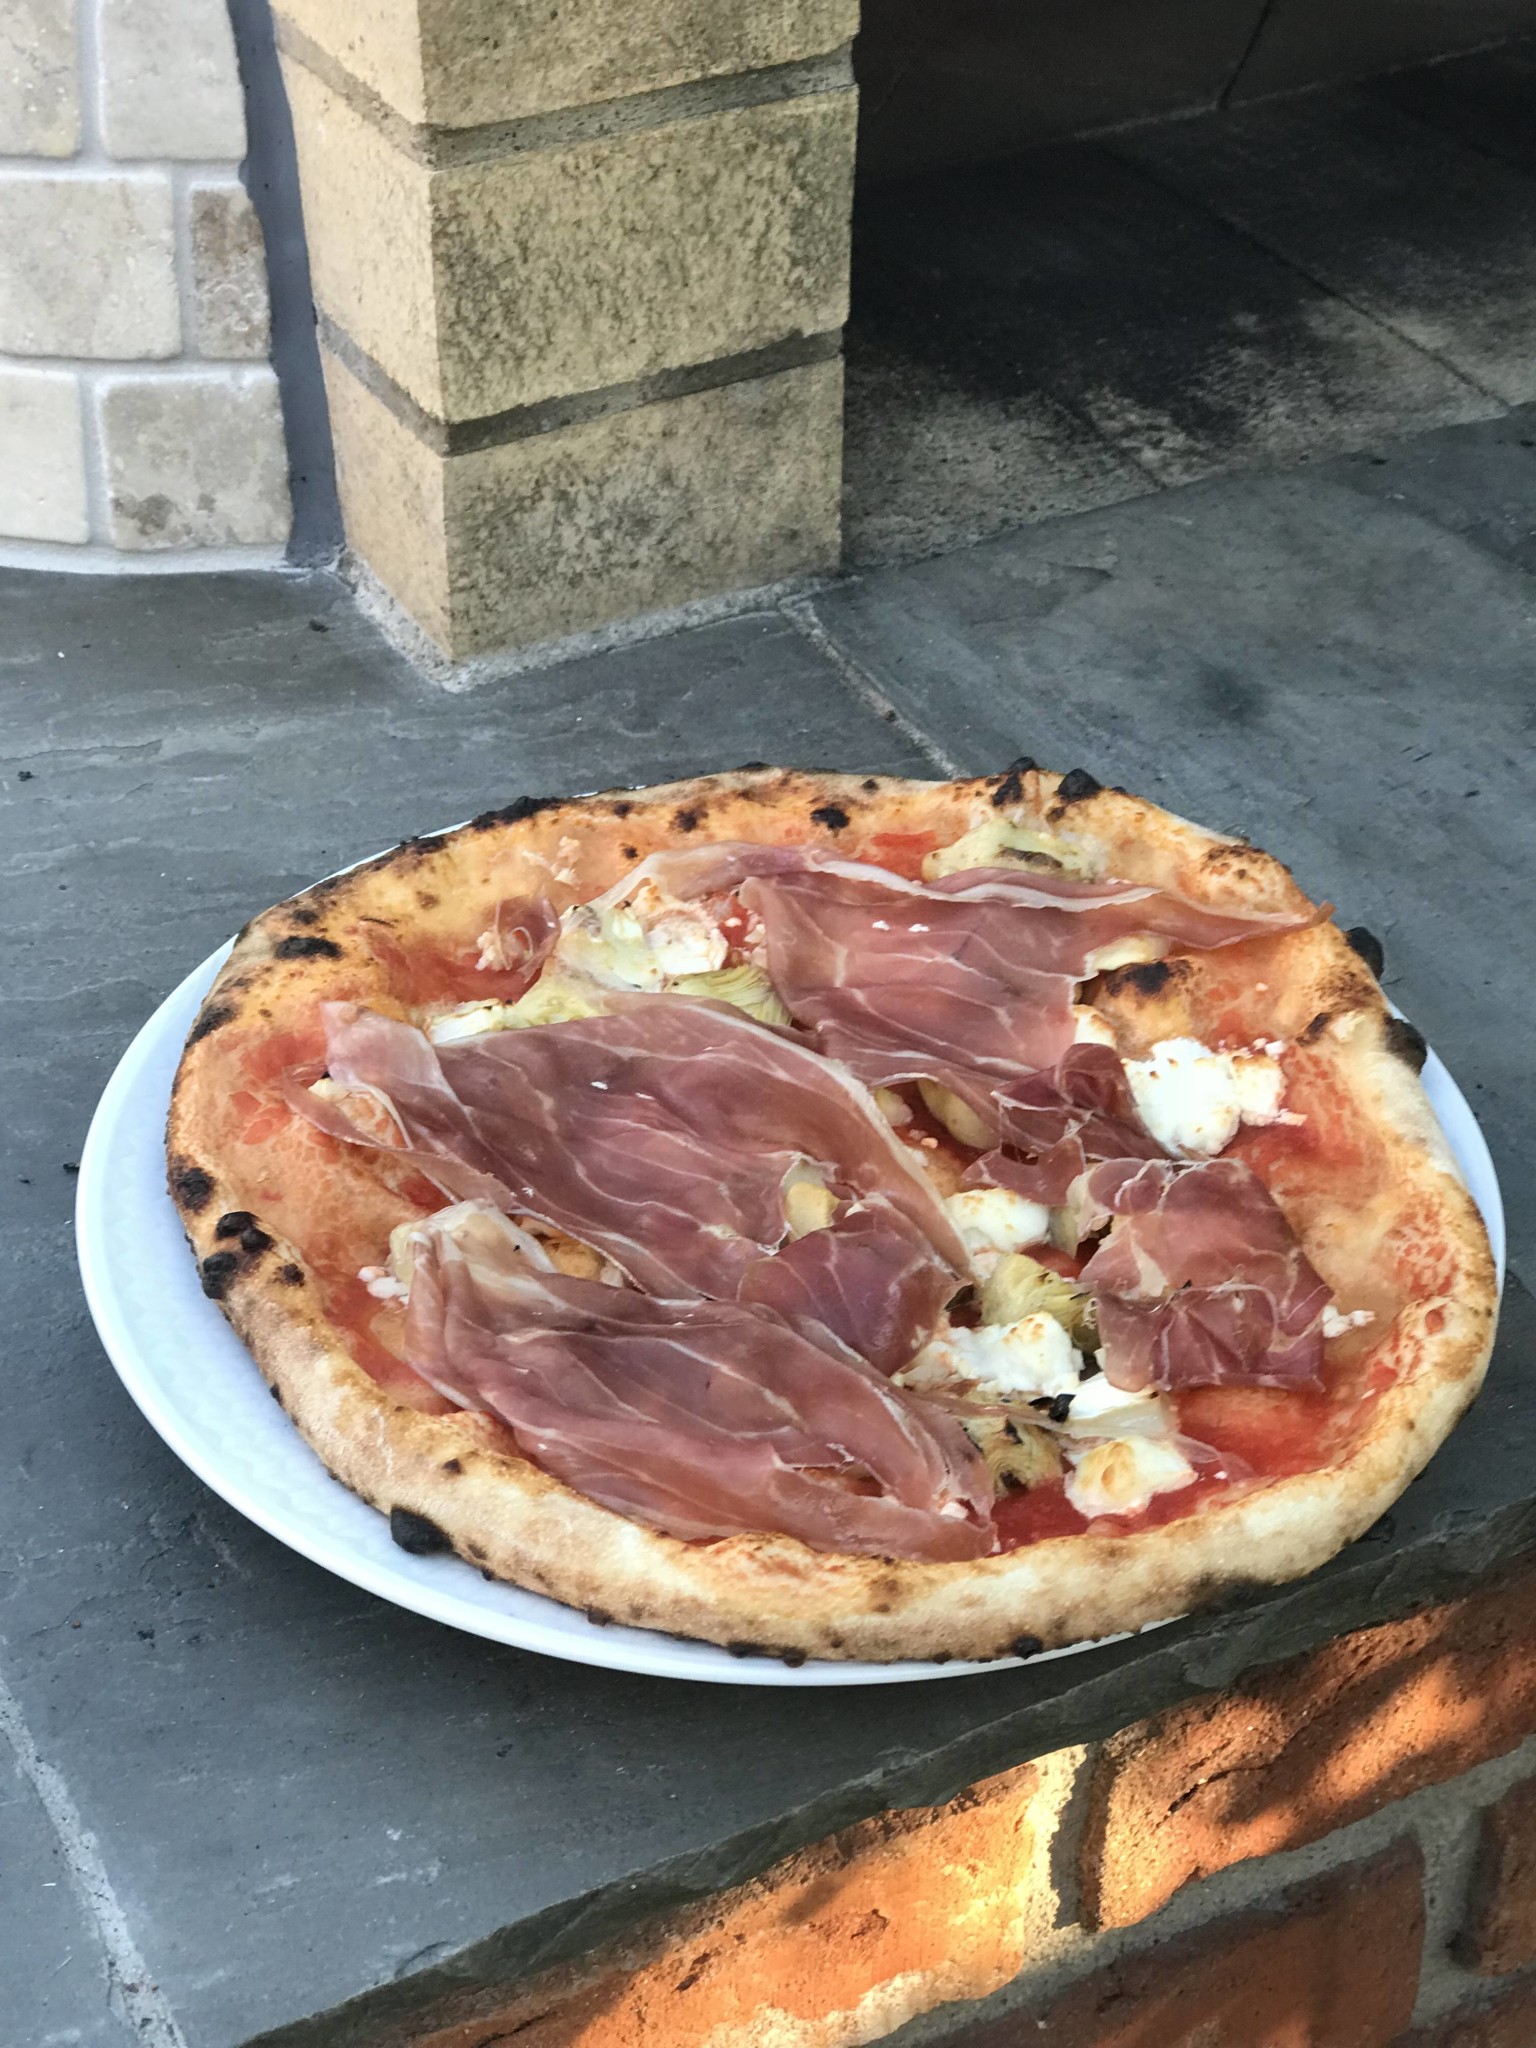
Adding some pictures of the completed build, including the entire outdoor kitchen and some lifestyle shots. I've been doing a lot of firing today and baked pizza. When it comes to pizza, the goal is Neapolitan style. I've worked quite a bit with dough and tomato sauce, and it's starting to take shape.

J johanras said:The images above show as far as I got during 2015. The chimney is stainless steel and was purchased from Germany. In 2016, I continued to lay bricks on the base and placed limestone slabs on top as shelves. This is how the oven looked in the fall of 2016. [image][image][image]
Yes, and I also had an insulated door made of stainless steel, which works really well and helps retain heat for a long time. [image]
I agree, a very beautiful build! I'm considering starting a project in the spring. Wondering how long you need to fire it up before reaching the baking temperature?J johanras said:The images above show as far as I got during 2015. The chimney is stainless steel and was purchased from Germany. In 2016, I continued to lay bricks on the base and placed limestone slabs on top as shelves. This is how the oven looked in the fall of 2016. [image][image][image]
Yes, and I also had an insulated door made of stainless steel, which works really well and helps retain heat for a long time. [image]