Thanks. I haven’t managed to remove the panel and check inside yet. I’ll probably do it this weekend if time allows. I’ve only checked by driving a few long screws into the panel joints, i.e., where there are nails. I drove a 100 screw that went all the way in. But I will definitely take a look underneath. That’s really a prerequisite for the whole thing.
At my place, as you can see, there were studs on cc 60, every other one was attached to the rafters that extend all the way; every other one was just for nailing the panel into and wasn’t attached at the top. In these, the previous owner had screwed a large awning into. It held, but wasn’t actually attached to more than the panel, no wonder the awning was hanging down a lot...
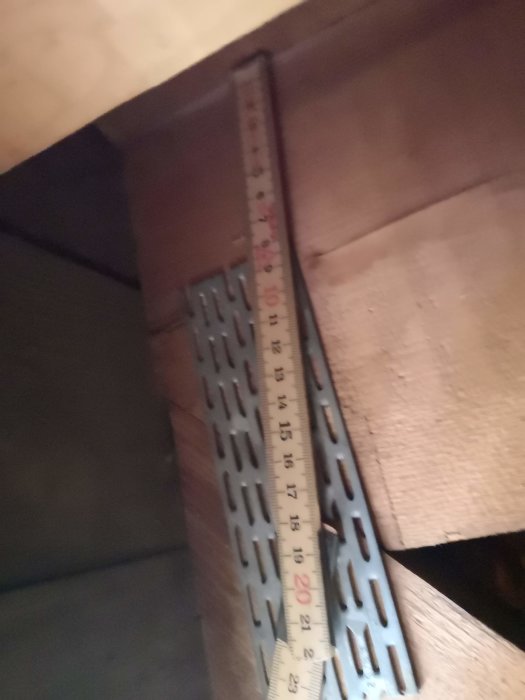
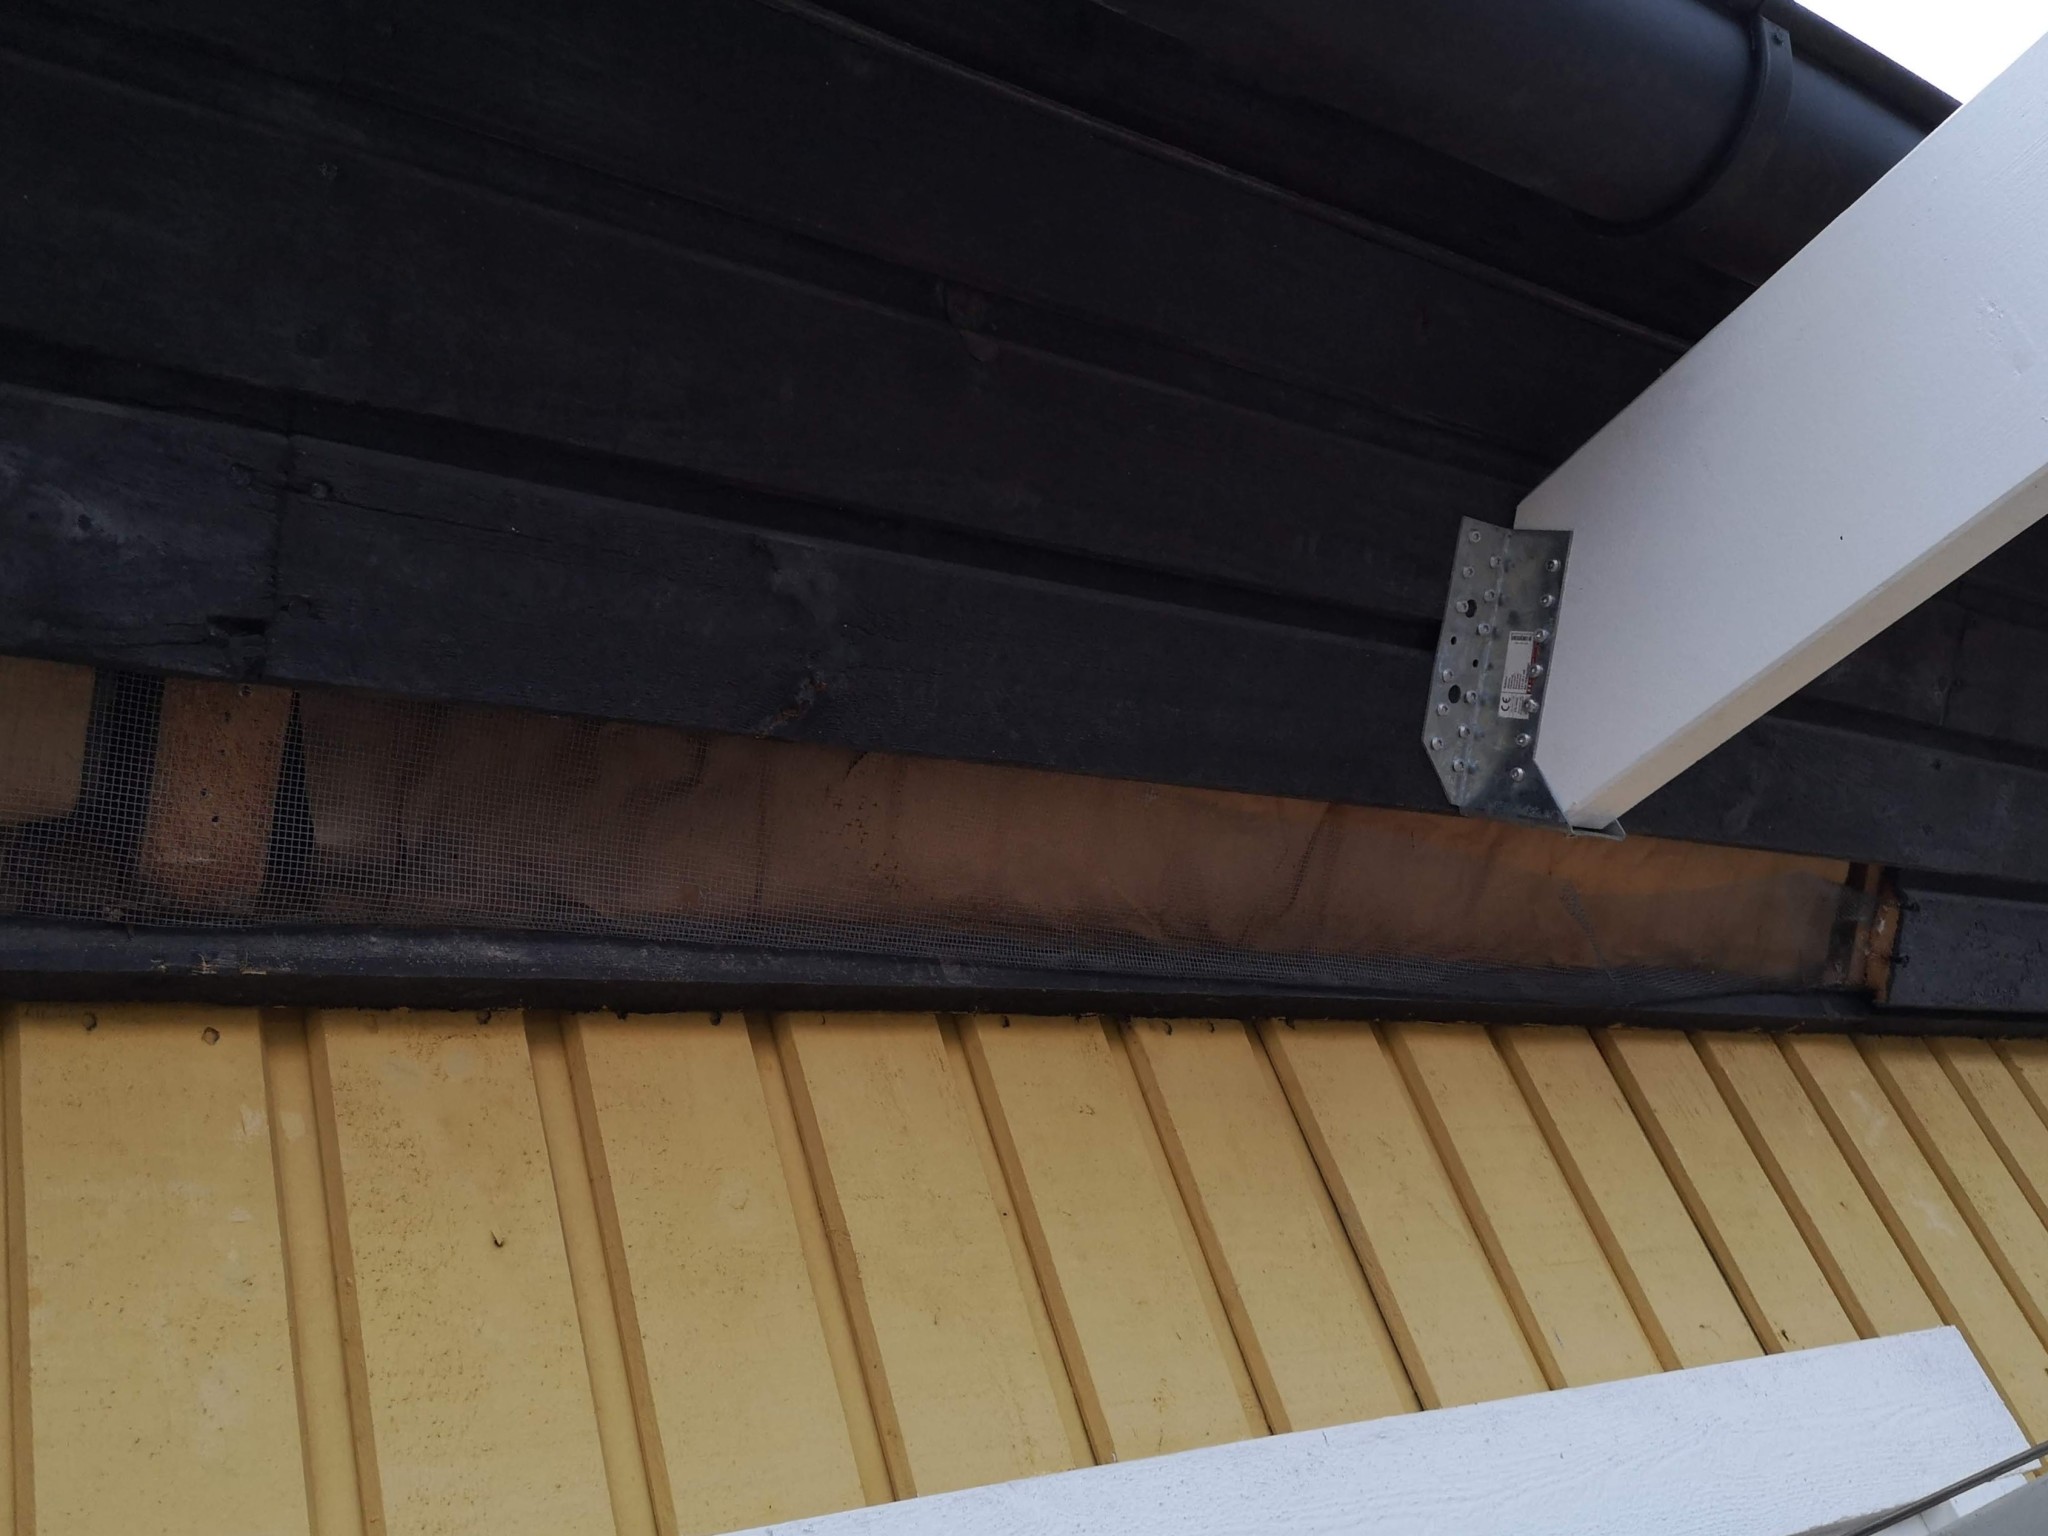
I've removed one panel board so I can peek behind. I can only remove one due to the fastening of temporary beams and lack of time. Here are some pictures.
Removed panel and temporary attachment.
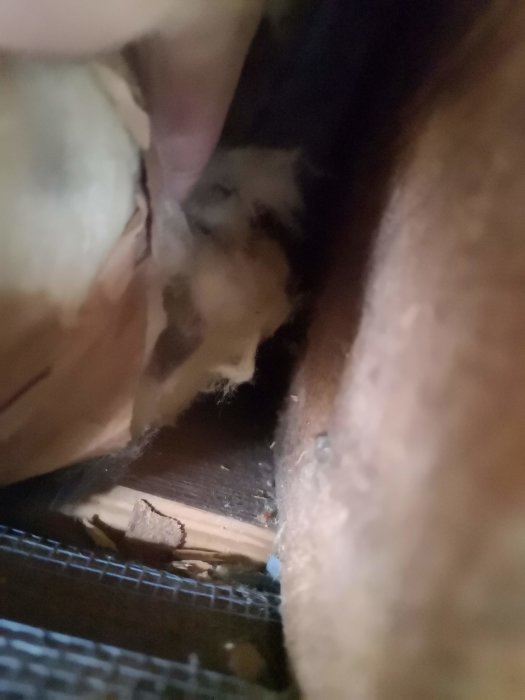
Inside the black panel. Here you can see that the roof truss extends all the way to the panel. The roof truss is built of 195x45 both lying flat and the 45.
Photo taken under insulation and along the inner roof beam. Horizontally straight in from the removed panel. I can't remove the insulation right now because it seems to be clamped with a thinner stud.
Is it a hammarband one sees in the last picture and can it be loaded on in that case? The roof truss seems to sit on it anyway. I don’t know the dimension of the hammarband. As mentioned, I only see the picture above.
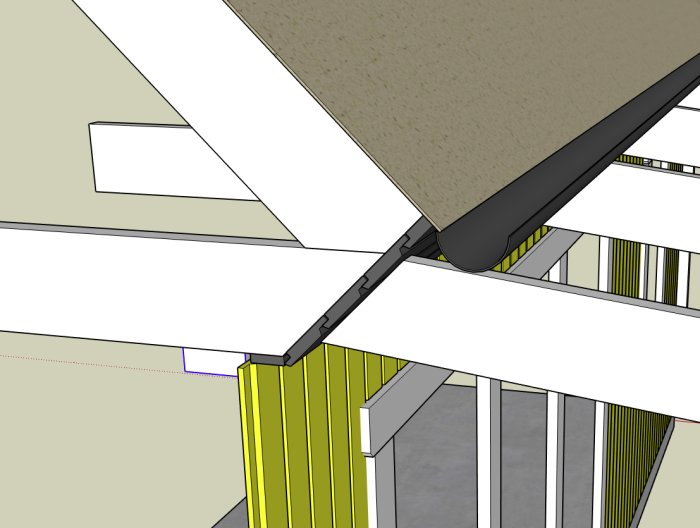
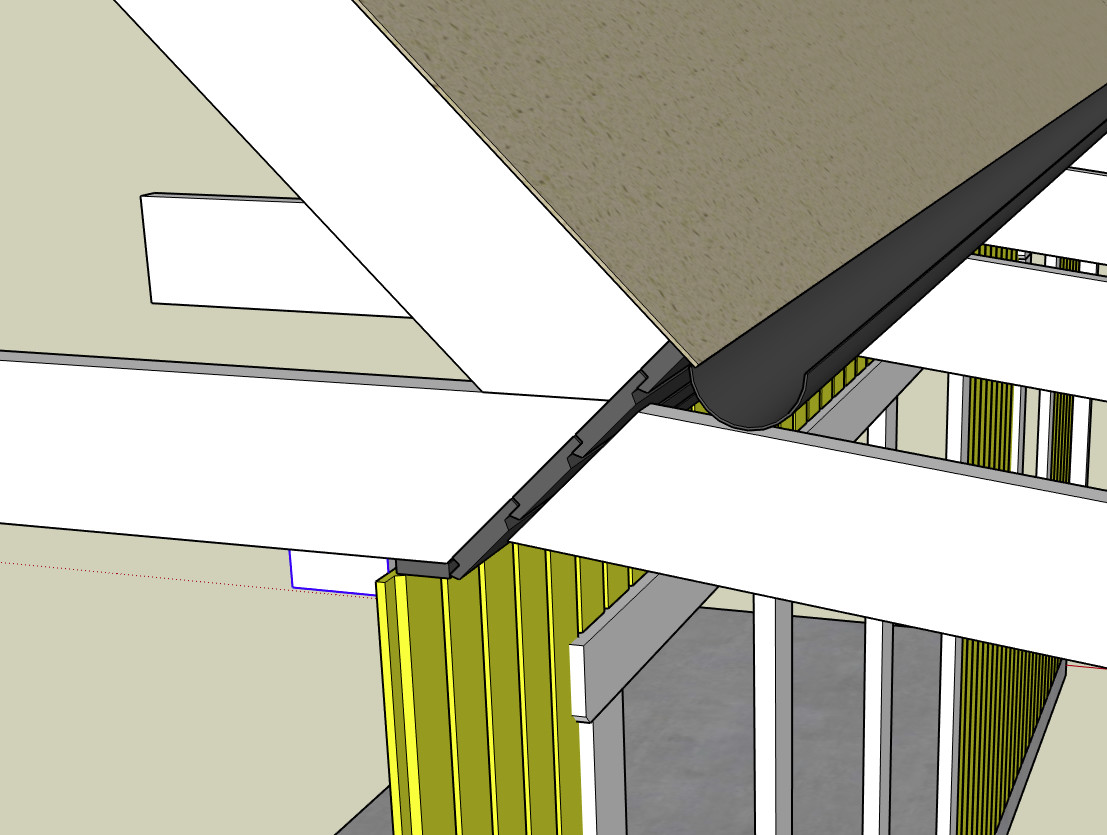
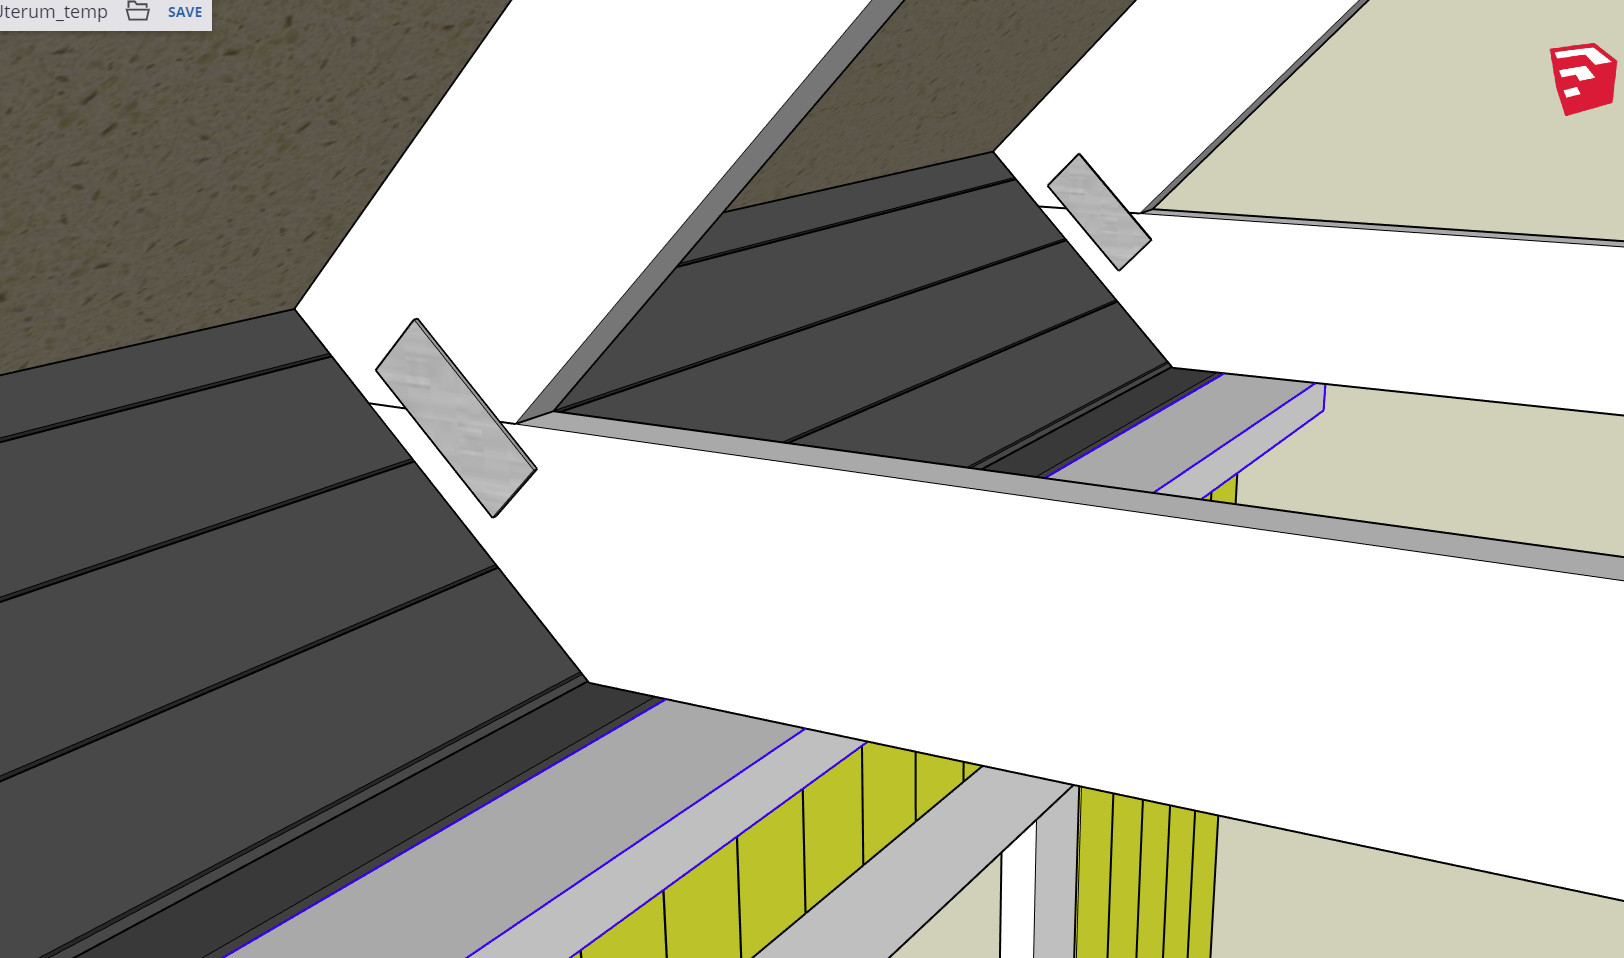
I've also drawn up in SketchUp how it looks. The roof truss is built of 195x45 both the lying flat and the 45.
As I see it, there are two ways to proceed.
Either I anchor the roof beam for the conservatory to the hammarband (if that’s what it is) and prop it up with an appropriate stud between the roof trusses to achieve the right height.
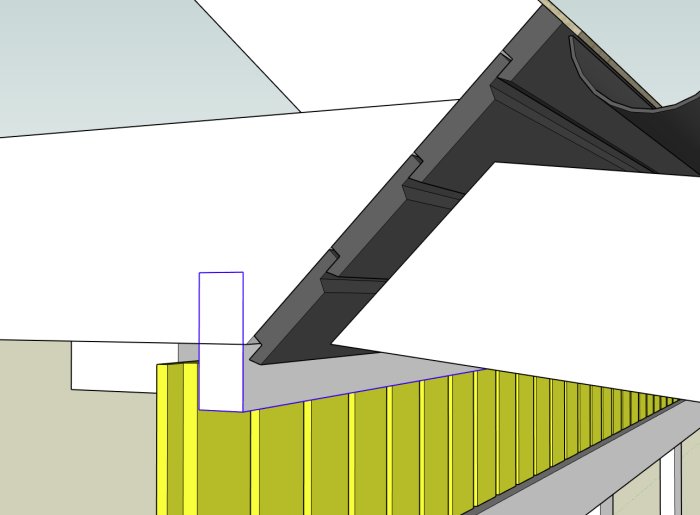
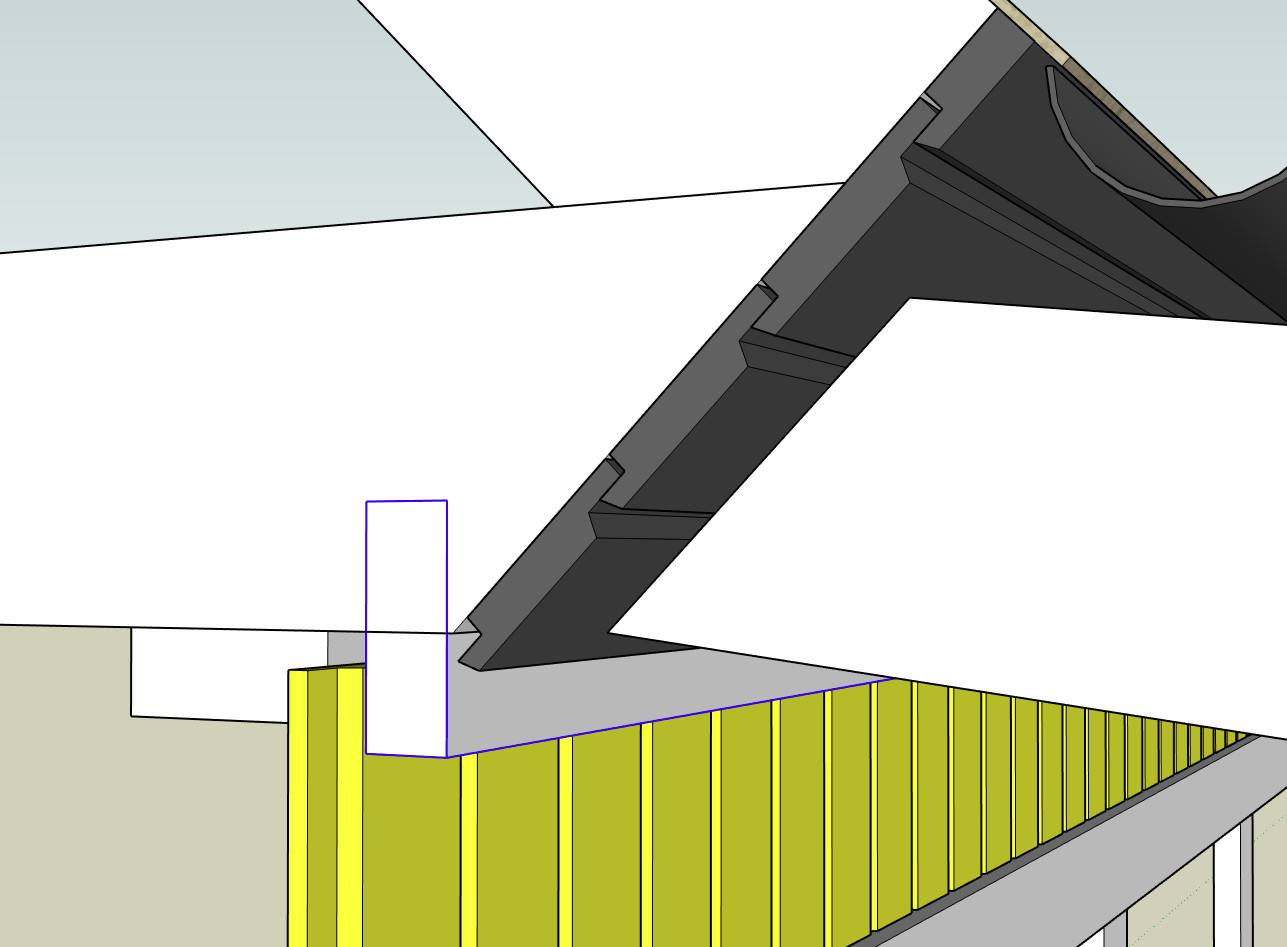
Alternatively, I attach a stud to the outer wall (the one marked in the image) and screw it firmly directly into the hammarband. Then I would have to notch for the inner roof trusses but can adjust the height as desired. This would probably be the simplest and nicest. Like this image approximately.
Is this my way forward?
Best regards,
Baeckman
Click here to reply
Vi vill skicka notiser för ämnen du bevakar och händelser som berör dig.