I used 30mm drywall screws. Because you only need to mount in the osb. That is, the drywall is 12 and then 12osb so it's 24mm. Unnecessary with 42mm long ones in my eyes.
Now we will start with the gypsum and have bought 2500mm boards. Should I place them lower than the OSB boards or keep them at the same level?
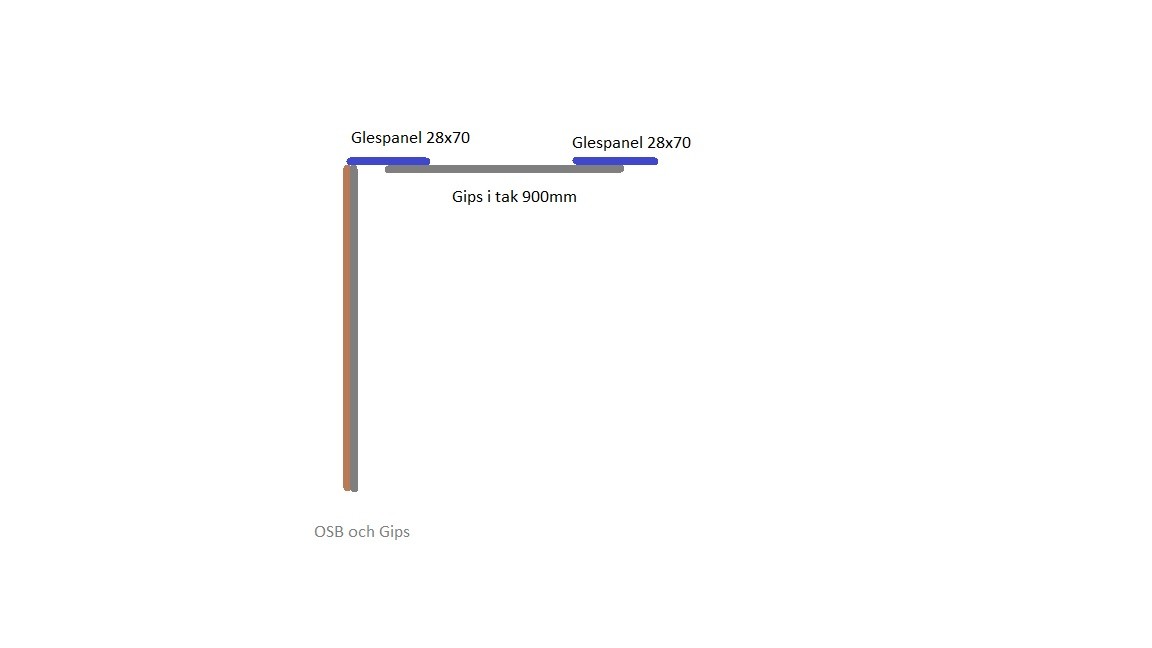
I have also noticed that there will be quite a large gap between the wall gypsum and the ceiling gypsum. Despite the fact that it is framed on cc30 in the ceiling, it ends up that the first board has to be kept 10-15mm away from the wall. I don't know what this is due to. Does this work?
post a picture so it will be easier to understand. This thing about holding out the board, I didn't understand as I said. Nor where the gap should have appeared.
You place the ceiling gypsum board as close to the OSB as you can. Of course, it doesn't work if the ceiling's gypsum board gaps 5-8mm from the wall. When the wall gypsum board (12/13mm) is pressed up against the ceiling, it covers the potential gap and goes over 7-4mm.
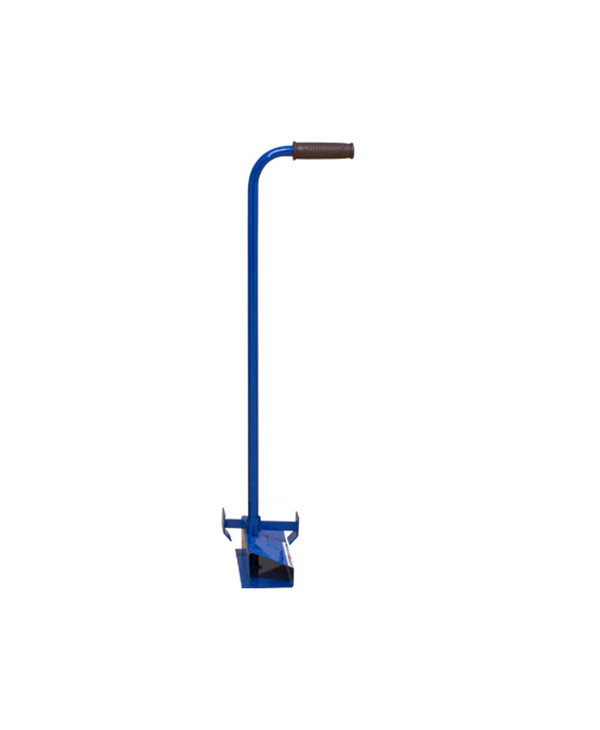
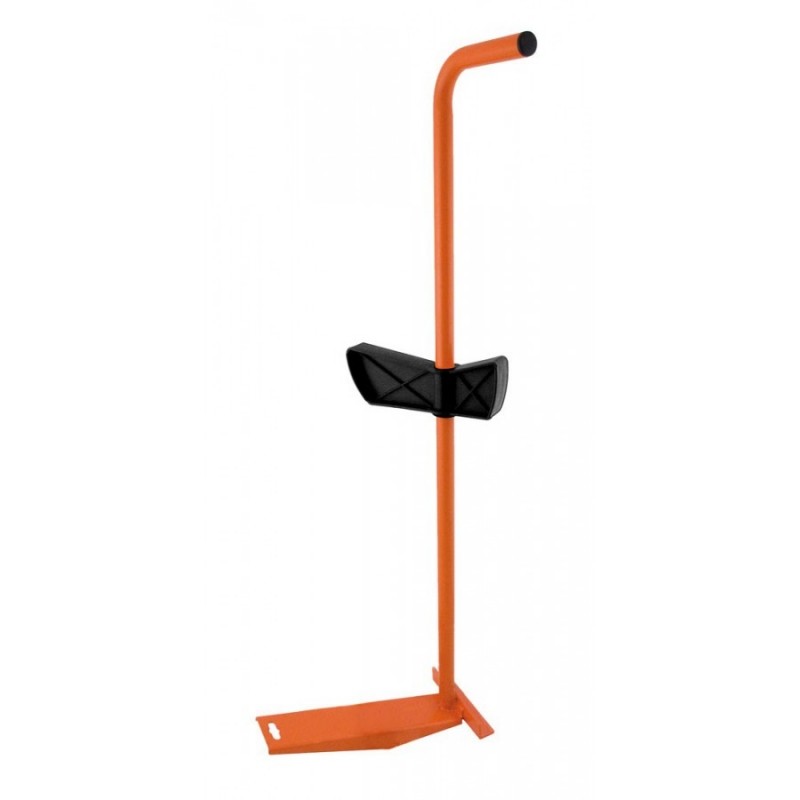
If you're going to have a baseboard, you can cut the gypsum board 5-6mm shorter than the exact measurement. Then you just place the gypsum board on the gypsum support/foot lift/gypsum holder and press it tightly against the ceiling and tighten it. Then you screw it in without any problem.
Unfortunately, I can't take a picture right now but I've drawn one that might make it easier to understand the problem. It feels like maybe one should have started by cutting away 25mm from the slatted panel. If I press the ceiling gypsum against the OSB/gypsum on the wall, it just barely reaches the next slatted panel.
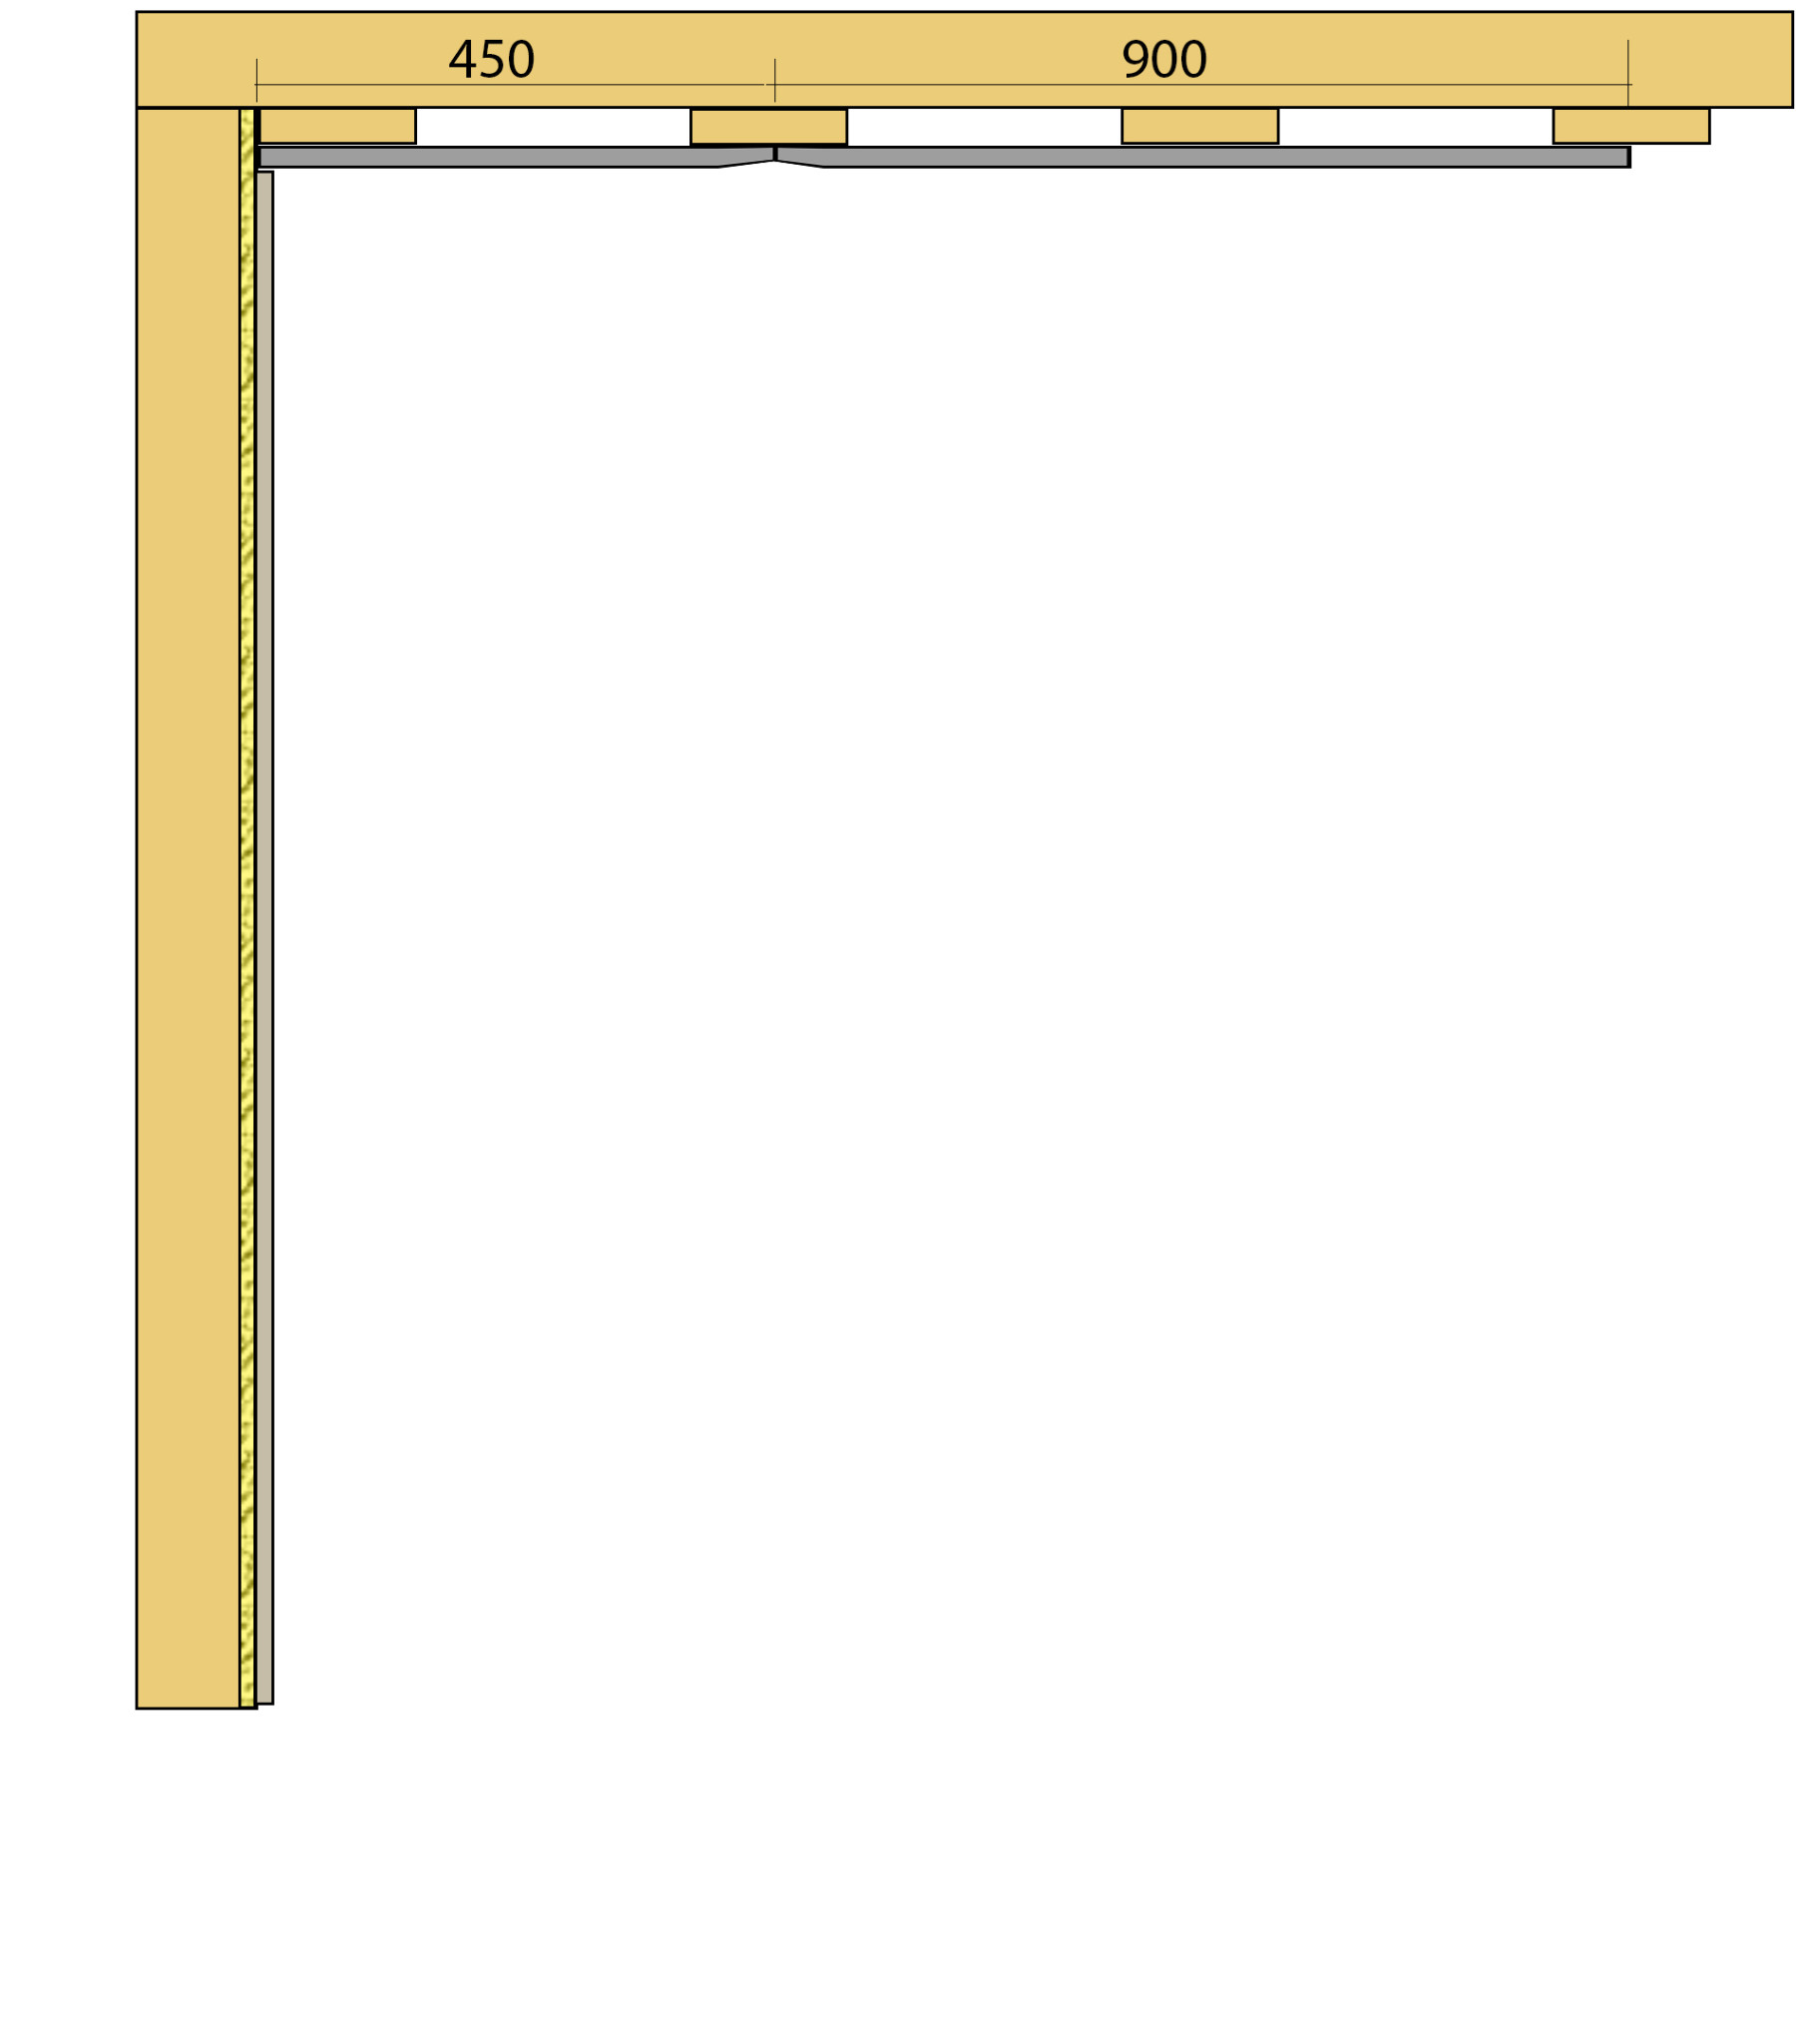
The first glesen should always sit against the wall as you placed it - Gles no. 2 should therefore be centered at 300 from the wall followed by all others at 300 center to center....
How does it look at the other end of the room? Did it evenly space on cc300 or maybe you can start with a 475 (Half + 25mm) sheet and use the leftover at the end in the ceiling?
Ah okay, there's the problem, the first glesen is, as you say, right up against the wall, but the second is cc300 from the first glesen.
No, it didn't come out evenly on the other side, we had to put in a gles at about cc15 from the second to last.
I'm thinking wrong - not a 475 board but rather a 625 board, time for some food so the brain works!
You typically want to start with a 1/3 board so you avoid the jointing trench against the wall - Just a hassle to fill if you ask me. Hopefully, you can use the scrap on the opposite side...
Edit:
Another tip, snap a chalk line in the middle of the third board and use it as a reference when you set the first row - It gives you something to measure from if the walls are slightly uneven and ensures a good start so it doesn't start to gap between the boards after a while. A laser also works for this purpose.
]You don't cut a piece. Instead, you always split the board in half to ensure an even distribution on the battens and that you can use the board in other places. If the board is 90, you split it to 45; if it's 120, you split it to 60, etc. Here, I have made a simple template for you to look at. It's better for you to redo it to avoid the hassle of throwing away a lot of gypsum board scraps and spackling. The last row will be what it will be unless you calculate carefully and divide the room width by 900. Then you'll see how many full boards you get. For example, if the room's width is 4800mm, 4800/900 = 5.3, meaning 5 whole boards. 5 whole boards = 4500mm. Then there is a shortage of 300mm in total. And that means 150mm on each side. So, if this were the case in reality, you wouldn't start with 450mm but with 150mm. Then you proceed as usual until you again reach the end of the room and place the last piece at 150mm. Done... and neat.
There are many ways to do it, and this is just one explanation among many. If you want to run cc 300, you just swap the measurement and add more studs; the principle is still the same. 300 or 450 from the osb wall to the center of the stud, then you continue with 300cc or 450cc in even rows.
If you're going to snap a line, don't make the mistake of forgetting to add half the width of the stud to the first line. That is, the first snapped line will be (450+35mm, as you are using 28/70) at 485mm from the osb board wall. Then you proceed as usual with 450 cc with the string.
]You don't cut a piece. Instead, you always divide the board in half to get an even distribution on the furring strips and so you can use the board in other places. If the board is 90, you divide it into 45; if it's 120, you divide it into 60, and so on. Here I've made a simple template for you to look at. It's better for you to redo it so you avoid the hassle of starting to throw away a lot of drywall scraps and plastering.

")