After quite a few test pieces and discussions, we chose Konkral microcement, mostly because you could get it in any color, but also because they had quick and professional service and it is approved as a surface in bathrooms with Kiilto's waterproofing system.
In their (and other suppliers') instructional videos, laying microcement looks SOOO easy and pleasant, but in reality, it's something entirely different I can tell you!
The consistency of the microcement is roughly like tomato paste, can't quite think of something else to compare it to, and is quite "light." The problem is that it isn't particularly "smooth" but rather "gets stuck" to the wall and very difficult to spread.
That's because it's based on very fine sand and sets very quickly so you have to be very quick with your hand and it looked dreadful in my first attempts with "patches" of microcement.
Now, I would classify myself as a fairly decent plasterer and have done a lot of plastering in my days and feel that I master both spreading and smoothing evenly and nicely, but that doesn't help much with microcement!
After some consultation with Konkral, it was Retarder (to extend the open time) and Thinner to make it thinner...
With retarder and thinner, you at least have a chance to get it better, and now you have a consistency like toothpaste instead and it starts dripping off the spatula no matter how you try to angle it. Extremely frustrating and microcement all over the floor...
Finally, I figured out the technique with dual spatulas (or perhaps they are called steel trowels with handles?) so they form a V.
In the V lies the microcement and then you draw with one spatula and press forward (against the wall) with the other to "feed" the microcement slowly onto the wall while you draw upwards with the other.
With retarder, you have time to draw two or three times before it sets on the wall and you can't do much more about it, better, but still very difficult.
If you go at it with the spatula after it has set too much, you get dark streaks on the surface!
You must learn to "see" and feel when it's time to stop working it, and you don't have many minutes.
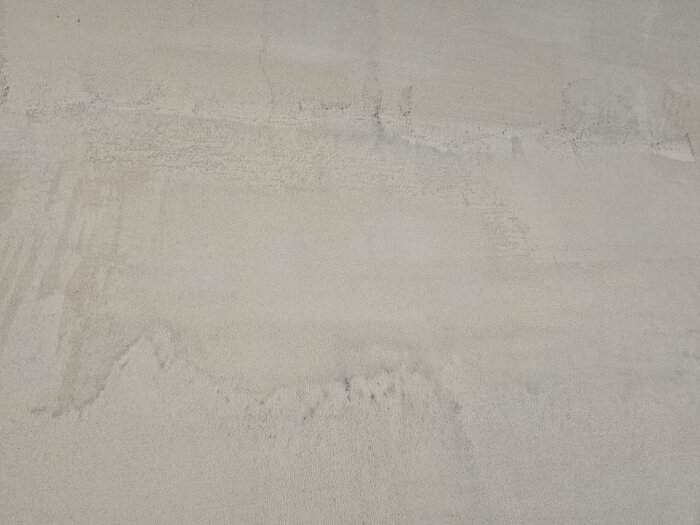
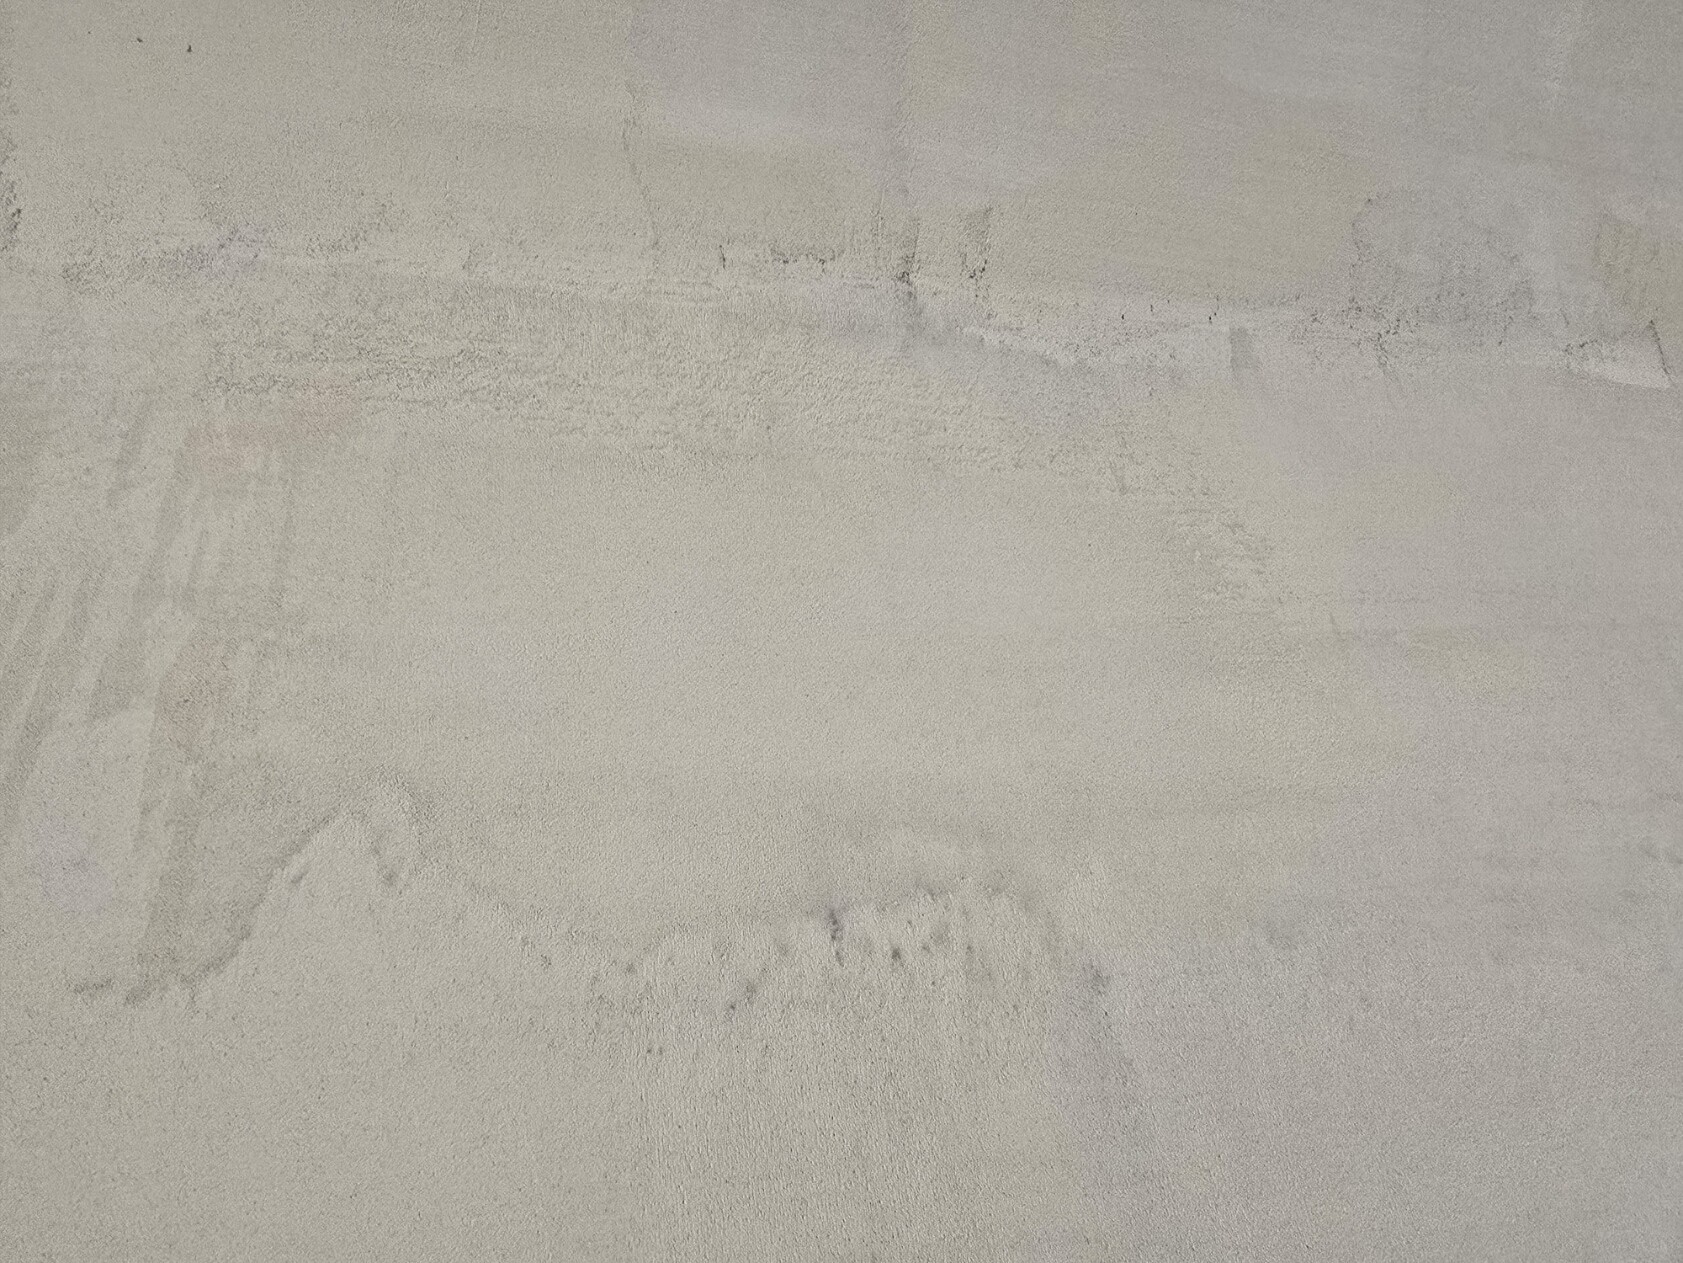
Here is a picture of an overworked surface with many irregularities:
On smaller surfaces, like under the bench in the steam sauna where it's about 45 cm high it goes quite well, but when you get to a larger wall it's impossible to get a completely smooth surface, there will be "stripes" and "mottling" on the surface.
Here was probably also one of my problems that I wanted as homogeneous and smooth a surface as possible and didn't want "irregularities."
If you want it completely smooth and even, microcement is not the right choice of product!
There will be a certain degree of mottling and irregularities in the surface, that's just the way it is... The daughters are thrilled and want more irregularities since they have the vision of a bit of Moroccan bathhouse (and not one of those fancy ones in mosaic tiles, but a rustic and dilapidated one).
After the fourth pass, on the first wall, I begin to perfect the technique and feel that it has finally turned out good enough!
Once you've applied a layer of microcement about 1mm thick, it should dry and then you should sand before applying the next layer and sand again.
Here I also made a mistake and sanded way too much after the first pass, but that was also because the first wall I started on was so uneven, blotchy, and ugly and I used up 10-12 orbital sanding papers (125mm) on an area that was about 5 m2. Then I applied the next layer and sanded like crazy again. Microcement is very hard and it became clear that it can't be sanded smooth...
After consulting Konkral again, I got the recommendation to buy their diamond grinding discs, which were insanely expensive but felt like the only salvation, but no...
The diamond grinding disc didn't last long, but that was because I was trying to sand down the irregularities and pressed too hard, so the diamond grinding disc wore out after maybe 15-20 minutes.
After a few more questions, I learned that the microcement should be sanded very lightly just to shave down ridges and the worst edges from the spatula, so then I realized I had to apply a new layer (the fourth) with better technique and now I was starting to get the hang of it a bit more.
After applying a layer that is OK, and lightly sanding it by hand with 80 grit paper, I am actually pleased.
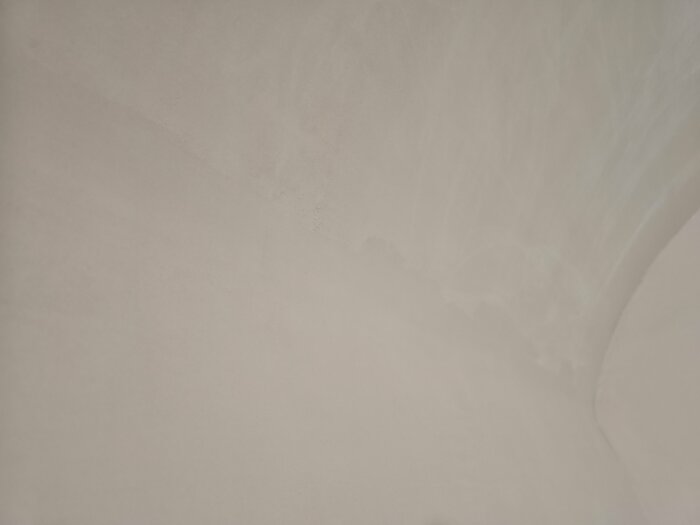
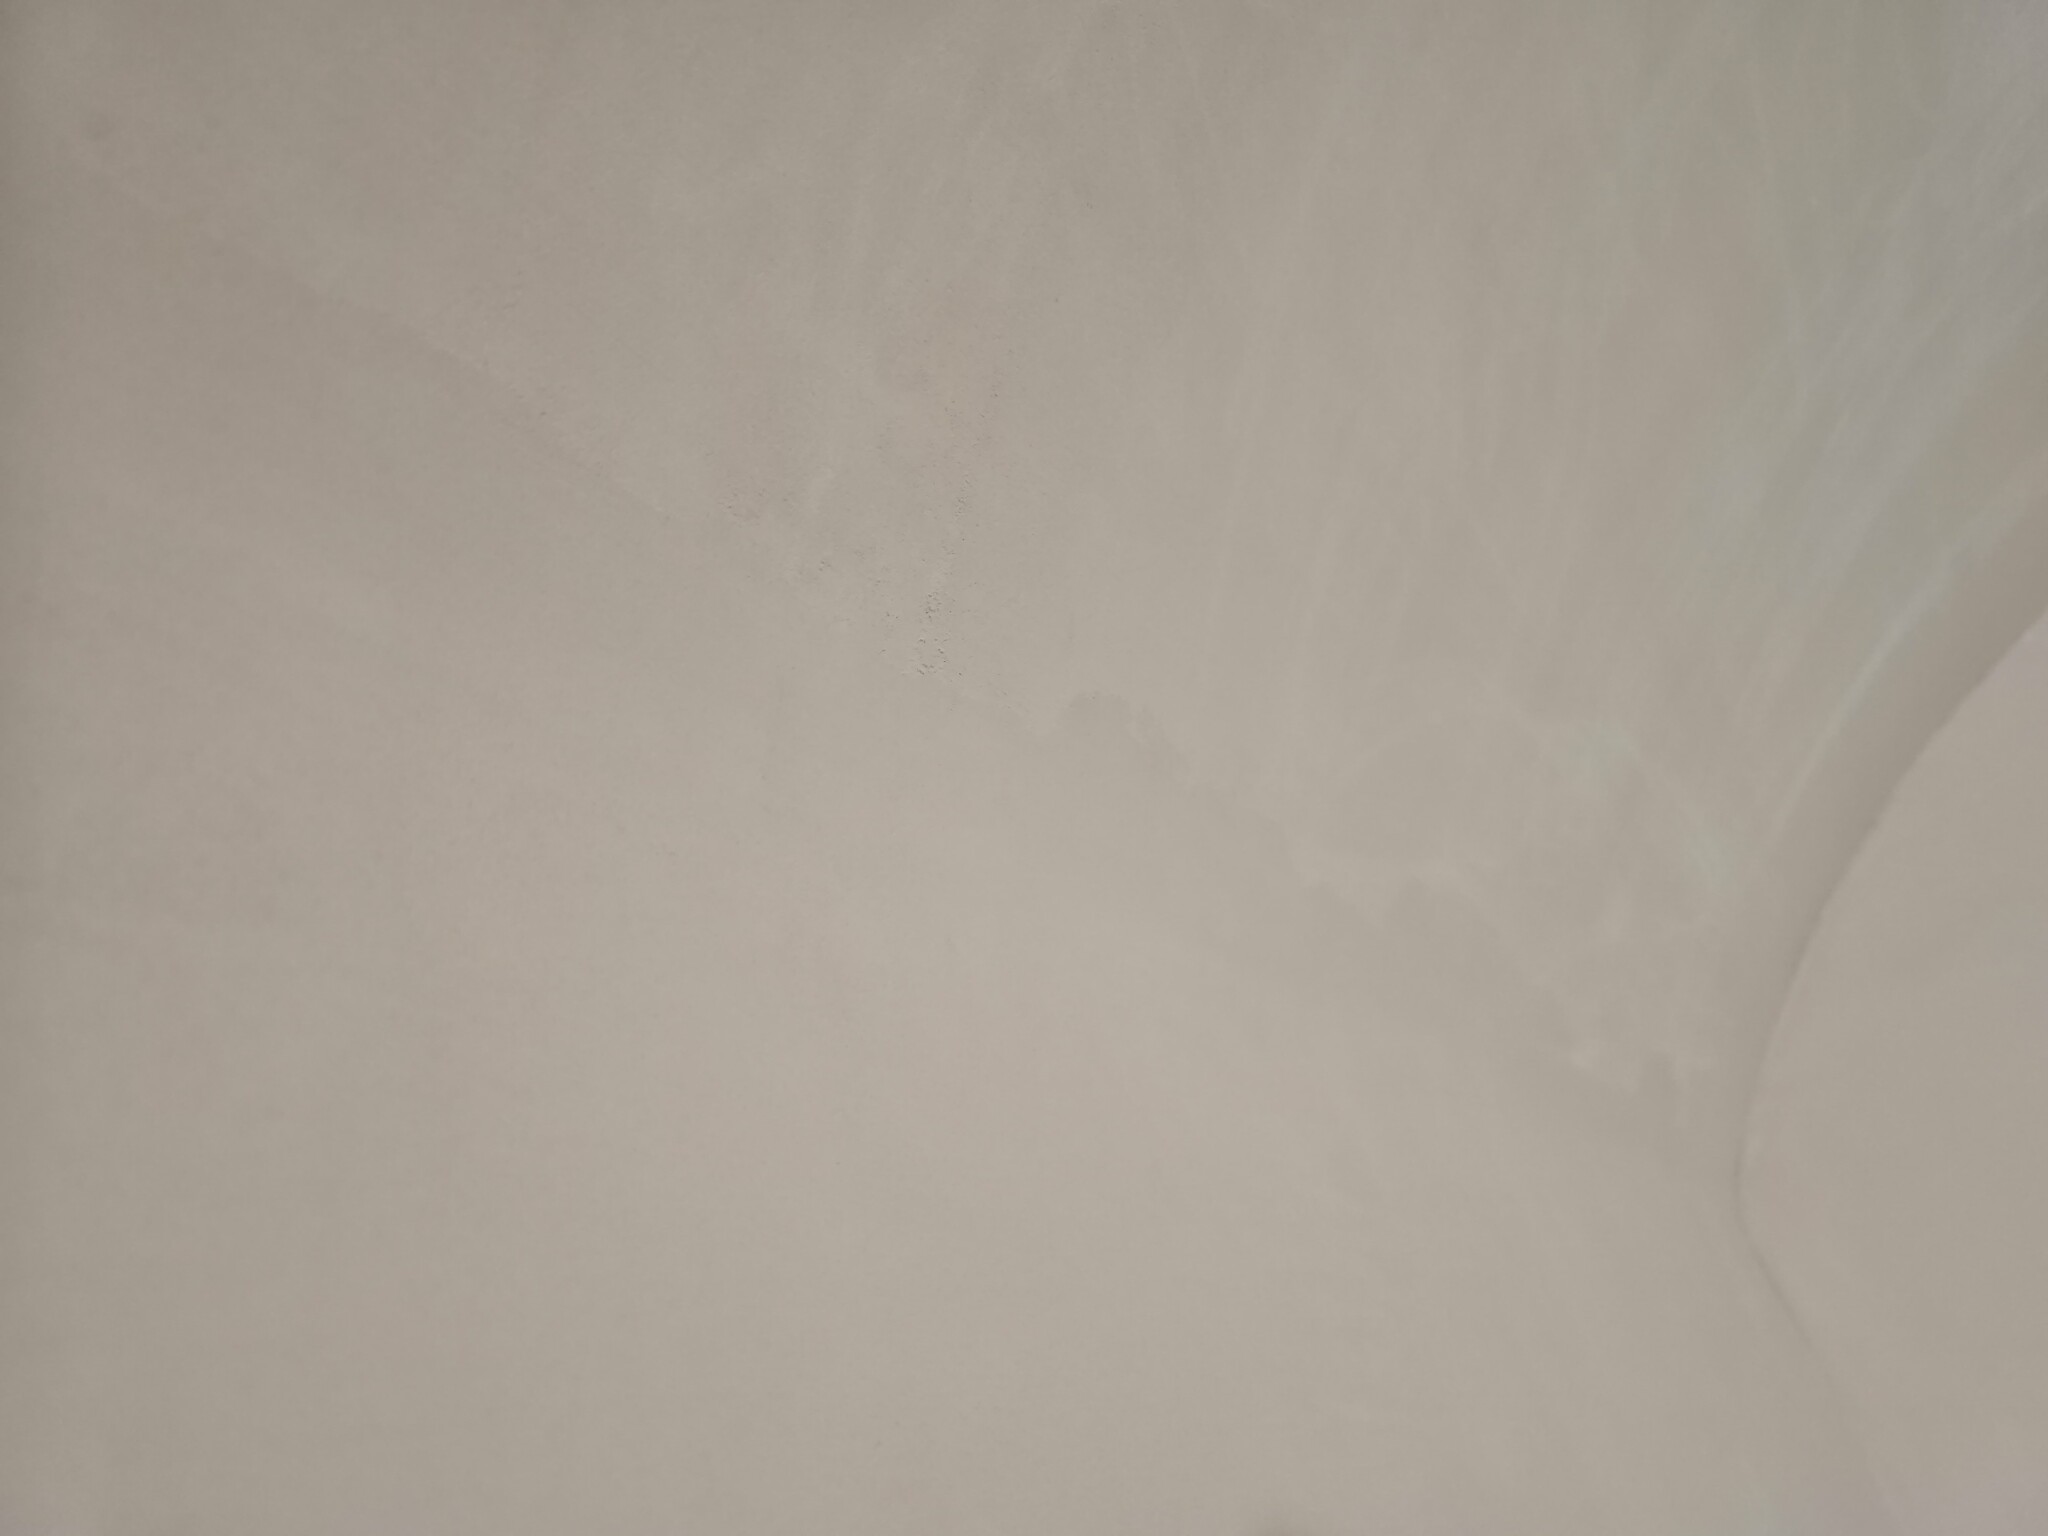
Here is what I now find acceptable:
However, I cannot recommend Konkral's diamond grinding discs, they don't work very well, honestly, and are very expensive.!
After the first layer, I think it works best with an orbital sander (125mm) and 80 grit paper of good quality where you have to be fairly light-handed but can go on for quite a while and get it "even" and smooth.
After the second layer, I have now only used hand sanding with 120 and 180 grit paper. First the biggest ridges and irregularities with 120, and then lightly over the whole wall with 180.
Now, of course, the final result will not reveal itself until I apply the sealer, so you'll have to wait for those pictures...
I have made a pool and a dining table with Microcement and don't quite recognize myself. Mine was two-component with a fairly long drying time of about 30-40 minutes so you had to mix just the right amount. It wasn't that hard to apply with a trowel. I bought Microcement from https://microcementonline.se/
I have made a pool and a dining table with Microcement and don't quite recognize myself. Mine was two-component which had quite a long drying time of about 30-40 minutes so you had to mix just the right amount. It wasn't that difficult to apply with steel either. I bought Microcement from [link]
And sandpaper was purchased from Carls which worked great and lasted a long time: [link]
Ah, I would have loved to have those sandpapers last week... 😅
I would say that the microcement I have has an open time of about 2-3 minutes...
Hmm... Around 20-22 degrees I would guess... Quite dry air...
A tip is to lower to 15 degrees and use a low-pressure sprayer a while before and wet a little before applying the mortar, you will see a marked difference in it not curing so quickly..
When we decided to apply microcement to the walls in our new bathroom (see [link]), I didn't find much information about it other than the manufacturers' own pages and instructions.
After a lot of sample pieces and discussions, we chose Konkral microcement, mainly because you could get it in any color you wanted, but also because they had a quick and professional response and it is approved as a surface in bathrooms with Kiilto's sealant.
In their (and other suppliers') instructional videos, it looks SO easy and nice to apply microcement, but in reality, it's something completely different, I can tell you!
The consistency of the microcement is roughly like tomato puree, I can't really think of anything else to compare it to, and it is quite "light". The problem is that it is not very "smooth" and tends to "stick" to the wall, making it very hard to spread. This is because it is based on very fine sand and dries very quickly, so you have to be really quick with your hands, and my initial attempts looked terrible with "spots" of microcement. Now, I would consider myself a fairly decent plasterer, having done quite a bit of plastering in my time, and I think I'm quite adept at smoothing and evening out surfaces, but that doesn't help much with microcement!
After some consulting with Konkral, we used Retarder (to extend the open time) and Thinner to make it thinner...
With retarder and thinner, you at least have a chance to get better results, and now you have a consistency more like toothpaste, but it starts dripping off the trowel no matter how you try to angle it. Extremely frustrating and microcement everywhere on the floor... Eventually, I figured out the technique with double trowels (or a smoothing trowel with a handle perhaps?) so they form a V. In the V, the microcement sits, and then you pull with one trowel and push forward (kind of against the wall) with the other to "feed" the microcement slowly against the wall while you pull upwards with the other. With the retarder, you have time to pull two or three times before it dries too much on the wall and can't be worked with further, better but still very difficult.
If you go over it with the trowel after it's dried too much, you get dark streaks in the surface! You have to learn to "see" and feel when it's time to stop working it, and you don't have many minutes.
Here's a picture of an overworked surface with a lot of unevenness:
[image]
On smaller surfaces, like under the bench in the steam room where it's about 45 cm high, it goes fairly well, but when it comes to a larger wall, it's impossible to get a completely smooth surface; there will be "streaks" and "blotches" in the surface. This was probably also one of my problems, wanting a completely homogeneous and smooth surface and not wanting "unevenness".
If you want it completely smooth and even, microcement is not the right choice!
There will be some blotchiness and unevenness in the surface, that's just the way it is... My daughters are thrilled and want more unevenness as they have the vision of a slightly Moroccan bathhouse (and not something fancy in mosaic tiles, but a rustic and somewhat dilapidated one).
After the fourth round on the first wall, I began to master the technique and felt that it was finally good enough!
After applying a layer of microcement about 1mm thick, it should dry, and then you should sand it before applying the next layer and sanding again.
I also made a mistake here by sanding way too much after the first round, but that was also because the first wall I started with was so uneven, spotty, and ugly, and I went through 10-12 random orbital sanding papers (125mm) on an area about 5 m2. Then I applied the next layer and sanded like crazy again. The microcement is very hard, and I realized I couldn't sand it completely smooth... After consulting Konkral again, they recommended I buy their diamond sandpaper discs, which were insanely expensive but felt like the only rescue, but no... The diamond sanding disc didn't last long, but that was because I tried to sand away the unevenness and pressed too hard, so the diamond sanding disc wore out in maybe 15-20 minutes.
After a bit more questioning, I was told that the microcement should only be sanded very lightly to knock down the ridges and worst lines from the trowel, so then I realized I had to apply a new layer (the fourth) with better technique, and now I started to get the hang of it a bit more. After getting a layer that is OK, I lightly sanded it by hand with 80 grit paper, and I'm actually satisfied.
Here is what I now find acceptable:
[image]
Regardless, I can't recommend Konkrals diamond sanding discs; they work rather poorly, to be honest, and are very expensive.!
After the first layer, I think it works best with a random orbital sander (125mm) and 80 grit paper of good quality where you have to be quite gentle but can work for quite a while to get it "even" and smooth. After the second layer, I've only used hand sanding with 120 and 180 grit paper. First, the biggest ridges and unevenness with 120, and then lightly over the whole wall with 180.
Now, the final result won't be revealed until I apply the sealer, so you'll have to wait for those pictures...
Very interesting reading about your experiences. I'm just about to start applying microcement (Epodex) on my bathroom walls. After testing the technique on a fake wall, I can only agree with your experiences. The cement is incredibly difficult to handle, drips, sticks more to the trowel than to the wall, and you're never really satisfied with the result. So I've now started getting quotes for the work, which also costs a fortune, of course. Sigh. What to do? I'm trying to persuade my wife to let me apply vinyl wallpaper instead, which would be a breeze and done in two days, but to no avail. Epodex is also tricky to mix and has barely any instructions on the packaging. Sigh!
Yes, it is a challenge, no doubt, but once you get the hang of it, it goes quite smoothly and easily.
I think my biggest problem initially was that I applied too much and tried to spread out the "clump," but that doesn't work. It becomes overworked and streaky that way.
You need to take a small amount on the spatula and focus on spreading it in an even layer right away and then go over it again.
I used two spatulas, one in each hand!
A bit of wax on, wax off movements... 😅
Do it in smaller "patches" than you think, each spatula stroke I made covered at most maybe 30x30cm.
Sand in time!
The longer you wait, the harder it gets. I removed the worst with a fairly light hand and 80 grit paper after about an hour.
Then I used the orbital sander with 120 grit paper after another hour and sanded it smooth.
If you want a streaky surface, sand in different directions with varying pressure, but I wanted as homogeneous a surface as possible, so I sanded evenly and lightly several times over instead.
I have only had experience with Cemhers products and there have never been any major problems. Both two-components for the pool and one component for a dining table. Working time about 30-40 minutes and easy to work out. Many thin layers might be the secret. Bought sandpaper from https://www.carls.nu/da/slibning-pa-sten-beton-marmor-og-microcement
I made a pool and a dining table with Microcement and don't quite recognize myself. Mine was two-component with a rather long drying time of about 30-40 minutes, so you had to mix just the right amount. It also wasn't too difficult to apply with a trowel. I bought Microcement from [link]
And sanding paper was bought from Carls, which worked really well and lasted a long time: [link]
My thought is that horizontal
anders07 said:
Yes, it's a challenge, no doubt, but when you get the hang of it, it goes quite well and easily.
I think my biggest problem at the beginning was applying it too thick and trying to spread out the "clump," but that doesn't work. It becomes overworked and streaky that way.
You need to take quite little on the trowel and focus on spreading it in an even layer directly, and then go over it again.
I used two trowels, one in each hand!
A bit of wax on, wax off movements... 😅
Do it in smaller "patches" than you think, each trowel I spread covered max. maybe 30x30cm.
Sand in time!
The longer you wait, the harder it gets. I worked off the worst with a fairly light hand and 80 paper after about an hour.
Then I took the orbital sander with 120 paper after another hour and sanded it smooth.
If you want a mottled surface, drag the sander from different directions with varying pressure, but I wanted as homogenous a surface as possible, so I dragged the sander evenly and quite lightly several times instead.
Thanks for all the tips!! Gives me a lot more courage. I'll test a sample can of 0.5 kg with Konkral, which is coming in the mail tomorrow.
Thanks for all the tips!! It gives me much more support. I'm going to try a test jar of 0.5 kg with Konkral that will arrive in the mail tomorrow.
Decided to continue with Exodex. After three of four walls are now applied with one layer, I am completely exhausted. This was the hardest thing I've done craftsmanship-wise, and you are never satisfied with the result. It requires an enormous amount of floor paper, masking, and much more cement than the instructions describe. The cement drips and spatters everywhere. As the icing on the cake, you have to sand between the first and second layers (which I haven't applied yet) with all the dust that this will entail. Fortunately, I discovered that it's easier to smooth off the cement after it has hardened somewhat to avoid too much sanding. No, I really don't recommend anyone to apply microcement themselves. Personally, I think it looks awful, but luckily my wife likes the "stucco" sigh...
When we decided to apply microcement on the walls in our new bathroom (see [link]), I couldn't find much information about it other than the manufacturers' own pages and instructions.
After a lot of test pieces and discussions, we chose Konkral microcement, mainly because it could be customized in any color, but also because they offered quick and professional service and it is approved for use in bathrooms with Kiilto's waterproofing.
In their (and other suppliers') instructional videos, it looks SOOO easy and nice to apply microcement, but in reality, I can tell you it's something completely different!
The consistency of the microcement is similar to tomato paste, can't really think of anything else to compare it to, and it's quite "light." The problem is it's not very "manageable" and gets stuck on the wall, making it very difficult to spread out.
This is because it is based on very fine sand and sets very quickly, so you have to be very quick on the hand, and my first attempts looked dreadful with "patches" of microcement.
I would consider myself a fairly decent spackler, having done a lot of plastering in my days and feeling confident in both spreading spackle evenly and smoothly, but it doesn't help much with microcement!
After some consultation with Konkral, we used Retarder (to extend the open time) and Thinner to make it thinner...
With retarder and thinner, you at least have a chance to make it better, and now you have a consistency like toothpaste, and it starts to drip off the spatula no matter how you angle it. Incredibly frustrating and microcement everywhere on the floor...
Finally, I figured out the technique with double spatulas (or slating steel with a handle, perhaps it's called?) so that they form a V.
The microcement sits in the V, and you pull with one spatula and press forward (against the wall) with the other to "feed" the microcement slowly against the wall while pulling upwards with the other.
With retarder, you can pull two or three times before it sets on the wall and can’t be worked any further, better, but still very difficult.
If you go over it with the spatula after it's set too much, you get dark streaks in the surface!
You have to learn to "see" and feel when it's time to stop working it, and you don't have many minutes.
Here's a picture of an overworked surface with many irregularities:
[image]
On smaller surfaces, like under the bench in the steam room where it's about 45 cm high, it goes quite well, but when you move to a larger wall, it's impossible to get a completely smooth surface, it will have "streaks" and "mottling" in the surface.
One of my problems here was that I wanted as homogeneous and smooth a surface as possible and didn't want any "irregularities."
If you want it completely smooth and even, microcement is not the right product!
There will be some mottling and irregularities in the surface, it’s just the way it is... The daughters are thrilled and want more irregularities as they have a vision of a Moroccan-style bathhouse (not one of those fancy mosaic-tiled ones, but a rustic and rustic one).
After the fourth round, on the first wall, I'm starting to get the technique, and I feel it's finally good enough!
After you've applied a layer of microcement about 1mm thick, it should dry, and then you sand it before applying the next layer and sand again.
Here I also made mistakes by sanding way too much after the first round, but it was also because the first wall I started with was so uneven, blotchy, and ugly, and I ran through 10-12 orbital sandpaper (125mm) on an area about 5 m2. Then I applied the next layer and sanded like crazy again. The microcement is very hard, and I found out it can't be sanded smooth...
After consulting Konkral again, I was recommended to buy their diamond grinding discs, which were extremely expensive but seemed like the only rescue, but no...
The diamond grinding disc didn't last long, but that was because I was trying to sand down the irregularities and applied too much pressure, wearing out the diamond grinding disc in maybe 15-20 minutes.
After a few more questions, I learned that the microcement should only be lightly sanded to knock down ridges and the worst edges from the spatula, so I realized I needed to apply a new layer (the fourth) with better technique, and now I was starting to get it a bit more.
After applying a layer that is OK and lightly sanding it by hand with 80 grit paper, I am actually satisfied.
Here’s what I now find acceptable:
[image]
Regardless, I can’t recommend Konkrals diamond grinding discs, they don't work very well, honestly, and they are extremely expensive!
After the first layer, I think it works best with the orbital sander (125mm) and 80 grit paper of good quality where you have to be quite light on the hand but can sand for quite a while to get it "even" and smooth.
After the second layer, I have now only used a hand sander with 120 and 180 grit paper. First, the biggest ridges and irregularities with 120, and then lightly over the whole wall with 180.
Now the final result won’t be revealed until I apply the sealer, so those pictures will have to wait...
I completely recognize myself in your description. Applying microcement was the trickiest thing I've ever done craft-wise! Would never choose microcement again, sigh..
Have used DesignByCement, one-component, but only on a kitchen countertop/both horizontal/vertical. Wasn't too difficult, but easy to sand through since the layer is so thin. Now considering applying it in a basement bathroom, in type wet zone 2 on just the wall. It's diffusion-open, which I need, so there aren't many options, possibly Epodex without the finish layer.
Last edited:
Vi vill skicka notiser för ämnen du bevakar och händelser som berör dig.
anders07 said:
When we decided to apply microcement to the walls in our new bathroom (see [link]), I didn't find much information about it other than the manufacturers' own pages and instructions.