How long did you let the joint cure before painting?
A whole week. I will carefully poke at it tomorrow and see how it looks. It could be the paint starting to peel. Although the joint should indeed be paintable...
A whole week. I'm going to gently poke at it tomorrow and see how it looks. It could be the paint starting to peel. Although the caulking should be paintable...
Joints must be proportional to the movement, elasticity in the sealant, and adhesion and reinforcement!
That is, it is never good with too thin or too thick
Then there are tricks that the professionals learn, namely the geometry in the cross-section of the joint!
They know how to cut the nozzle and if they use backer rod to support the sealant
Finally, they know drying time and know when they can paint and how they paint to not ruin the joint's adhesion since both the sealant and paint and substrate are dissolved by the same water if the joint is not dry enough
Threw on another bead now, but something must have been wrong with this tube. When I had covered half the distance, the mass turned yellowish and a bit runny. When I then smoothed it out, lumps appeared in some places...old tube? I'll paint over this in a few days, if it looks dreadful, I'll have to try to fix it with a molding, even though I'd rather avoid that.
Threw on another string now, but something must have been wrong with this tube. When I had covered half the distance, the mass became yellowish and a bit runny. When I then smoothed it out, lumps appeared in some places...old tube? I'll paint this in a few days, if it looks terrible, I'll try to fix it with a trim, even though I'd rather avoid it.
It didn't dry before you smoothed it out?
I find that latex joint compound dries quite fast, so you have to be quick, otherwise it can form a skin with irregularities as a result.
I have an ugly joint in the kitchen that has bothered me for two years. Not buying non-branded after that. So damn boring if you do everything else perfectly and then bad sealant that becomes ugly.
Didn't it dry before you smoothed it out?
In my opinion, latex sealant dries fairly quickly, so you need to be fast, otherwise it can form a film with uneven results.
No, it didn't dry. I believe more in a bad tube...
I have an ugly grout in the kitchen that has bothered me for two years. I don't buy non-branded after that. It's so darn boring if you do everything else perfectly and then have bad grout that looks ugly.
Biltema has its sealant tubes LYING in a large basket in my city. Shouldn't the tubes be stored standing upright? The tube I bought last had "separated," so a lot of yellow liquid came out after a few squeezes. It probably would have settled at the bottom if the tube had been stored standing.
That's right, I gave up on sealing and opted for discreet trim instead.
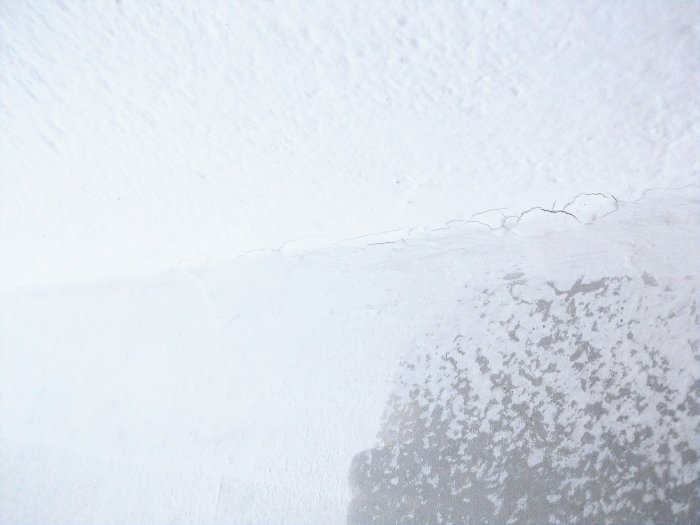
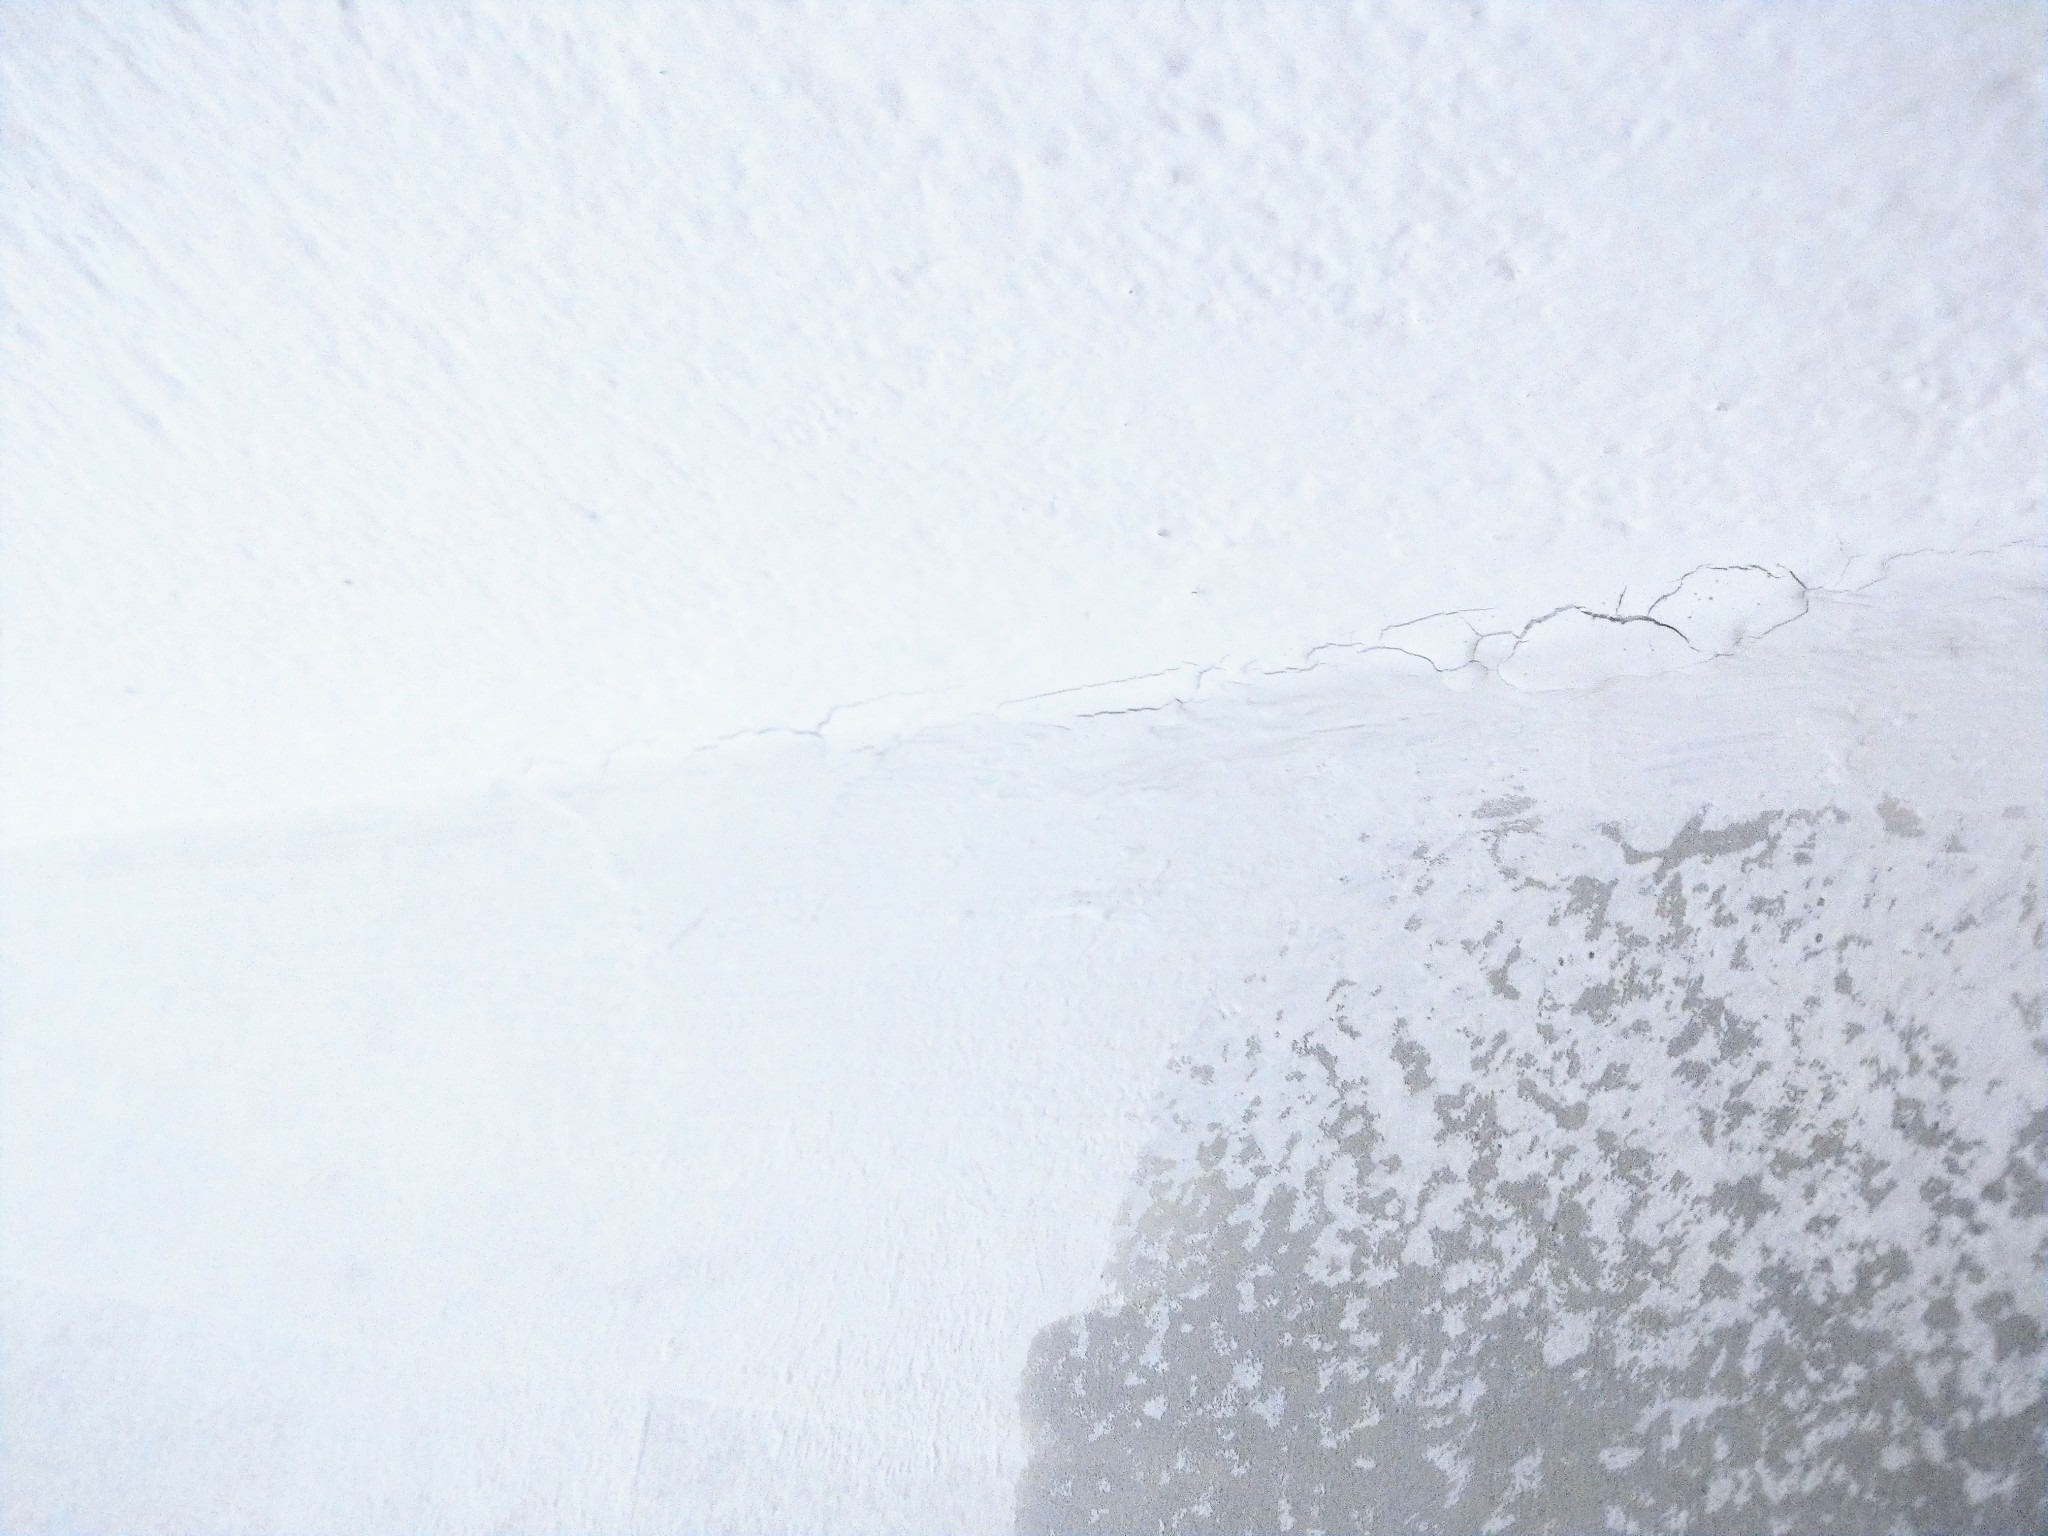
I've experienced similar cracks after painting the joint between the wall and the ceiling (underlying is sealing paint and wallpaper primer). However, it seems concentrated to just one of the walls. Perhaps there are larger movements in that specific wall.
Anyway, I tried sanding down the joint paint with a rolled-up sandpaper and it turned out pretty well! It actually seems like it's just the paint itself that has cracked.
Would it be enough to just sand down the cracks before the second coat or should I apply a new joint before?
Vi vill skicka notiser för ämnen du bevakar och händelser som berör dig.
")