The fastest way is to use a folding ruler and pencil. Then you can prepare the board right away without having to carry it back and forth. But using the lipstick was a funny idea.
The fastest way is to use a folding ruler and a pencil. That way you can prepare the board right away without having to drag it back and forth. But that thing with the lipstick was a funny idea
If it's just temporary installation of boards, the measuring method is sufficient every time. Professional installation is a completely different matter.
The wife's lipstick on the edge of the socket... place the disc against the socket and voila, you have a nice print... Just wipe it off with paper afterwards... works well if there's just a single hole...
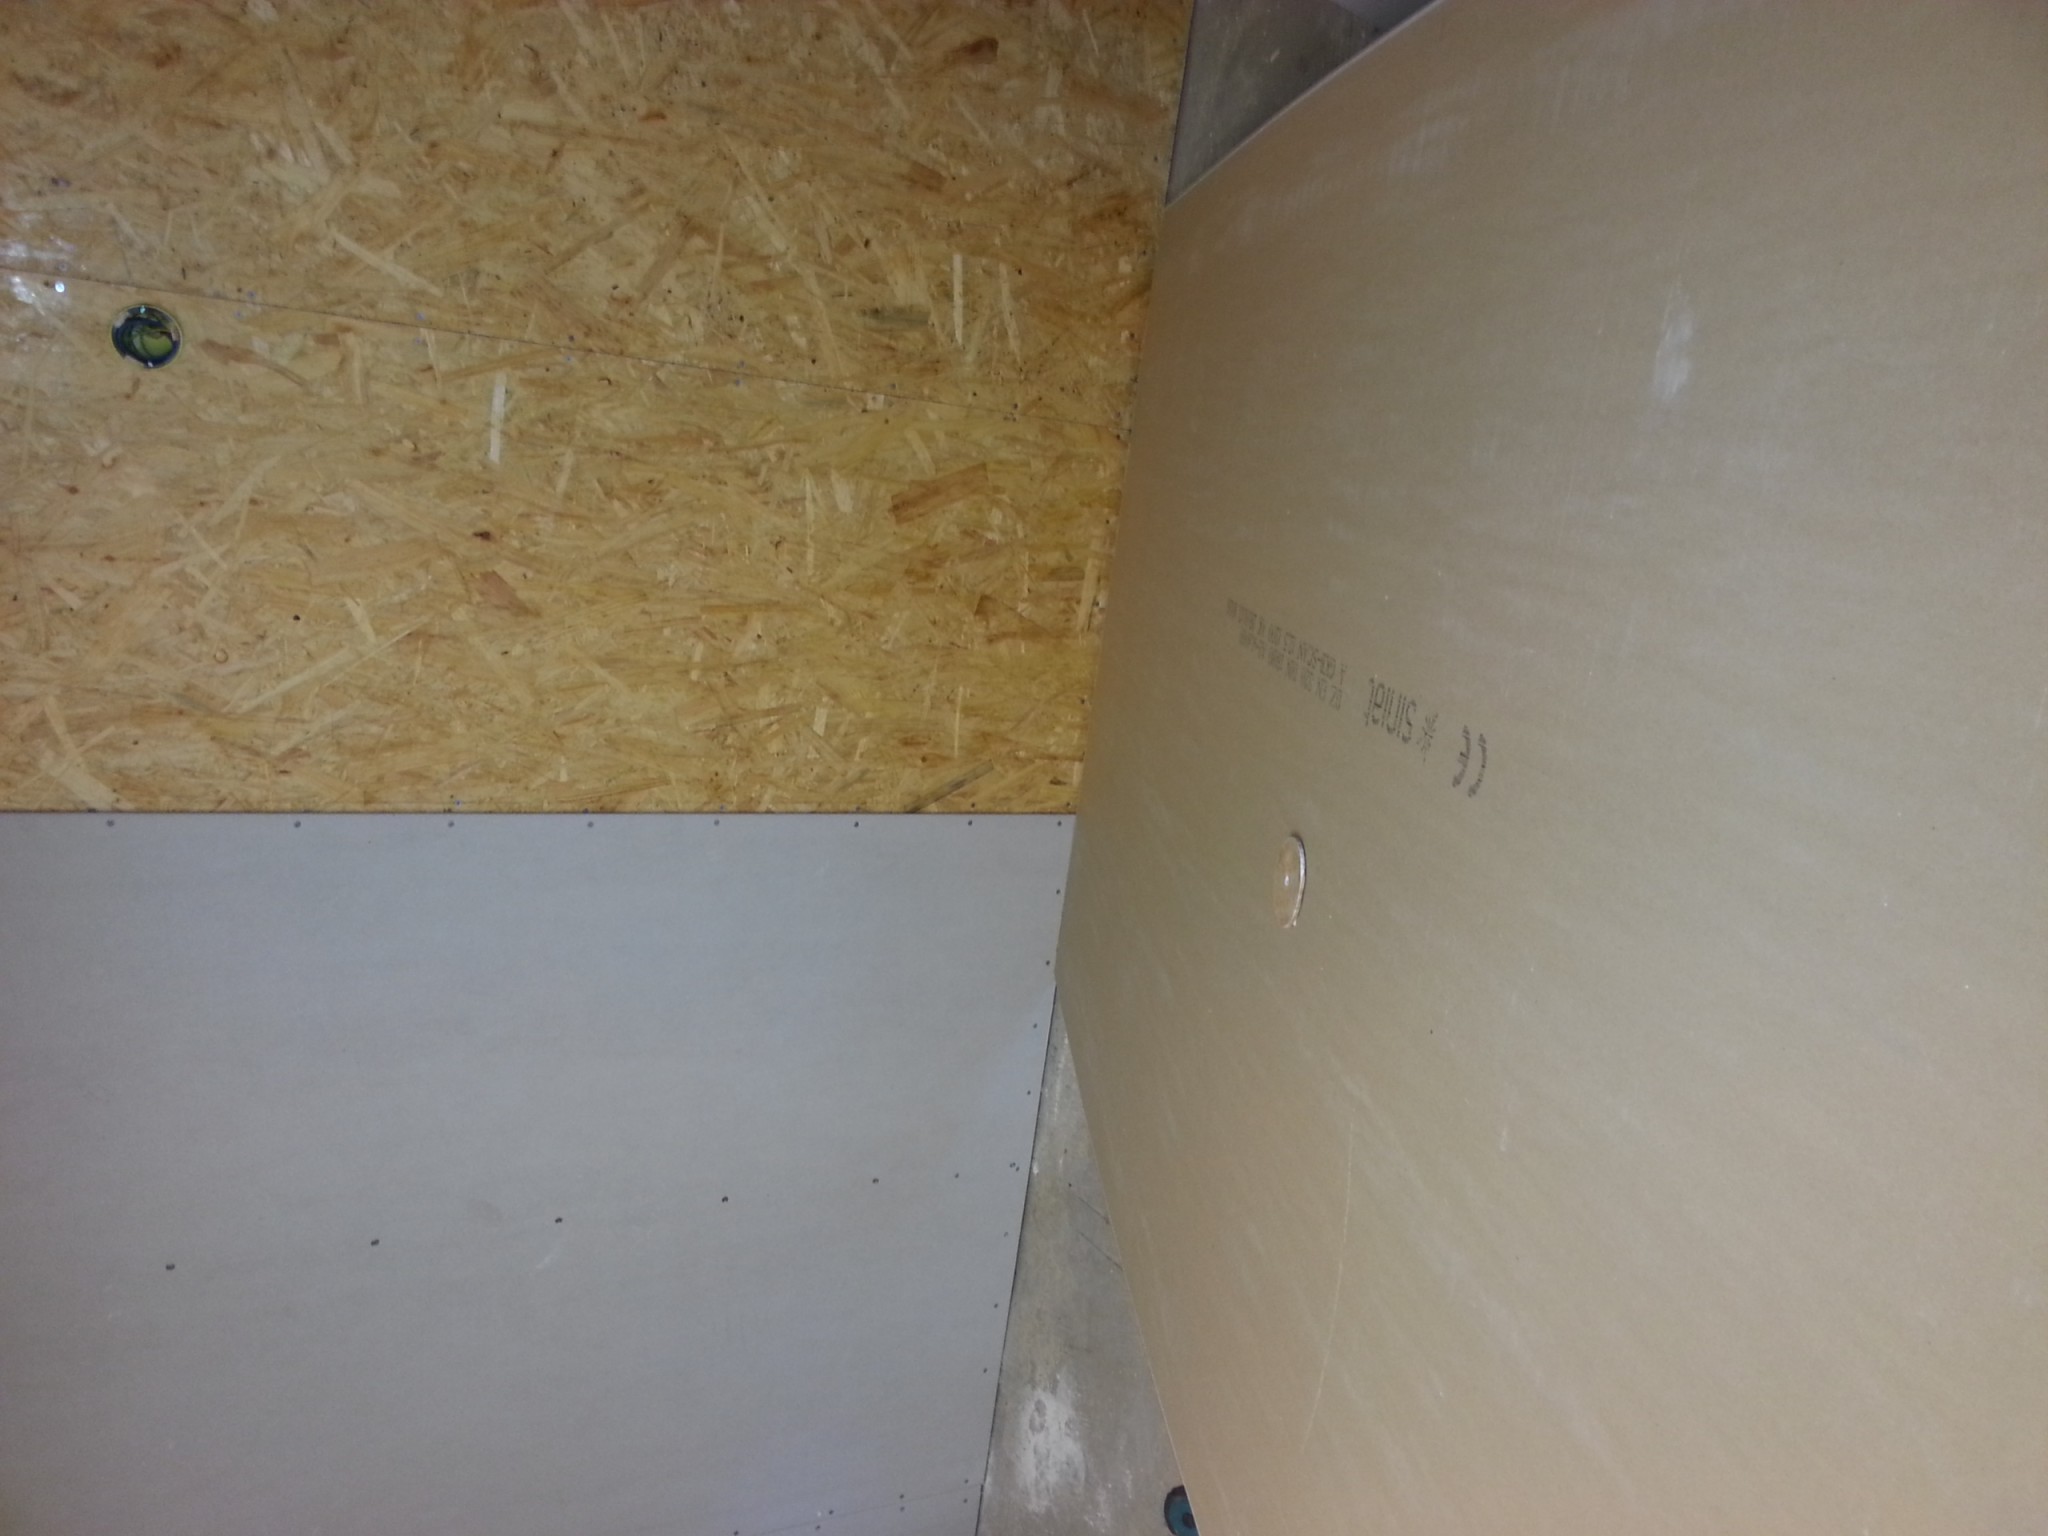
If you use Hole in one to drill in OSB, you usually end up damaging the aluminum ring in the centering magnet you place in the sockets due to the hardness of the panel (it guides the drill more than gypsum). A trick I used was to only mark-drill with the hole saw's center drill, remove the magnet finder, tilt the panel slightly, and drill through. I used T-80 on OSB to be able to adjust the OSB panel and T-70 on the gypsum.
Why didn't I think of that myself? Good tip!
If you're dumb enough, you learn something every day....
If you use Hole in one to drill in OSB, you often damage the aluminum ring in the centering magnet that you insert into the boxes due to the hardness of the board (it guides the drill more than gypsum). A trick I used was to only mark the drill hole with the center drill of the hole saw and remove the magnetic finder, tilt the board slightly and drill through. I used T-80 on OSB to adjust the OSB board and T-70 on the gypsum.
You live and learn! I was completely unaware of this issue until today. I've damaged a borrowed hole in one set (the center holes have gotten too large) and also didn't land precisely enough with the T70 hole saw over device boxes, resulting in some complications.
I'm reviving a very old thread instead of creating my own. Recycling is quite in vogue these days...
I first tried the ketchup method, it worked but was unnecessarily messy for my taste and a bit imprecise since I only got the outer edge of the hole marked and not the center hole where I actually needed to drill. I thought for a moment and came up with the following solution, which worked perfectly:
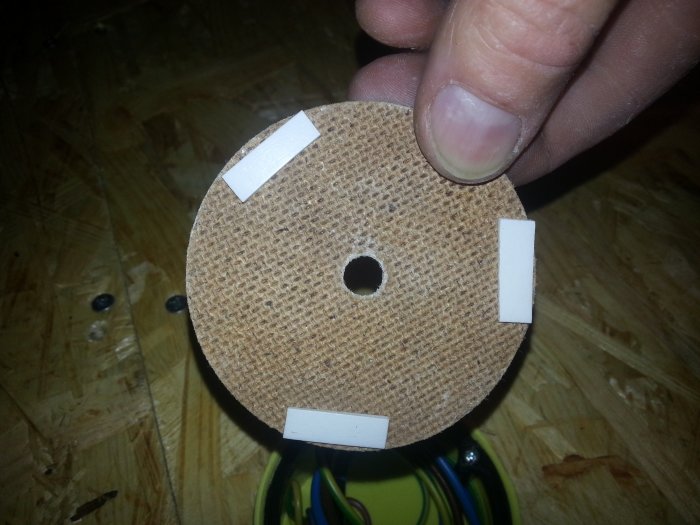
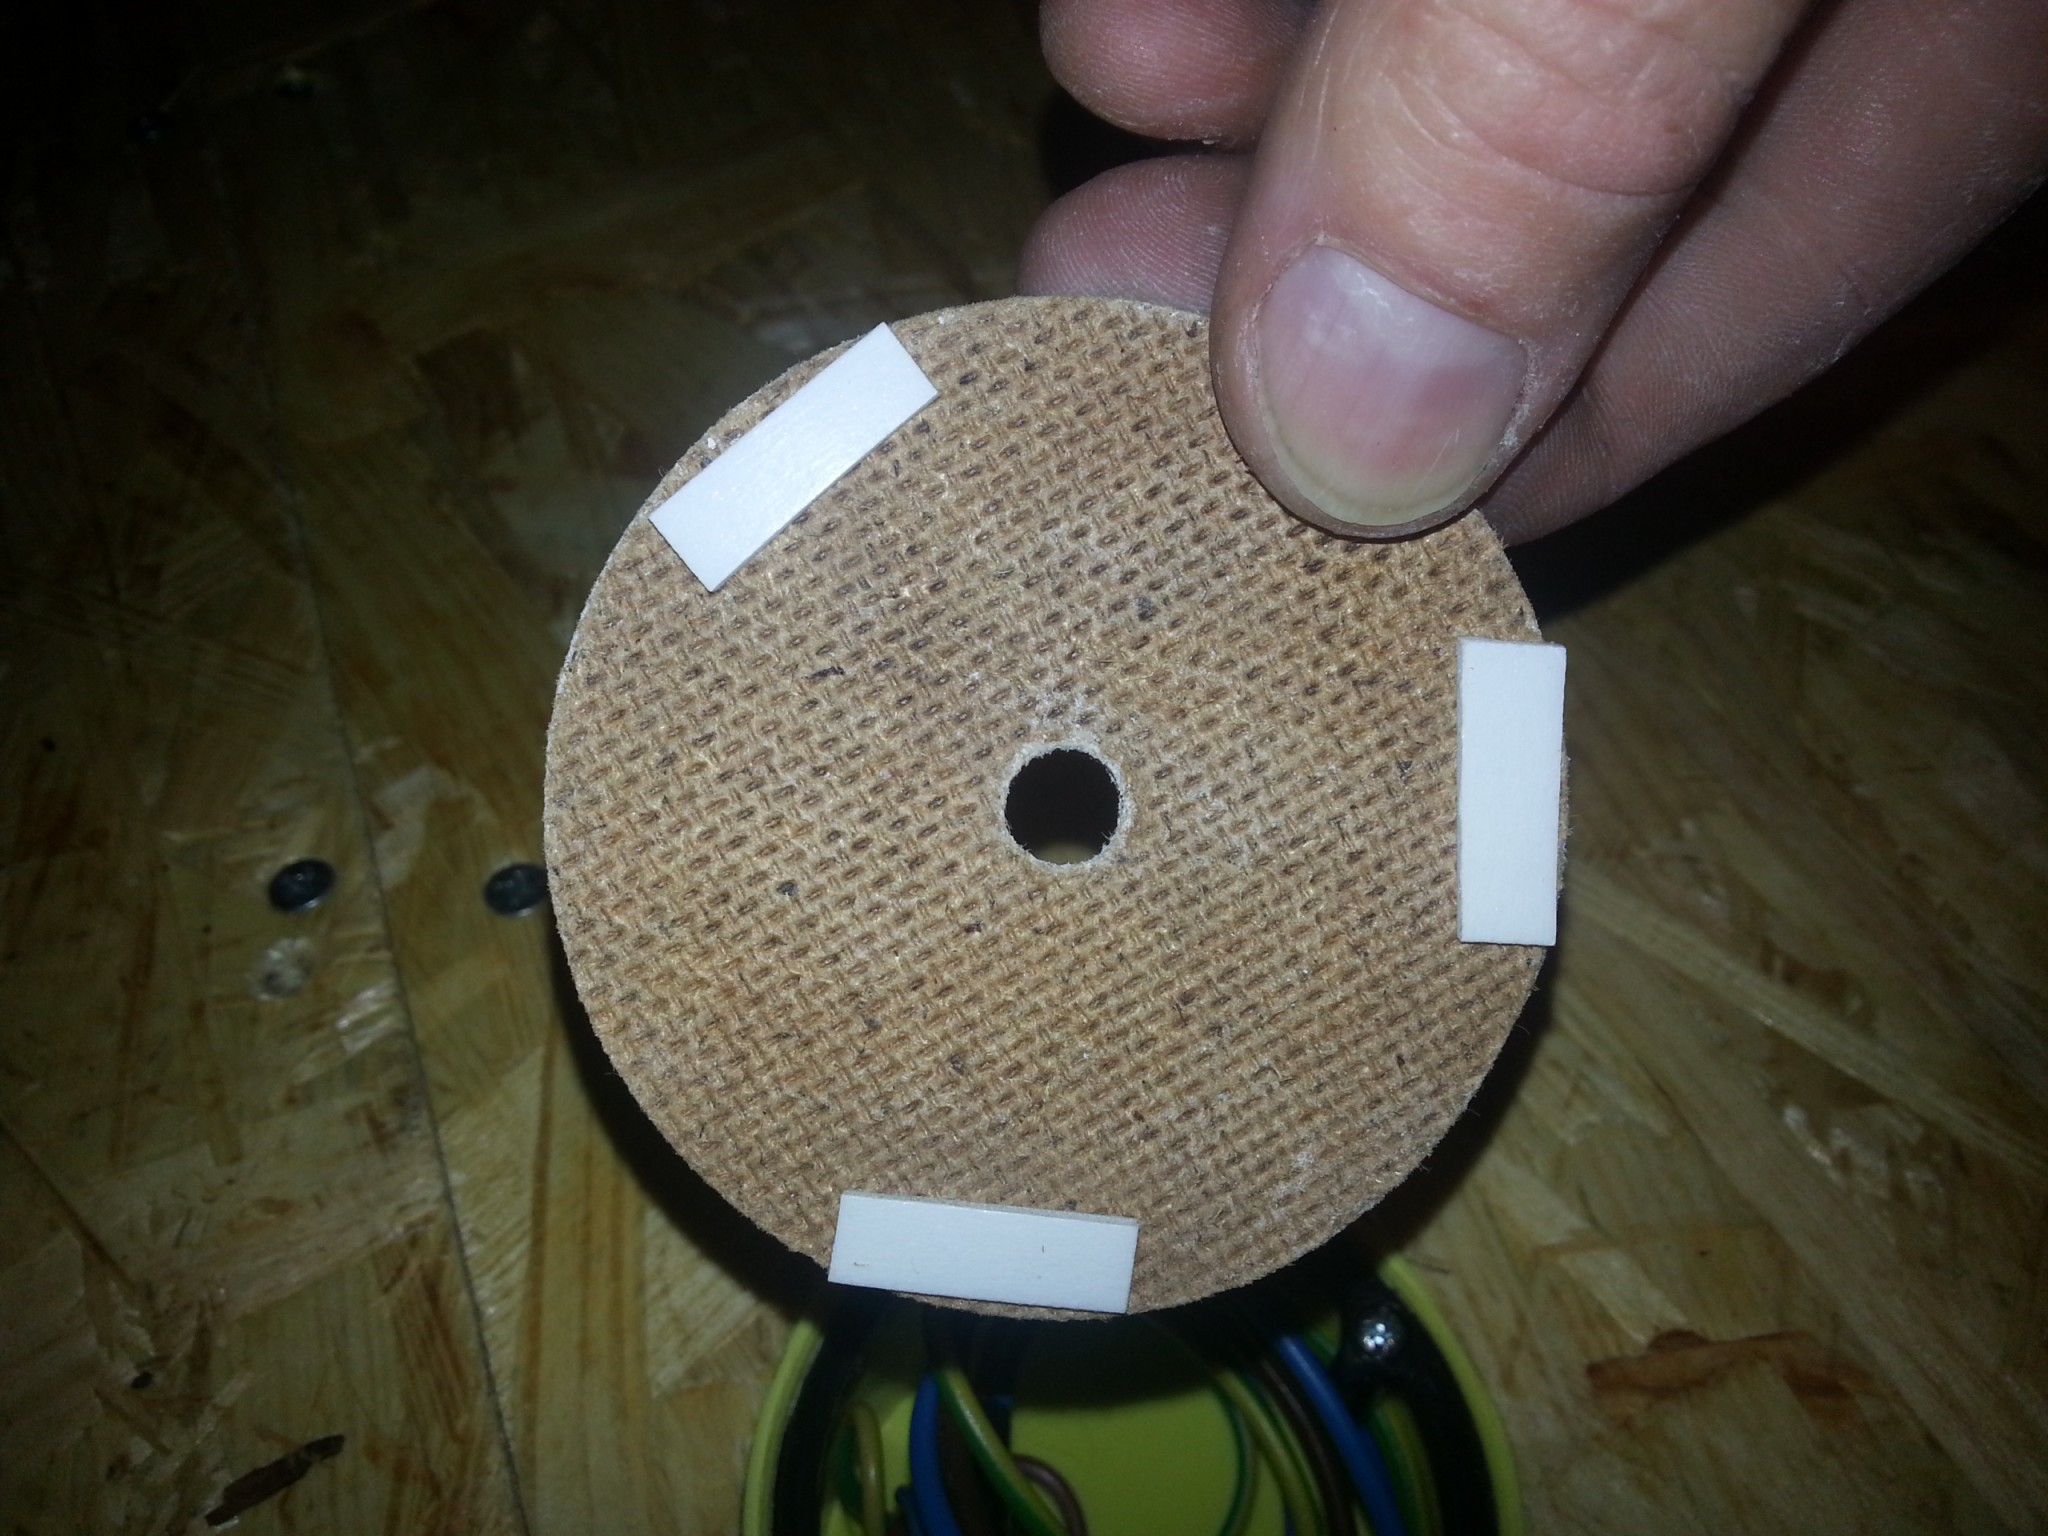
1. Take the hole saw and drill out a circle in a scrap piece of masonite or stiff cardboard.
2. Attach small pieces of double-sided tape to the outer edge of the cut-out circle, as shown in the picture below:
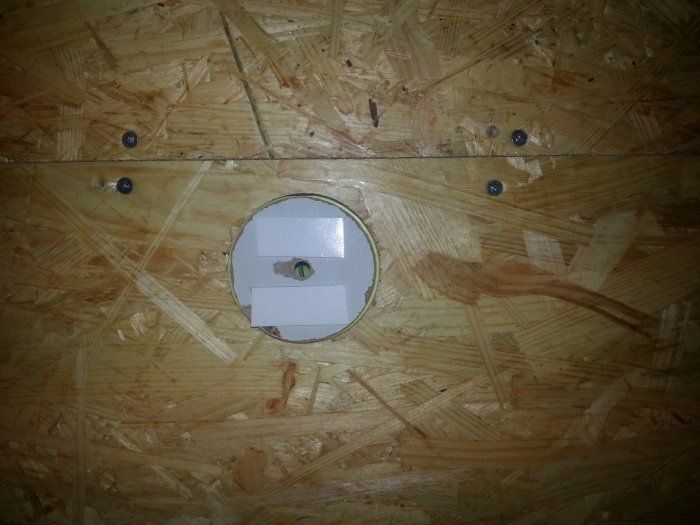
3. Press the circle into the box so the double-sided tape sticks. Then attach two larger pieces of double-sided tape on the "front side," see picture:
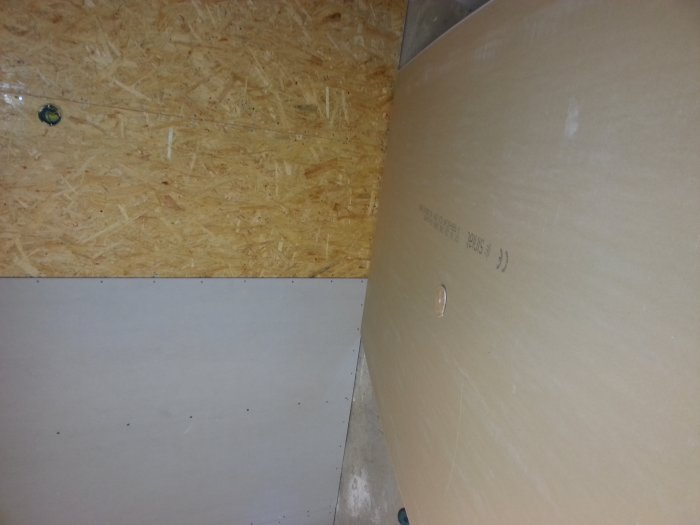
4. Put the board where it should be and press a little over the outlet so the tape sticks to the board. Remove the board, and you have a marking exactly where you need to drill:
It might be quicker with a Hole in One, but the combination of precision/cost is hard to beat with this method.
I just noticed the two lower pictures should have been rotated, but I don't feel like doing that right now...
Ketchup, brown sauce, and all other jox can be left in the kitchen and go buy the real stuff. A batch of Hole-in-one and a real dosfräs, and it'll quickly be professional and right.
All these methods that involve positioning the drywall and pressing it to get a mark (ketchup, a hole from a point, taped gadget, etc.), including the one I advocated for in an earlier answer (in another life, it feels like now), assume that you can hold the board in the position it should be, but a bit out because of the can, of course.
In practice, I often find this quite difficult. Just the fact that the board is a little away from the wall makes it hard to see if it's right, perhaps because I'm a bit astigmatic. And if the can is near one edge, you have something to press against there but not toward the other edge, making it a bit wobbly, especially if you're working alone. Also, I have an old house with slanted floors and such, so it's not just a matter of putting the board there; you might need to shim it under one end or something for the markings to be correct. And then the board has to be carried back and forth, unless it will be in a place where you can deal with the hole saw, which is not always possible when you're renovating where you live. And so on, and so forth.
This has actually led me over time to abandon the tricks and simply measure with a ruler. It's a simple and straightforward method that gives me just as good precision and overall less hassle.
It might indeed be quicker with hole-in-one, but the time saved wouldn't be significant on the perhaps twenty holes I've made over several years. I understand, though, that it makes a difference for professionals like Estwing, who do this all the time.
All these methods that involve placing the drywall board and pressing it to get a marking (ketchup, hole from a point, taped contraption, etc.), including the one I advocated myself in an earlier response (in another life, it feels like now), assume that you can hold the board in the position where it should sit, just a bit out due to the socket, of course.
In practice, I often find this quite difficult. Just the fact that the board is slightly away from the wall makes it hard for me to see if it is correct, perhaps because I'm a little astigmatic. And if the socket is near one edge, you have something to press against there, but not towards the other edge, making it a bit wobbly, especially if you're working alone. And I have an old house with crooked floors and such, so it's not just a matter of placing the board, but you might have to shim it up under one end or something for the markings to come out right. And then the board has to be carried back and forth, unless it's in a place where you can stand and work with the hole saw, which isn't always the case when renovating where you live. And so on, and so forth.
This is why over time, I've actually abandoned the tricks and just measure with a folding rule. It's a simple and straightforward method that gives me just as good precision and overall less hassle.
It's probably faster with hole-in-one but the time savings would not be significant on the maybe twenty holes I've made over a few years. However, I understand that it makes a difference for pros like Estwing, who do this all the time.
I would have written this exactly the same way if I had been able to formulate my thoughts as well, and had the time to do so.
Vi vill skicka notiser för ämnen du bevakar och händelser som berör dig.