26,956 views ·
51 replies
27k views
51 replies
How to miter corner trim around windows?
Hello. I would like to know how to fit 90-degree corner moldings around window edges. I don't know how to miter them with the saw so that they fit together and meet nicely around the window edges (see pictures).
If it were regular flat window trims, I would just miter 45 degrees on both so that they meet nicely at the edge..
Grateful for help.
If it were regular flat window trims, I would just miter 45 degrees on both so that they meet nicely at the edge..
Grateful for help.


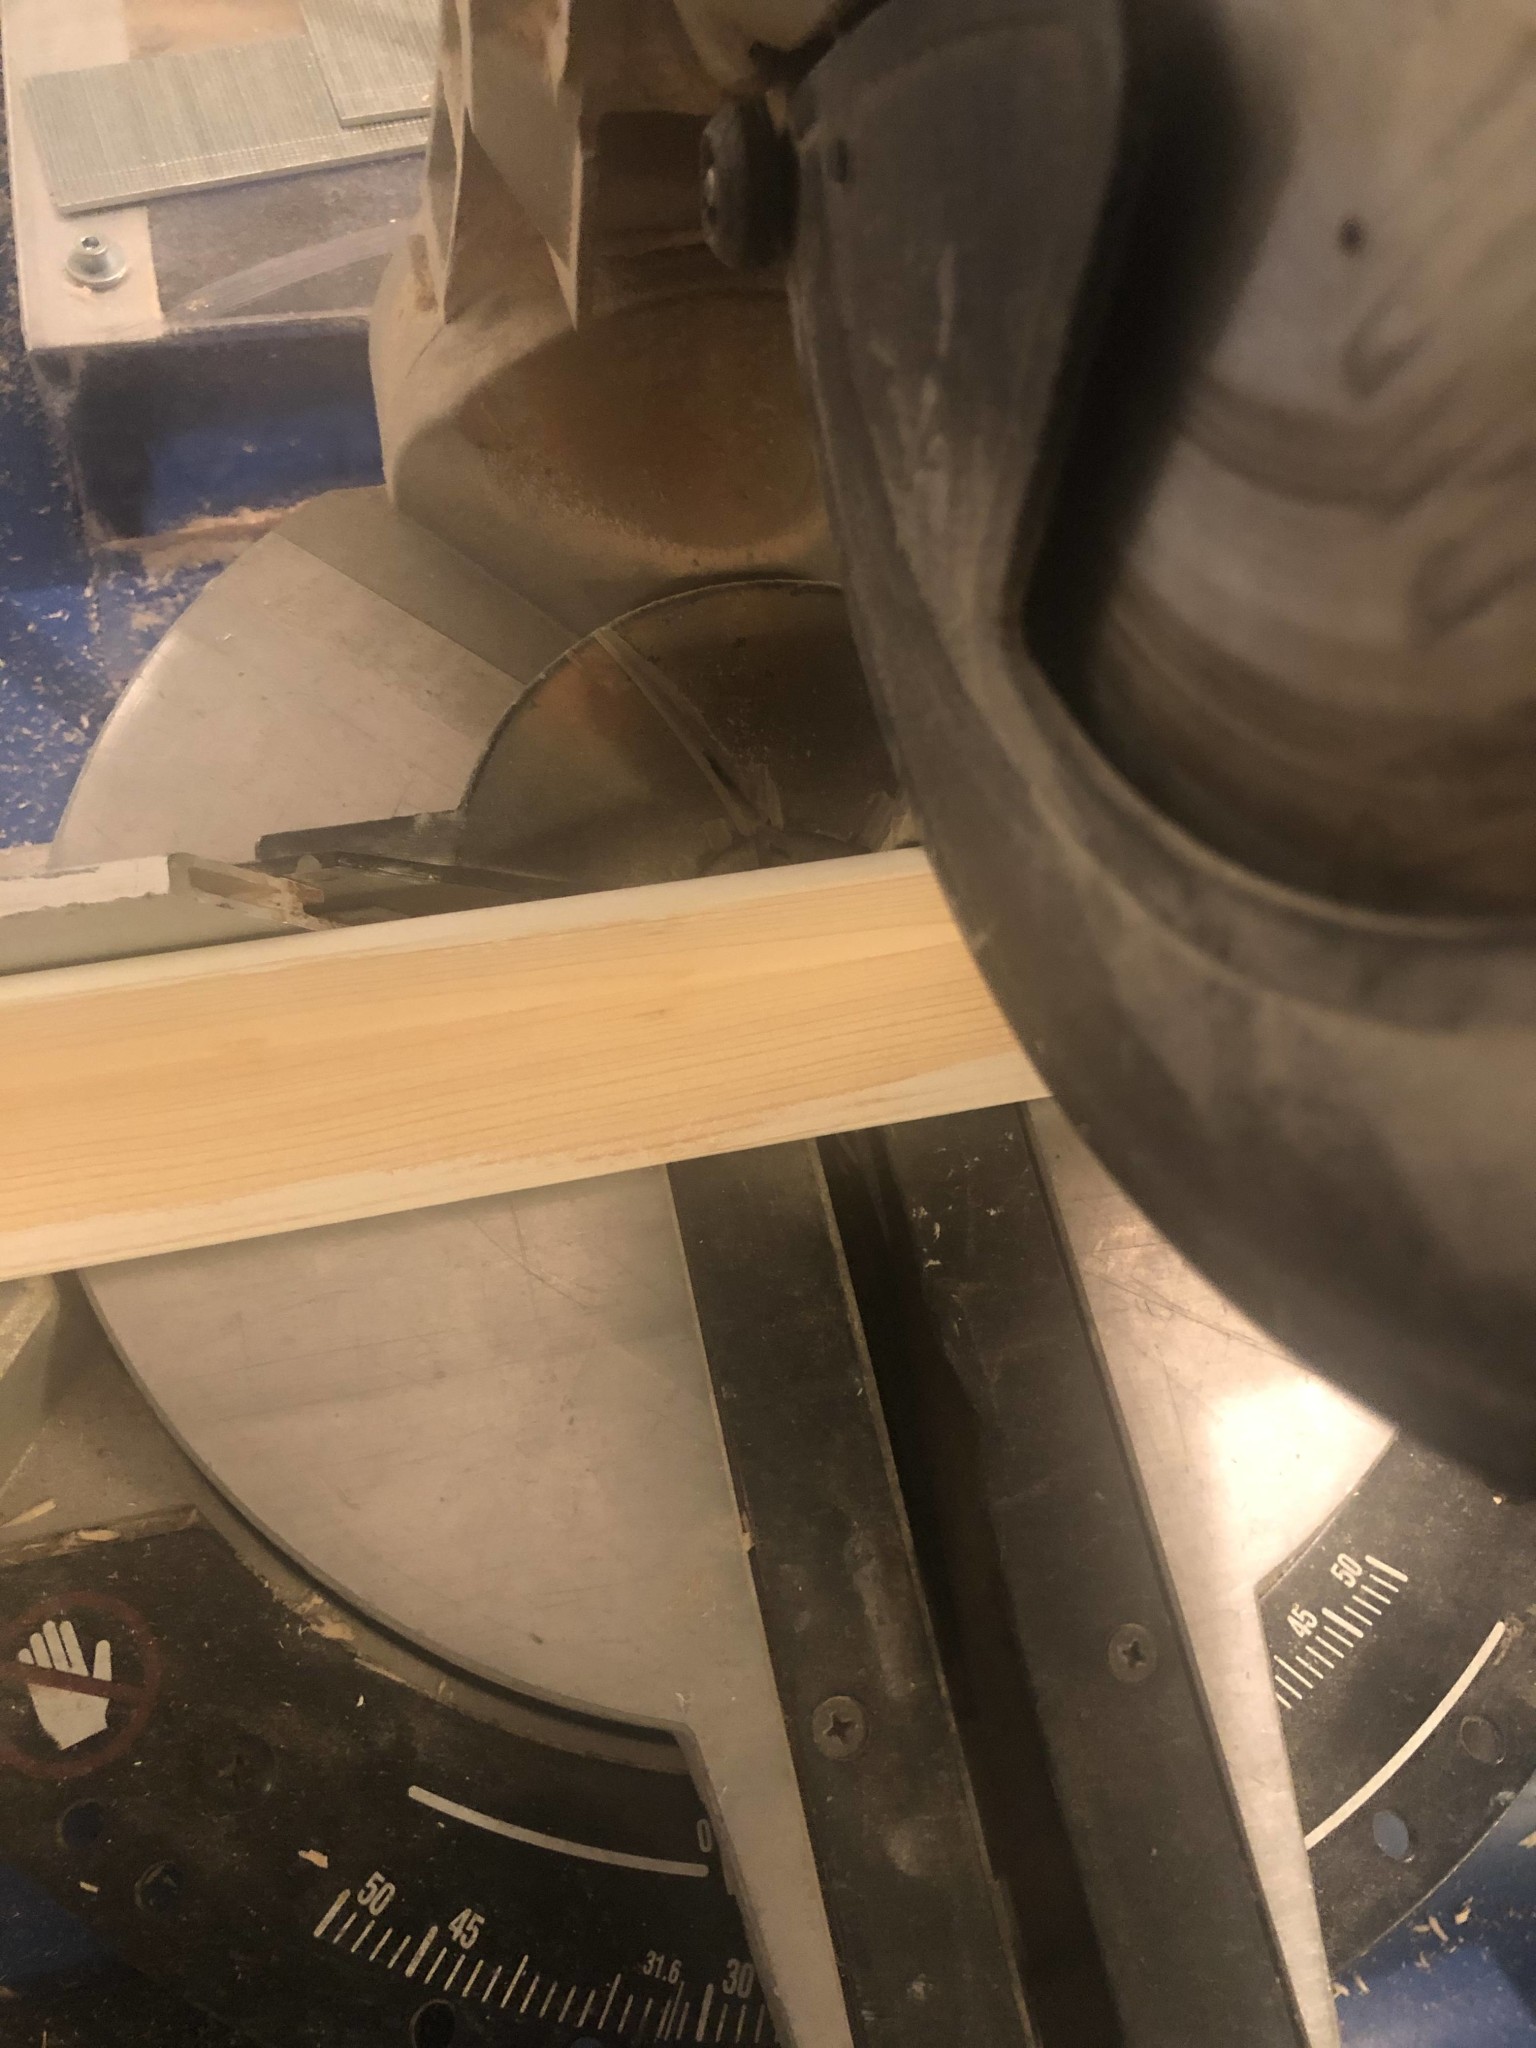
You can also cut 45 degrees now. The important thing to keep in mind is how the molding is positioned when you cut through it.
If you want to cut from the "front," it's best to place the molding in the saw with a square board inside the 90-degree angle so that it lies stably.
If you want to cut from the "back," place the molding with the "front" down against the saw table.
If you want to cut from the "front," it's best to place the molding in the saw with a square board inside the 90-degree angle so that it lies stably.
If you want to cut from the "back," place the molding with the "front" down against the saw table.
Okay. Thank you for the response. So the white-painted front side should be facing up when I cut. With a block behind for stability. Will these 45-degree cuts make the corner moldings meet nicely in the window corners?M McNulty said:You can miter 45 degrees now as well. The important thing to consider is how the molding is positioned when you cut through it.
If you want to cut from the "front," it's best to place the molding in the saw with a square board inside the 90-degree angle so that it lies stable.
If you want to cut from the "back," place the molding with the "front" facing down toward the saw table.
not for the stability. That's just a bonus.Hammare&Spik said:
The molding must rest on the block for you to get the 45-degree miter correctly oriented.
Make sure to buy a little extra molding so you can test cut a few shorter pieces and test that way.
Now I have tried to miter these lists. I can start by stating that a 45g cut is not enough. You need to make two cuts, one straight and one 45g that meets the straight cut precisely.
Not very easy with a large miter saw...
I haven't developed a good technique yet.
Not very easy with a large miter saw...
I haven't developed a good technique yet.

Then I would appreciate if a kind person could explain how a 45-degree cut allows both moldings to meet around the window as shown in the picture I sent. I really don't understand how:


2 or 3 and angle the blade 45, not rotate the table 45.
