
33,040 views ·
13 replies
33k views
13 replies
How to handle the roofing felt at the front edge of a shed roof?
Hi,
I'm currently in the process of building the shed, and in a few days, the roofing felt will be going on the roof, which is a mono-pitched type, meaning it only slopes in one direction.
The solution with a triangular strip on the sides and letting the felt go up on these is a given, as well as having a drainage plate at the back edge under the felt, but what is the best way to handle the front edge? Should you fold the roofing felt around the edge of the roof deck? Or should you also use a triangular strip at the front edge?
I haven't found a good picture of this online.
How does one do it?
Regards,
Wretan
I'm currently in the process of building the shed, and in a few days, the roofing felt will be going on the roof, which is a mono-pitched type, meaning it only slopes in one direction.
The solution with a triangular strip on the sides and letting the felt go up on these is a given, as well as having a drainage plate at the back edge under the felt, but what is the best way to handle the front edge? Should you fold the roofing felt around the edge of the roof deck? Or should you also use a triangular strip at the front edge?
I haven't found a good picture of this online.
How does one do it?
Regards,
Wretan

Preferably, a flashing should be nailed to the wooden decking and the roofing felt glued to it. If you don’t have that, let the edge of the felt extend a measuring stick width beyond the wooden decking.

No idea if it's right but on our cabin in the countryside we have trekantslist even on the front edge. Wind boards and then wind board metal plates that lie over the roofing felt just like on the sides. Works well so far.
It naturally depends a bit on the roof pitch, but a triangular strip at the front edge must be wrong. It's important that the water gains speed over the edge and goes as far out as possible.
Hello and thank you for your answers, the roof pitch is only 6 degrees. I read another old thread here on byggahus where someone else had also installed fascia boards and fascia metal at the front. But how do you solve it nicely at the corners where two triangular strips meet and metal on top?
I have tried googling for språngbleck but get very few images of such a metal.
I have tried googling for språngbleck but get very few images of such a metal.
Spring clip is a simple sheet metal that can be found at most building supply stores. Essentially a metal strip with a fold in the middle. Usually found next to window sills, water board flashings, etc. A 6-degree roof slope makes it especially important for water to be directed away from the facade.
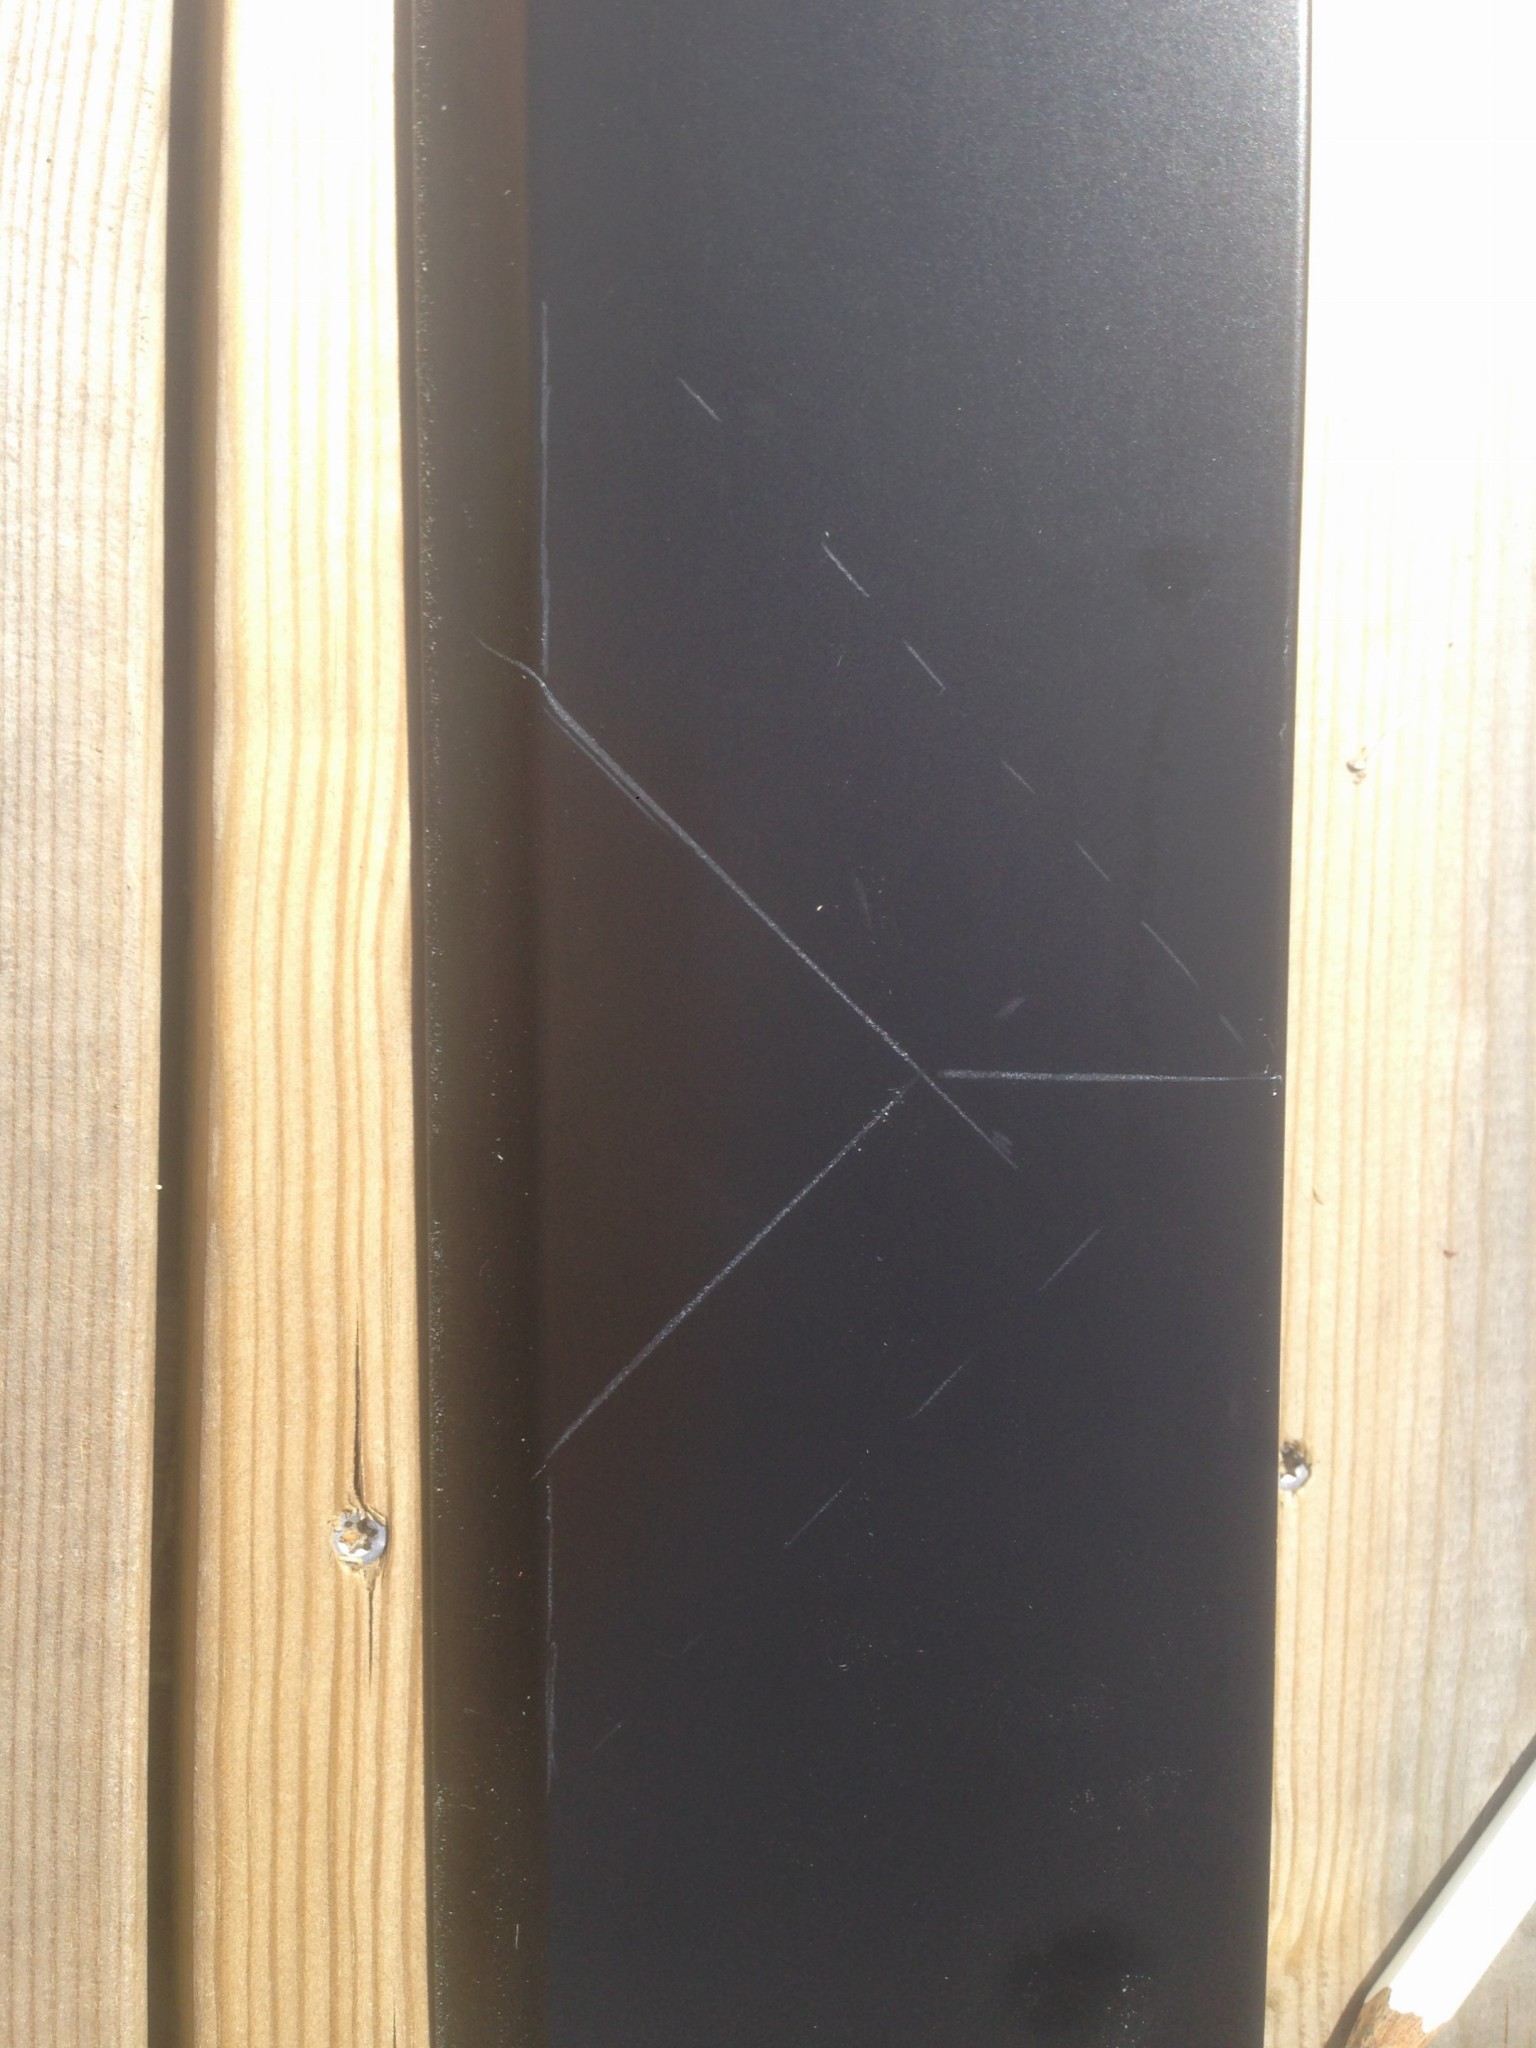
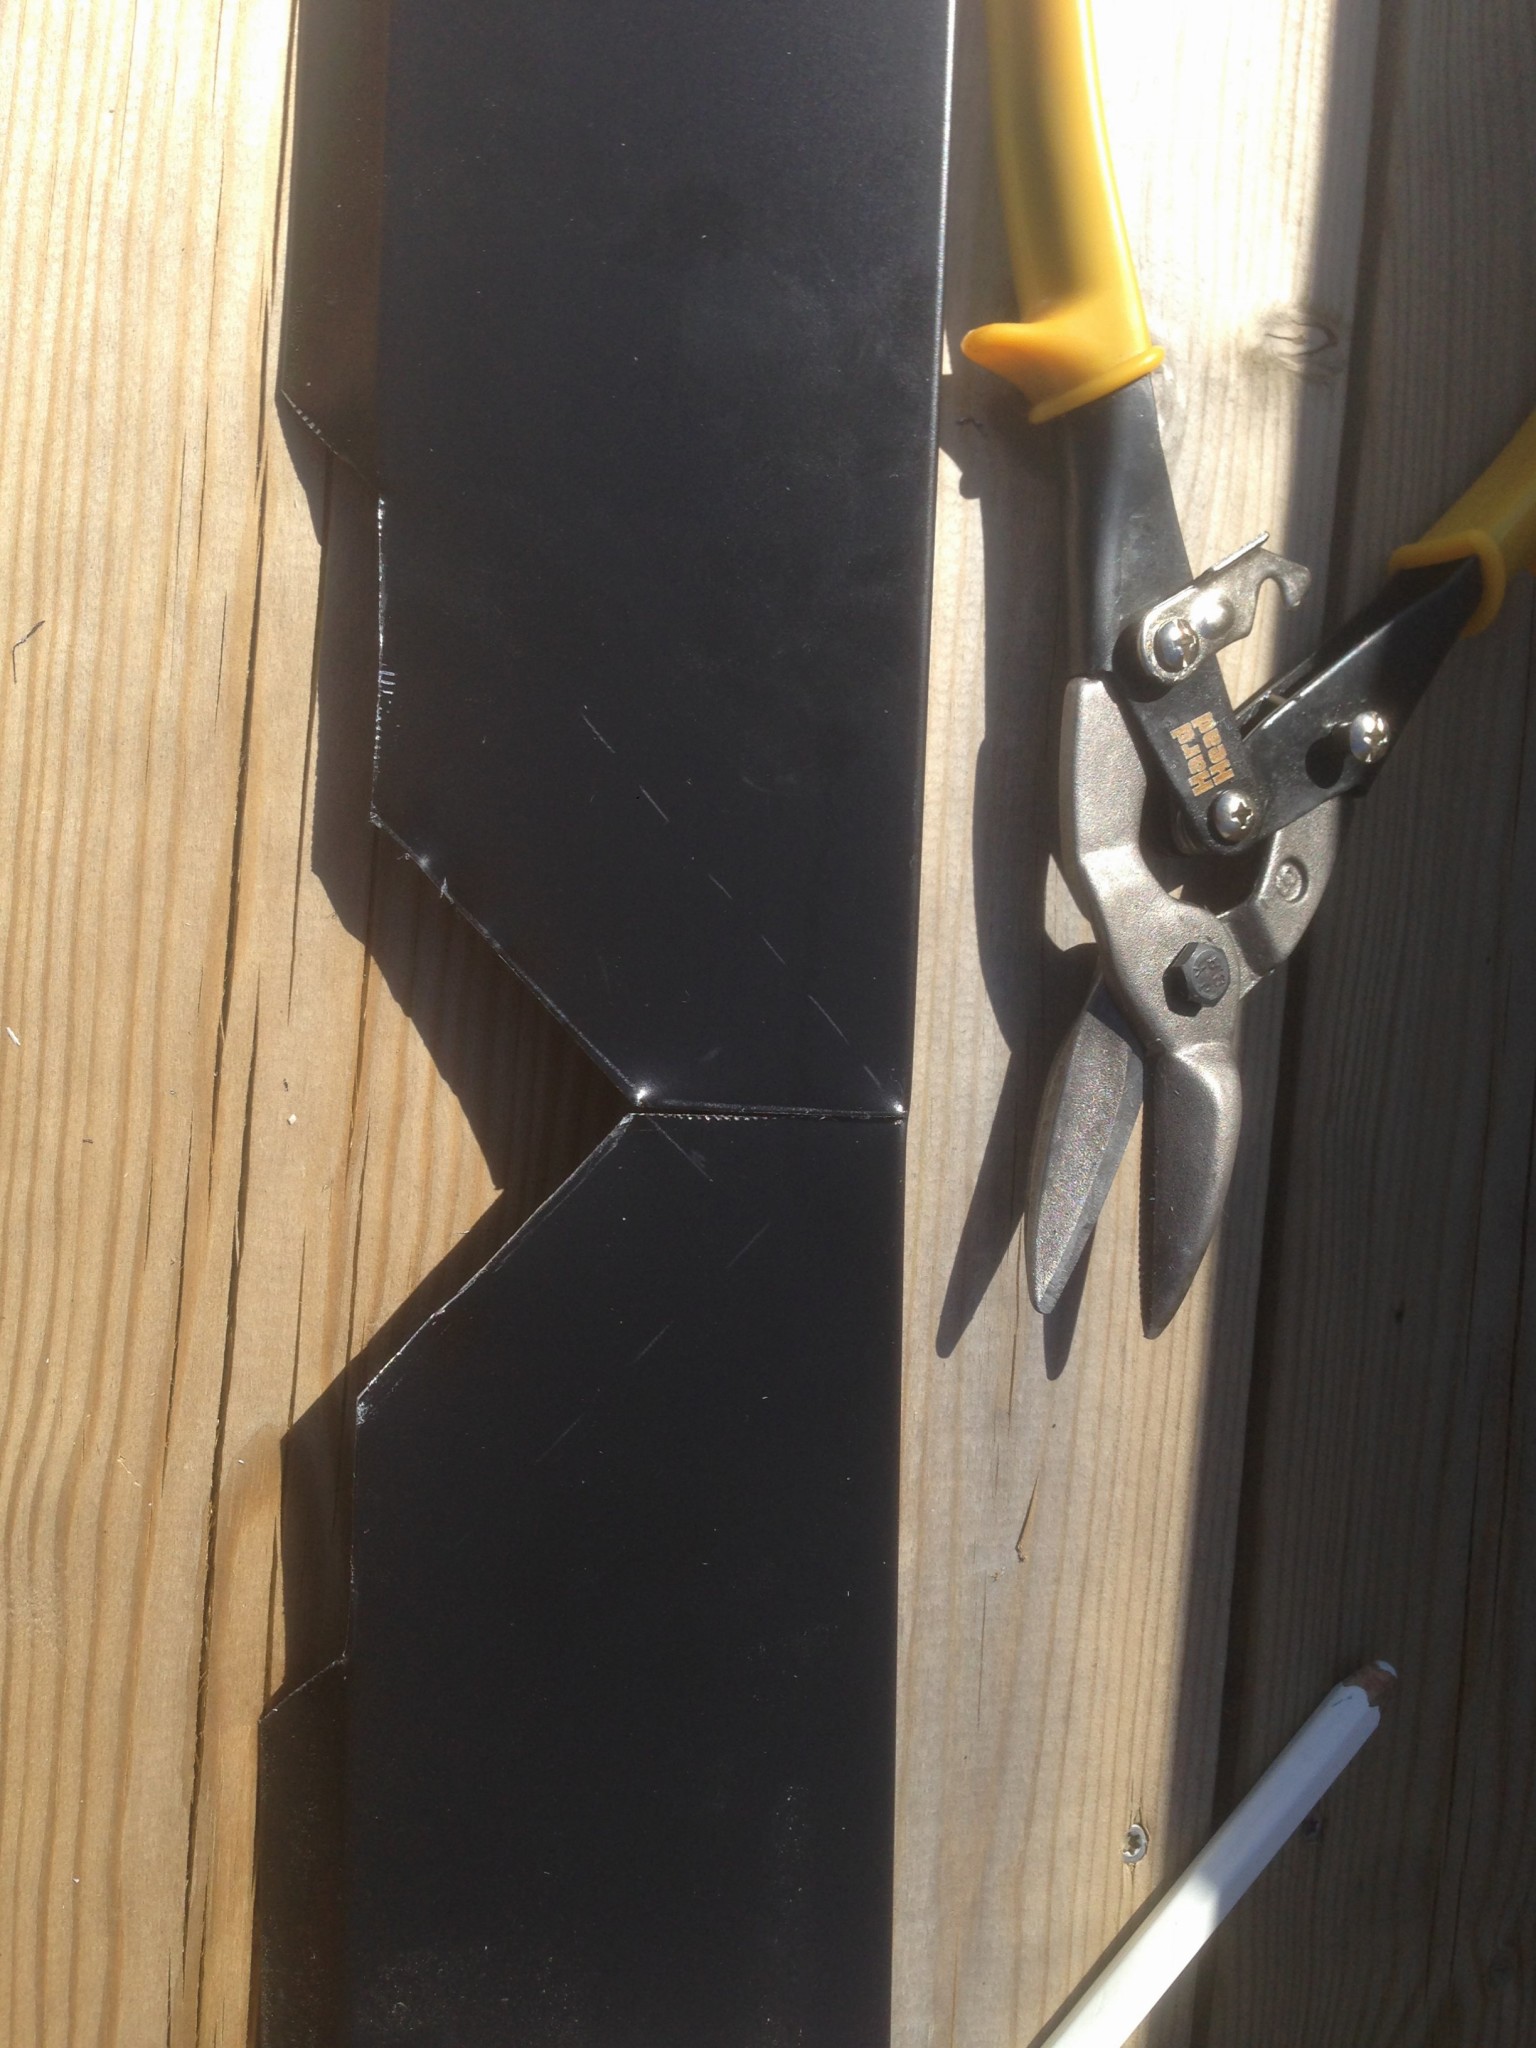
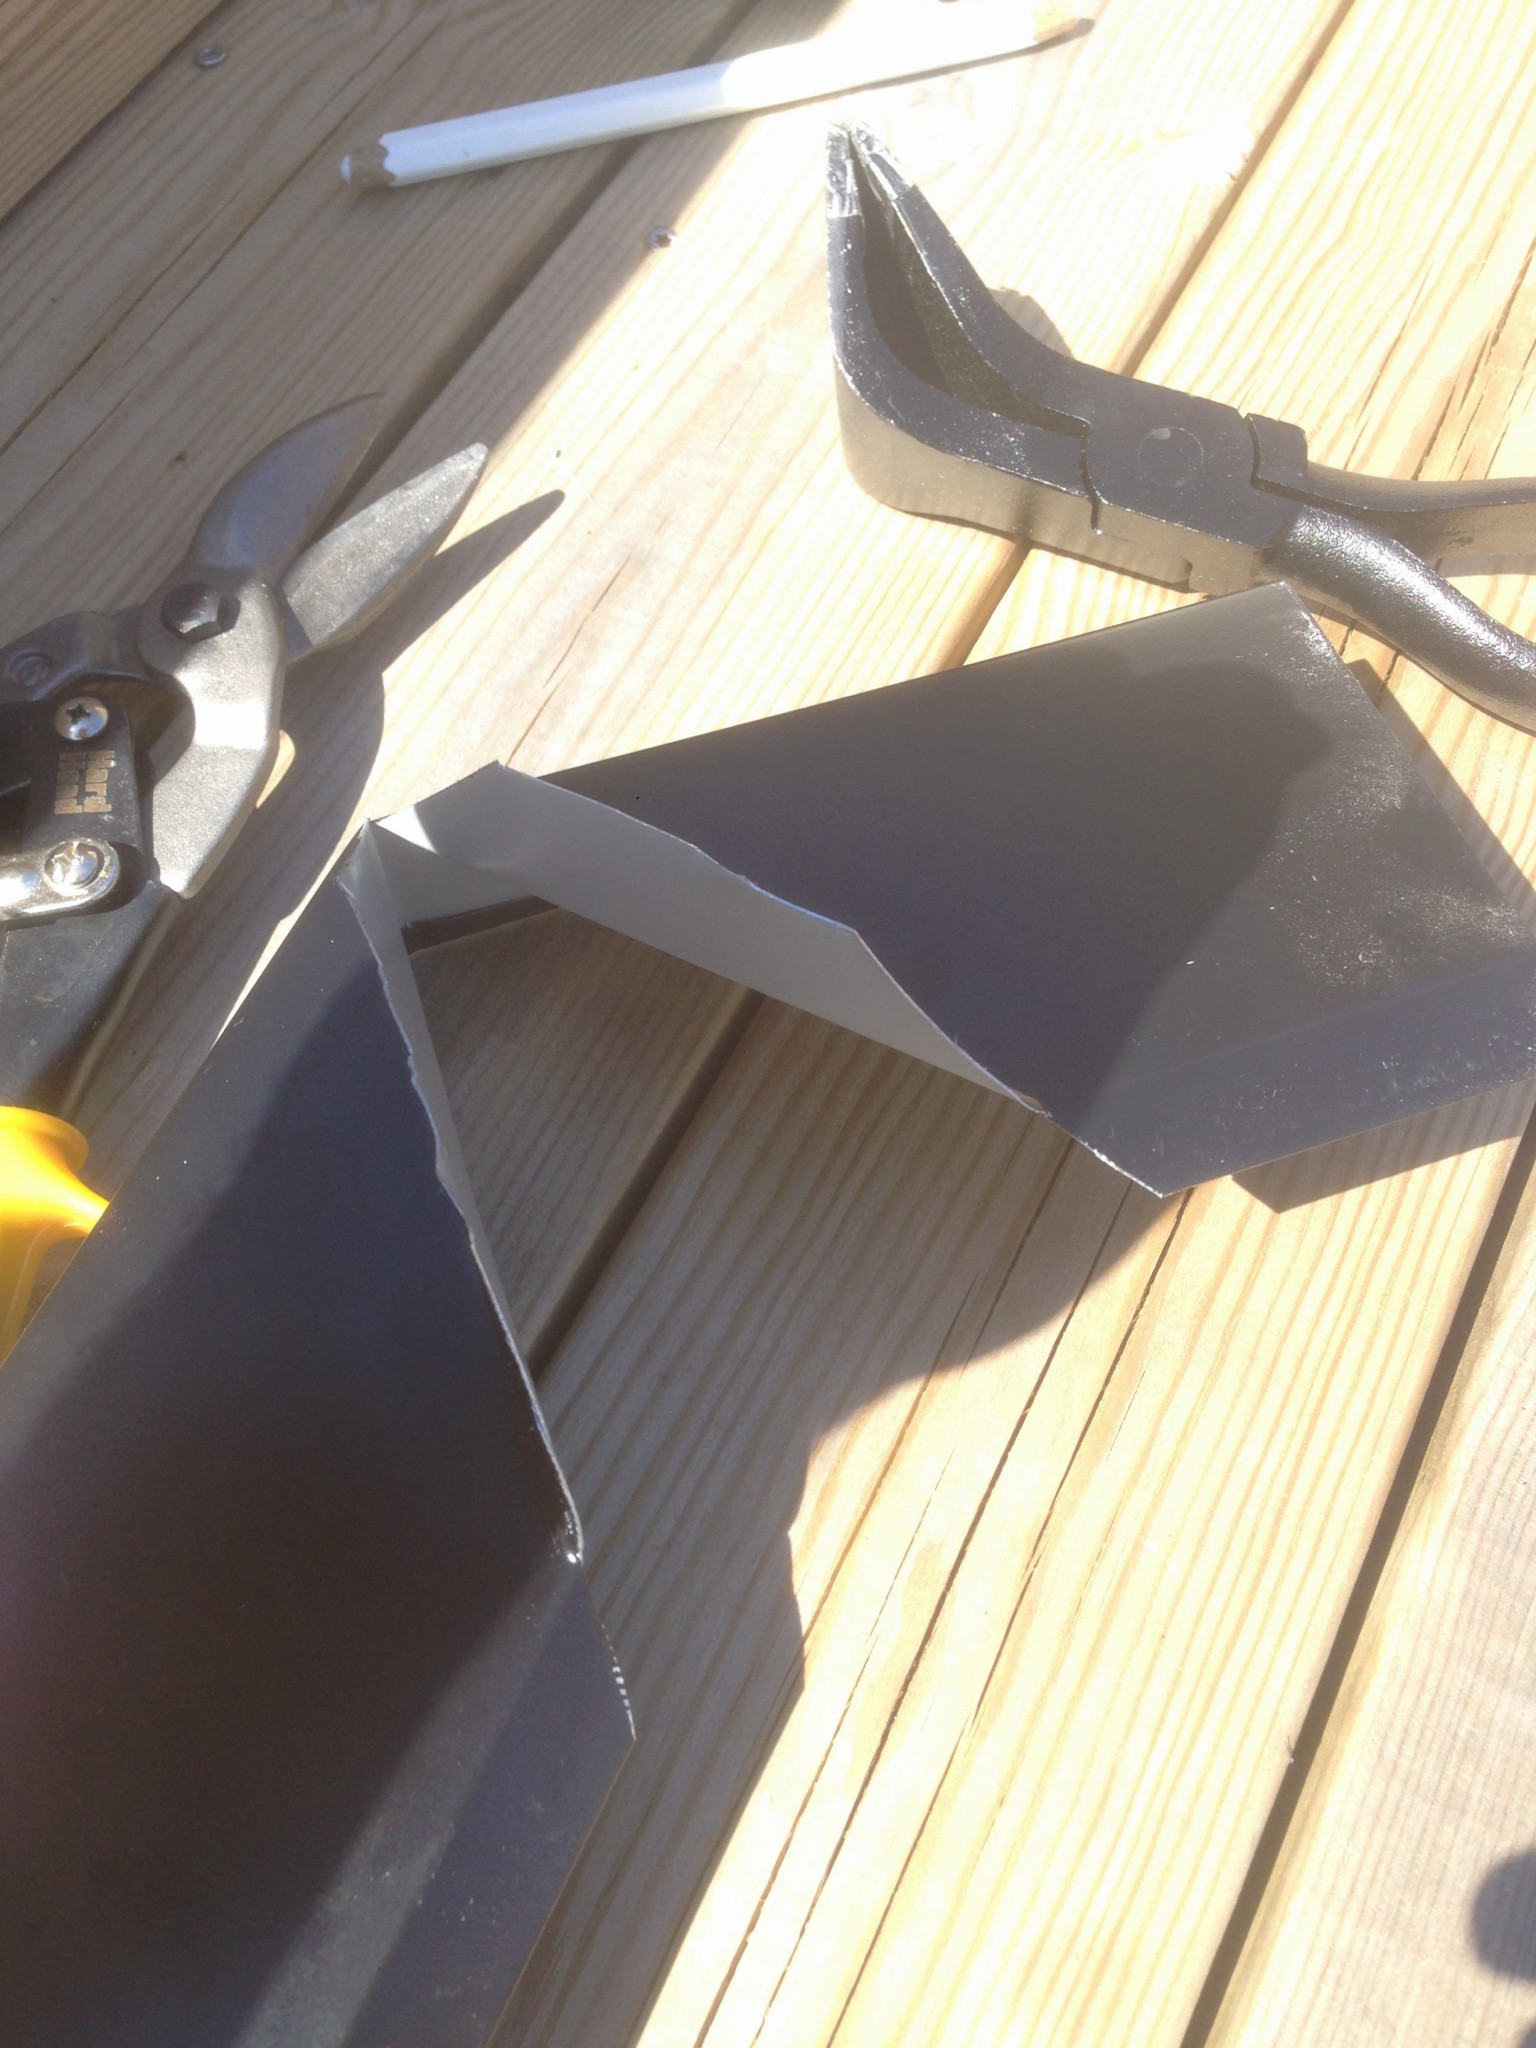
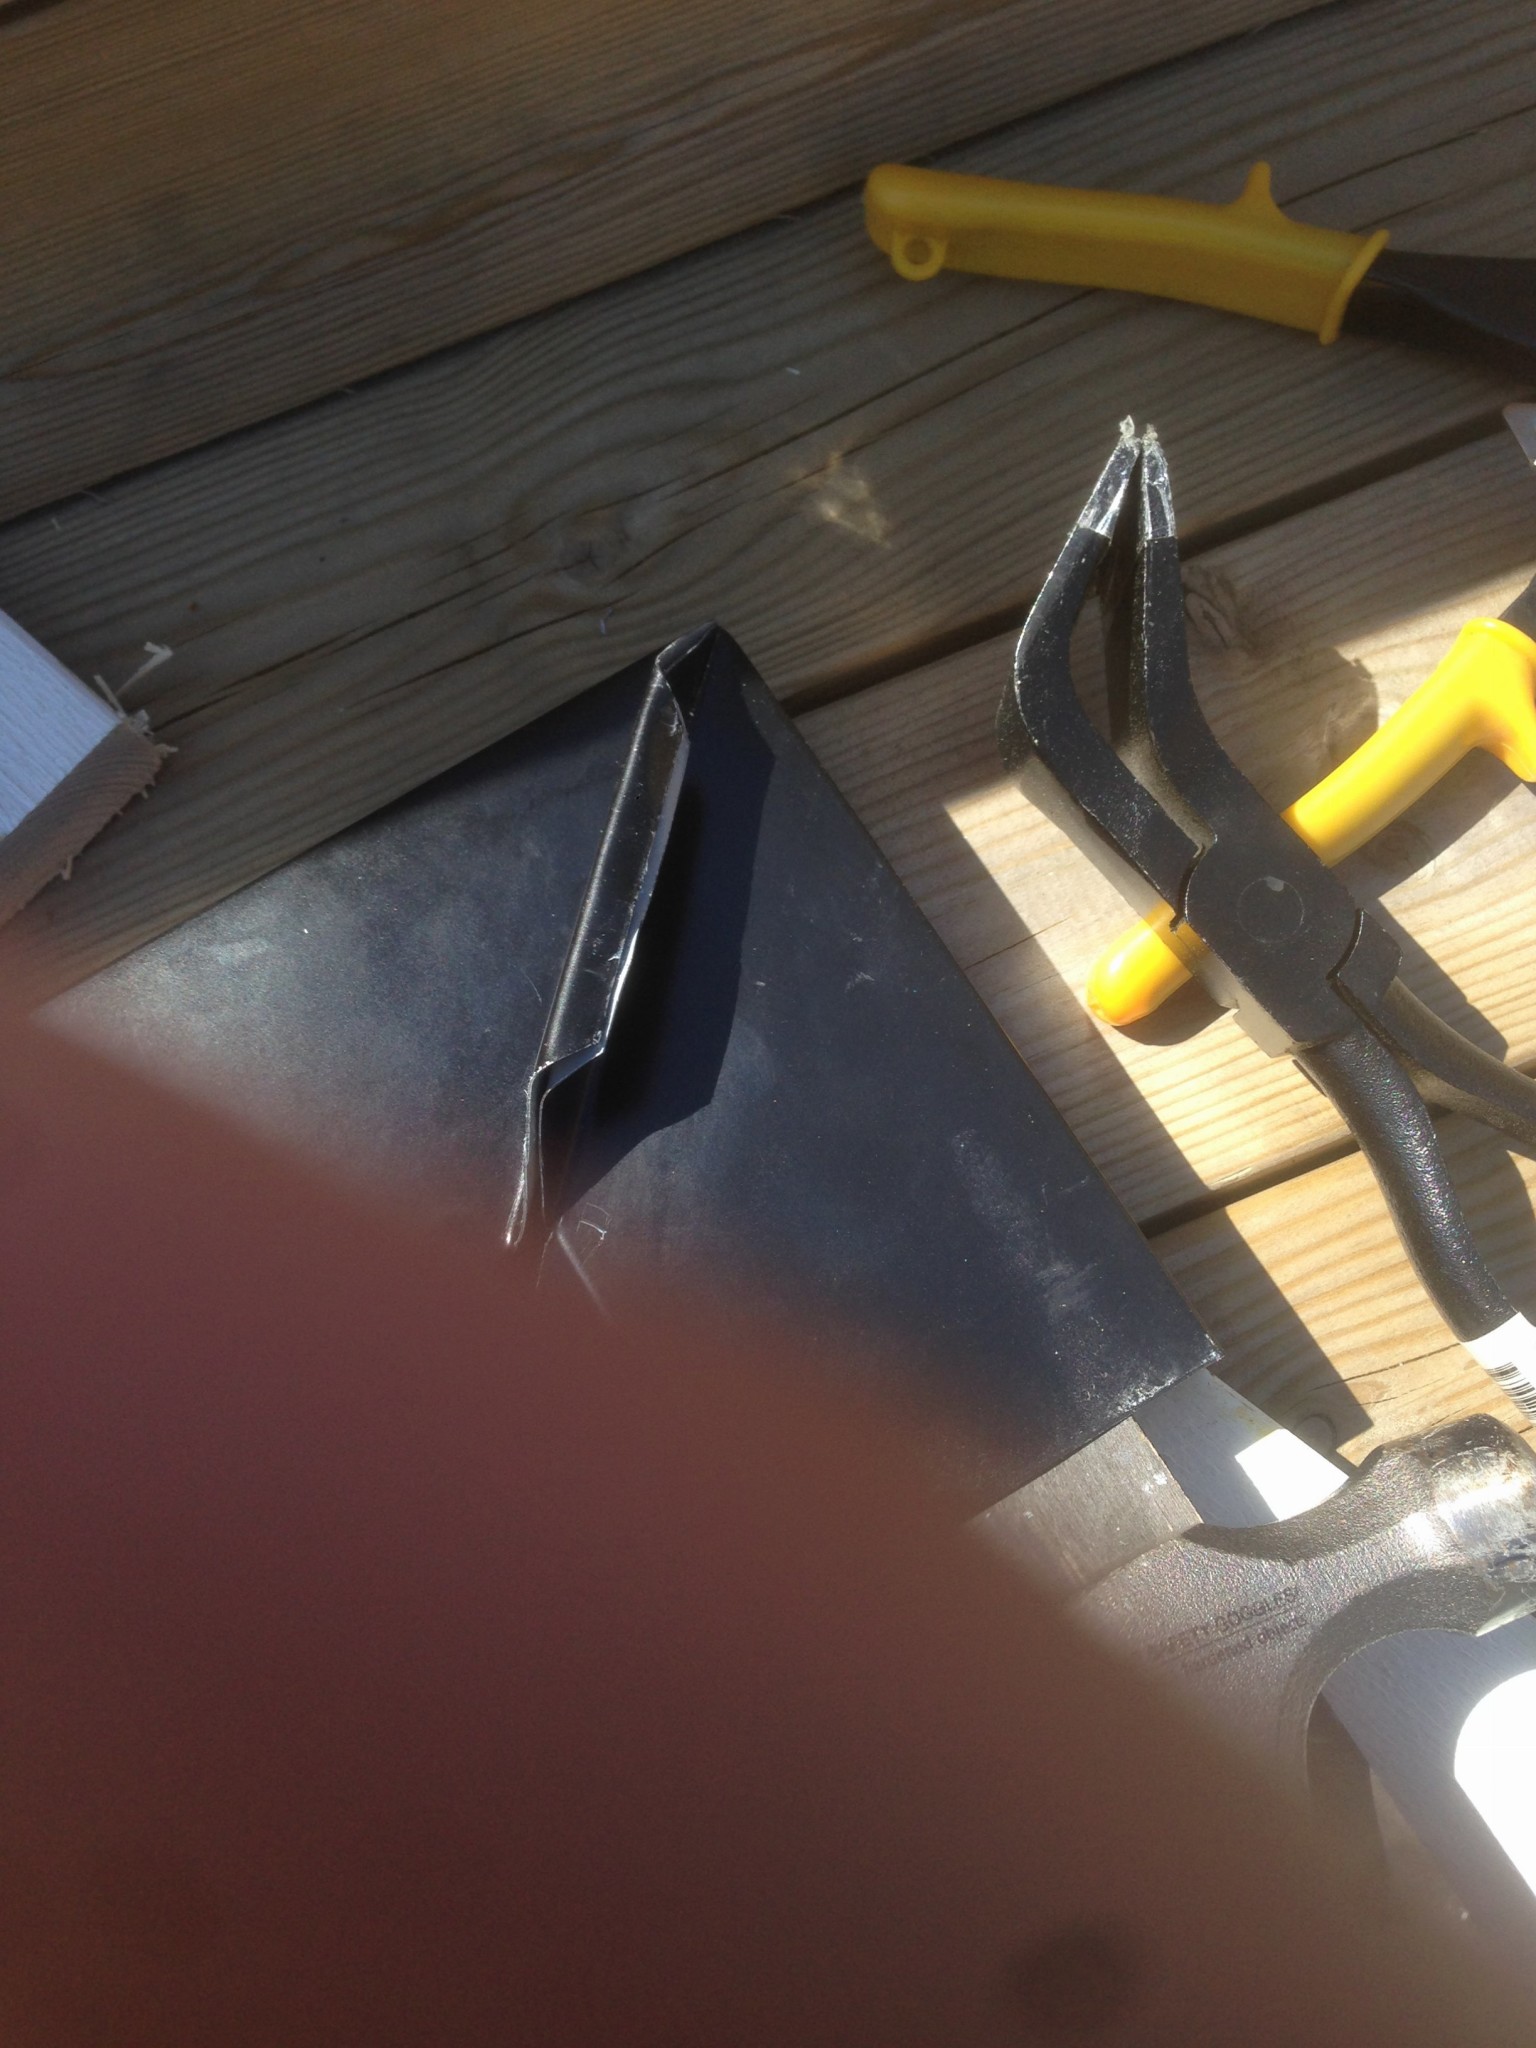
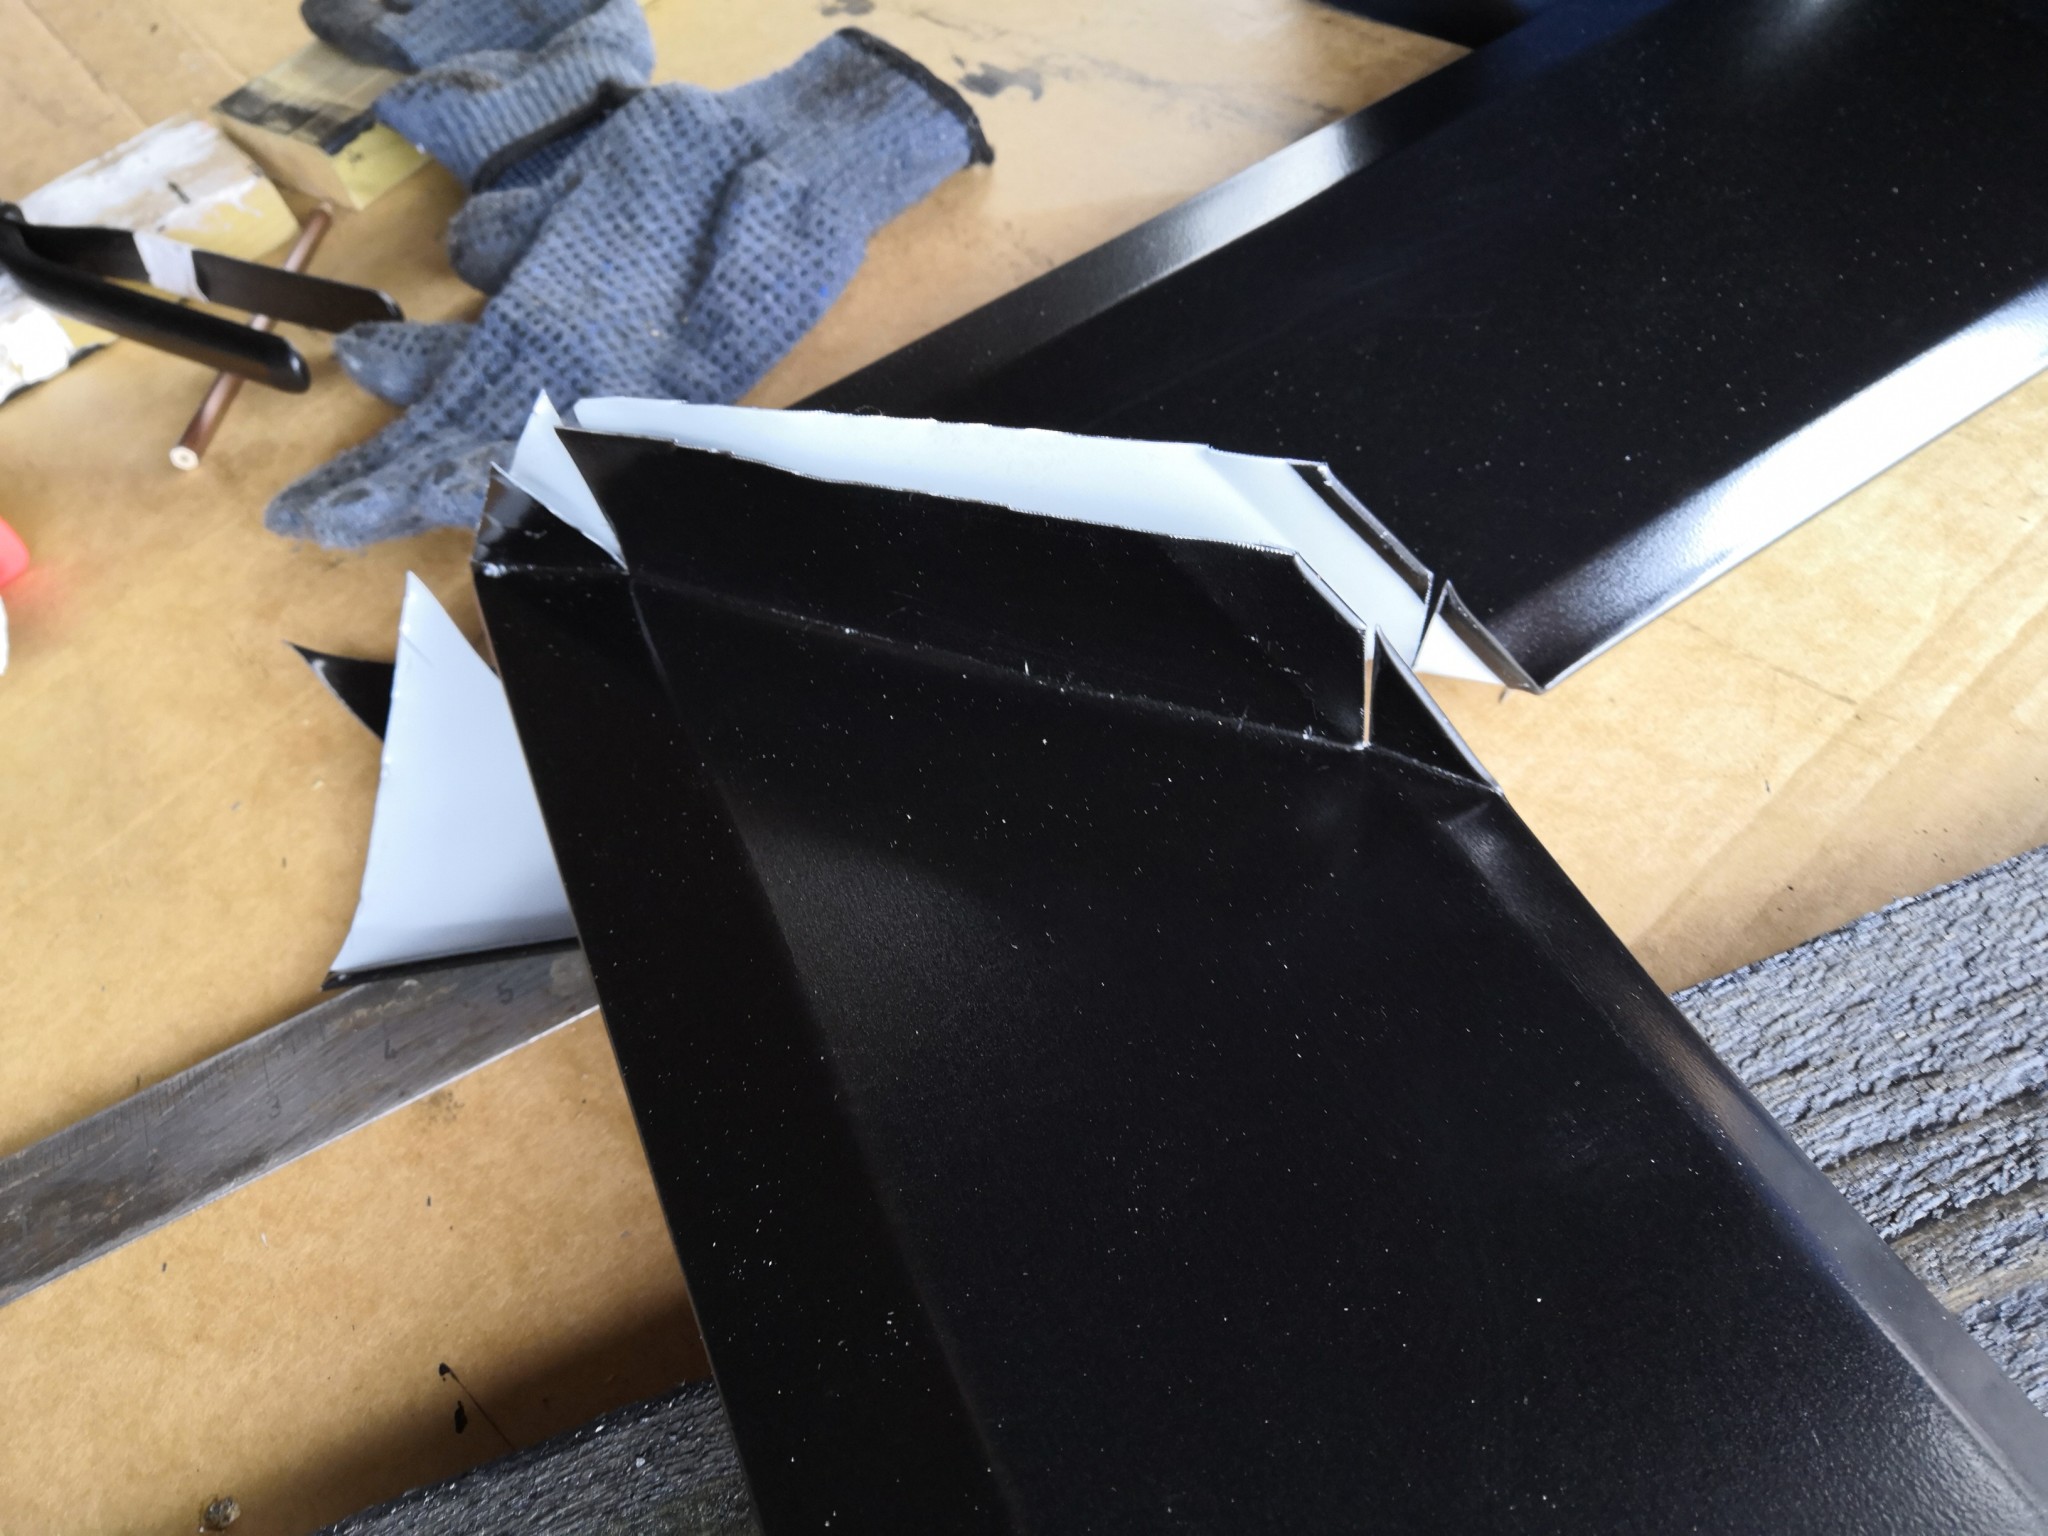
Pondering the same. I've placed the triangular strip in the front, the base felt is in place, and tomorrow the surface felt goes on. My plan is to try to make the corners myself, if ready-made ones can't be found.
I can post a picture when it's done. Sensitive viewers be warned though
I can post a picture when it's done. Sensitive viewers be warned though
Now, I am admittedly venturing into areas I'm not very familiar with, but why would it be wrong to install a wind board at the front of the roof as well, and then a vattplåt (that's right, that's what it's called, not "vindskiveplåt") over it? The point of the whole thing is that the water doesn't flow upward; instead, all the water flows down the roof. The triangular strip is really just an extra safety measure in case some water remains due to leaves or similar obstacles.
In our case, we bought the half-finished shed, so there was already a triangular strip at the front edge. You have to fold up the corners of the tar paper a bit, and in the worst-case scenario, make a small slit in it. You cut the sheets with regular sheet metal scissors. I let the vattplåt on the sides go up almost all the way to the corner, then I overlapped with the one at the front edge and cut a 45-degree angle on it (and cut off the little bend). It's not a masterpiece, but it looks okay. Above all, it can't be seen from where you view the shed.
In our case, we bought the half-finished shed, so there was already a triangular strip at the front edge. You have to fold up the corners of the tar paper a bit, and in the worst-case scenario, make a small slit in it. You cut the sheets with regular sheet metal scissors. I let the vattplåt on the sides go up almost all the way to the corner, then I overlapped with the one at the front edge and cut a 45-degree angle on it (and cut off the little bend). It's not a masterpiece, but it looks okay. Above all, it can't be seen from where you view the shed.
I also don't know what is "right," but for the two mono-pitched roofs I've done (a shed and a freestanding garden room), I've installed a canted strip even at the front. 7-degree pitch on the roofs. Underlay felt folded up on the strip. Cut a bit at the corner to make the fold in the uprighting and then applied asphalt glue to seal. Then battens and sheet metal on top. I've installed bargeboards and regular bargeboard sheets both at the front and on the gables. First the gable sheet up to the front edge, then the front side's sheet on top with a couple of cm overhang which is then bent downwards.
I am beginning to suspect a certain linguistic misunderstanding. "Fram" in my mind is the lowest point on the sloped roof, where there should be a drip flashing and no triangular strip. At the back edge of the roof (the highest point), however, it's suitable to have a triangular strip and a metal flashing. The back edge should have the same design as the sides, but with a different angle.
In the past, it was common to have a water board at a 90-degree angle on the top verge board over the roofing felt. Since these boards always rotted away quite soon, they have been replaced with a metal flashing that also protects the top verge board's upper edge.
In the past, it was common to have a water board at a 90-degree angle on the top verge board over the roofing felt. Since these boards always rotted away quite soon, they have been replaced with a metal flashing that also protects the top verge board's upper edge.
Hello and thanks for the tips!
Yes, there is a certain difference if the "front edge" is the highest or lowest point. For me, it's the highest point and on the entrance side.
Leaning towards using a triangular strip there as well and placing a water flashing over it. Asphalt adhesive will solve the corner if a smart overlap on the felt can't be achieved.
Best regards,
Wretan
Yes, there is a certain difference if the "front edge" is the highest or lowest point. For me, it's the highest point and on the entrance side.
Leaning towards using a triangular strip there as well and placing a water flashing over it. Asphalt adhesive will solve the corner if a smart overlap on the felt can't be achieved.
Best regards,
Wretan
Yes, you are of course absolutely right. I also wondered if we were talking past each other (hence the specification that the water flows downward).justusandersson said:I'm starting to suspect a certain linguistic misunderstanding. "Fram" is in my mind the lowest point on the shed roof, where there should be a flashing and not a triangular strip. At the rear edge of the roof (the highest point), it's appropriate to have a triangular strip and a water sheet. The rear edge should have the same design as the sides, but with a different angle.
In the past, it was common to have a waterboard mounted at a 90-degree angle on the topmost bargeboard over the felt. Since these boards always rotted away quite soon, they have been replaced with a water sheet that also protects the top edge of the topmost bargeboard.
For me, it is obvious that the highest point is the front edge, but that's only because it's the side you often enter on a shed with a shed roof (in my world).

Click here to reply