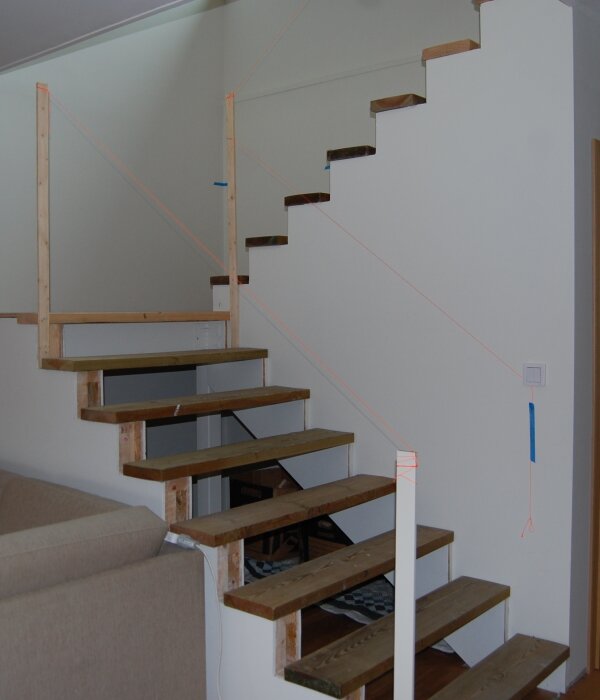
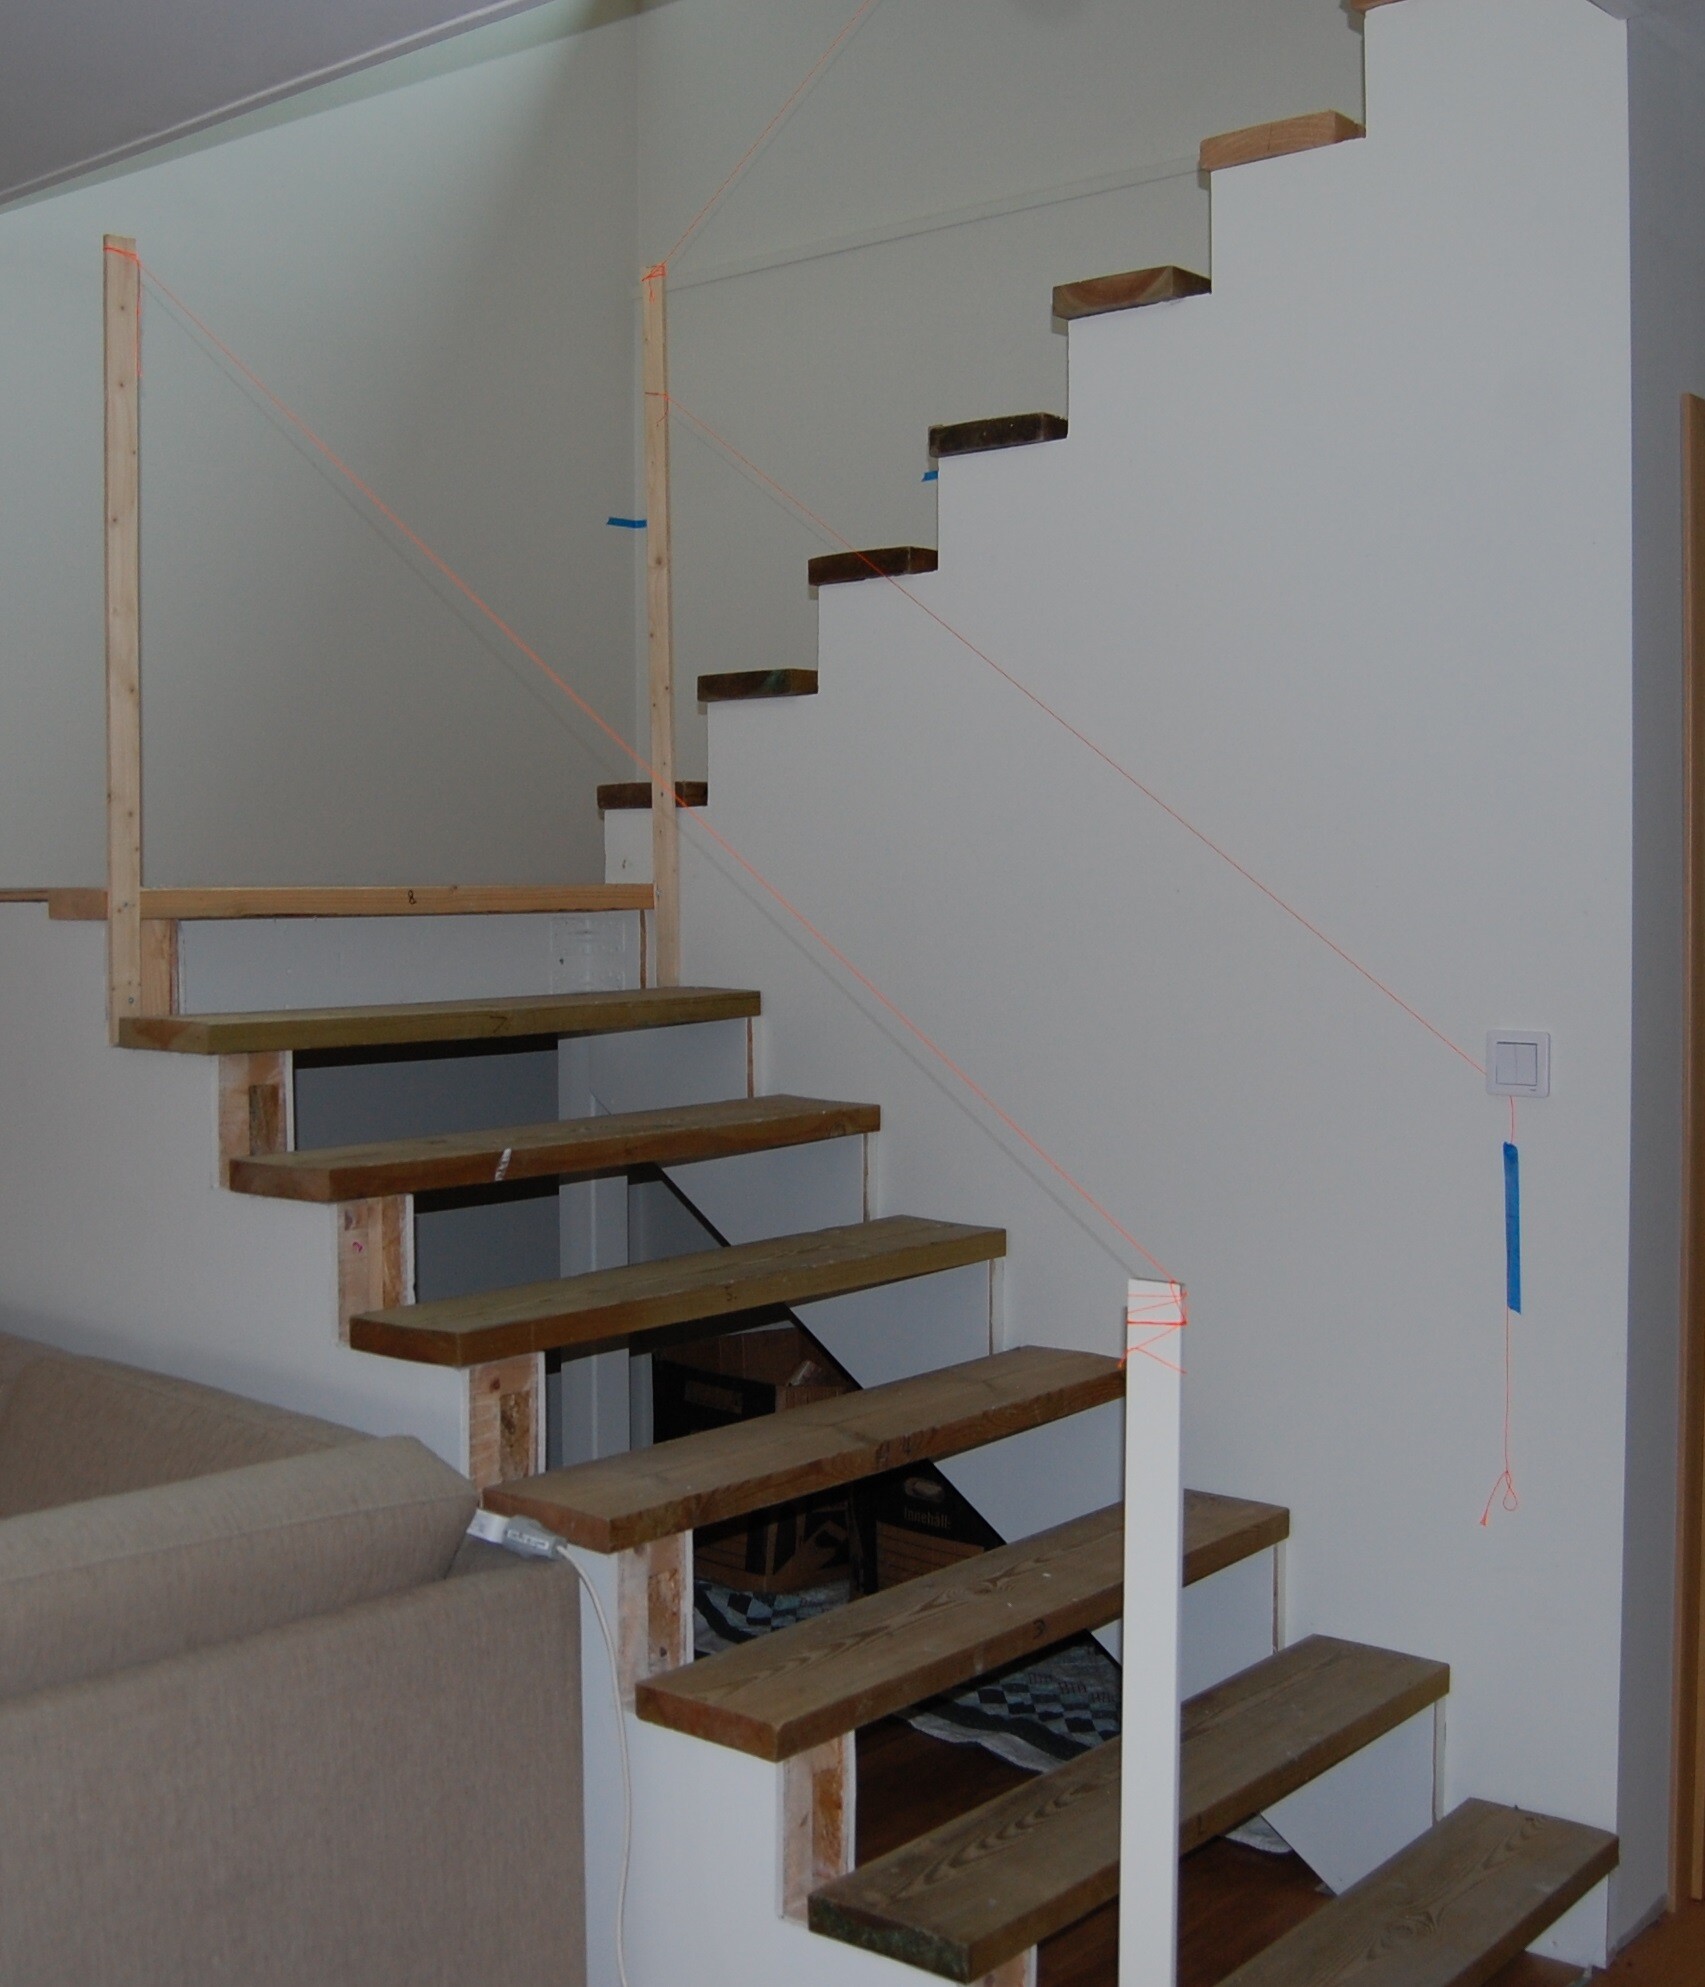
I am building a staircase as shown in the picture. Two flights with a landing in the middle. I designed the stringers and ordered them from a factory to get all angles exact. As you can see, they are mounted, and after that, I covered everything underneath with plasterboard.
Today, temporary steps are in place. I am in the process of cutting and varnishing both risers and treads in 40 mm oak, cut from laminated sheets. It's going to be spectacular.
The steps will be placed as in the lower image, in the same way the temporary ones are already mounted.
I'm somewhat stuck on the issue of the actual installation. The steps are cut as precisely as possible with the same dimensions as the stringers. But there might be a slight discrepancy 🤔
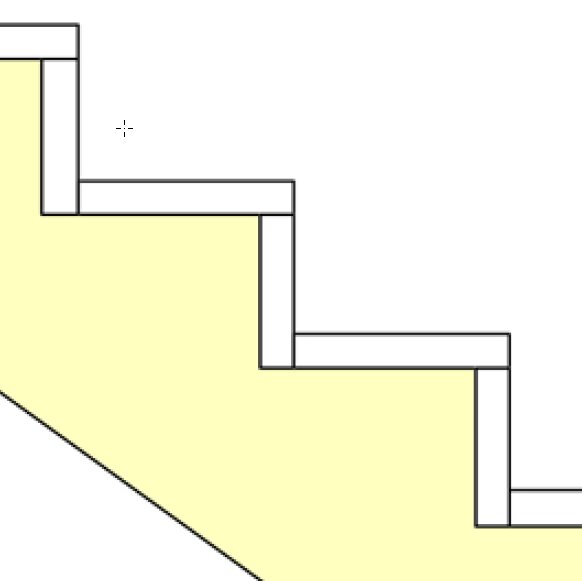
The outer edge of the tread should align exactly with the riser so that it looks like a "straight Z" from the side. Do I need a few small metal pins there to hold it together?
Should I glue between the stringers' surfaces and the steps? Wood glue?
I'm thinking that every step must be screwed. I could then use metal brackets, two per step at each edge, and attach them underneath. Or a similar solution with small wooden pieces, about 30 x 30 mm, the same length as the width of the steps. Pre-drill these and then screw.
I don't want visible screws. Nor do I want to screw from above with countersunk holes and then plug the holes with wooden dowels.
Anyone with experience in similar projects who can give tips?
Avoiding creaking is an important thing. When I've installed finished staircases for clients, they often come with routed stringers where the treads fit in, and then you wax their ends to avoid creaking. It feels logical but isn't quite the same in my case.
Our risers are set in milled grooves on the underside of the treads and then screwed into the bottom of the tread. We purchased installation of the staircase when we ordered it, and the carpenter said he laid a line of silicone in the groove and then pressed the riser up properly when he screwed it in.
I am not completely satisfied with the installation as we have some creaking, and after reading a bit about stairs, I have understood that previously the top of the riser was often planed to a slight arch to avoid creaking. As I see it with our staircase, it's when the treads are loaded and bend down slightly that they rub against the top of the riser and cause creaking, so I'm considering dismantling the risers to plane them into a slight arch shape and reassemble them to see if it makes a difference.
The proposal has been brought to the priority committee for a decision, but so far, garden planning, wallpapering, and painting the last bedroom and door frames (sic!) have been considered higher priority than eliminating the creaking in the staircase... 🙄
Securing something that holds the risers in line with the tread at the top seems sensible, and if you can't make grooves in the tread, then some form of pin might be suitable on the outer edge or blocks to screw in. Then an overhang on the tread is recommended, and not completely straight corners, both for walking on the stairs and for appearance. (even though the appearance is subjective)
Our risers are set in milled grooves on the underside of the tread and then screwed into the tread at the bottom.
We purchased the installation of the staircase when we ordered it, and the carpenter said he placed a bead of silicone in the groove and then pressed up the riser properly when he fastened it.
I'm not entirely satisfied with the installation as we have some creaking, and after reading a bit about staircases, I've understood that it was common before to plane the top edge of the riser to a slight arc to avoid creaking.
As I perceive it from our staircase, it's when the treads are loaded and bend down a little that they rub against the top of the riser and cause creaking, so I've been thinking about disassembling the risers to plane them a bit arched and reassemble to see if it makes a difference.
The proposal has been brought up to the prioritization committee for a decision, but so far, garden planning, wallpapering, and painting the last bedroom and door trim (sic!) have been considered higher priority than getting rid of creaking in the staircase... 🙄
Securing something that holds the risers in line with the tread at the top seems sensible, and if you can't make grooves in the tread, maybe some form of dowel is right for the outer edge or blocks to screw in.
Then having an overhang on the tread is recommended and not completely sharp corners, both for how you walk in the staircase and for the appearance. (even though the appearance is subjective)
Good thoughts and considerations.
Do you have a staircase where the steps are between or on top of the stringers?
With risers that are pressed up into a milled groove on the tread, there is certainly room to plane the top edge as you write. More difficult in my case where everything should be visible. But sure, I could have had a "tenon" on the risers that went up into a recess in the tread. A lot of work to achieve this without a computer-controlled milling machine. But most of all, it's too late now. The treads and risers are already sawn in the form of completely rectangular pieces.
Screwing the bottom edge of the risers into the back of the treads is clever, it's simple and good.
Regarding overhang or not, the appearance is indeed very subjective... 😂
Do you have stairs where the steps are between or on top of the stringers?
With risers pushed up into a routed groove on the step, there is, of course, room to plane the top edge as you write. More difficult in my case where everything is visible. But I could have had a "tenon" on the risers going up into a notch in the step. A lot of work to get that done without a computer-controlled milling machine. But above all, it is too late now. The steps and risers are already cut into completely rectangular pieces.
Screwing the bottom edge of the risers into the back of the steps is smart; it's simple and good.
Regarding the overhang or not, appearance is very subjective... 😂
Yes, appearance is subjective, but the others have no taste
It sounds like the groove and a notch in the back could have worked if it wasn't already cut, the question is whether it would be possible to plane it slightly rounded and press it up when mounting so that it stays under tension all the time and if that would make a difference... almost worth trying with one of the steps.
Otherwise, maybe waxing the edge is enough to create a bit of "glide" and not squeak?
Our stairs have one side's risers and treads recessed into the stringer, and the other side is "on top" since it's a U-shaped staircase sitting open with one side against the wall. The outer side of the first and second run has an overhang to the right on the steps, and on the last run, the overhang is to the left as that's the one against the wall. It's counted from the bottom, and it turns left when you go up.
If you biscuit between the riser and tread, then the alignment will be clear, and you won't have to screw anything into the other. However, this doesn't solve any potential creaking due to deflection. (This was supposed to be solved with a slightly curved top on the riser, according to the older texts I've read. I haven't tested it in practice, though.)
There's a risk of creating creaks if the biscuits aren't glued, and it's unlikely that glue will hold in the long run...
I know there was another thread a long time ago here on Byggahus that talked about how to mount steps in stringers with explanations of where it should be tight and where it shouldn't be, as well as shimming and nails/screws to avoid creaking... but I don't remember which one
I am holding off a bit and hoping for more wise ideas in this thread.
However, wood glue that has dried is incredibly strong. Often stronger than the material itself, which you find out when you try to tear things down ;-)
I am holding off a bit and hoping for more wise ideas in this thread.
However, wood glue that has dried is incredibly strong. Often stronger than the material itself, which you discover when you have to tear things down ;-)
Yes, it's not unlikely that someone knowledgeable will check in now that the thread is no longer in "unanswered" 🤪
I know glue is strong, but regular white glue is not so flexible, and the force will come along the glue joint, so it might cause it to release. Or that the fibers tear off.
More advice here would be good, you learn all the time. 👍
Click here to reply
Vi vill skicka notiser för ämnen du bevakar och händelser som berör dig.