Not sure if I'm in the right part of the forum, but if it's completely wrong, feel free to move my thread
Regardless! I have a "natural stone wall" (i.e., round stones stacked on each other) that we're considering trying to plaster smooth enough to tile over. But how does that practically work?
Looking at the wall, you can see that it "dents" here and there in the construction.. so in some areas, you probably have to plaster 10+ cm if you want it somewhat smooth..(while in other places, 2-3 cm is enough).
Is it even worth it? How long can it take? How many layers do you need? How many layers CAN you do?
Maybe better to build a about 9 cm thick leca block wall in front and plaster? (or something completely different?)
Looking forward to some thoughts on the matter..
Best regards, Sandra
10 cm is absolutely no problem. You can apply in layers where it is thick, and it may require a lot of mortar. A tip might be to get sand and mix your own mortar, so you can save money.
The best might be to cast in a mold to get it straight? Set up and level in stable vertical supports. Then cut pieces of råspont or similar which you stack up as you fill with concrete.
I agree that applying thick plaster is not a problem. You perform a three-step plastering process. First, you prime the wall with a primer mortar (basically a mixture of mortar cement, sand, and water). On the thin primed surface, coarse plaster adheres well. This is a mortar with a coarser aggregate. It is applied (you throw it on) to make the wall more even. If thick layers are needed, the coarse plaster can be applied in rounds. Finally, you apply a finishing plaster with finer aggregate (fine sand) and smooth it out.
As an amateur, I find the tricky part is getting plastered walls completely vertical and straight. It requires a fair amount of battens installed and leveling/measuring to achieve that. Then it takes more mortar than you initially think.
It's possible but difficult (as an amateur) to get it horizontal (and vertical), so I would do as @useless suggests and build a "form." With formwork plywood 60 cm wide and some beams, it's quick and easy to pour it up straight and neatly. Screw a strip or planed type 15x69 as an "edge" to set the next formwork plywood at height. At the top near the ceiling, there will be a few cm that you can't fill, which you'll need to smooth out after removing the form.
We hadn't planned to do it ourselves but rather outsource it to someone who has the knack for it... if you can find someone (craftsmen are not easy to find).
Was mostly curious about whether it was possible to plaster such a thick layer and how you actually did it instead. Everyone always talks about it needing to be a thin layer... and that it cracks easily if it's thick, etc.
Hadn't previously reflected on how big the difference was on our wall... (how "bumpy" it was)
It is possible but difficult (as an amateur) to get it horizontal (and vertical), so I would do as @useless suggests and build a "form". With formplywood at 60 cm width and some beams, it is quick and easy to pour concrete straight and neat. Screw a strip or planed timber like 15x69 as an "edge" to set the next formply at the height. At the top near the ceiling, there will be a few cm. that you can't fill, so you have to plaster it after removing the form.
That's how we planned to do it by our stairs... a half wall of natural stone, with a support beam in the middle of the way.
Didn't think that you could obviously do the same thing on a full wall
But maybe you should take it in stages then? It must get quite heavy? (a lot of mass, long wall... at various heights/windows)
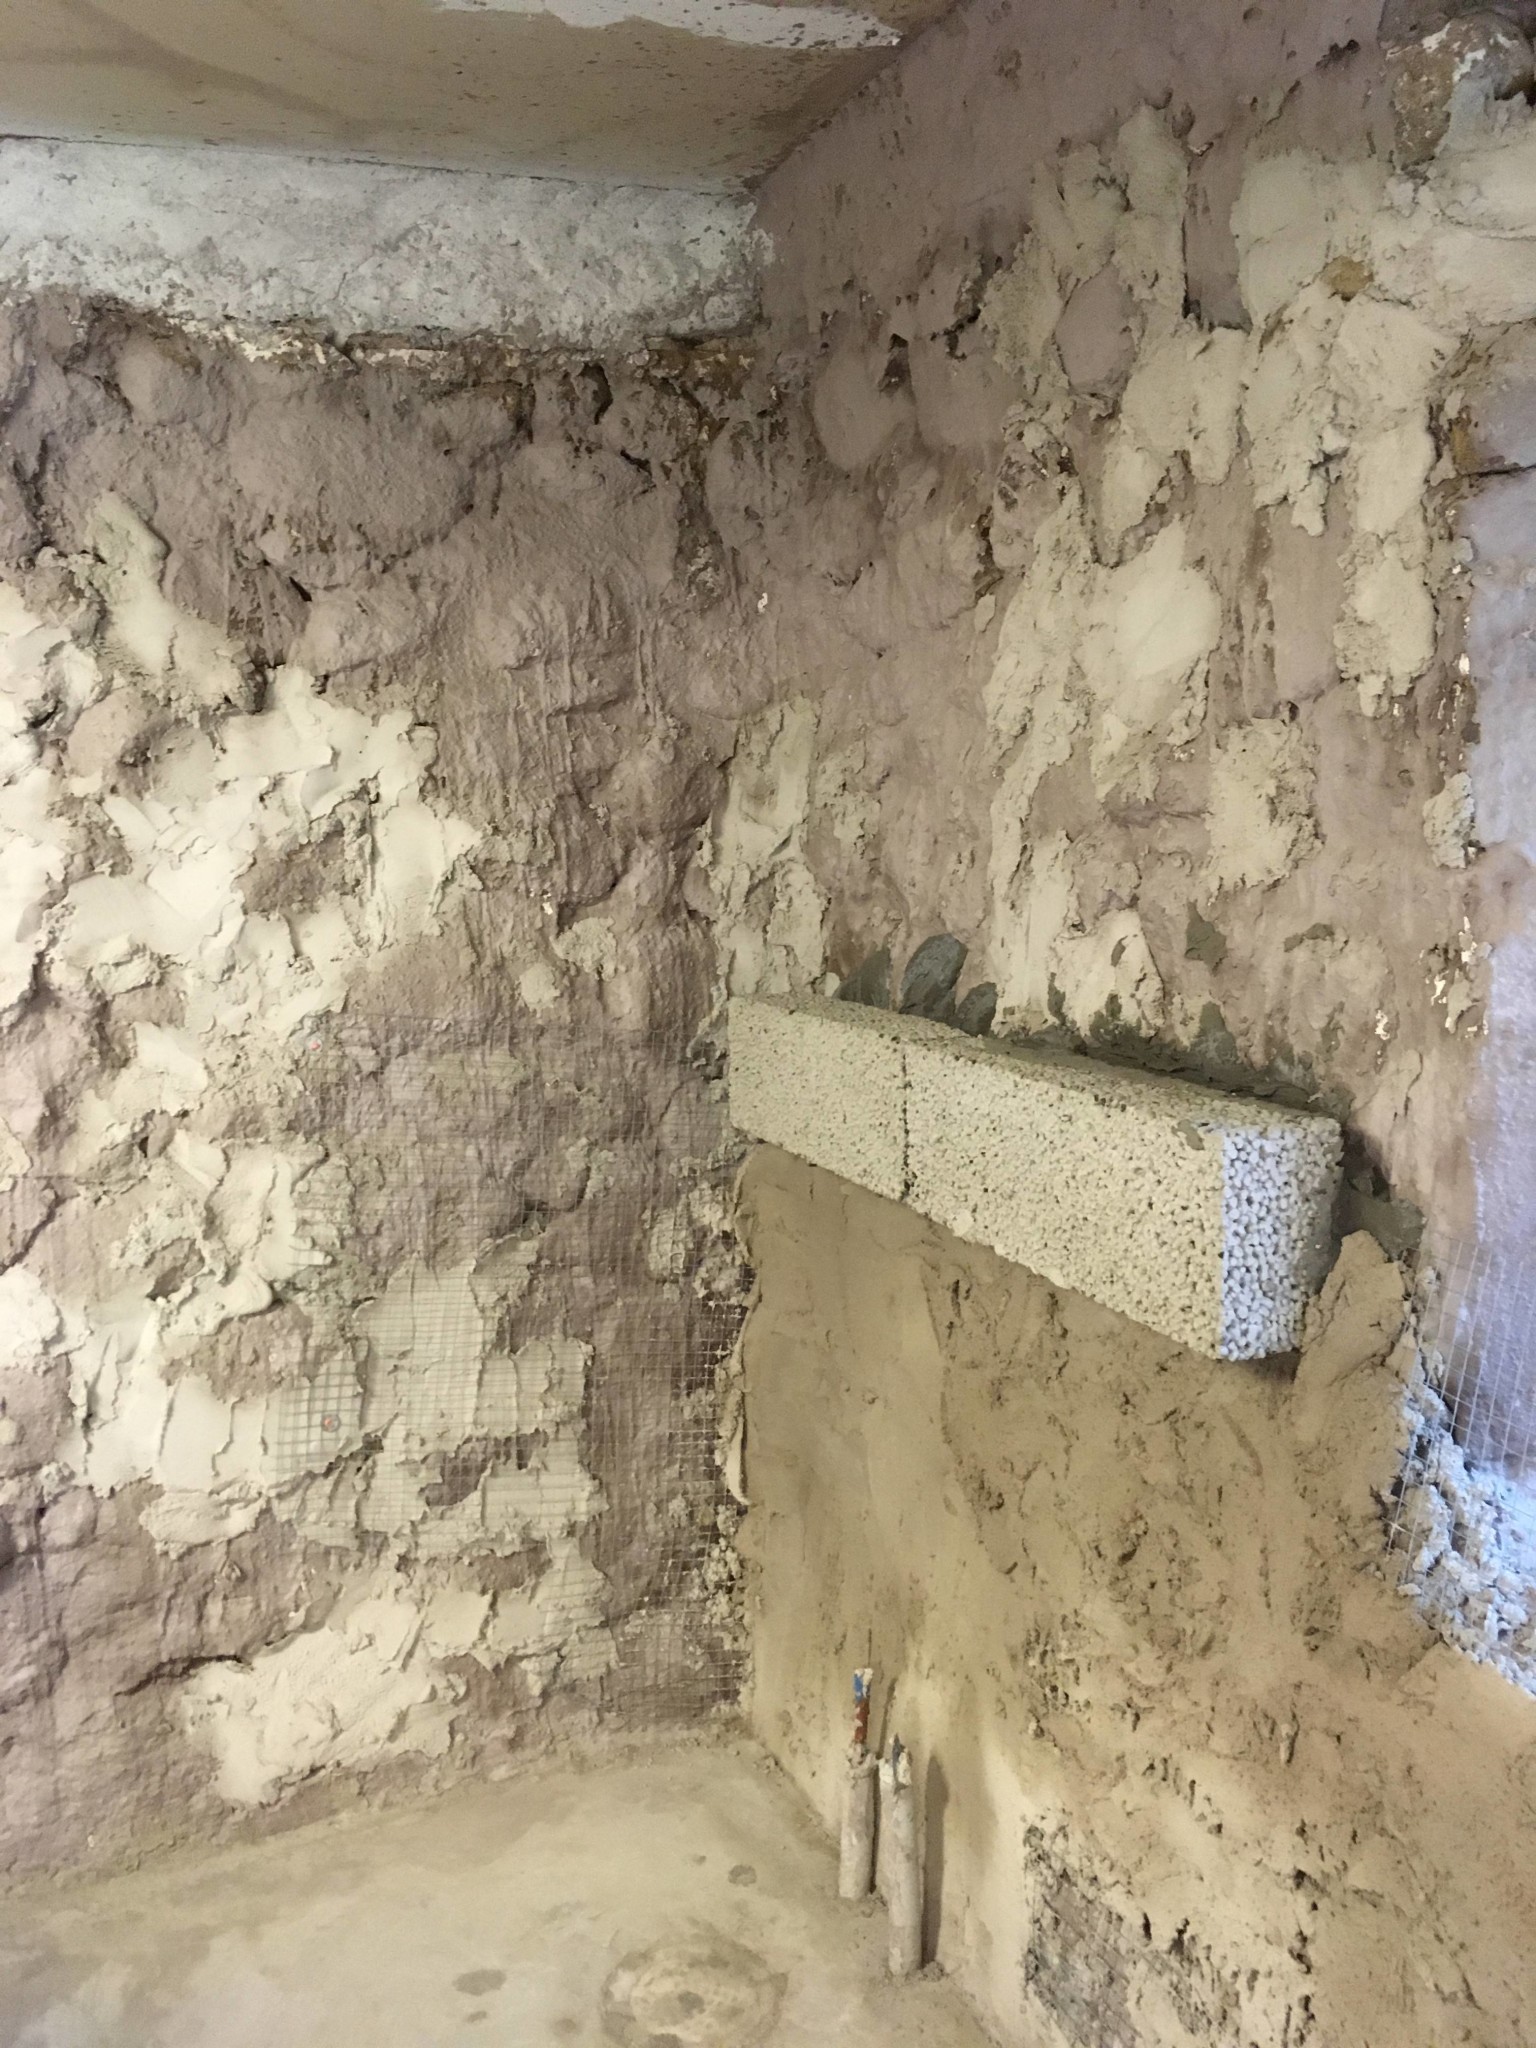
The solution turned out... interesting!
They had many discussions about how they would do it (before shopping for materials). The boss and their employees apparently didn't quite agree in the end... so it didn't quite end up as we talked about from the beginning! (but I am flexible)
The employees took the opportunity to make changes while the boss was away!
For me, it didn't matter much, so I didn't interfere.
But yes, it was an interesting solution
Right now, it is drying, but under the lecablock, it will be plastered out.. and above the lecablock, I believe they will continue building up! As I've mentioned earlier in the thread, there were big differences on the wall...
It may not be directly visible, but they have plastered twice before as well (the first round was just to fill between all the stones, which they had chipped away before). Takes a bit of time when it has to dry between rounds...
I think it will turn out well in the end, even though they did it in a completely different way than "we" talked about
Borrowing a bit. I started polishing my lecablocks for the greenhouse yesterday, first just with Murningsbruk A (Finja). Can I apply a little more afterward if I was sparing in some places?
Borrowing a bit. I started plastering my lecablock for the greenhouse yesterday, first just with Murningsbruk A (Finja). Can you add a bit more in some places afterwards if you've been sparing in some areas?
Yes.
Click here to reply
Vi vill skicka notiser för ämnen du bevakar och händelser som berör dig.

")


anders07 said:
It is possible but difficult (as an amateur) to get it horizontal (and vertical), so I would do as @useless suggests and build a "form". With formplywood at 60 cm width and some beams, it is quick and easy to pour concrete straight and neat. Screw a strip or planed timber like 15x69 as an "edge" to set the next formply at the height. At the top near the ceiling, there will be a few cm. that you can't fill, so you have to plaster it after removing the form.