We have encountered problems now that we're finally going to install molding around our indoor windows.
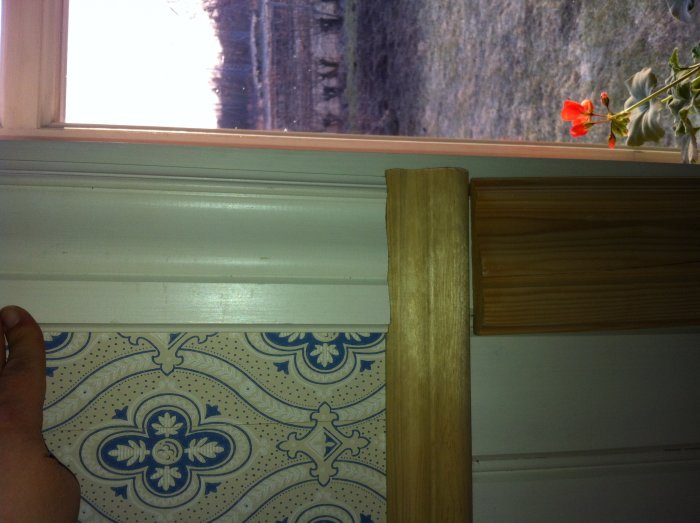
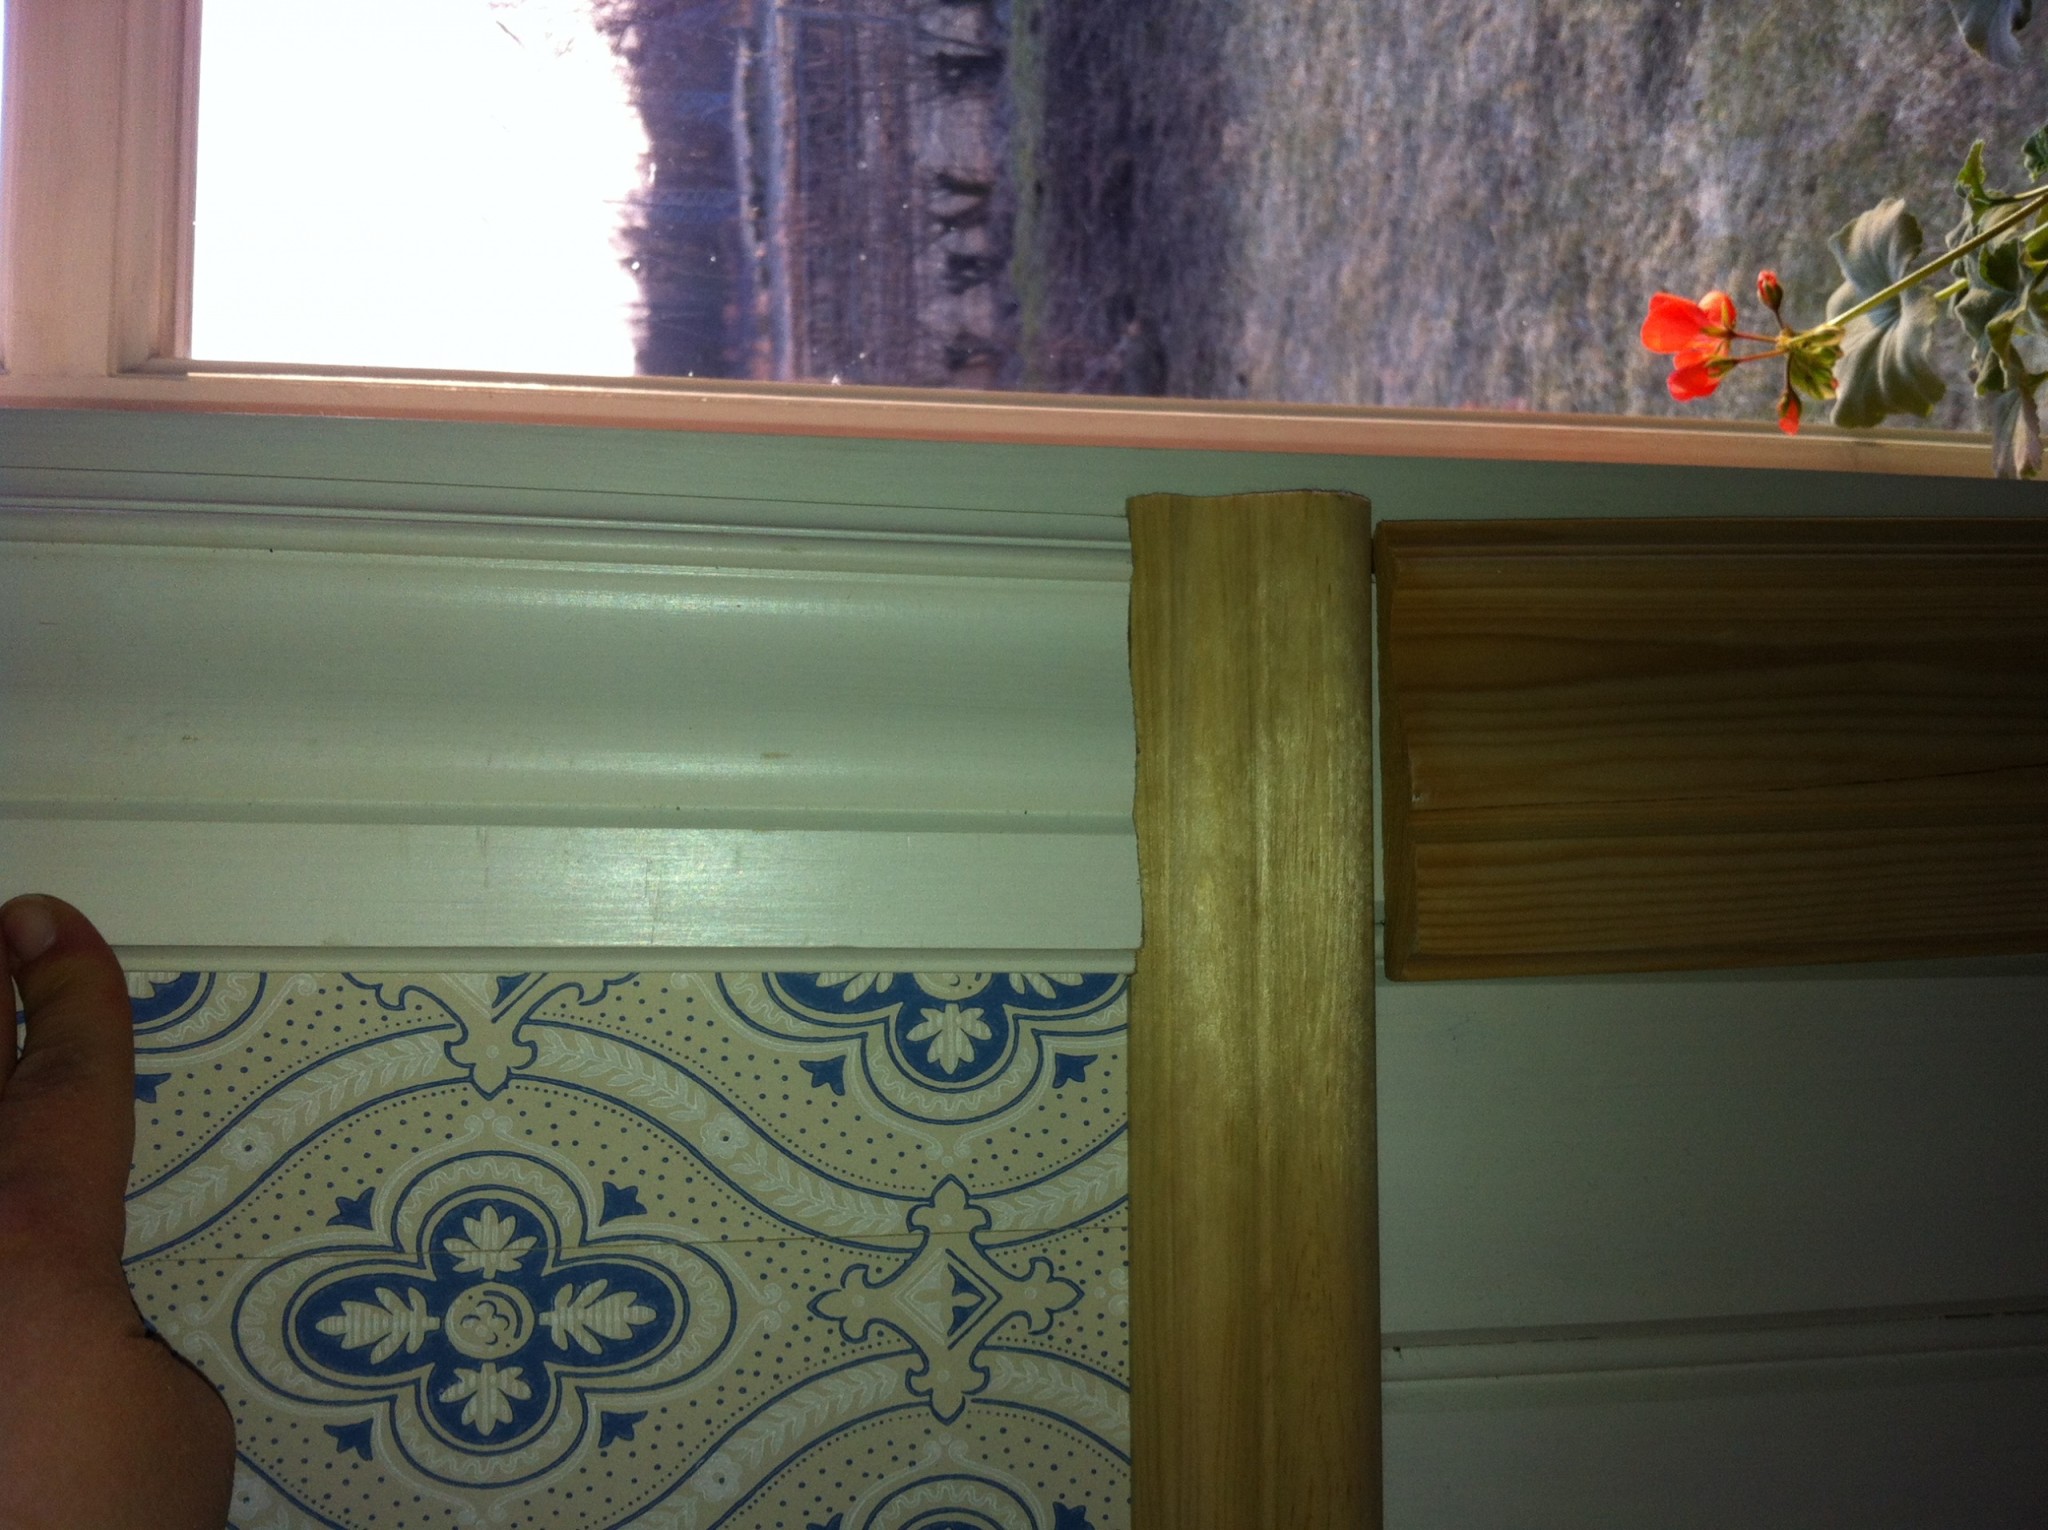
The reveals and windowsill are done, it's just the molding left when we realize that the wall covering is going to be a problem. We have a wainscot in the form of beaded paneling on part of the wall while the rest is wallpapered. When we installed the paneling, we didn't consider how the molding would fit and brought the paneling all the way to the window. Big mistake!! Now it becomes a problem as there is a height difference between the panel and the wallpaper. The molding is not thick enough to rout out for the paneling.
As we see it, these are the solutions:
1. Remove the reveals and windowsill, remove as much paneling as needed and let it meet the molding. Make new windowsills and reveals to fit the new dimensions and because the old ones probably won't be in good condition after being removed.
2. Place a strip behind the molding that meets the wallpaper to create an even surface.
3. Break the molding at the panel edge and possibly let the wainscot cap go between.
Option 1 doesn't feel appealing because it involves a lot of work and we really need to do other things (even though we should redo and do it right). Option 2 feels like it might be clunky?? Option 3, no idea if it can look good?
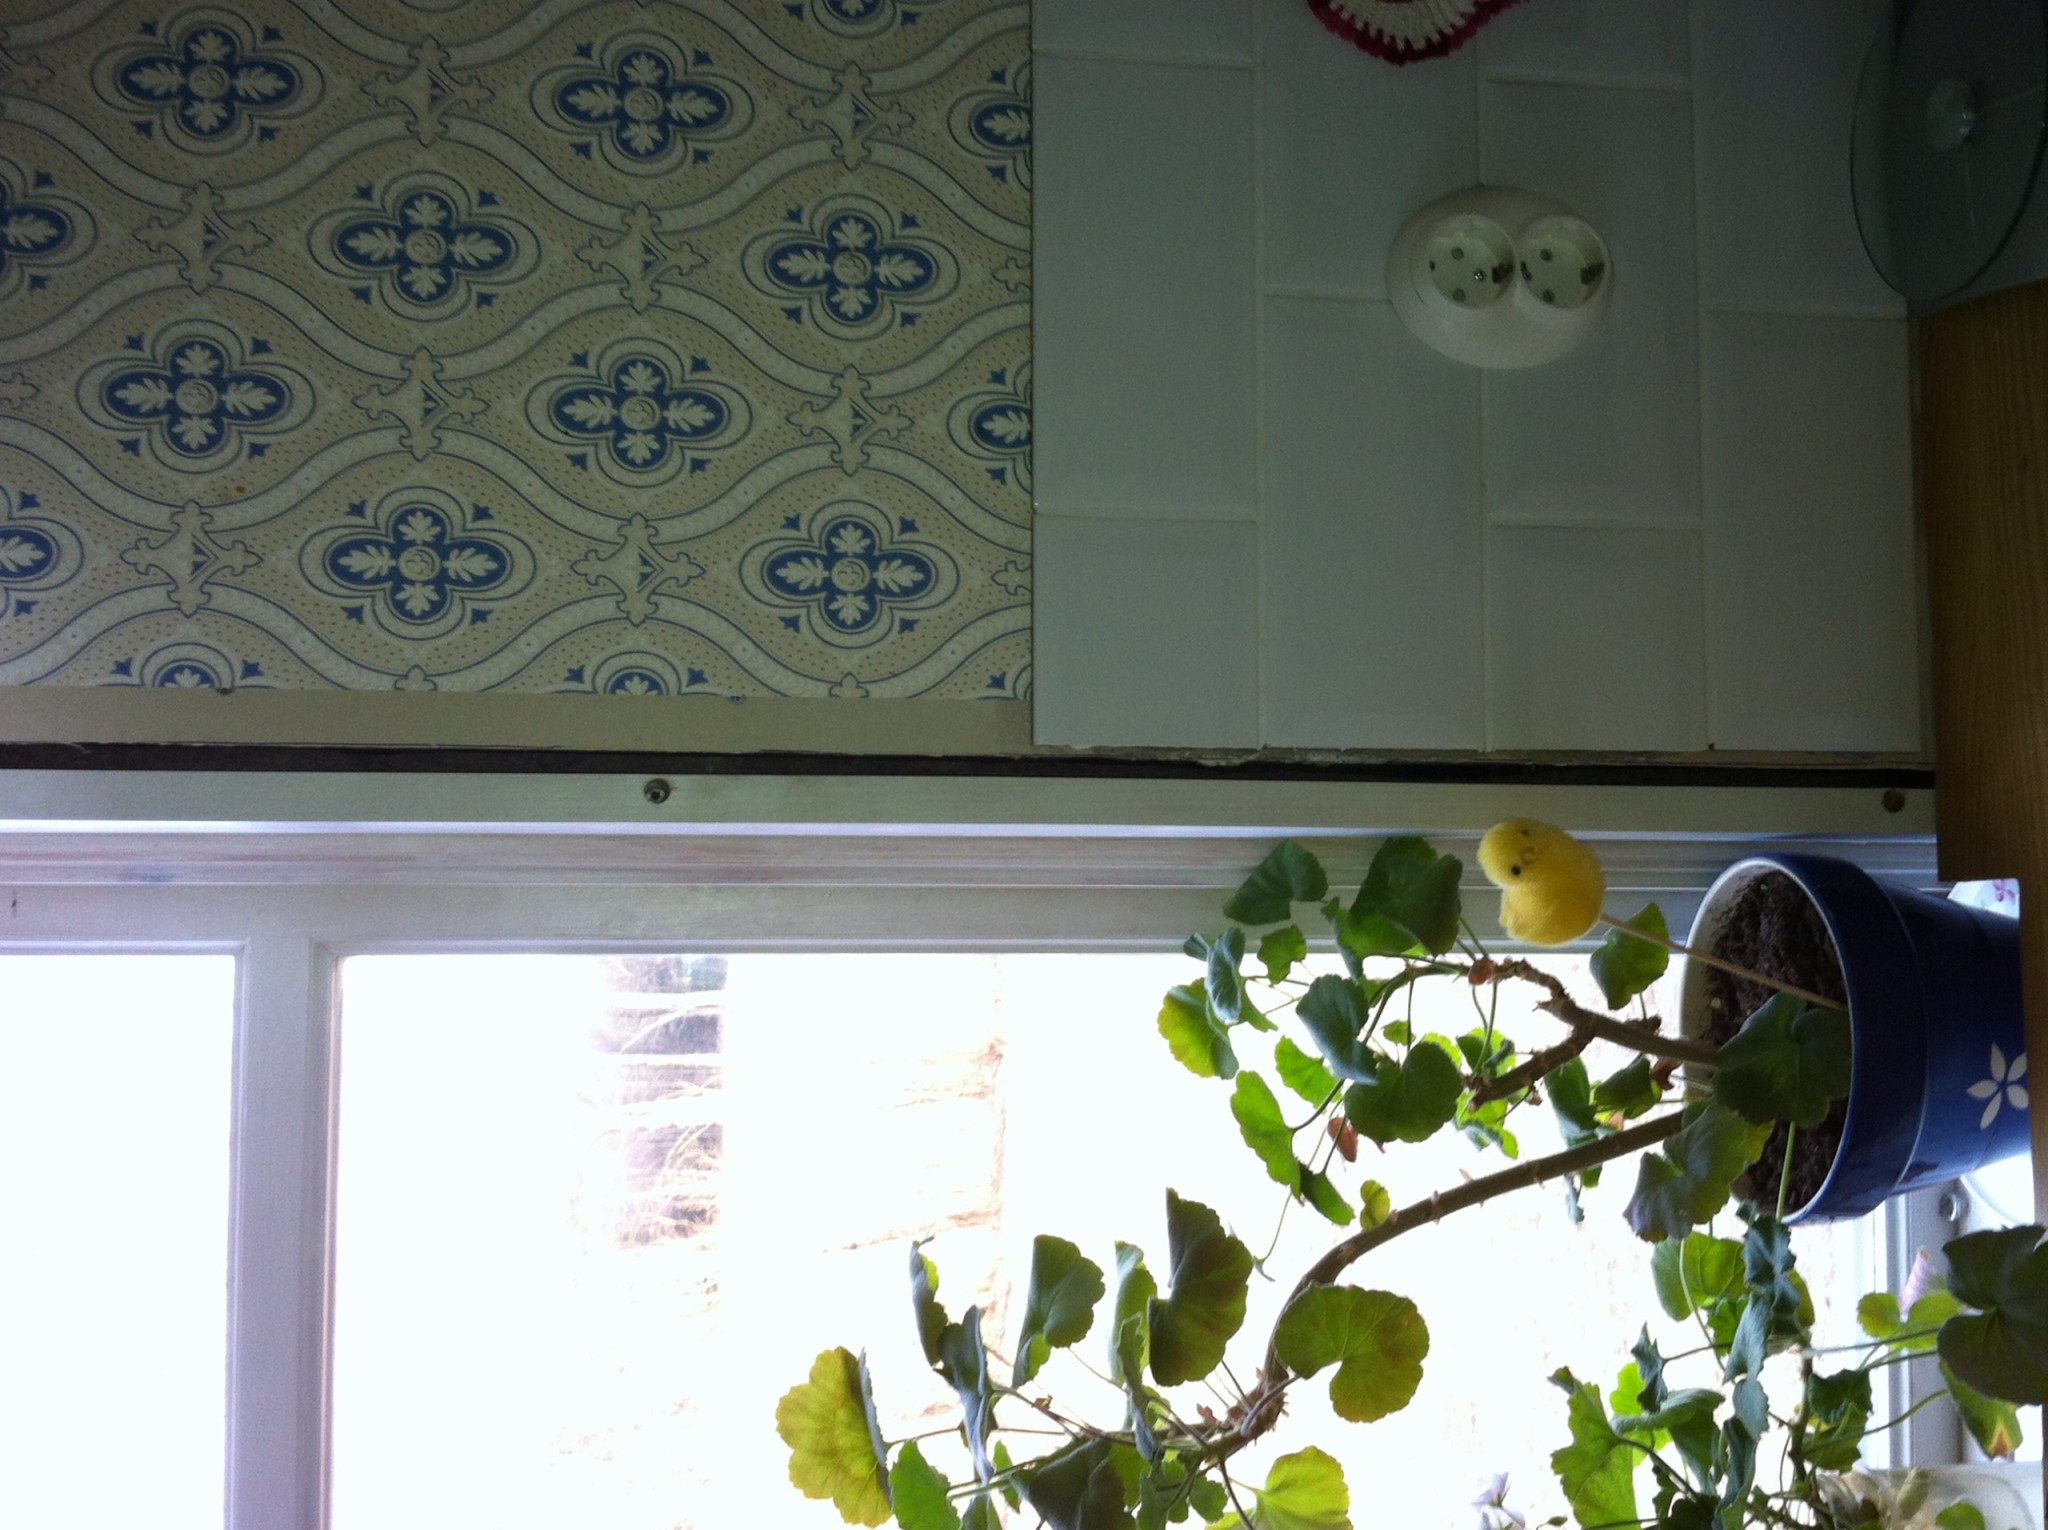
We also have the same problem above the kitchen counter, but there it's tile and not paneling, so option 1 doesn't feel like a solution.
Additional suggestions, advice, or tips are gratefully received!
Sorry, can't get the pictures oriented correctly!
Heel lining is L shaped. But facing the wrong way. Sorry.
Is the architrave flush with the wall or the panel?
If the architrave is flush with the wall and the panel projects outward, you can use standard trim. Extend the wall with the thickness of the panel and install the trim.
Hi, you haven't made a mistake; it's absolutely correct to never let tile or paneling go against the trim. If the tile or paneling is not flush with the side casing, nail a small strip a few mm into the side casing, then a strip on the back of the trim at the same level, flush with the trim edge or preferably a few mm visible outside, place the trim about 7mm into the side casing. I hope I have contributed something and not caused any confusion.
Click here to reply
Vi vill skicka notiser för ämnen du bevakar och händelser som berör dig.