Hello!
I have a summer cabin/house that was built in the late 1800s. In 1969, my grandfather bought it and somewhat renovated it. One thing that was done was digging out a basement under about one-third of the house. Ever since I was a child, the cabin has tilted on that part. Now another 25 years have passed, and I'm now the owner of the house and plan to fix it. Without having measured it, I would say it's about 15cm that it has settled. The house is located a few meters from a large slope, so it’s understandable that this has happened, and it will probably continue to settle slowly over time, but that is not something I plan to address.
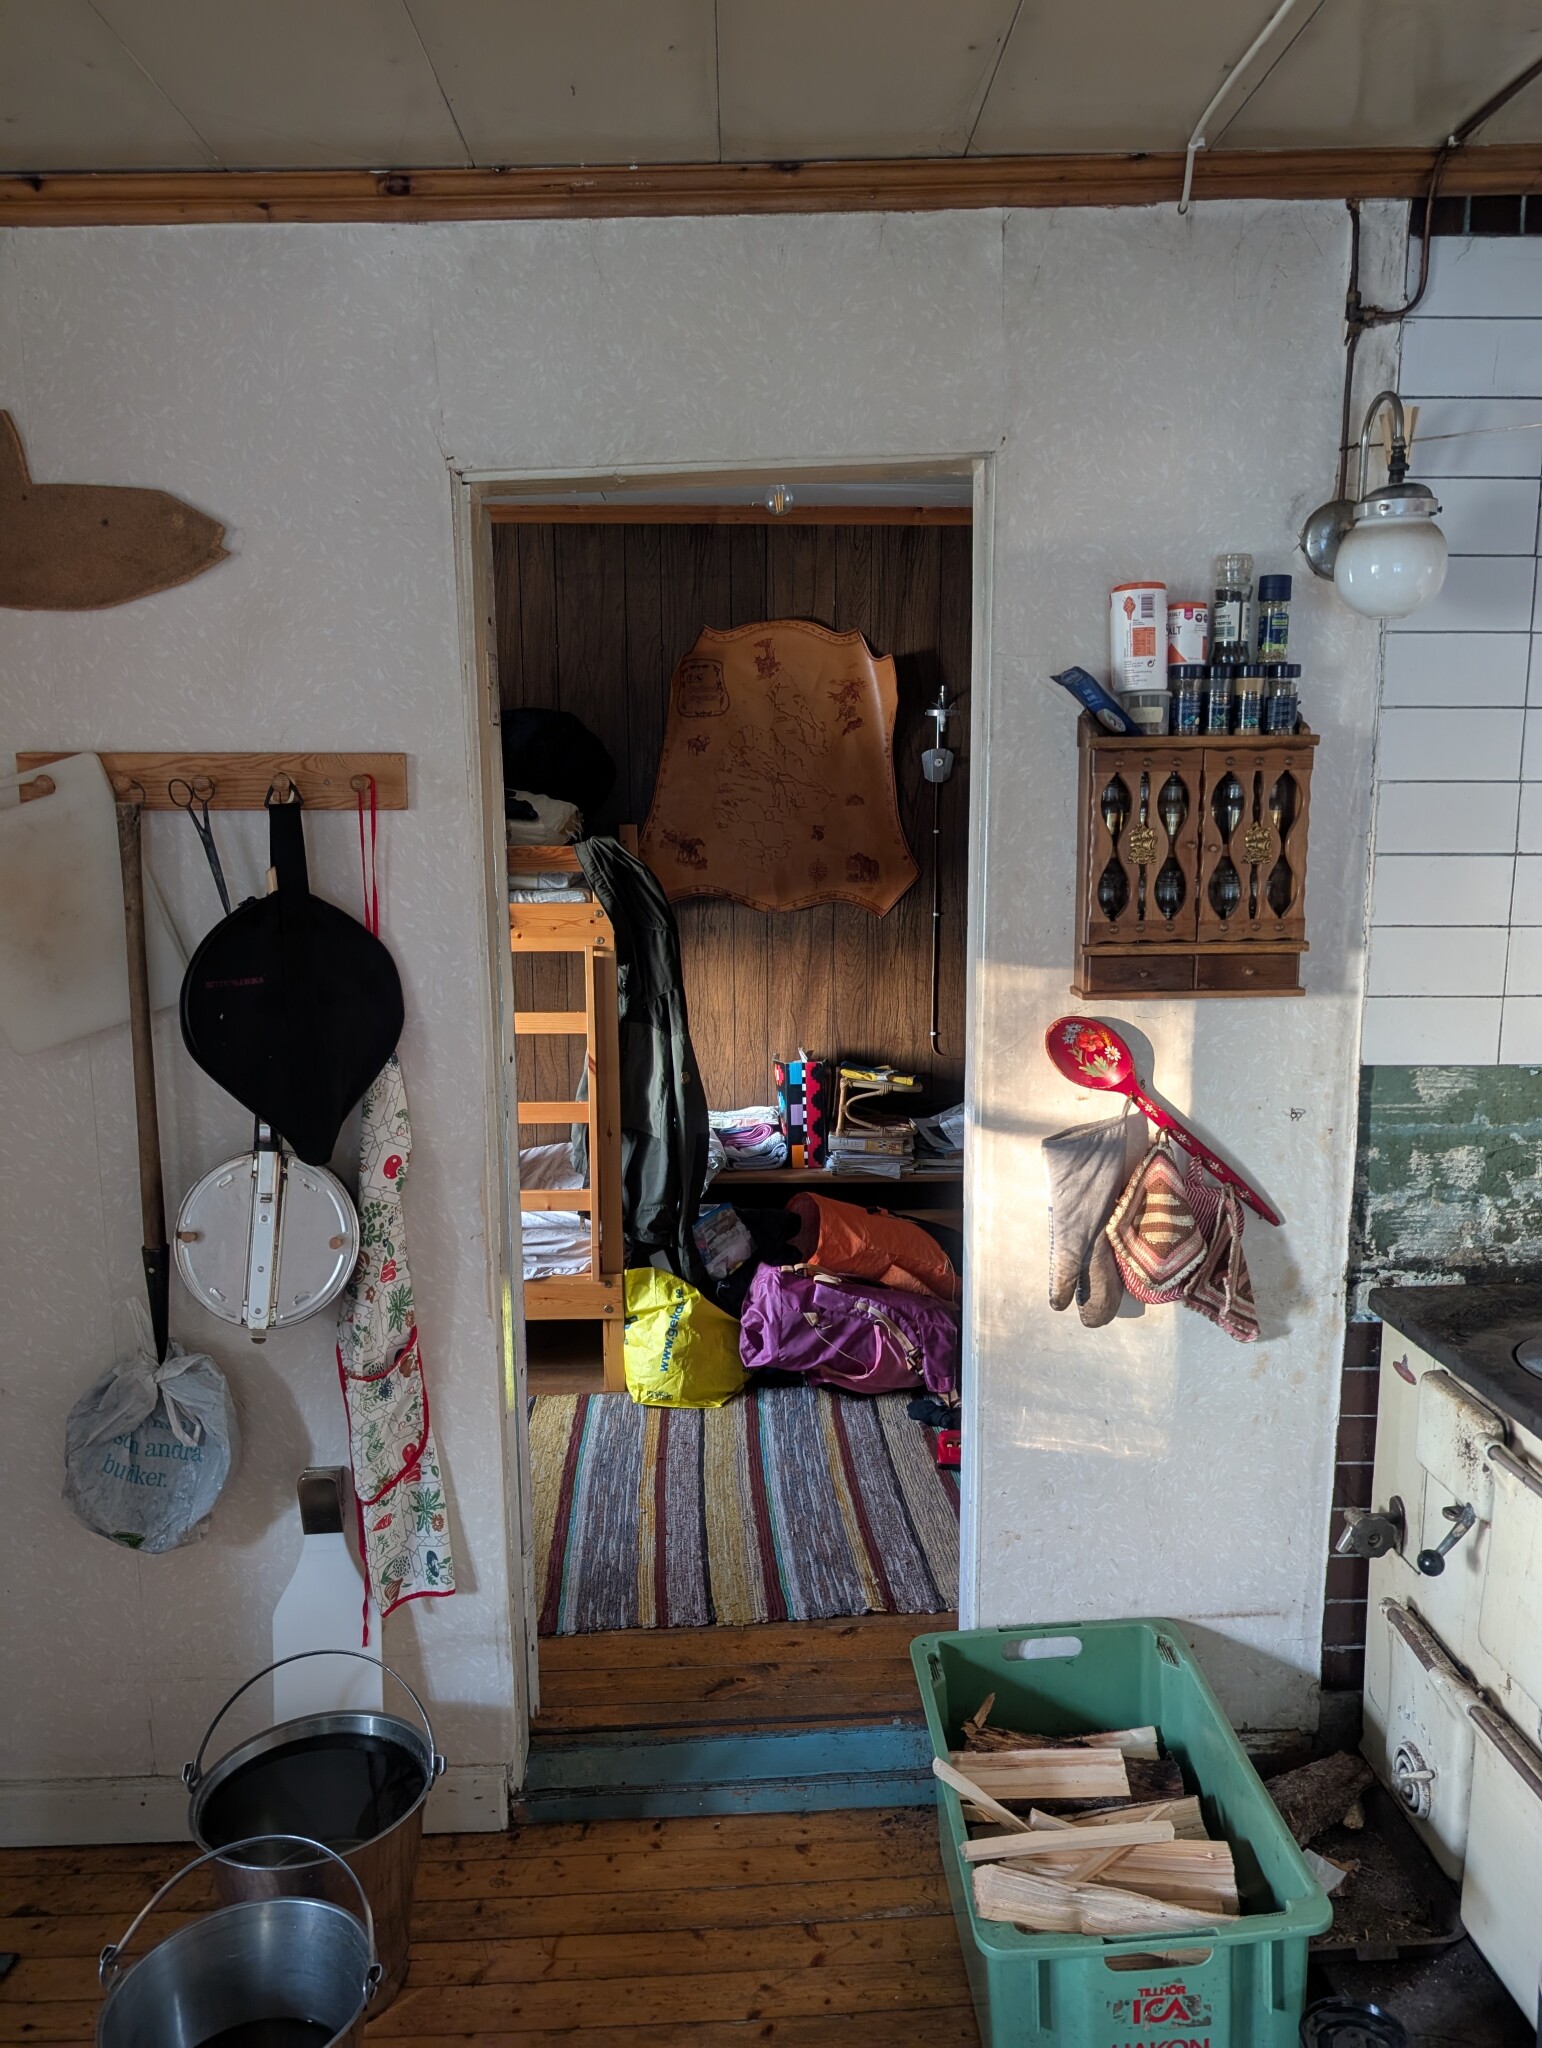
The basement is located under the kitchen and an adjacent room. In the kitchen, there is a hatch in the floor, and we use the basement as a refrigerator since there is no electricity.
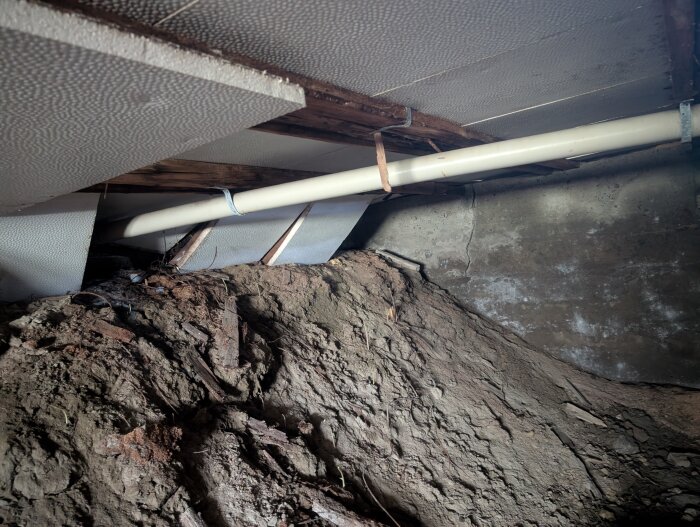
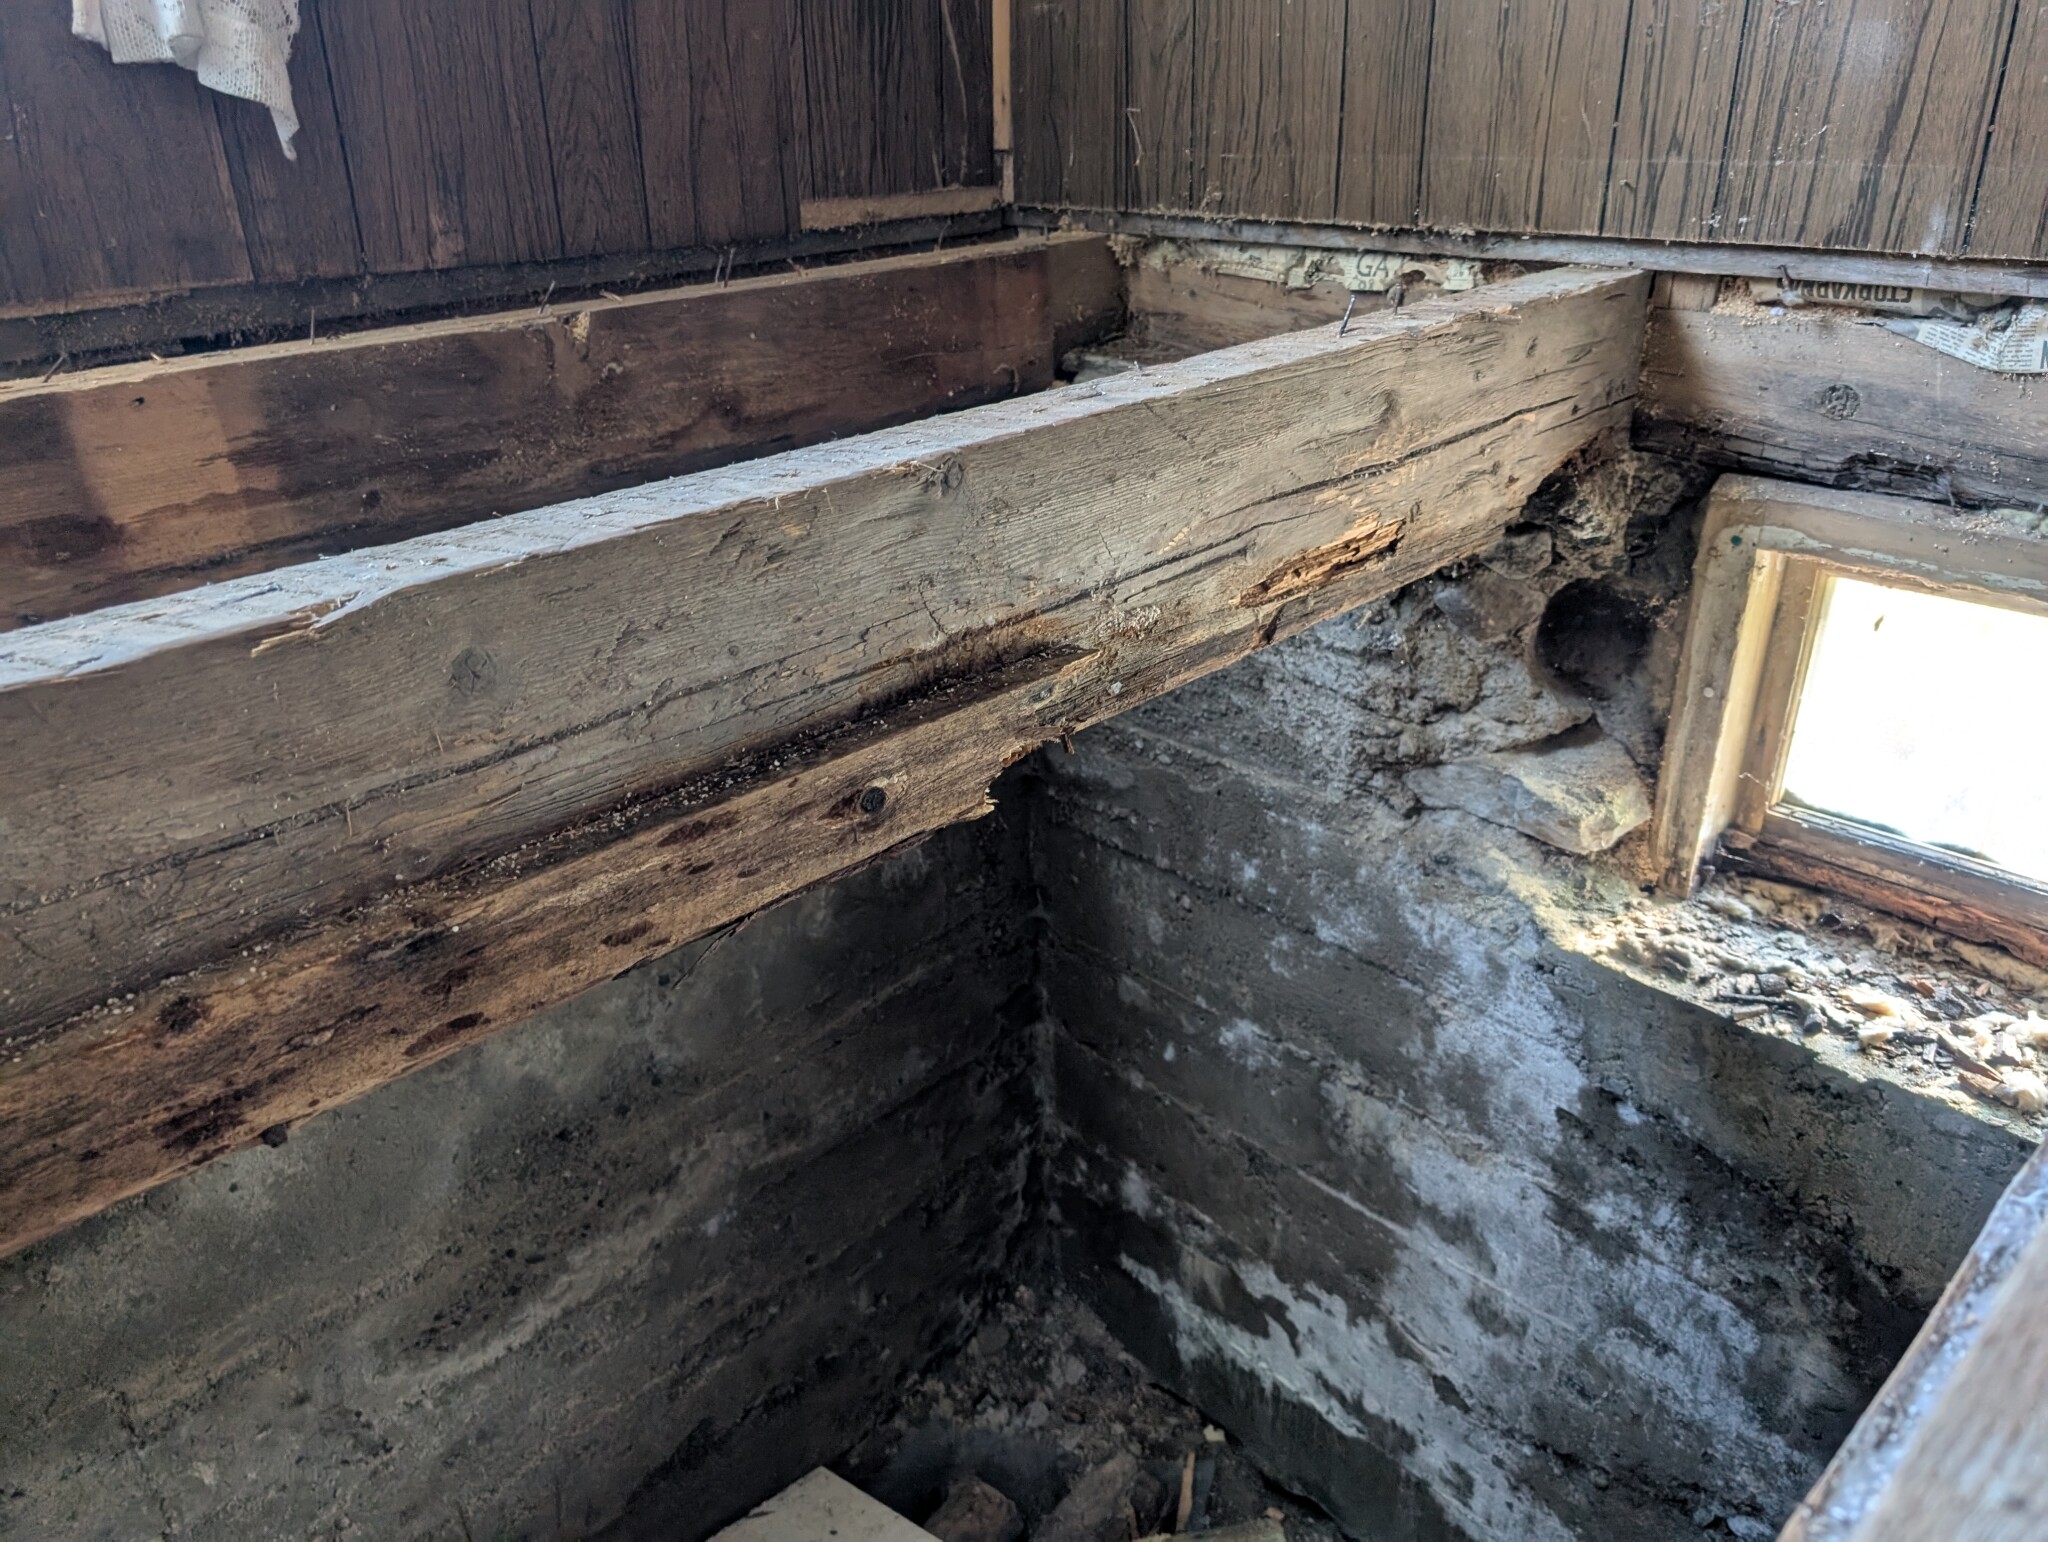
Since the basement is cold enough to be used as a refrigerator, it is also very damp. This has caused the beam structure and sill to rot over time.
So, I have two problems to solve: both lifting the cabin and fixing the beam structure and sill.
I have a grasp of lifting the cabin and building, but not which technical solution would be best in my case. I see two main directions:
1. I lift the cabin and create pillars between the foundation and the cabin to thereby create better airflow and hopefully eliminate the damp problem. I would obviously lose the ability to use the basement as a refrigerator. Will this solve the damp problem, or will the basement still be cold?
2. I lift the cabin and then close the gap that will form between the foundation and the house. If I take no further measures, I'm back to the same solution as before. Is it sufficient then to make a new beam structure with a subfloor according to the best practices, or will I still have problems? Since I don't use the basement for anything else, I have no problems with humidity if it does no damage. Or do I need to cover the entire basement as well?
As you can read, I've thought about it quite a bit but really have no idea which solution would be best. Therefore, I’m turning to you and hope I can become a bit wiser 🙂
Likely, if no one has been there and done it later, the house is built diffusion-open. You can build diffusion-tight (modern standard, better in most ways) or diffusion-open (as they did in the past, also has its advantages), but it's unwise to mix them.
I would absolutely say option 2. It would be a shame to lose the basement; with large gaps between the foundation and the wall, the basement becomes more like a very deep crawl space. It will continue to be cool, but there is a risk it will become even more humid when warm, humid air more easily blows straight in and cools down (and thus precipitates its moisture).
Maybe not the answer you want, no matter what you do, this is a huge project. After you've decided what you want to do with the basement, you'll likely face things like putting up new paneling (it should be about 15 cm too short if you lift the house until it's level).
Regarding moisture in the basement, the answer is probably unfortunately drainage. If there's no electricity, things like dehumidifiers are not an option. But draining a basement that's only partly under the house sounds insanely difficult since you have to dig under the floor, etc.
Either way, as I said, I would go with option two. Lift the building on jacks where the timber is sound, replace all the damaged wood, place sill paper between the new frame and the basement wall, and lay it down again. It will definitely be damaged by moisture again eventually, but it will probably last another 1-2 generations if it's lasted this long without, for example, sill paper (you're making an improvement there).
There is actually also an Option 3: you straighten the house and repair the damaged frame, then break up any basement floor and fill the basement with something capillary-breaking and draining (e.g., Hasopor/foam glass). Then you dig a proper root cellar somewhere else on the property.
Thank you for the good answers.
I am aware of the scope of the project. That's why no one has done anything about it earlier 🙂. The panel is on its last legs, so it will need to be replaced soon. Draining, however, feels a bit too troublesome. It should be noted that there is only a dirt floor in the basement.
I'll proceed with option 2. I still have a few questions.
What do I fill the gap with? Seal it with concrete or just wood?
How do I build a floor hatch so that it doesn't become a moisture problem?
The chimney is right on the edge of the basement. Could it be a problem when the house is lifted? Is there a risk that it stays in place while the house is lifted around it?
Thanks for the good answer.
I am aware of the scope of the project. That's why no one has done anything about it earlier 🙂. The panel is on its last legs, so it will need to be replaced soon anyway. However, drainage feels a bit too troublesome. It's worth mentioning that the basement only has a dirt floor.
Then I proceed with option 2. I have a few questions left.
What do I fill the gap with? Pour again or just wood?
How do I build a floor hatch so it doesn't become a moisture problem?
The chimney is right on the edge of the basement. Could it be a problem when the house is lifted? Is there a risk that it stays in place while the house is lifted around it?
Well then!
Having the chimney stay in place while the house is lifted around it is exactly what you want to happen. If you dragged the chimney up, it might topple over...
You fill the gaps with suitable wood. NOTE, use sill paper between stone and wood! Depending on how it looks, it might be necessary to use either blocks, wedges from both sides, or wedge-sawn beams. The most important thing is to get it stable and nice under the corners, and if you have a substantial support for the house at, say, 1.5-meter intervals, that will probably be more than adequate (for it is a small cottage we’re talking about, right?
A hot tip!! Remove any window sashes and door panels on the side of the house BEFORE lifting the house. Tales have been told of cracked windows and doors that couldn't be opened afterward...
What do you mean by the floor hatch becoming a moisture problem?
Thank you for all the tips, now I see a glimmer of hope. It's an old residential house with two floors and an estimated ground area of 50-60m2. I reckon I’ll need strong jacks. Do you think 10t at the corners will be enough?
I've thought about the windows, but the problem is they're already stuck due to the settling. I'll try to force them open before we start, otherwise, we'll just have to hope. The interior doors can't be closed, so they always stay open already 😅
Regarding the cellar hatch, I think that if I make a subfloor under the entire floor, I don't want moisture to come up through the hatch instead if it's made as simple as it is now. Or won't that be a problem?
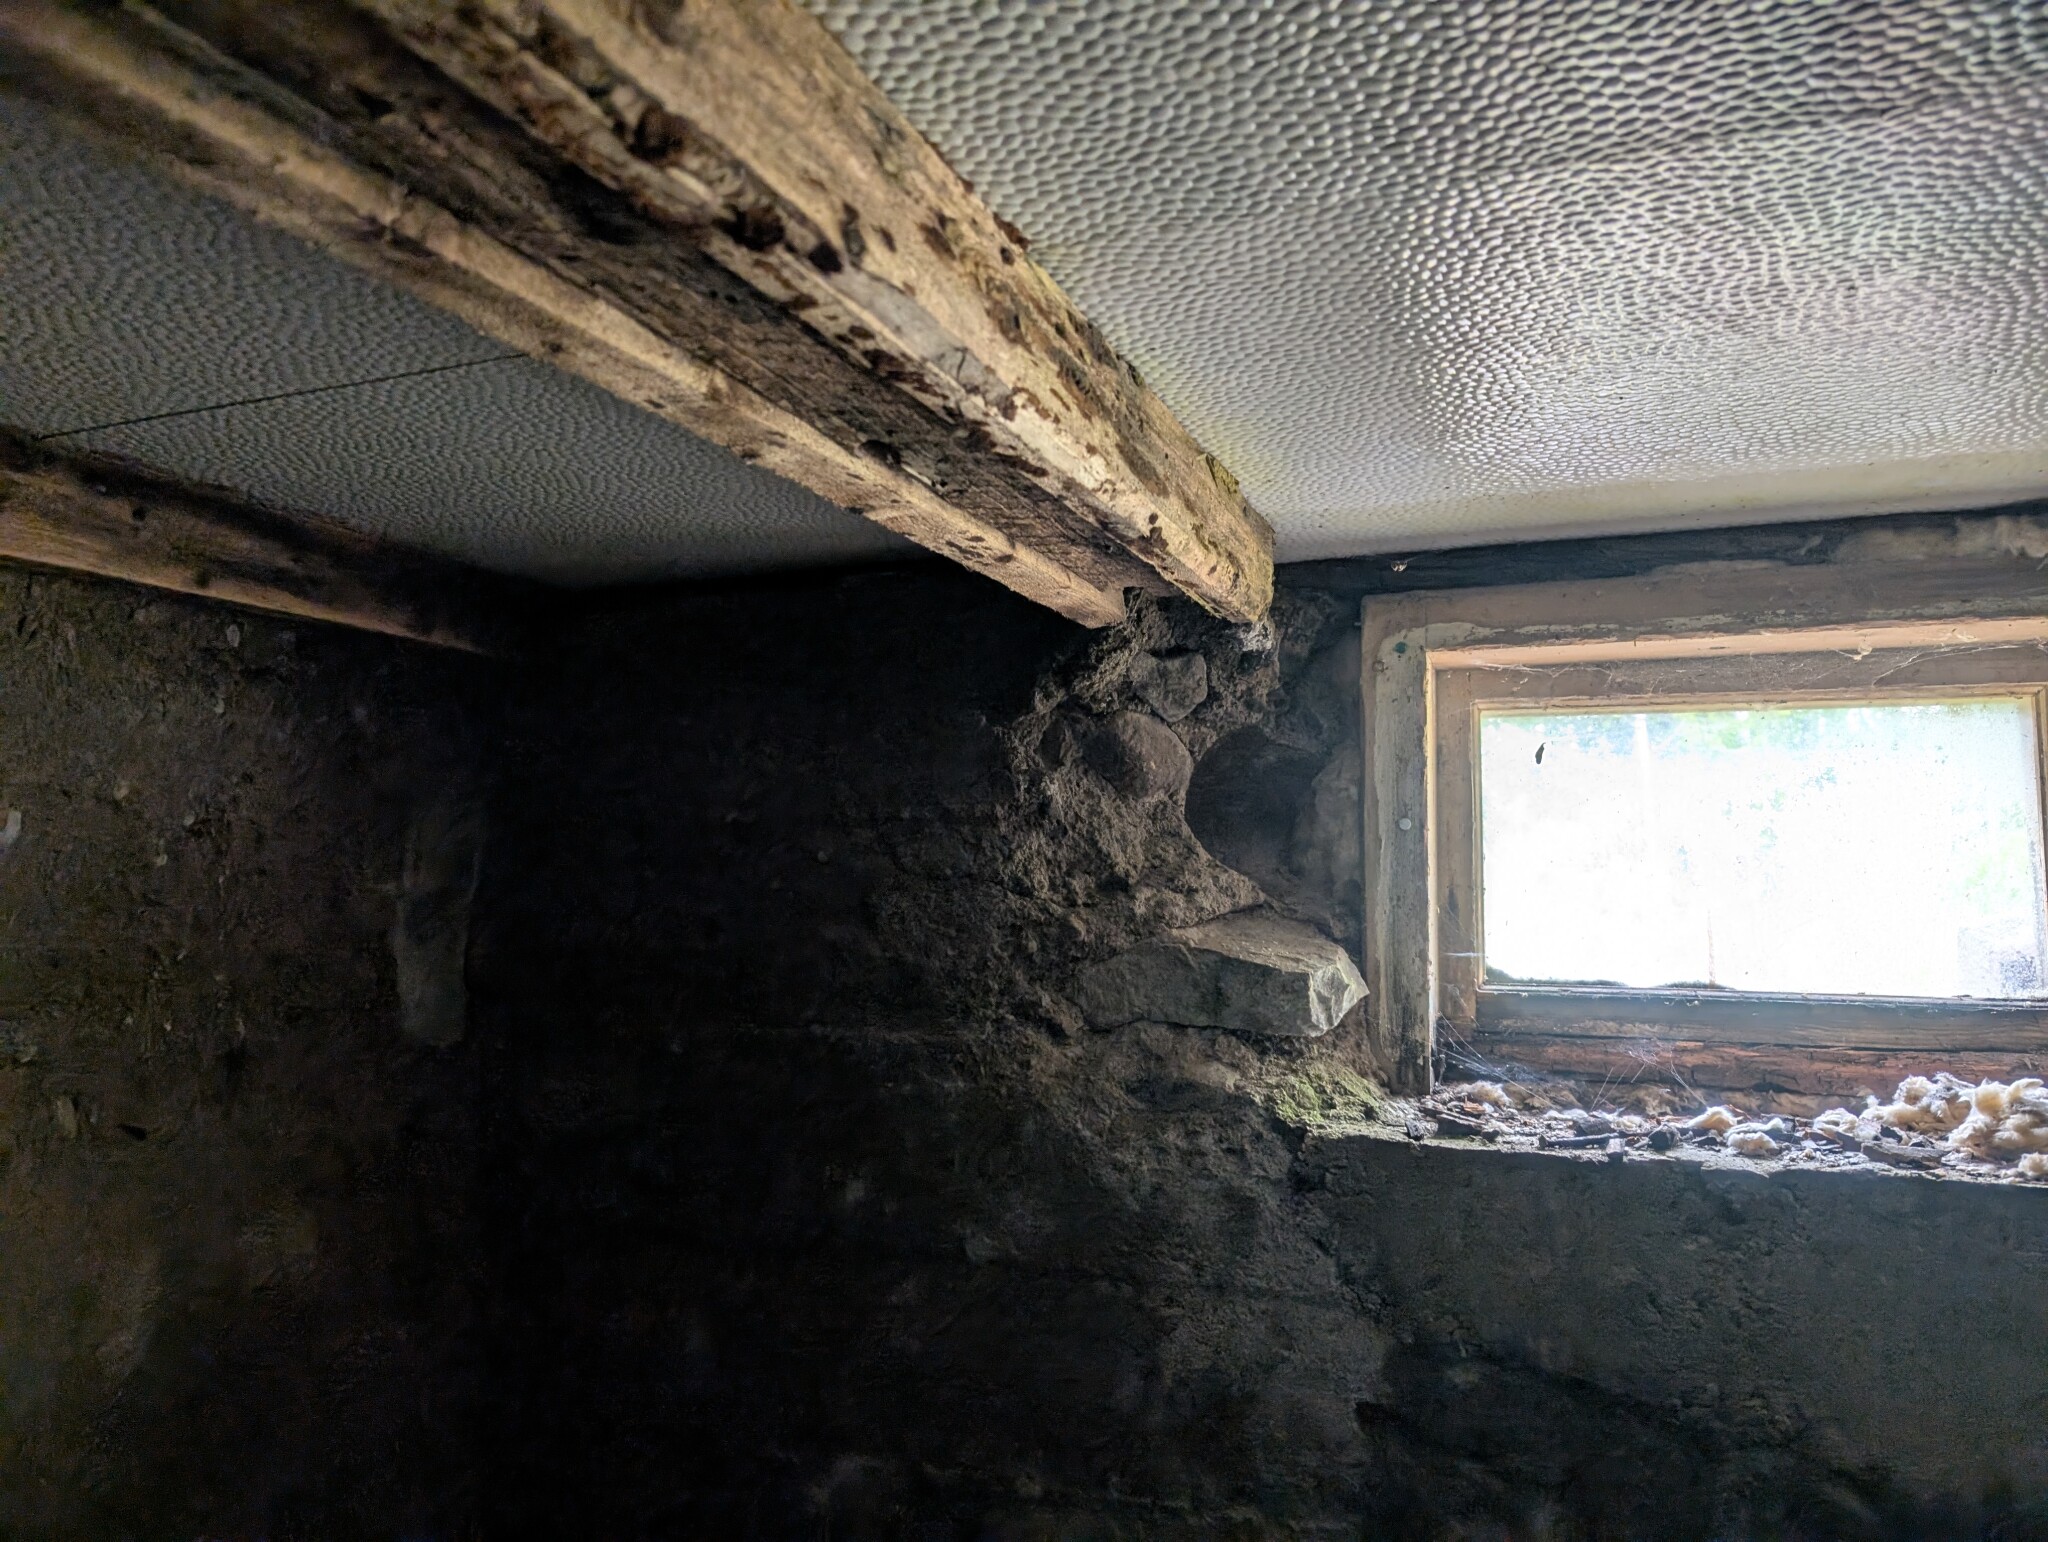
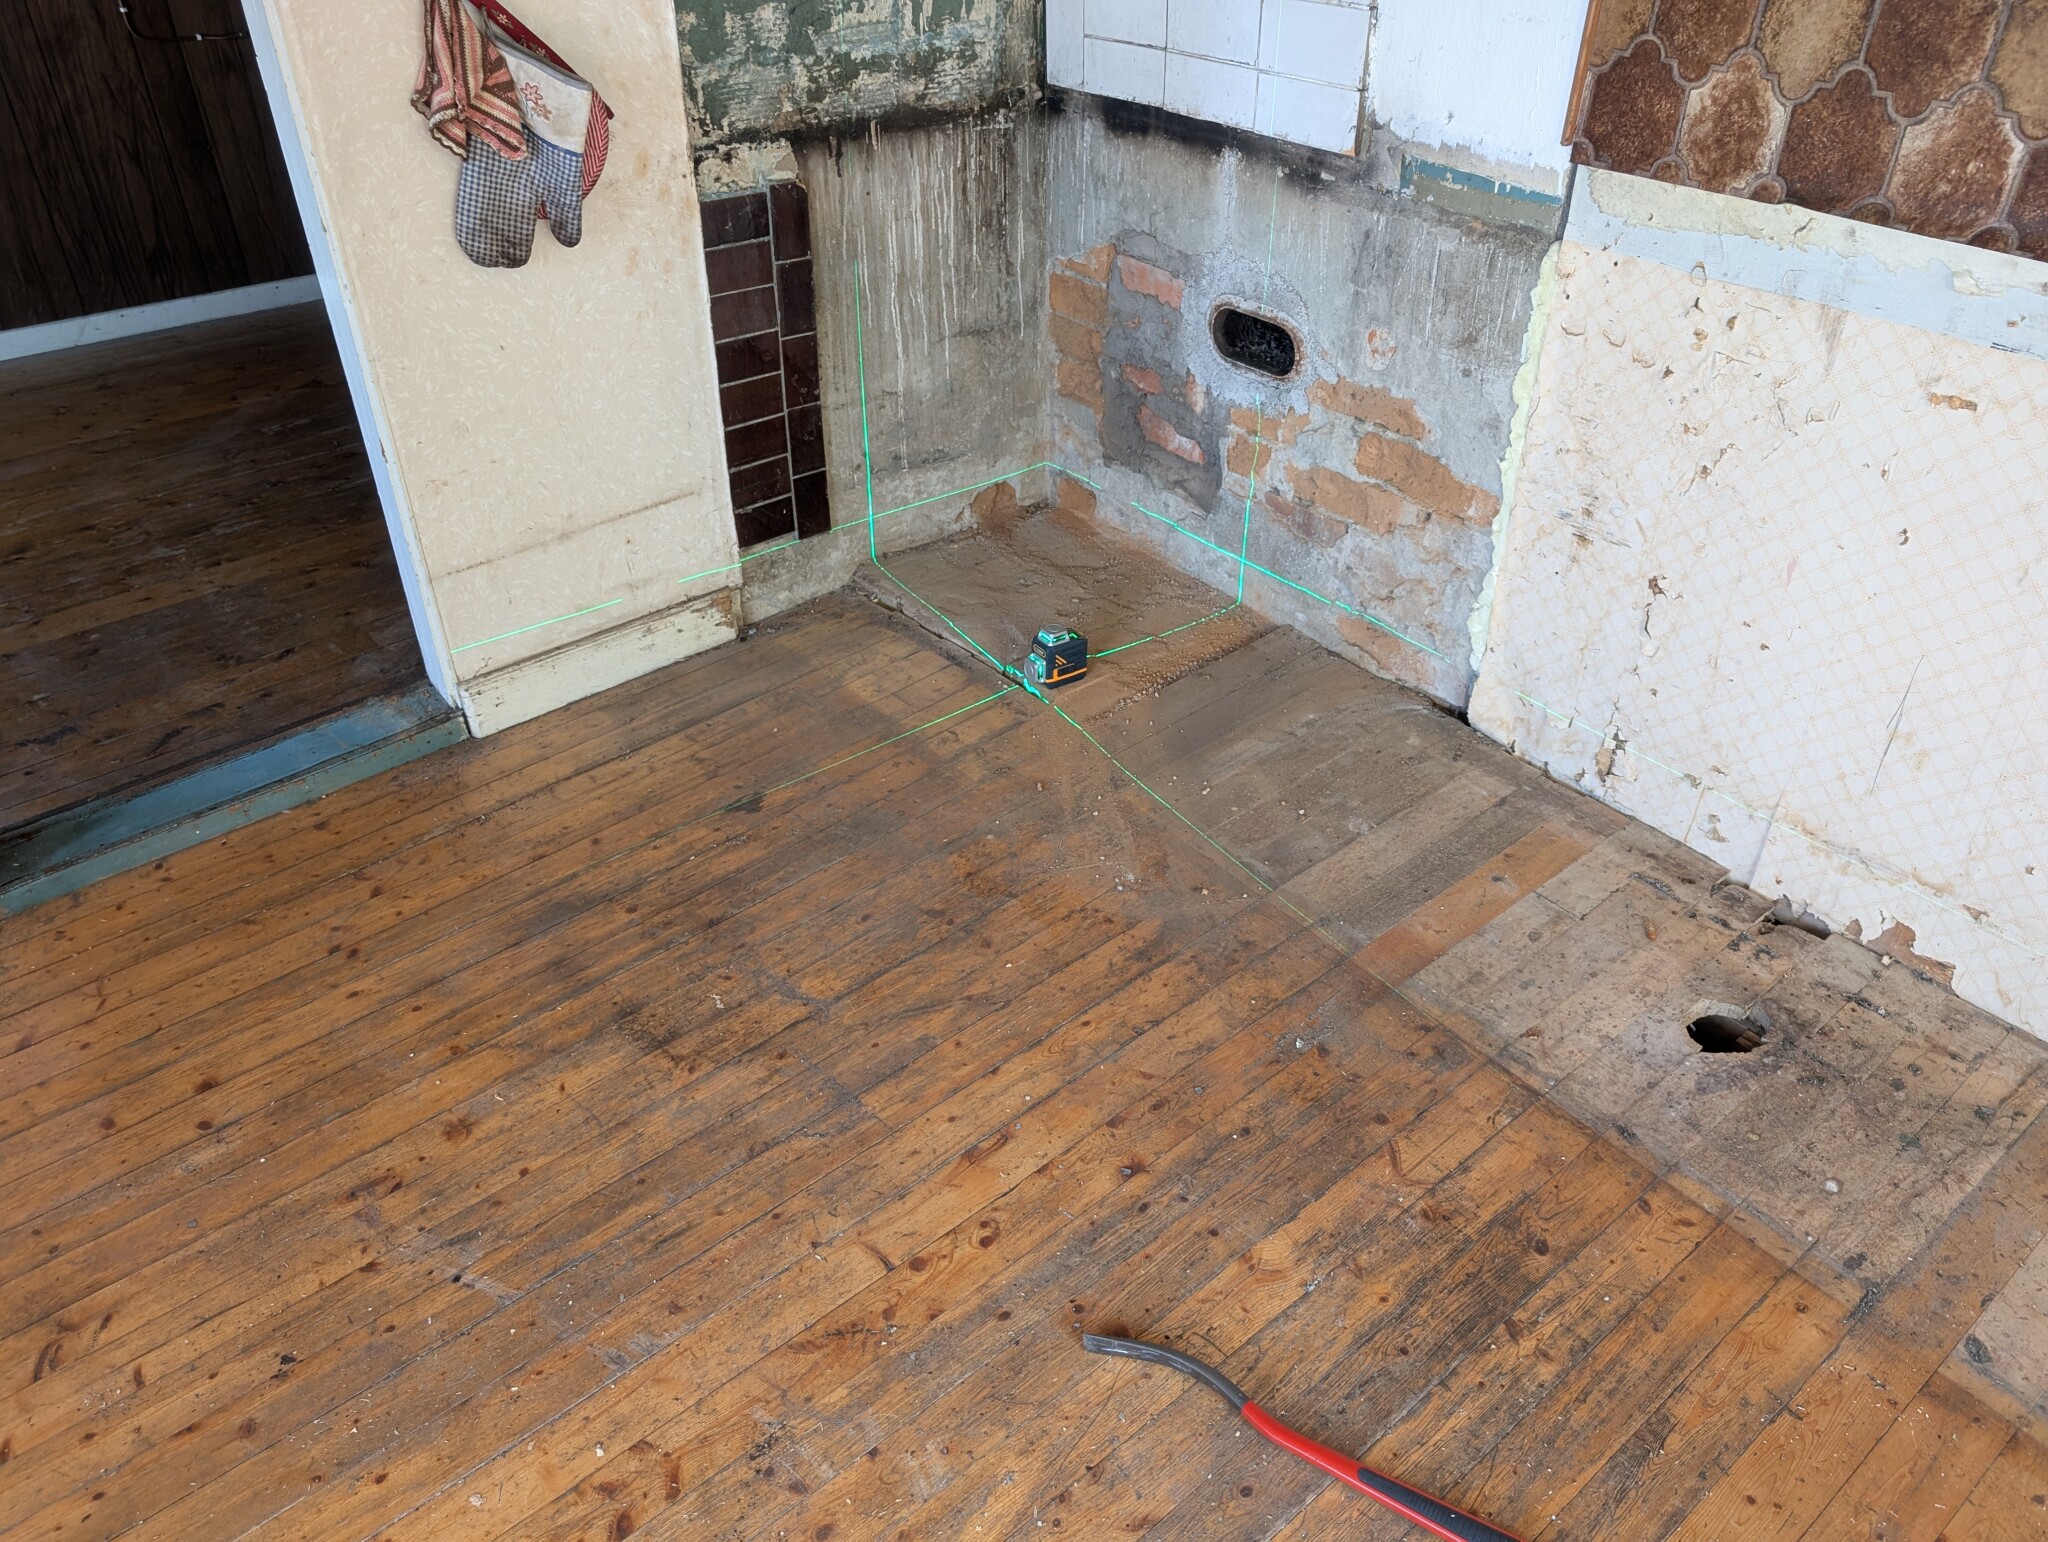
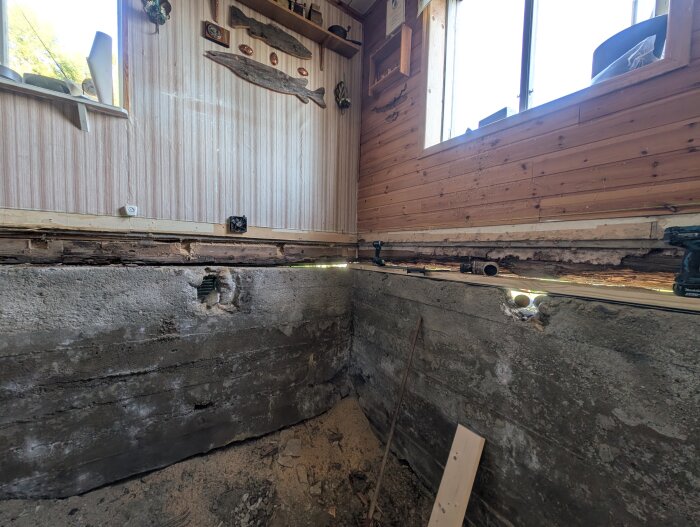
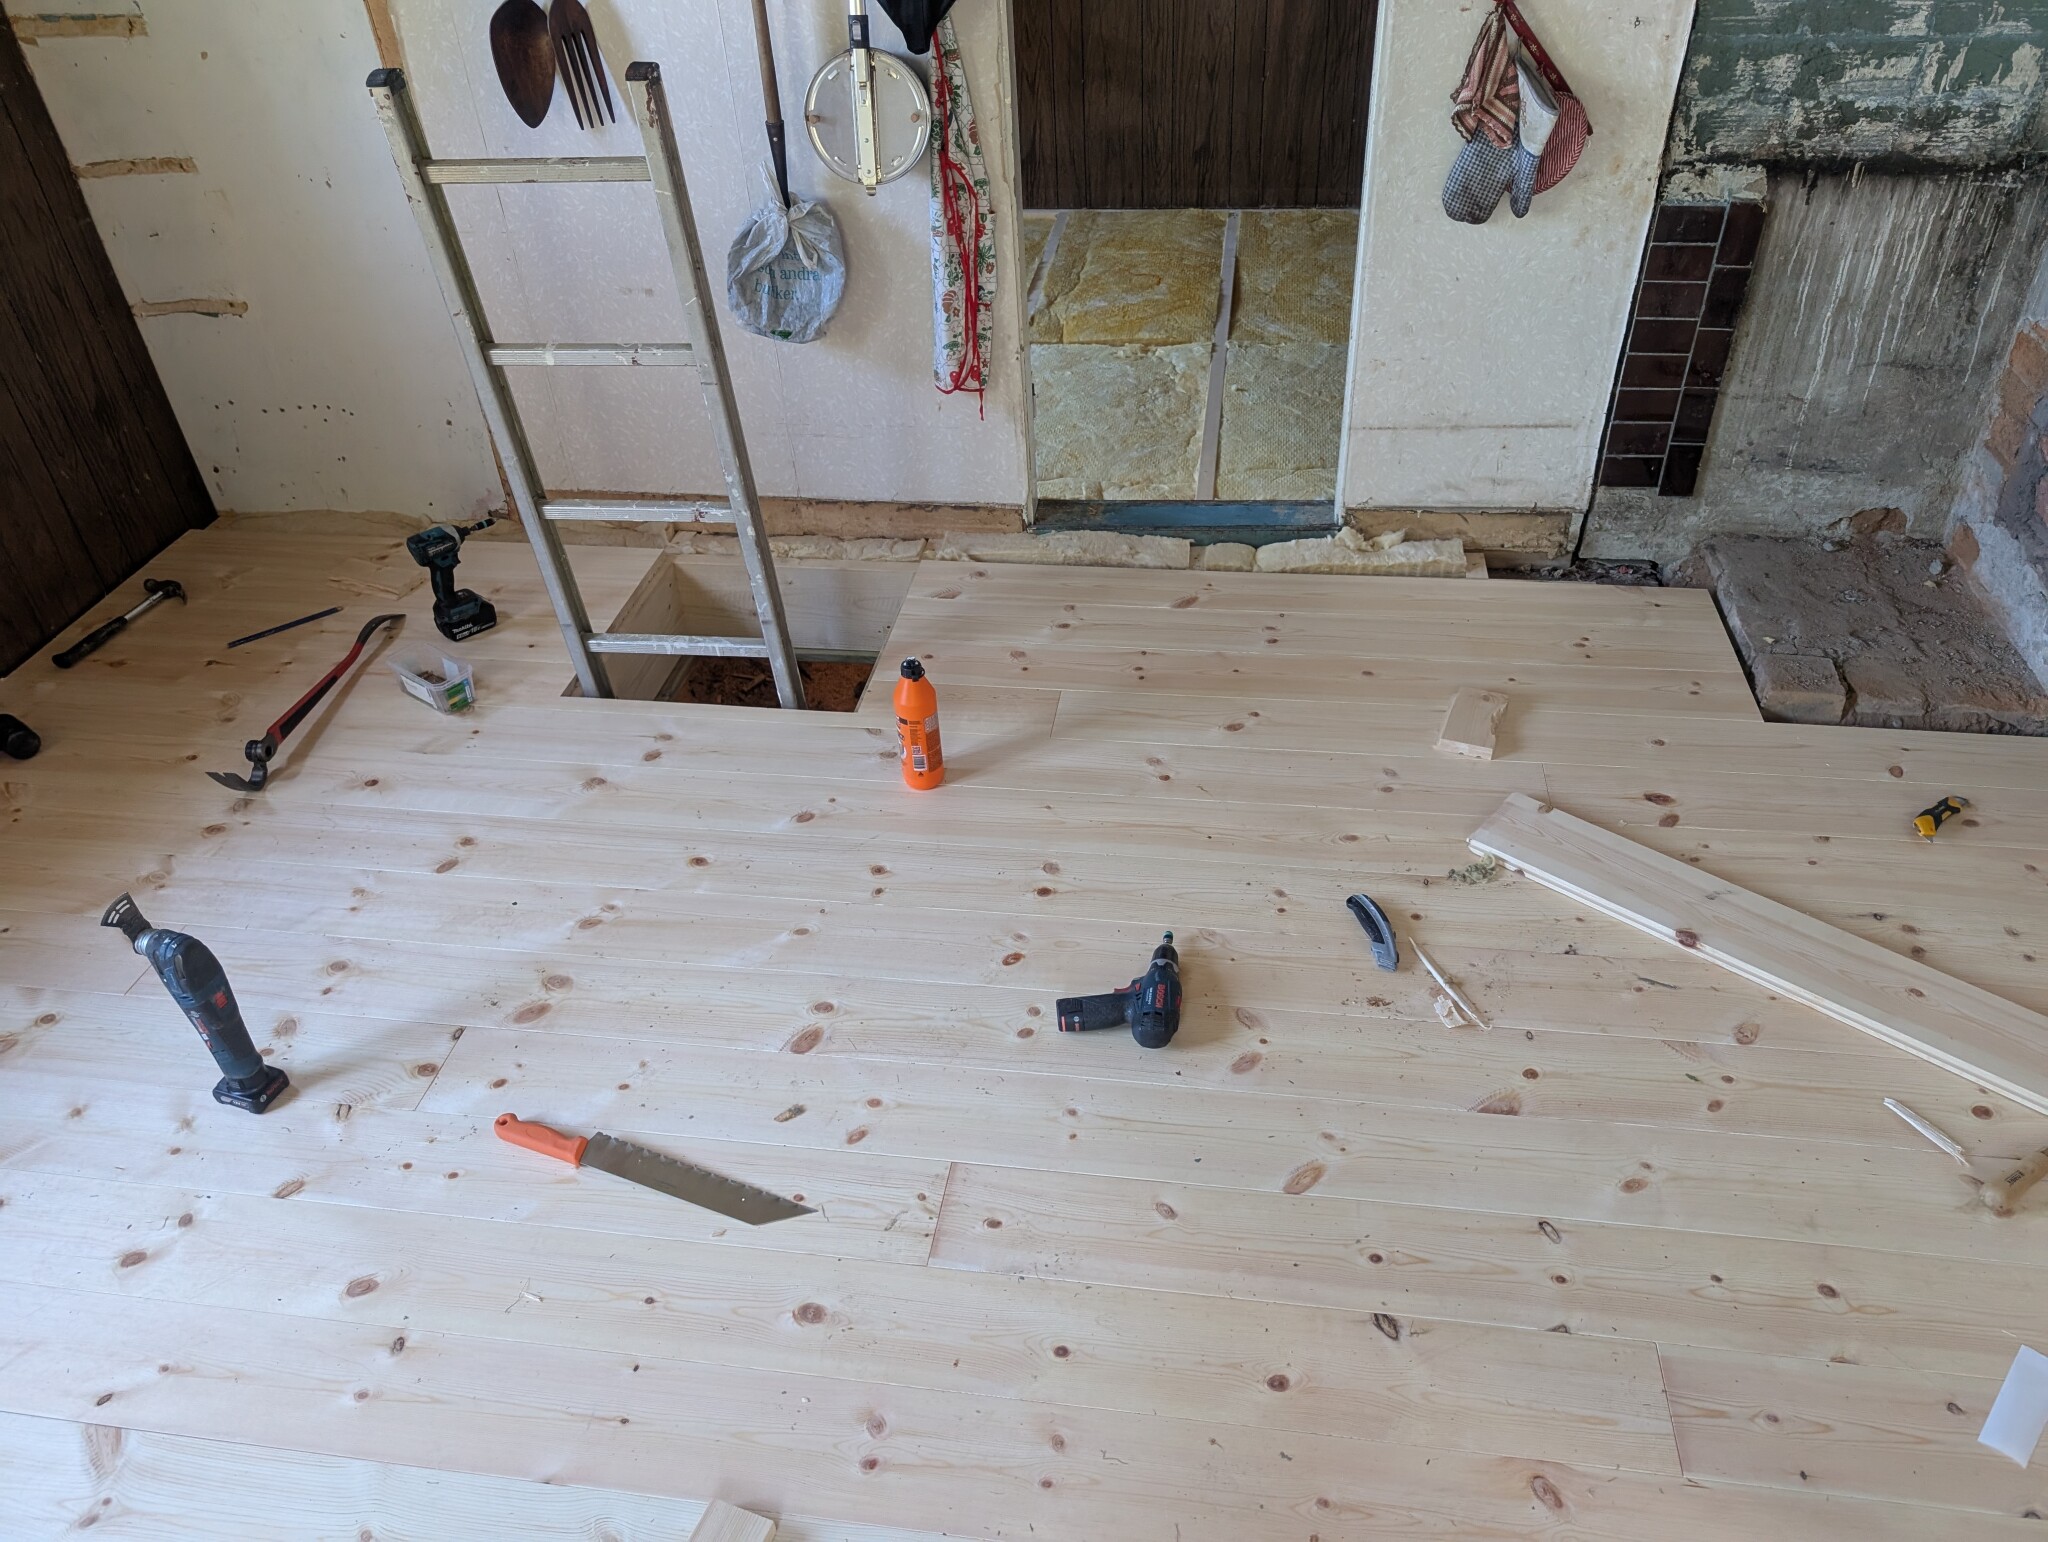
I arrived at the cabin today, so I can check things if it would help. I'm attaching a few pictures as well. In the interior picture, the camera is level.
10 tons will likely suffice quite well. I have done this once before and honestly was surprised at how easy it was, considering what one thought. But time-consuming, it is.
If you are worried about moisture seeping up from underneath, you could probably put a rubber strip around under the hatch?
Now I'm underway with the renovation.
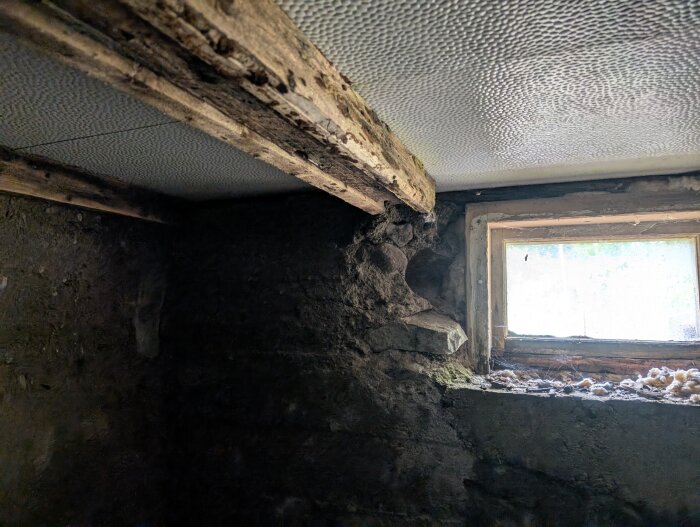
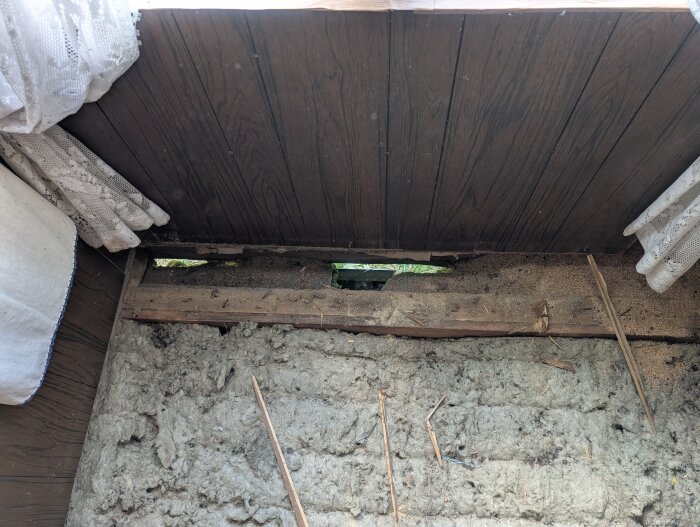
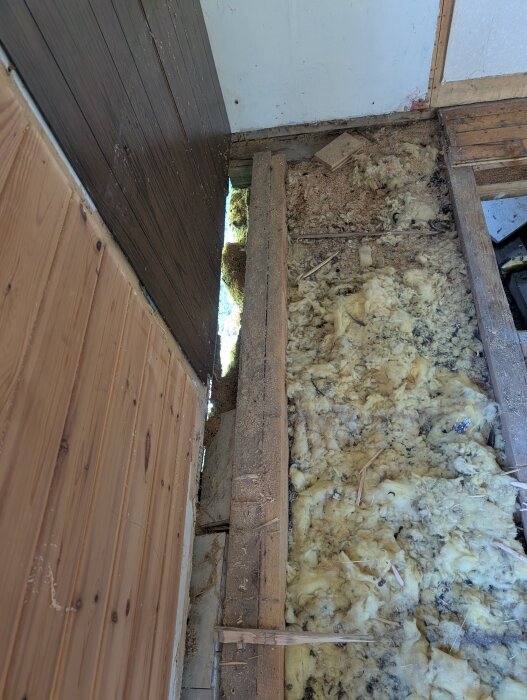
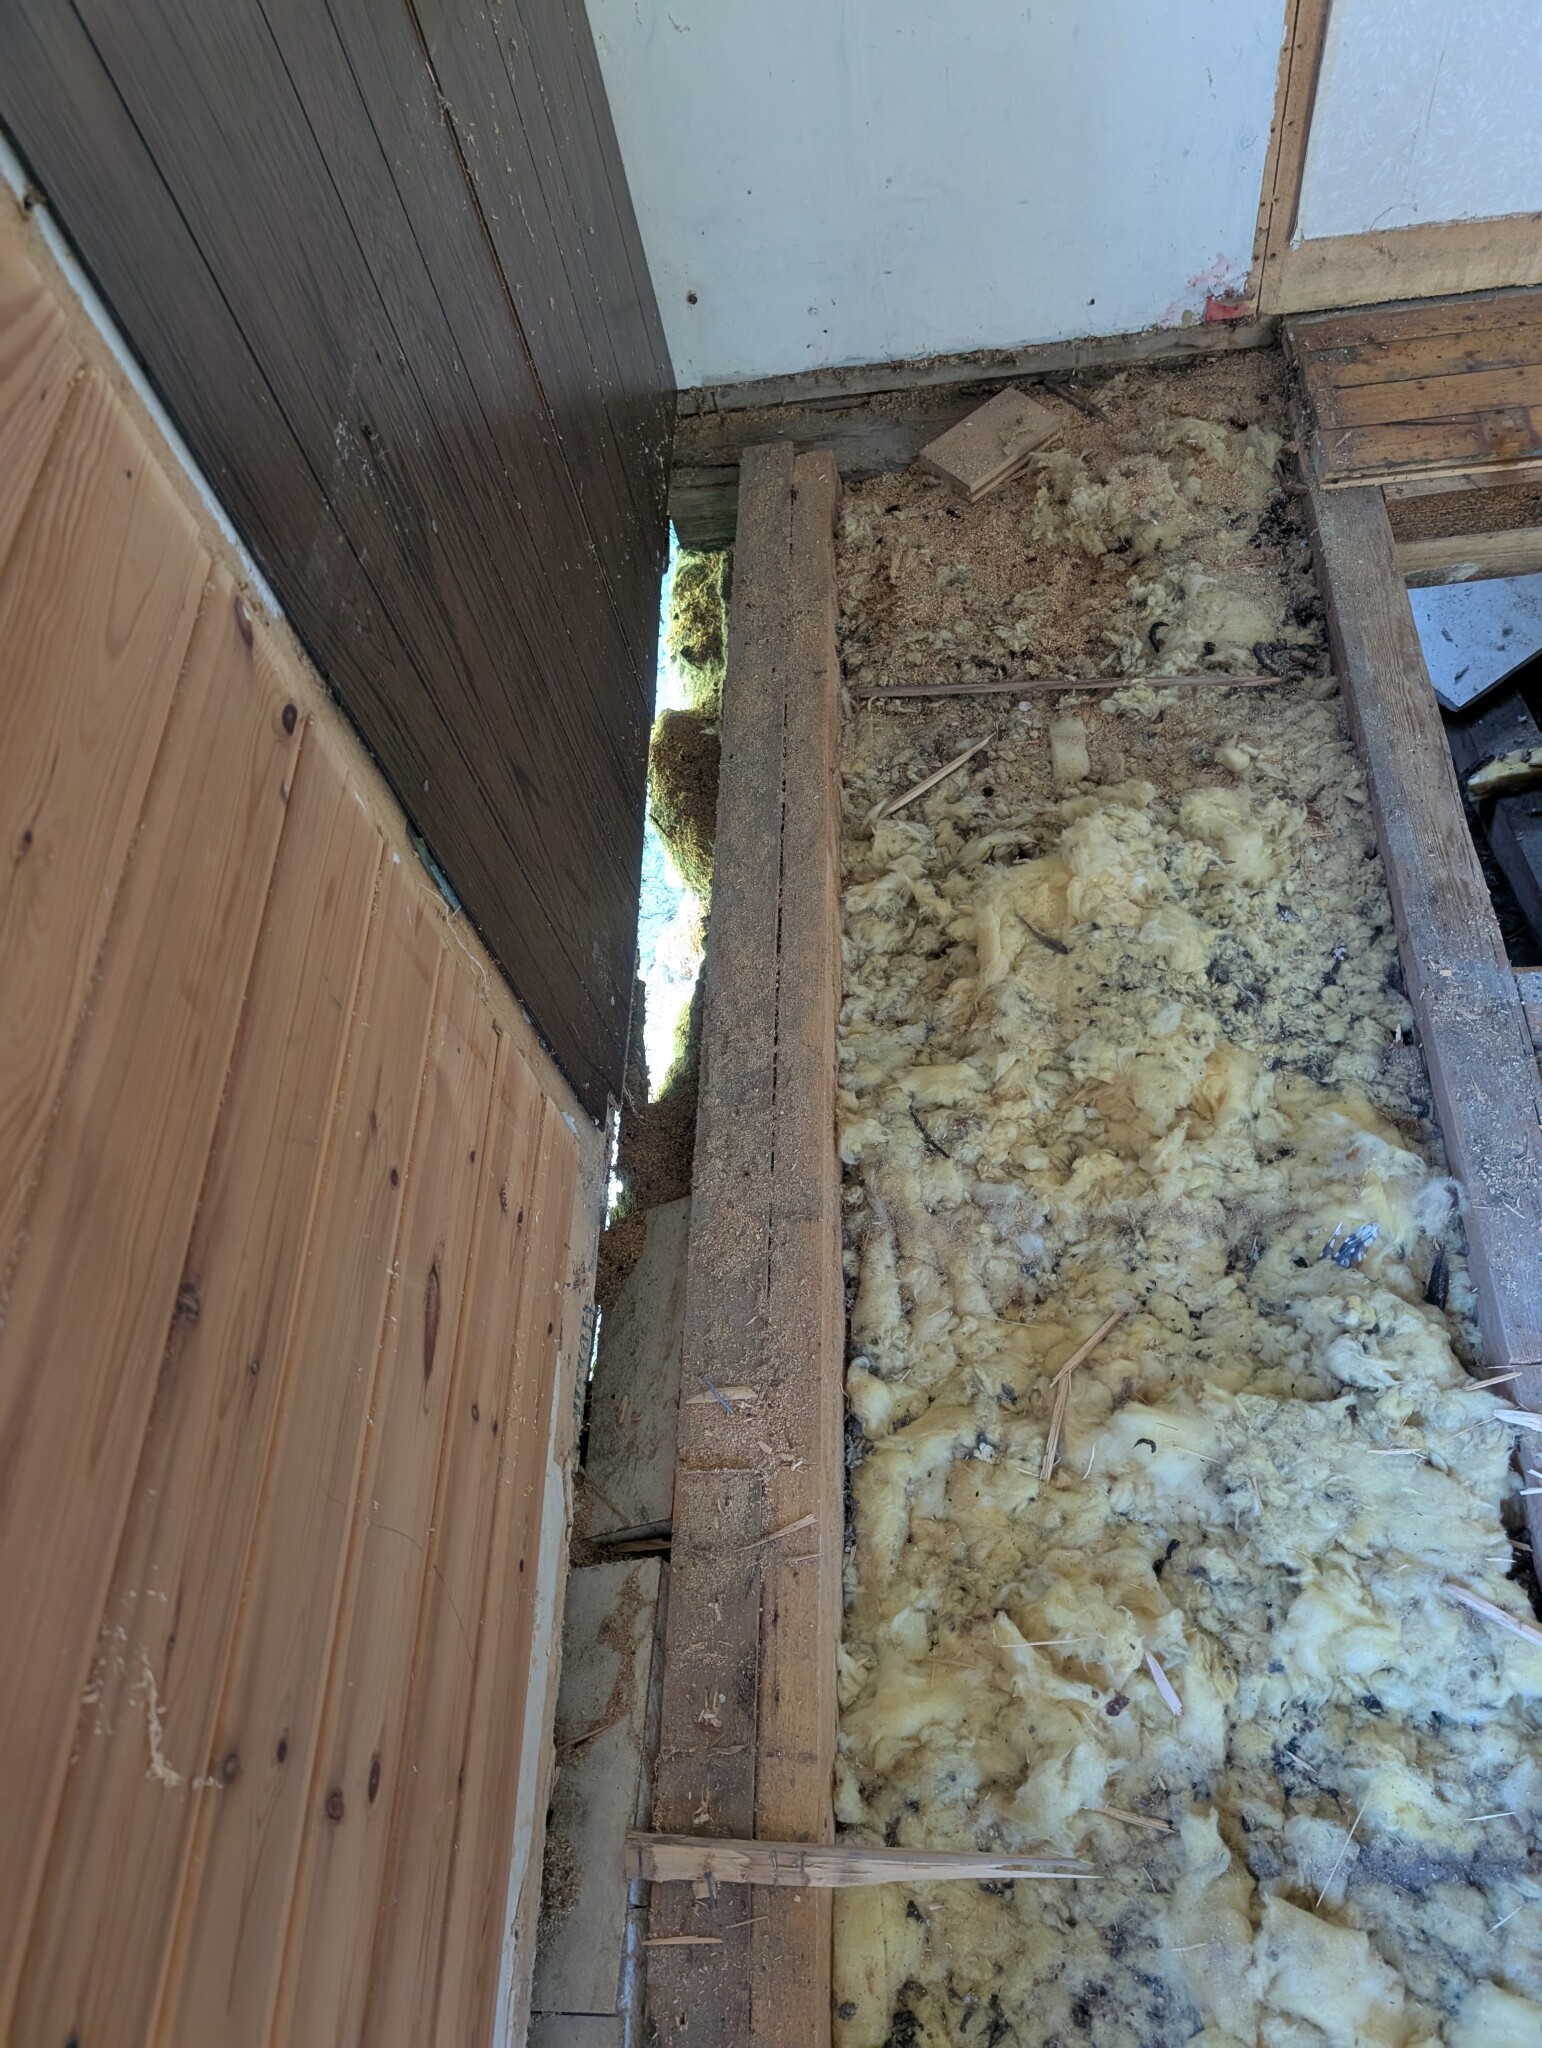
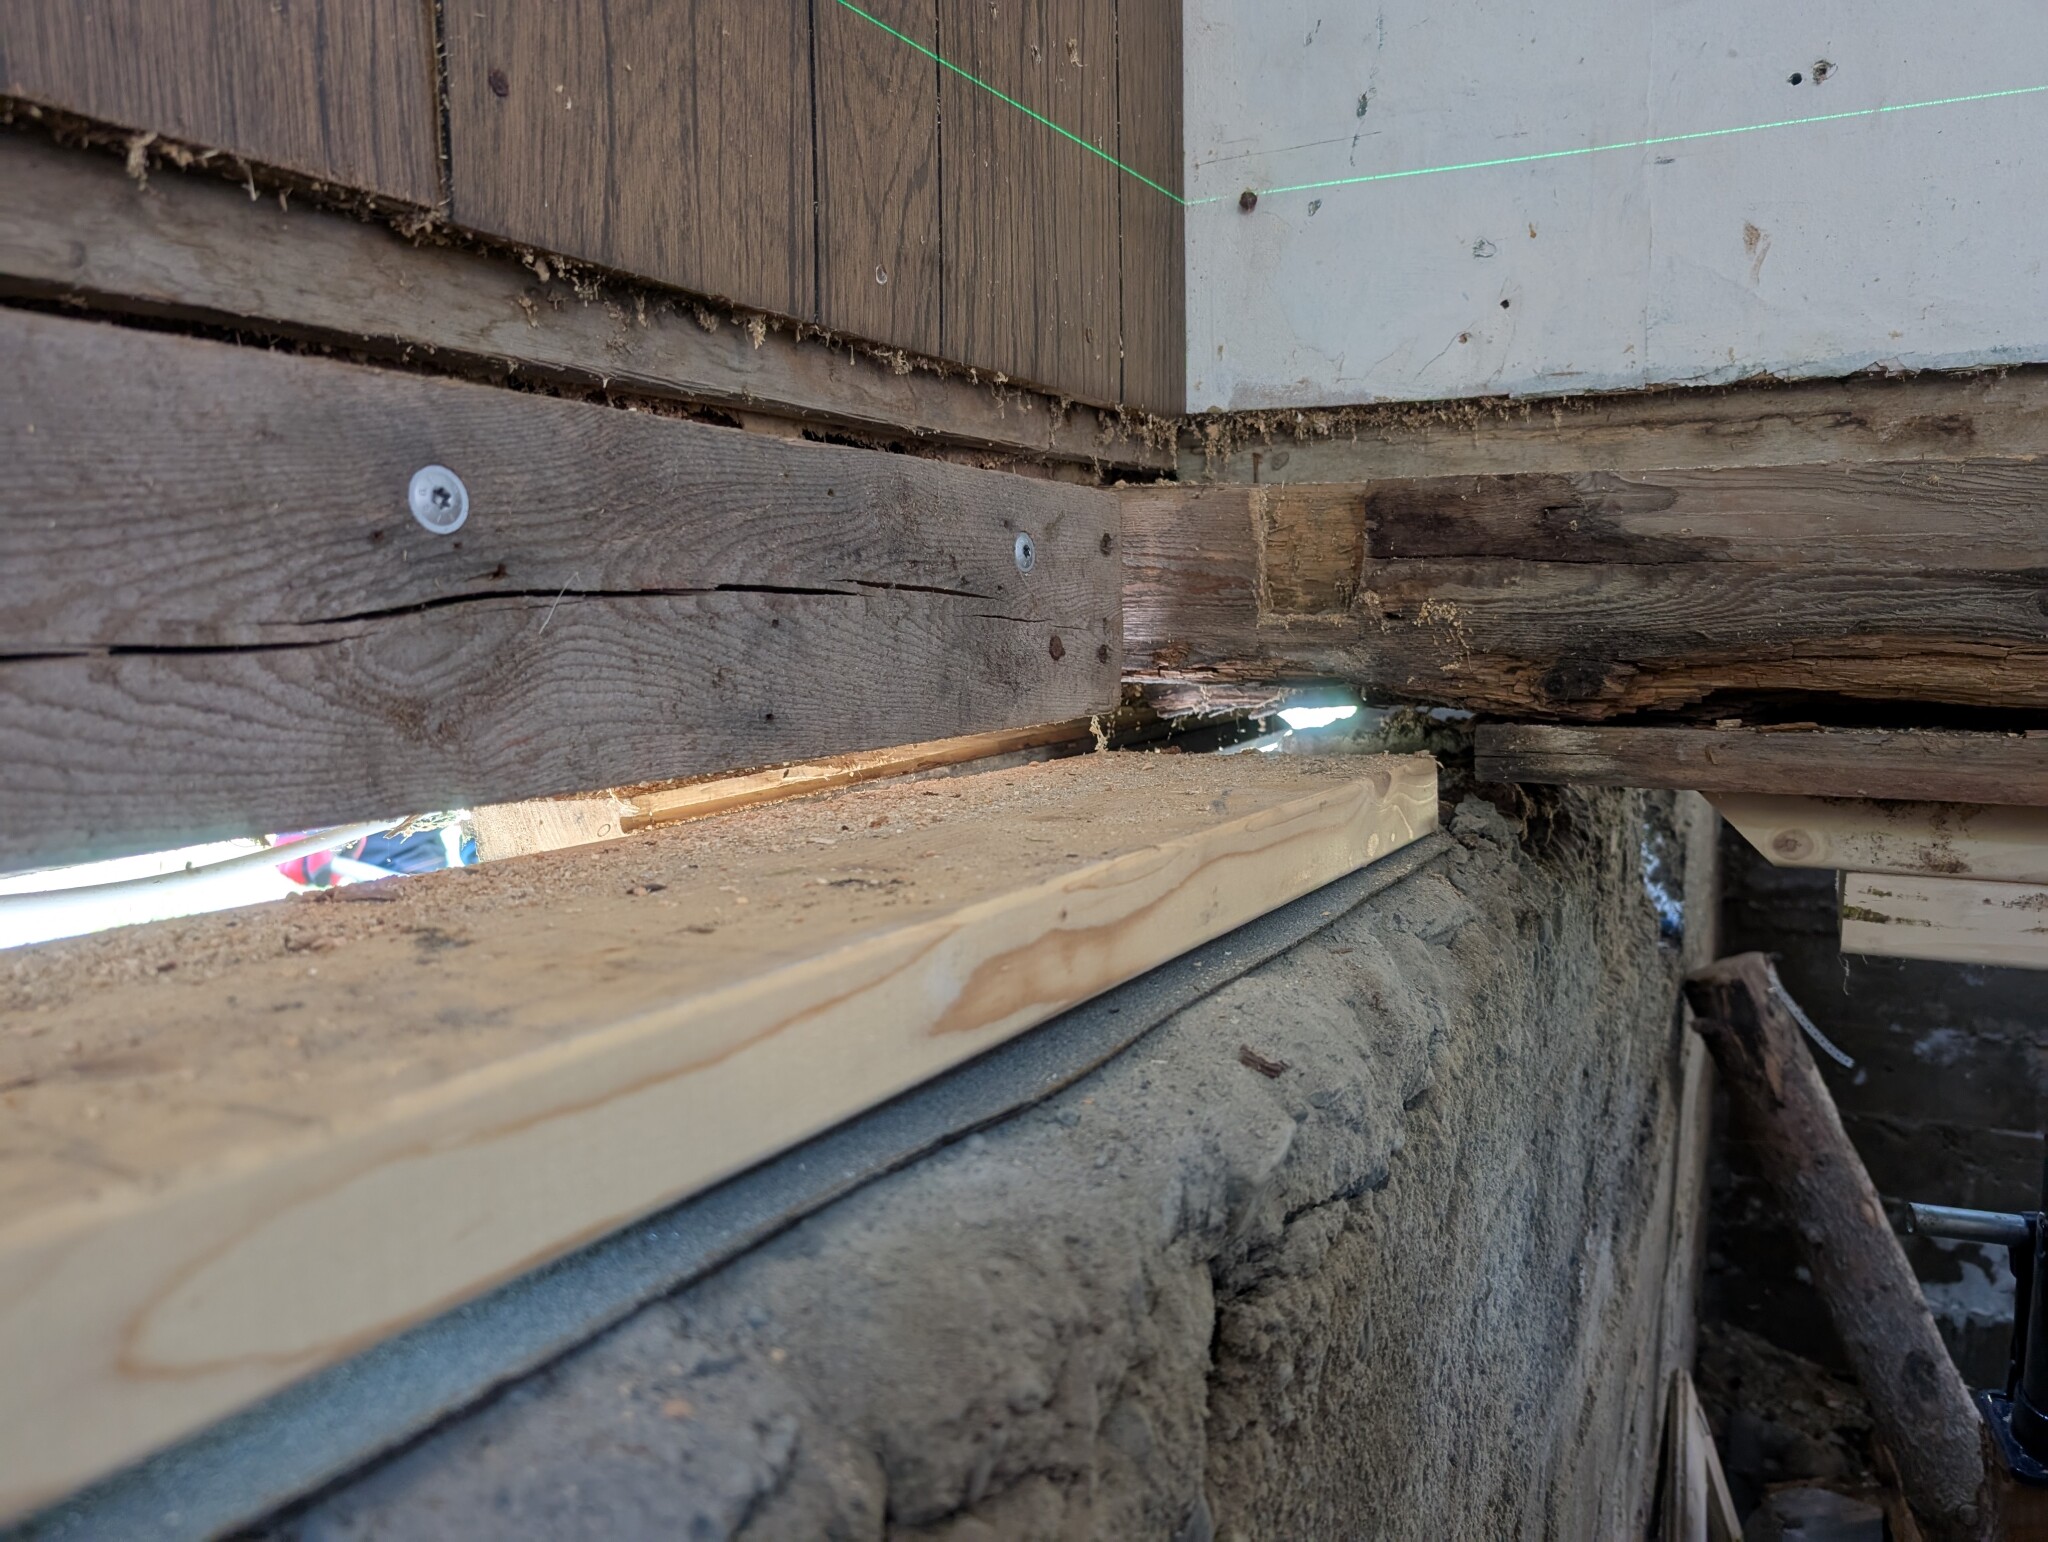
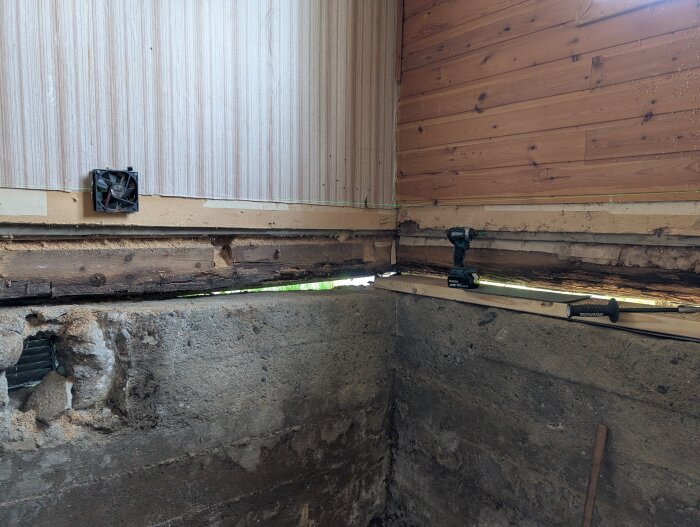
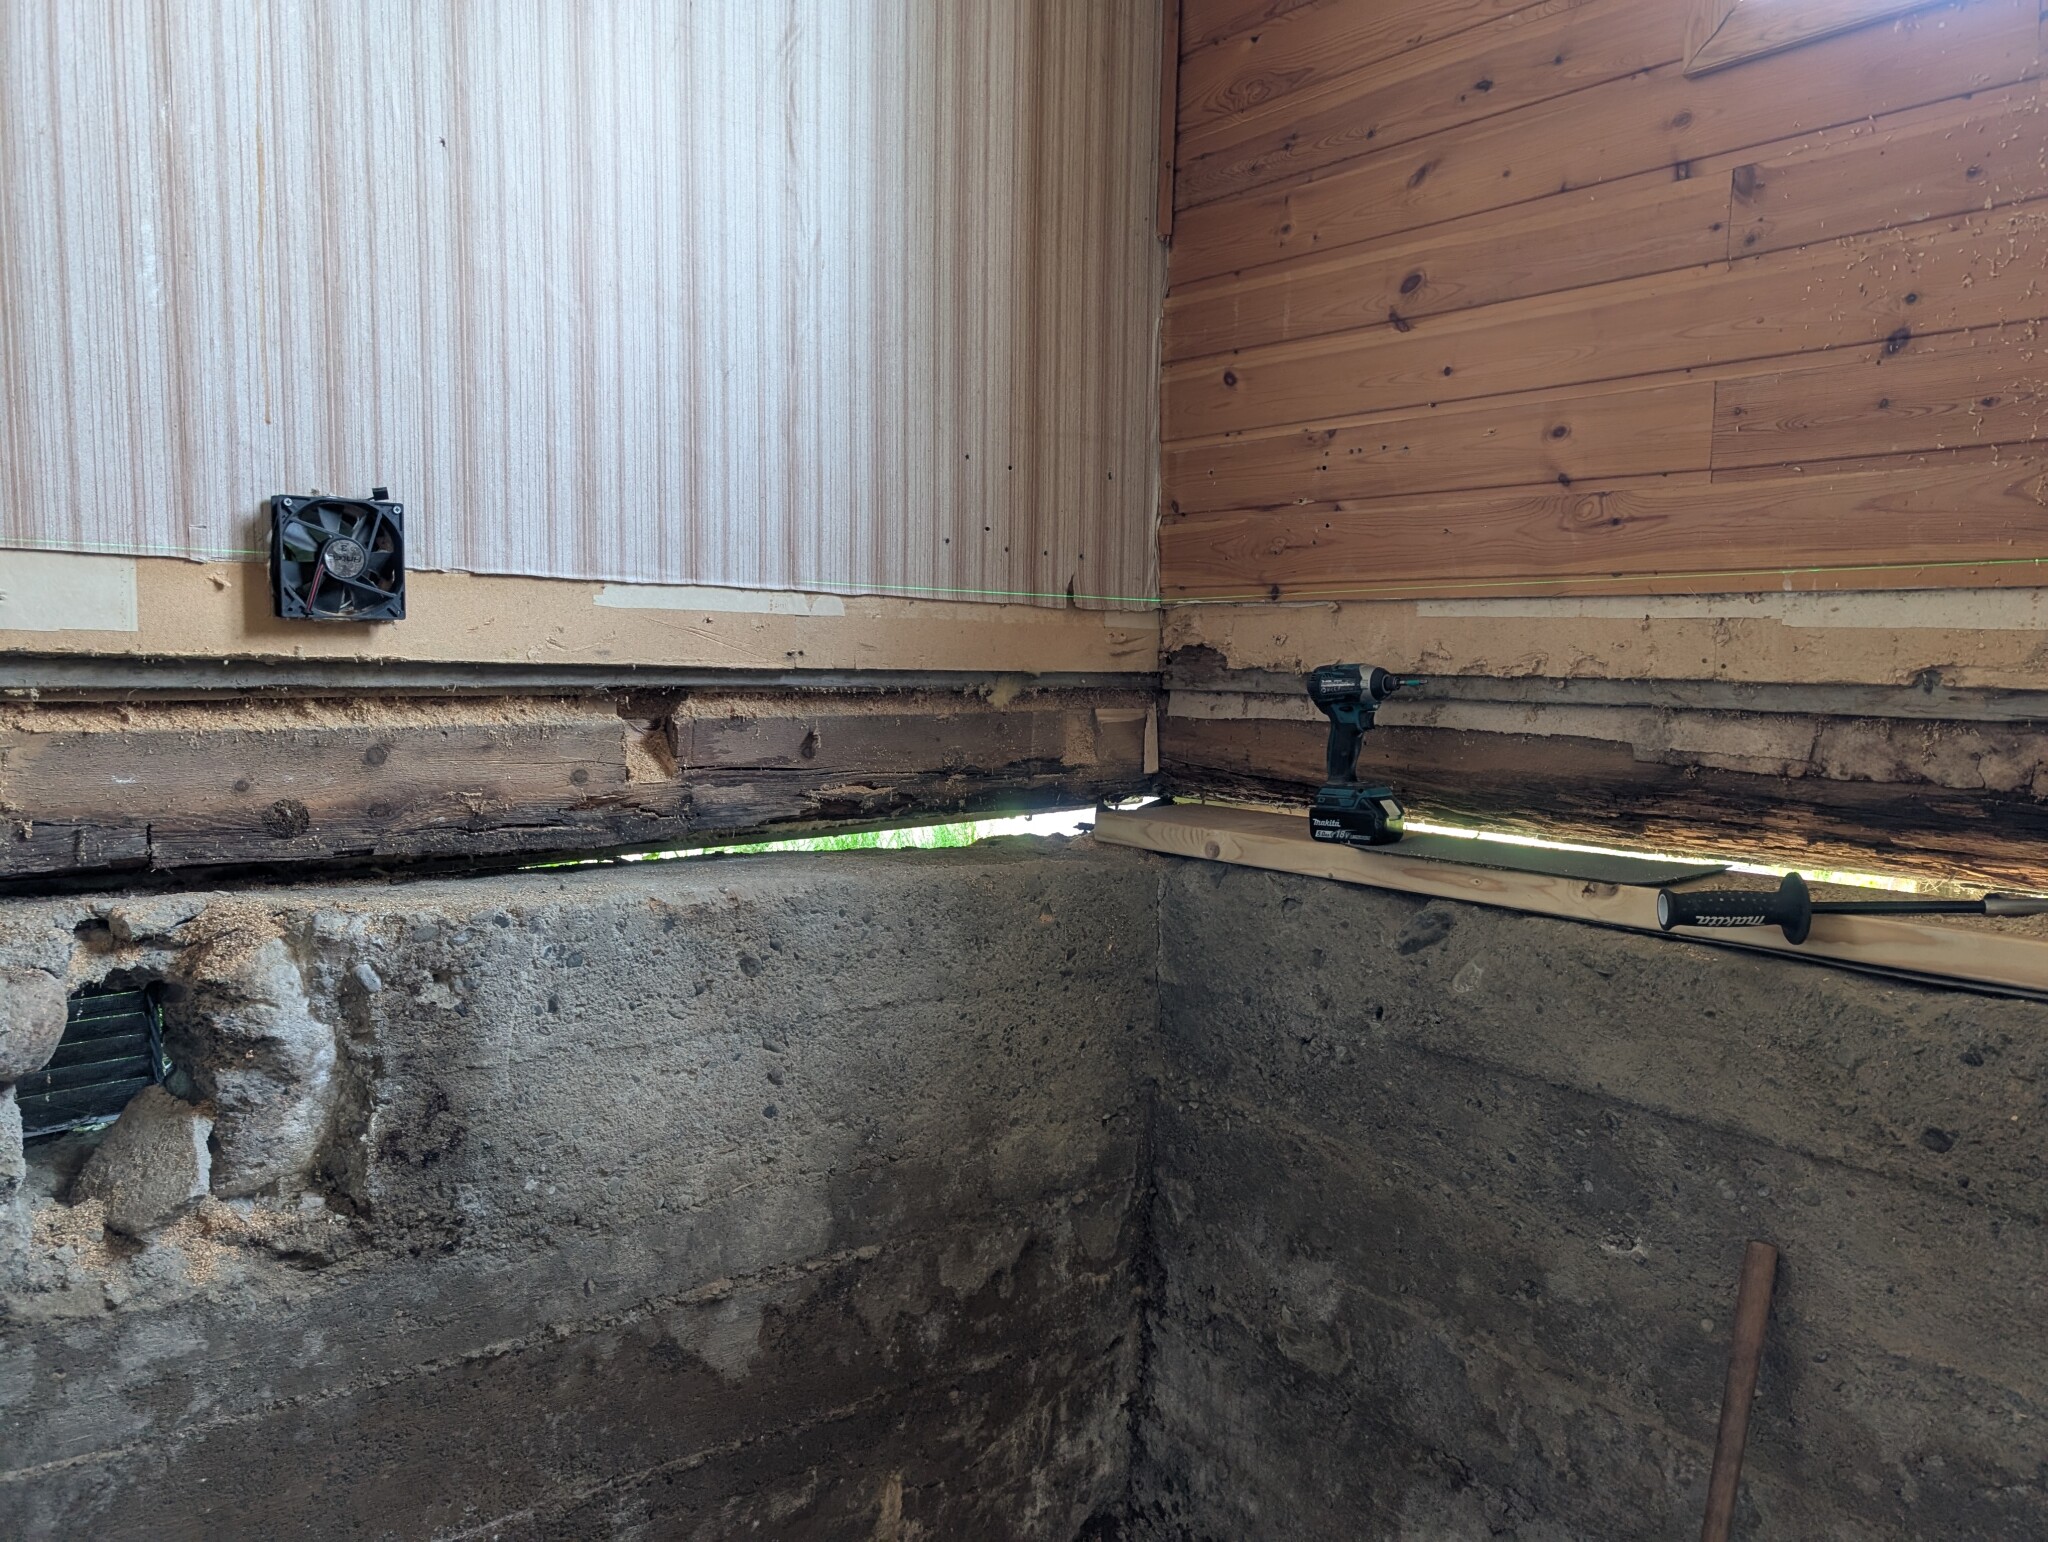
It's clear that the house has settled, but that's not the only problem. The house is no longer on the foundation at the front. Whether it's the house or the foundation that has moved, I'll leave unsaid. It's also clear that there have been many mice in the insulation.
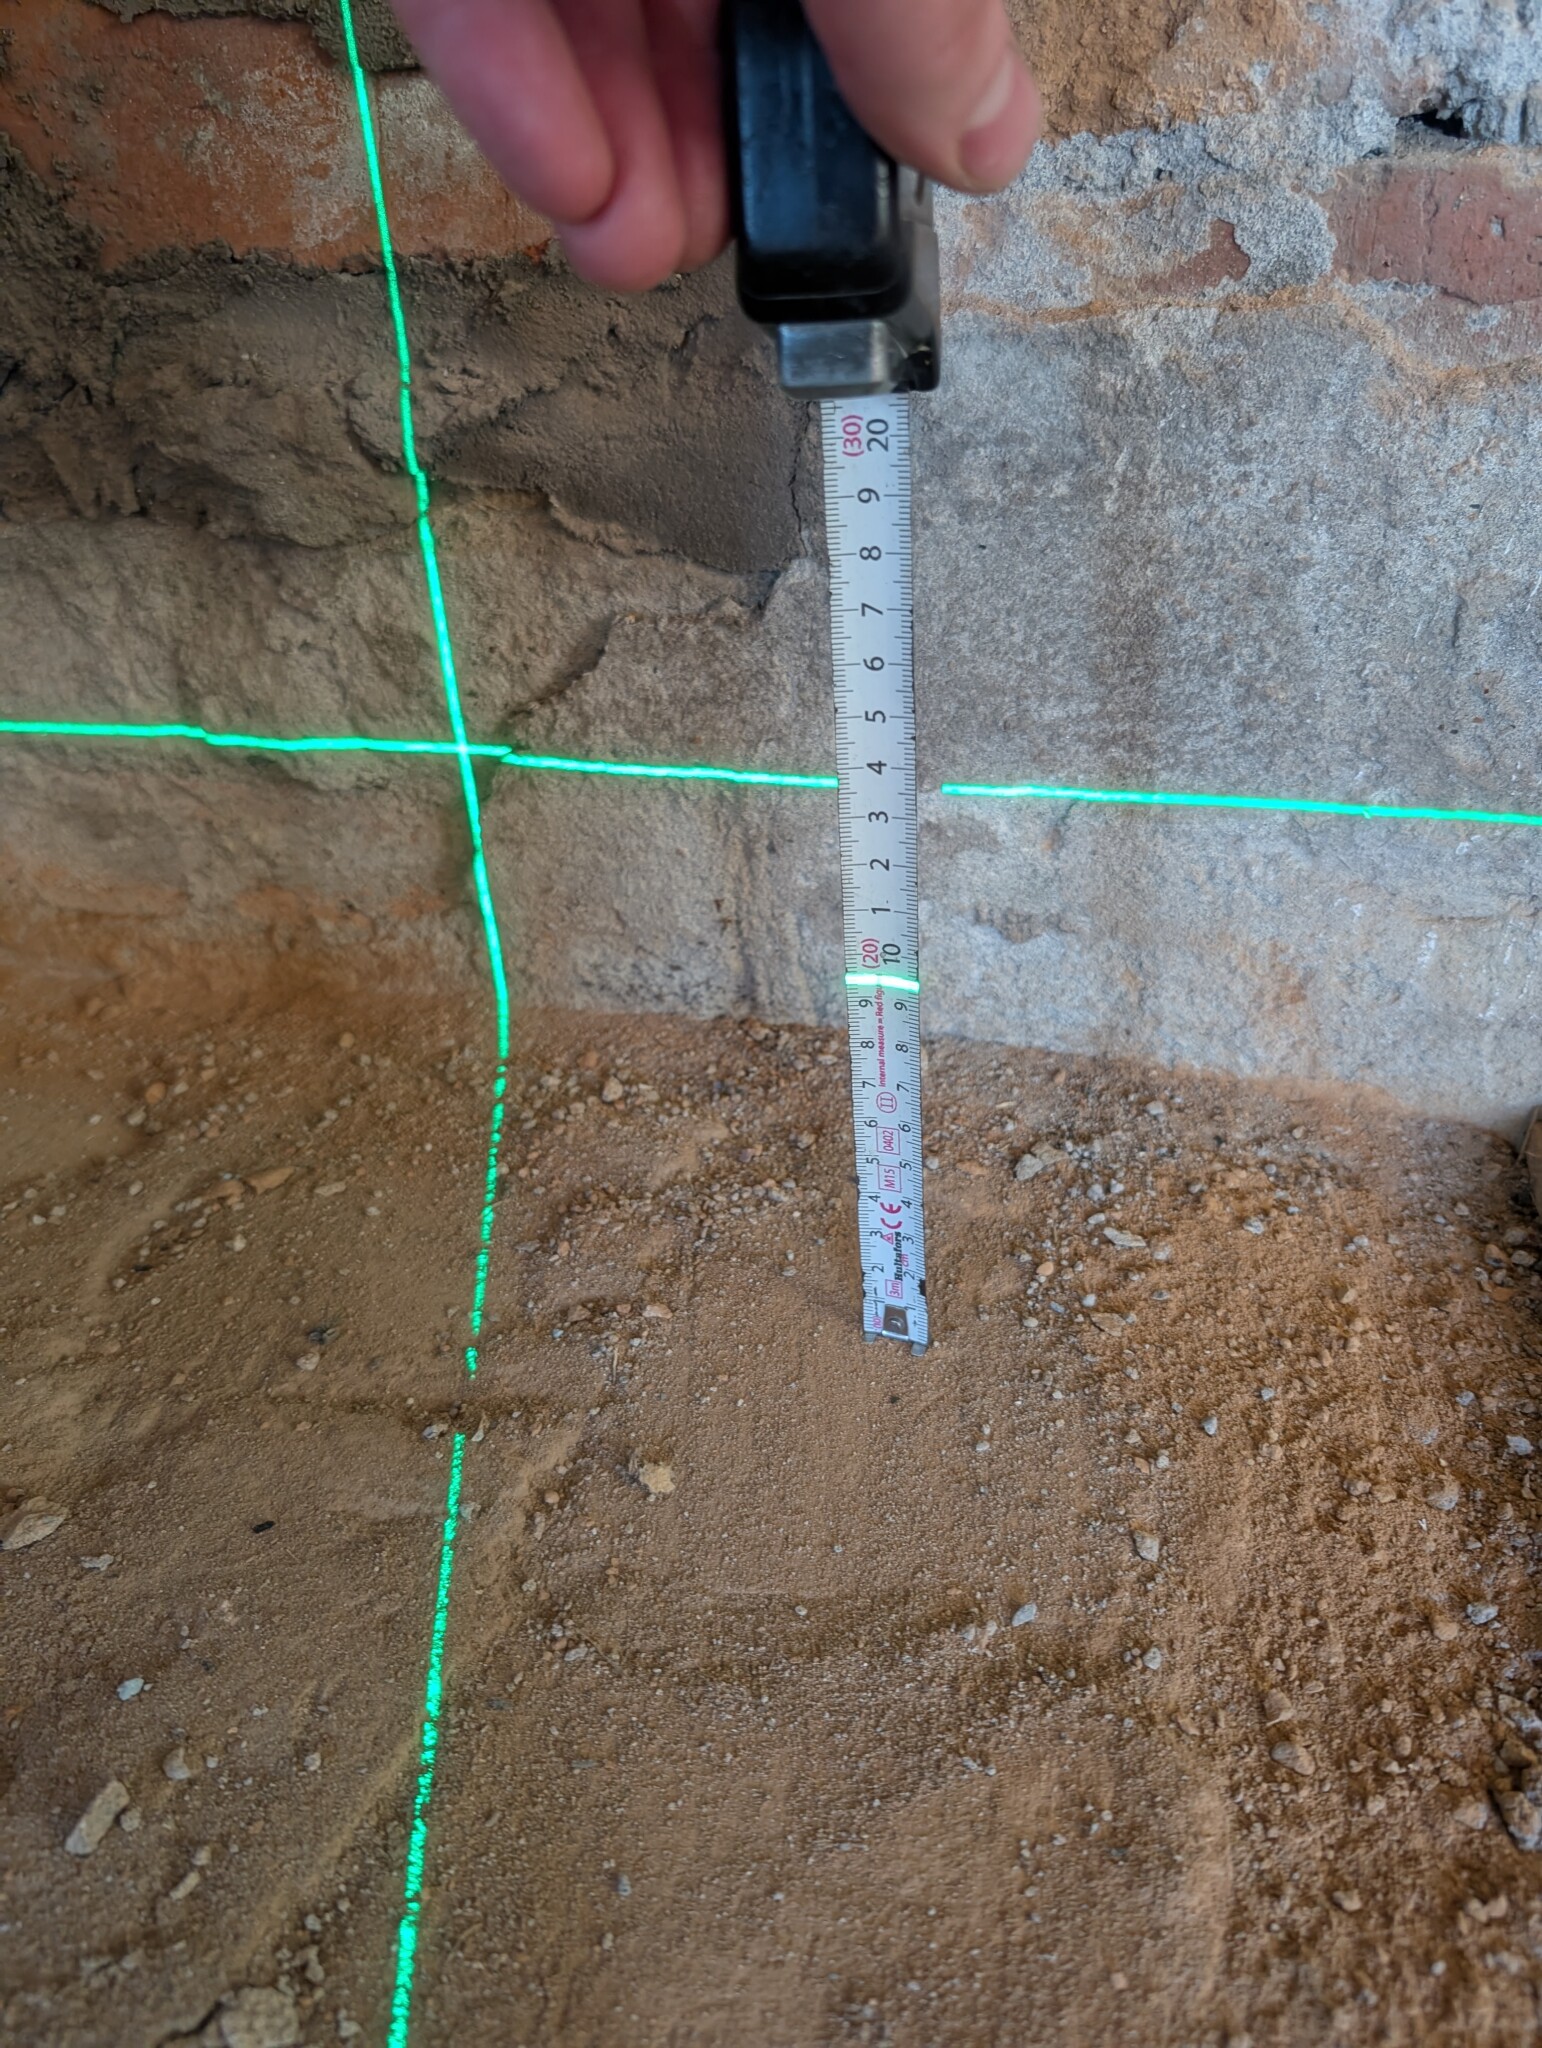
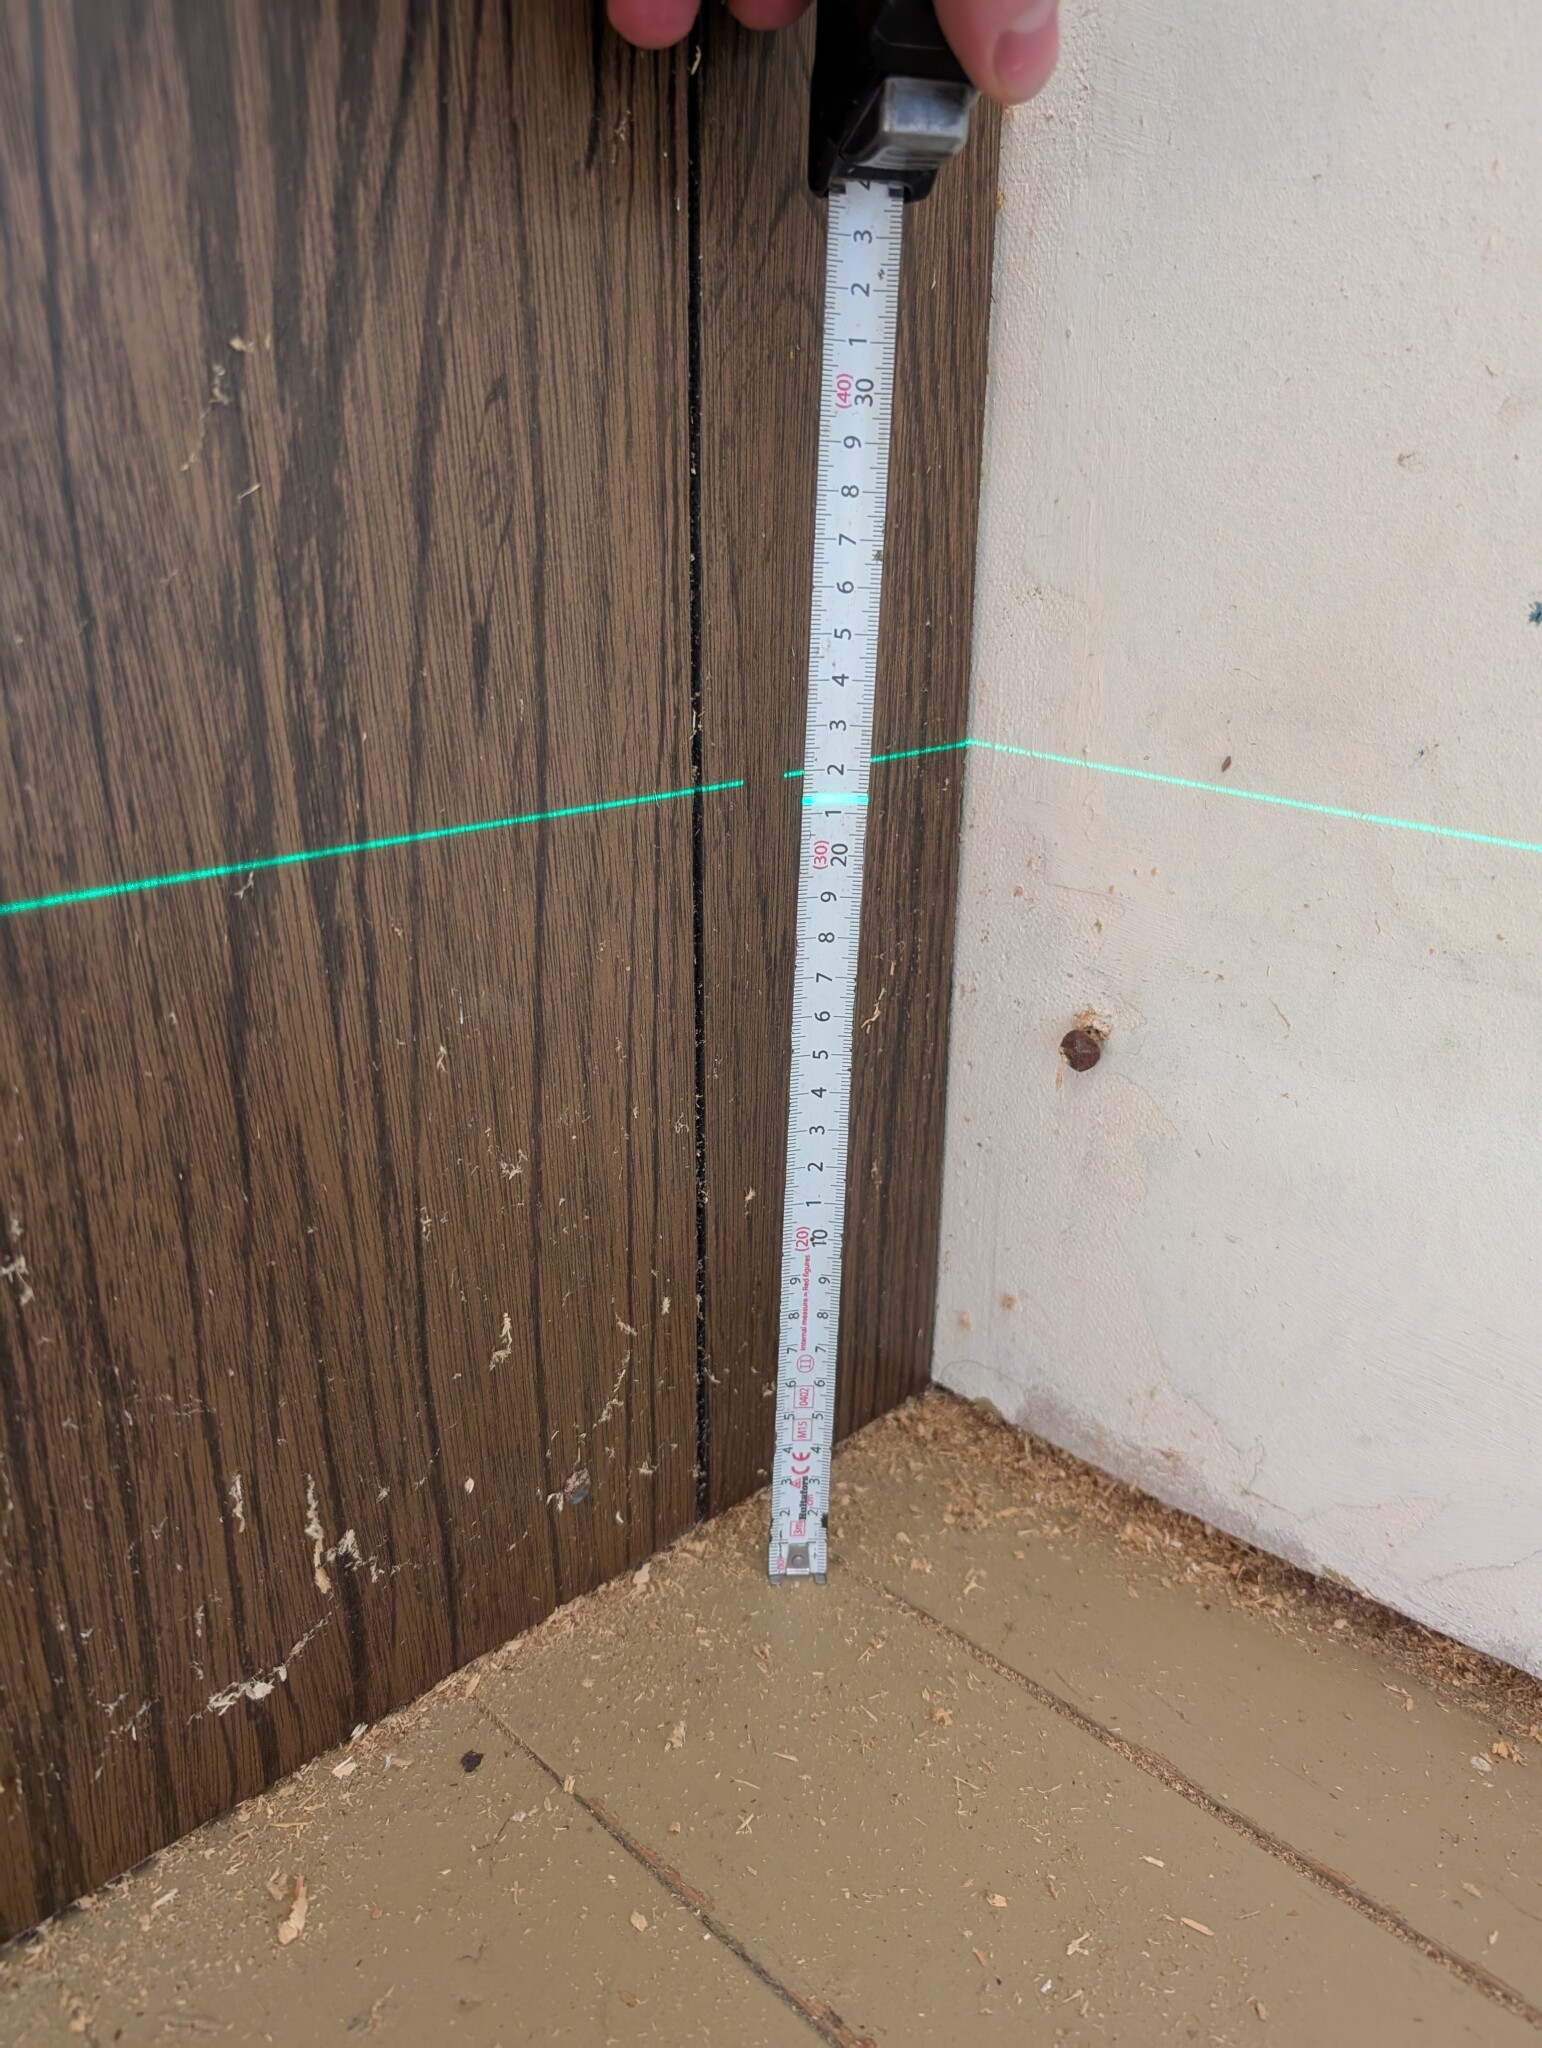
The laser shows the highest and lowest points in a room that is about 4x4m.
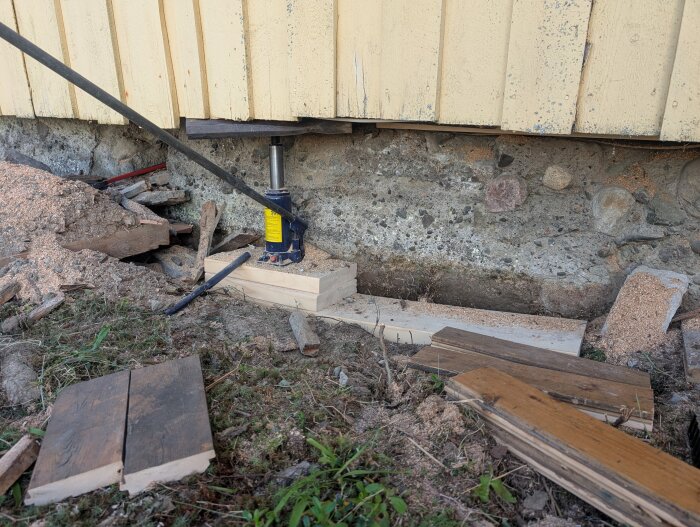
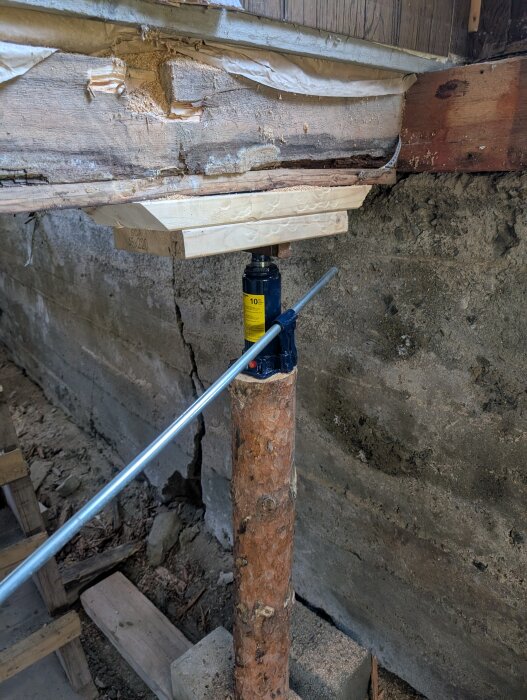
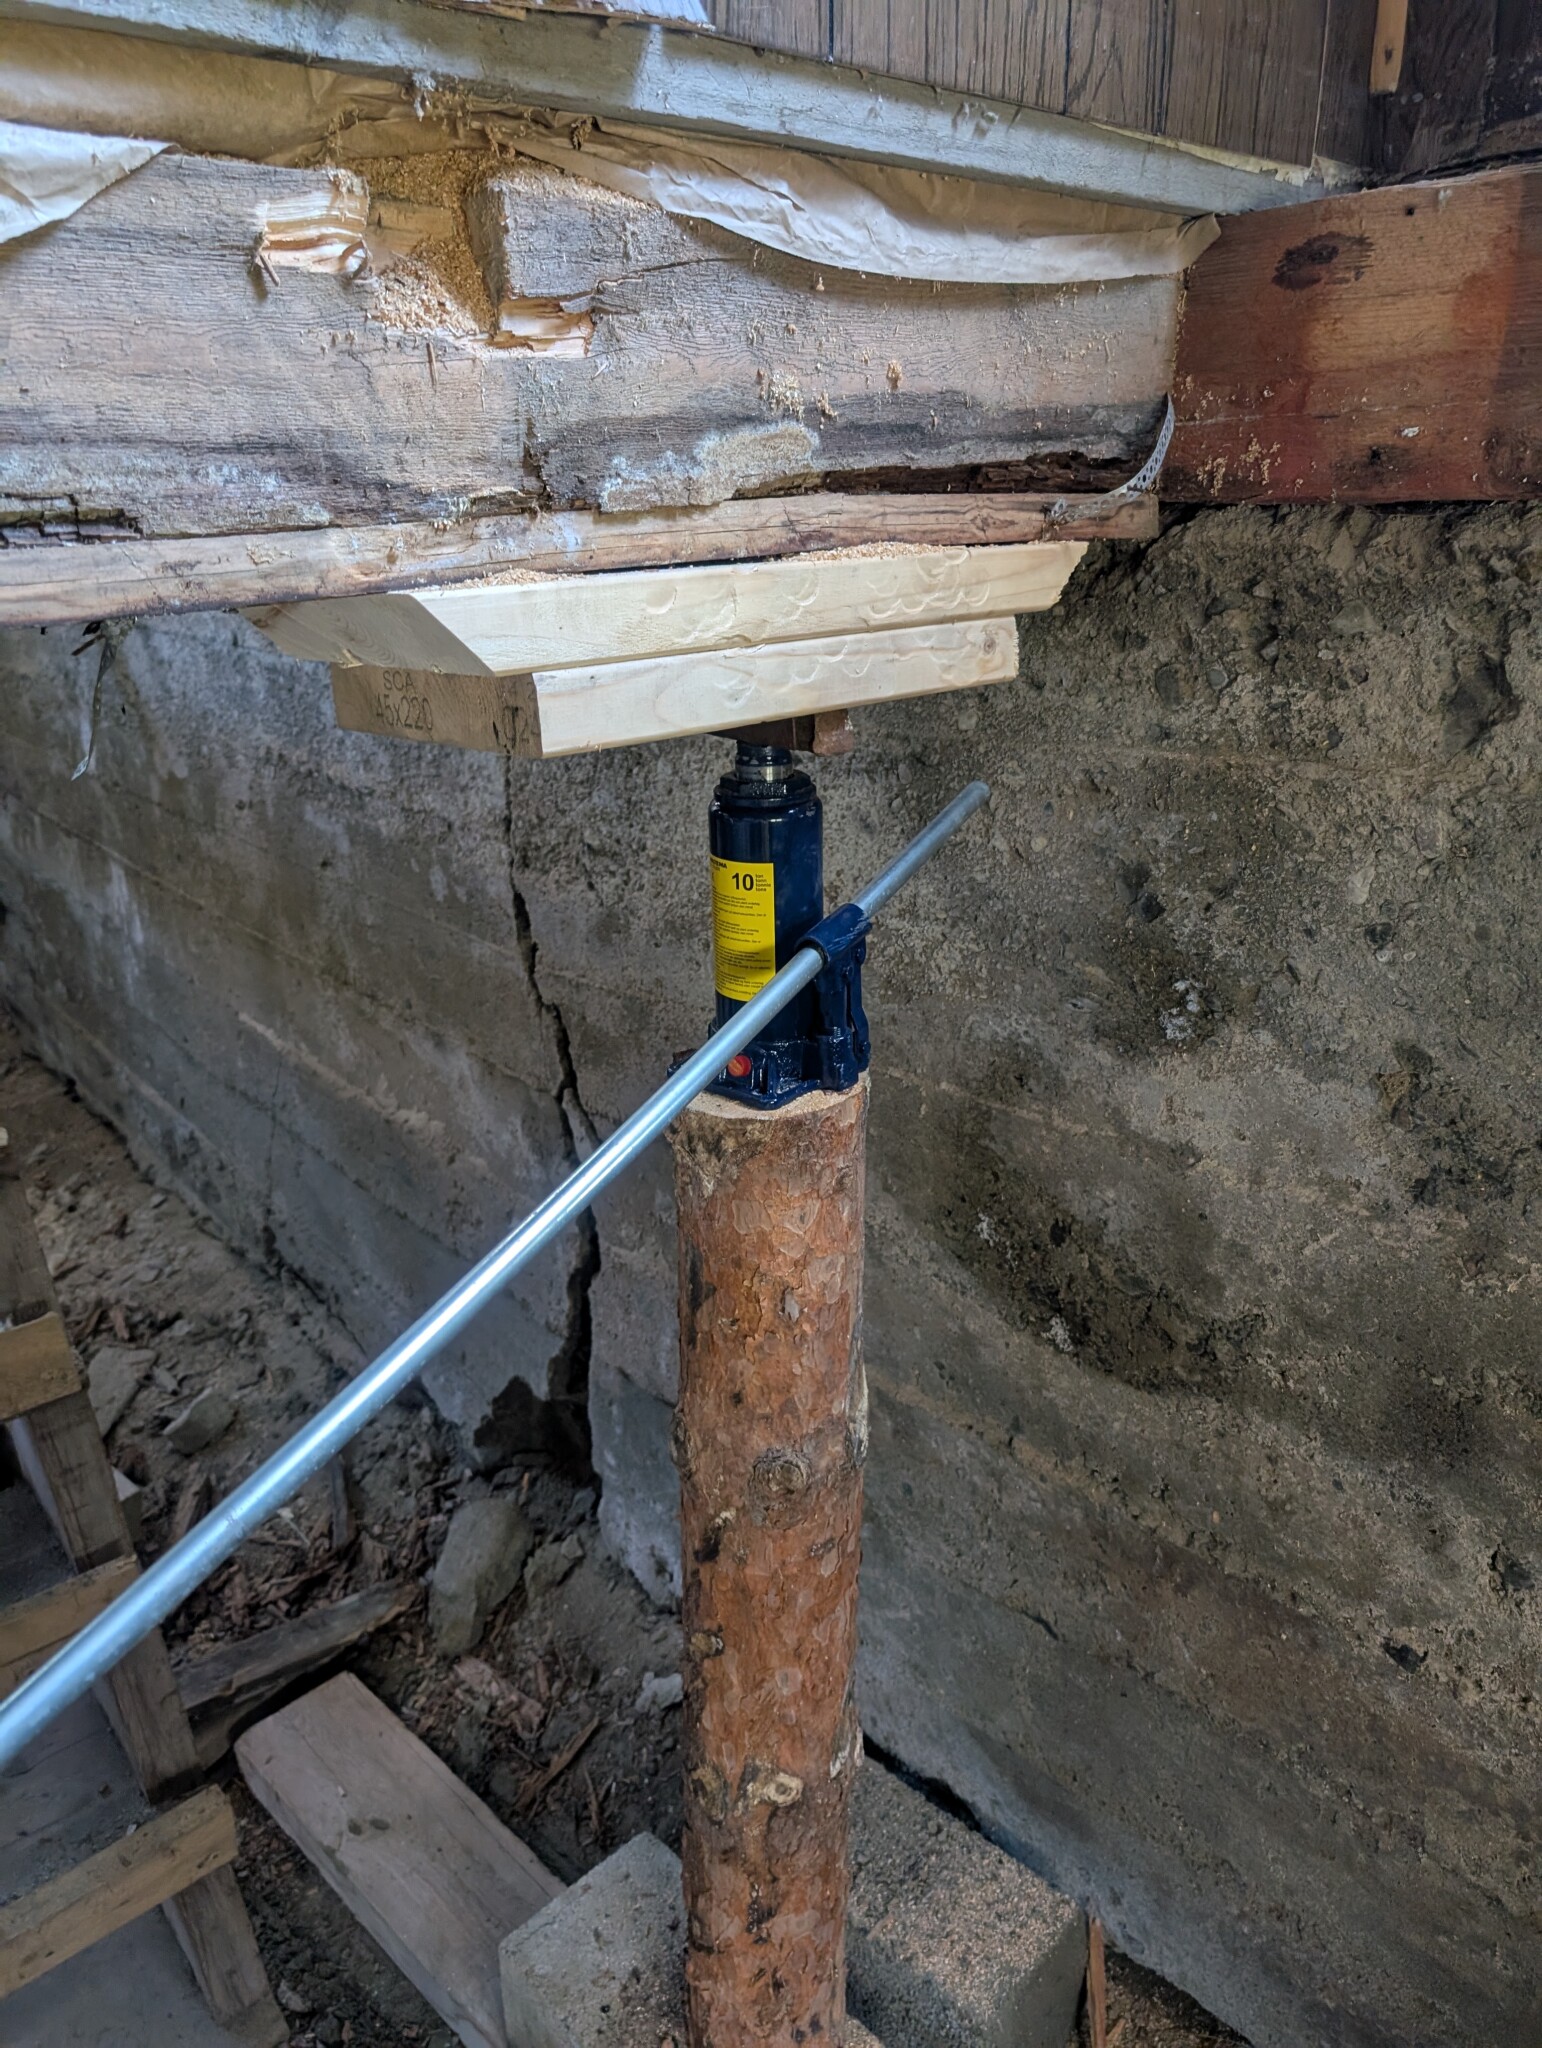
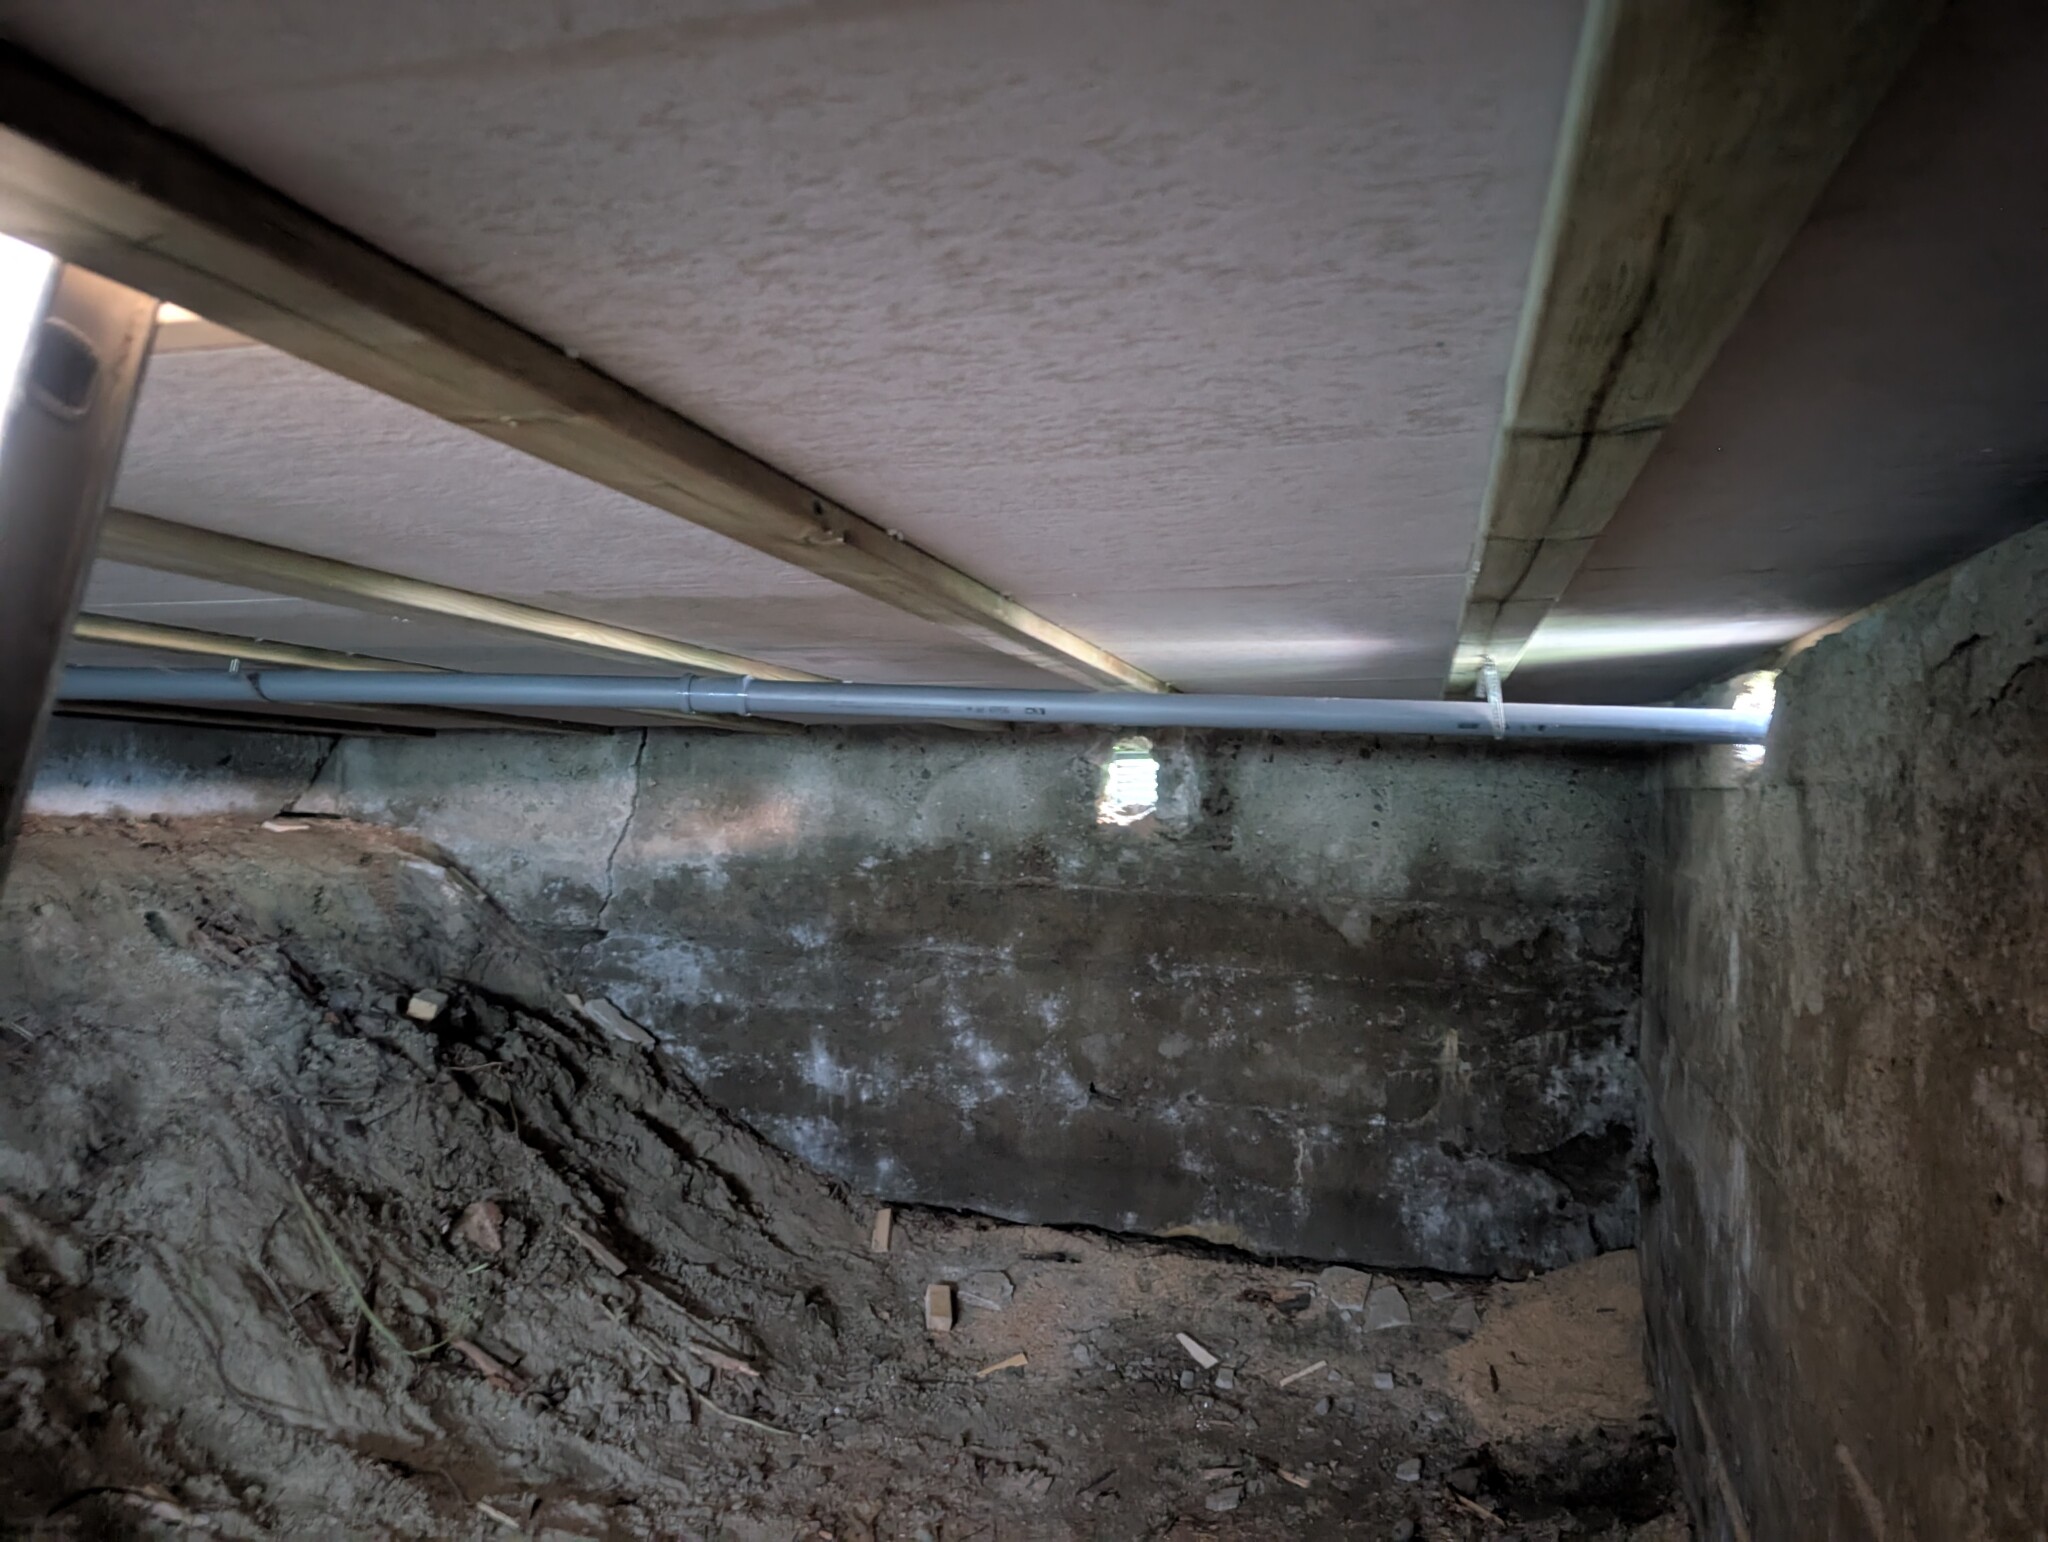
Now the house is finally lifted (except for a piece of a corner). It was significantly more difficult and heavier than I thought. In hindsight, I should have gone for 20-ton jacks instead. But even 10-ton is a lot of power, and what took the most time was finding something stable enough to lift and a base that could spread the weight to the ground. As you can see in the picture below, I have two 45x220 boards as a base at the bottom, over a meter long, with some scrap pieces on top. All of that sank down about a decimeter before it started responding, even though the ground feels solid otherwise when walking on it. Against the house, everything just got crushed until we found some solid iron pieces that could distribute the force upwards. But that wasn't enough; we also needed to lift from the inside with a jack lifting under the support beam. In total, it has been lifted about 12 cm.
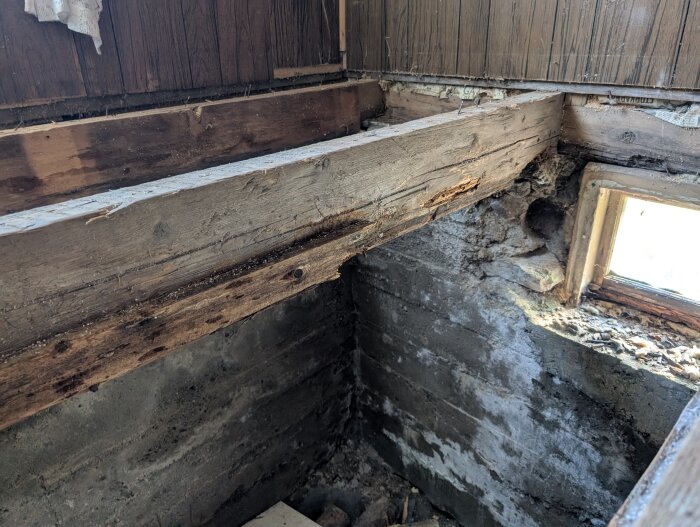
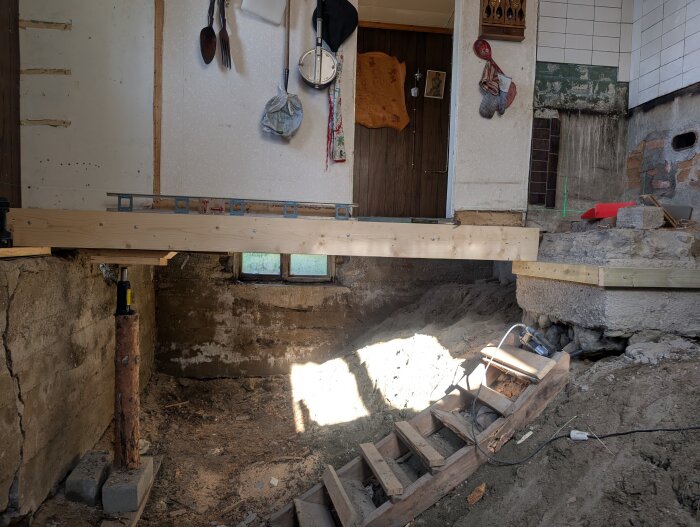
It has also become clearer what has happened. The foundation wall has cracked and then folded inward. So the house has stood still.
Tomorrow, we hope to complete the lifts and install the new floor structure.
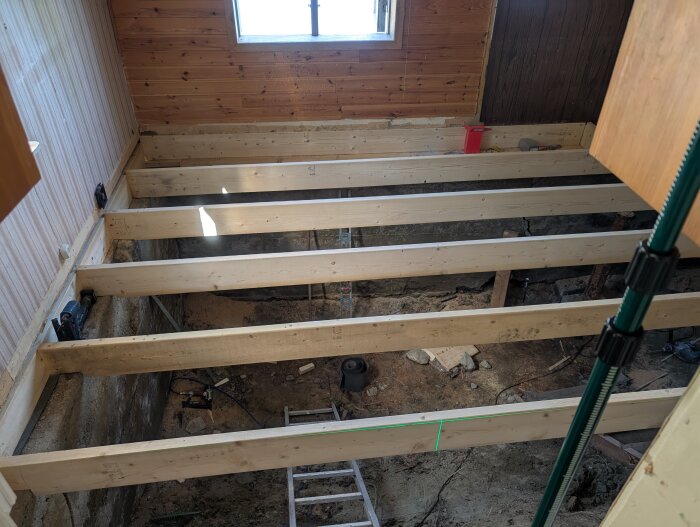
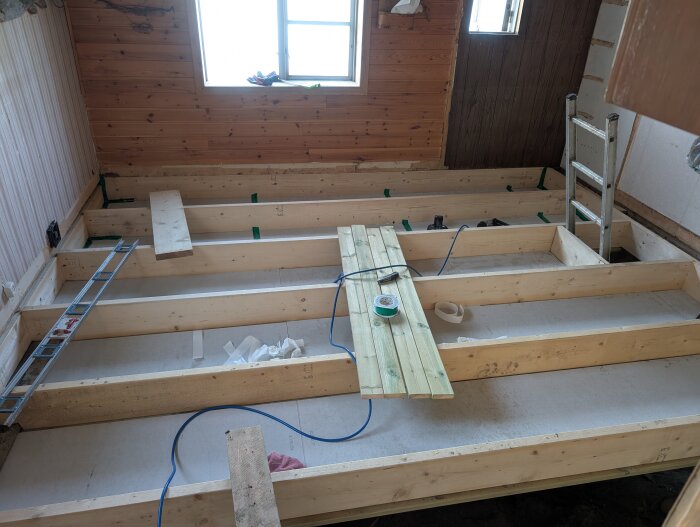
I see that I've been poor at taking pictures today. Regardless, we have finished lifting what remained and secured it so the house now stands on its own. We have also framed the flooring in one room and made the outer frame in the other room. Even the floor base is well on its way.
What we noticed when we lifted the house was that the main beam in the middle of the house essentially supports the entire outer wall. So, what we did was reinforce it by placing studs on either side and then put a new sill on the foundation wall that the beam rests on. The stud closest to the outer wall is also snug against both the new and old sills. It feels very stable, so I hope it is 😅.
I have also anchored the new sill to the foundation wall, which I hope will prevent the foundation wall from folding in more. Only time will tell.
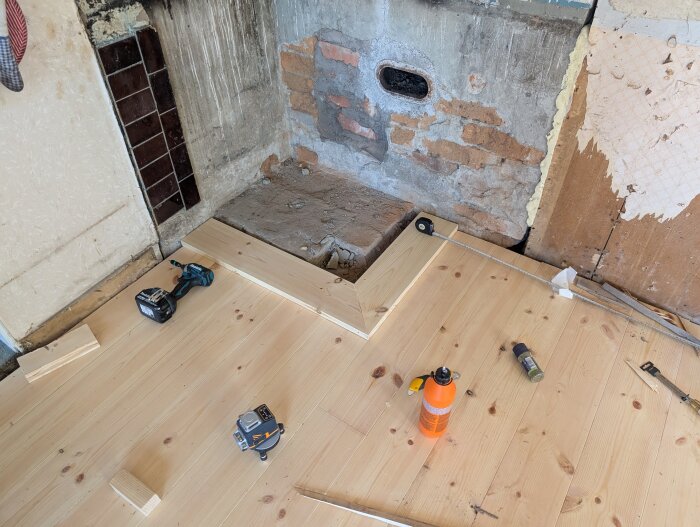
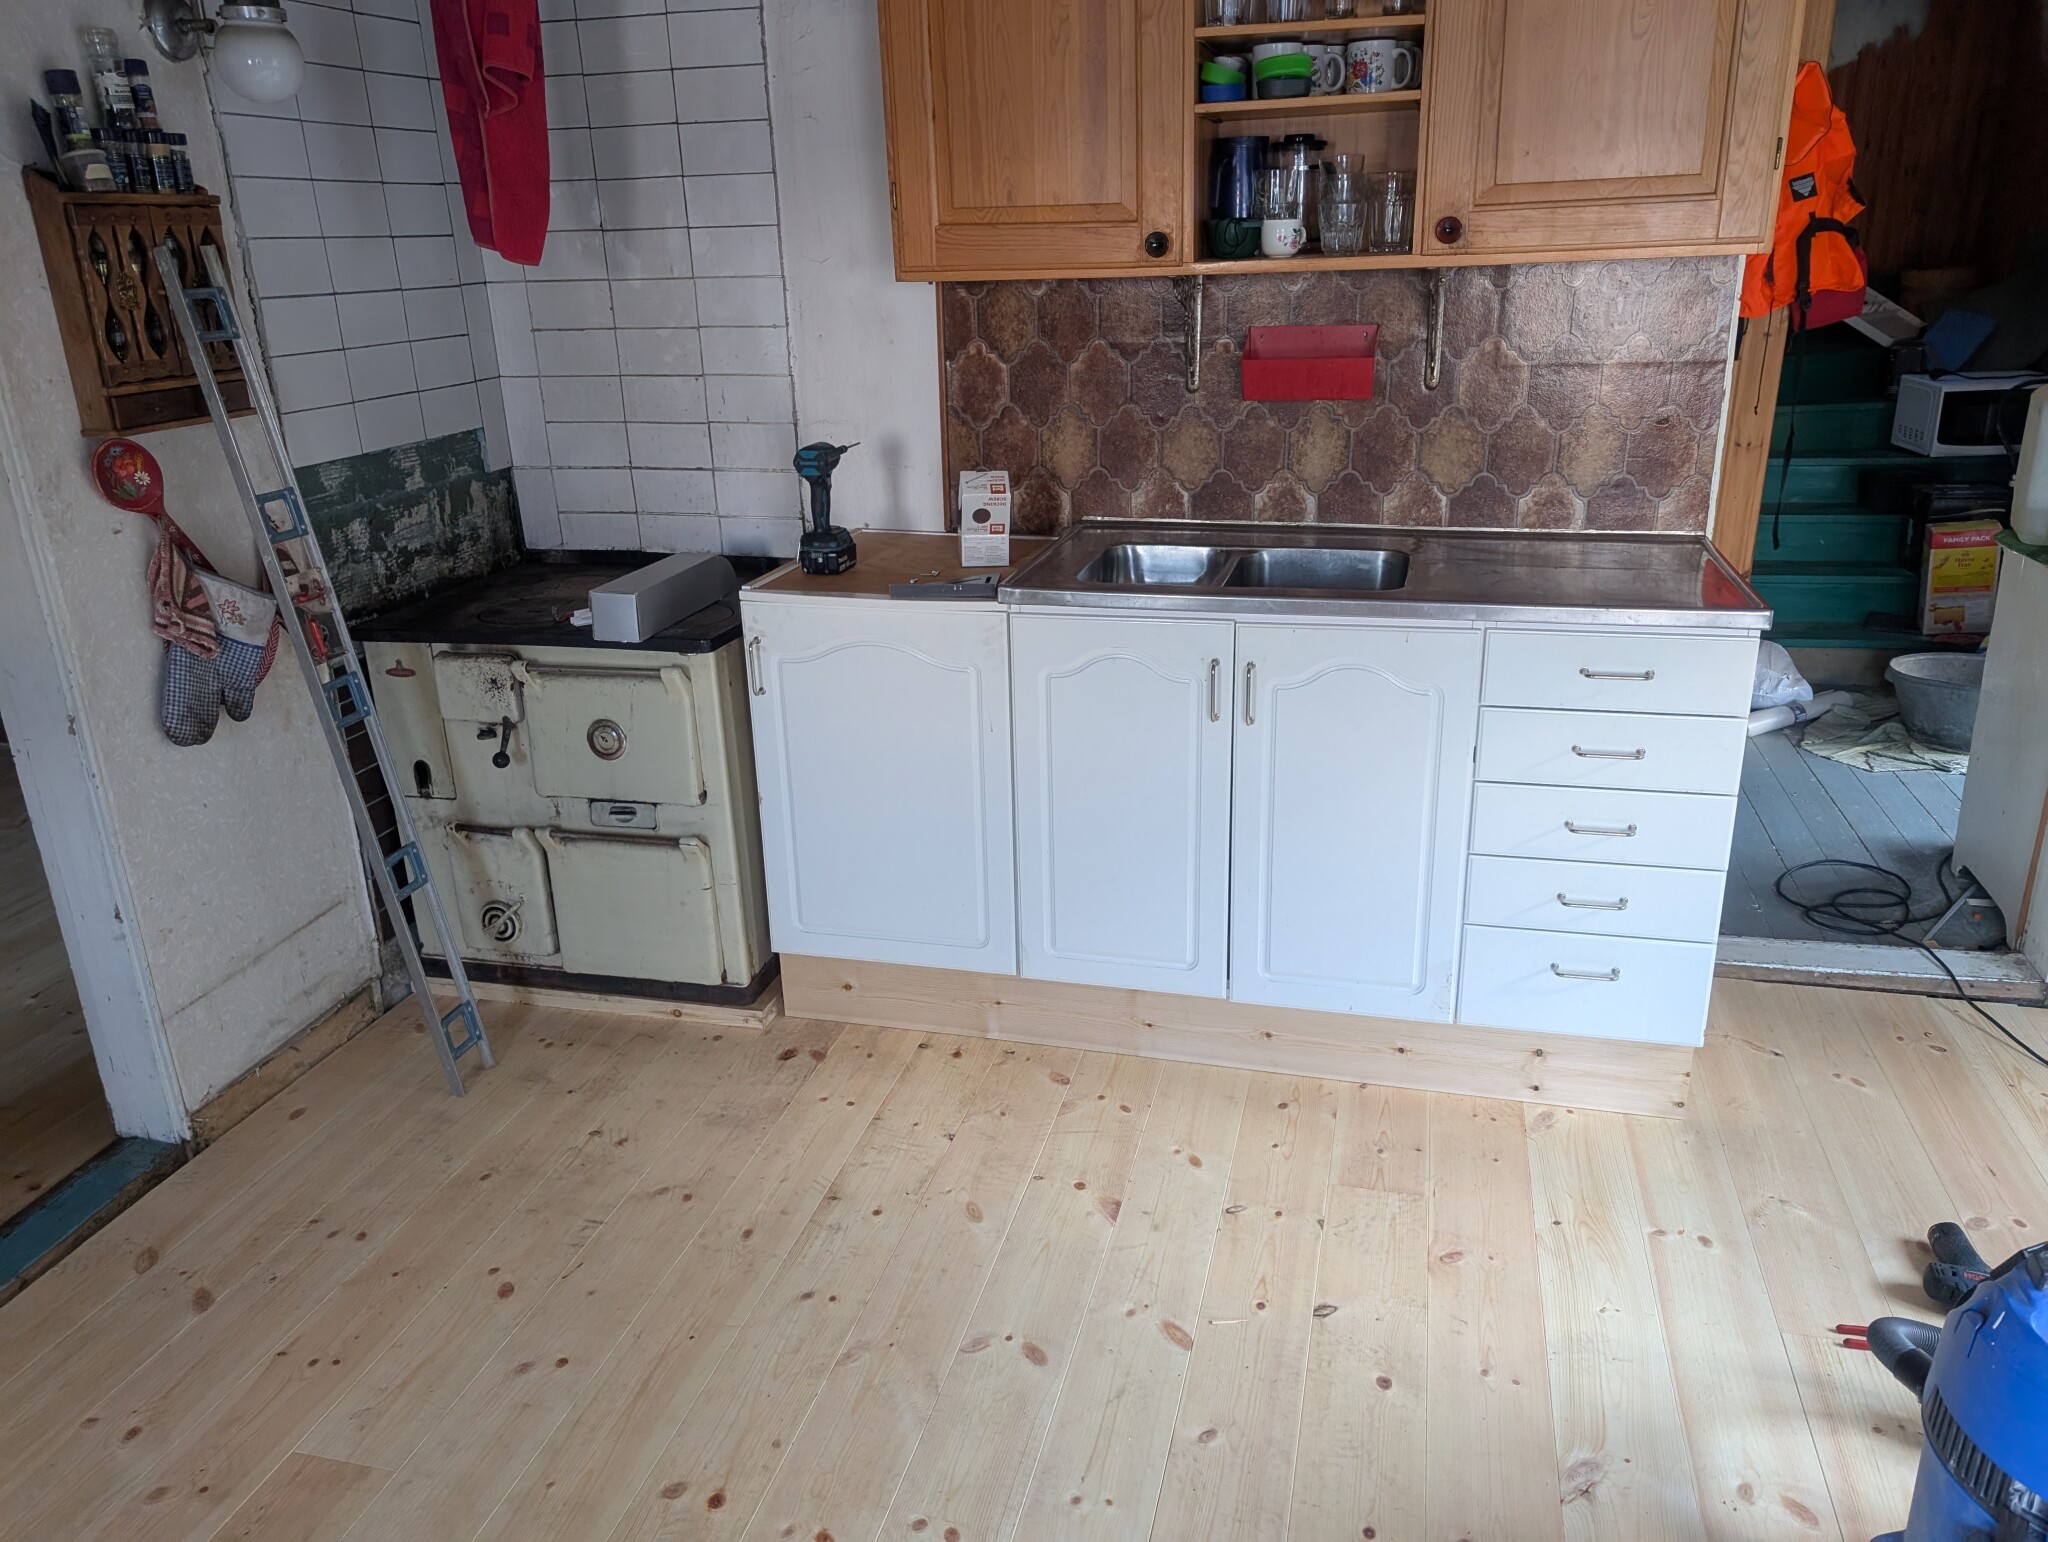
Now I am home again after an intense work week. The floor is laid, the wood-burning stove is back in place, and some better second-hand kitchen cabinets have replaced the old worn ones.
What remains for the next visit is to lay plastic on the ground in the basement, and then we must, of course, review the other surfaces now that we have a nice floor 🙂.
Apart from an incredible amount of hard work in 30 degrees every day, it has gone well, and we are very pleased with the result.
//Simon
Click here to reply
Vi vill skicka notiser för ämnen du bevakar och händelser som berör dig.
SWe_ said:
Thanks for the good answer.