Hello. I am going to tear out insulation and Tretex boards in a room in the basement to clean up and freshen up so it can be used. I need help to know how old the previous renovation is since some areas of the house have asbestos boards, etc.
I can't guarantee that outlets, etc., are from the renovation, but maybe it is possible to rule out certain years.
House: built in the 30s. Eternit boards in the laundry room ceiling (room next to the current room), garage roof, ventilation ducts
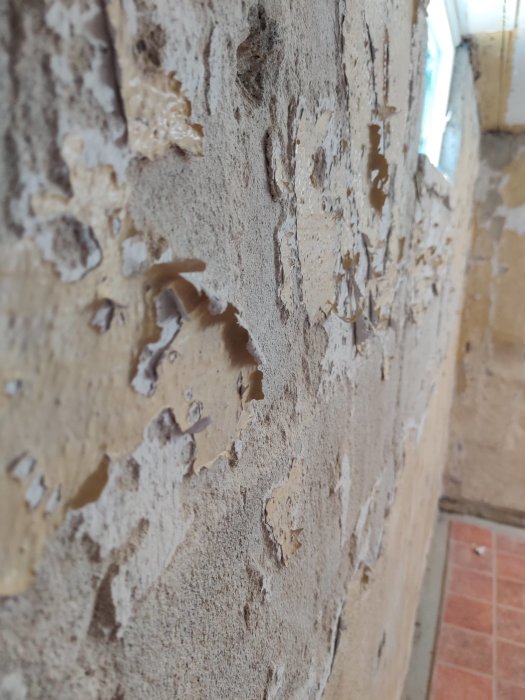
Walls in the current room: Paperboard (Tretex?), fiberglass, wooden studs
Floor: lowered about 15cm, has red tiles that should remain
In part of the room, a bathroom is built. It's unclear if it was done at the same time, but the floor is slightly "half-lowered". The feeling is that it was done at the same time. It has more typical features that might be easier to date.
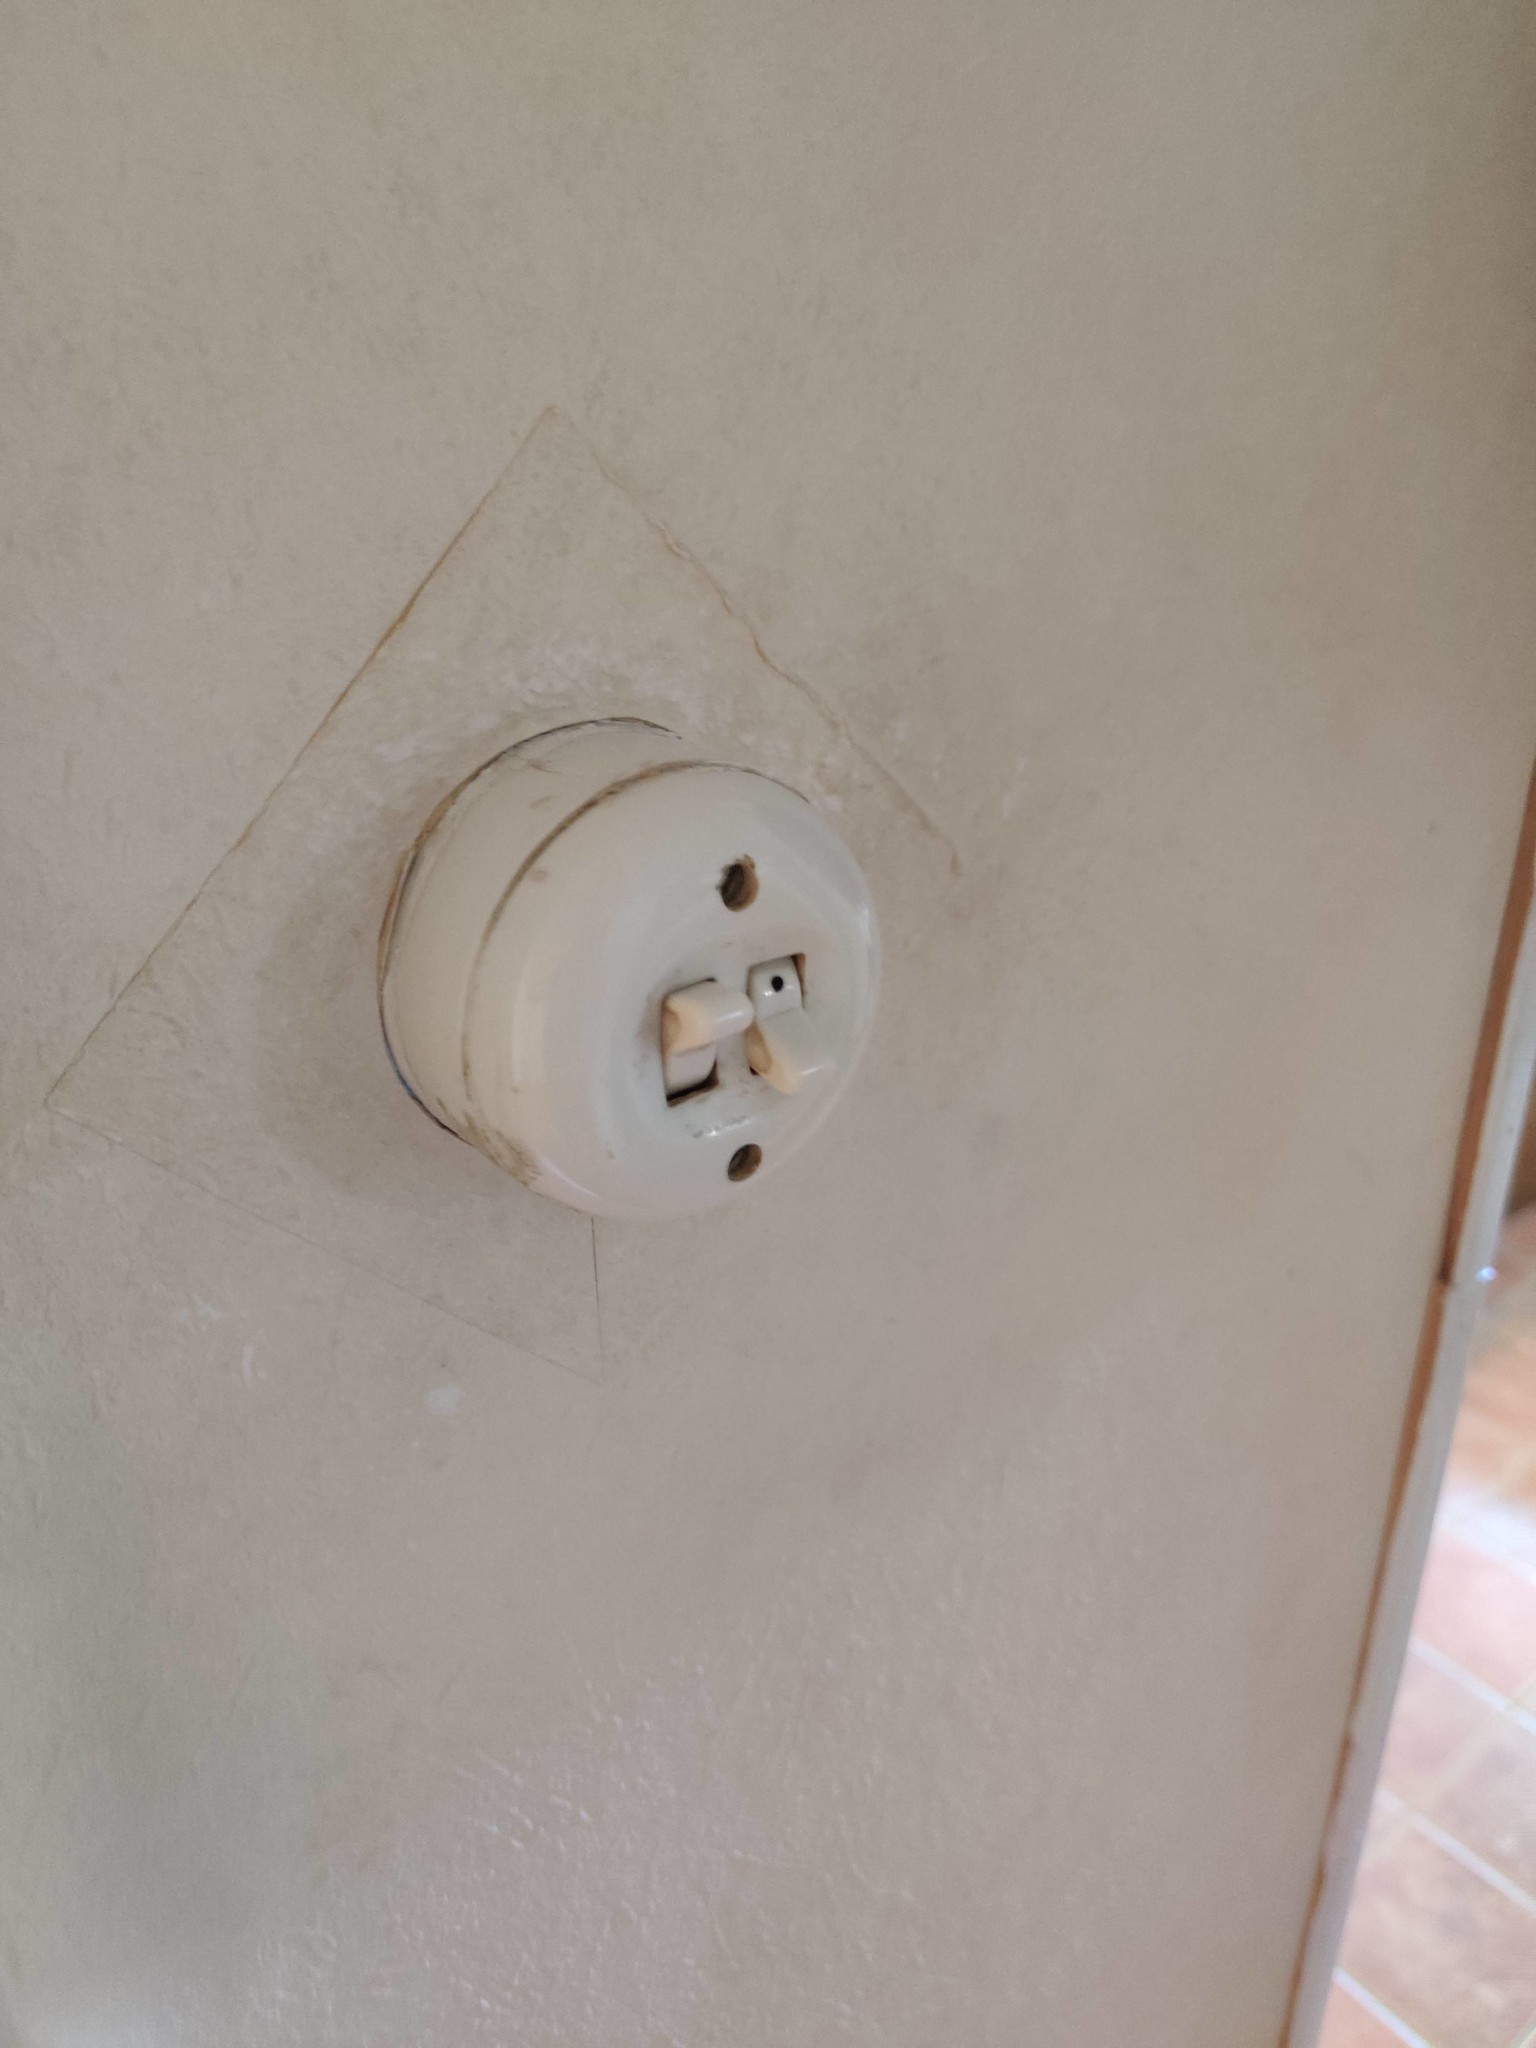
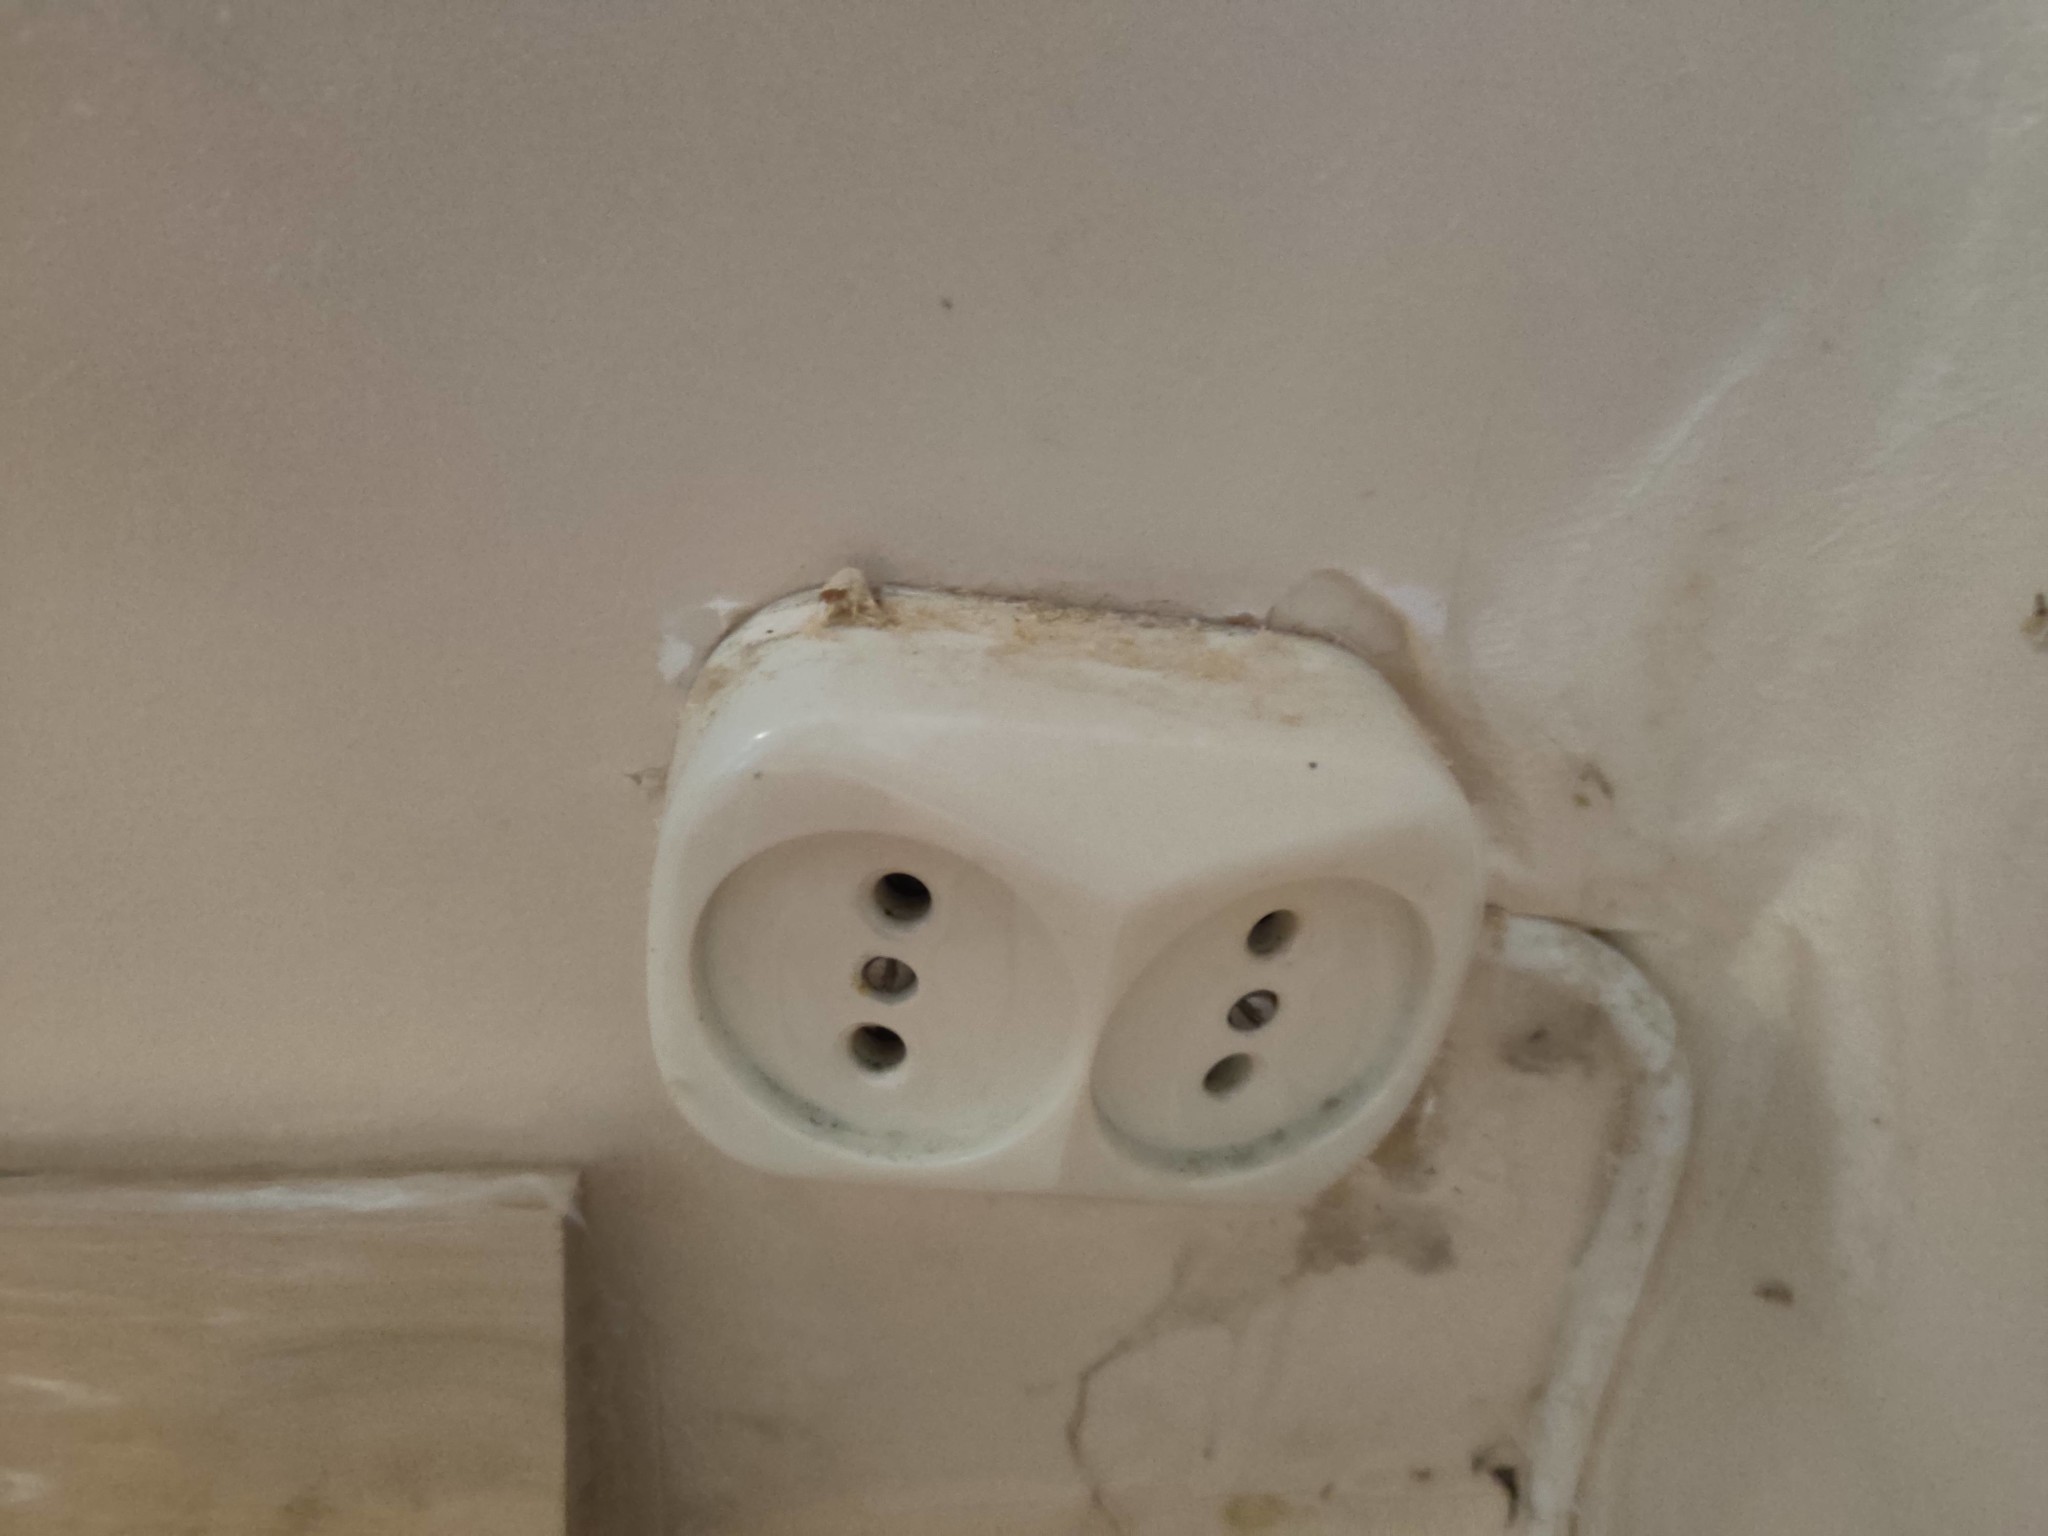
I would guess the mid-50s for the bathroom, and that's based on how (the unrenovated) bathroom looked in the 50s apartment I lived in twenty years ago.
Detachable toilet seat came 61 and adjustable feet on built-in bathtubs 65, as far as I know. So that might help you date it. I think the floor outside the toilet whispers of a later time, but it might have been installed later.
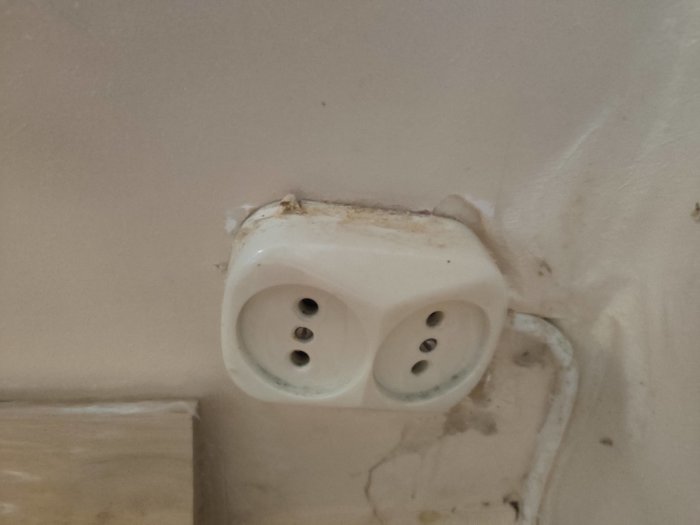
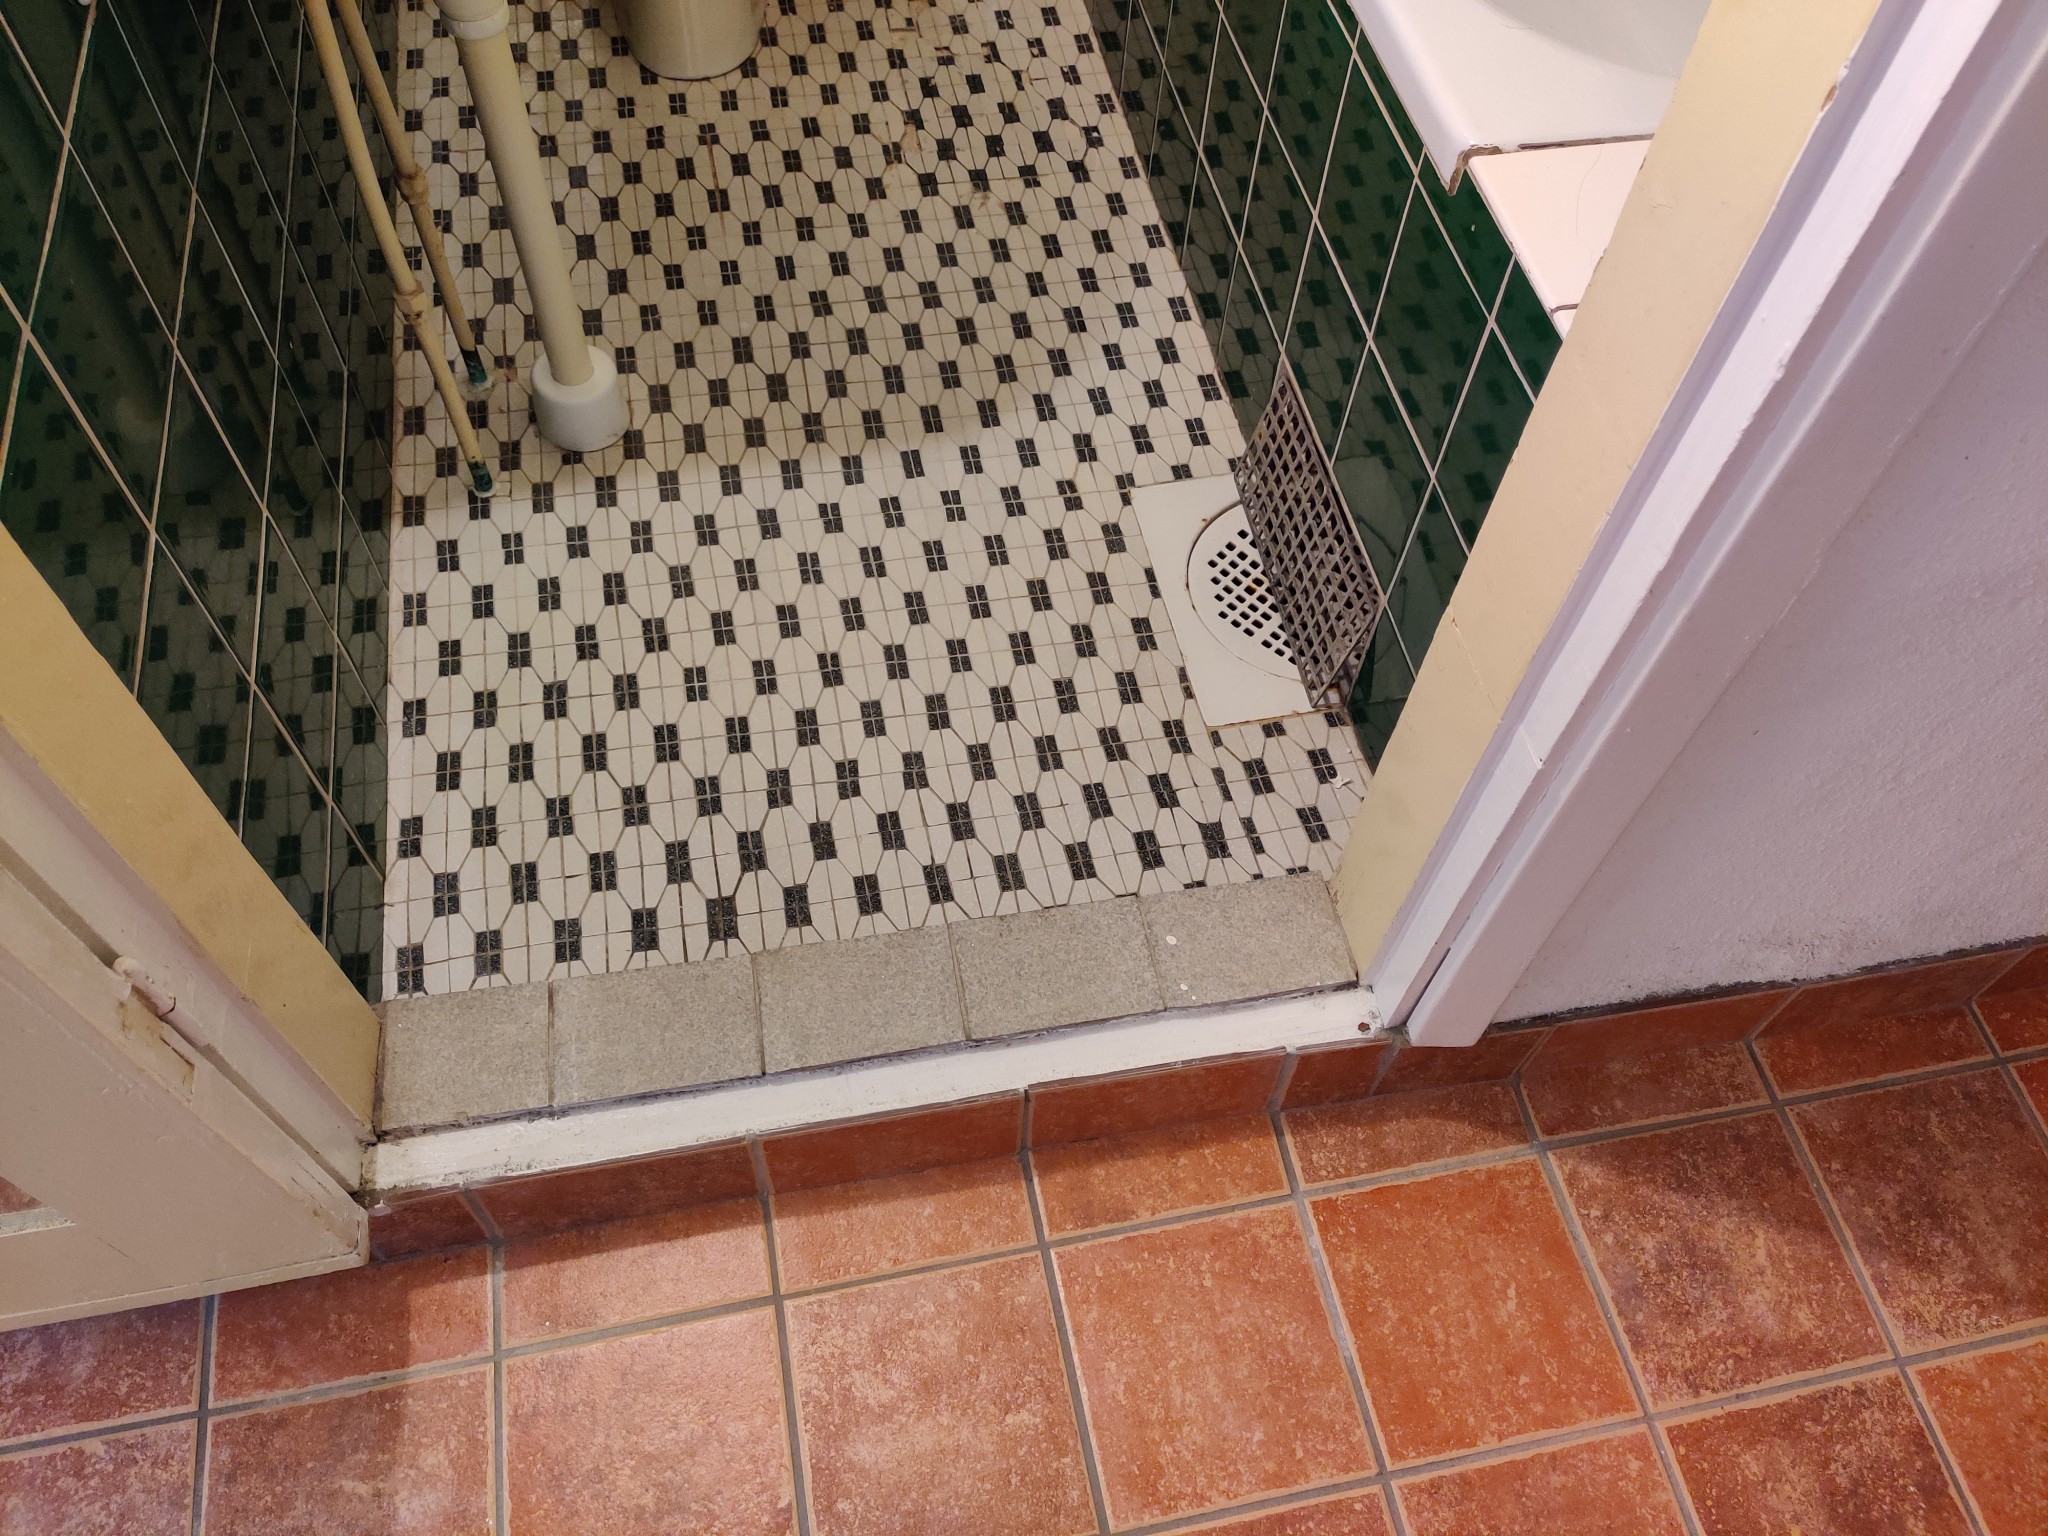
Thanks for the responses everyone, then we'll say 60s. We completely agree that the floor in the room should come later, it feels late 80s. The tricky part is that the floor goes up on the fiberboard on the wall and as far as I know, tretex wasn't manufactured after the early 70s(?). Can you tell if it's tretex or some other fiberboard? Fishing a bit for how much asbestos there might be if you didn't notice it and how much should be cleared away at once when you're "decontaminating" in the basement after demolition.
I'm leaning towards putting on a P3 mask and removing the walls + cleaning up and painting in the current room.
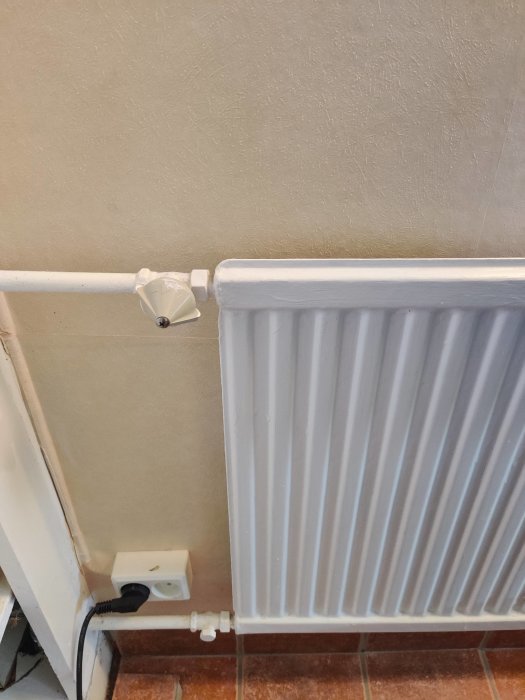
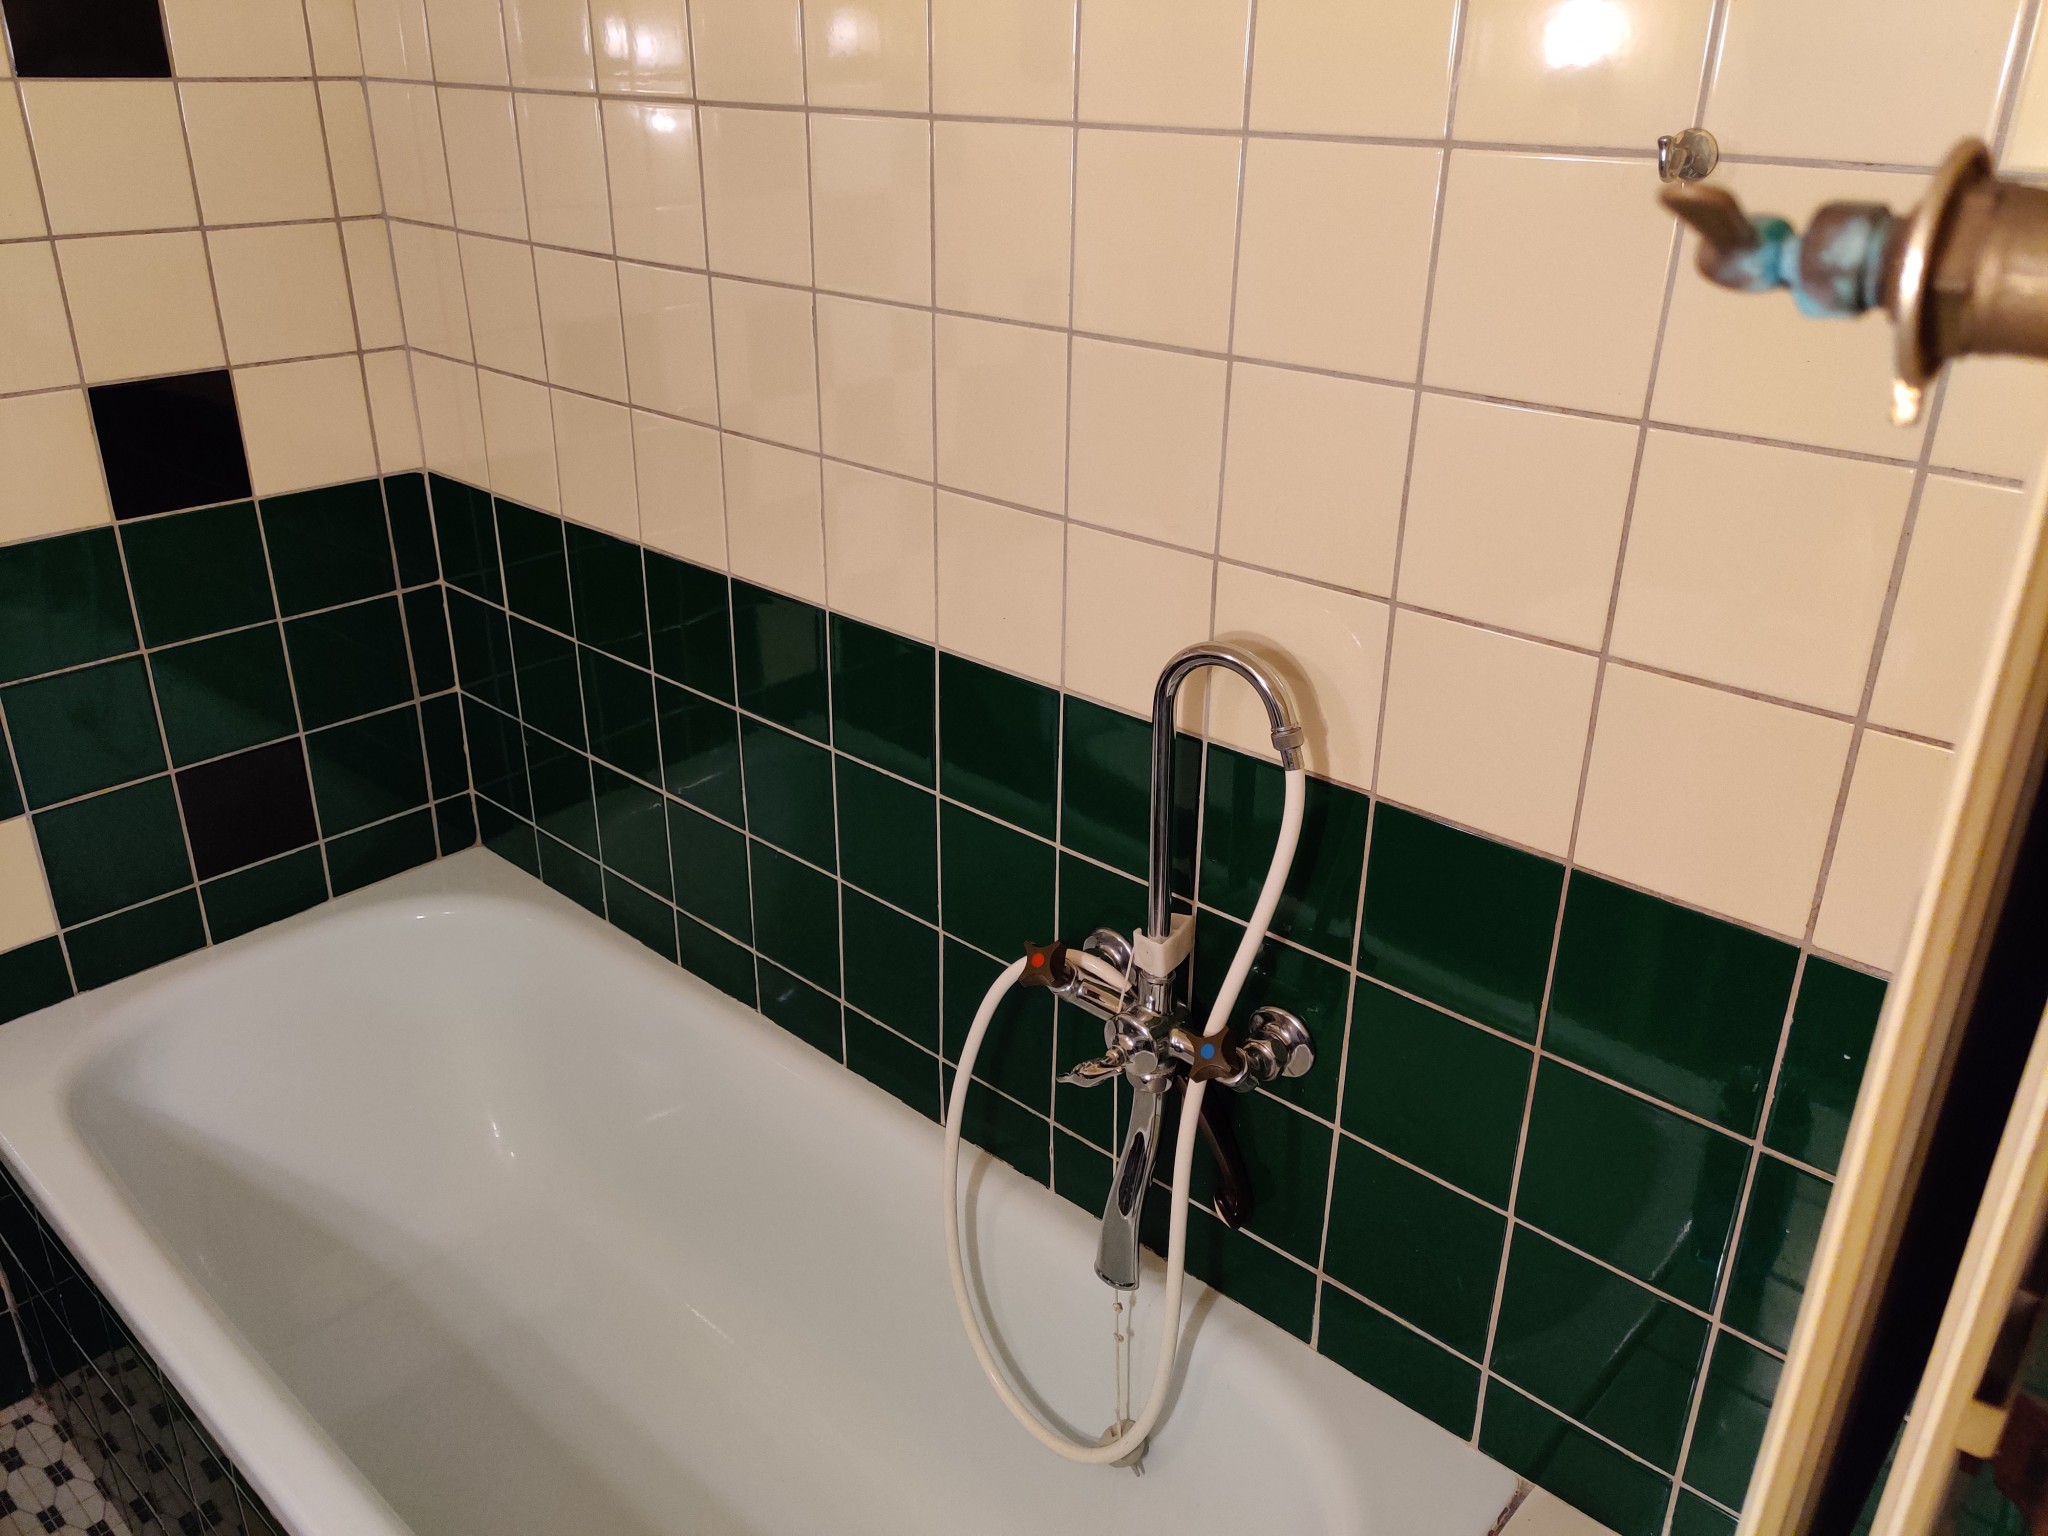
The floor of the bathroom has come loose by the toilet, we're going to try to find the same mosaic or patch it up around the toilet so that it looks good. Many have pointed out that the bathroom is nice, so we'll probably keep it, regrout, and fix the electricity. The mixer is a work of art!
Isn't it worth a few hundred kronor and a couple of days' wait to know for sure if there's any asbestos anywhere?
Yes, really. Since we have it in both ventilation ducts, laundry room ceiling, garage roof, plinths that the garage stands on(!) I almost assume that it's in grout and glue too.. will have a P3 mask anyway and seal off surrounding rooms.
But actually, I want to remove the plastic mat in the rest of the basement sometime too and I don't want to sand asbestos glue myself. Carefully removing walls is one thing in my opinion, standing with a sander is another. I'll deal with it all at once actually. Thanks for the suggestion
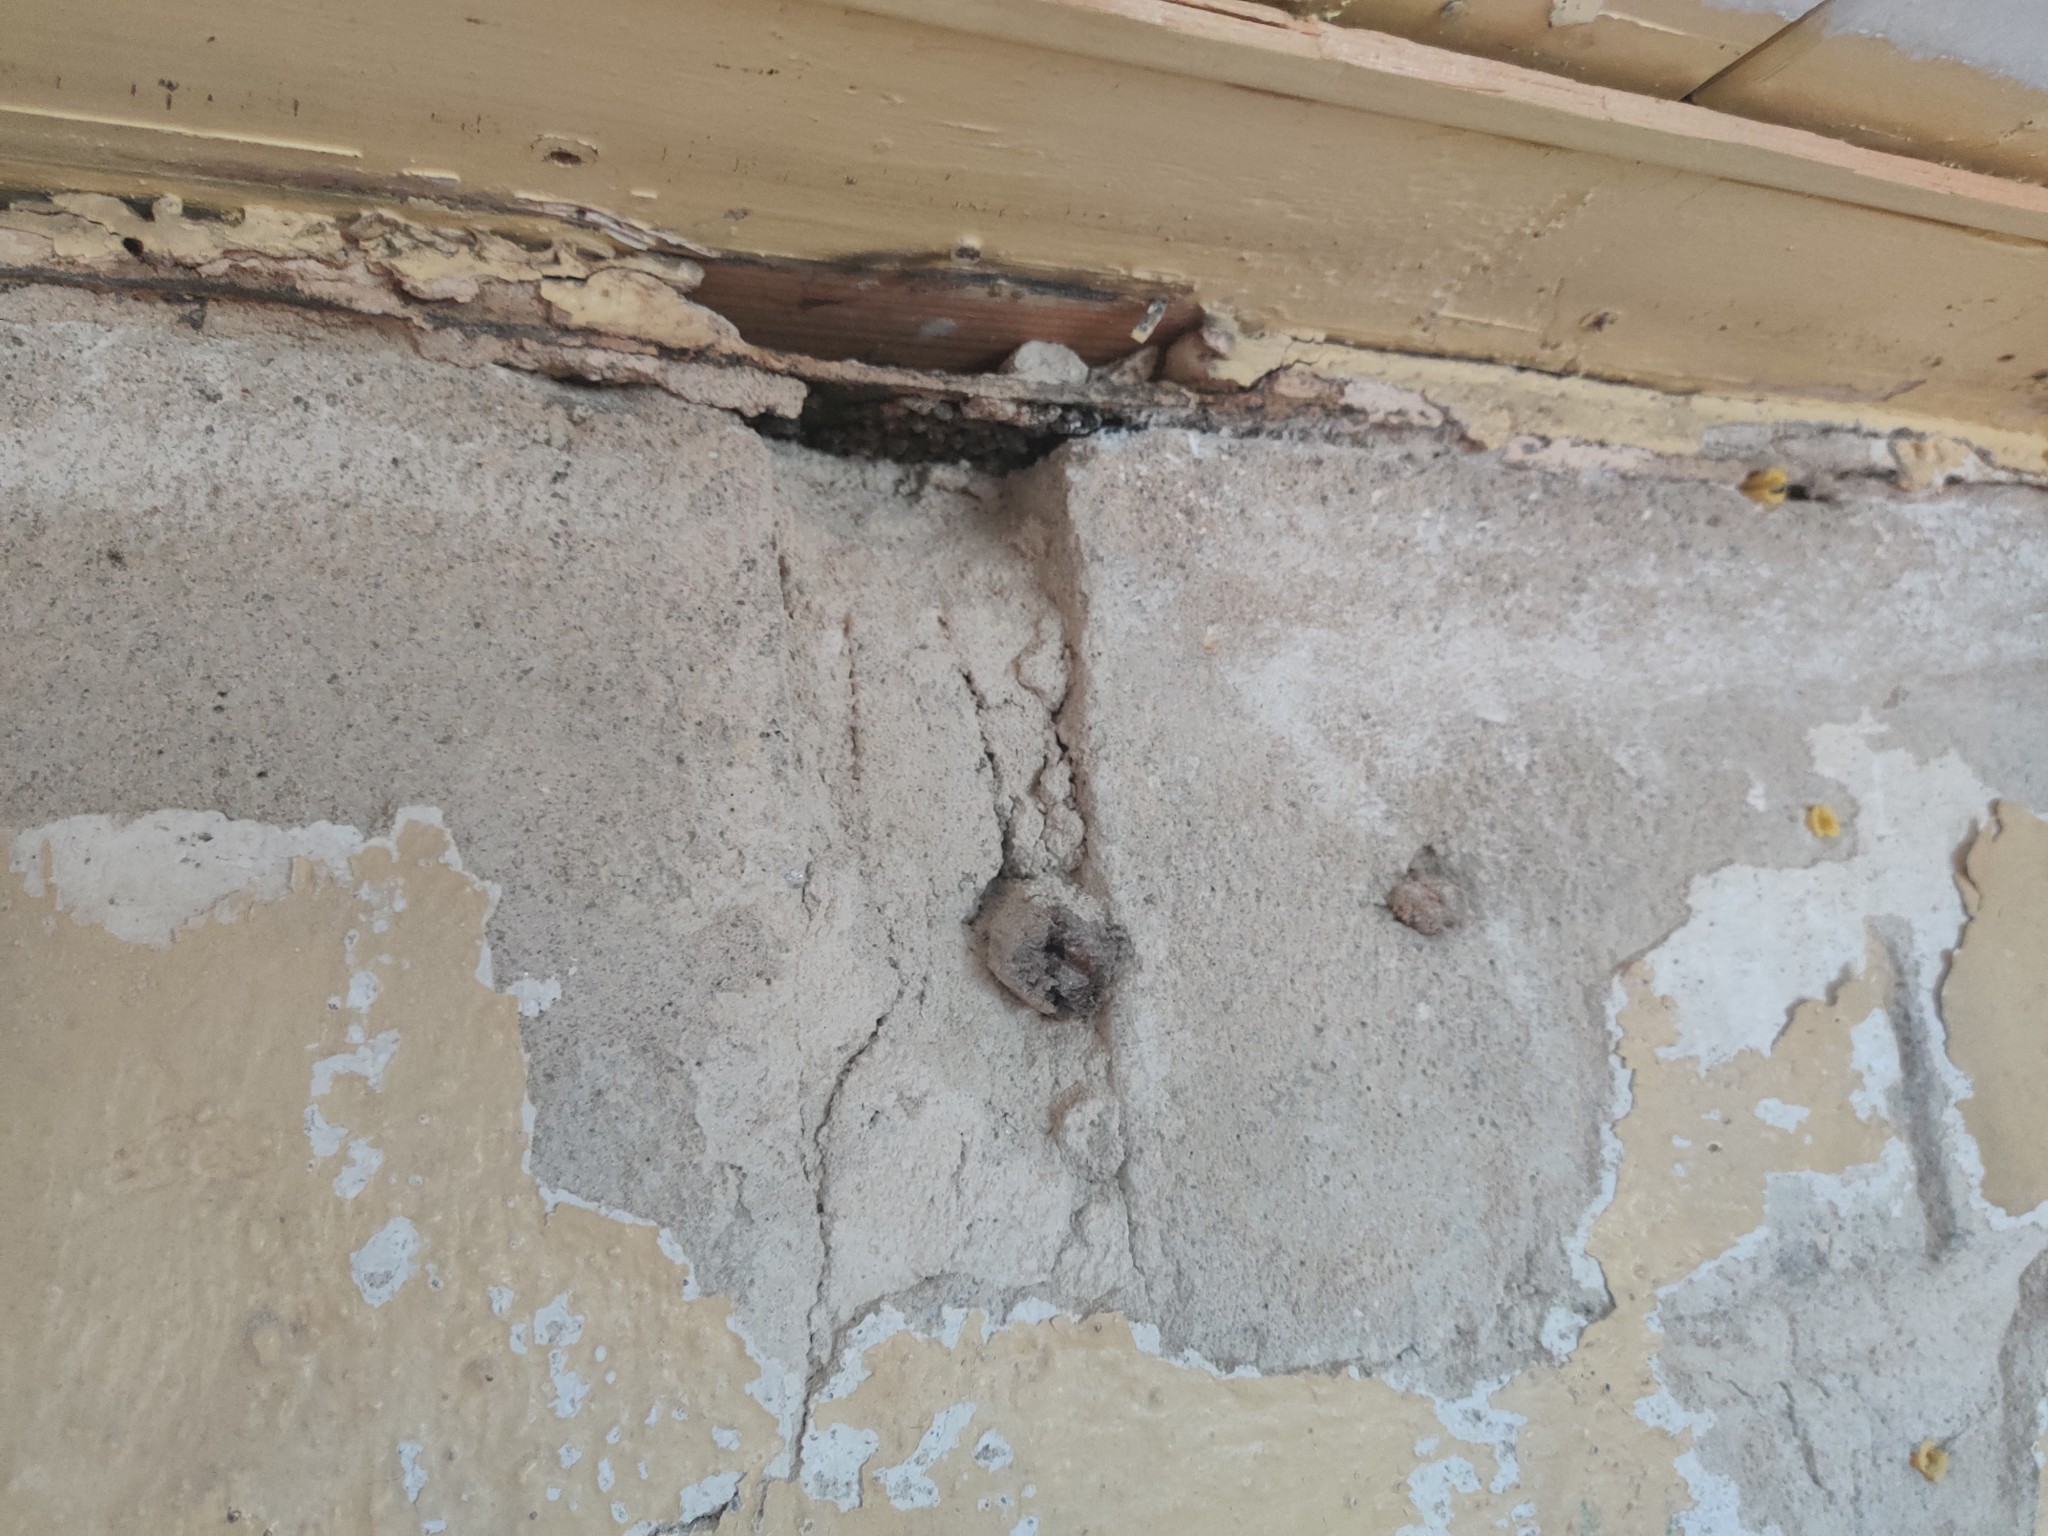
Torn everything down and planning to remove the plaster tomorrow.
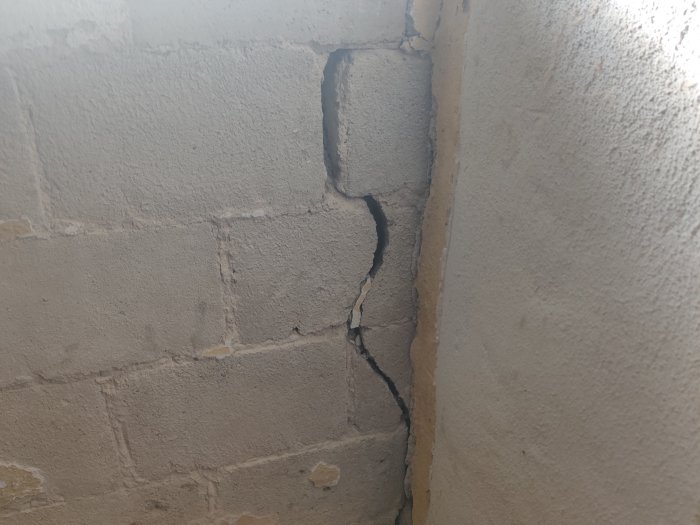
A larger crack, but nothing unusual. The plaster is very porous in many places. I'm sanding everything off with an angle grinder or brush on the drill, I think I can remove most of it. In the crack, the mortar is almost like sand.
But what do you do next? Planning to plaster and paint with silicate paint. I've plastered before, but on newly built leca. Slather on thin A-mortar and then B or C-mortar in the right thickness? Feels like I want to get a relatively flat and uniform surface when I plaster with B or C-mortar...?
It looks like aerated concrete, different mortar applies then (mortar with lime cannot have direct contact with the blocks), and the crack is very coarse.
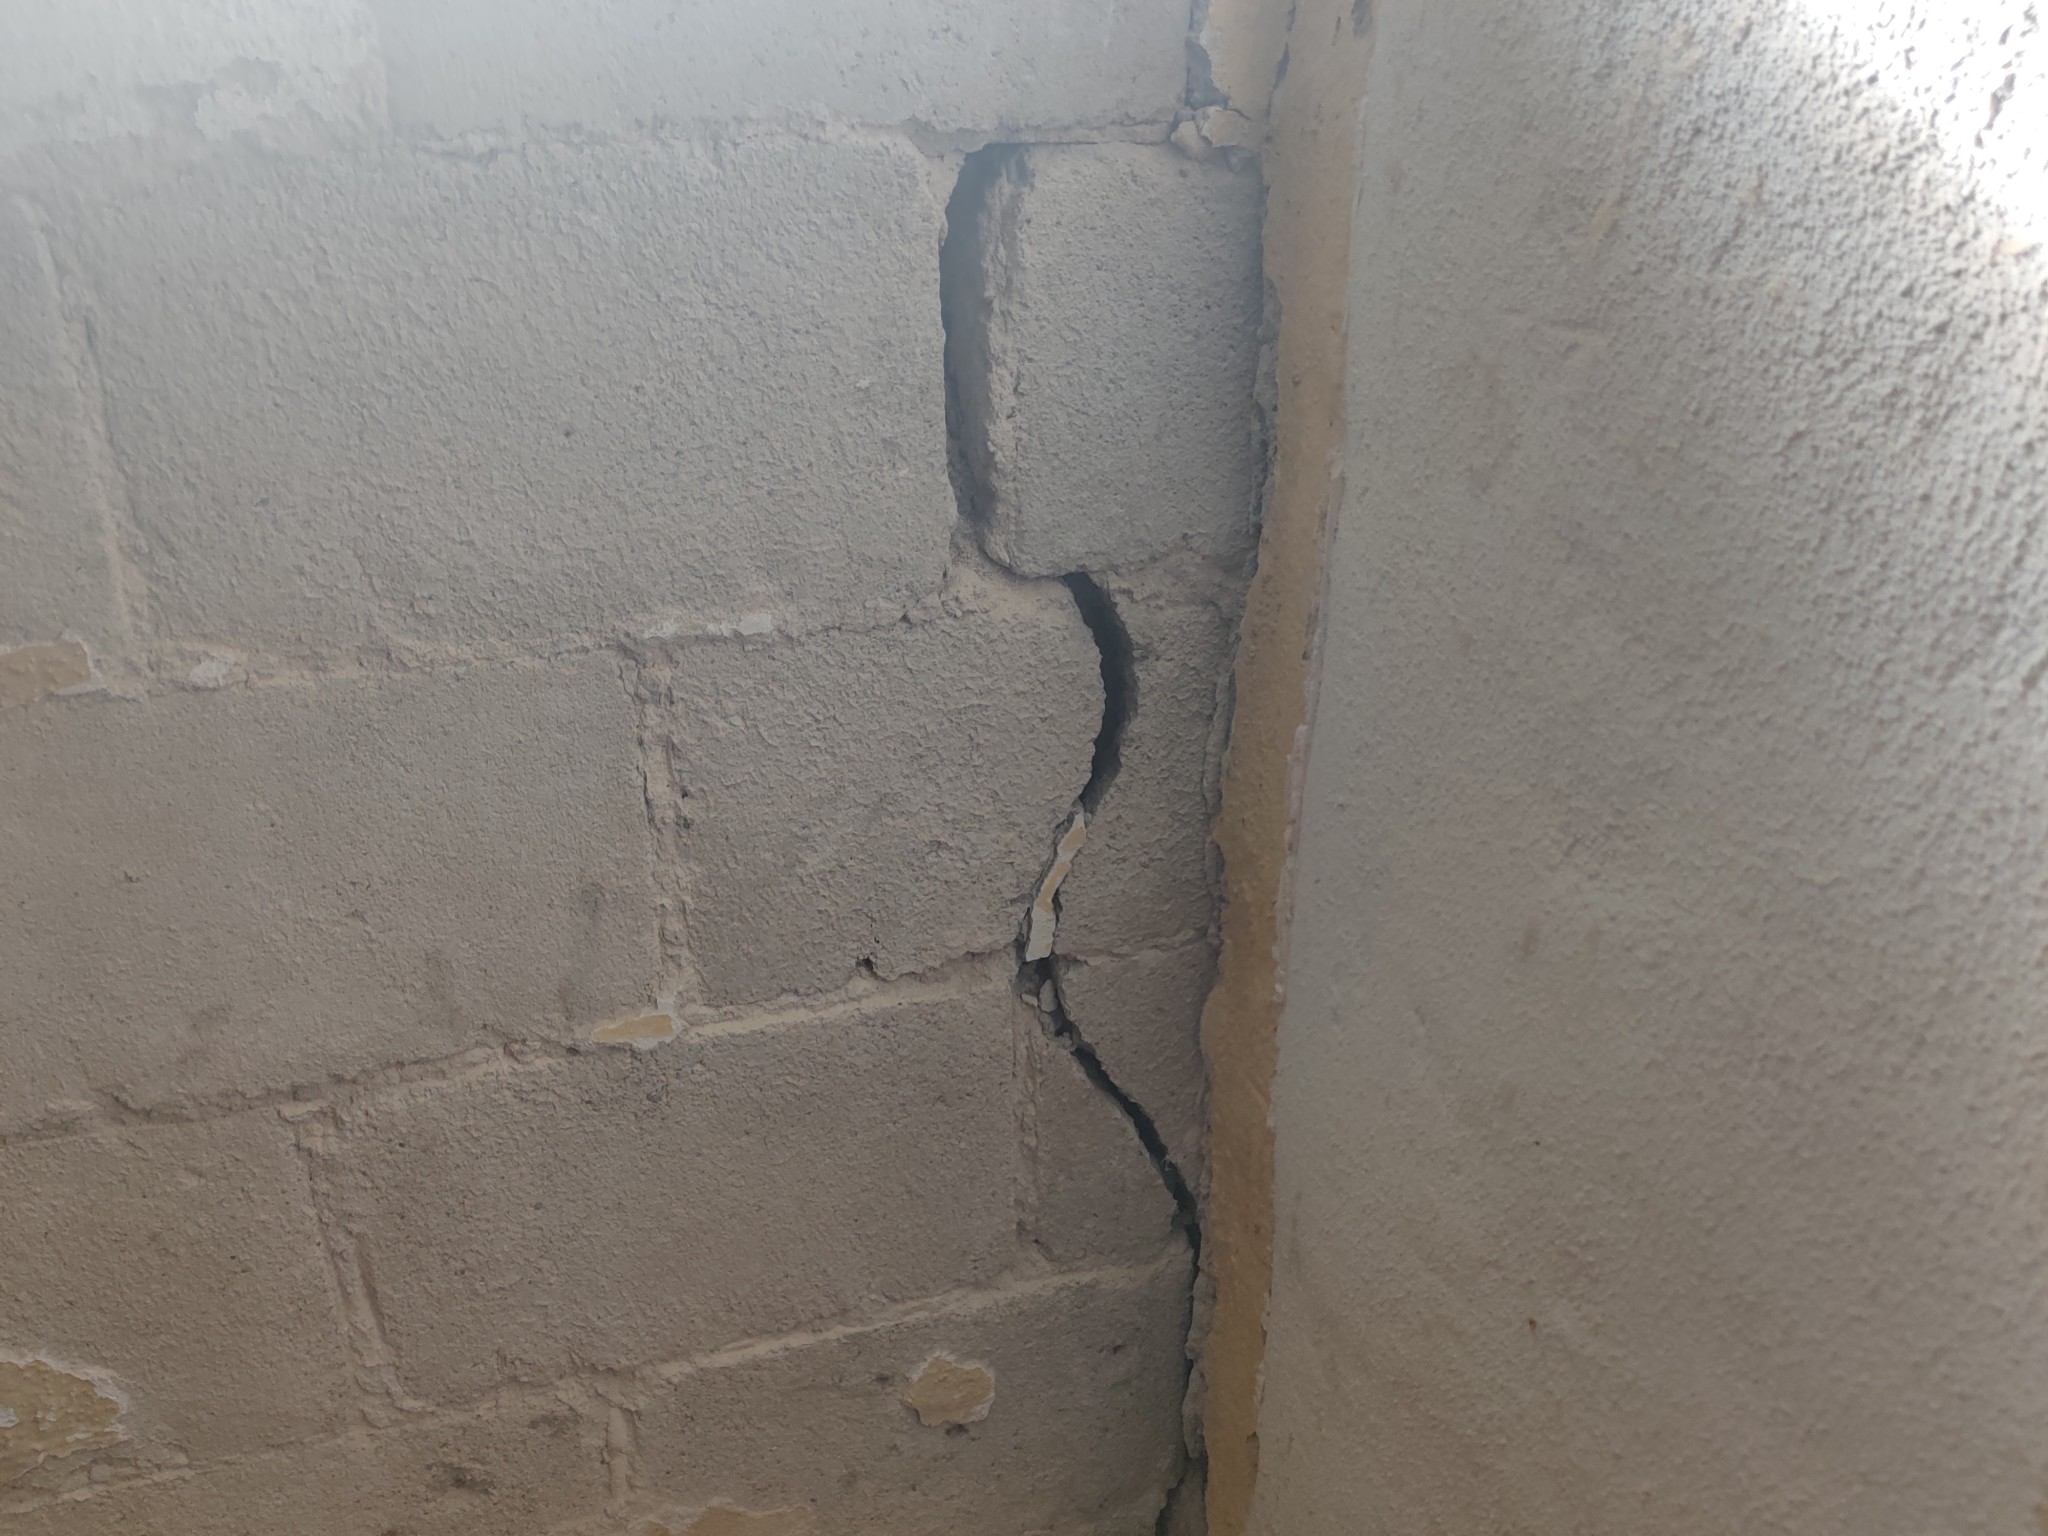
Cut the crack properly at least 2cm on each side and maybe 4cm deep, prime, and then fill it up again in two stages, then you have a chance for it to hold.
Prime everything with vitgrund (Weber 105), mesh (recommended on blocks as movements can cause cracks in the lines straight through the plaster), and apply either a cement mortar A or a low-alkaline b-mortar (Weber 130) for rendering.
Rendering should cover the mesh and be straight, so this is where you set battens and reveal boards.
Then depending on the surface you have in mind, you can run everything with a Weber 133 and float nicely or just steel the surface if you're going to fill.
It looks like lightweight concrete, different mortar applies then (mortar with lime should not have direct contact with the blocks) and the crack is very coarse.
Cut the crack properly at least 2cm on each side and maybe 4cm deep, prime and then fill again in two rounds so you have a chance to hold it.
Prime everything with white primer (Weber 105), mesh (recommended on blocks as movements can make cracks in lines straight through the plaster) and set either a cement mortar A or a low-alkaline b-mortar (Weber 130) for the base coat.
The base coat should cover the mesh and be straight, so this is where you set strips and reveal boards.
Then depending on what surface you have in mind later on, you can coat everything with a Weber 133 and float smoothly or just steel the surface if you are going to plaster.
Super, thanks for the answer! Fantastic with model numbers on what you're talking about, makes it much easier. It's concrete brick, didn't know it mattered.
Does white primer (105) still apply then, or can I use cement mortar A or Red primer to fill in holes/cracks AND splash the same on the whole wall before plastering?
Or what did you mean otherwise that cracks and holes should be filled up with?
Vi vill skicka notiser för ämnen du bevakar och händelser som berör dig.


BirgitS said: