Why are the steel studs bending when I screw in the fiber cement boards?
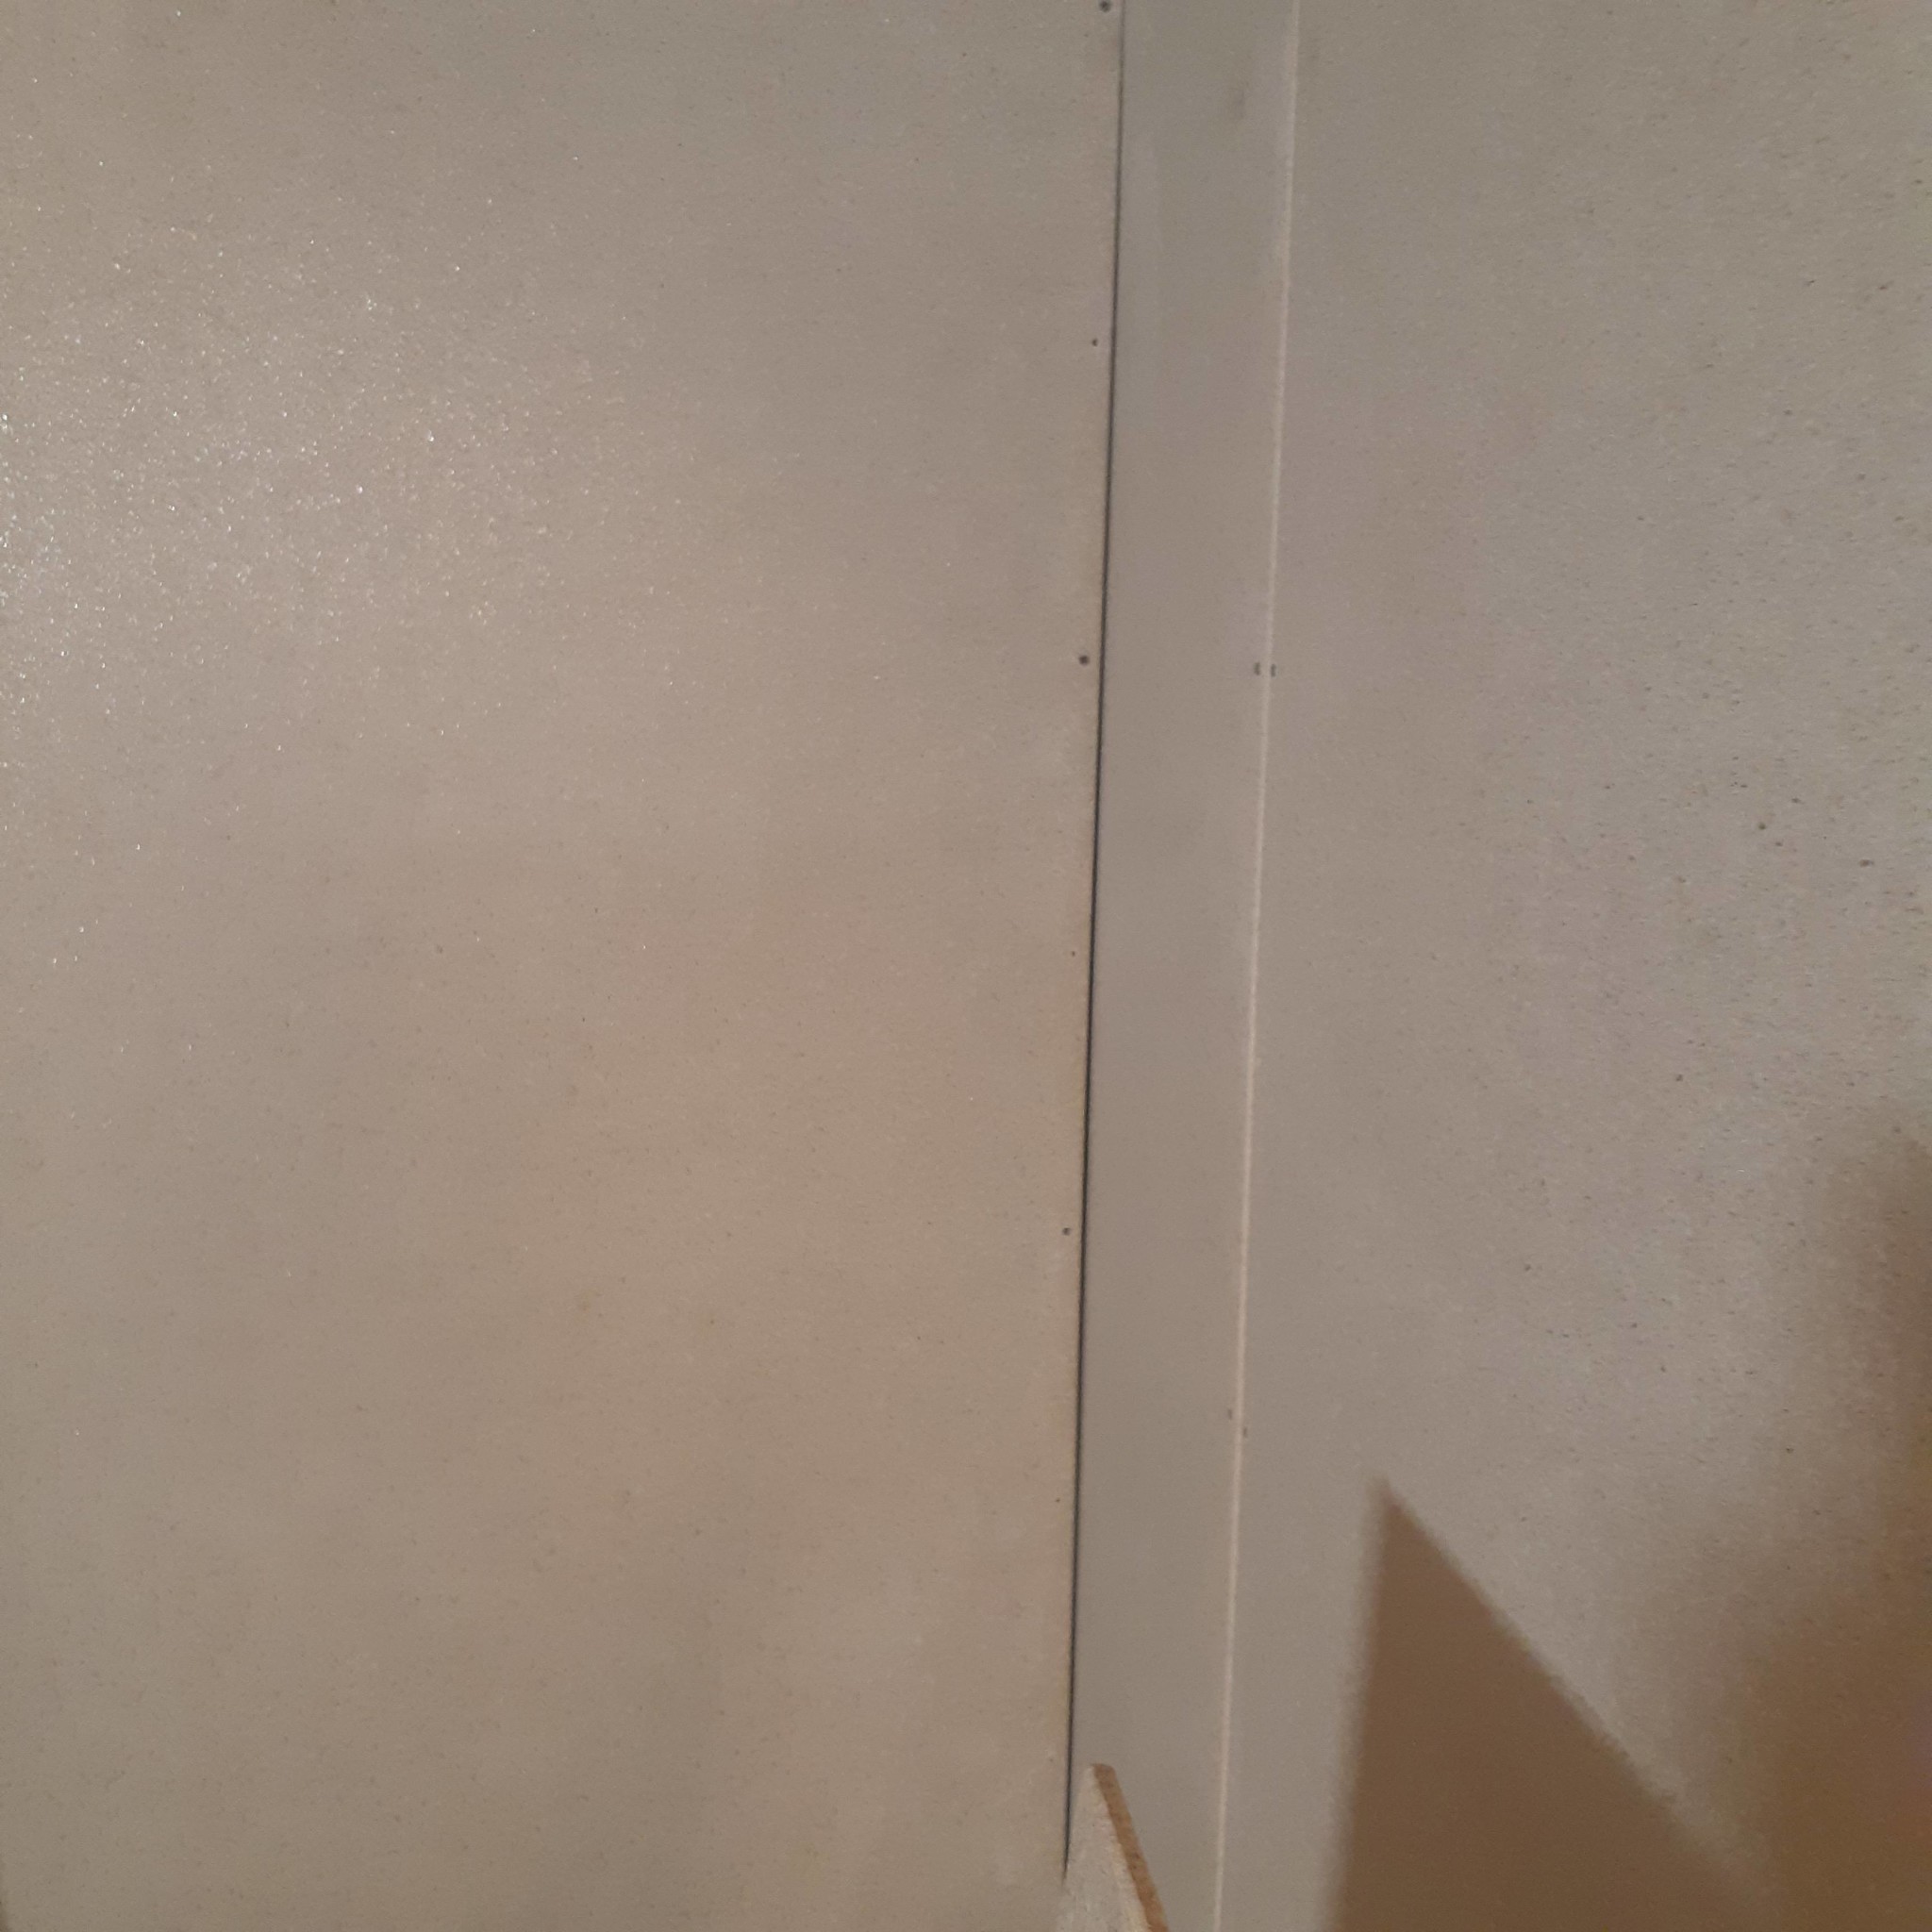
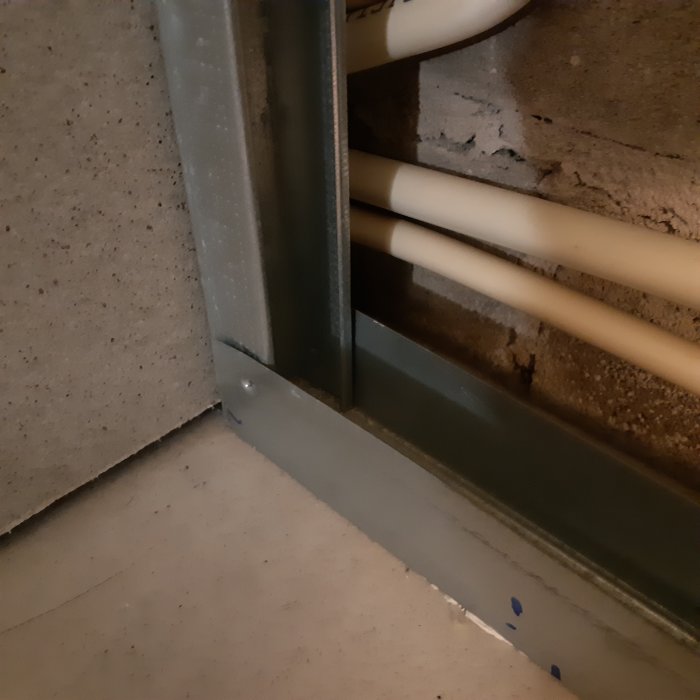
I've finally gotten around to putting up the wall boards on the basement walls. In the inner corners, you can see that the board that ends up at the back bows inward.
The first corner bothered me a little, but I thought of using some trim or sealant.
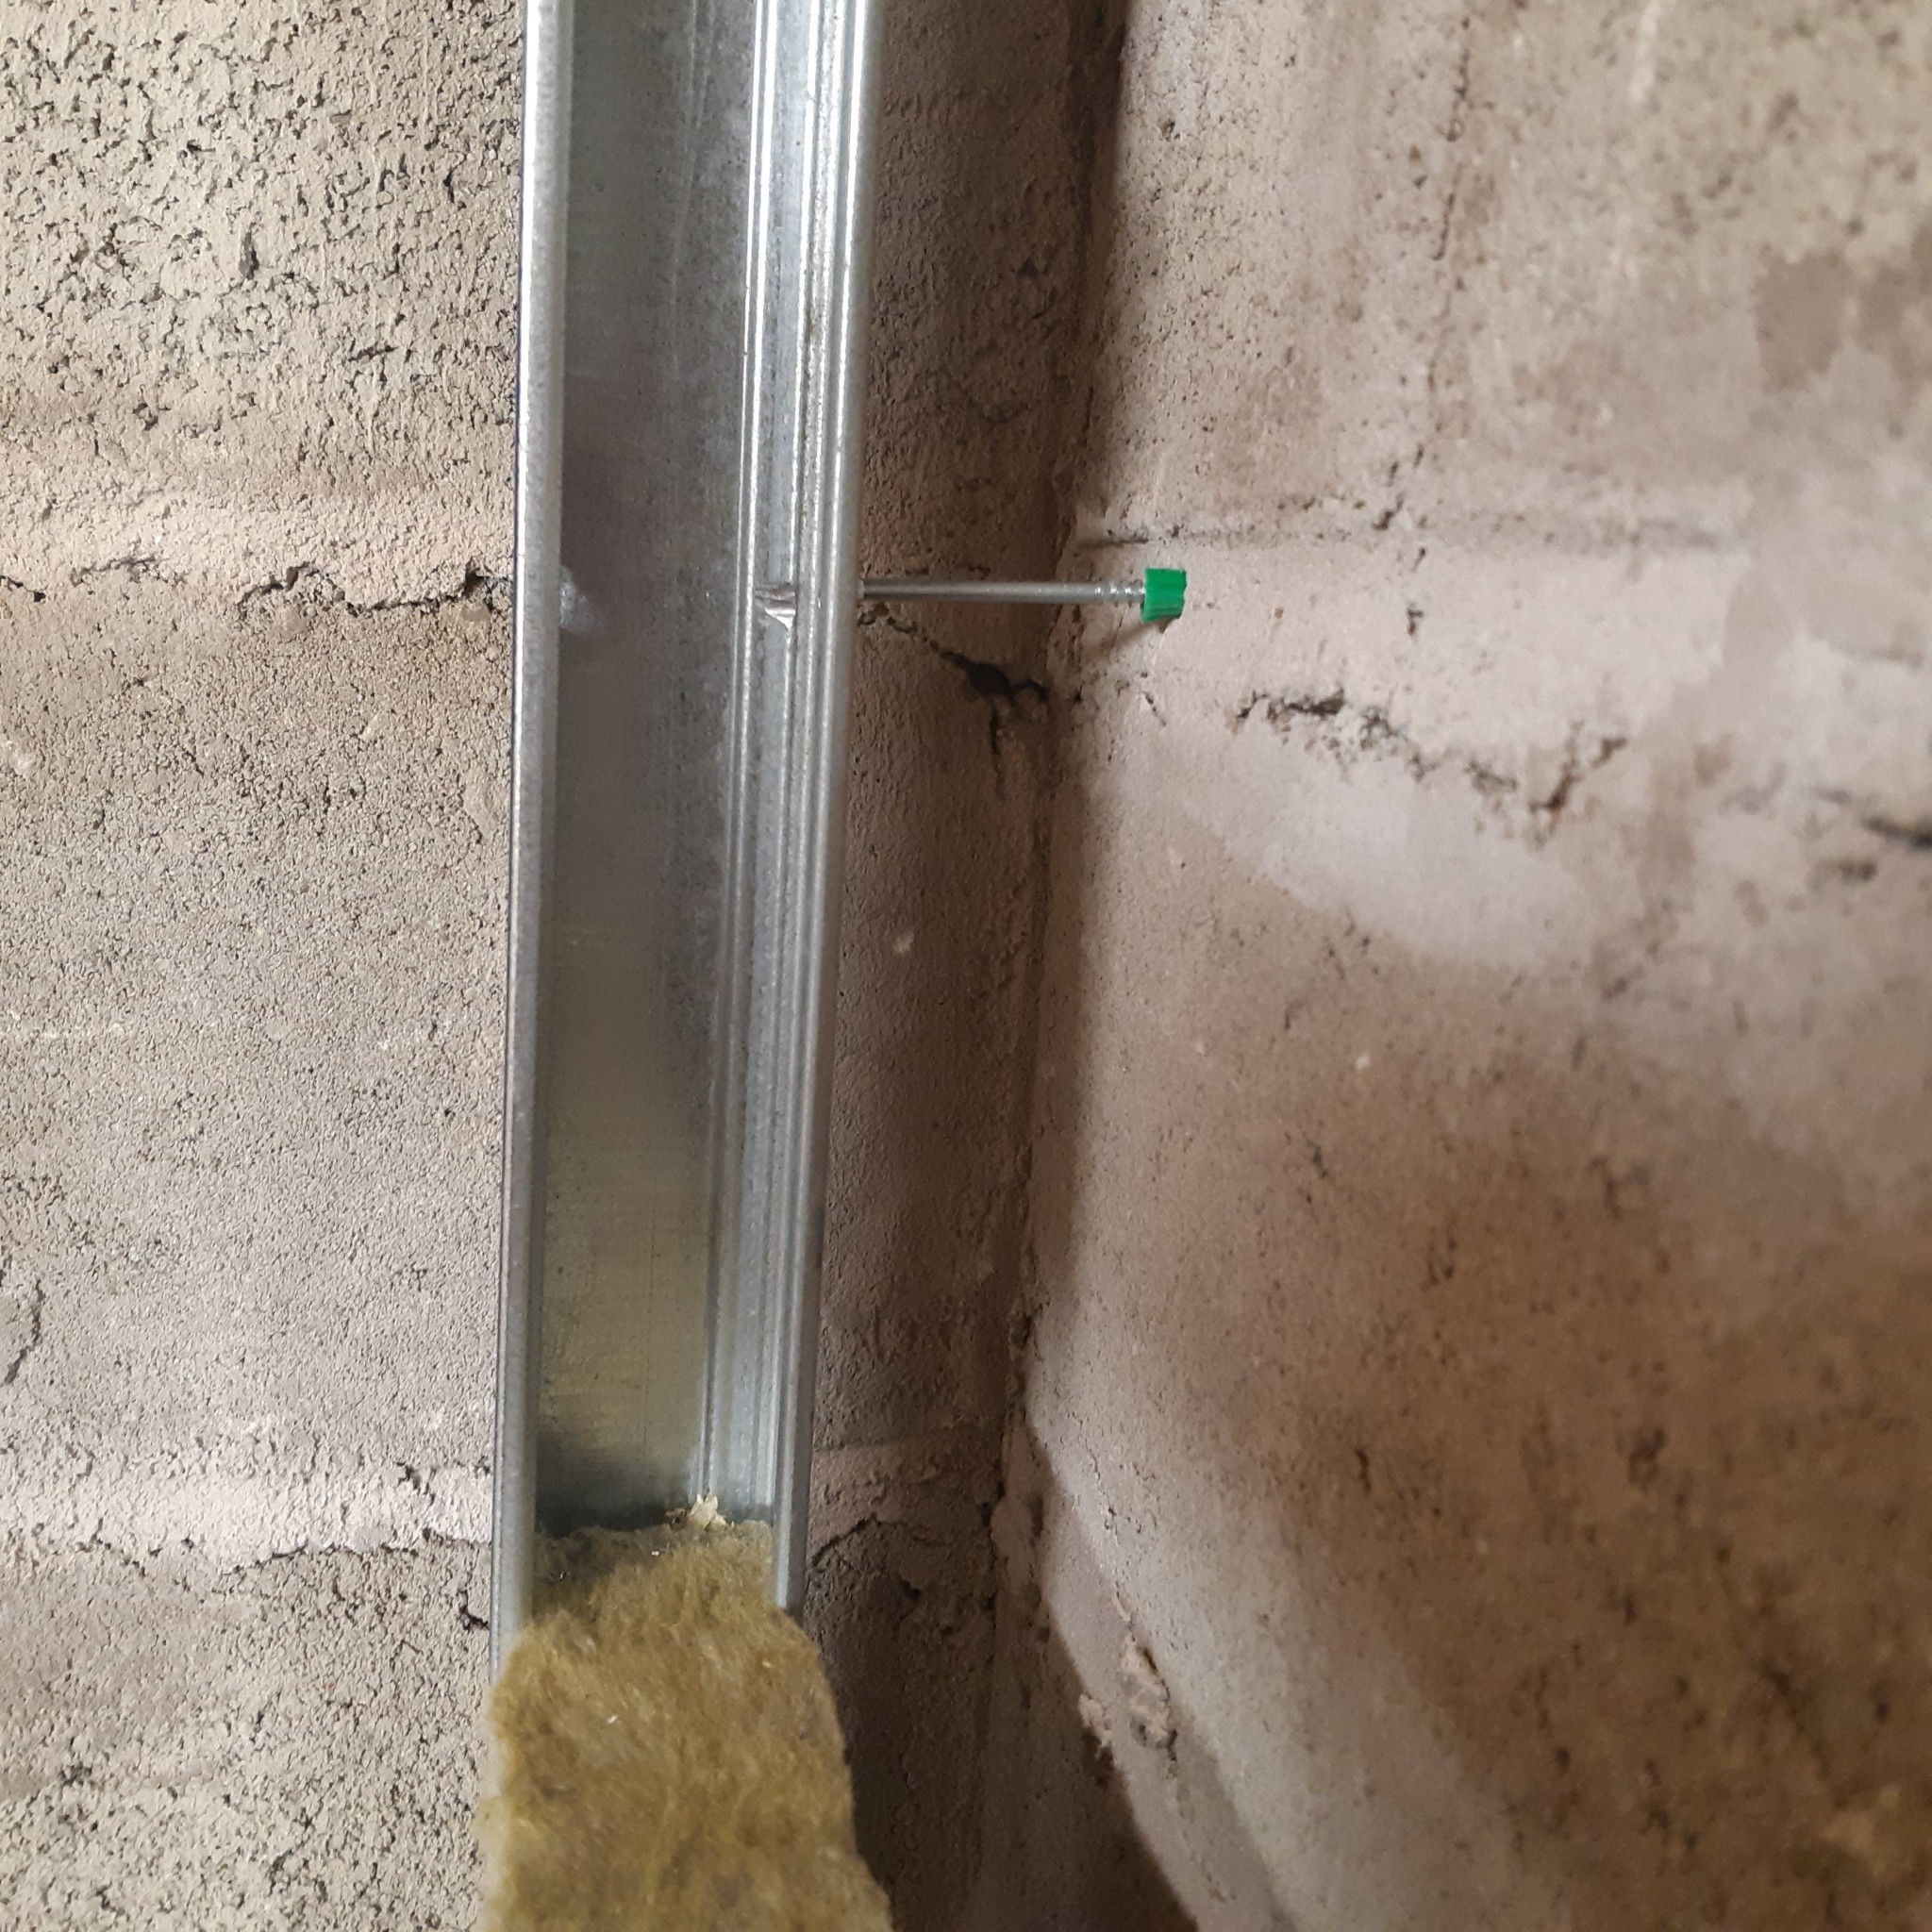
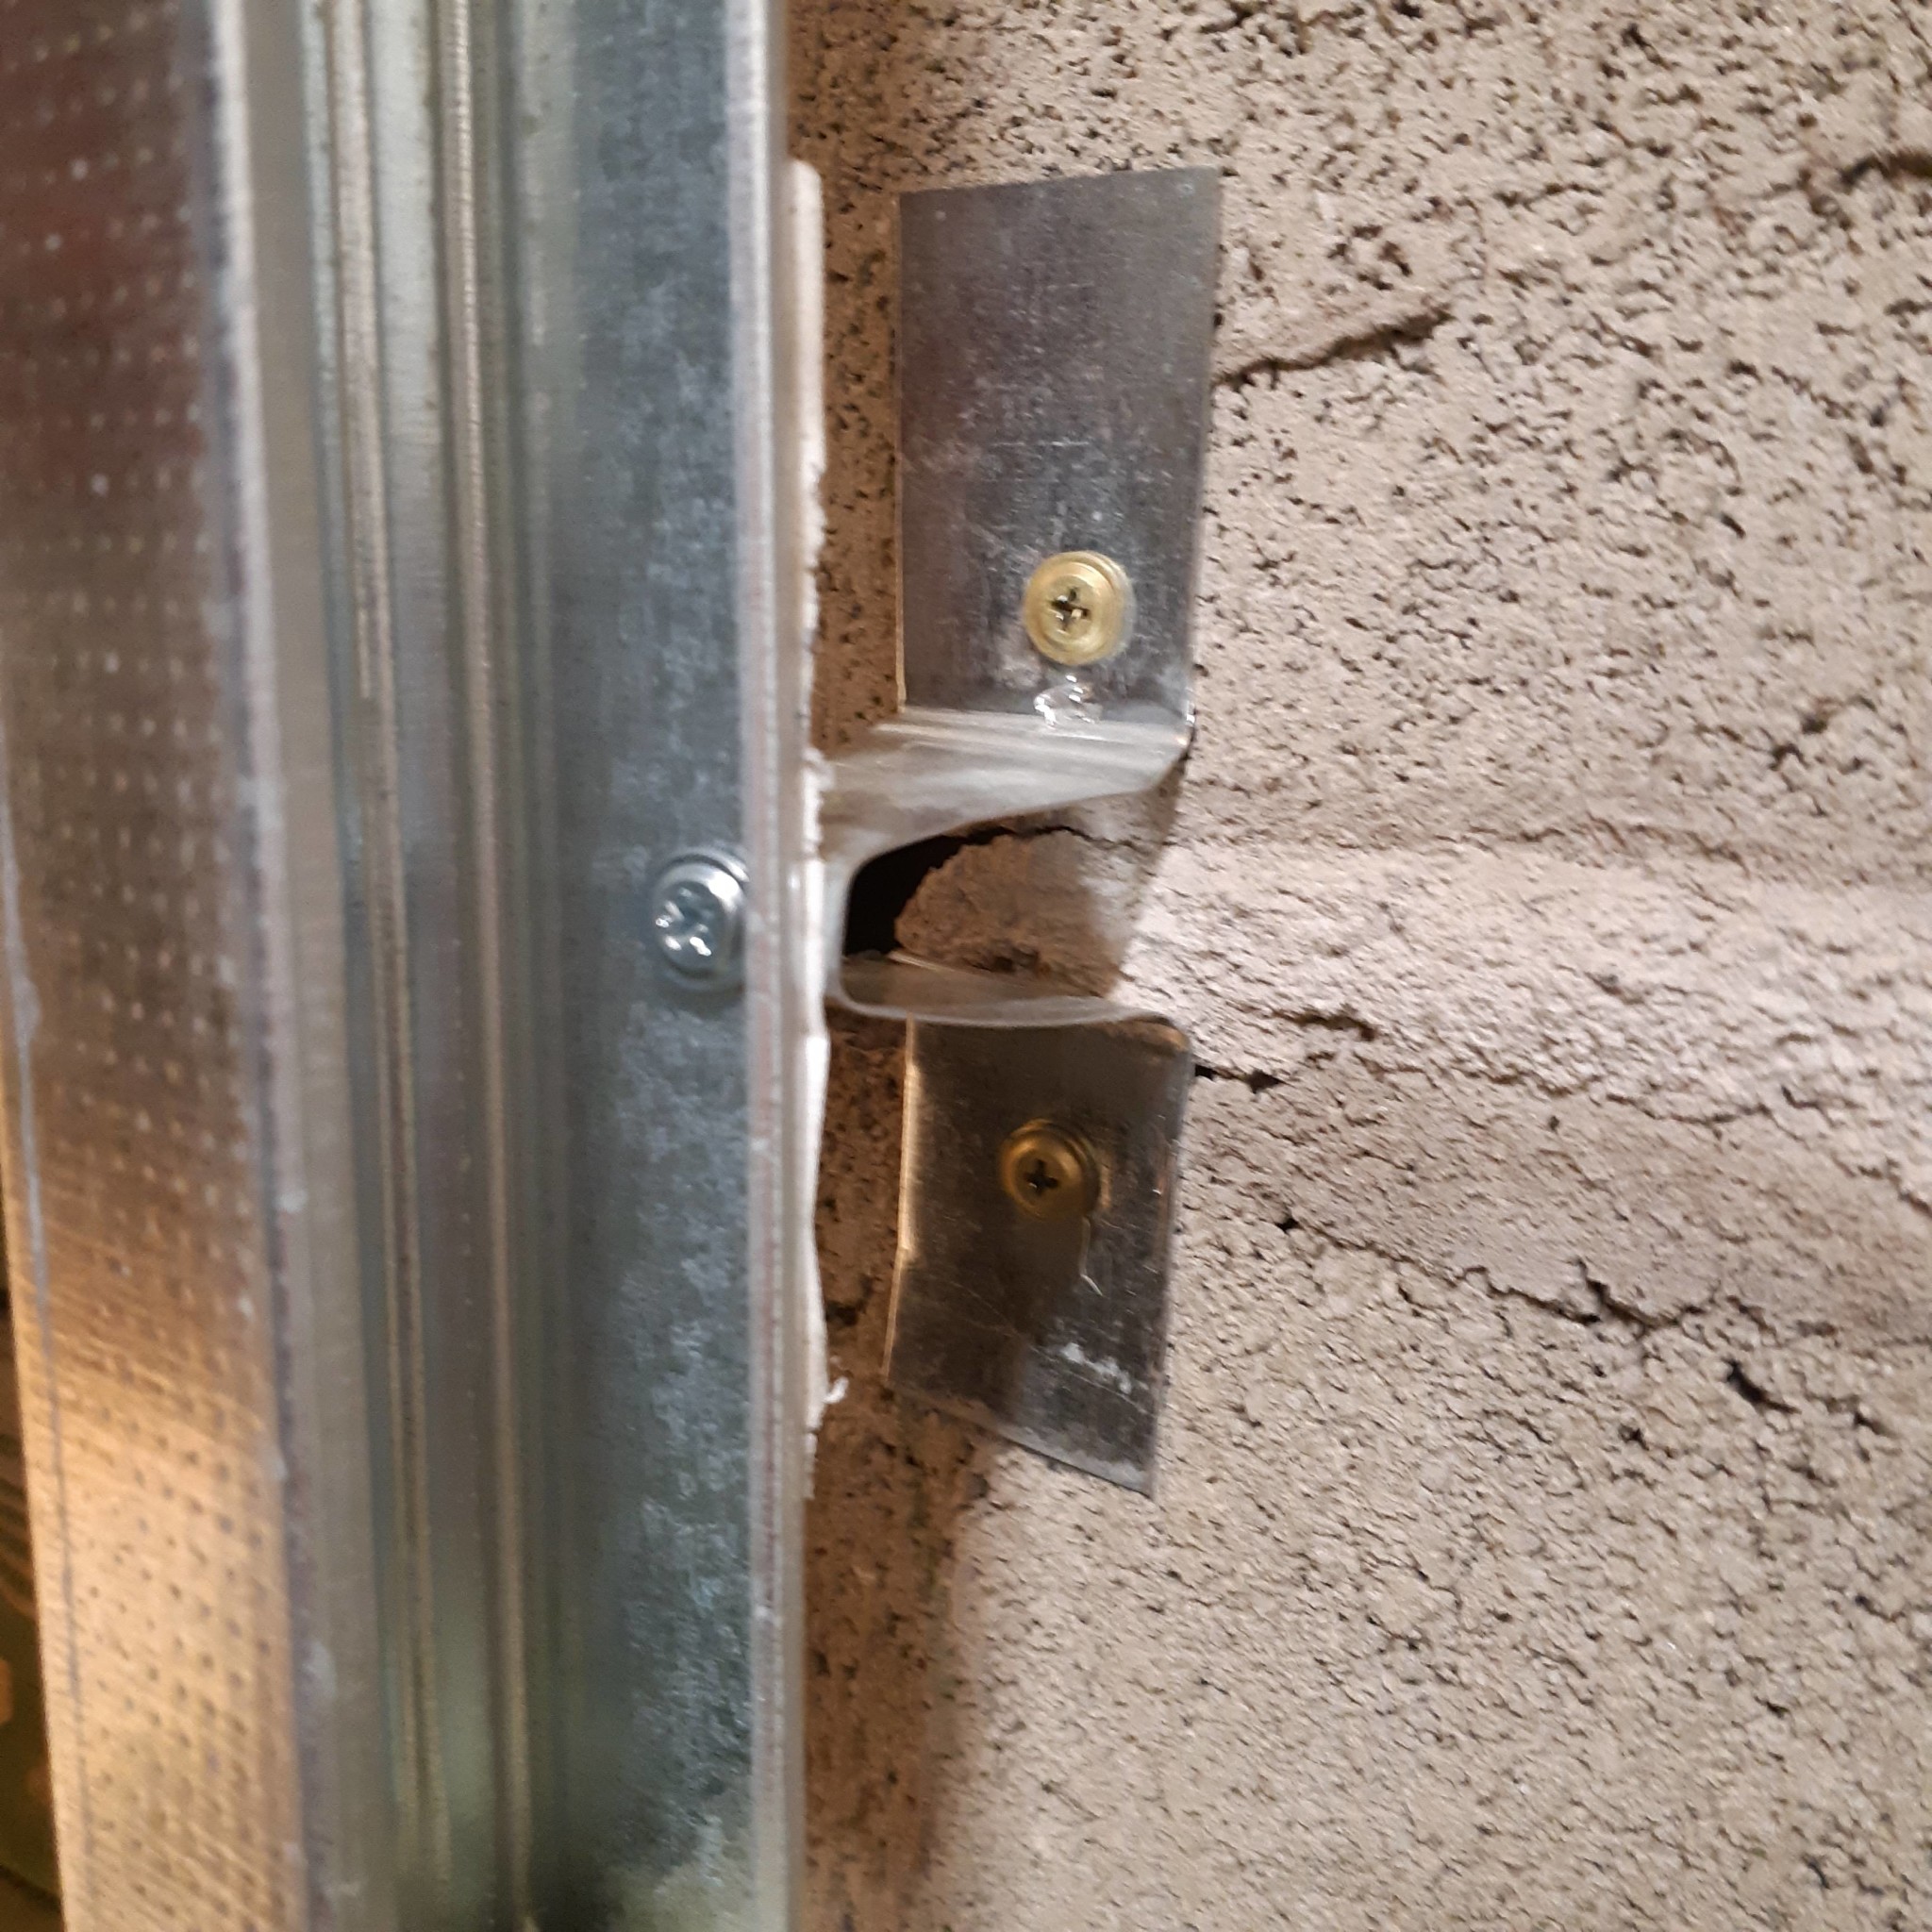
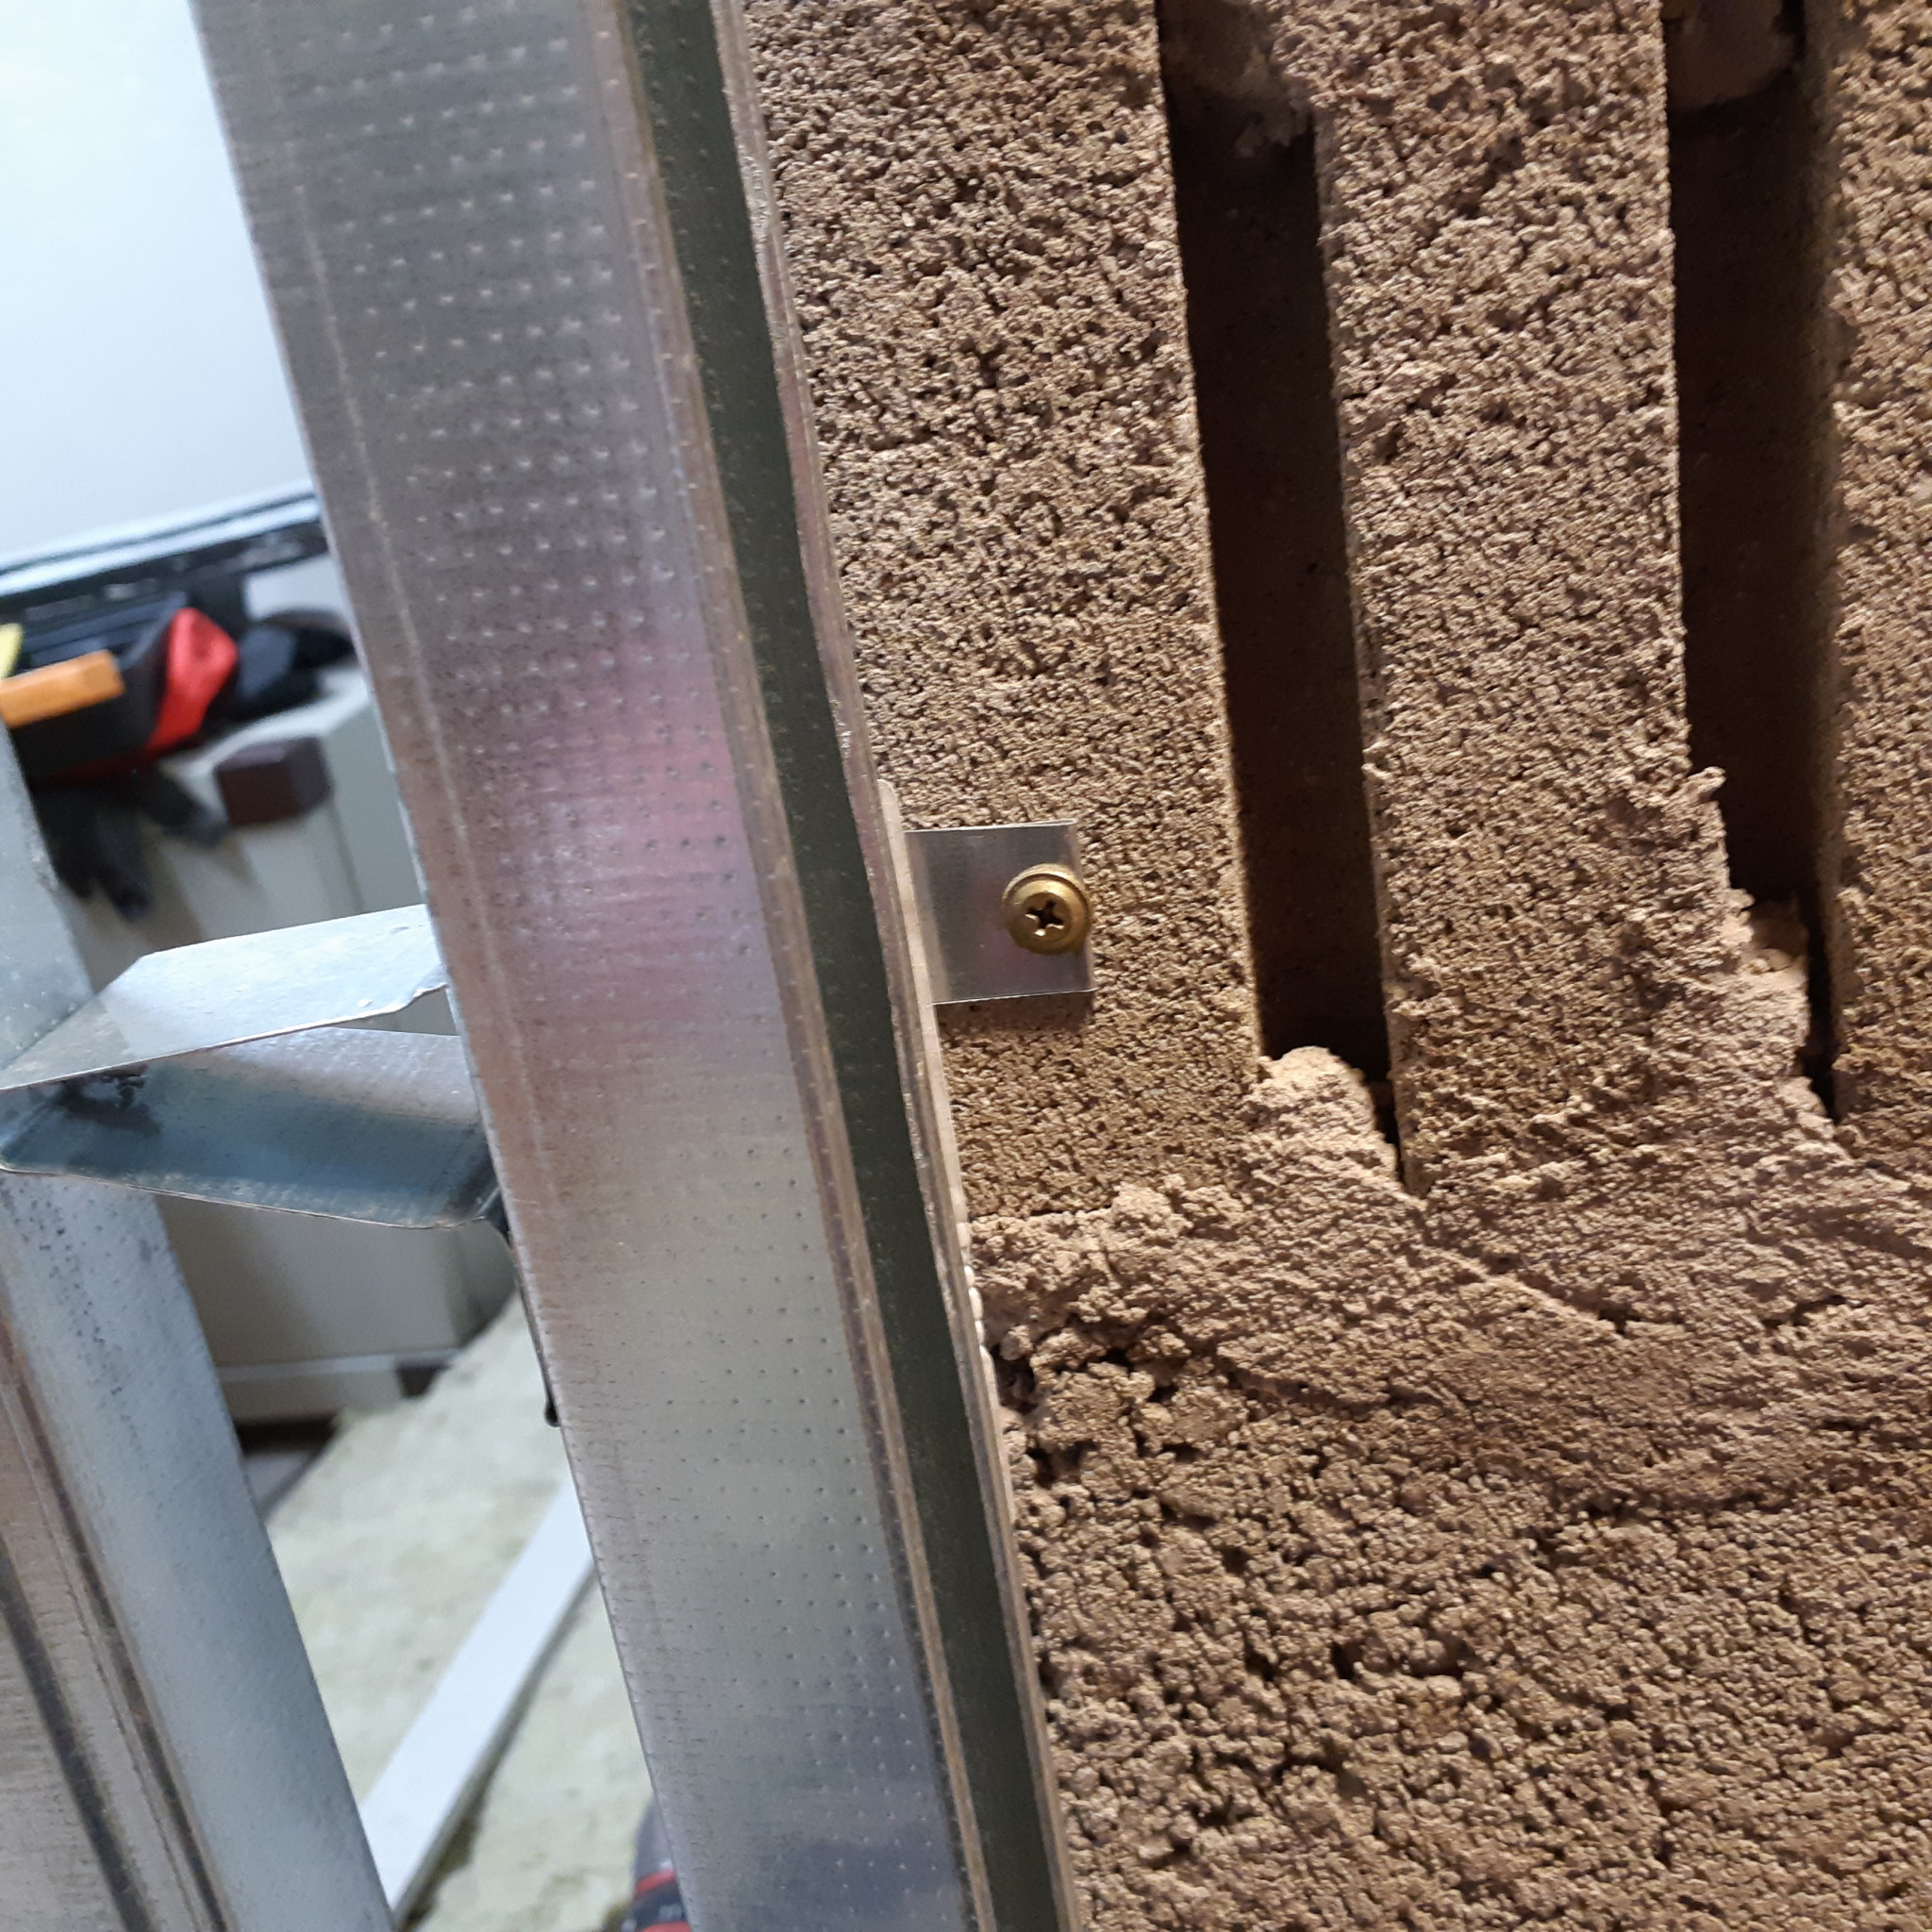
The second corner had an even larger gap. I removed the board, drilled through the stud, and put a plug in the hollow brick wall and a screw with a large head pressing against the stud from behind. It feels like this shouldn't really be necessary.
What am I doing wrong?
What's the best way to cover the gap if I can't eliminate it?
In the absence of suggestions, I'm trying this.
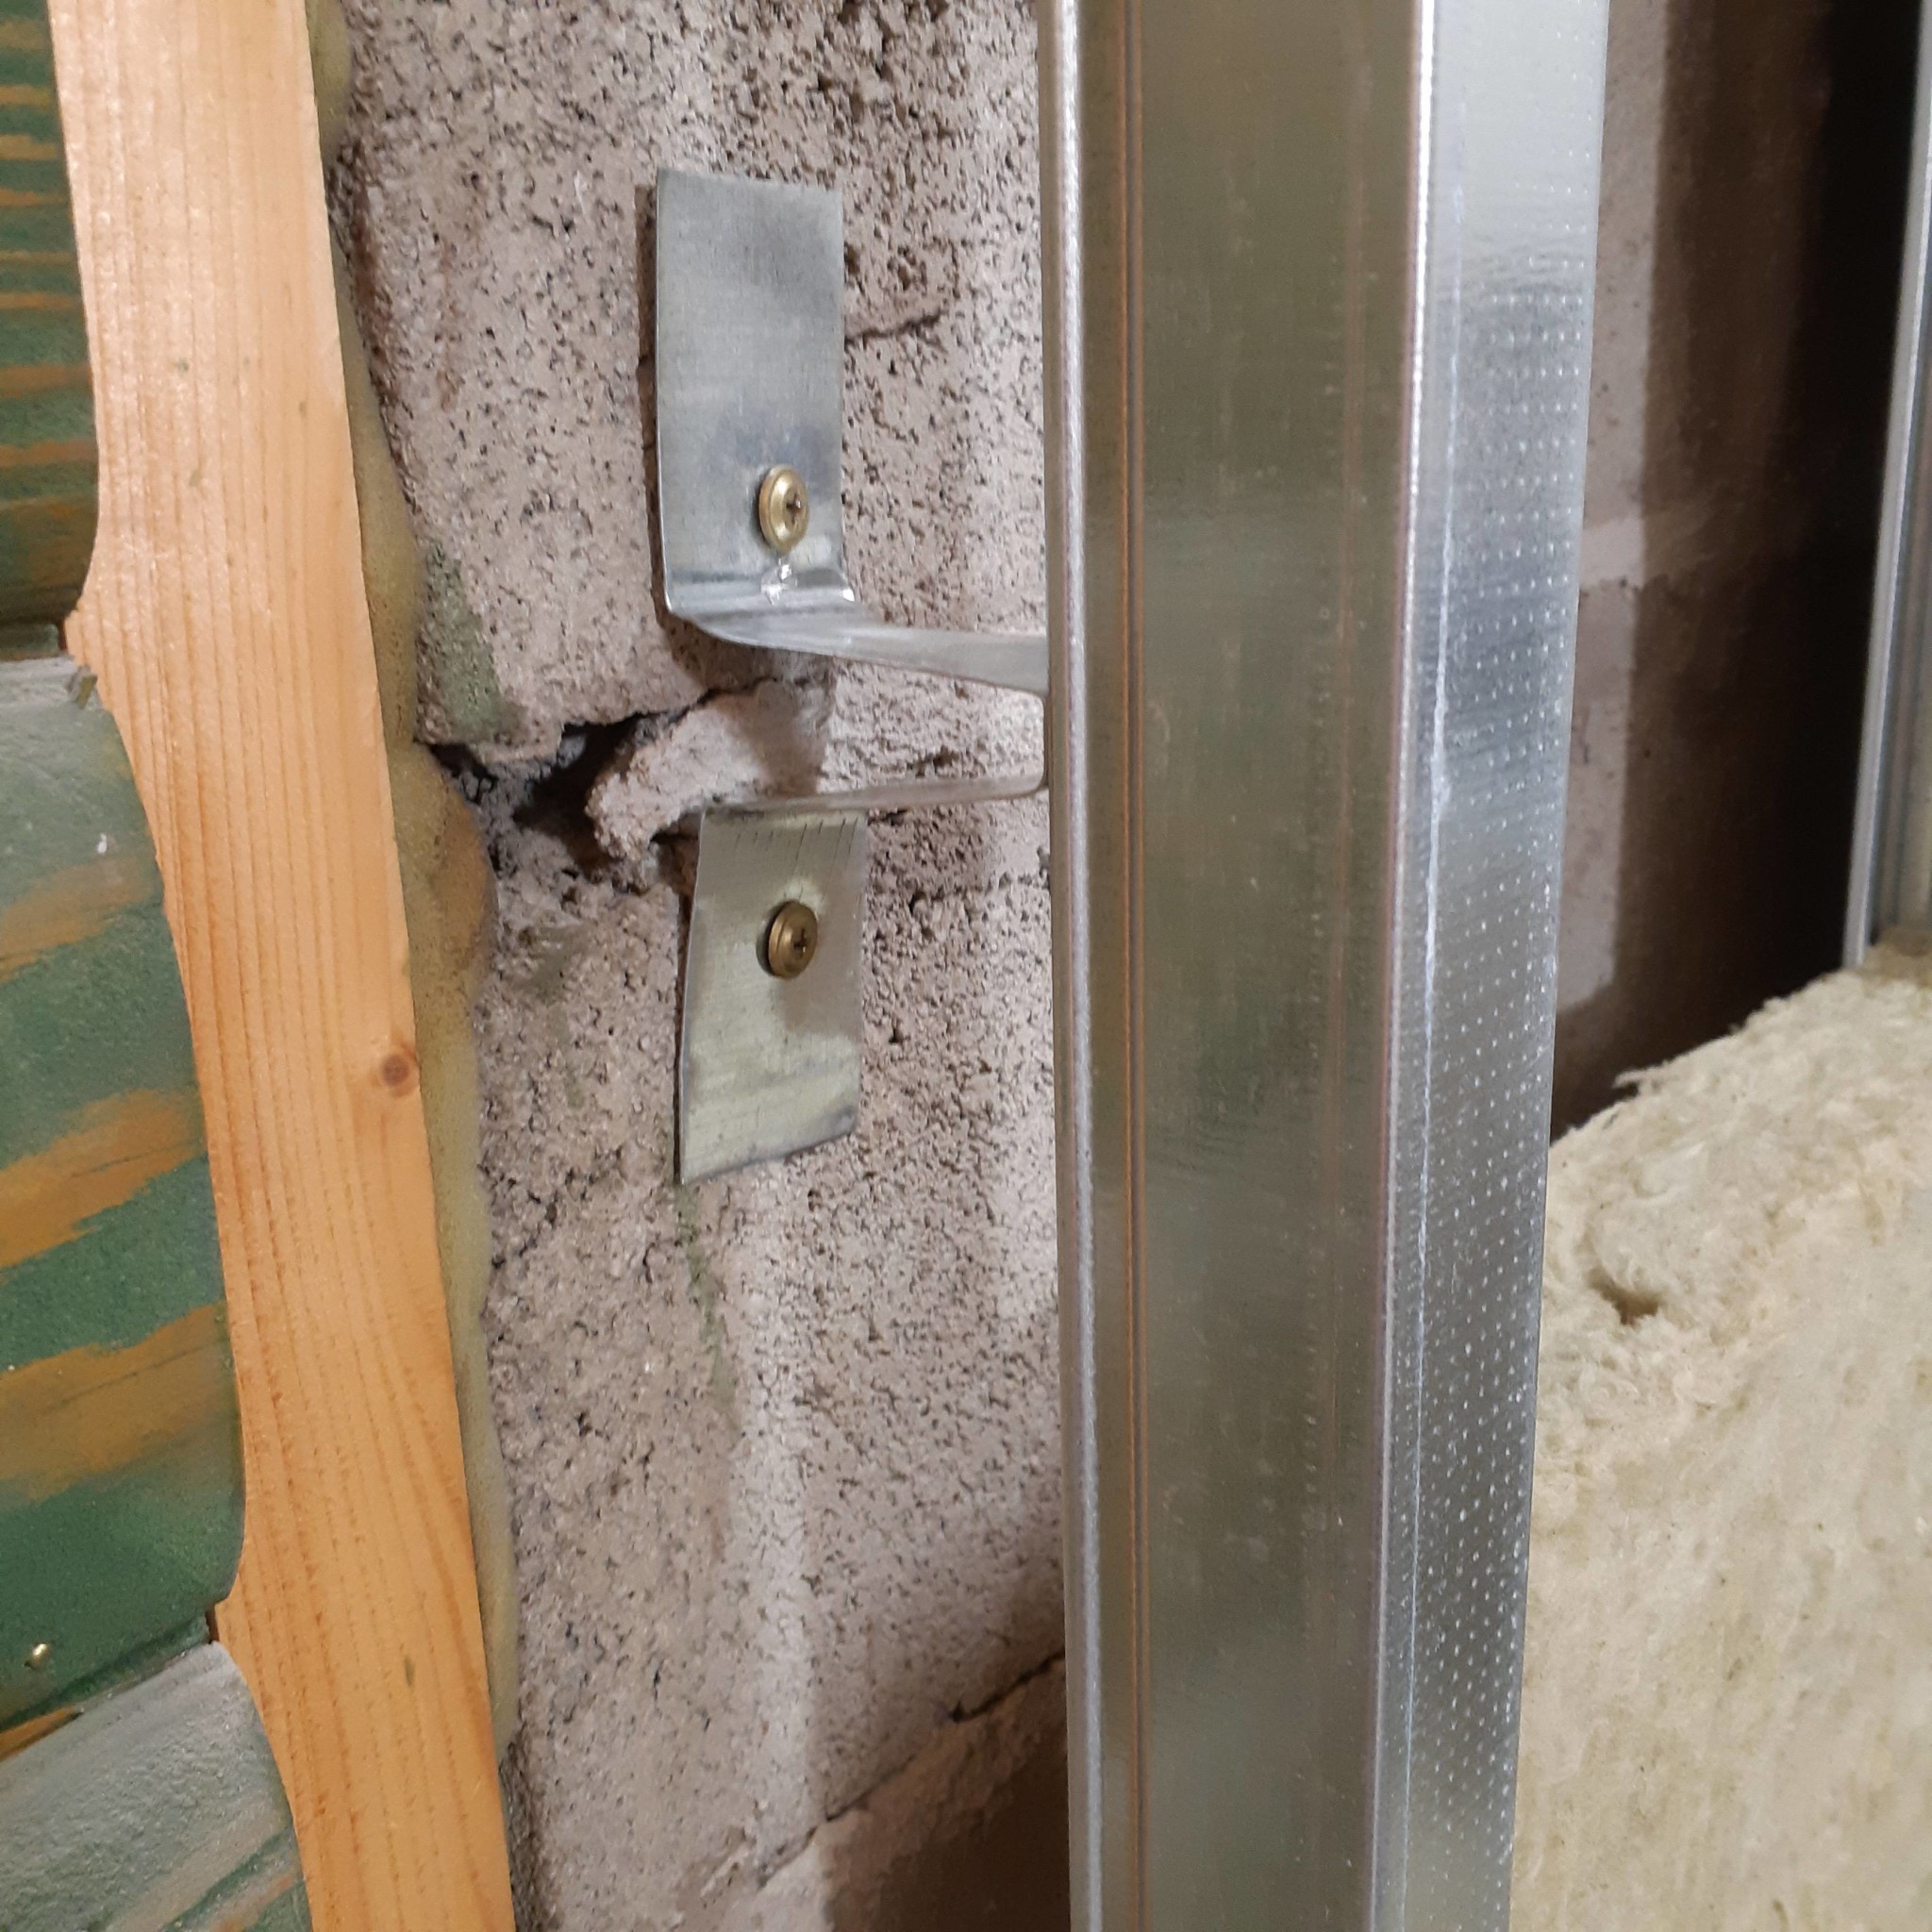
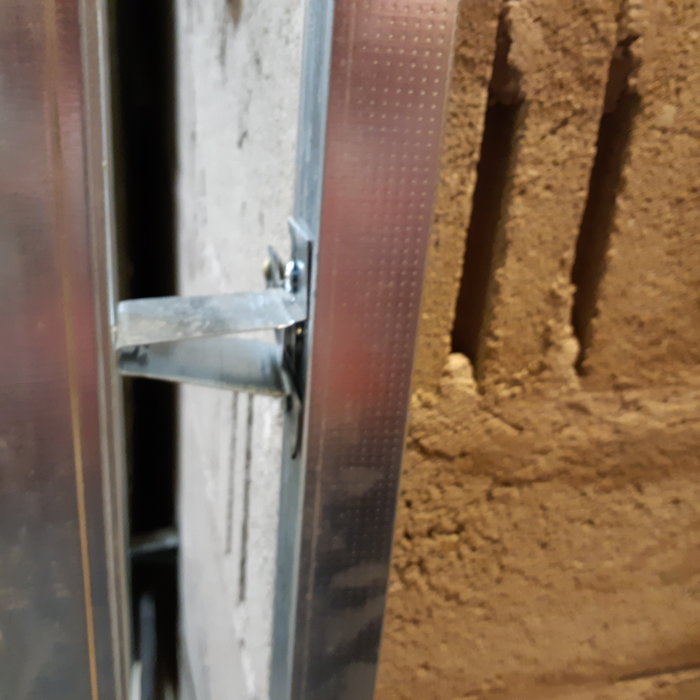
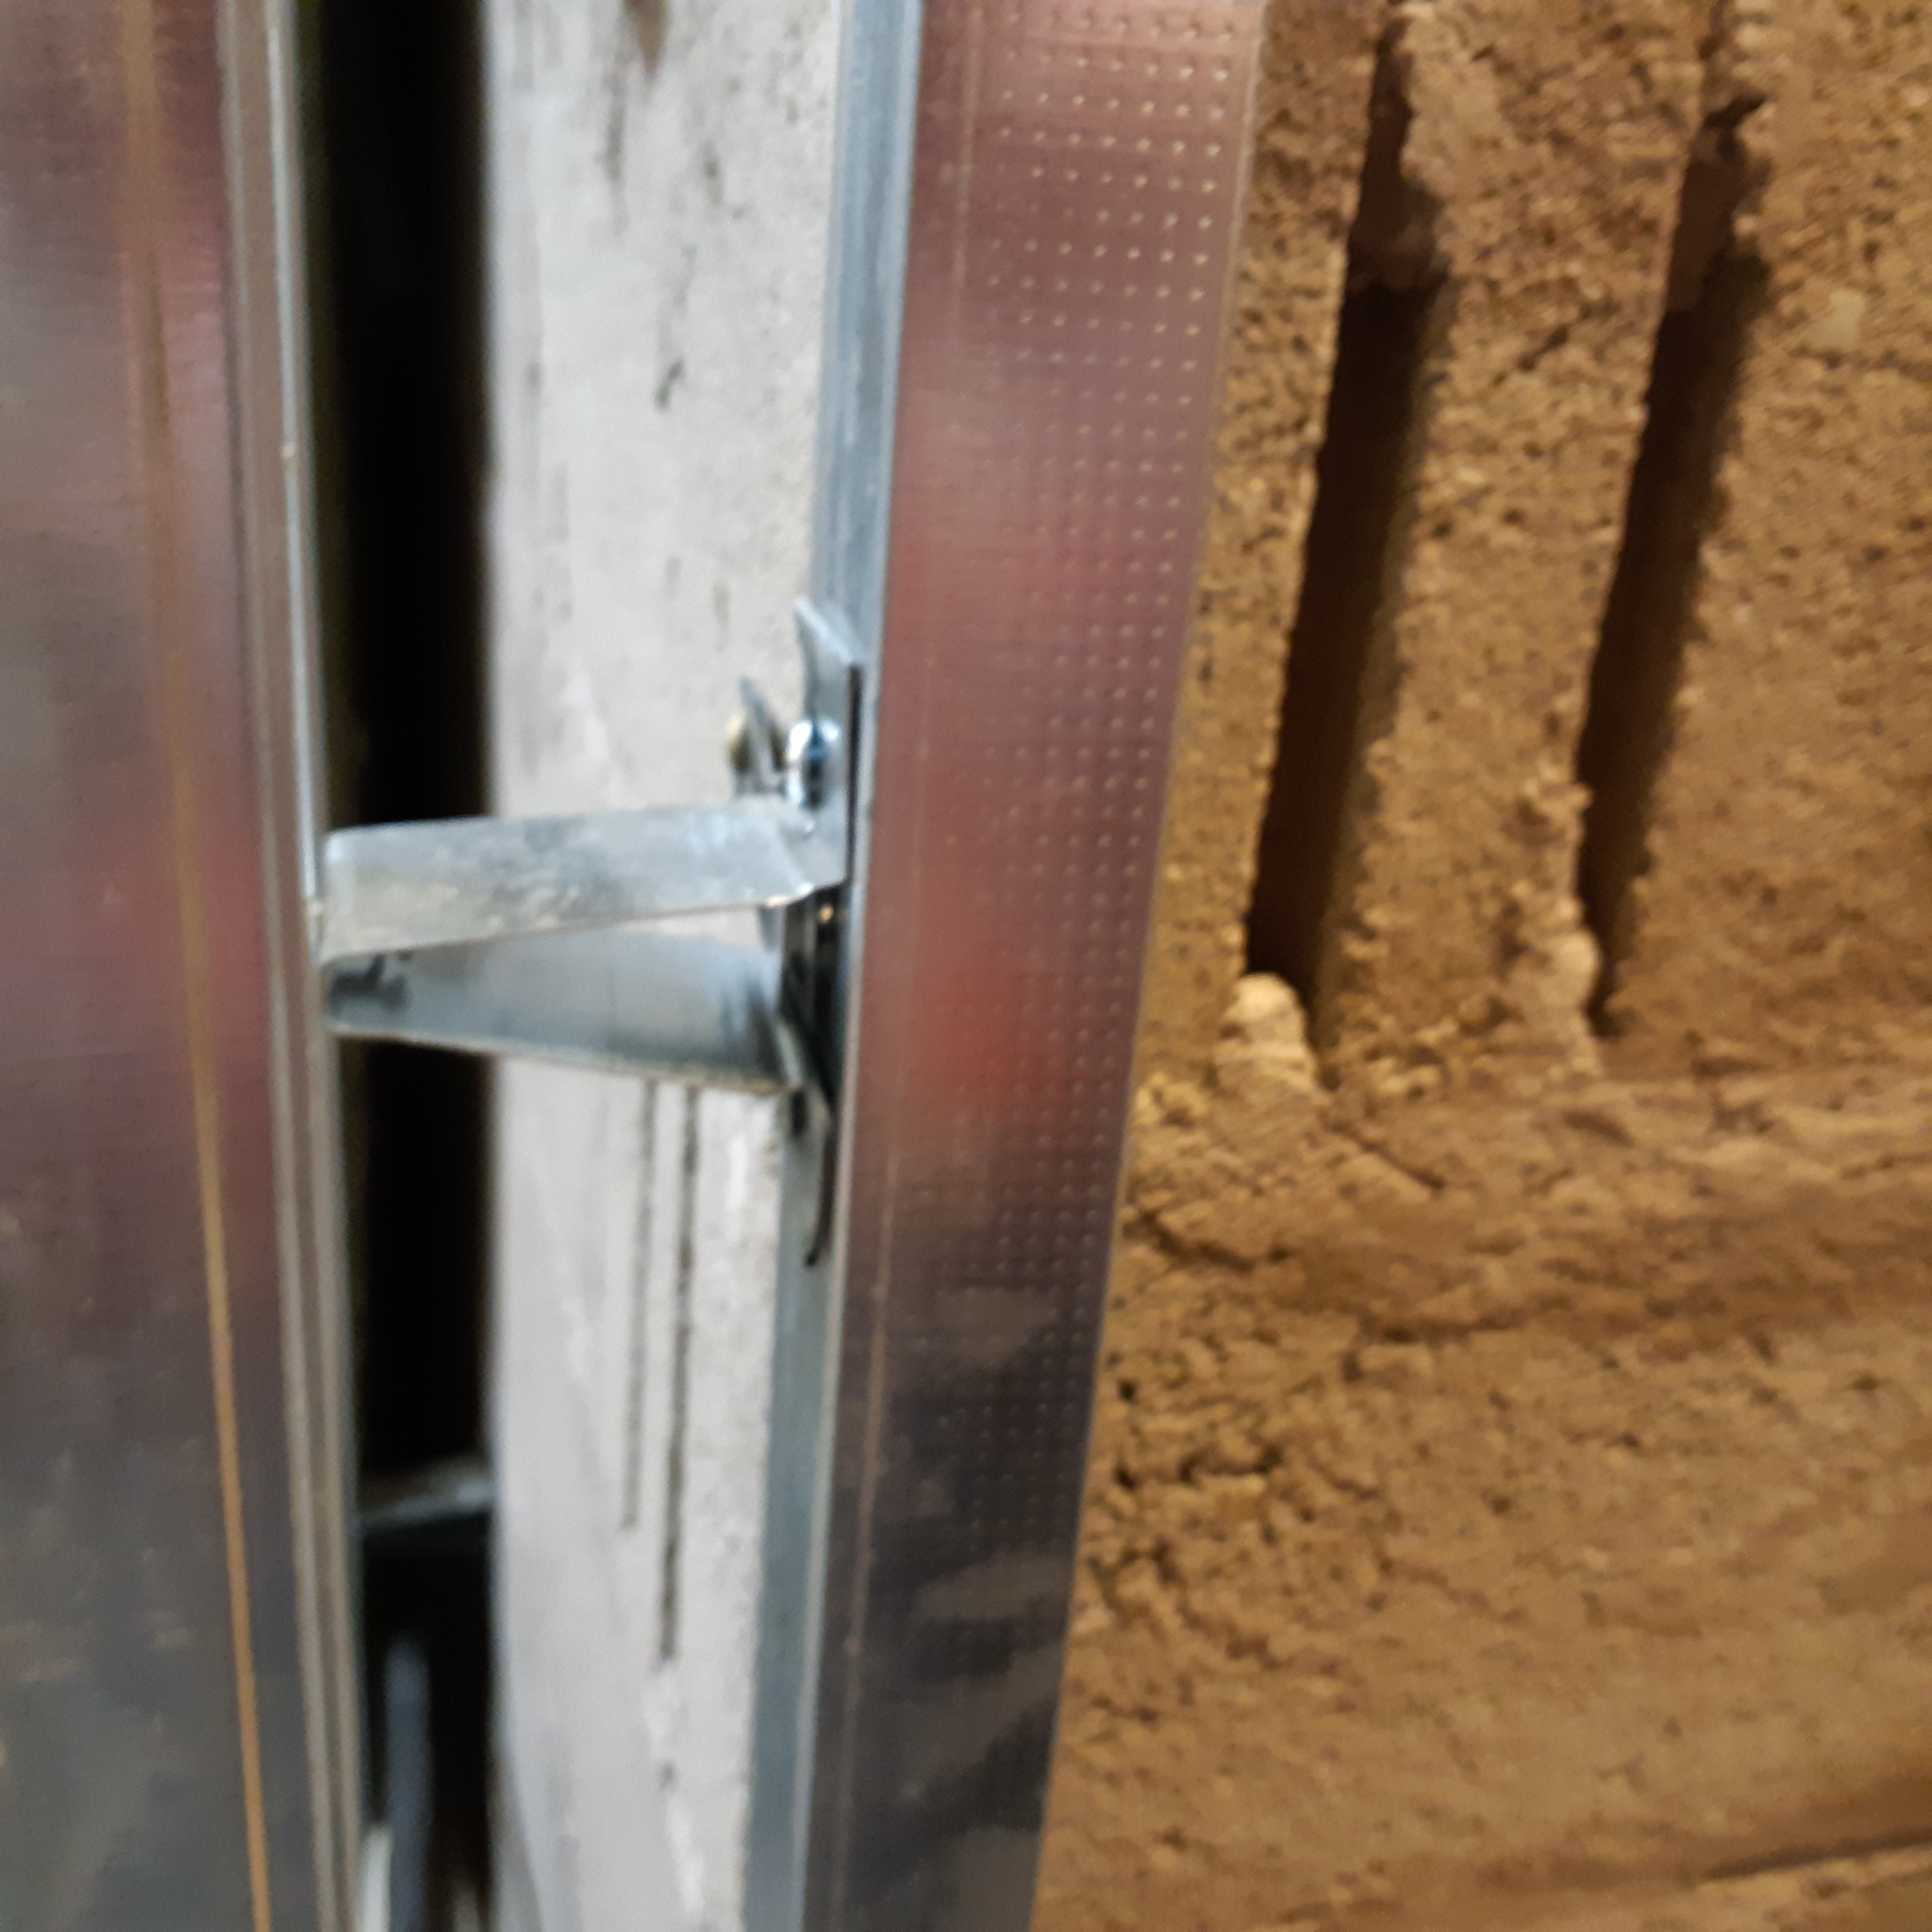
I cut a 35mm wide strip from a 120mm u-channel, which resulted in a wall mount that could be adjusted in height.
There will be a few mounts per corner channel.
The beam becomes significantly more torsionally rigid now.
Poor response here on the forum, so I'll continue improvising.
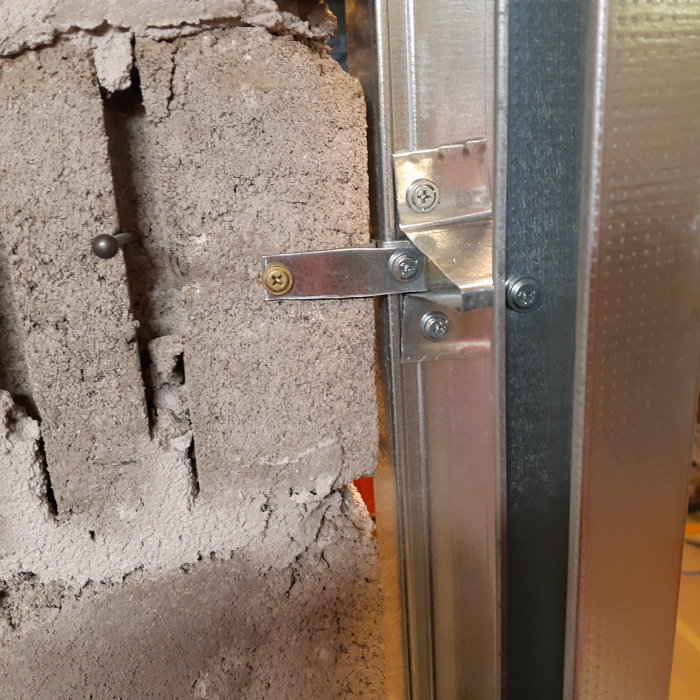
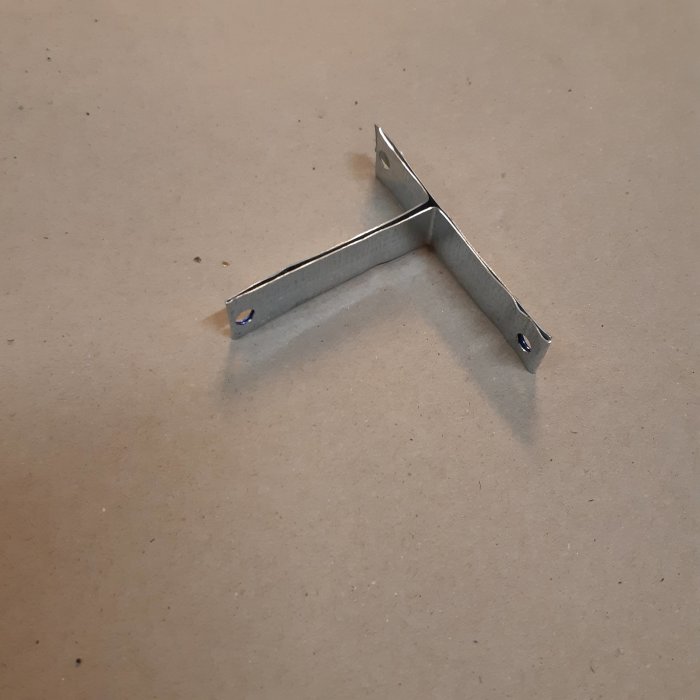
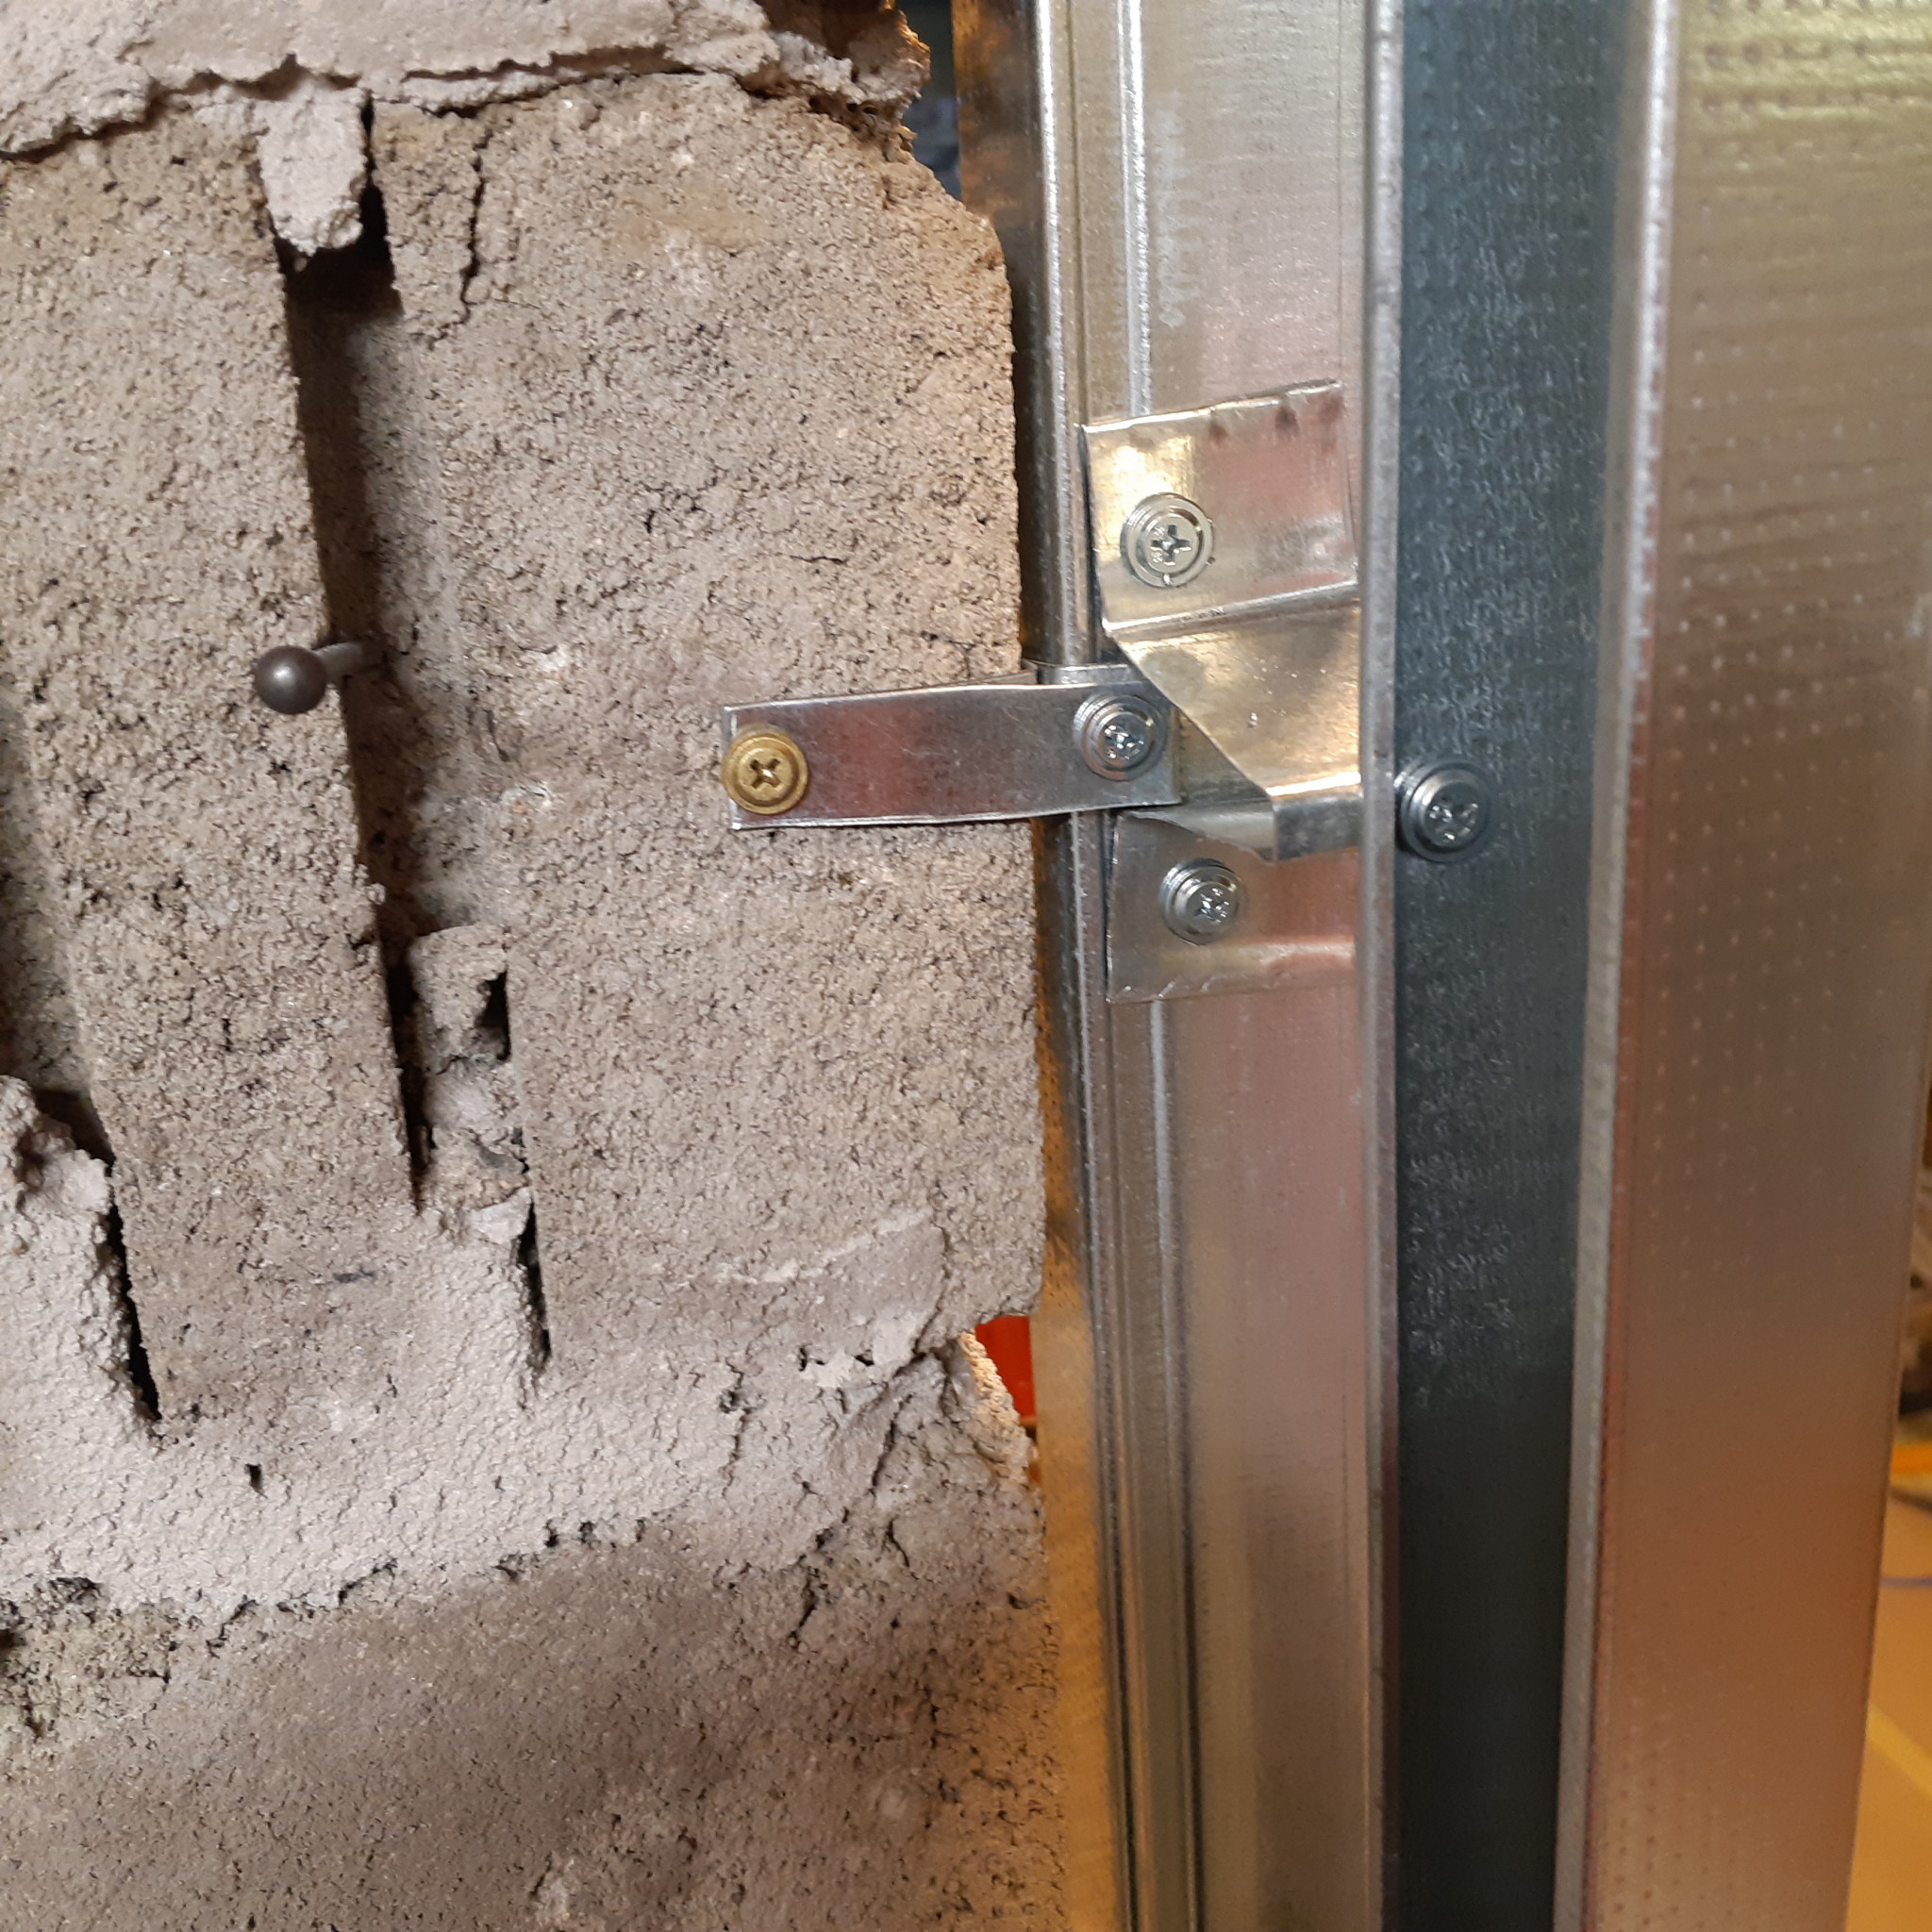
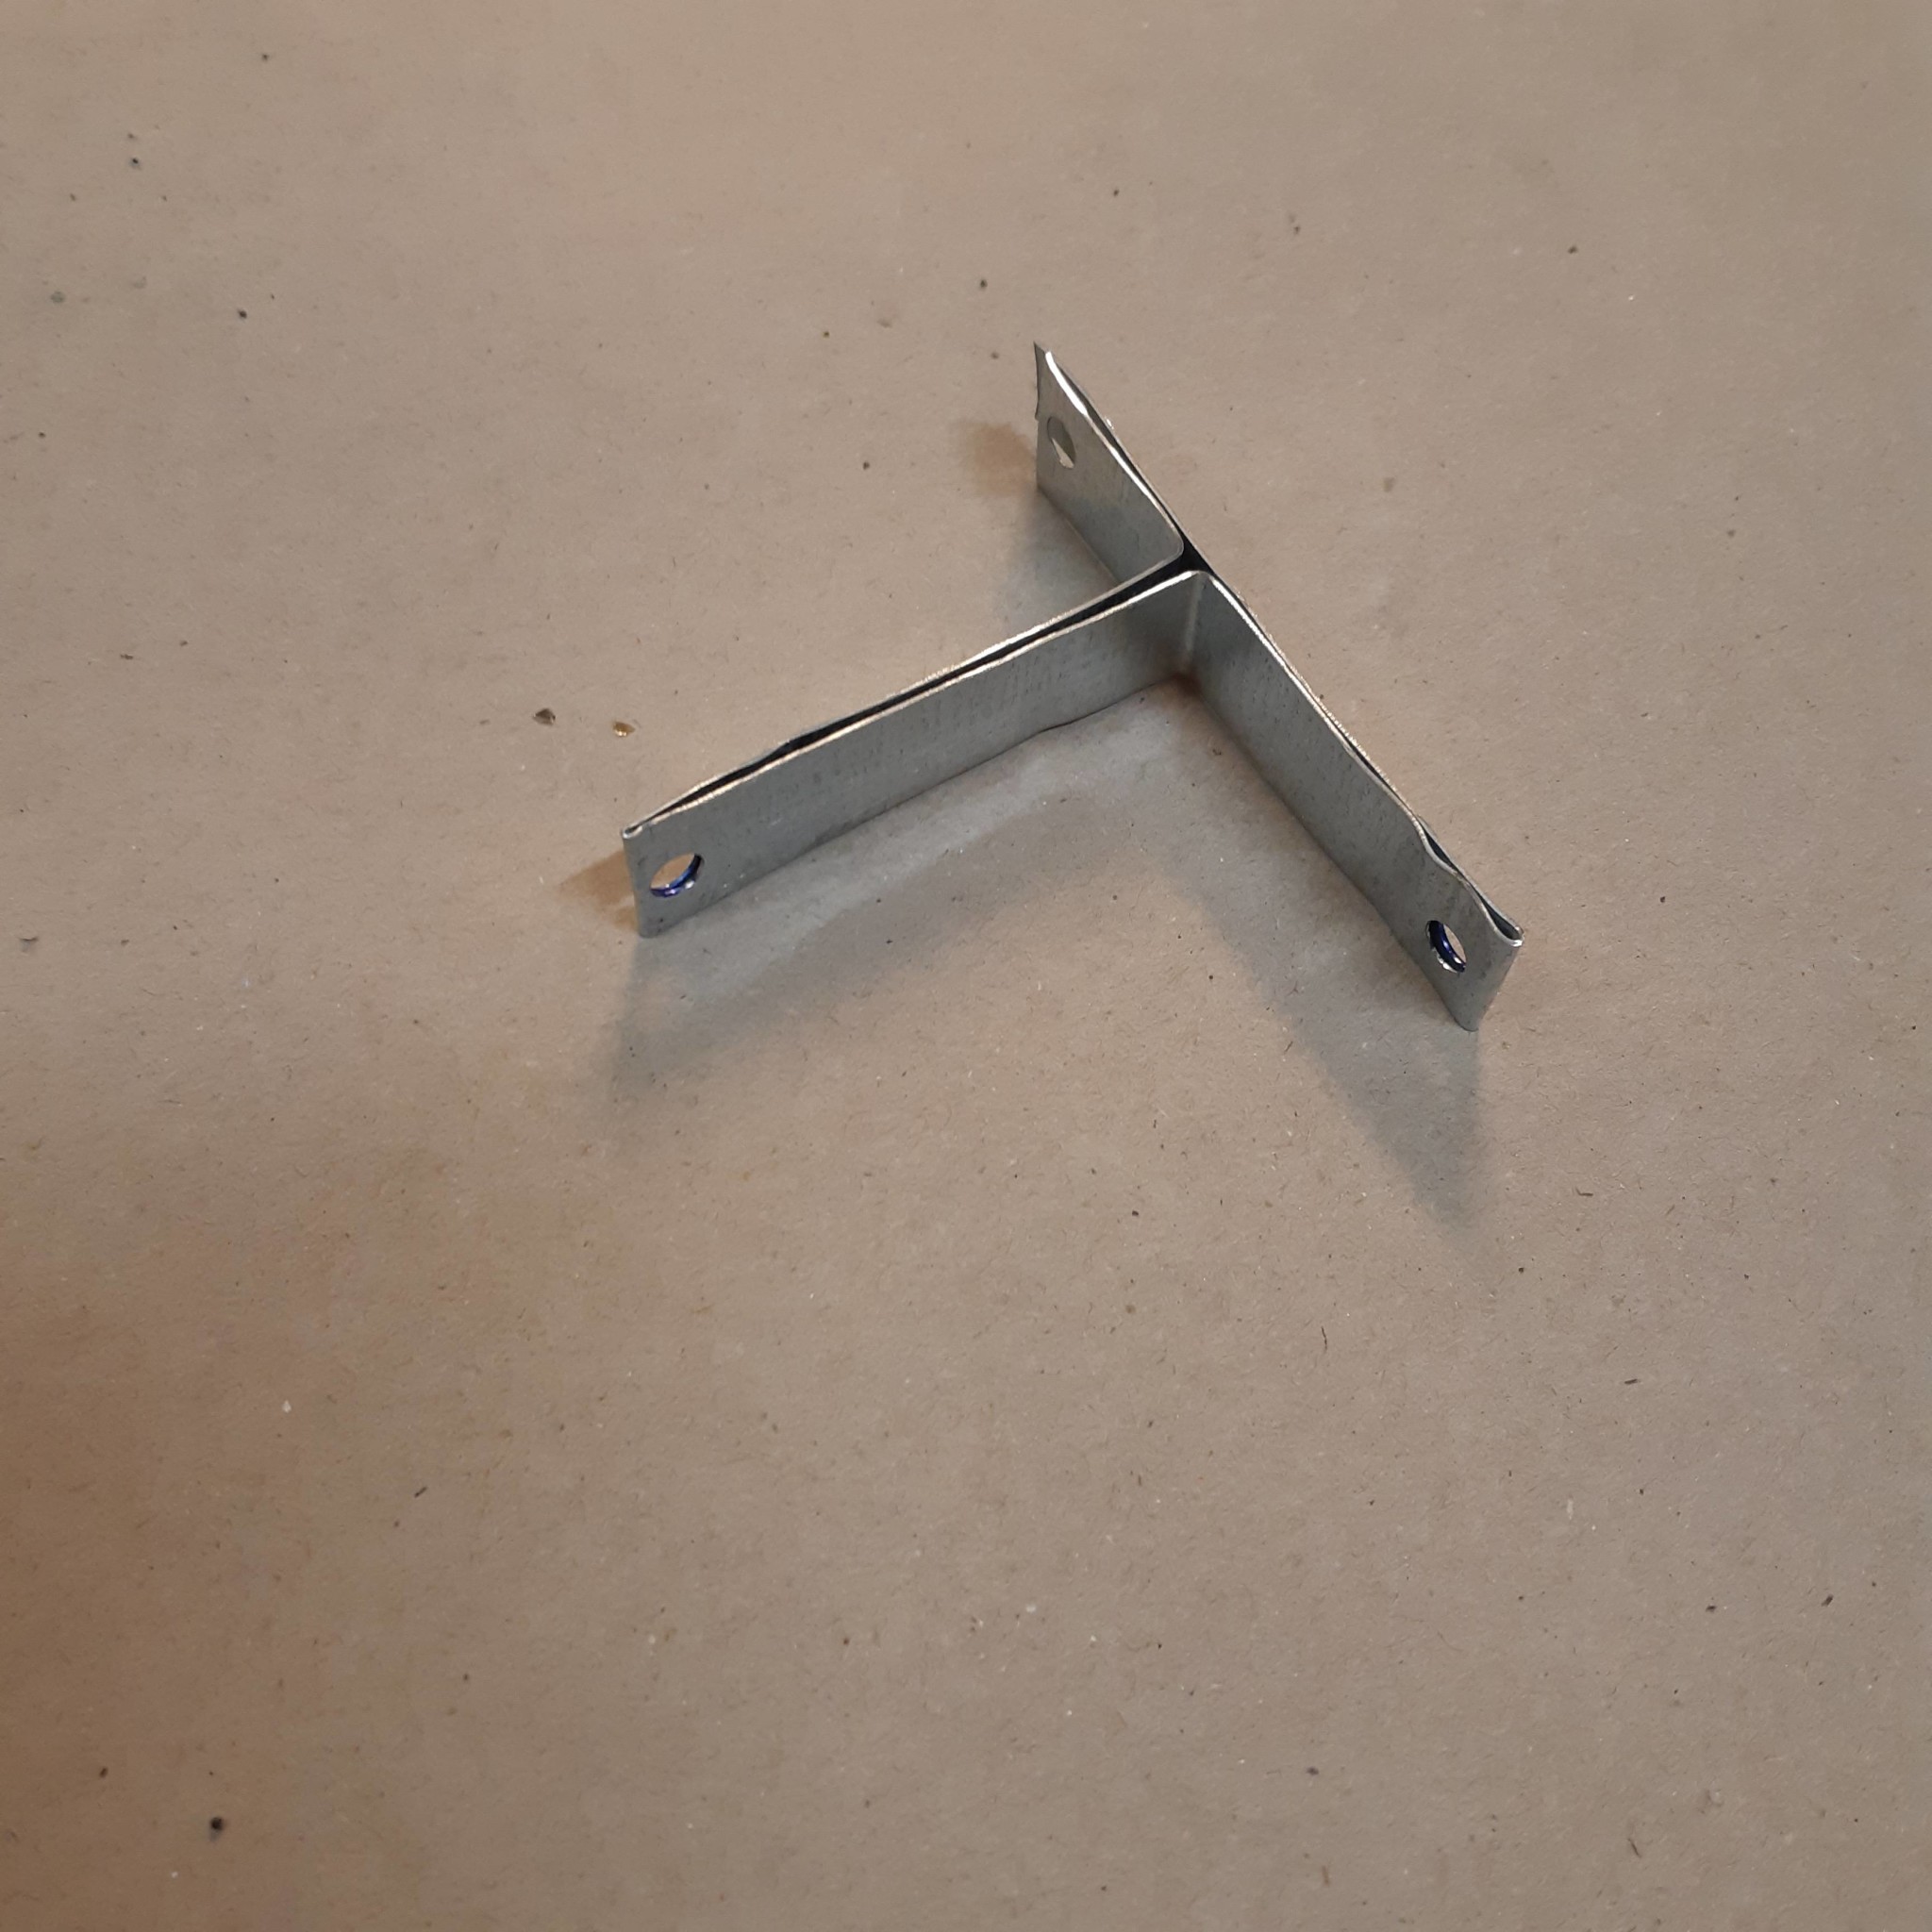
I reinforced an outer corner before starting to put up boards there. Previously set the support variant + a T-piece. It's a wall with a gap meeting a wall without a gap.
I didn't really have a problem with them bending, but with making it stiff enough for a bathroom on a 45 stud - Foam between the stud and wall was my solution.
The trick is to start screwing the board at the very top or bottom and then screw upwards or downwards. This way, the board doesn't twist as easily. You shouldn't press too hard but let the screw work its way into the board.
I didn't have problems with them bending, but with making it stiff enough for a bathroom on a 45 stud - Spray foam between the stud and the wall was my solution.
[bild]
Creative solution! Have you put up the walls and was it stable?
The trick is to start screwing the board at the top or bottom and then work your way up or down. This way the rule doesn't twist as easily. You shouldn't push too hard but let the screw work its way into the rule.
That sounds like the solution to my problem.
I have Gunnebo fibercement screws, unfortunately, they don't drill well into the rule. You have to keep pushing on for quite a while, and then you get impatient and push hard...
I also didn't set all the screws immediately but thought I'd screw in the rest once the boards were in place.
That also probably contributes.
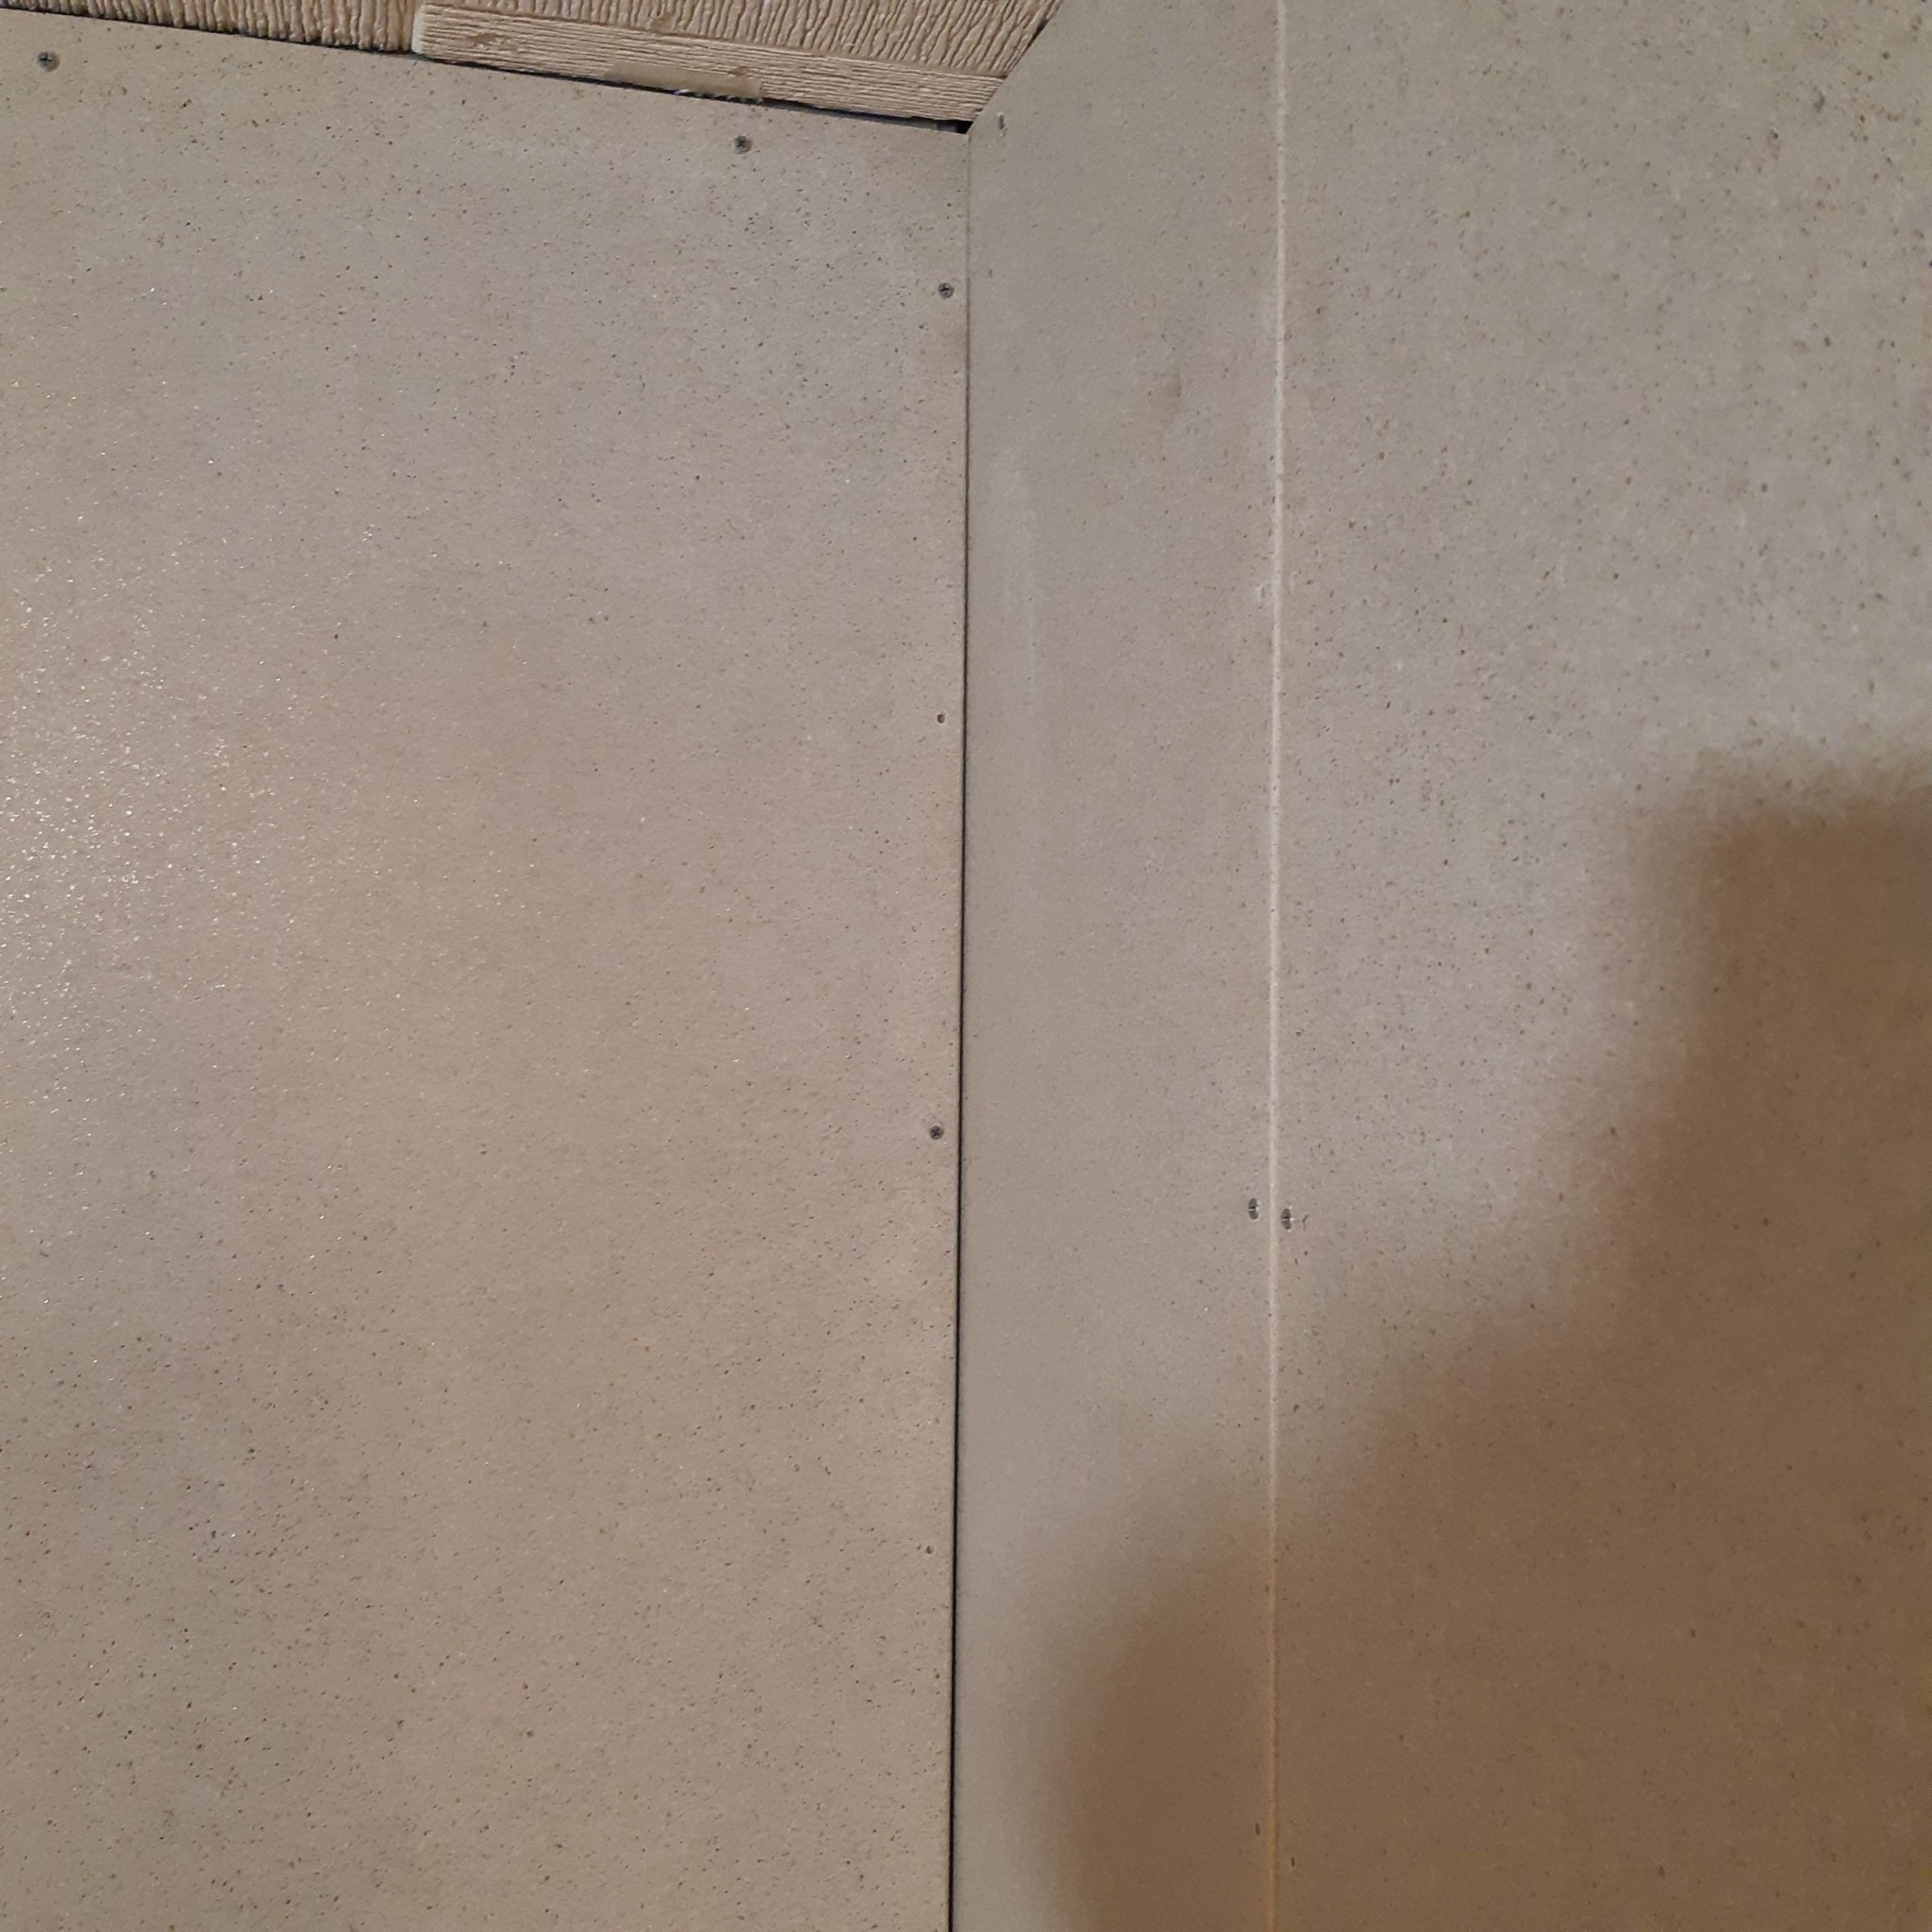
I installed an inner corner yesterday, now with wall-fixed studs and it turned out significantly better.
No gap so I don’t have to put a list.
I should probably make all the studs wall-fixed, it felt much sturdier.
Creative solution! Did you get the walls up and were they stable?
/Höghus
Incredible difference from before - The bathroom has been finished since February and straight corners were noted during tiling. I did the laundry room a few years ago and struggled with plastic spacers to get rigidity in the studs, foam was a much better solution.
Incredible difference from before - The bathroom has been completely finished since February and straight corners were noted during tiling. I did the laundry room a couple of years ago and struggled with plastic spacers to get stiffness in the studs, foam was a much better solution.
Great when it works!
I have several 120mm studs lying around that I won't need, so I have plenty of sheet metal to cut into...
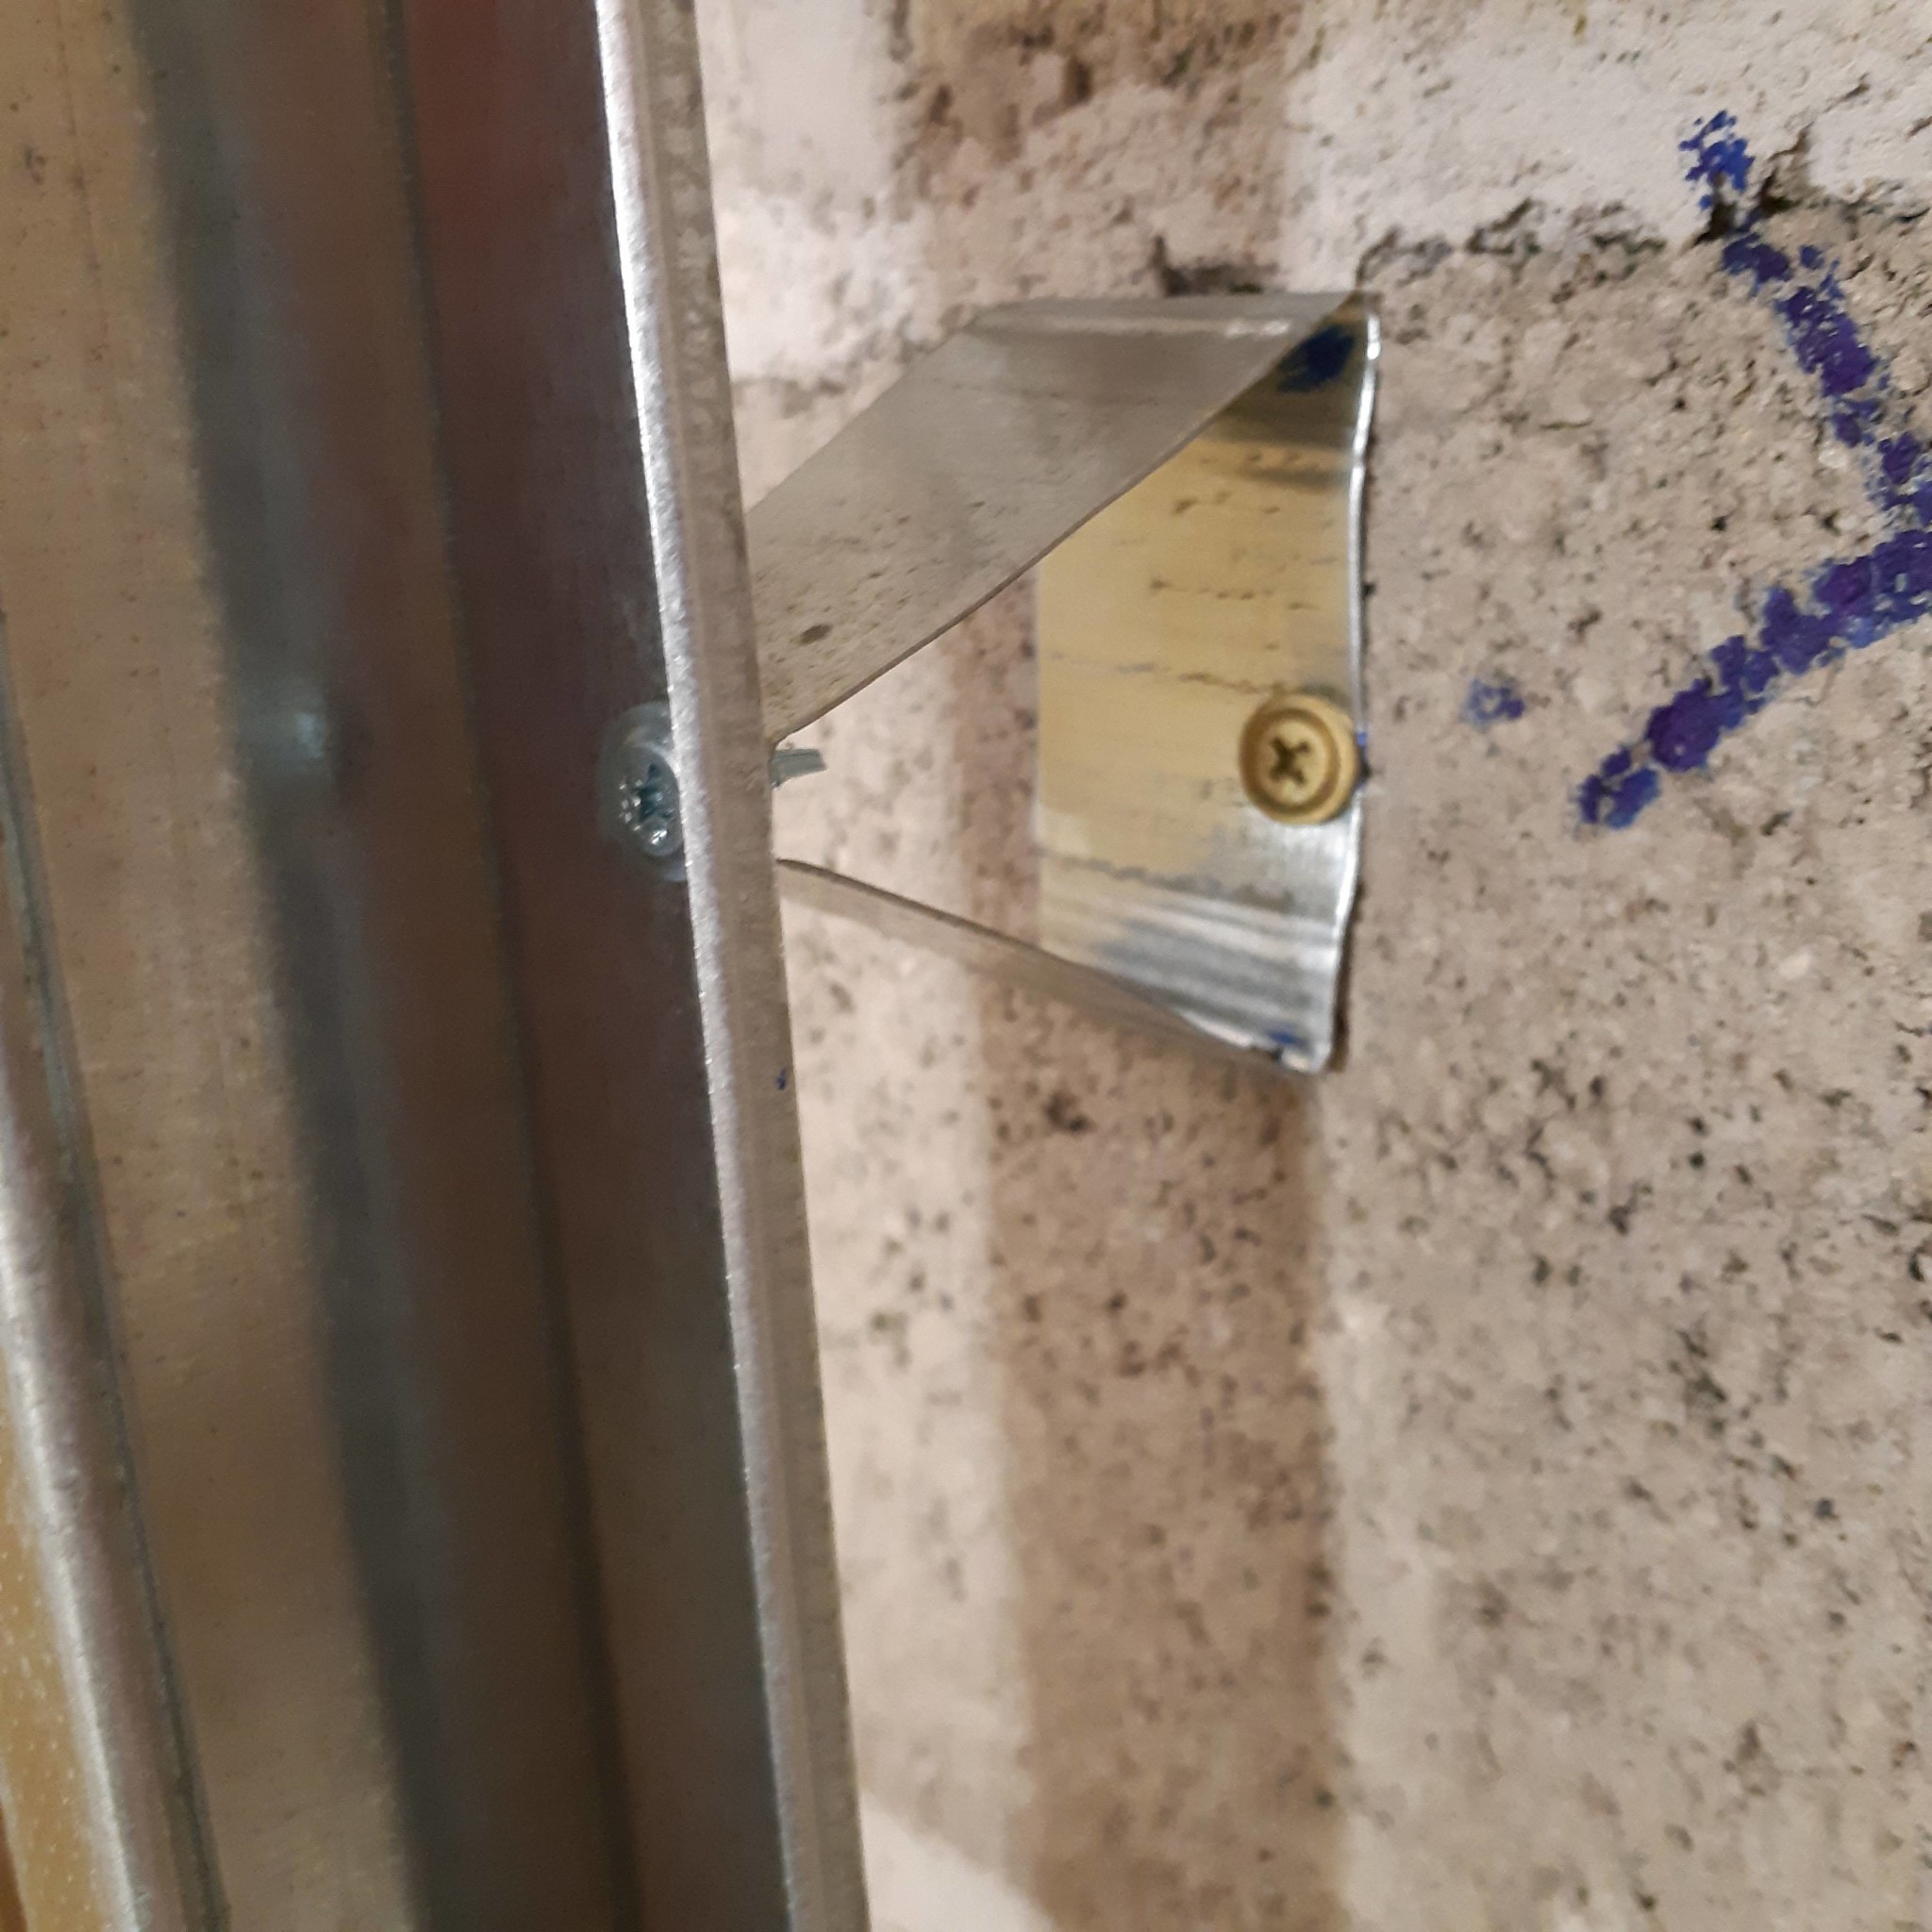
The latest variant is triangular brackets, with double plating against the wall. 4 supports on the corner studs and 3 on the other studs. Just as easy to adjust and one less wall drilling. Perhaps marginally worse against tensile forces, but quite okay here.
I will also screw the rule for the covering plate in the inner corners of the existing plate.
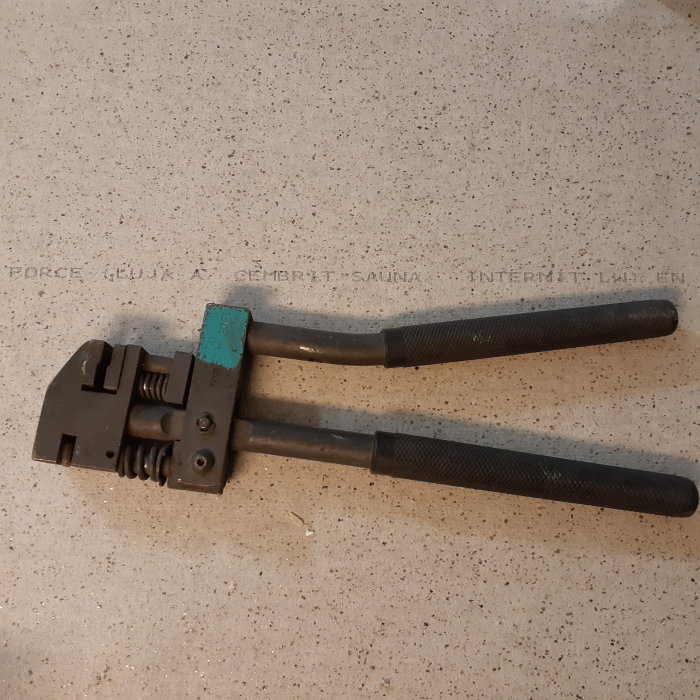
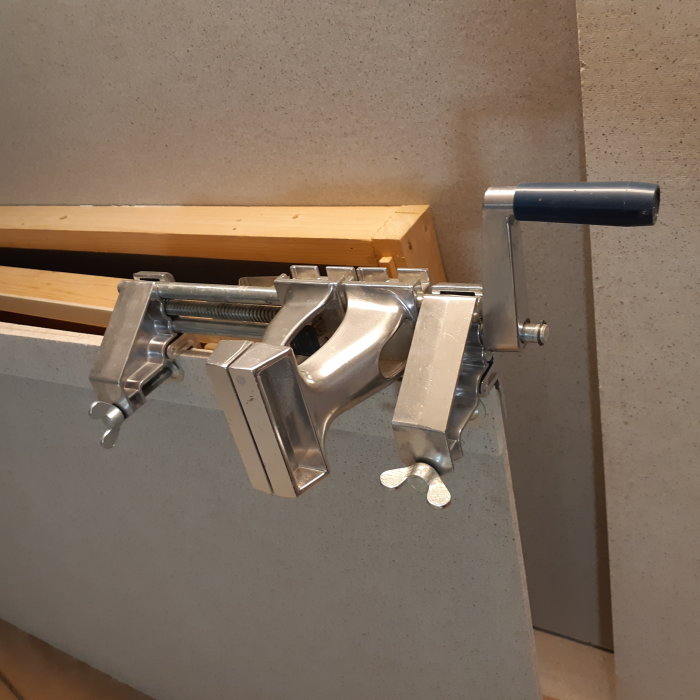
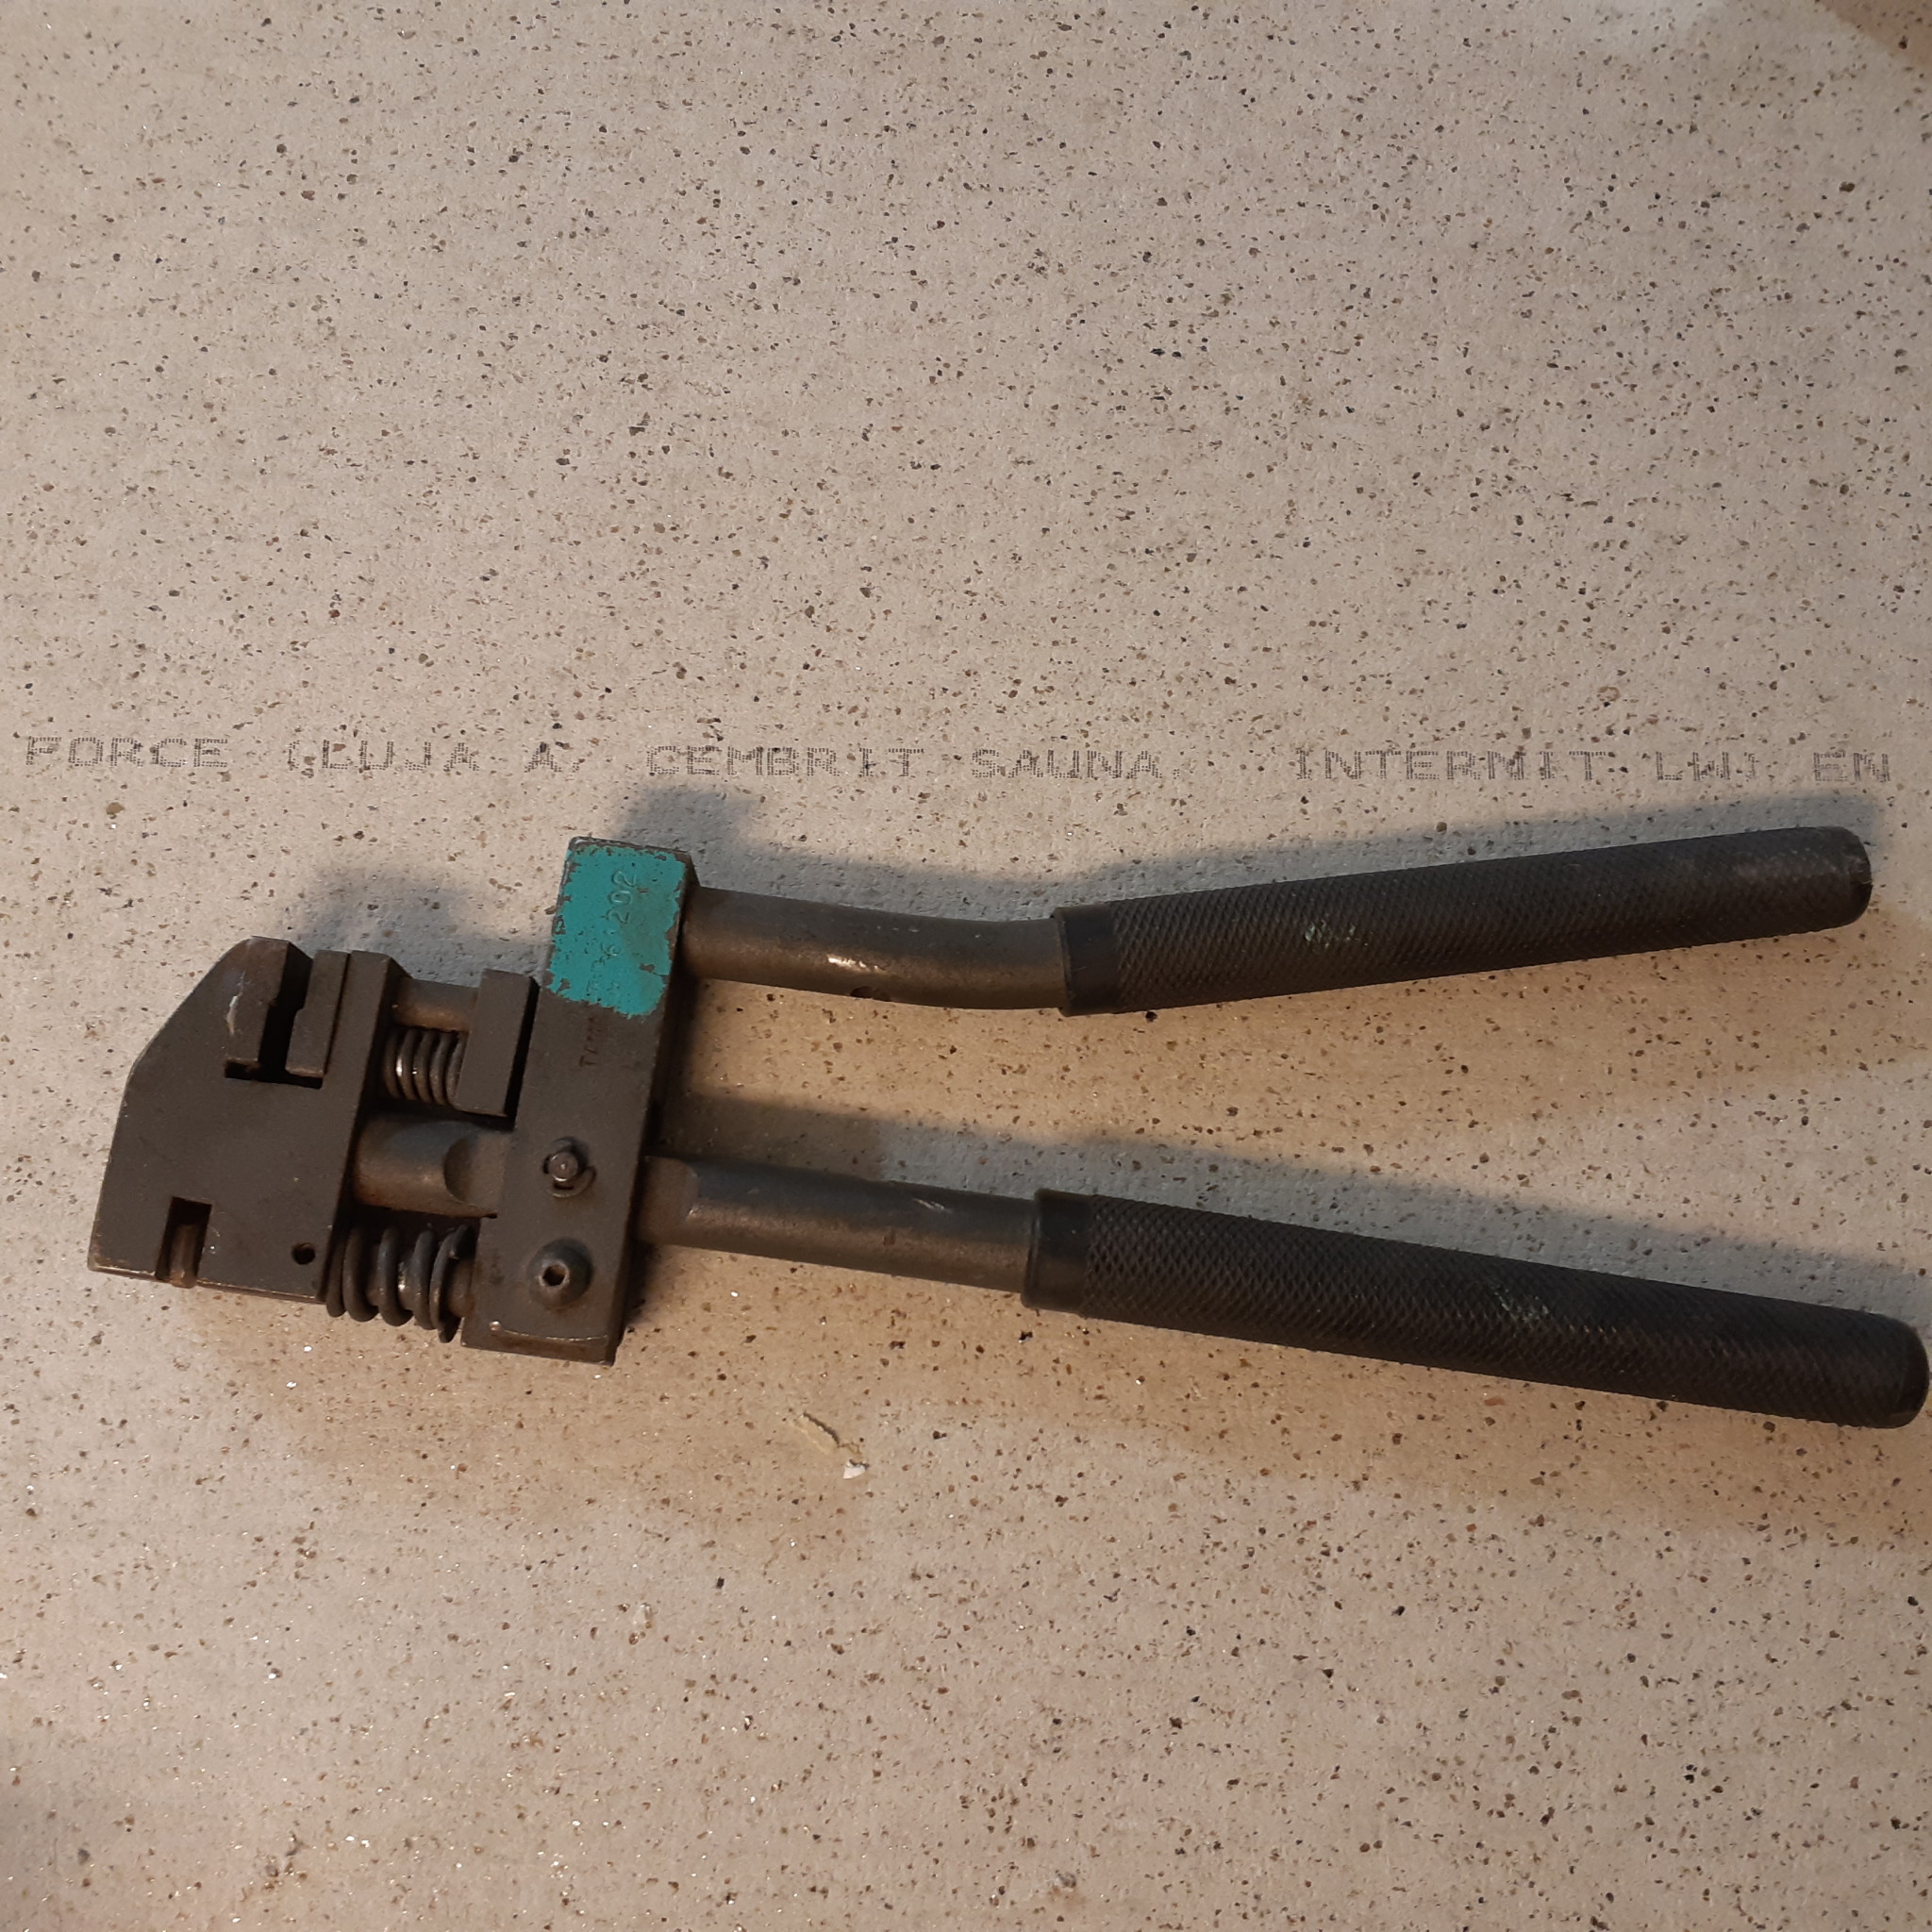
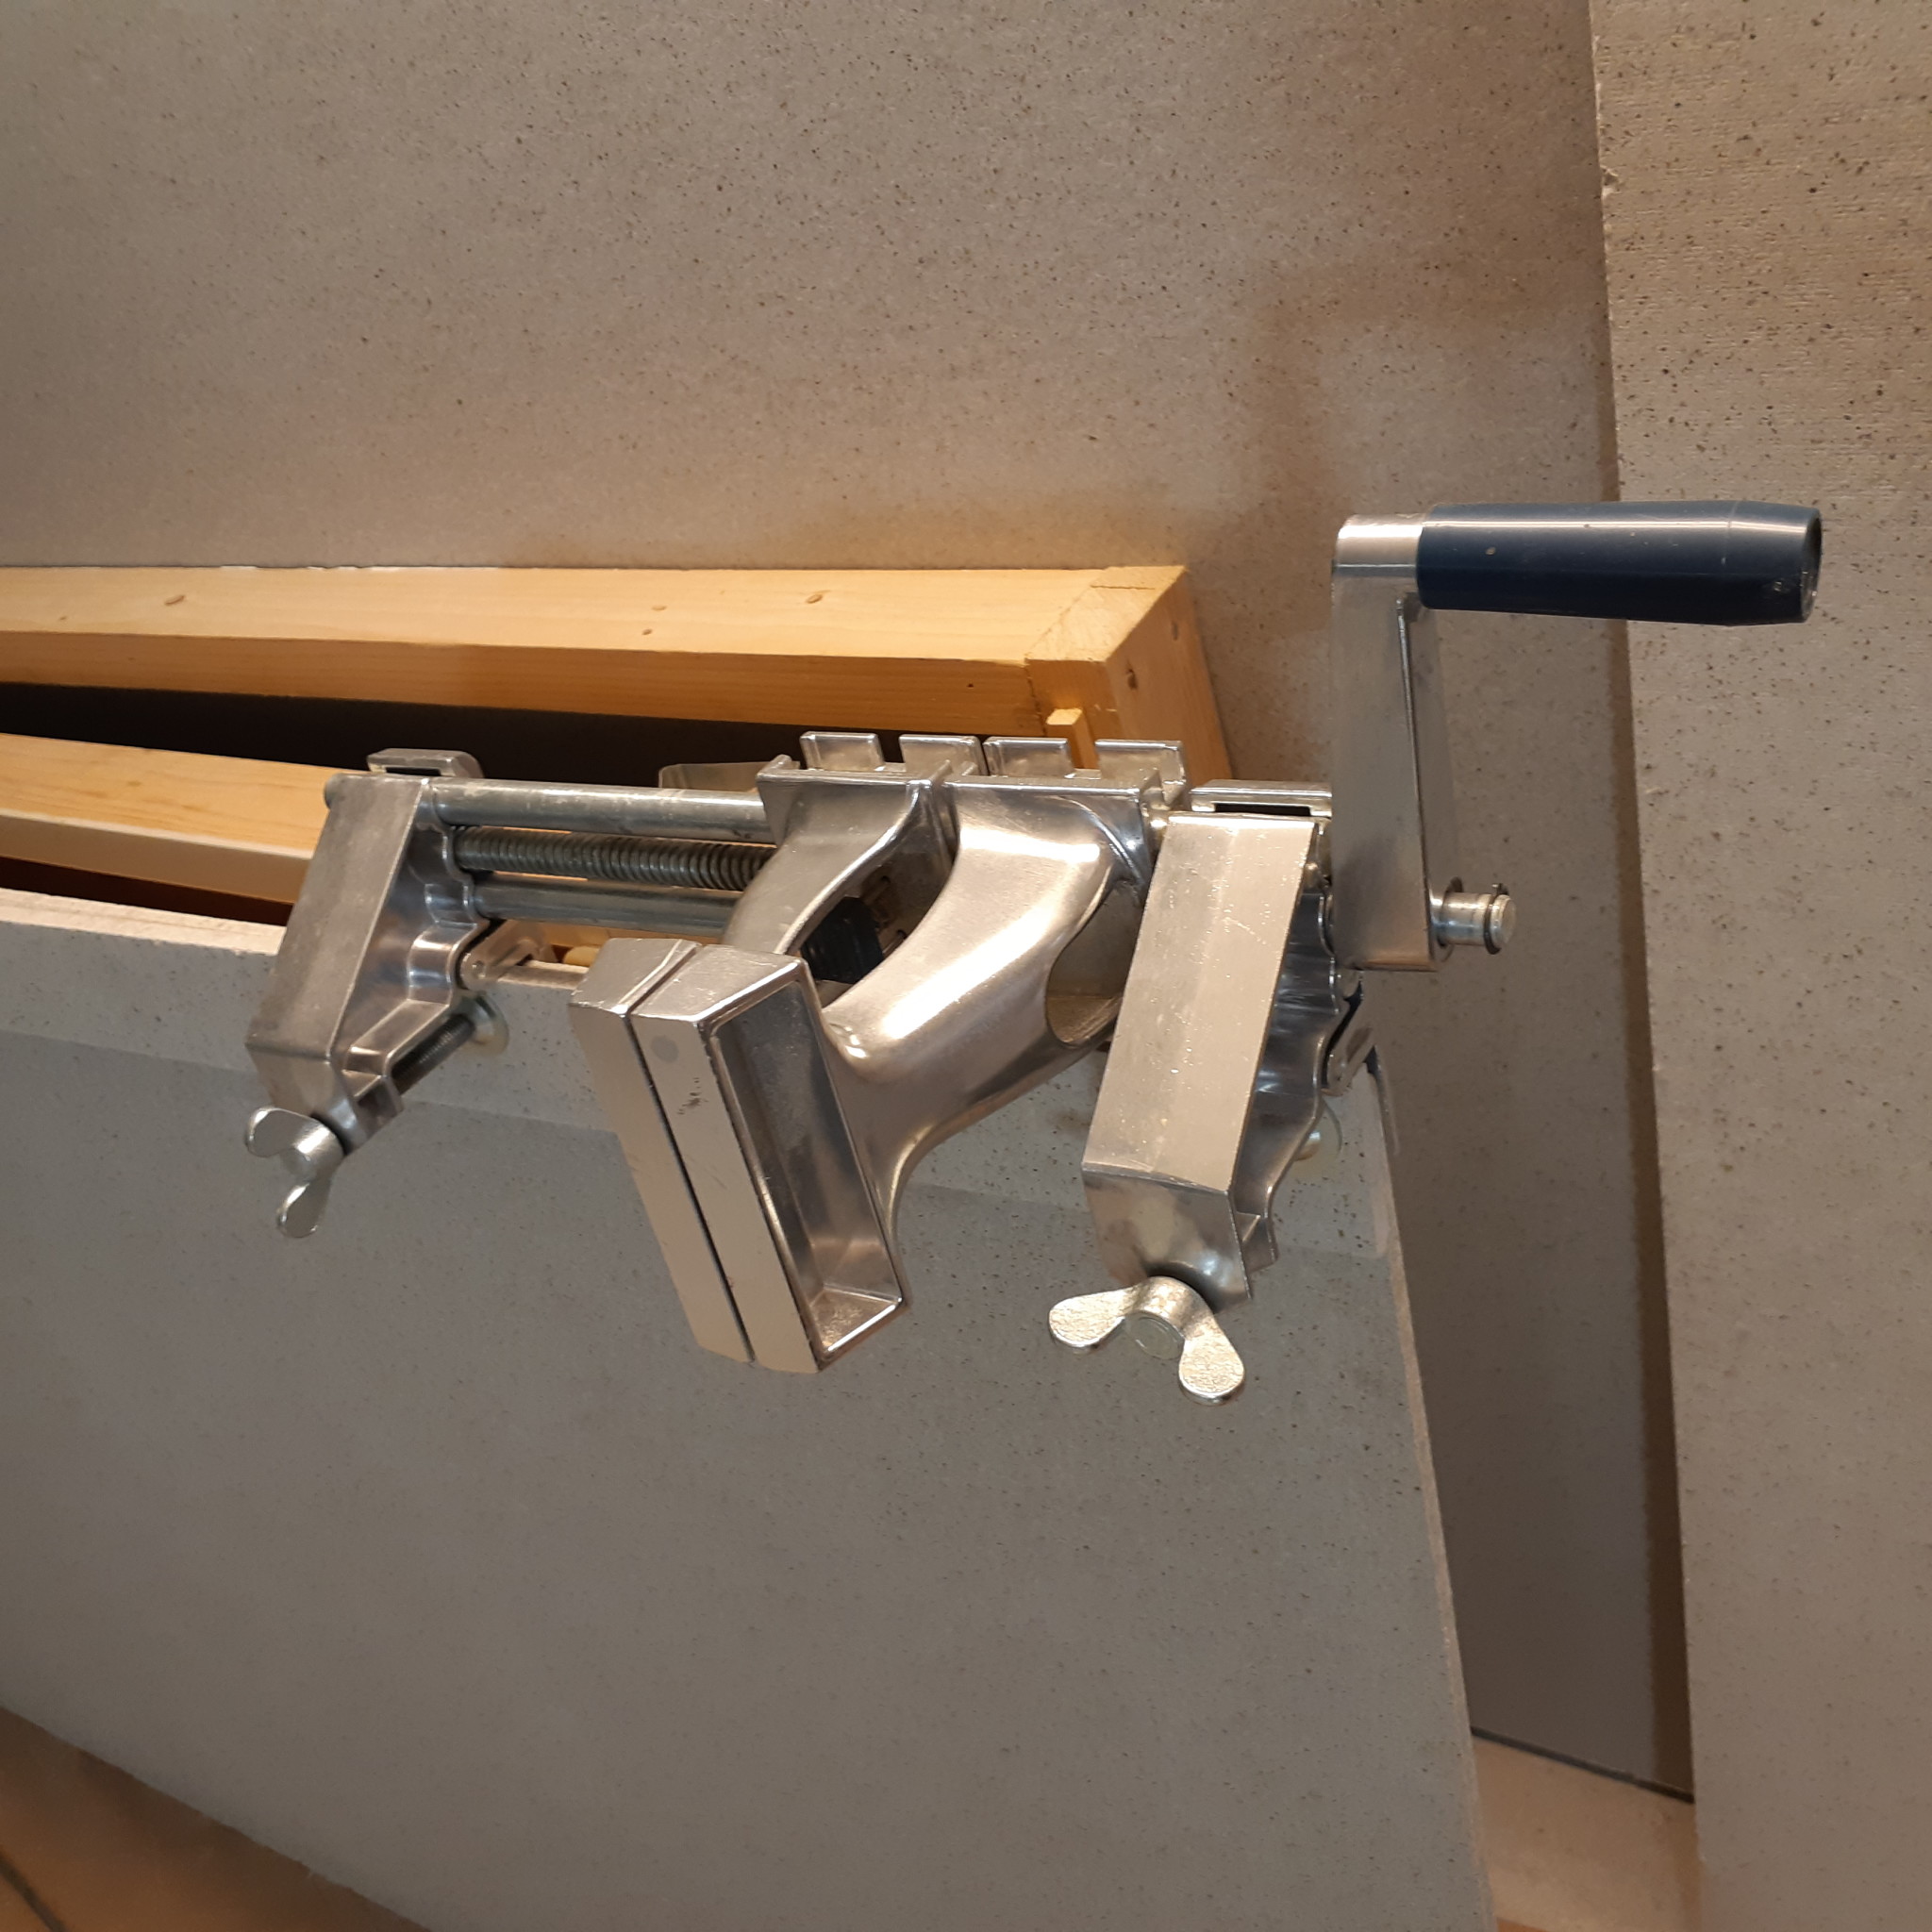
I suddenly remembered some old flea market finds that simplified life. They had been unused for far too long...
A hole punch for car sheets and the Swiss miracle Zyliss Profi-King, an aluminum(!) vise. Worked excellently for bending sheet metal, just attach it to a Minerit board.
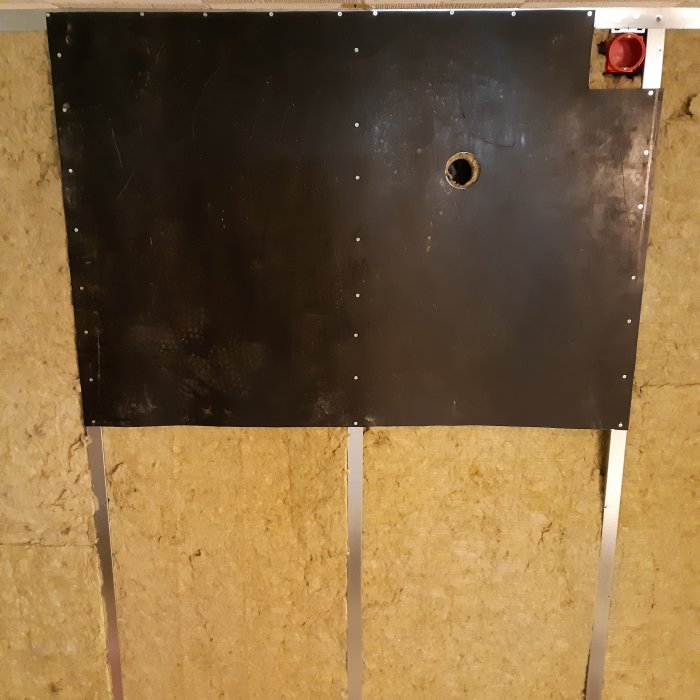
There was also a piece of old roofing sheet where the indoor unit for the air source heat pump will hang.
Another thing that would have helped is better planning of the steel studs.
If I had placed them so that I started screwing the boards into the "backside" of the stud instead of the unsupported side, everything would have been sturdier.
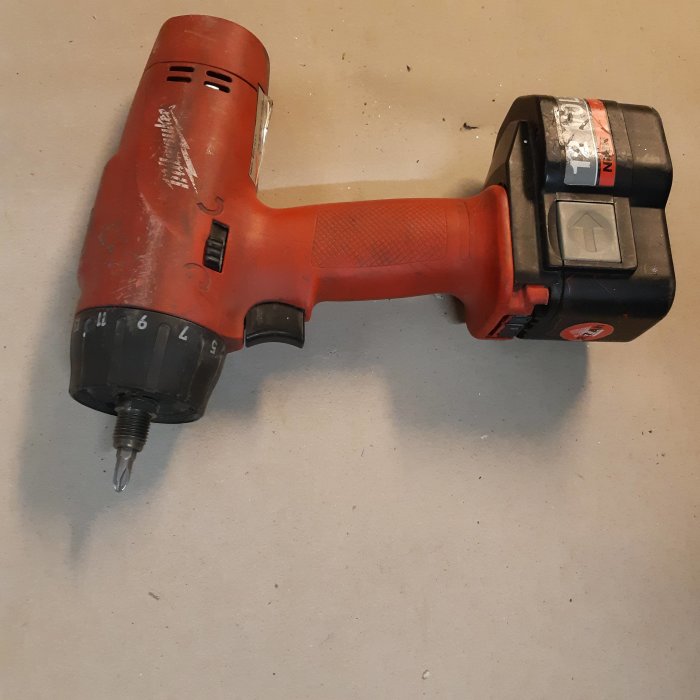
I found that my old drill had a bit holder when I unscrewed the chuck.
A Milwaukee PES12T Option.
Nice bonus!
/Höghus
Click here to reply
Vi vill skicka notiser för ämnen du bevakar och händelser som berör dig.


Matti_75 said:
Höghus said:
slacker said: