I am soon going to build a staircase and want to try to make it as good but still cheap as possible.
I'm now considering how to make the steps...
What do you think about screwing and gluing chipboard onto stringers as steps? And then covering this by laying the same flooring as I plan to lay on the ground floor?
The staircase will be 900 mm wide and if I go with three underlying stringers, the span should be OK for 22 mm chipboard. The staircase will also be completely closed with risers.
Does anyone have any advice or experience? Risk of creaking? How do I best cover the staircase after I have laid the chipboard?
I have actually built the staircase now and thought I should share the result.
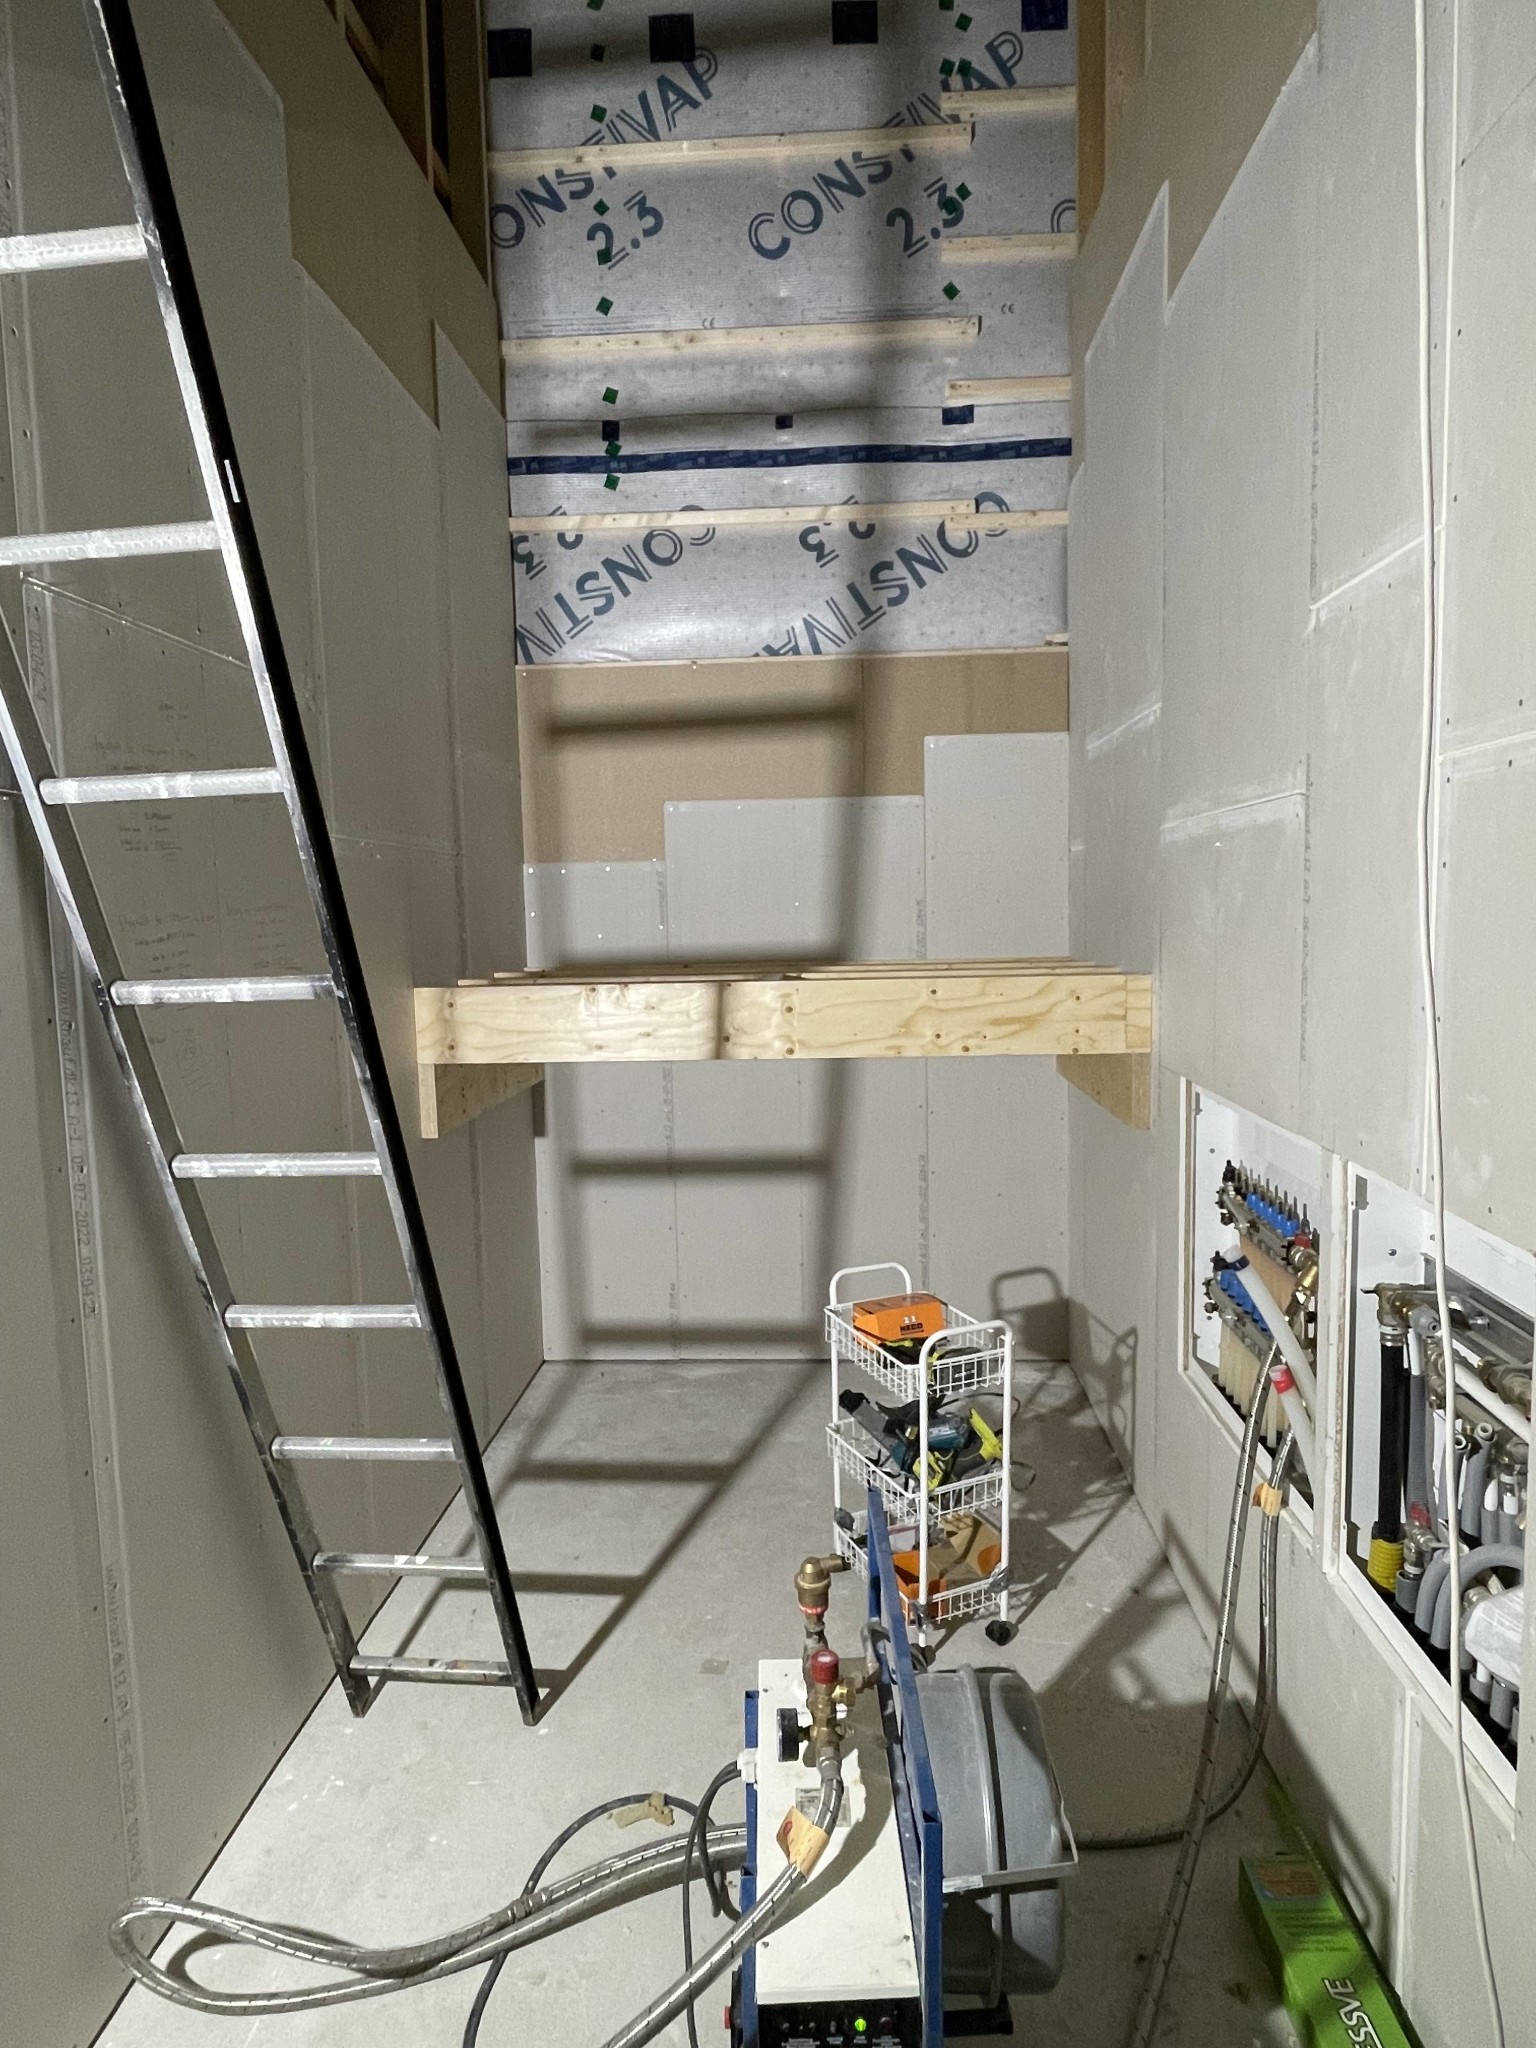
I used LVL-S beams for the landing (45x200) and stringers (45x300) and then 22 mm particle board for treads and risers.
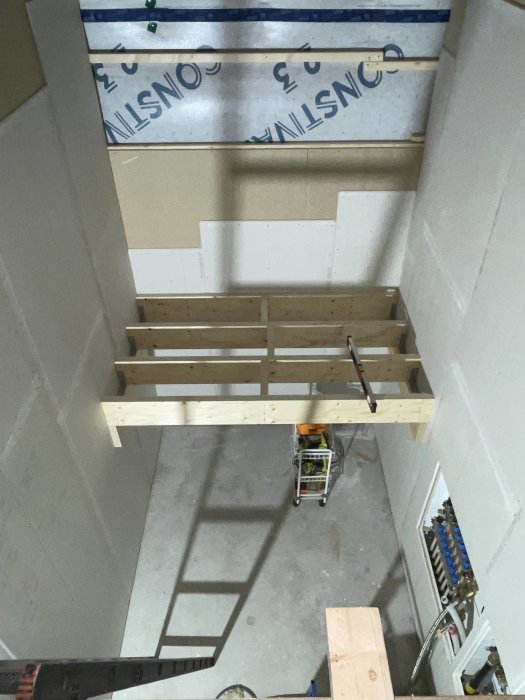
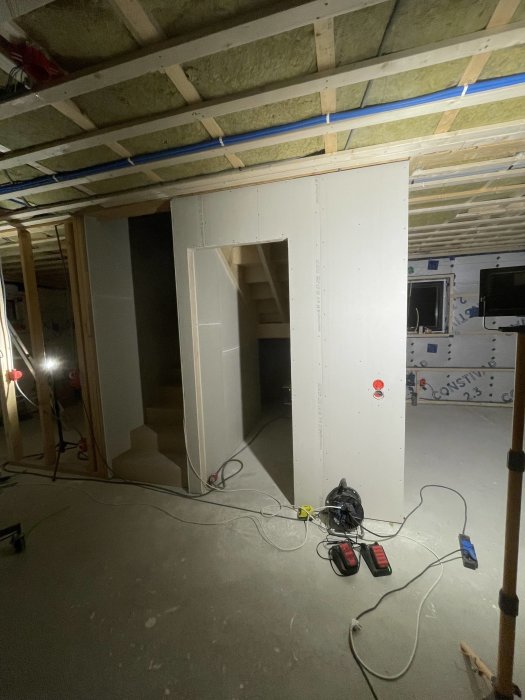
First, I screwed particle and drywall sheets onto the surrounding walls and screwed floor joists for the landing, on the landing I glued and screwed the particle board:
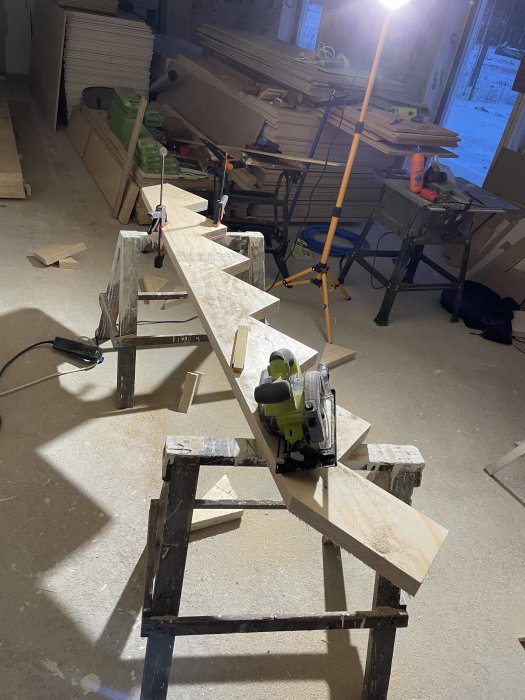
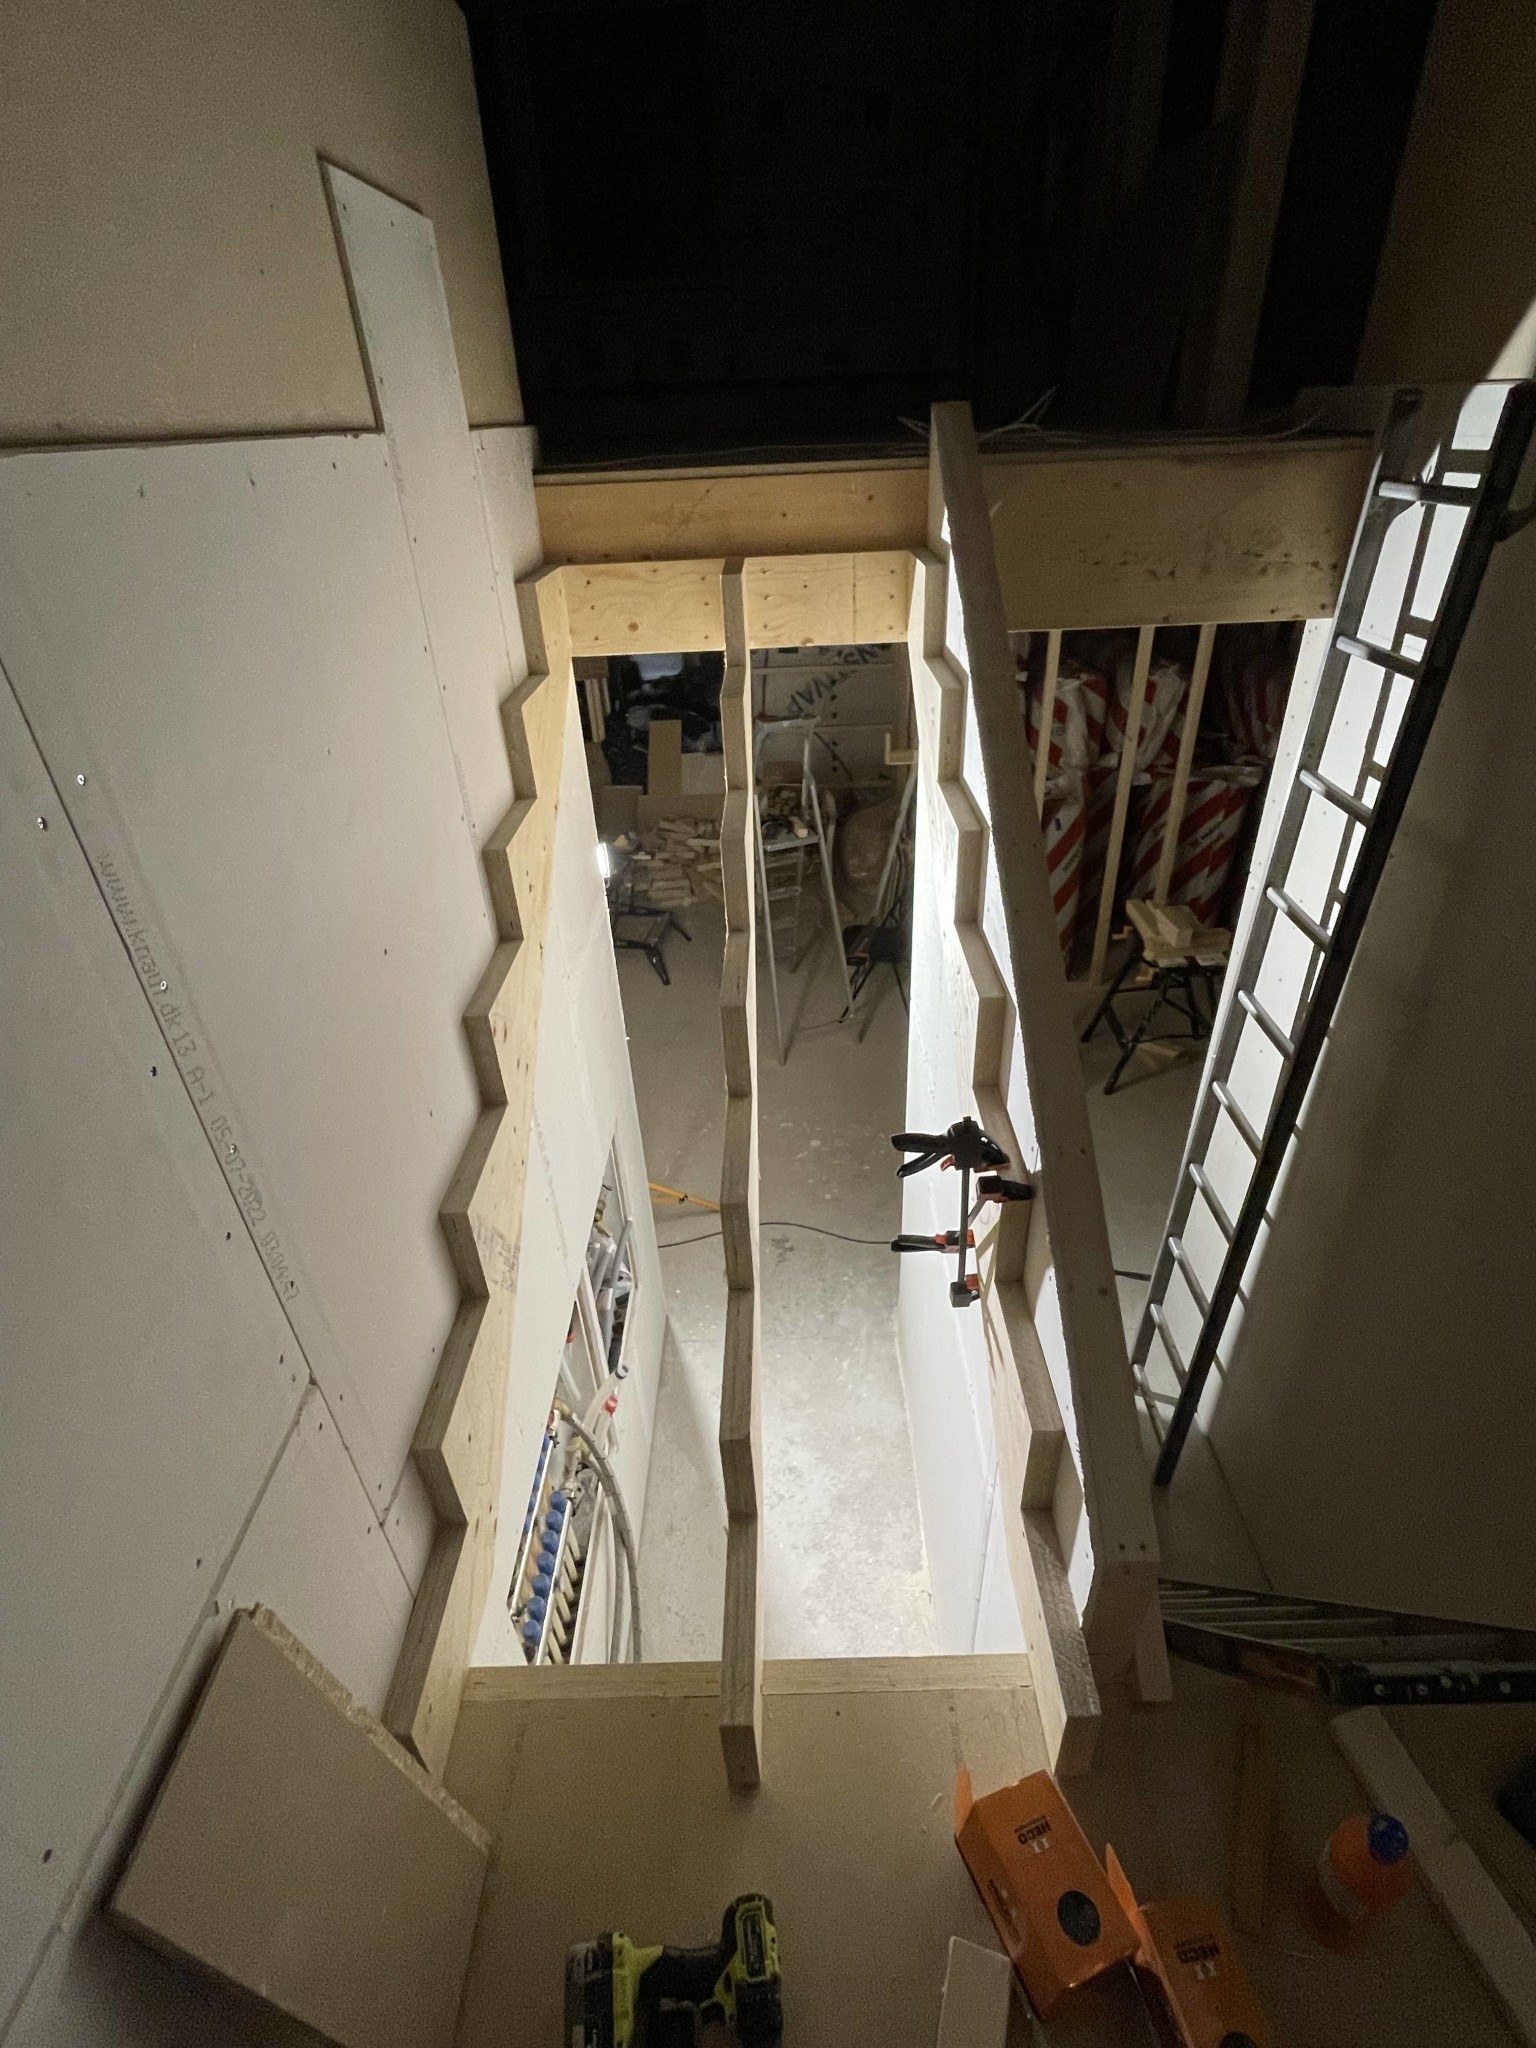
Then I cut all 6 stringers, made a template from a particle board first to check that I measured correctly:
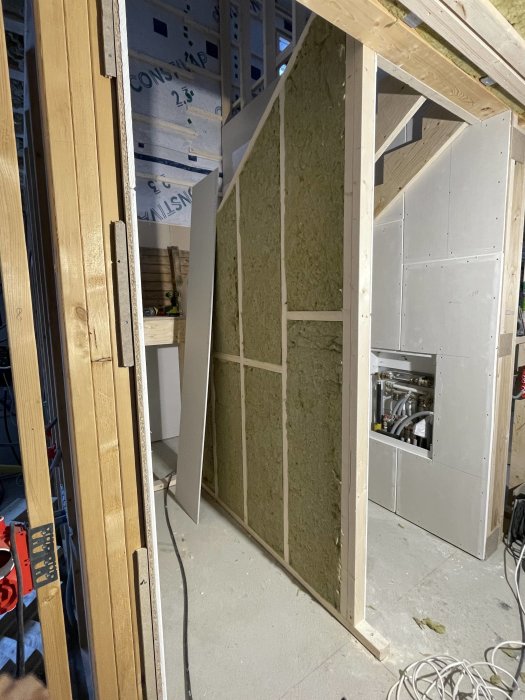
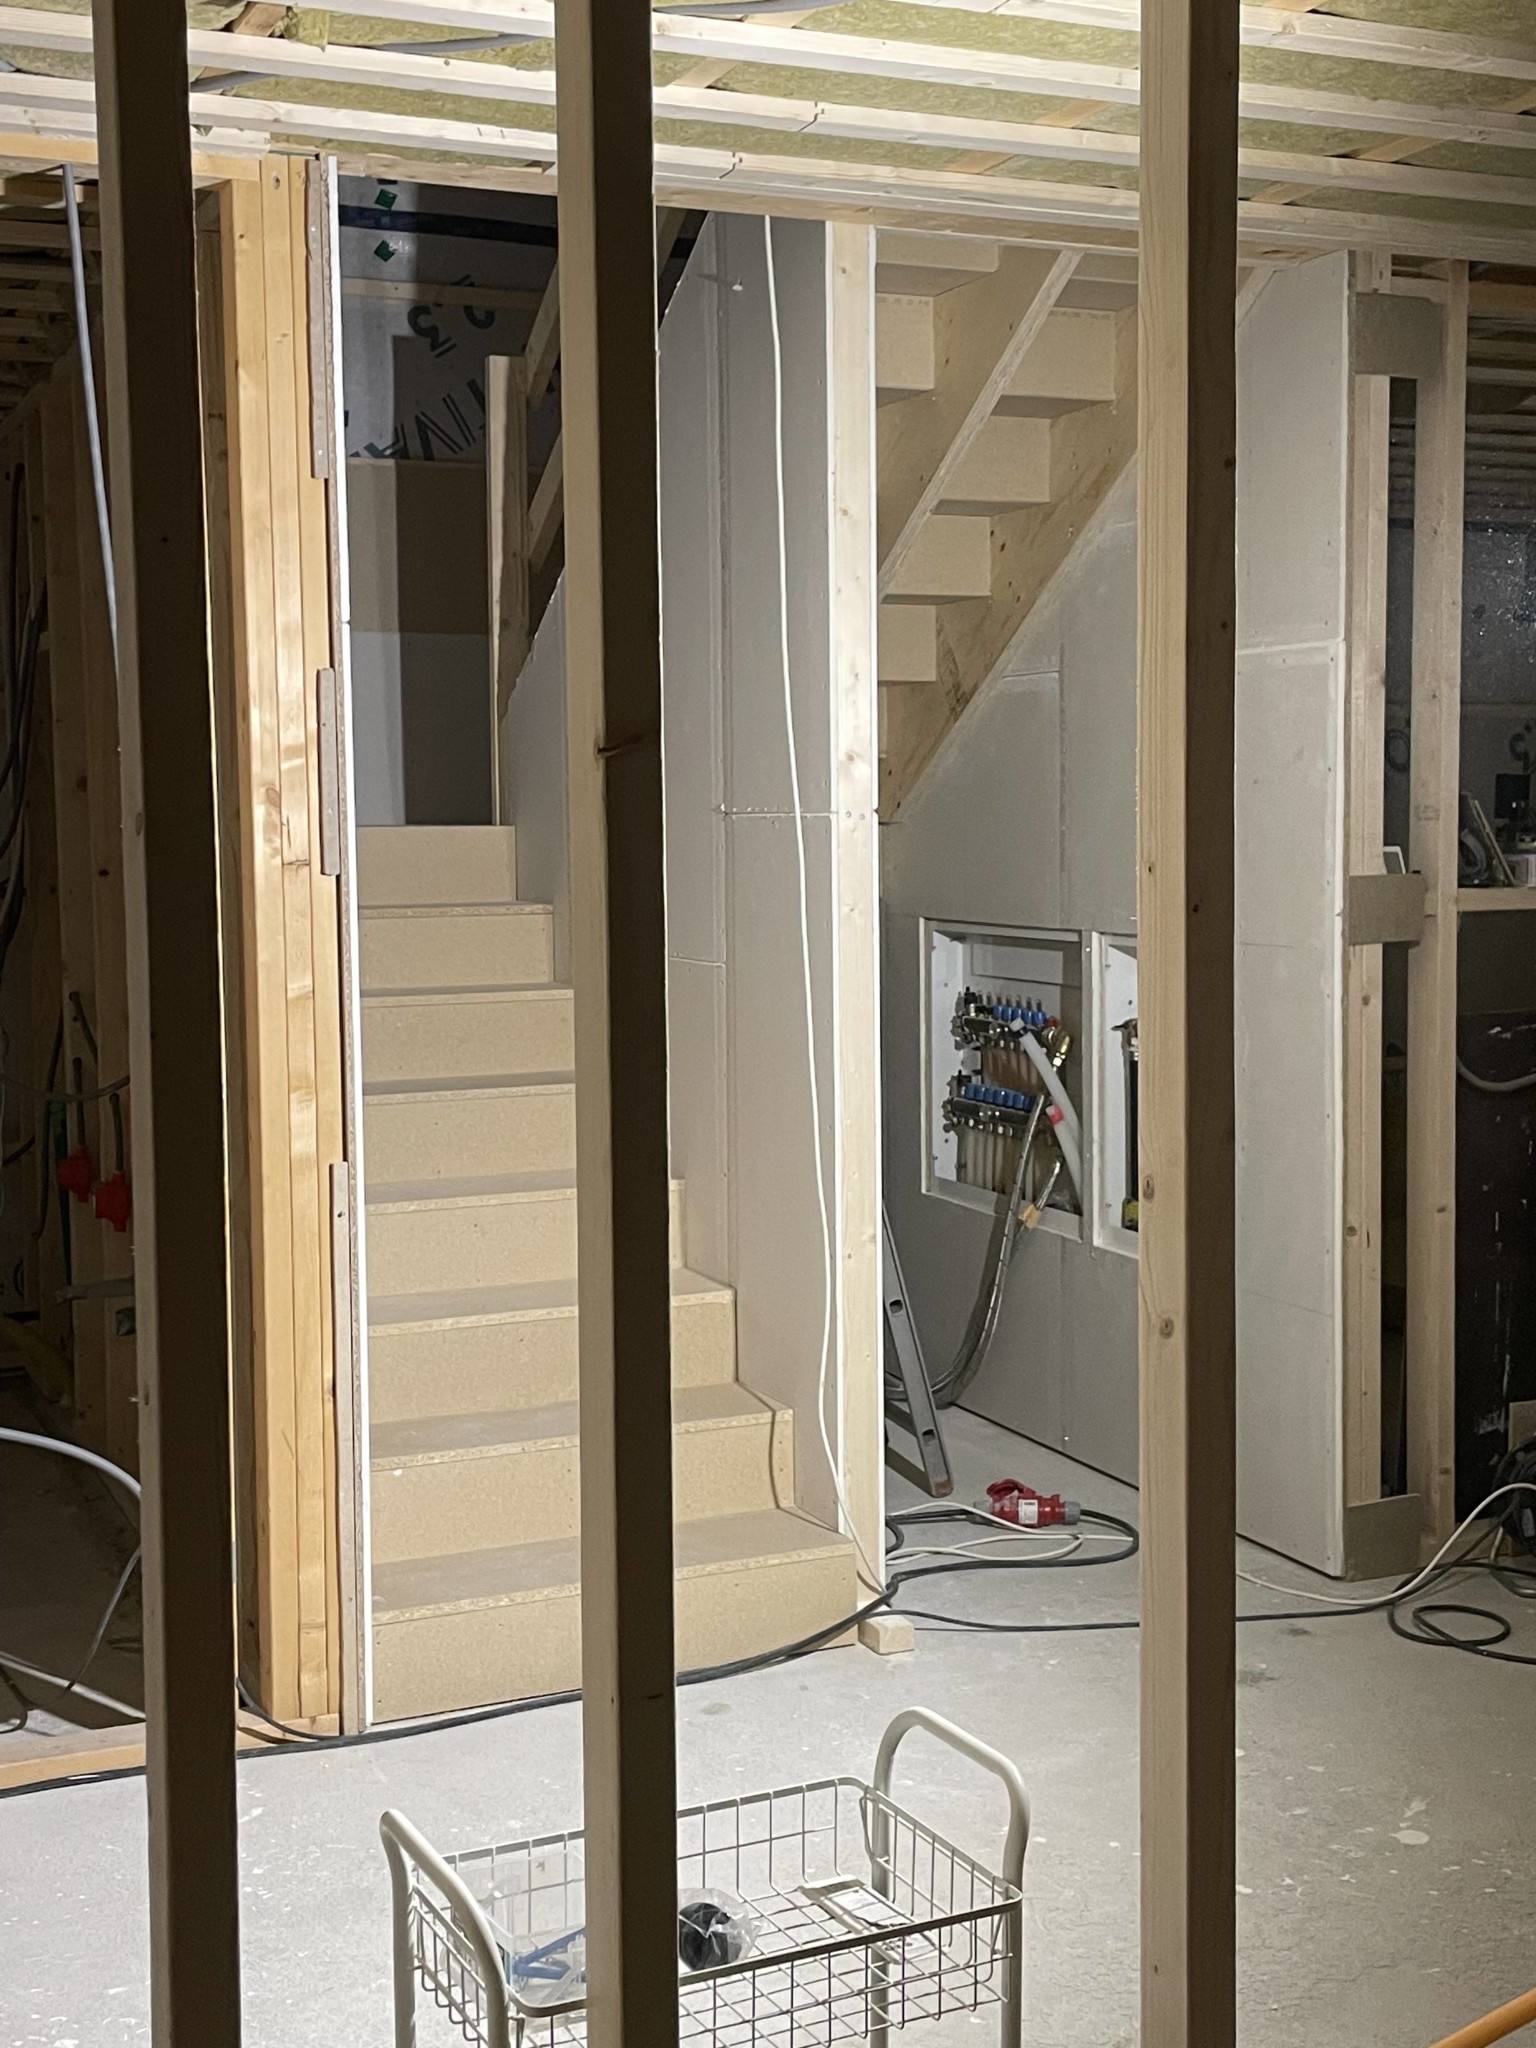
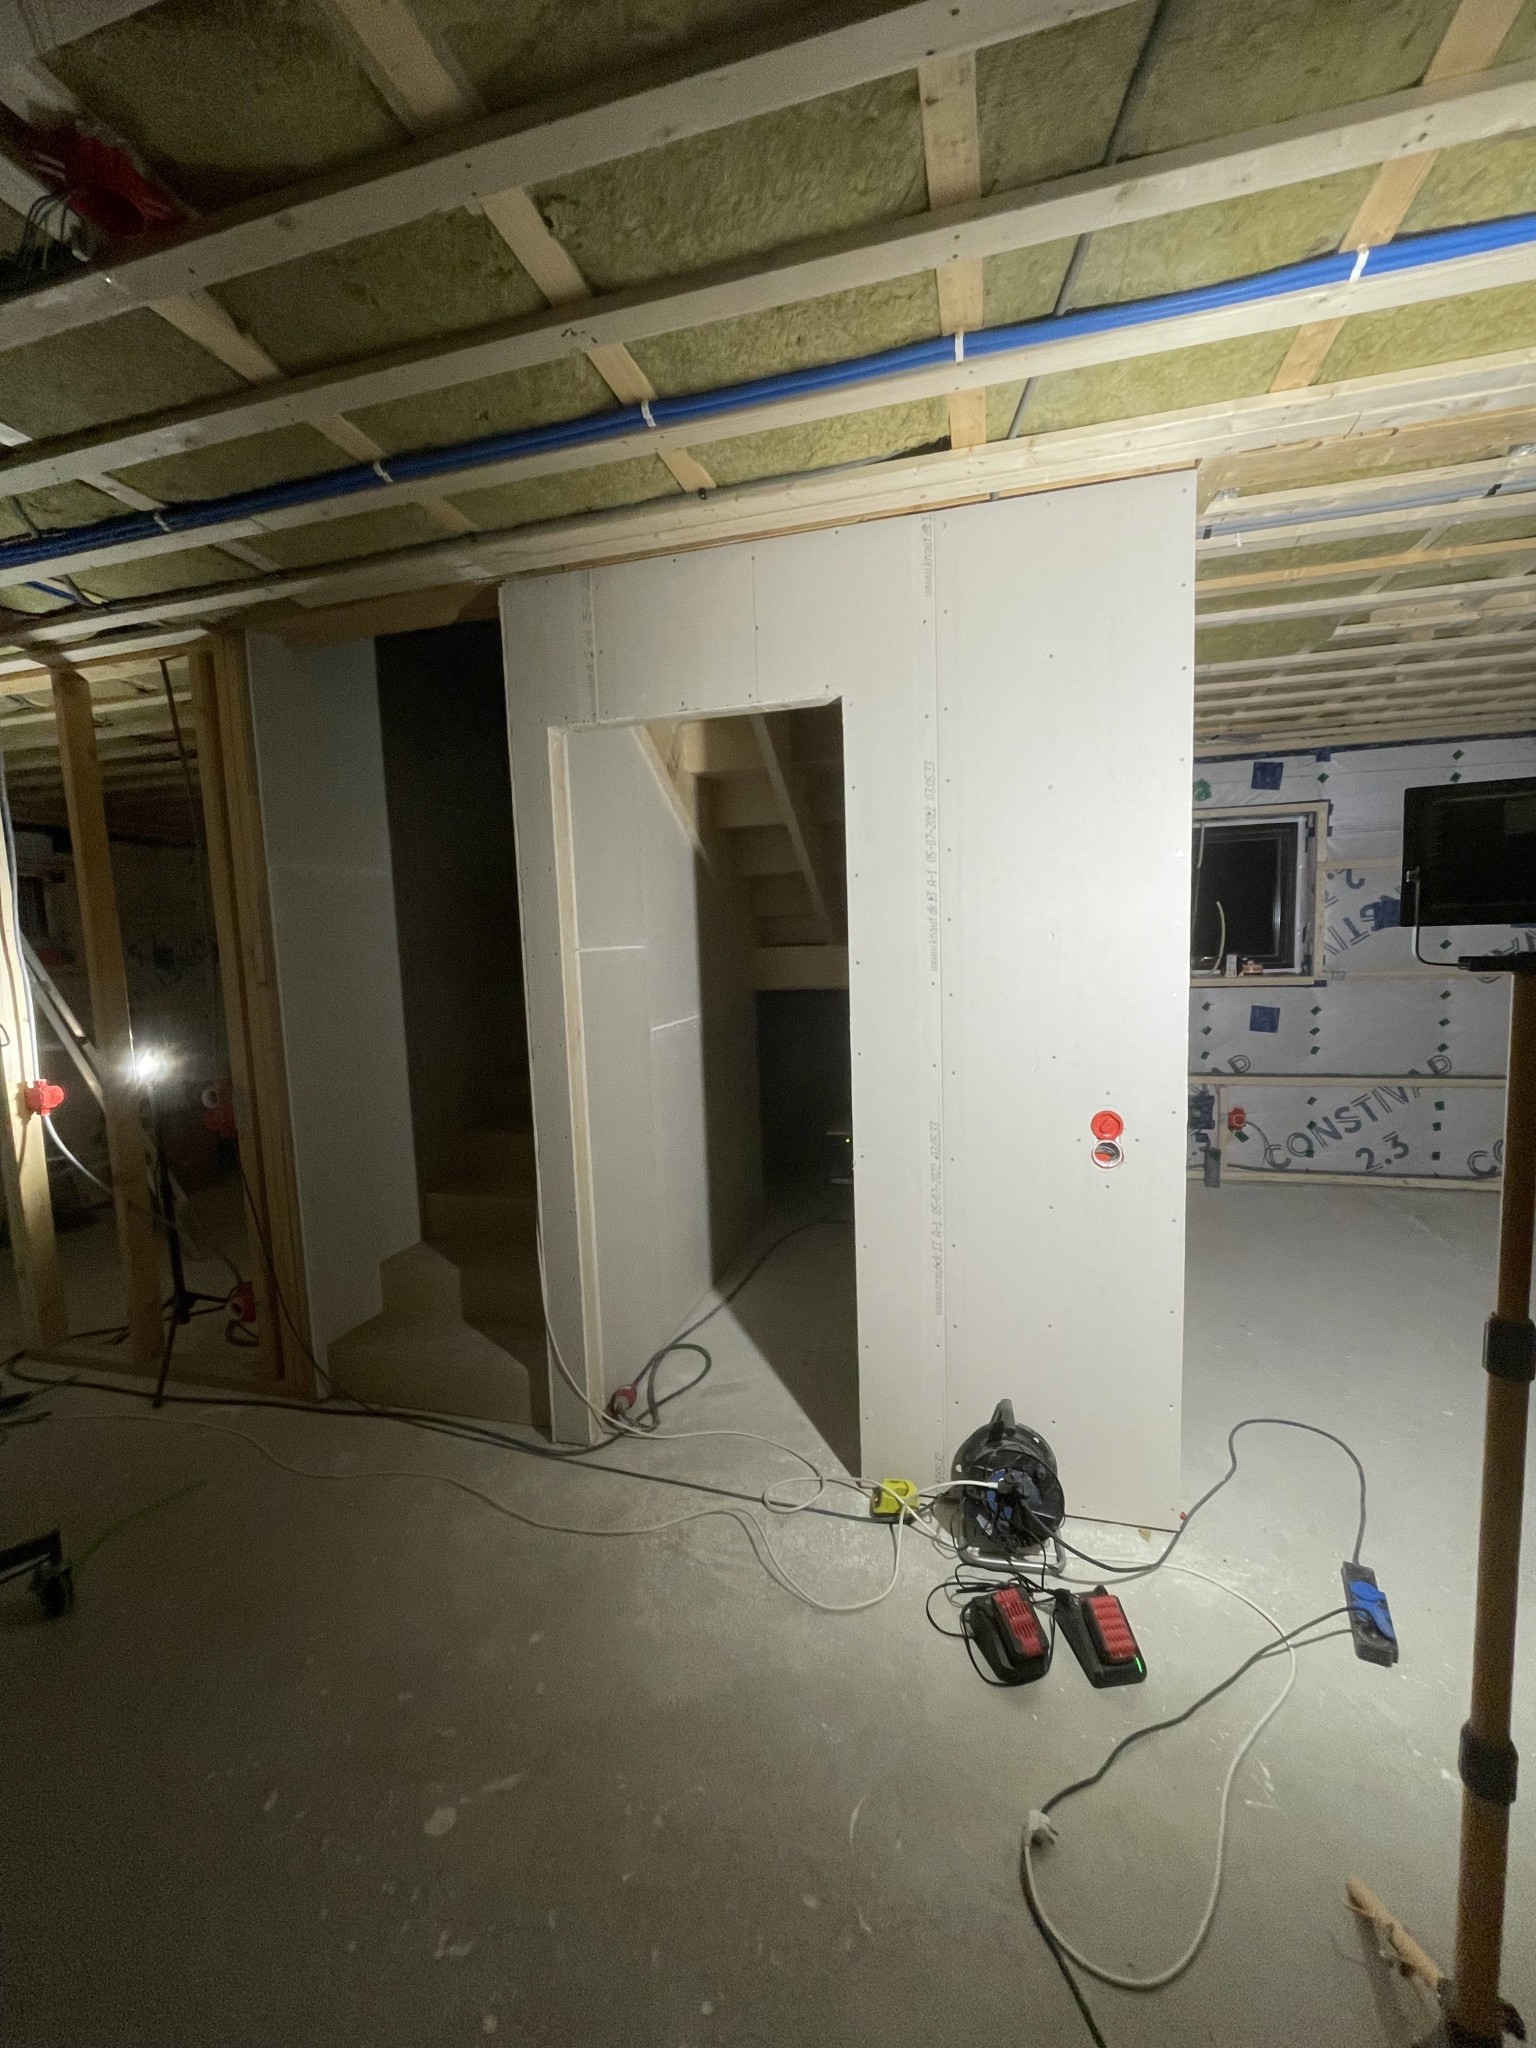
After that, I framed the wall that will be between the stair sections, attached sheets and screwed the stringers for the upper staircase:
Then I insulated the wall and put sheets on the other side:
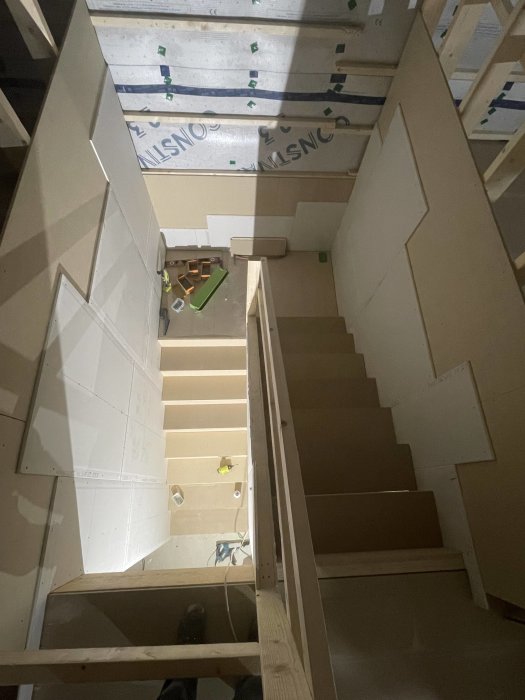
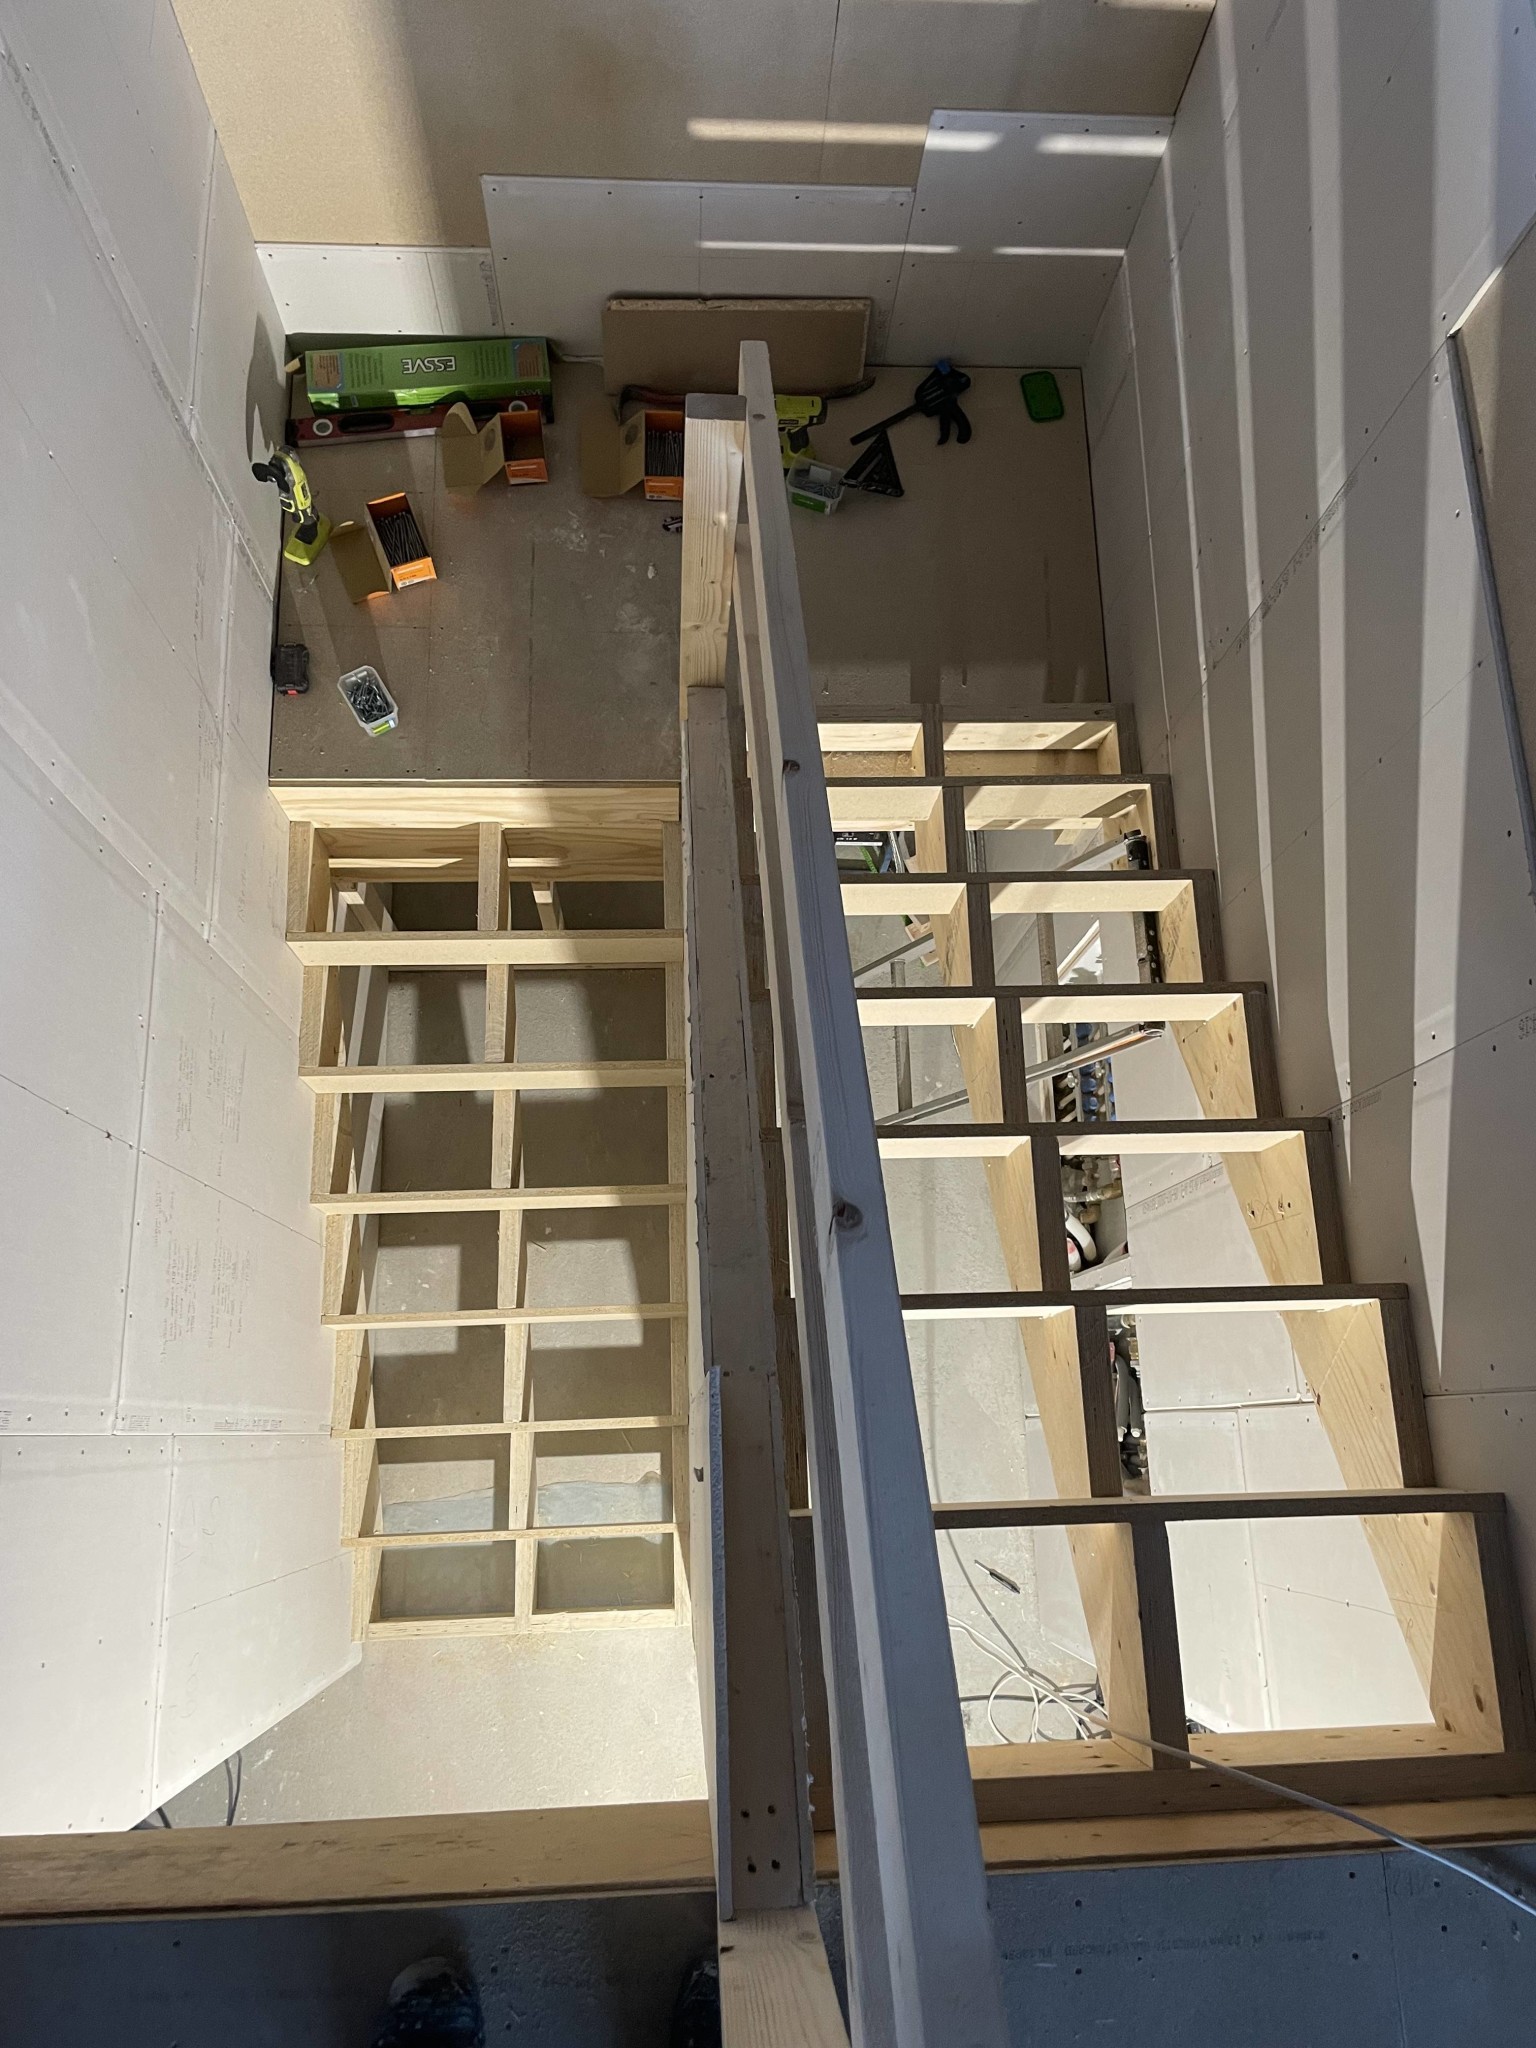
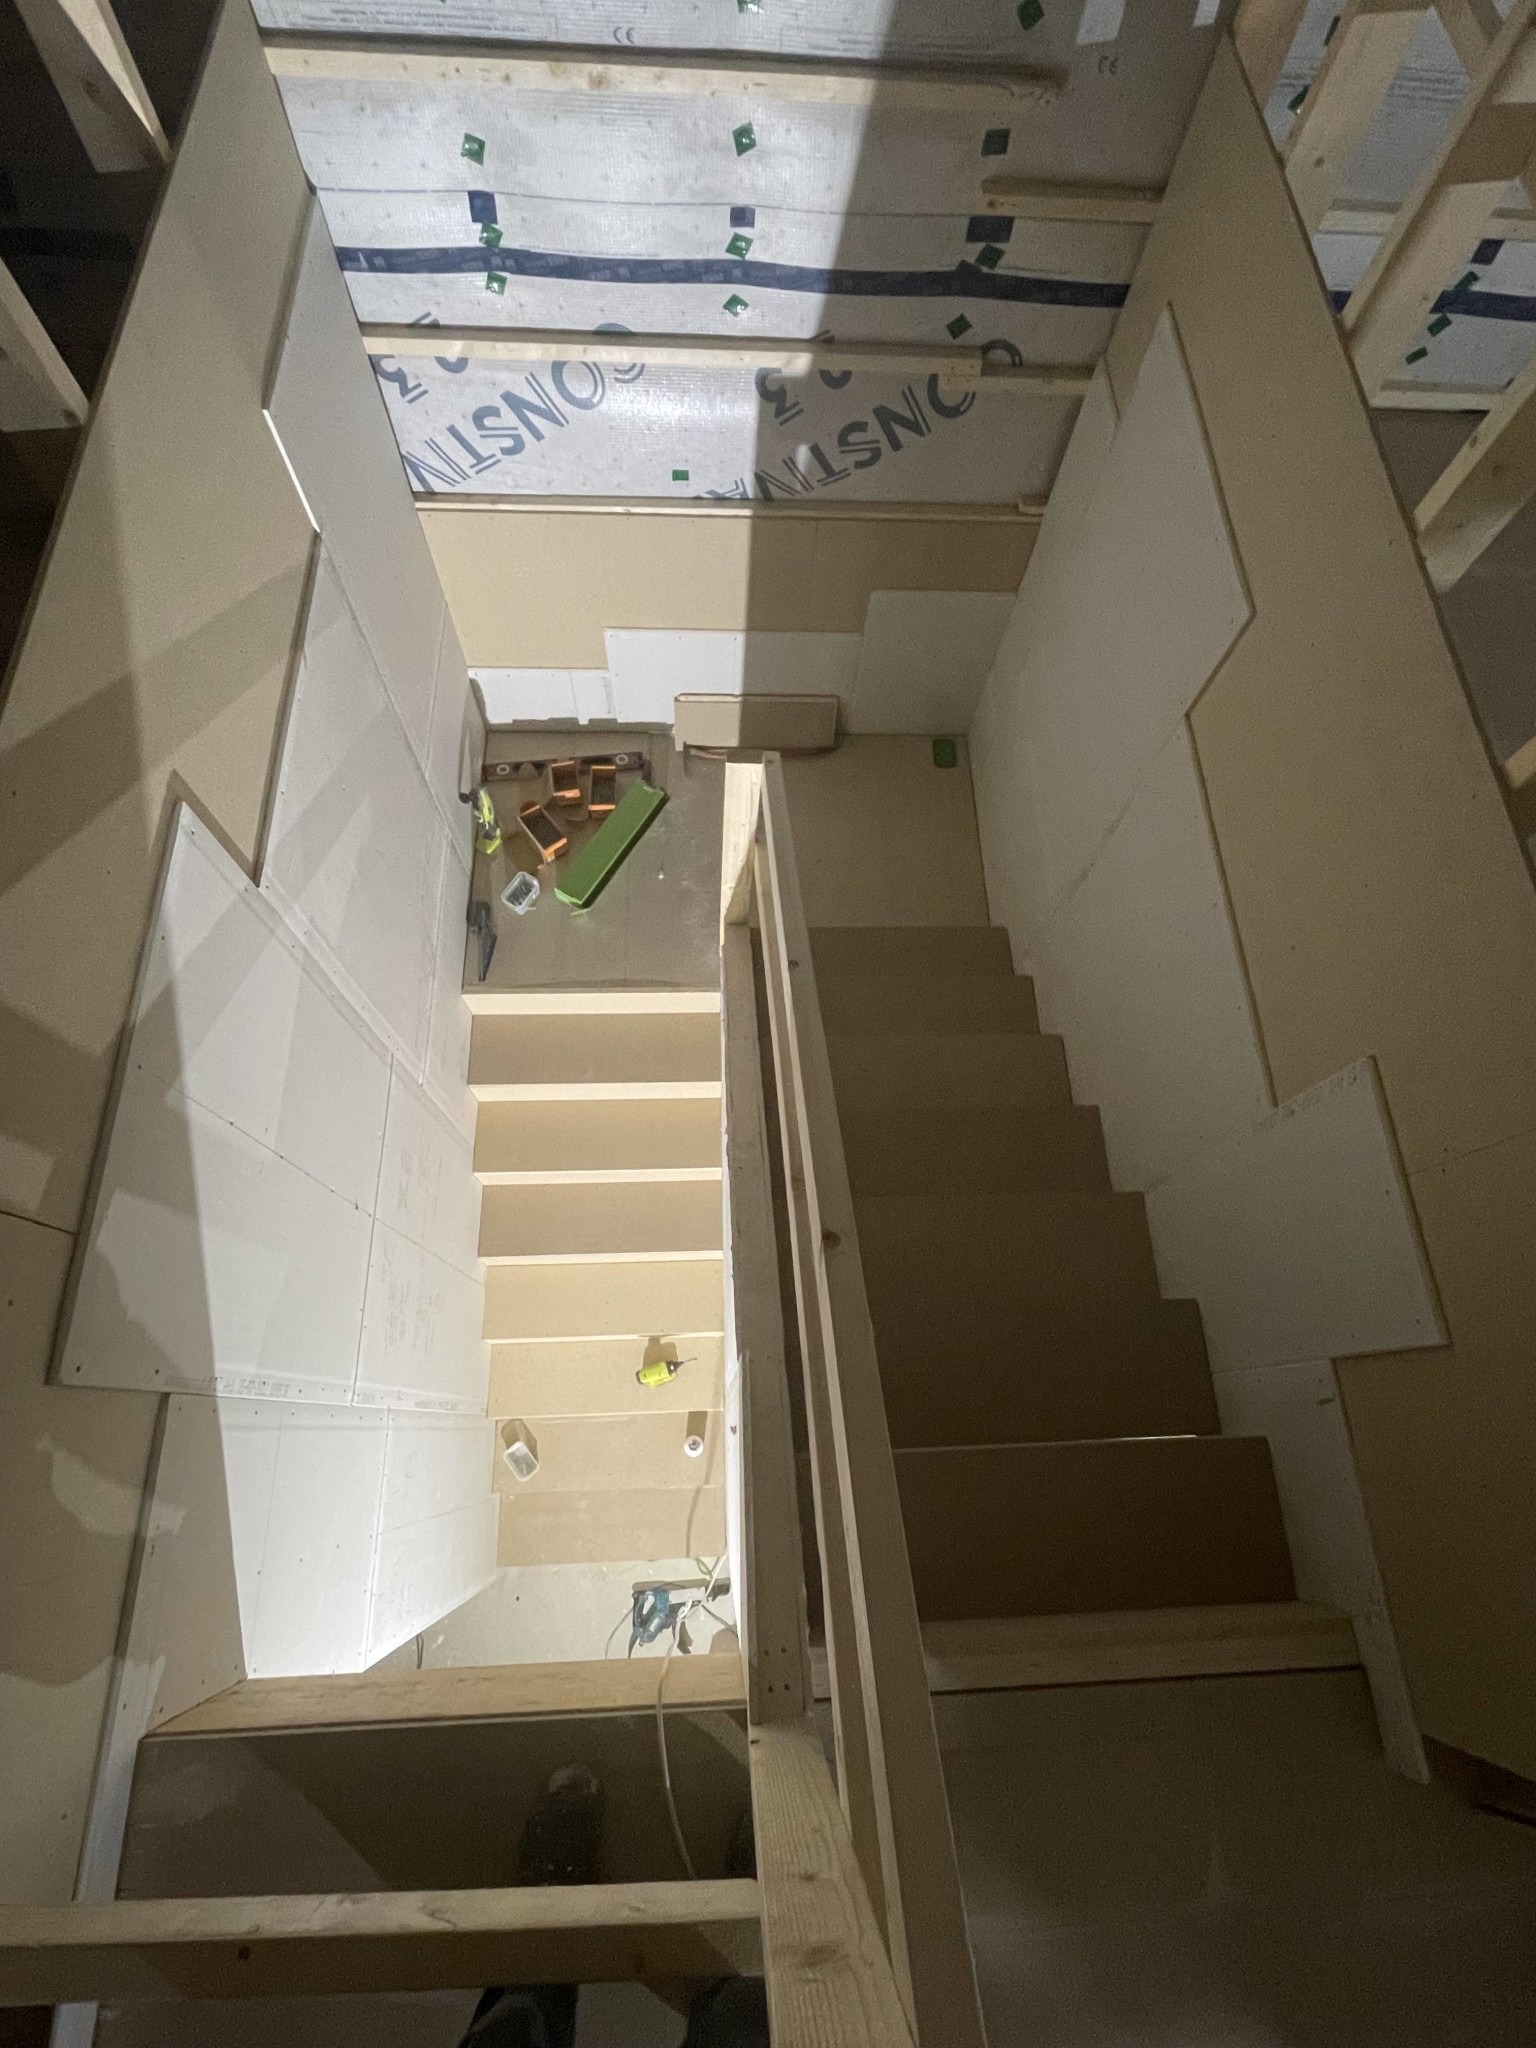
Thereafter, I mounted the stringers for the lower staircase and screwed and glued risers of 22 mm particle board:
After that, I screwed and glued 22 mm particle board as treads. Also mounted a temporary railing:
Under the staircase, there will be a small storage room:
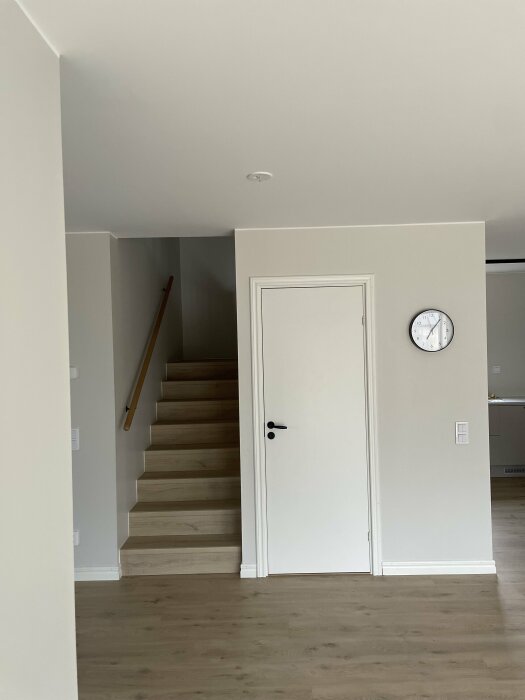
The result turned out very well. The staircase is incredibly sturdy and feels very comfortable to walk on.
After this, I will clad the staircase with Pego Sensation and their 5-in-1 profiles, which are perfect for stair nosing.
We will see how the staircase holds up over time, I guess I will have to check back with this thread every few years for updates
Looks very nice, I'm considering doing a similar solution, do you have more pictures of the construction process and how it turned out, how did you clad it afterwards, with parquet flooring?
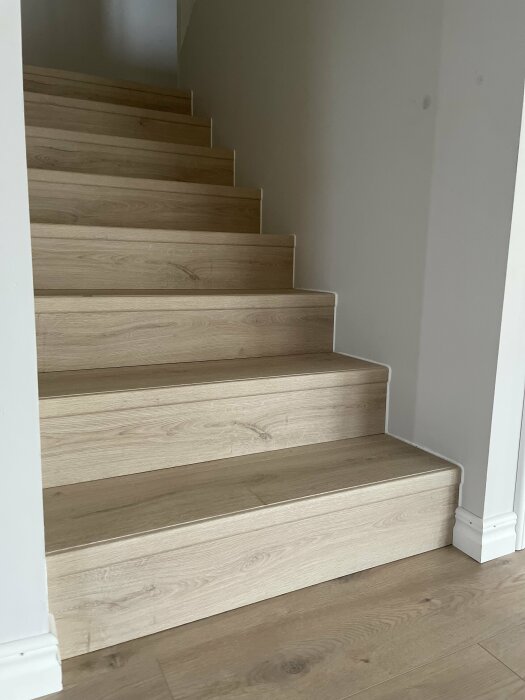
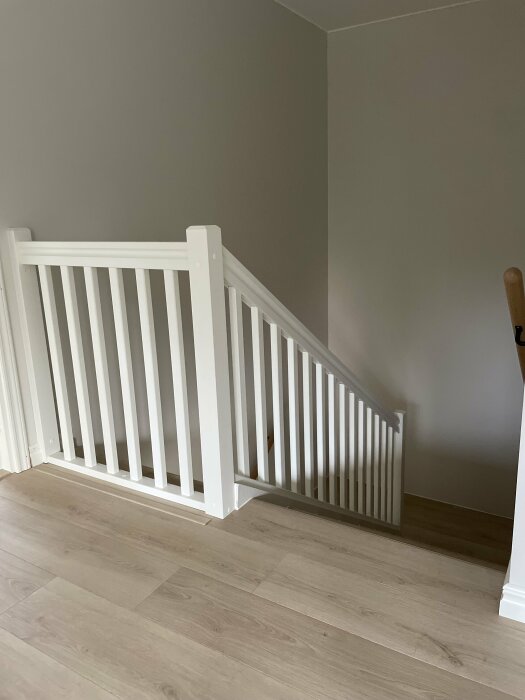
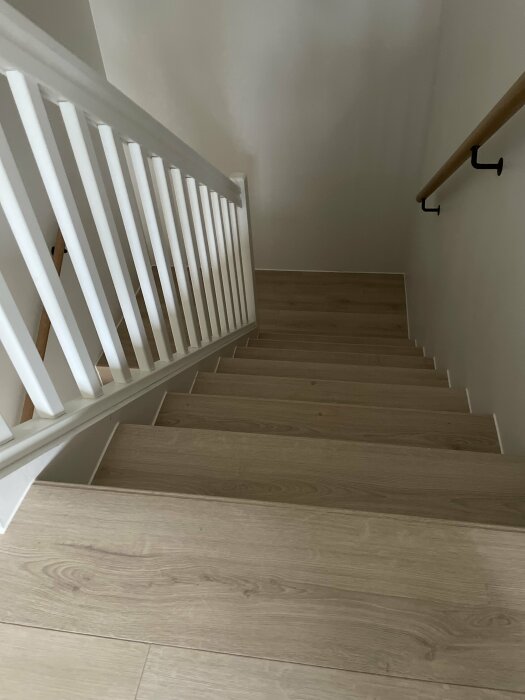
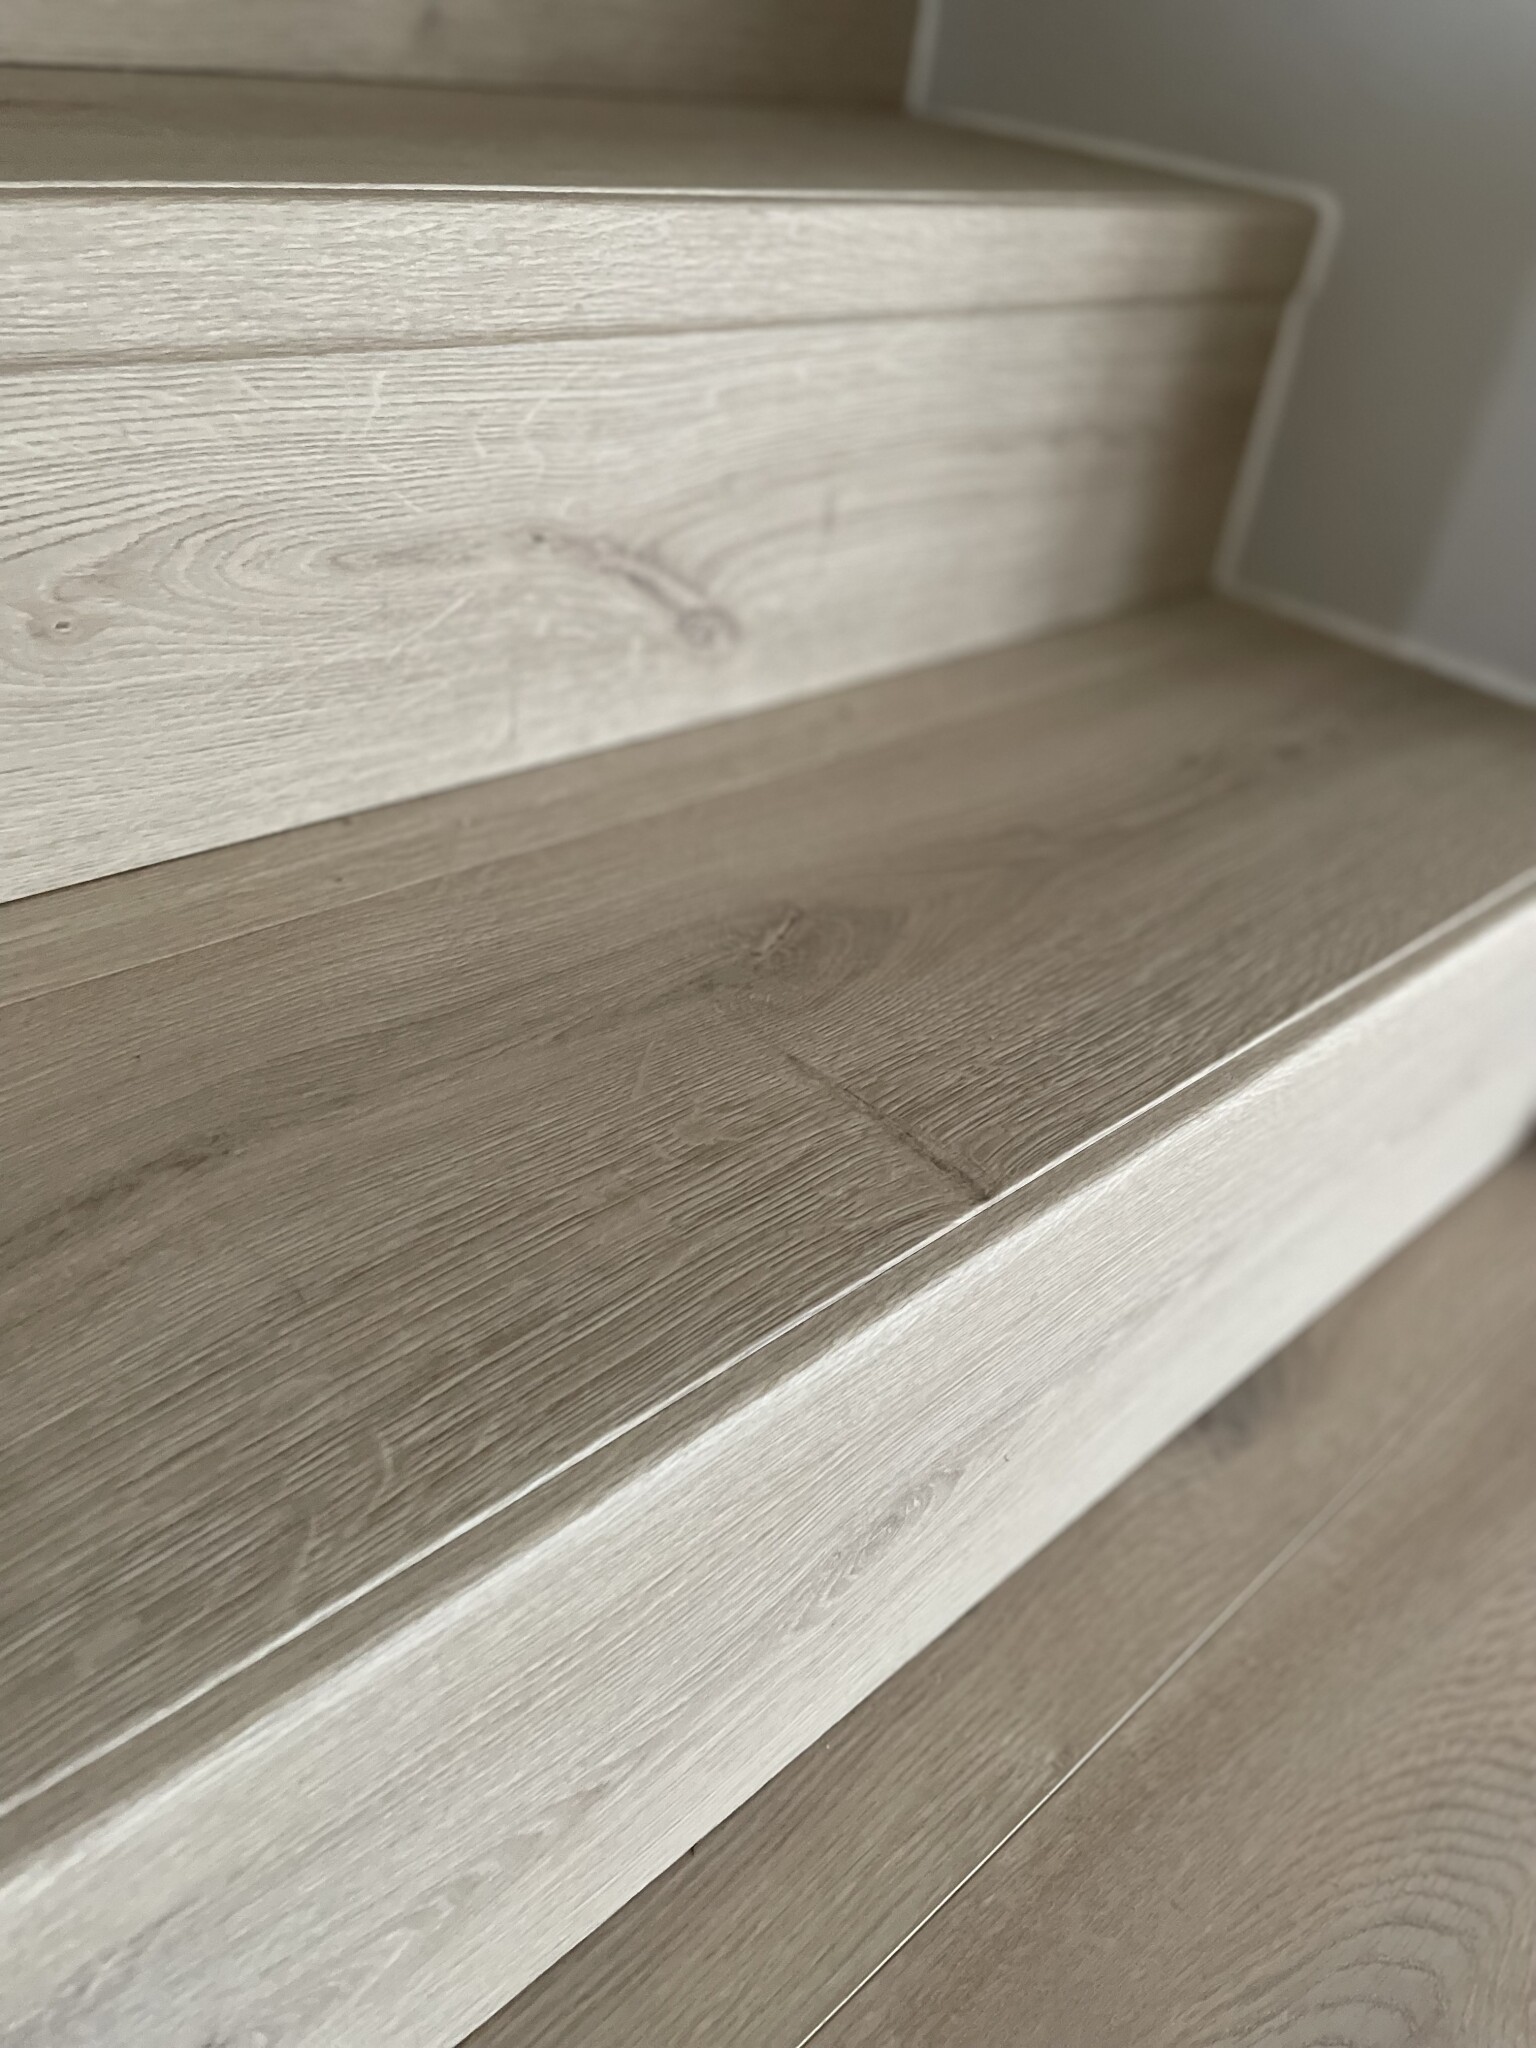
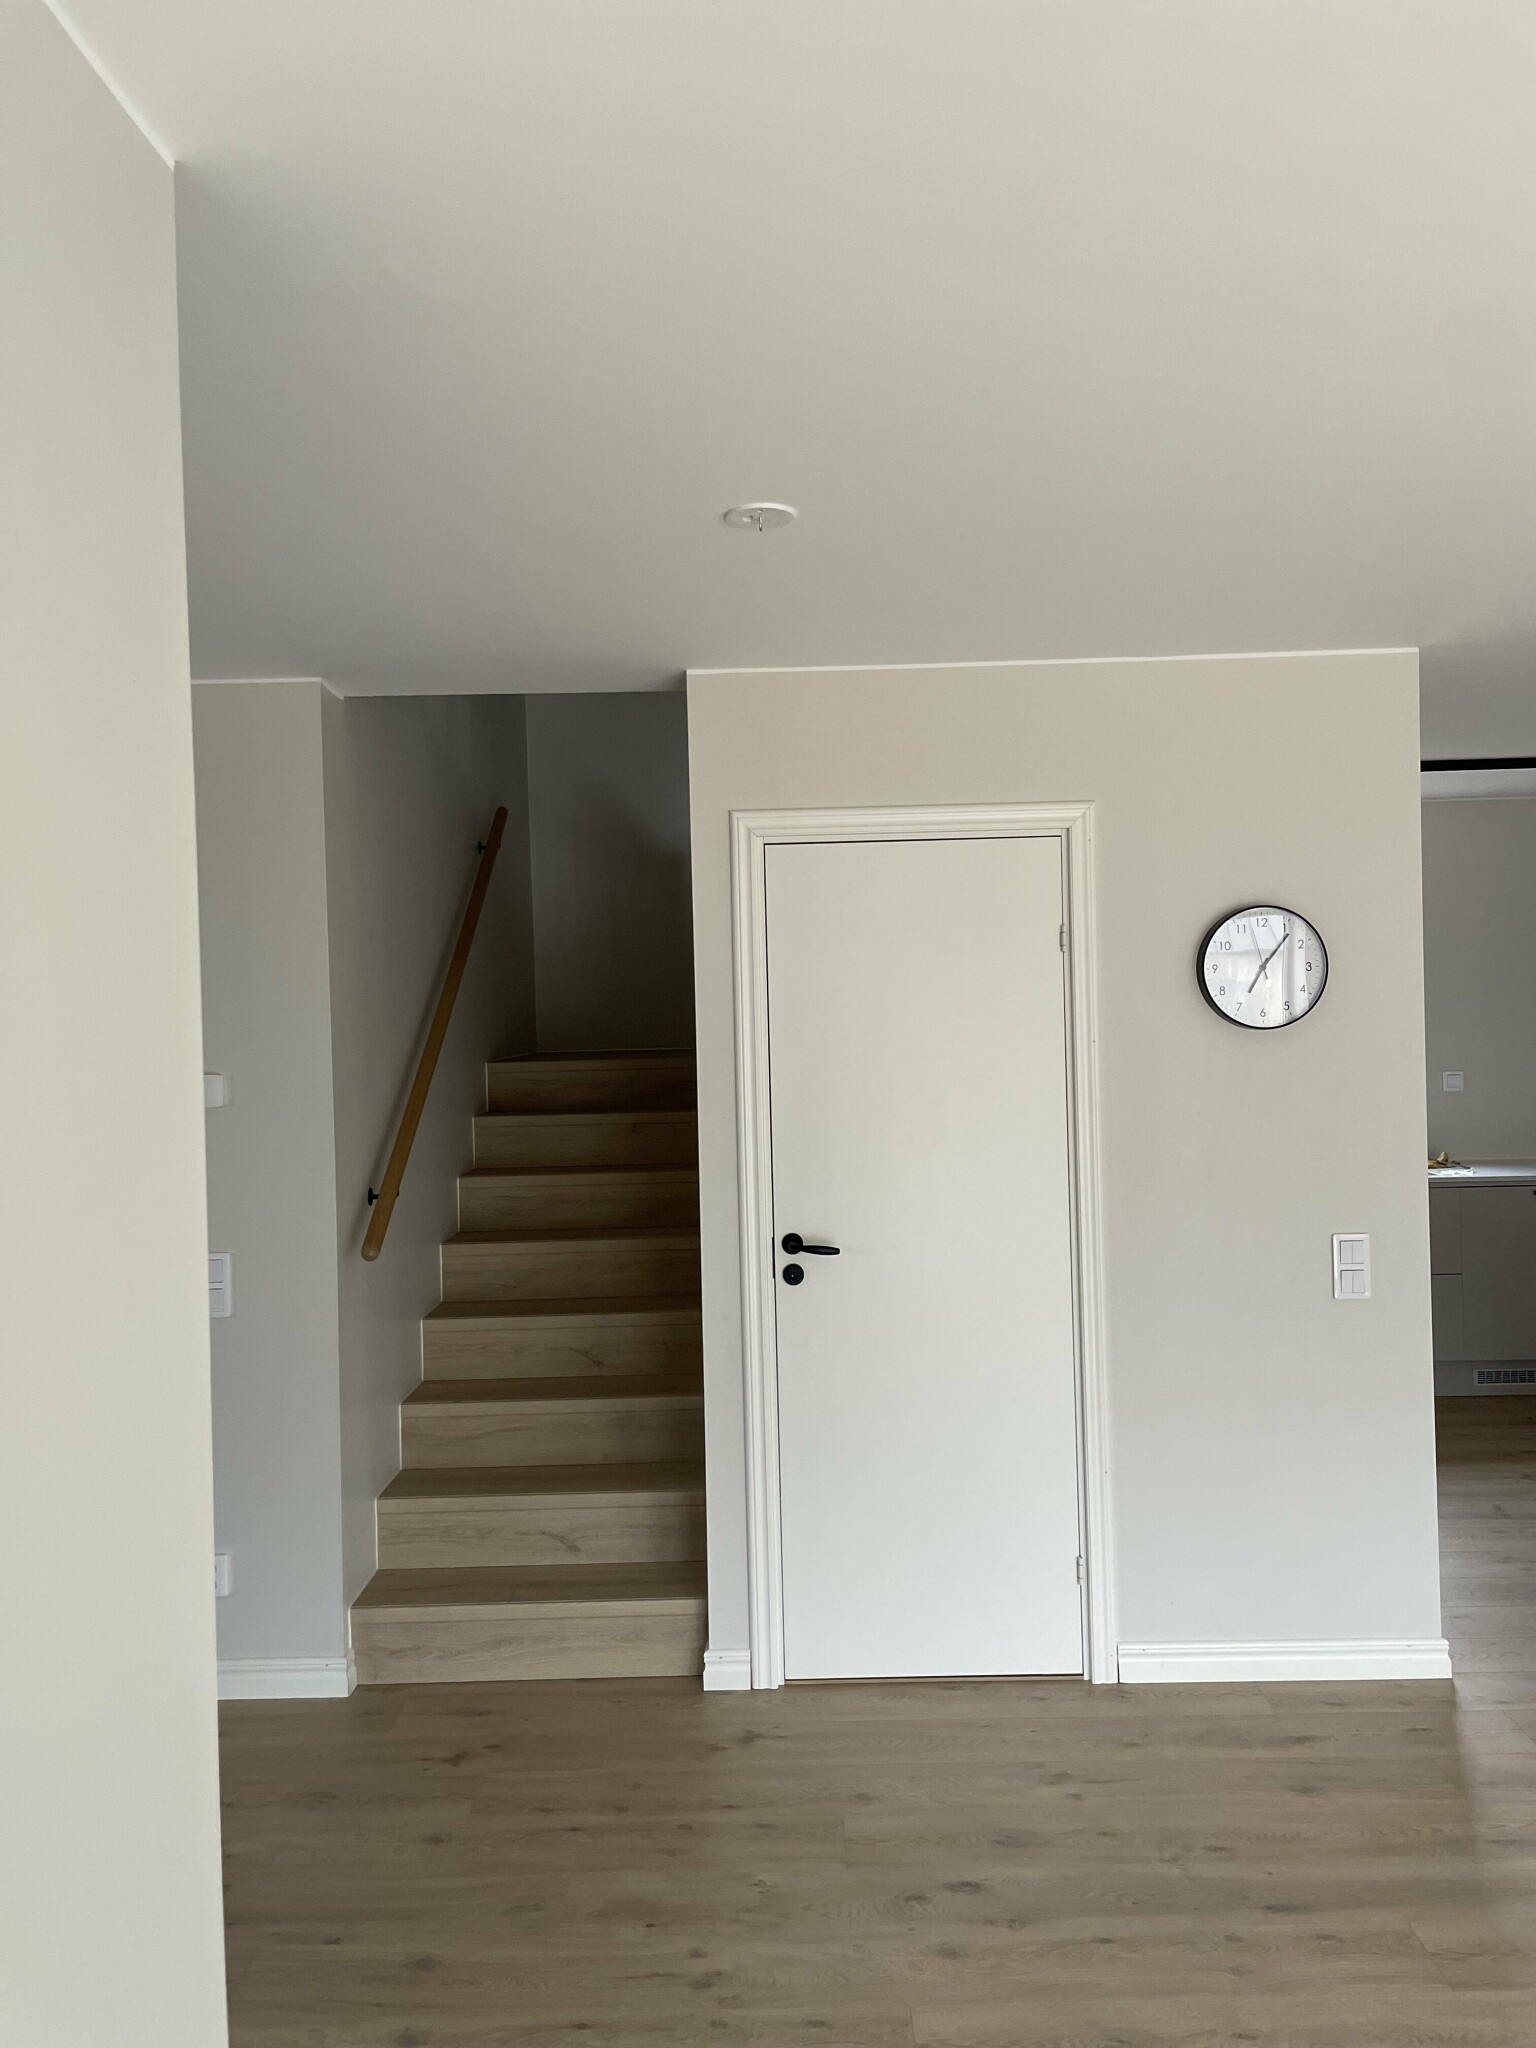
I completely forgot to make a post about the finished result! The entire staircase is laid with the same Pergo sensation flooring that I put on the upper floor. It went very smoothly, and the staircase is incredibly firm and quiet. The only downside that could be a problem is matching it with Pergo's 5-in-1 list.
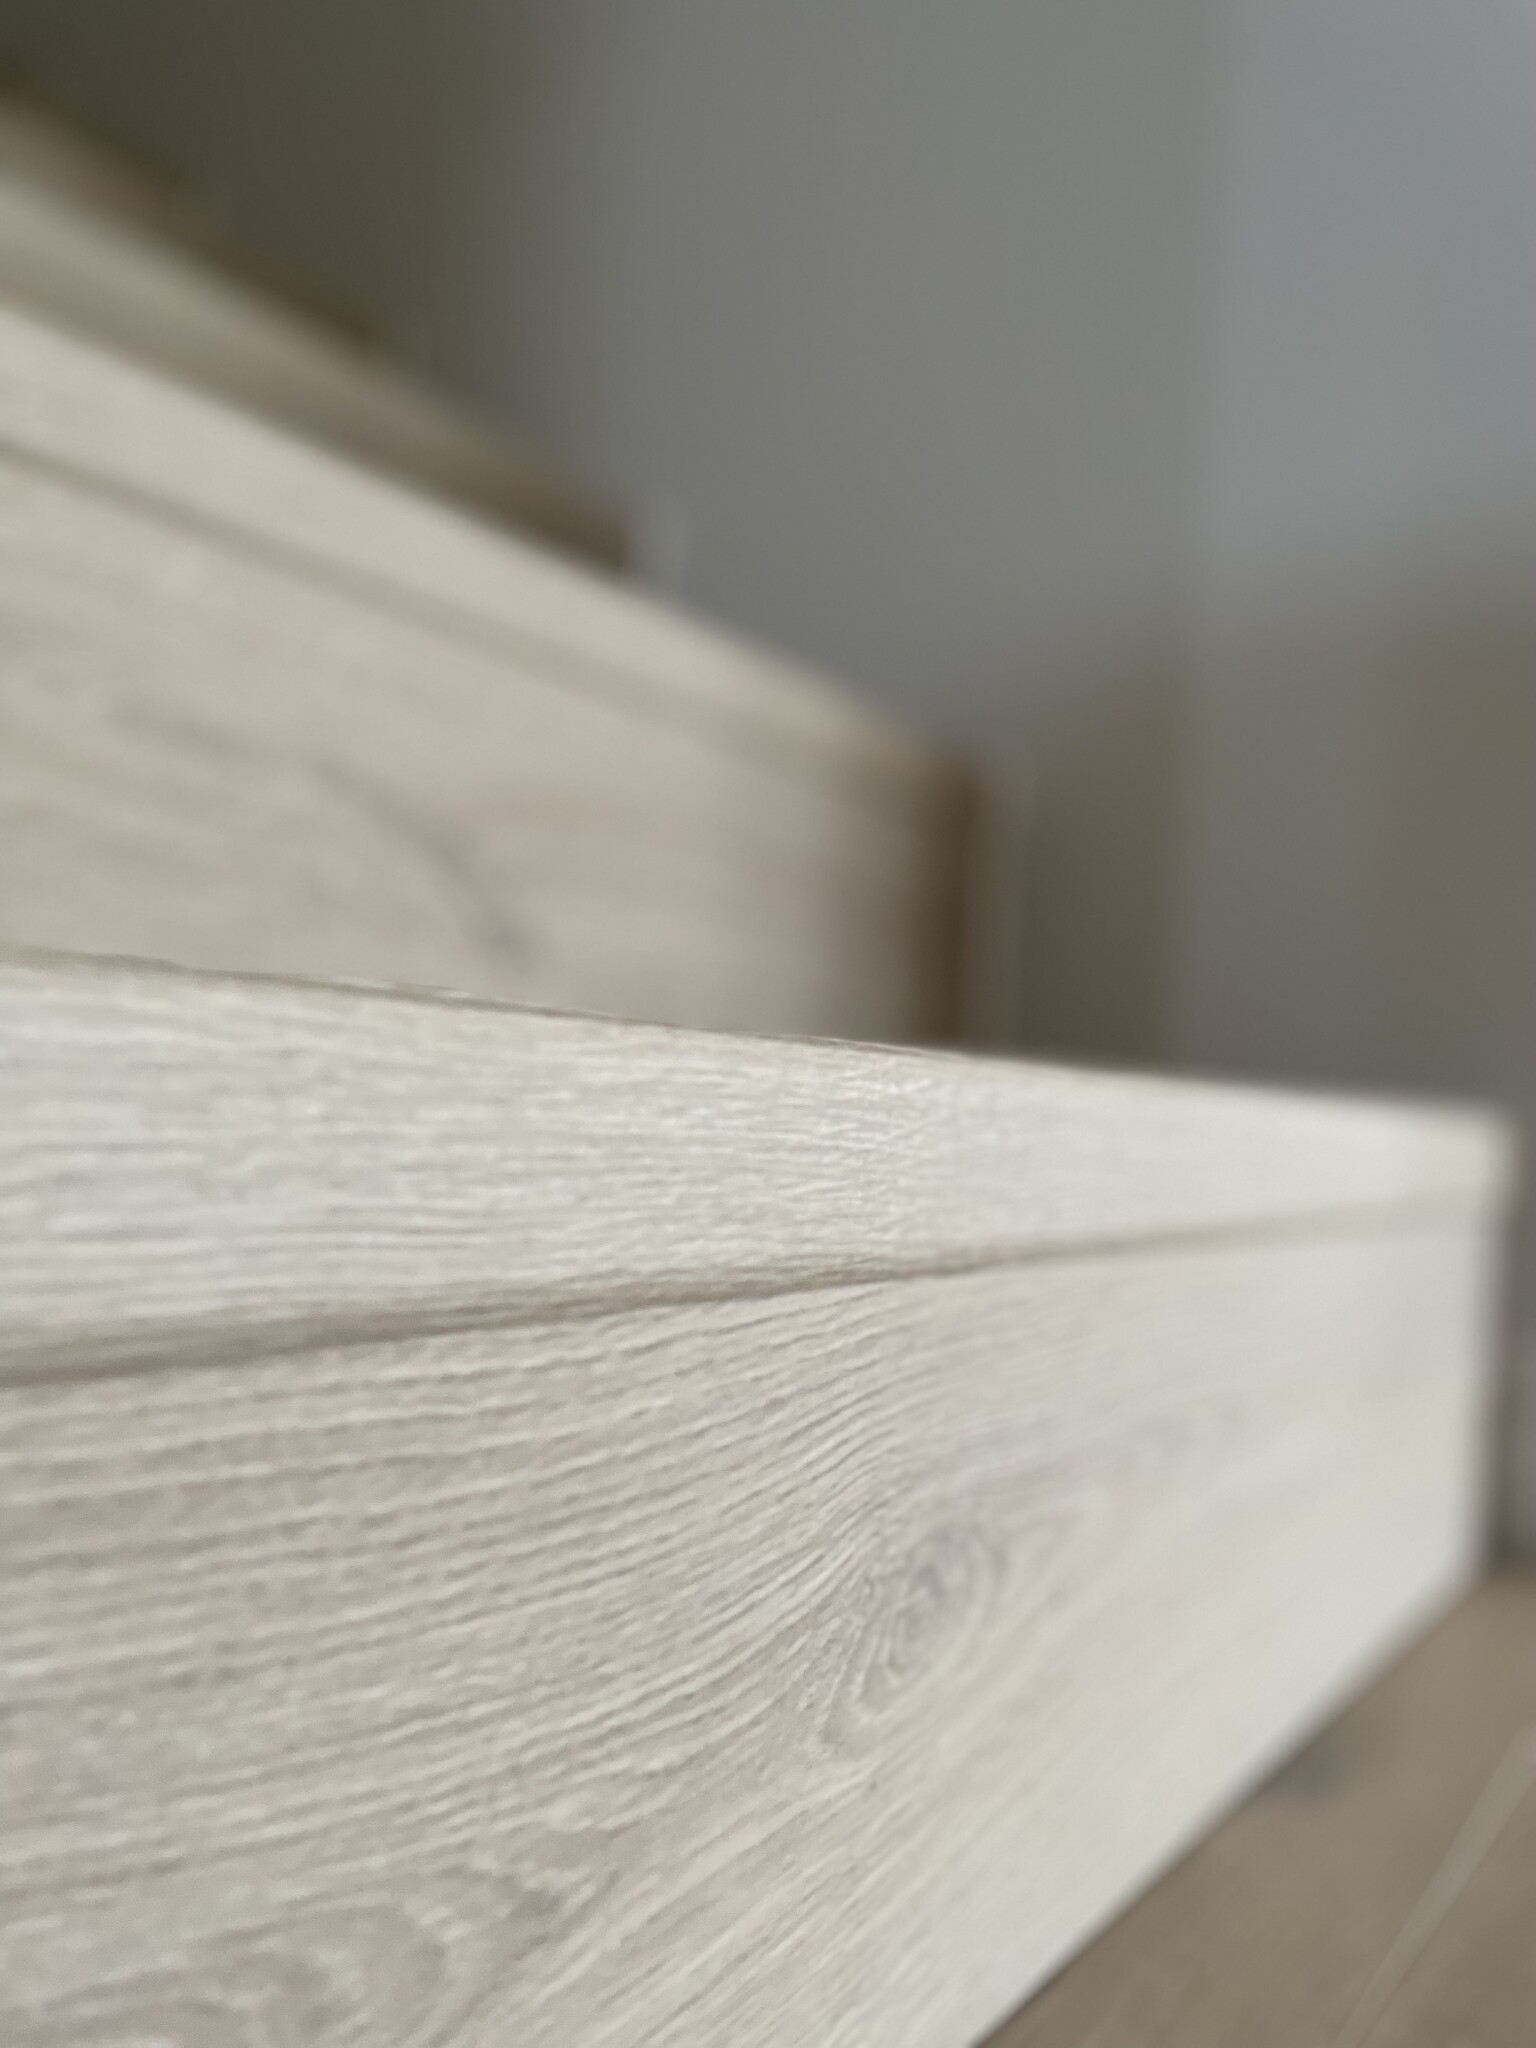
On the actual landing on the upper floor, you must start with a full width on that row of flooring and lay the floor in a direction perpendicular to the staircase. So you can't split the first row, which could result in a very narrow piece as the last row if the room is of that width. I was lucky and managed well after all, but it wasn't something I had thought about beforehand. It can be solved by making the stair nose on the top step different with a list or something similar, and then it's sorted. The advantage of the 5-in-1 list here is that you get a completely flat transition from the riser to the tread. The floor we have chosen has a very rough texture, so it ensures the staircase isn't slippery, and you have a good grip.
Here come a bunch of pictures I took this morning, so the lighting is pretty poor.
Great! Thanks for the response, it turned out really beautiful! A small follow-up question, what is the white little. list you placed on the edge of the staircase against the wall? Strongly considering doing the same solution as you👍
Great! Thanks for the response, it turned out really nice! A small follow-up question, what is the white little trim you've placed along the edge of the staircase against the wall? I'm strongly considering doing the same solution as you👍
It is an acrylic sealant. After many different ideas for the transition from the staircase to the wall, a sealant seemed like the most discrete solution. It turned out well!
It has worked in winter and summer climate now without cracking anywhere. We'll have to see how the seal holds up over time. But my thought is that the stairs shouldn't move more than the seal can handle. It's built from LVL beams, chipboard, and laminate so we'll see.
Click here to reply
Vi vill skicka notiser för ämnen du bevakar och händelser som berör dig.