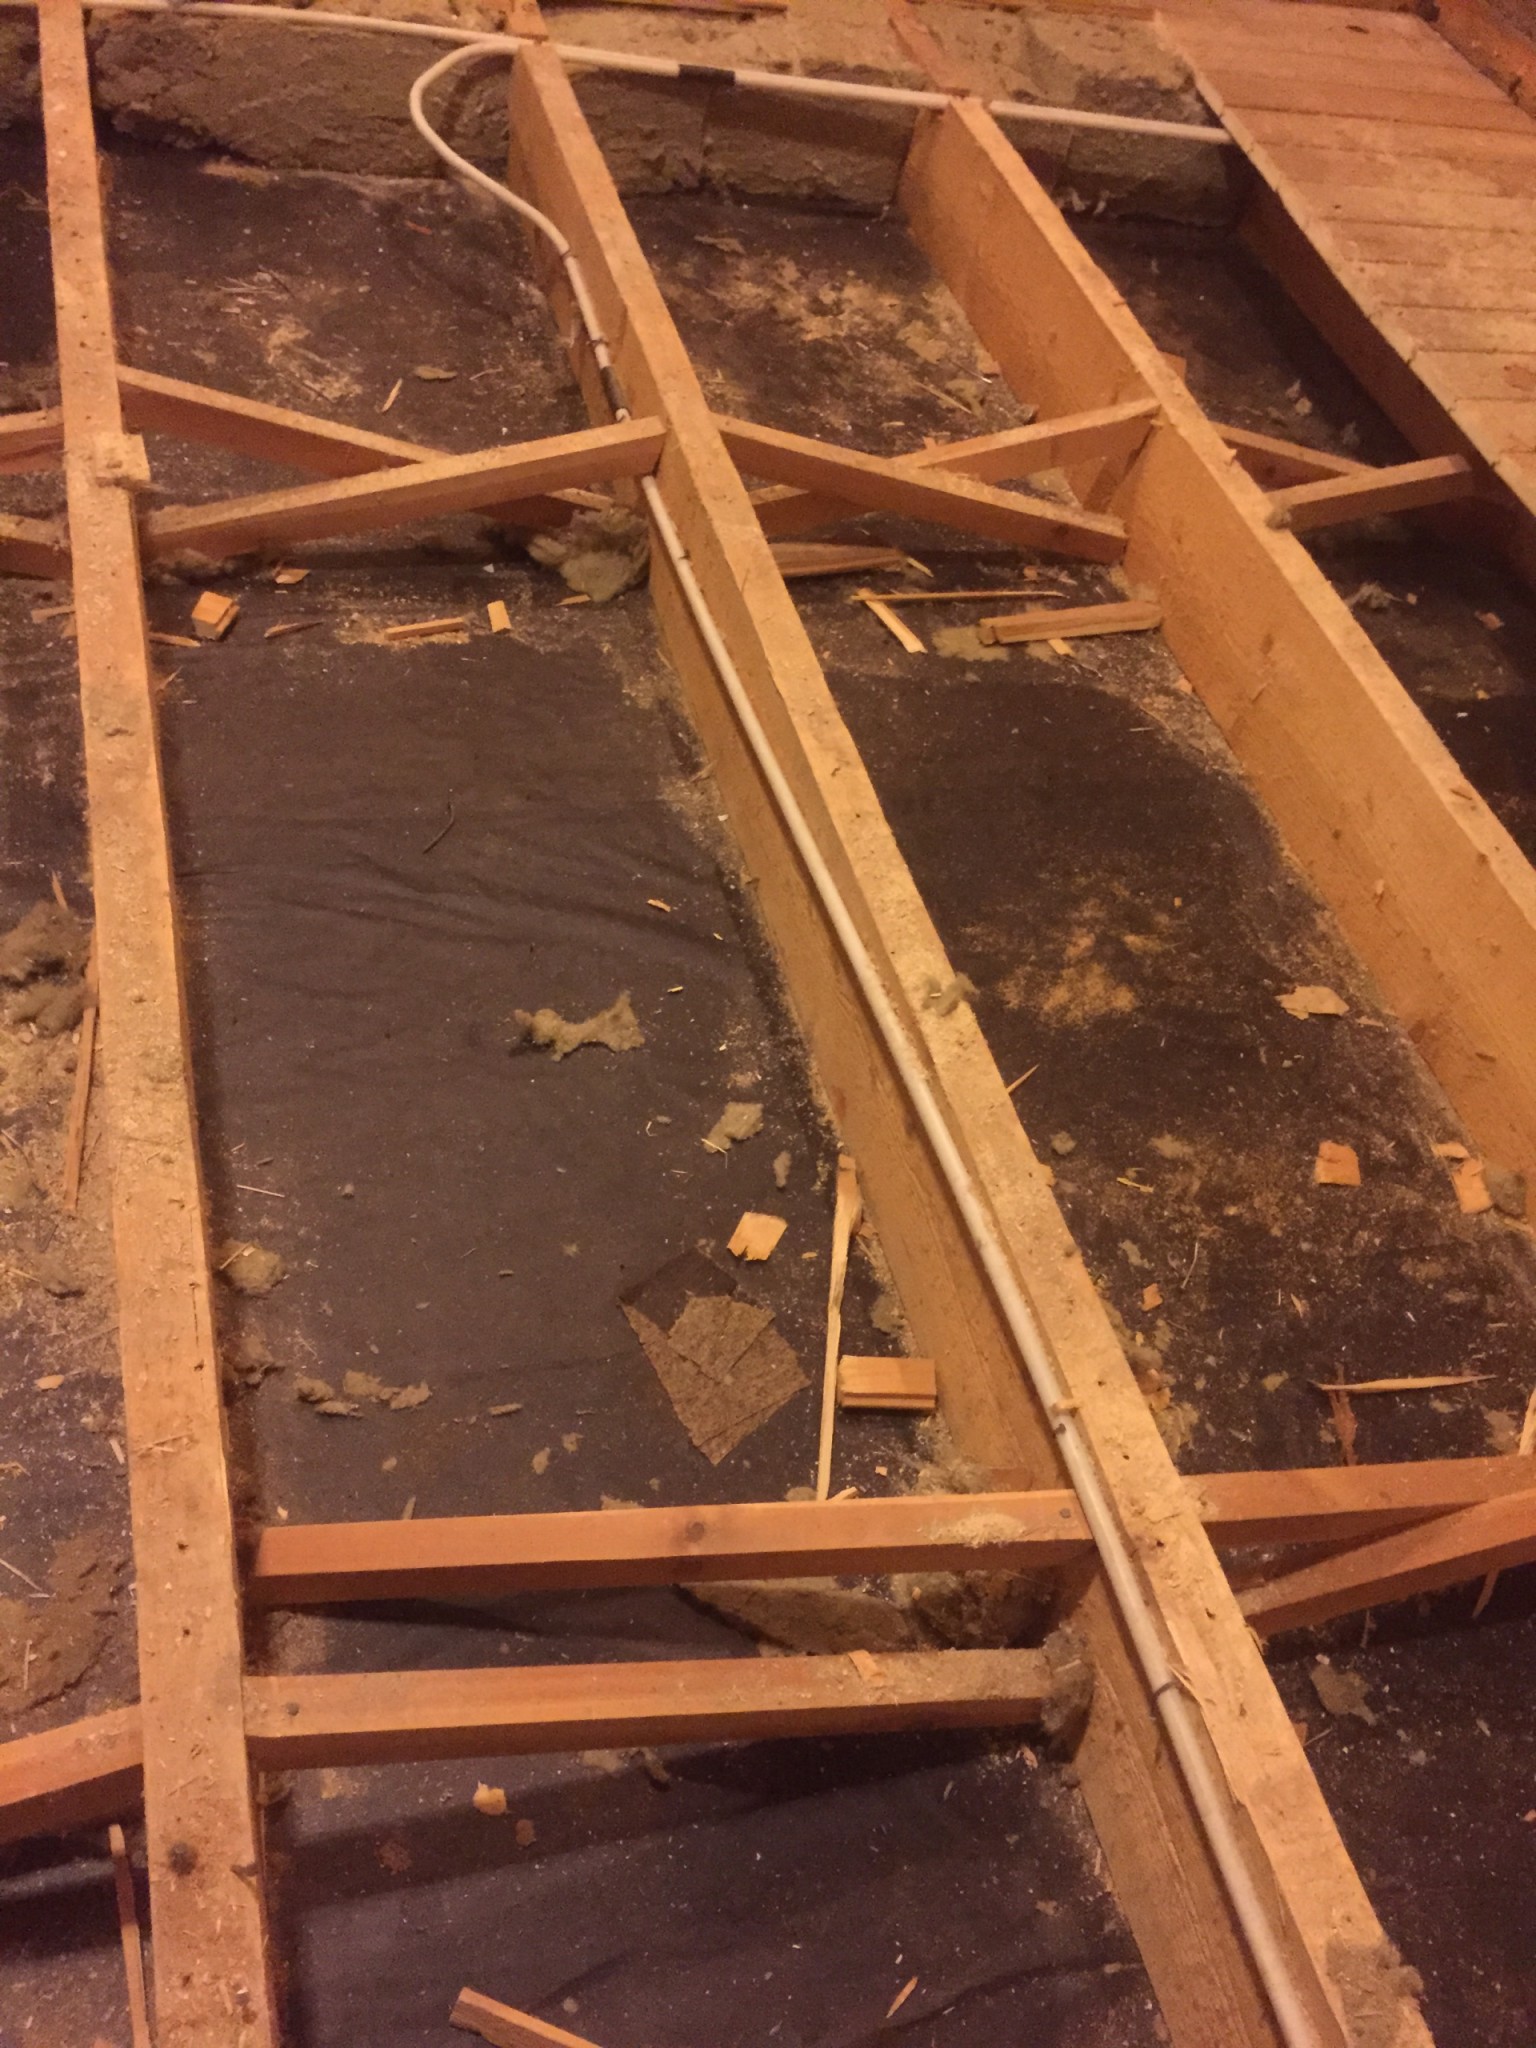
We are in the process of converting our dining room into a kitchen but have always felt that the floor is a bit springy and unsteady. It spans 4m with a c/c of about 60 between the floor joists, which are 195 mm high. Do you think it will become sturdier with glued and screwed floor particleboard on top, or should I make additional reinforcements with cross-bracing? There are some today.
If you want to achieve "byggnormsmässig" floor stiffness, a screwed and glued floor chipboard is required, plus the floor joists need to be doubled, i.e., minimum 90x195. Cross bracing has its merits but can be difficult to execute, and the effect also diminishes when the timber dries apart. Use full-height noggings and screw with angle brackets instead.
Does it actually matter in which order you put the floor particle boards and the wall boards? Looking at Paroc's website, the wall boards are against the floor joists and the floor particle board is inside, but it feels more natural to screw the floor particle board first so you have something to stand on when the wall boards are being screwed up.
cc600 or cc300 doesn't matter as long as the chipboard flooring is at least 22 mm, as the 22 mm ensures compliance with the deflection requirement even for loads between floor joists if they are a maximum of 22 mm apart. Laying the chipboard first seems natural; I'm not sure why Paroc has it drawn the other way around, possibly it has to do with sound insulation, i.e., wanting the floorboards not to continue into the next room. This can be avoided with a continuous groove in the chipboard, but then extra noggings are required to support the board edges.
Yes, feels right! By the way, I have never seen a drawing regarding krysskolvning with accompanying assessment/calculation of reduced deflection. It would be interesting to know more about how much less deflection one gets with a professional method.
According to this table, I should manage with c24 timber in the dimension 45x195mm if the subfloor is glued chipboard. My floor joists are 205x55mm but the quality might not be c24.
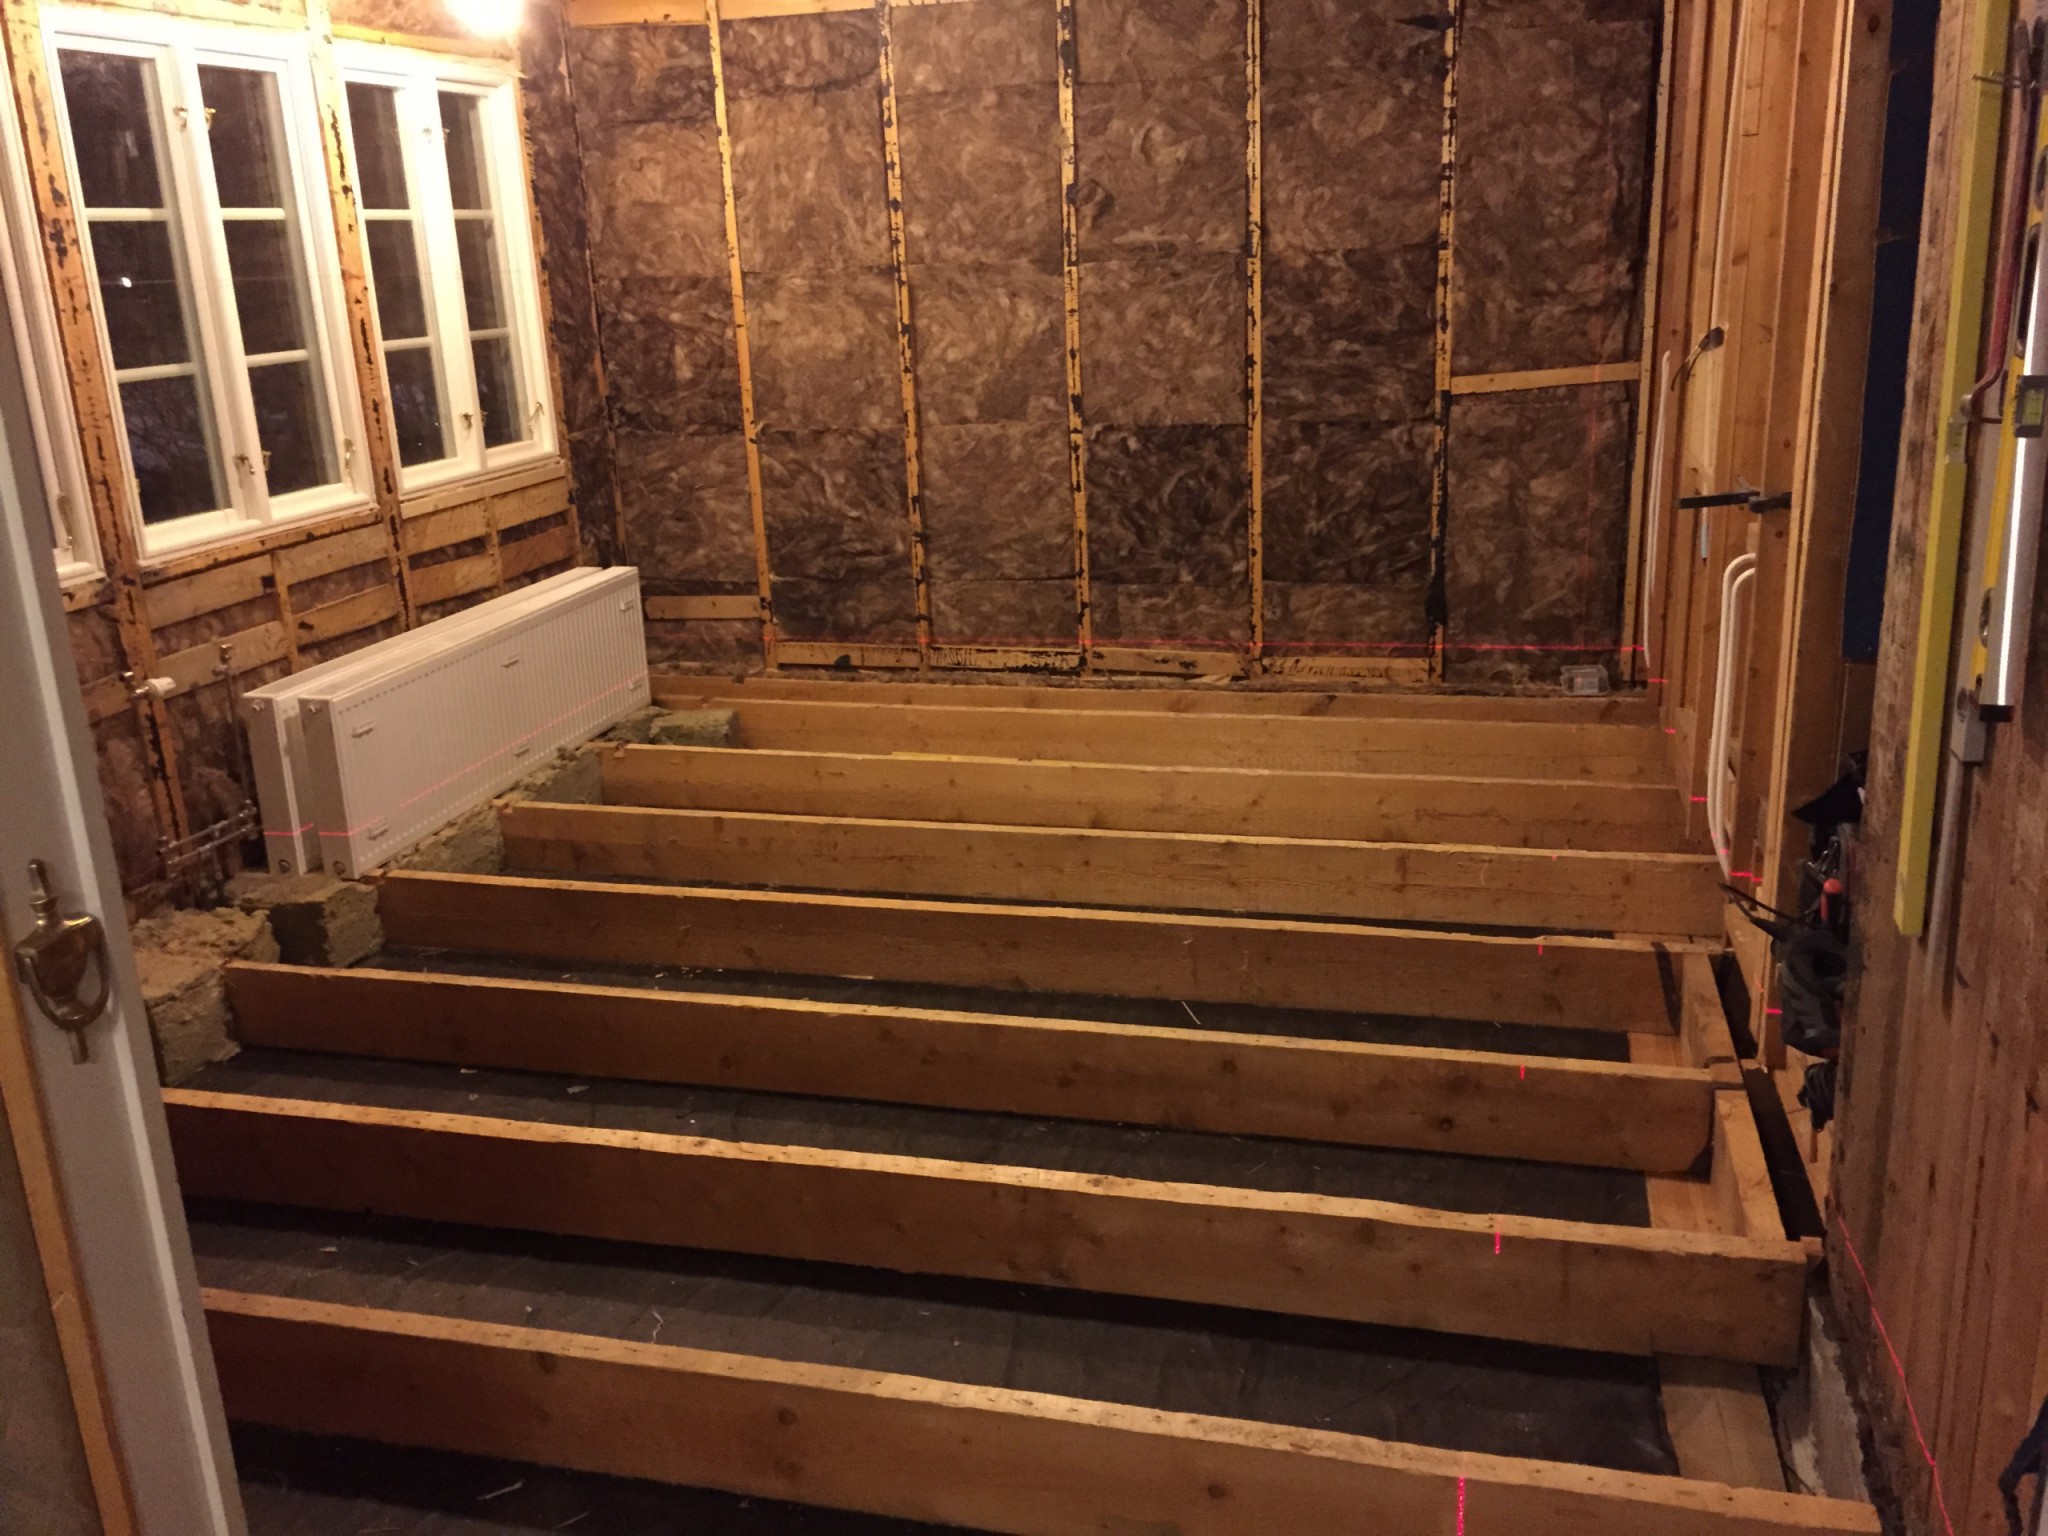
Now I've finally cleared everything away and cleaned so that it's possible to measure. I want to start from the door opening where the picture is taken, but measured with the laser, the joist in the lower left corner is about 2cm higher.
I'm considering if it's easiest to screw a new joist onto the existing one and level it off gradually, and where the old one is too high, I'll simply plane it down to the height of the new joist.
Has anyone done anything similar? I absolutely don't want to raise the floor at the door because then it will be higher than the other floors in the hall.
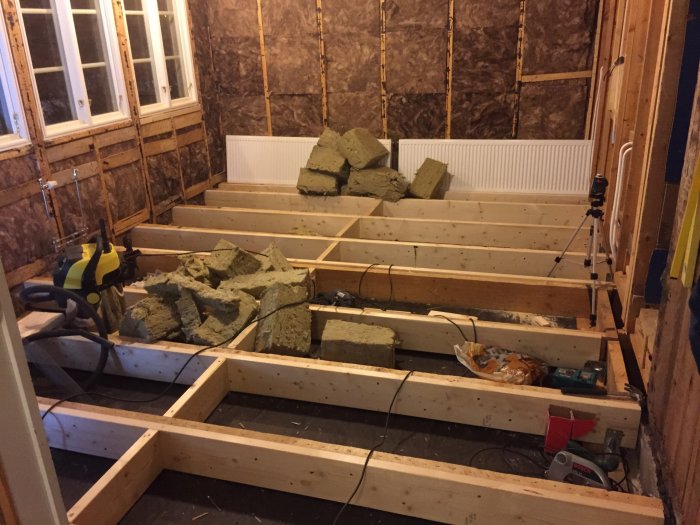
Screwed and glued studs today. The old studs varied quite a bit in height. Leveled with the laser and it's now off by a maximum of 5mm. Is that acceptable?
Feels much sturdier than before. I also bought angle brackets that I was planning to attach at each end but I'm not sure if they will be useful? The old studs are still on the sill.
Yes, they might be more useful there. I realized that there must be noggings along the sides for the floor chipboard to have support. It will involve a bit more sawing and screwing 😀
Click here to reply
Vi vill skicka notiser för ämnen du bevakar och händelser som berör dig.