Would it work to use ceiling profiles in the context of basement walls instead of sheet metal/metal studs? It would mean that it resembles how it works with nail battens and exterior cladding.
All the walls in the room that are against the ground/outside are already cast and plastered. What I want to do is make the walls that face the basement's other rooms (i.e., interior walls against other rooms only) a bit nicer with tongue and groove paneling.
My plan is therefore to attach ceiling profiles to the existing walls (concrete). On these, I will place some type of board that provides a little extra support and stability for potential future fixtures, and on these boards tongue and groove paneling.
Ceiling profiles would mean a few centimeters less on the walls and a few crowns less. Has anyone experienced using ceiling profiles in this way?
I apologize in advance if I'm repeating a common question.
The two side depths/"L-shape" tolerate a screw head on a universal screw that is 4.5x60, then it gets tight.
I talked to a carpenter who has previously worked a lot with metal, concrete, masonry, etc., and we agreed that a plug fastening obviously works best, and that it will probably be a bit of a trick with plug size. A screw of 4.5 bites in and expands a little in an 8-plug. I have bought various universal plugs for options, with dimensions of 6 and 8.
The ceiling profiles will be cut down to about 220 cm length and screwed in, CC 60. I plan to put 4-5 screws on each side of each ceiling profile.
I will probably write again when it's time to put up plywood + whichever tongue and groove I choose to cover it with.
Hi, how was the result for you with this solution?
Hi!
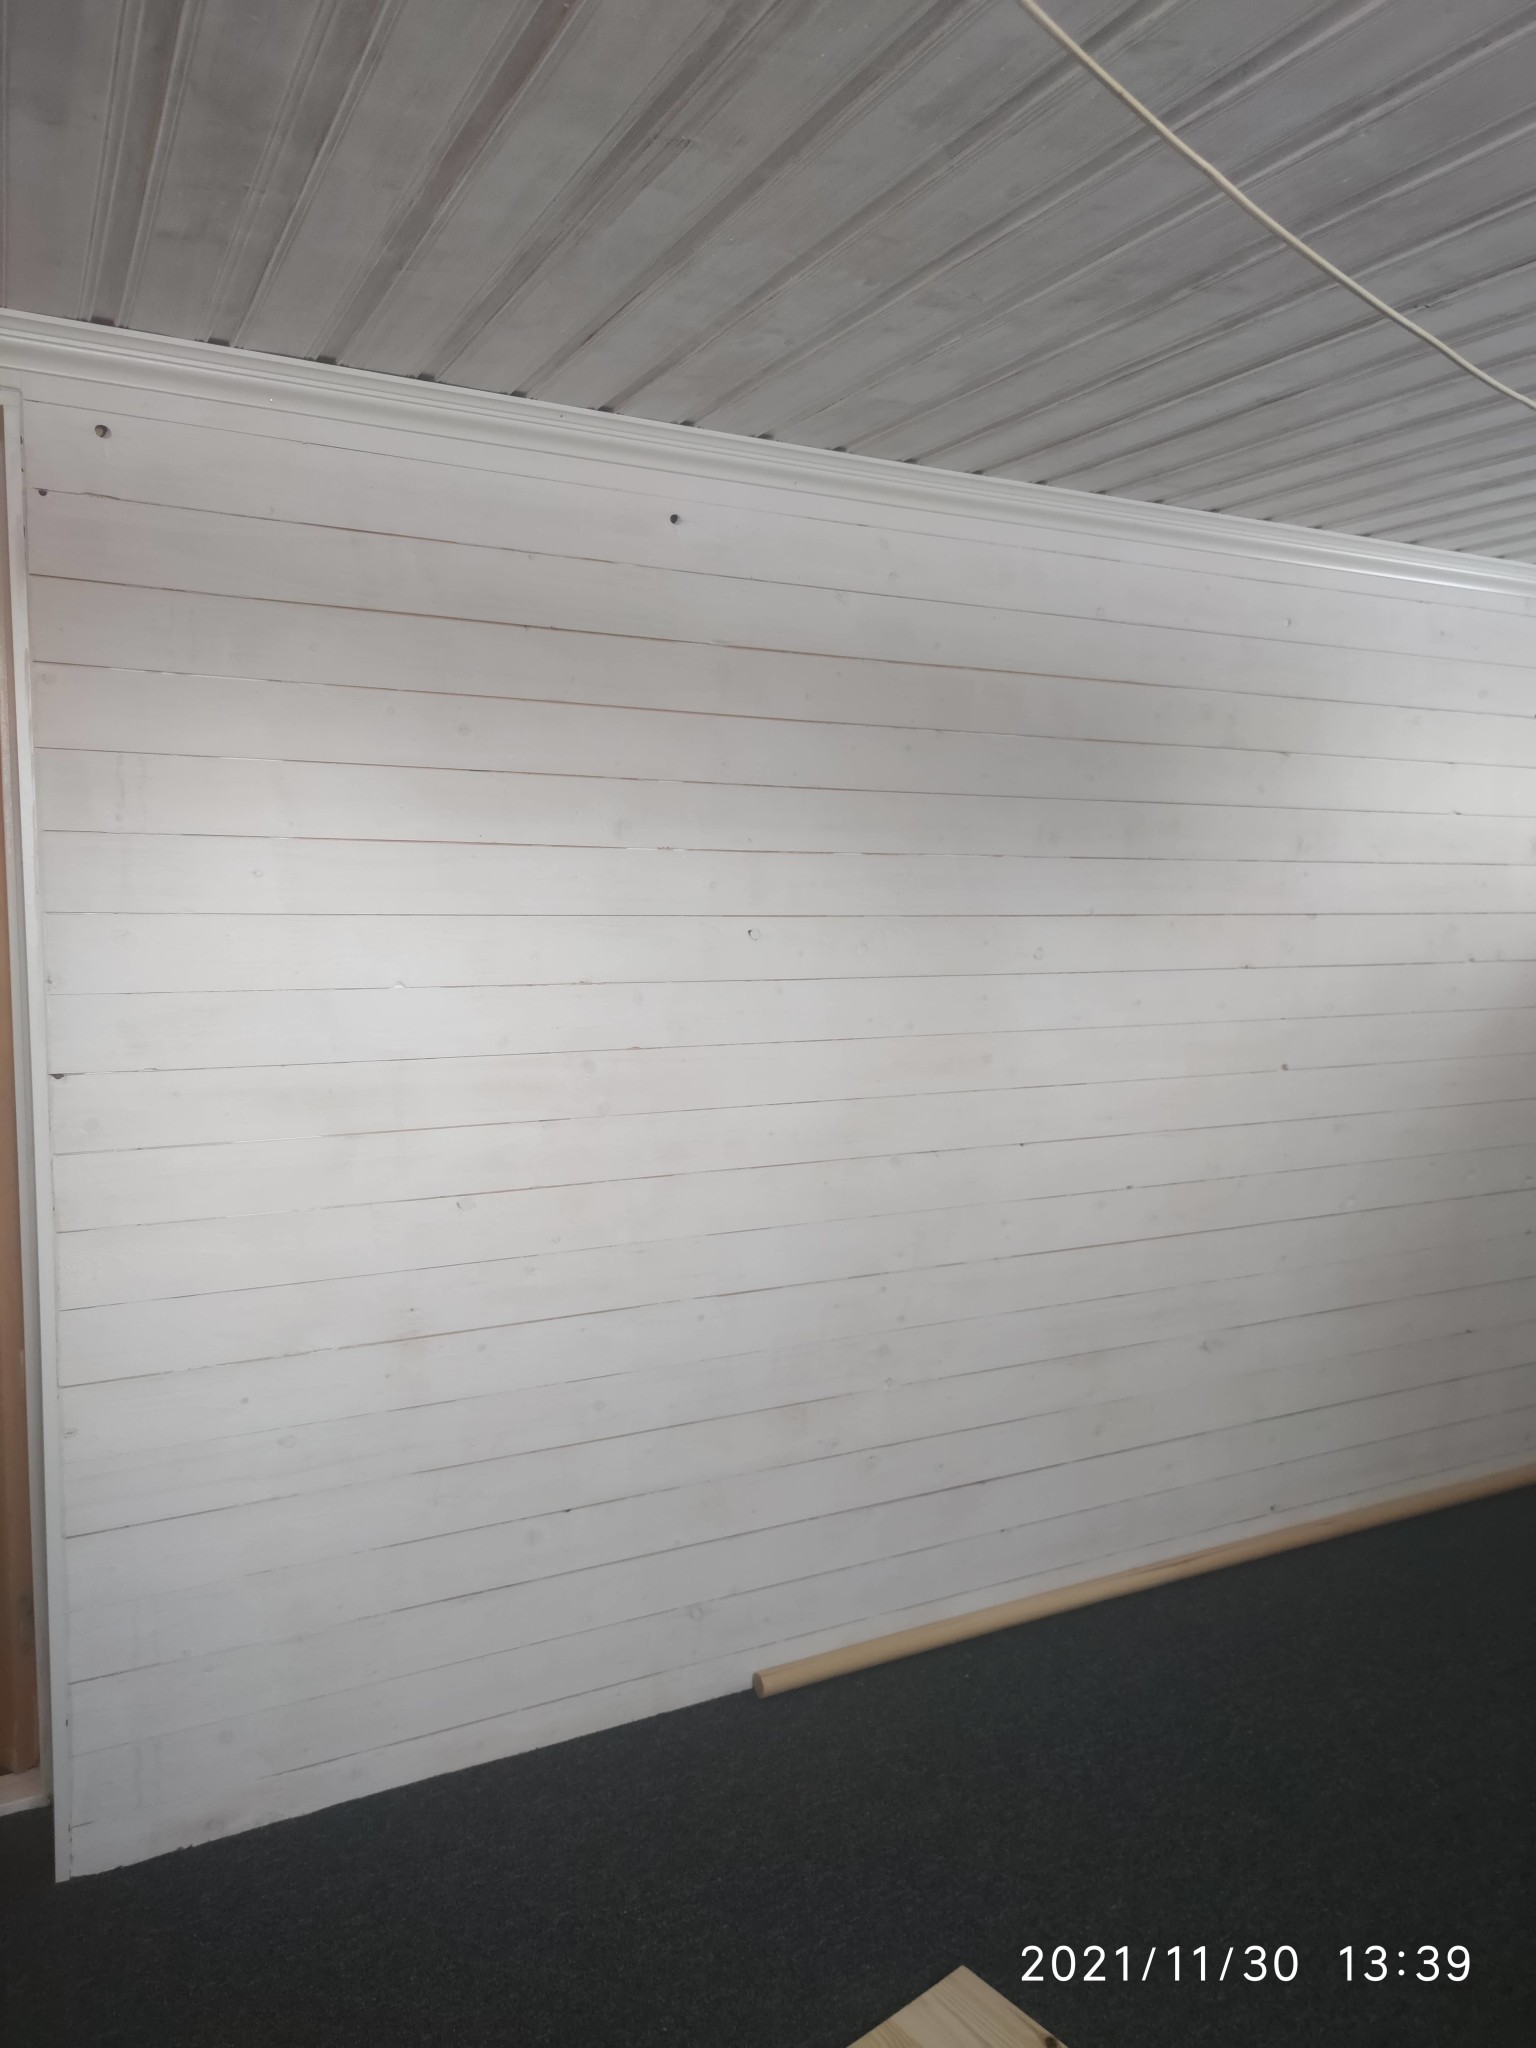
It turned out very, very well. I attached plywood with fairly close screws designed for fastening to metal, perhaps cc20-30, to them. After that, I just nailed the raw wood boards. It's holding up great, and it survived several hanging tests where I grabbed the edge and let my body's weight load the fastenings. I'll probably do this for the rest of the house where I plan to have wood on the walls. It was neither particularly expensive nor complicated. Just a bit fiddly.
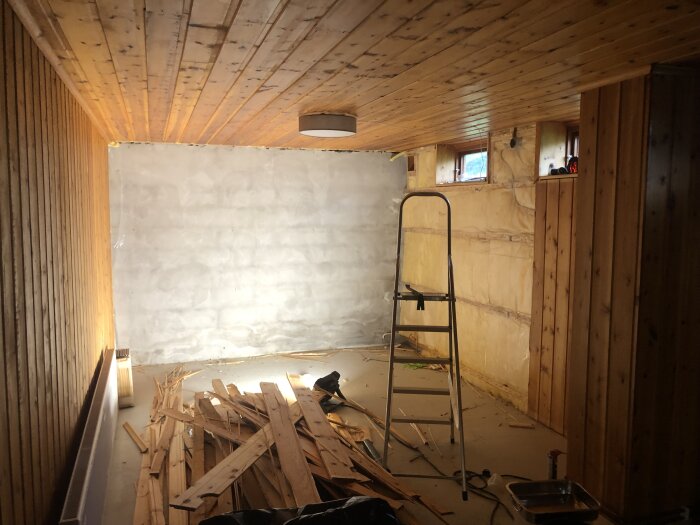
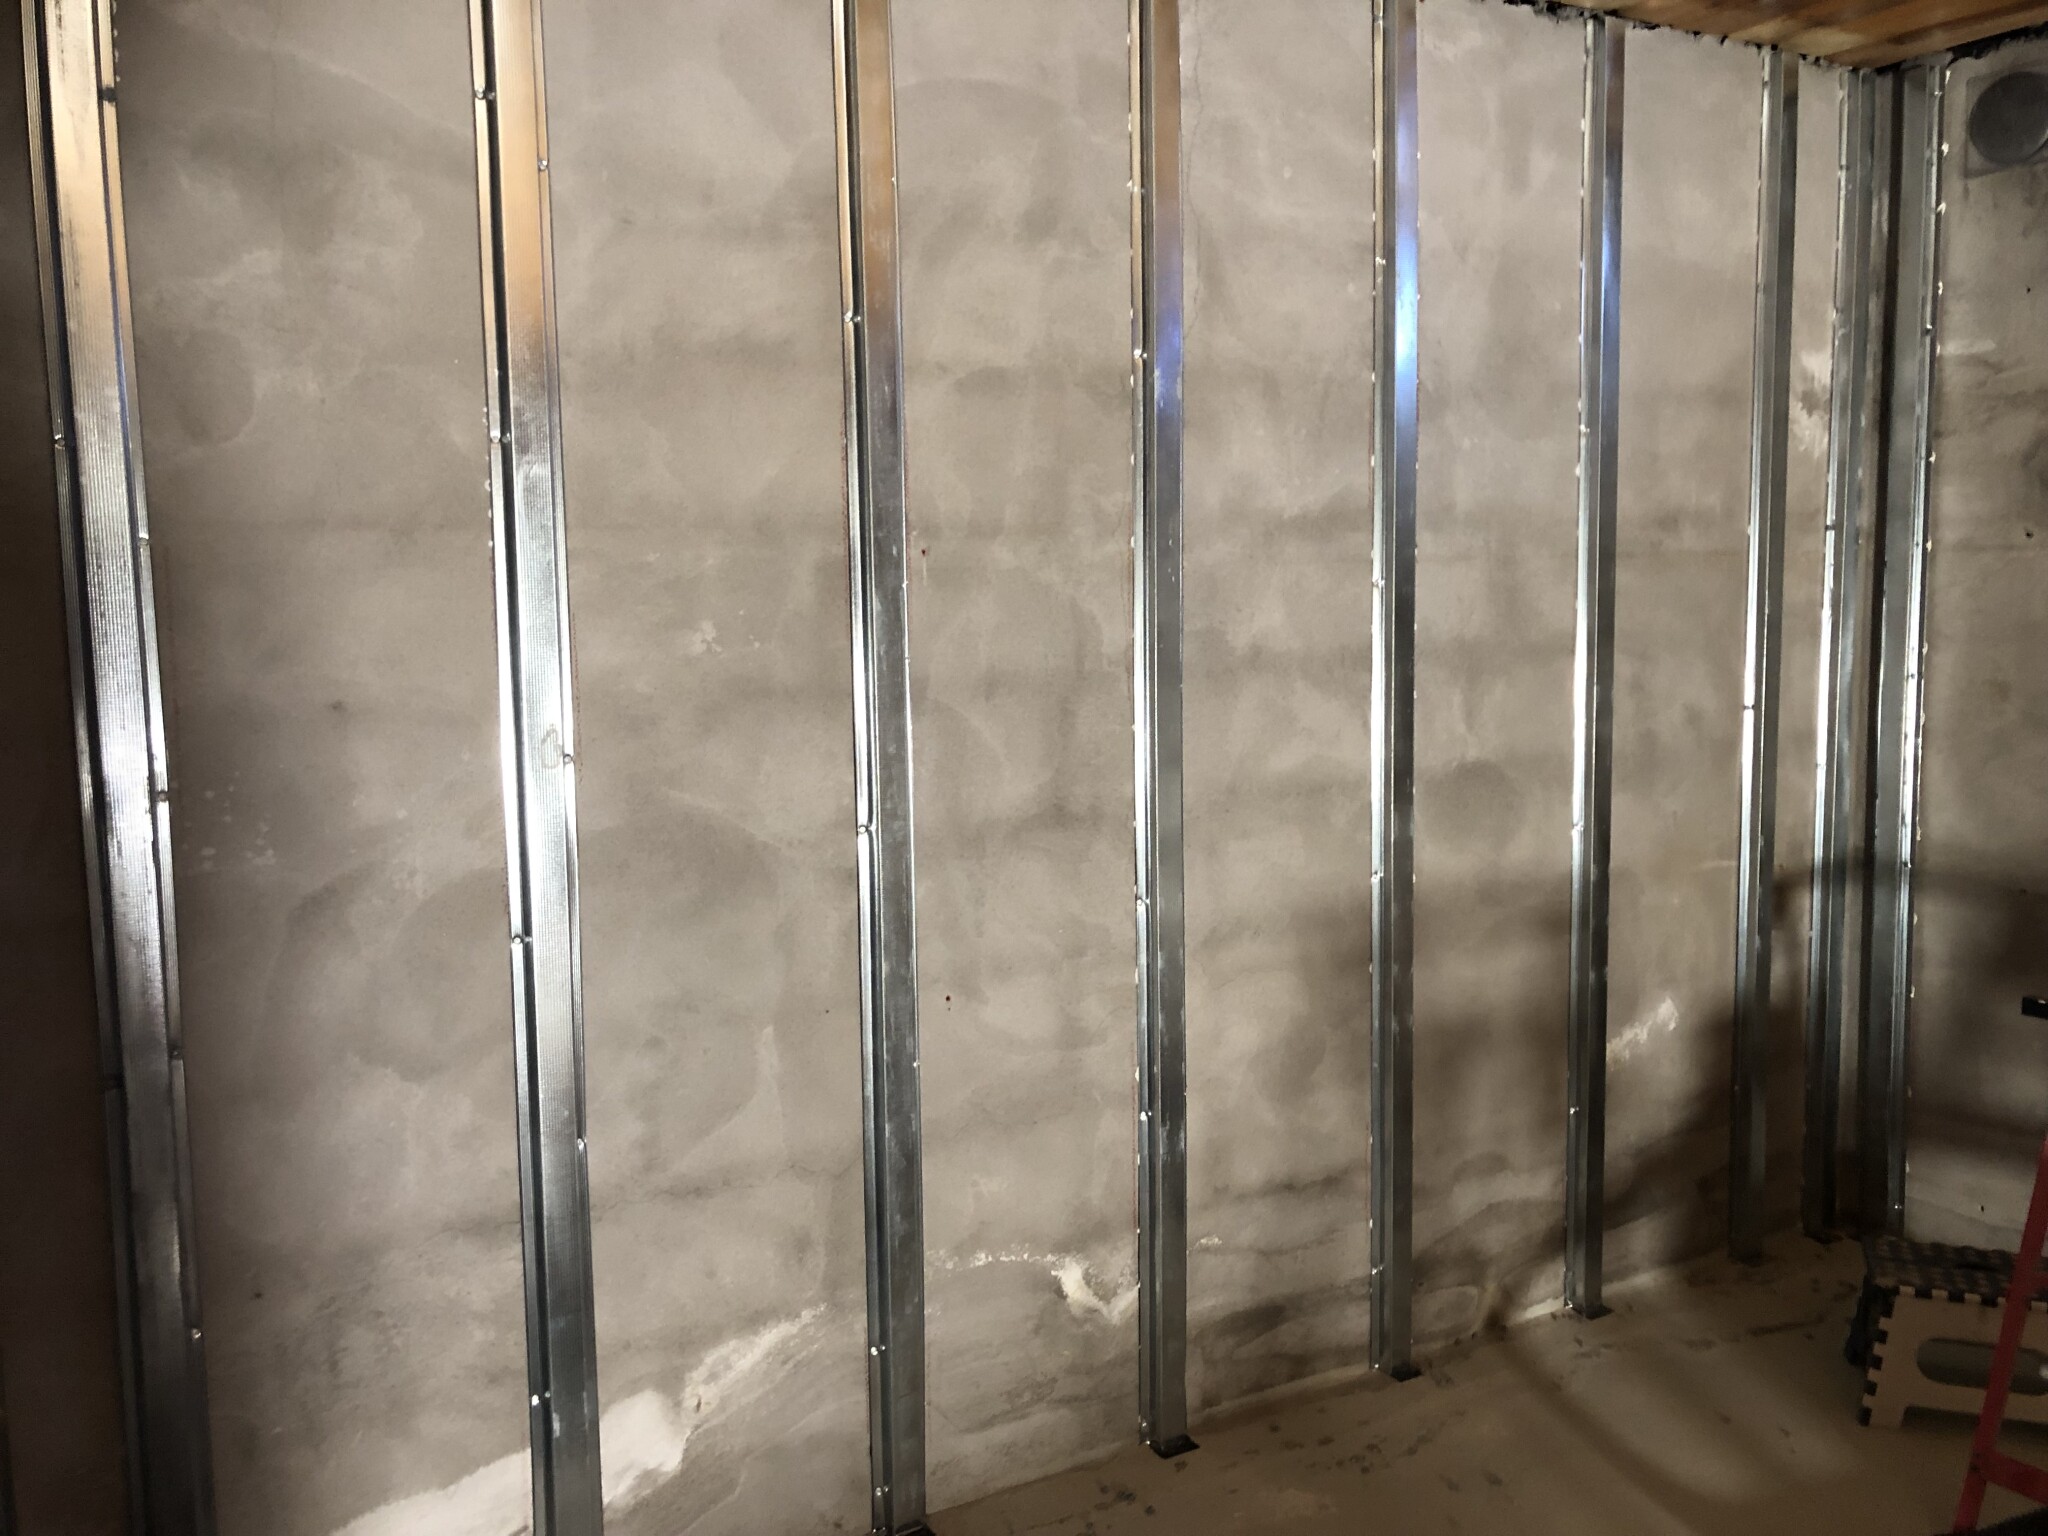
Just wanted to say thanks for the idea! After I tore down the classic yellowed 70/80s pine paneling (as well as interior plastic wrap and insulation) in the old basement rec room, it became this concept.
Behind the paneling, there was no pronounced mold, but a clear smell of microbial growth. I decided not to use any organic materials at all...It has worked excellently, very satisfied! Stable construction without ceiling and floor beams.
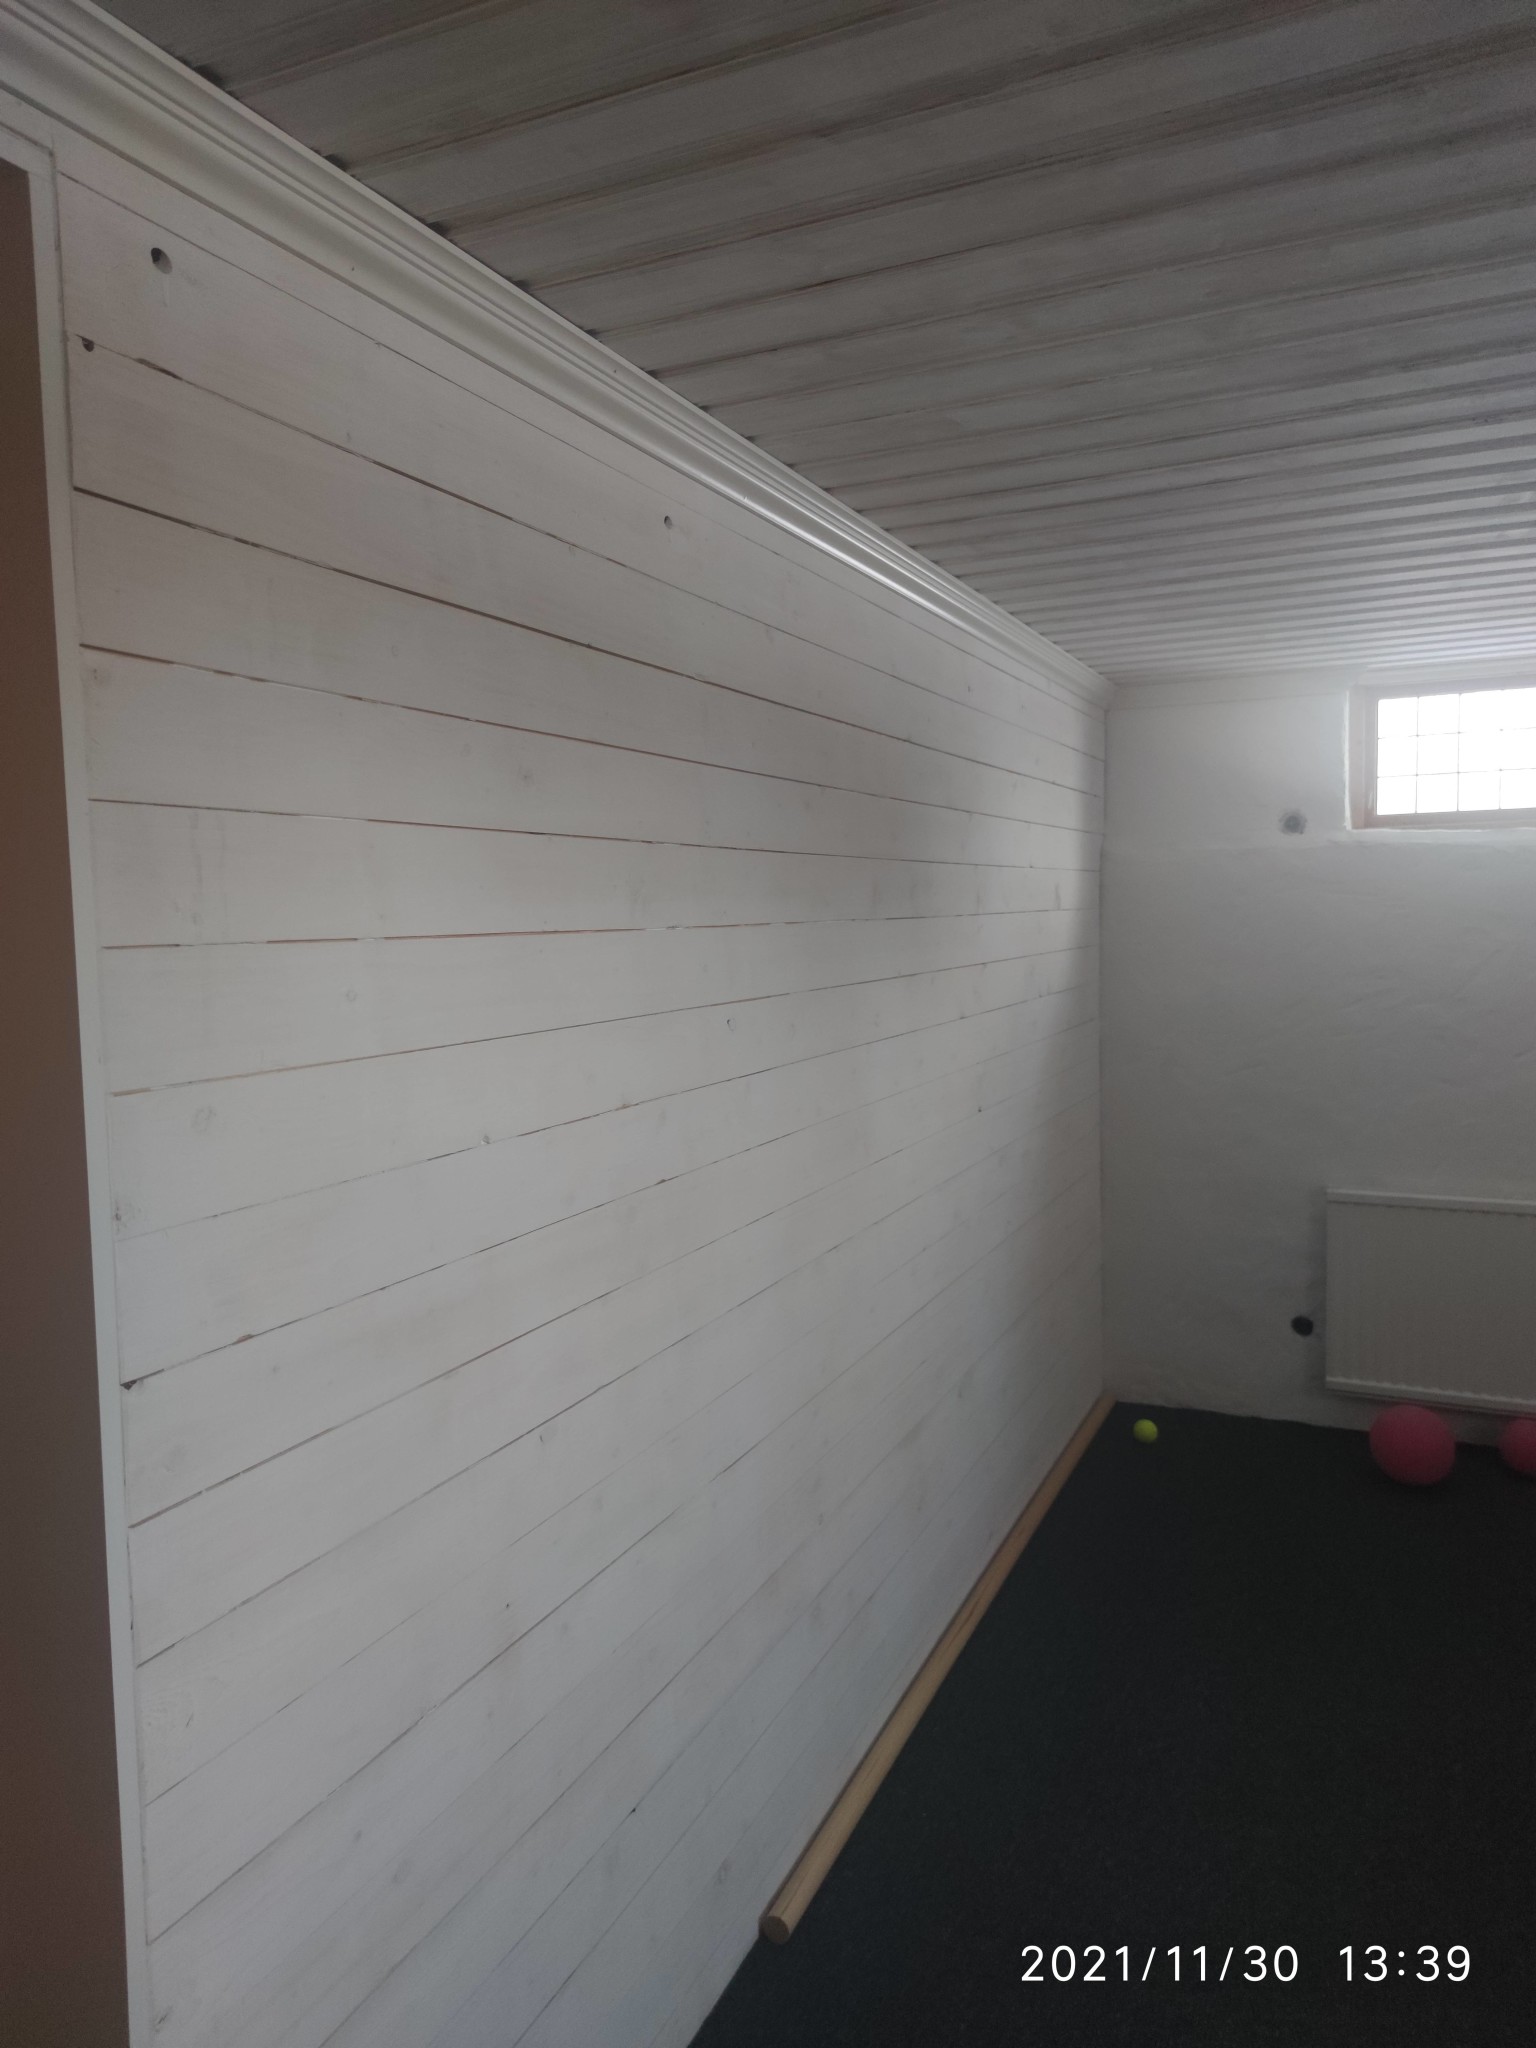
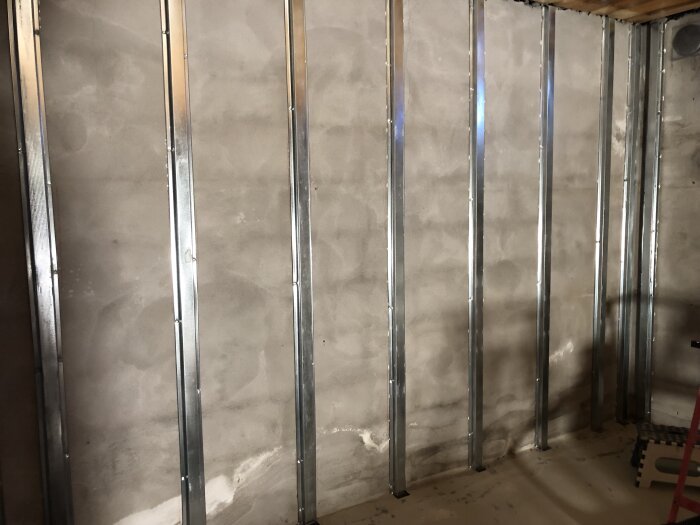
I used secondary battens/hat profiles with a 25mm height. I rented a nail gun (Hilti BX3 in my case), fastening directly to the wall with collated concrete nails (24mm), CC45cm. The gun's muzzle and nails fit perfectly on the narrow sides of the batten that sits against the wall. The nails are expensive but if you need many (like I did), it's better to order a larger quantity from abroad (a difference of almost 5sek per shot in my case). I used 5-6 shots per side of the batten, so 10-12 nails per batten (220cm).
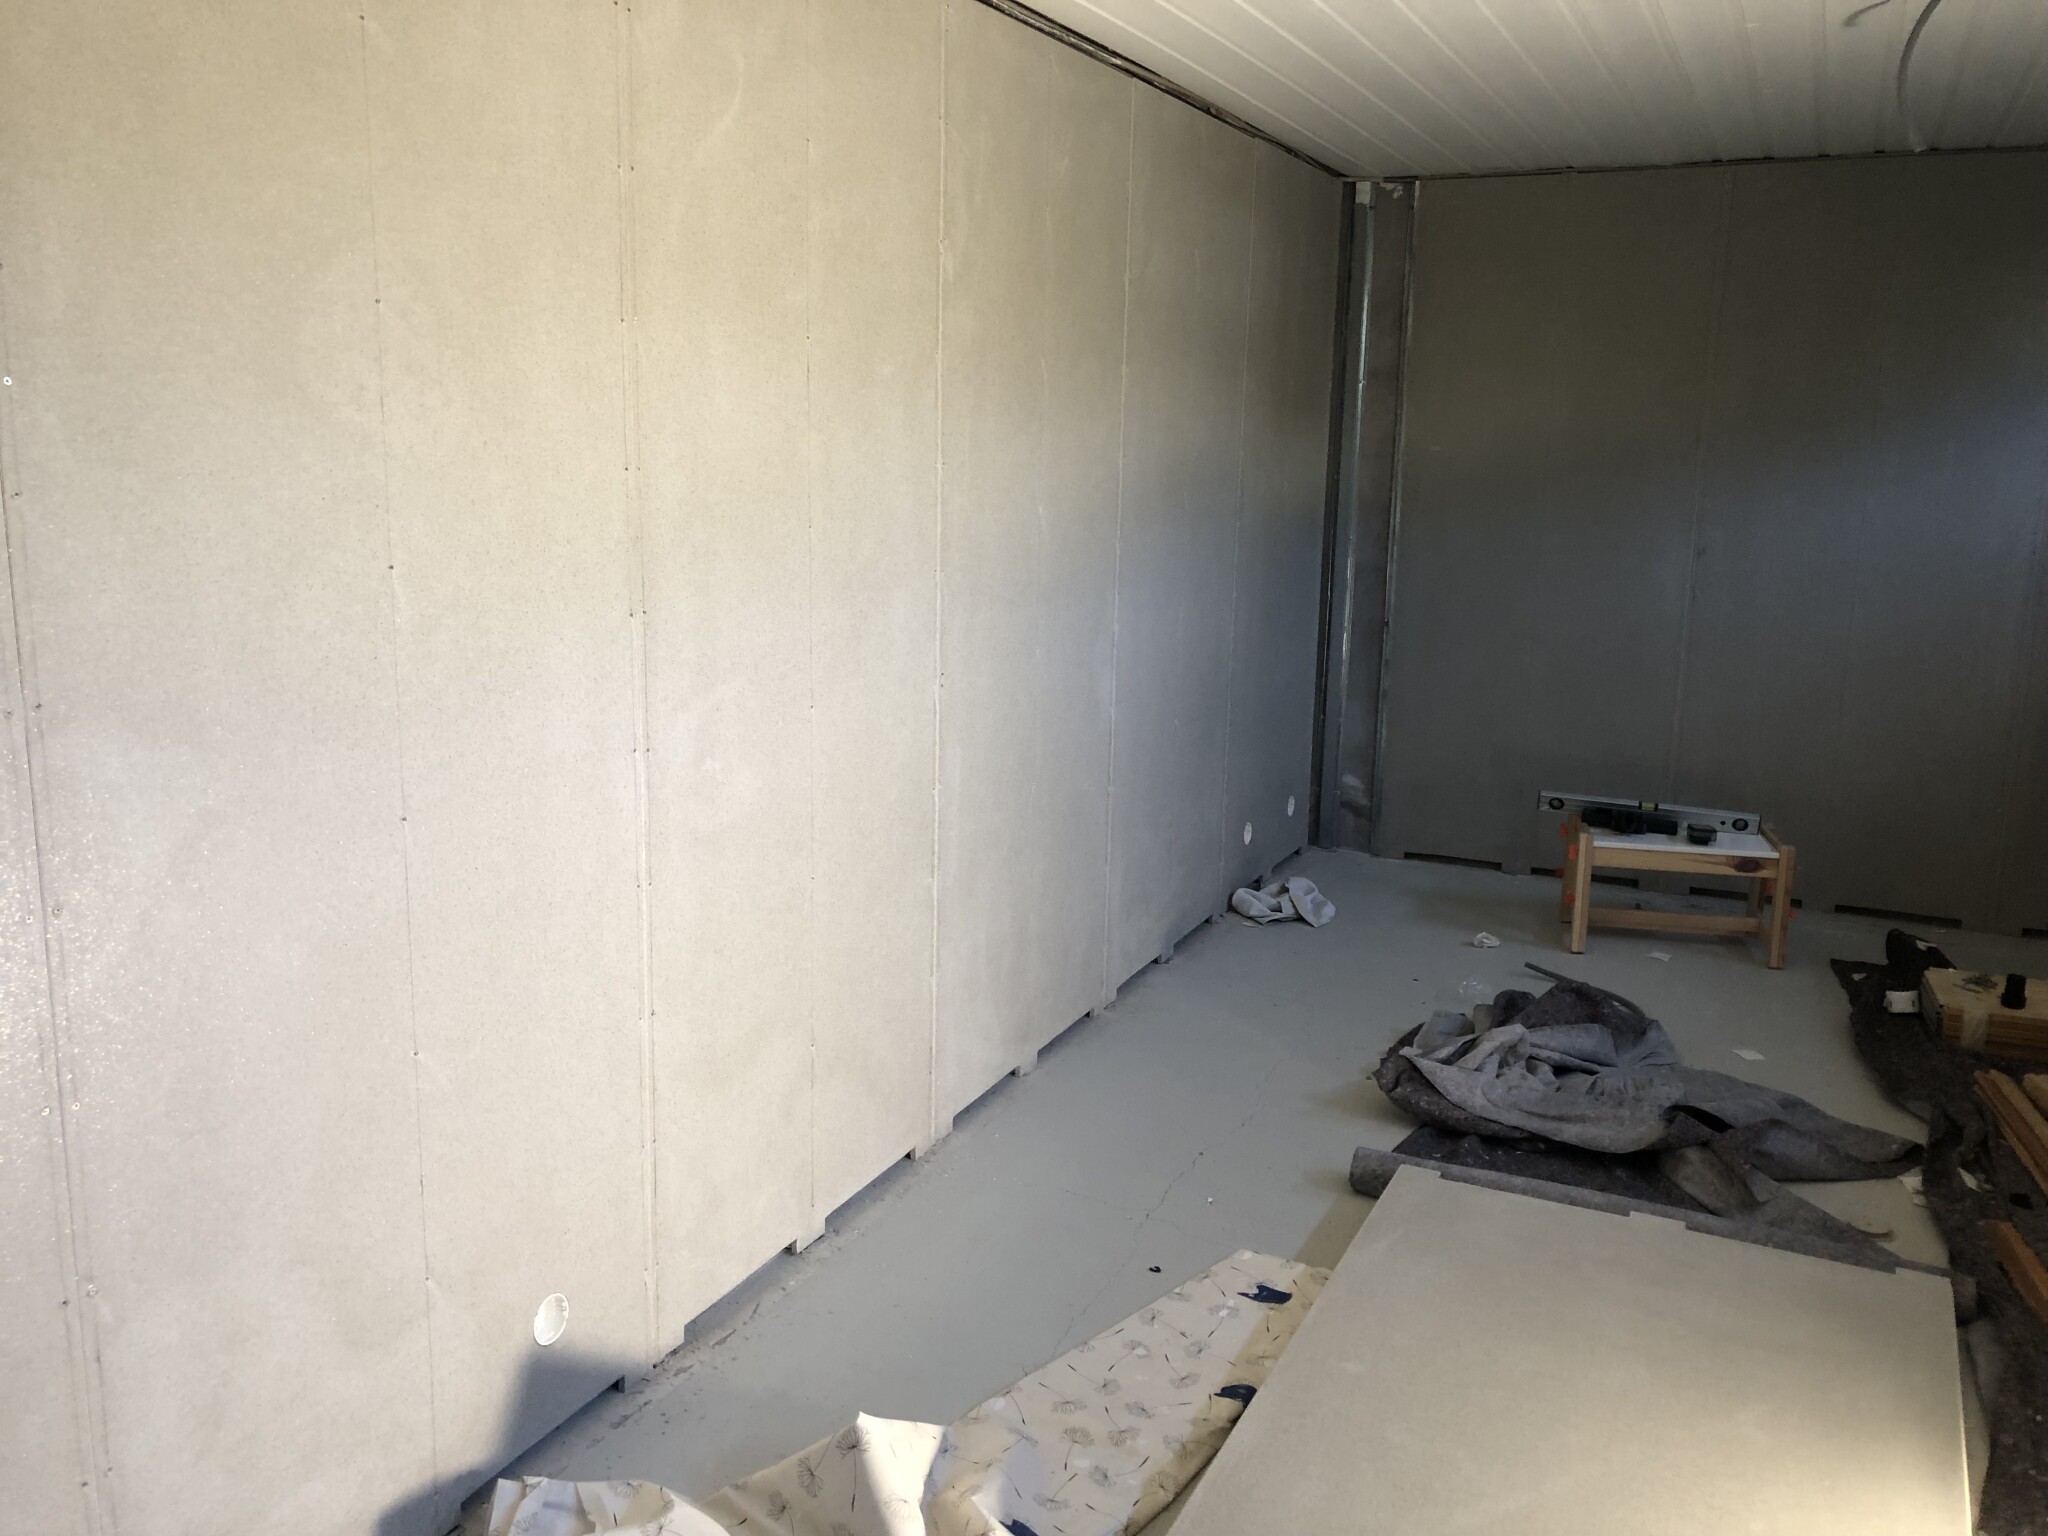
Then, I installed minerit/cembrit/swiss pearl multiforce fiber cement boards 12mm 90cm with a 2cm ventilation gap against the floor and ceiling (molding follows soon). The boards sit on the wide surface of the batten, which is about 42mm wide. Since the screws in the board should be placed at least 12mm from the edge, you have some leeway but you MUST measure the CC distance very carefully to avoid damaging the edge while ensuring proper fastening in the batten. I then painted with silicate paint.
One issue to consider (if you’re only using single boards) is that you might run into problems with junction boxes (due to depth and distance to the wall). The "regular" ones are too high, but there are boxes with a height of 38mm that I glued with construction adhesive to the board. If it's fiber cement, a diamond hole saw is highly recommended if there are many holes😉.
Just wanted to say thanks for the idea! After I tore down the classic yellowed 70s/80s pine paneling (as well as internal plastic sheeting and insulation) in the old recreation room, this concept came to life.
Behind the panel, there was no explicit mold but a clear smell of microbial growth. I decided not to use any organic material at all... It worked excellently, very satisfied! Stable construction without ceiling and floor beams.
I used secondary battens/hat profiles with a height of 25mm. I rented a nail gun (Hilti BX3 in my case), fastening directly to the wall with collated concrete nails (24mm), CC45cm. The gun's nozzle and the nails fit perfectly to the narrow sides of the batten that sit against the wall. The nails are expensive, but if you need many (like I did), it is better to order a larger amount from abroad (a difference of almost 5 SEK per shot in my case). I used 5-6 shots per side of the batten, meaning 10-12 nails per batten (220cm).
Then I installed mineral board/cembrit/swiss pearl multiforce fiber cement boards 12mm 90cm with a 2cm ventilation gap towards the floor and ceiling (moldings to follow soon). The boards sit on the wide surface of the batten, which is about 42mm wide. Since the screws on the board should be placed at least 12mm from the edge, you have some leeway, but you MUST measure the CC distance very carefully to not damage the edge while ensuring proper attachment to the batten. Then painted with silicate paint.
One problem to consider (if you only use single boards) is that you might have issues with electrical boxes (with regard to depth and distance to the wall). The "usual" ones are too tall, but there are boxes with a height of 38mm that I glued with construction adhesive to the board. If it’s fiber cement, a diamond hole saw is highly recommended if there are many holes 😉.
[image][image]
[image]
Looks great, and fun to see that it could help this "far" forward in time too - then the thread is a success!
Click here to reply
Vi vill skicka notiser för ämnen du bevakar och händelser som berör dig.