3,582 views ·
18 replies
4k views
18 replies
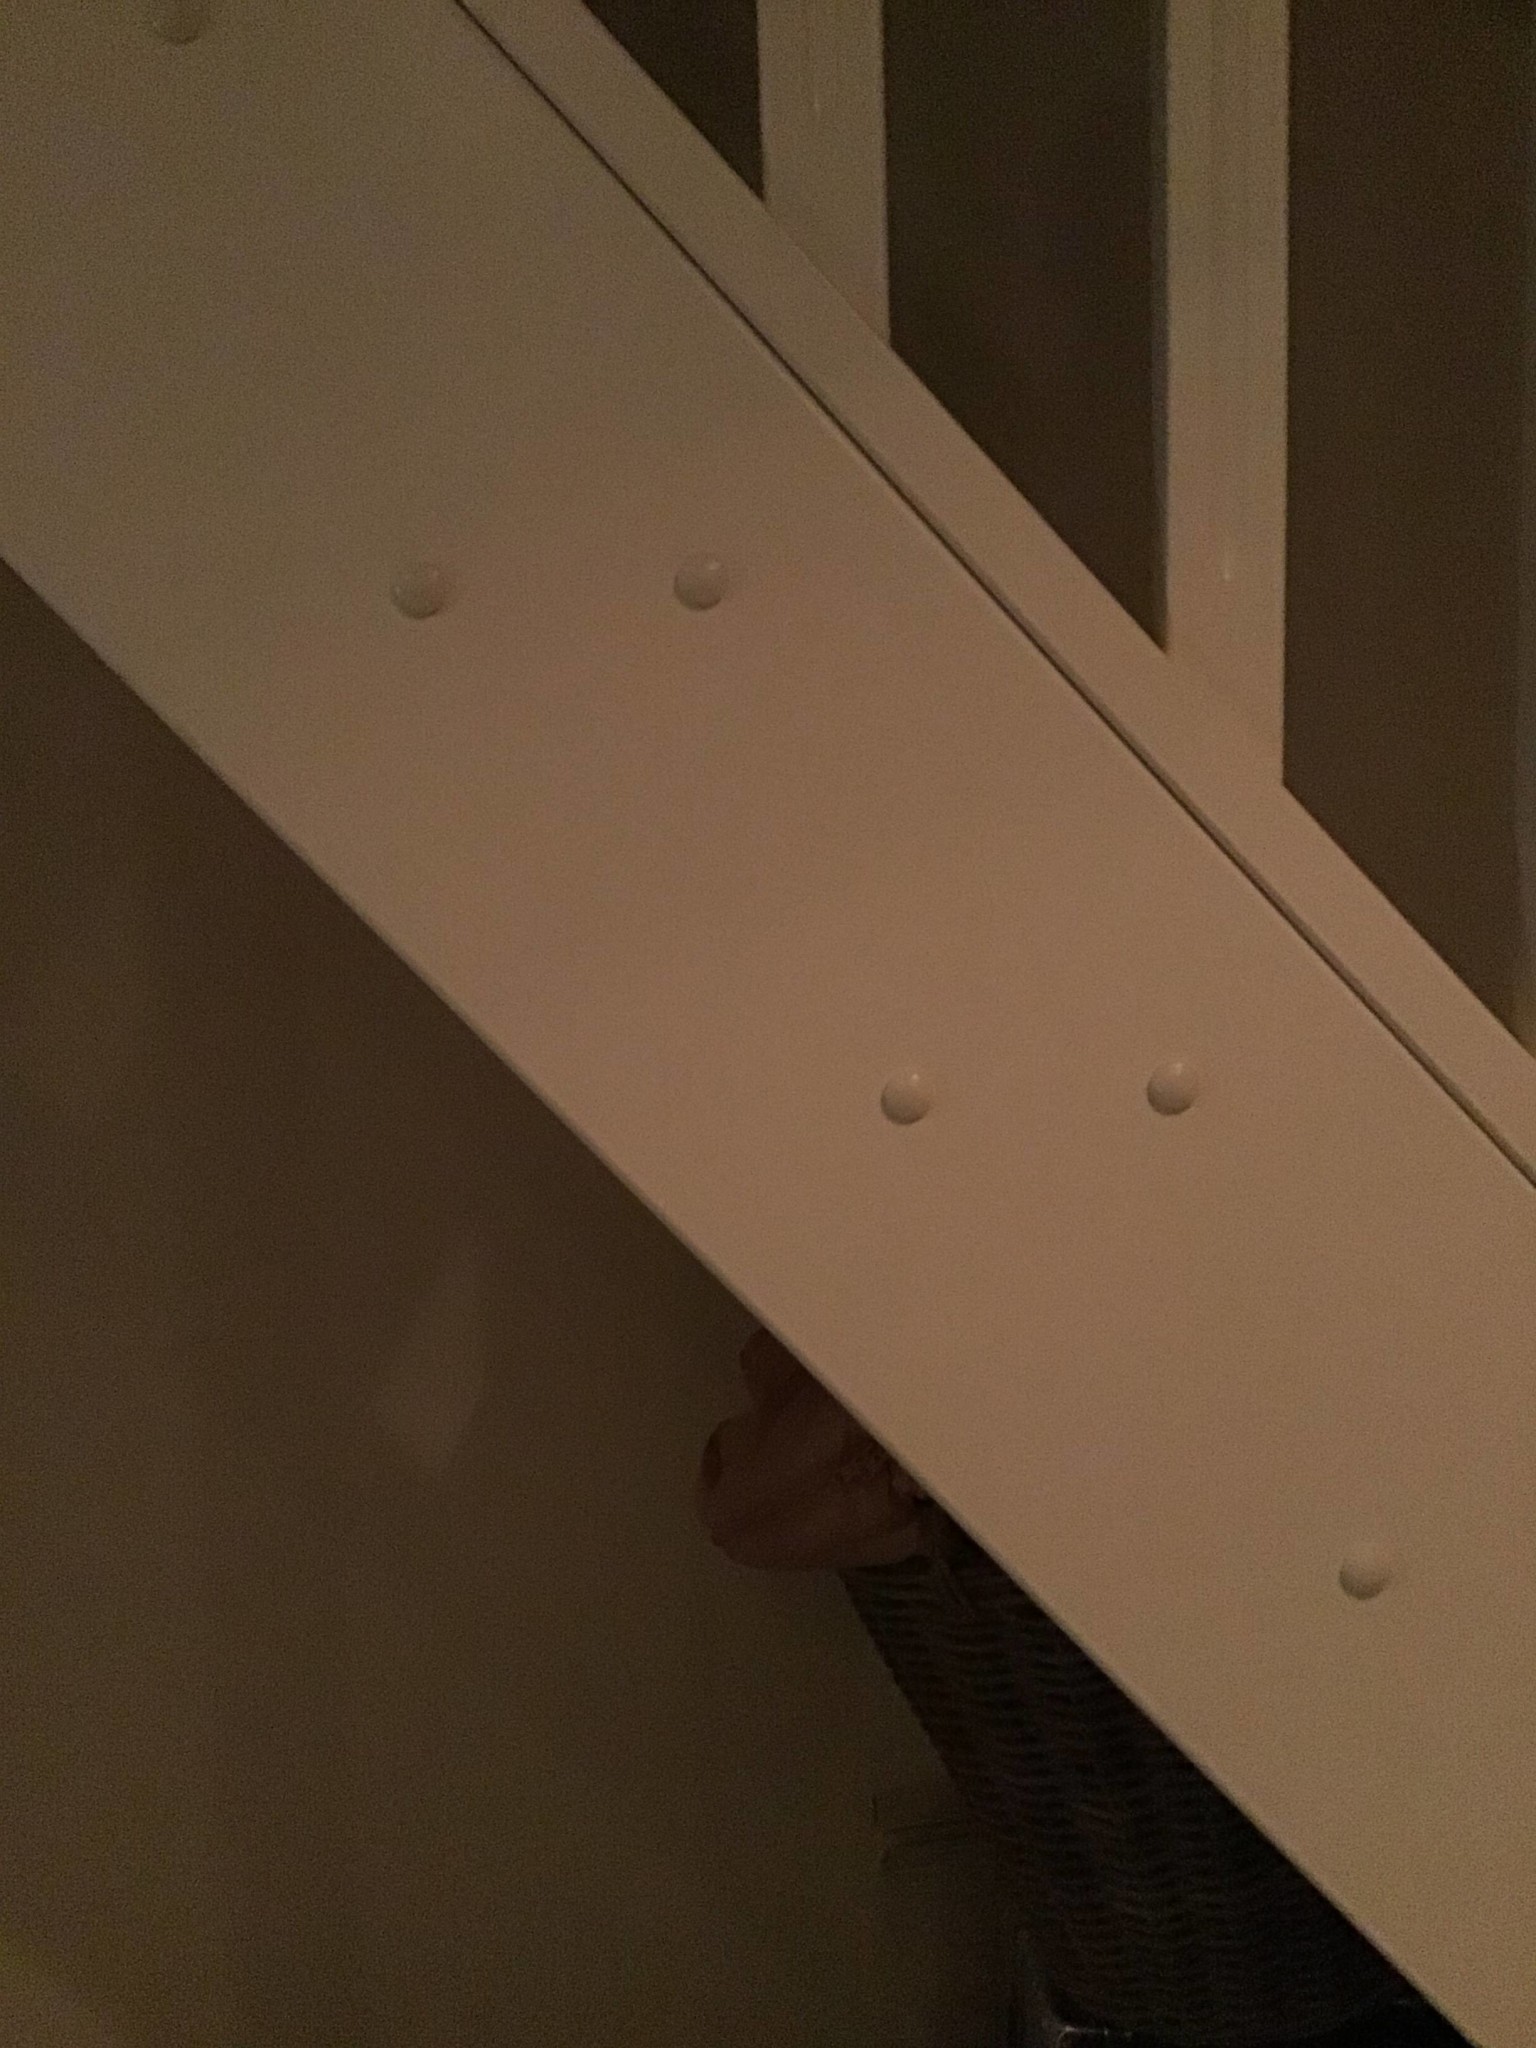
Rivets on stairs, sand away?
Member
· Västernorrland
· 12 010 posts
Can and can, but the question is whether what you're doing will be more noticeable? Sure, you can fill and paint, but it requires extremely precise filling, and then you preferably need to paint so it matches the rest of the staircase? It looks like it’s spray-painted from the factory. The risk is that it becomes a lot of work for very little benefit, and you might end up regretting it in the end.......A staircase moves all the time, so the risk might also be high that the filler eventually comes loose and becomes visible. And then you're back to square one again.
If you absolutely insist on removing them—which seems totally unnecessary imho—you can try to pry off one of them in a somewhat hidden place and see what it looks like underneath. If you're really lucky, the screws are recessed a couple of mm, so you can insert plugs that don't protrude—you can cut them yourself by "slicing" a dowel—and fix them with wood glue before filling and painting over. Just filling the holes alone will be very hard to make look nice (don't ask me how I know...)—you'll need some more fill than usual wood filler, as it tends to sink into deeper holes. It's possible that chemical wood/Plastic Padding or something similar might work, but I'm skeptical; it's rarely good enough that you want it to be the first thing you see when entering the residence.
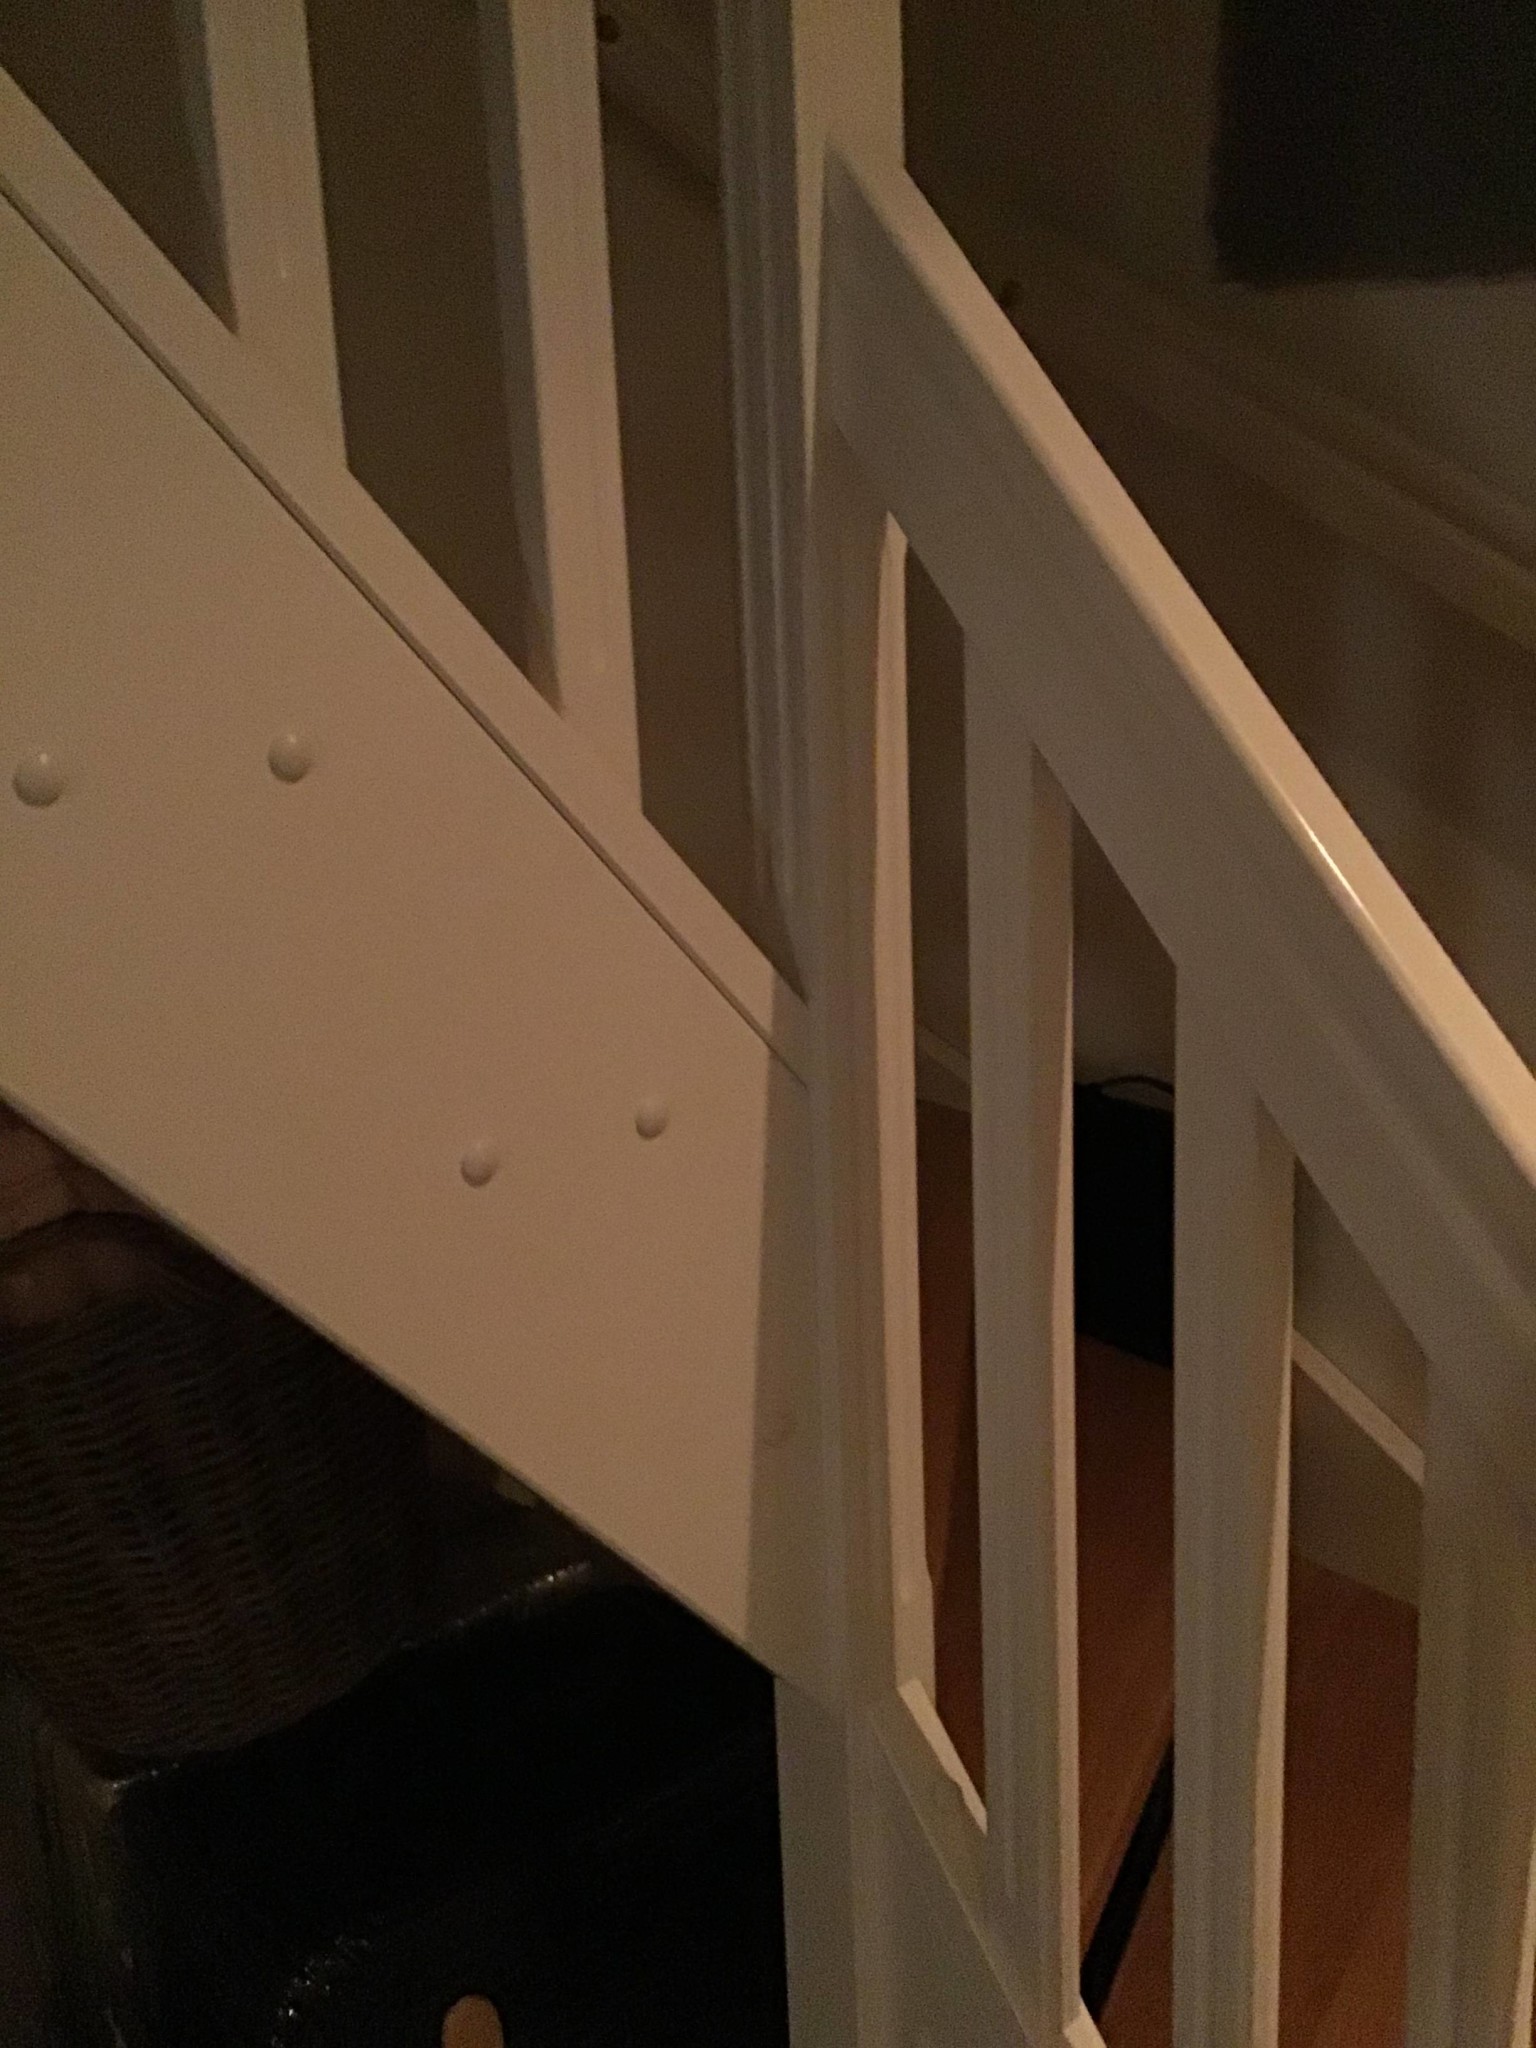
However, you can sand down/remove the plugs and then cover with some form of panel that you cut along the entire stringer. If you glue it with wood glue and use several clamps, you'll get a completely smooth surface that can then be painted.
However, you can sand down/remove the plugs and then cover with some form of panel that you cut along the entire stringer. If you glue it with wood glue and use several clamps, you'll get a completely smooth surface that can then be painted.
When it comes to the encasement between floors, you can have good or bad luck. It feels like it's a fairly new house built with wall blocks and floor cassettes. In that case, it can be so bad that the walls on the upper and lower floors don't quite align, and unfortunately, you can't get a perfectly smooth wall. Usually, there is already plaster behind these floor encasements, so if these align with each other, it's just a matter of applying filler, but you can't know without removing the encasement.
I pried one off and saw that the screw is recessed. Making new plugs doesn't seem too difficult, but as more people say, it's the final finish of this that feels like the big project. This went from high to low priority in the last few days...ricebridge said:
If you absolutely want to remove these – which seems totally unnecessary imho – you can try to pry off one of them in some hidden spot and see what's underneath. If you're really lucky, the screws are recessed a few mm, so you can insert plugs that don't stick out – you can make these yourself by "slicing" a dowel – and secure them with wood glue before you fill and paint over. Just filling the holes will be very difficult to make look nice (don't ask me how I know...) – you'll at least need some more fill than regular wood filler, as it tends to sink into deeper holes. It might work with chemical wood/Plastic Padding or similar stuff, but I'm skeptical; it rarely turns out well enough that you'd want it to be the first thing you see when you enter the house.
However, you can sand down/remove the plugs and then place some form of covering board along the entire stringer. If you glue it with wood glue and use several clamps, you get a perfectly smooth surface that can then be painted.
this still feels positive, if I can now live with the plug in the staircase, I'm still tempted to see how it looks underneath. I'm going to paint the walls anyway, including these floor coverings (thank you for the correct name). I'll get back to this matter, have some wallpaper to remove and some filling before I start thisHennke85 said:
When it comes to the covering between floors, you can be lucky or unlucky. It feels like it's a fairly new house built with wall blocks and floor cassettes. Then it might be the case that the walls on the upper and lower floors do not quite align with each other, which unfortunately means you cannot have a perfectly smooth wall. Usually, it is already plastered behind these floor coverings, so if they are aligned with each other, you just need to apply filler, but that's something you can't know without removing the covering.
thanks for all the answers. New to the forum and new in the villa
")
Welcome to the forum and to the homeowners club! We've all been there, new and green and overwhelmed by homeownership. But you grow with the task!
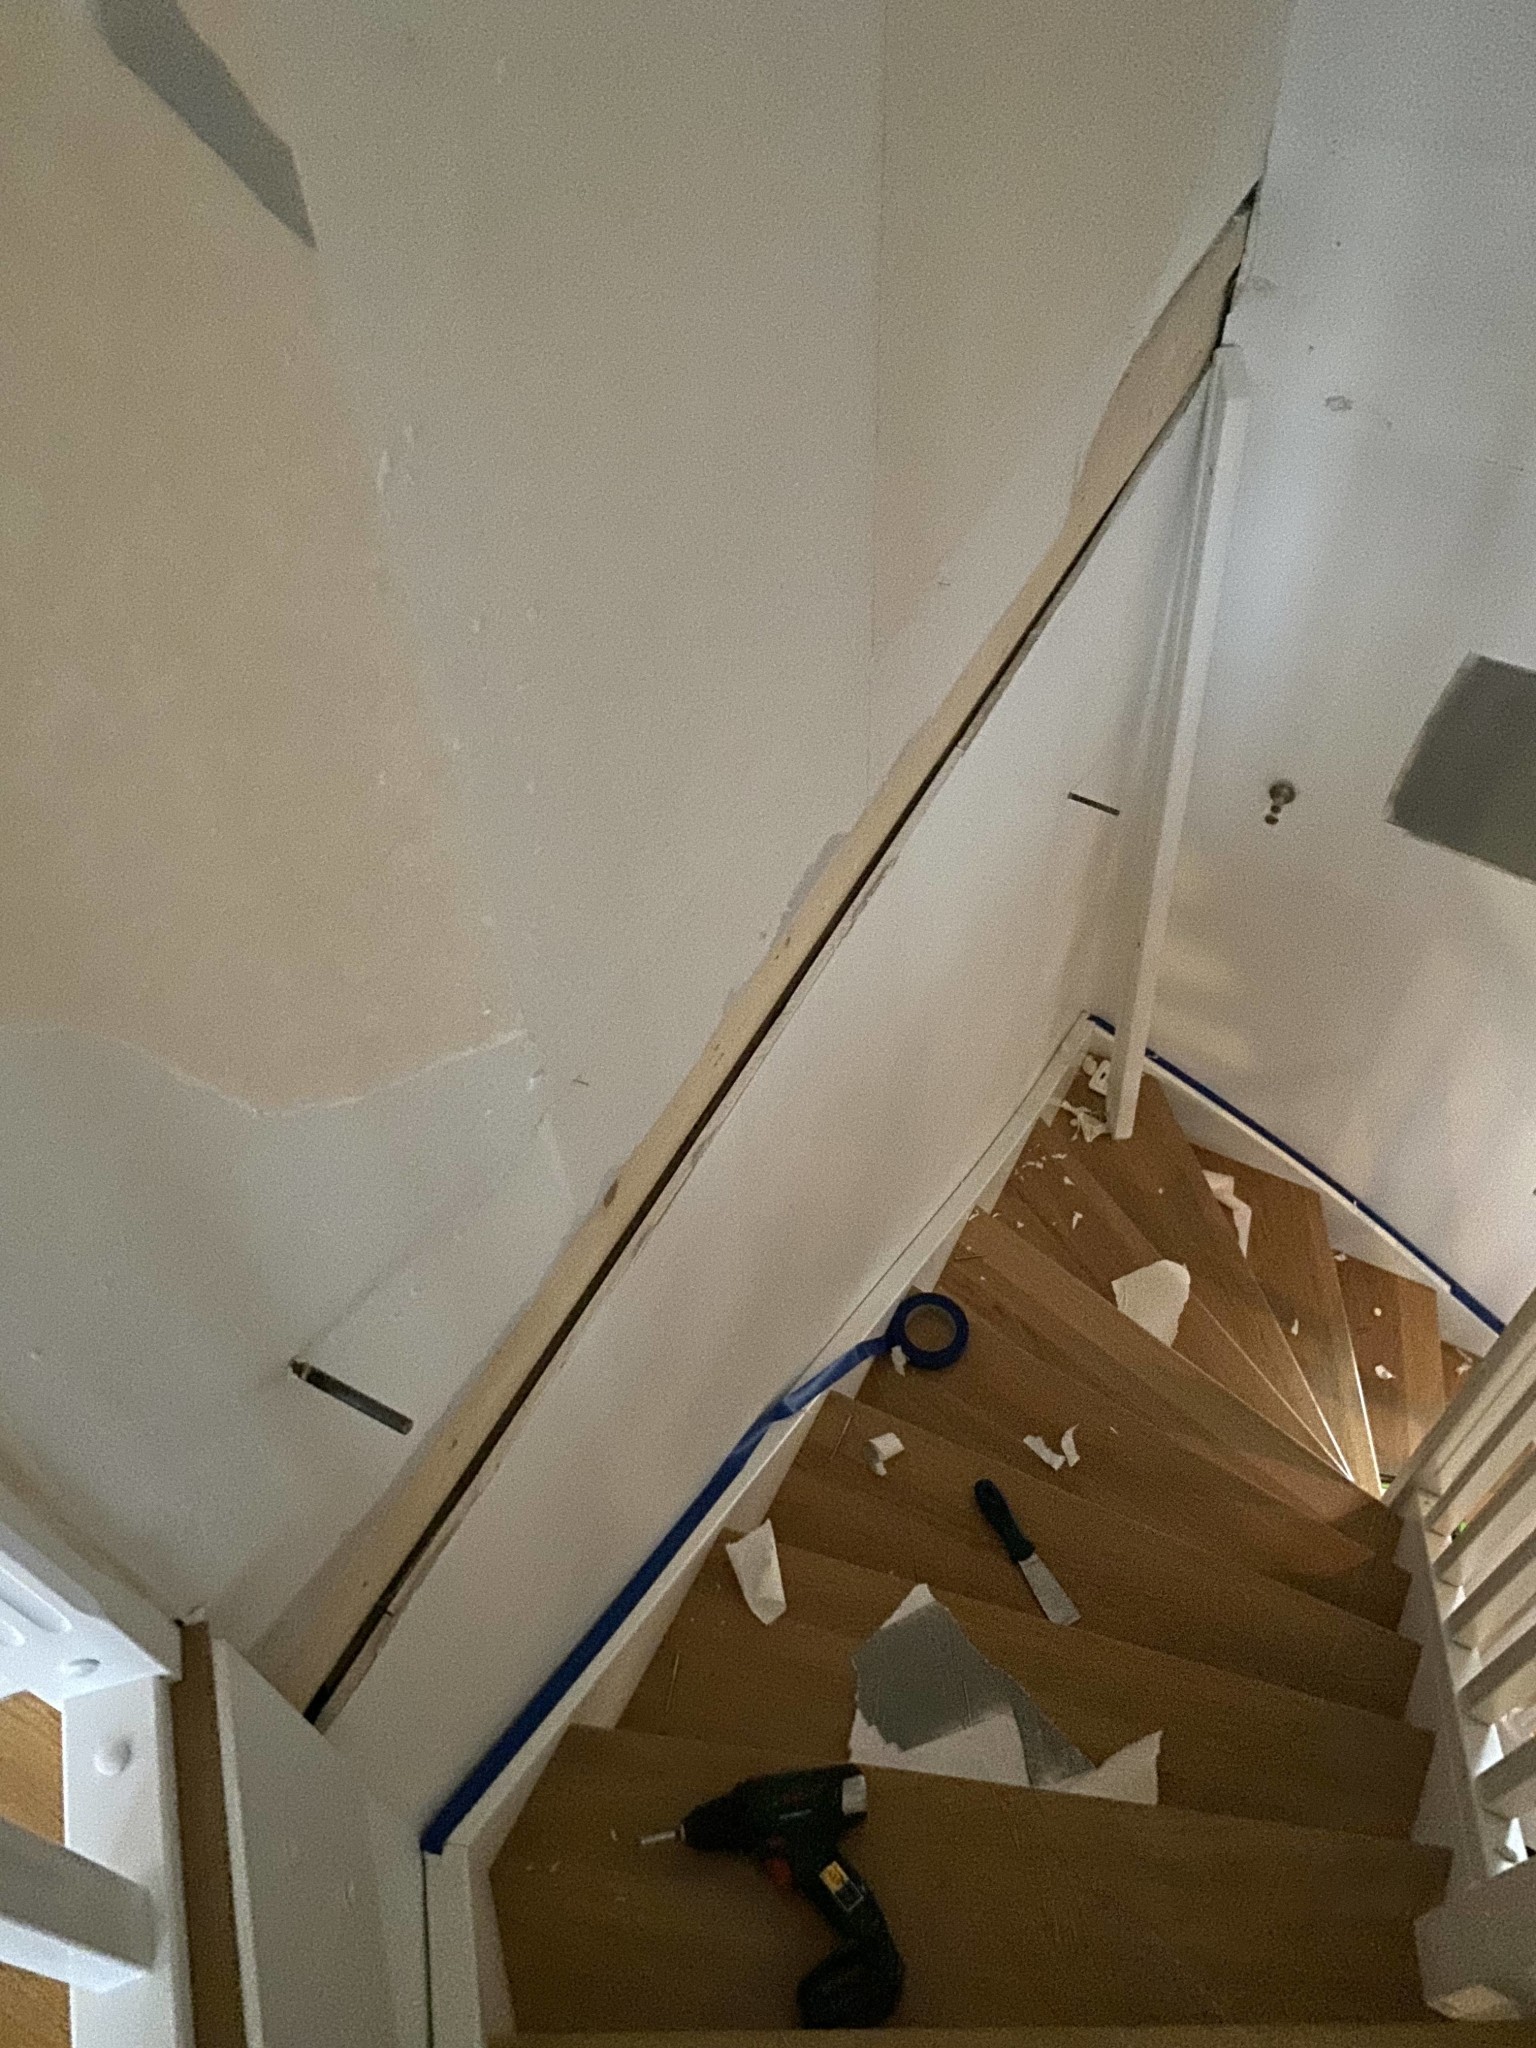
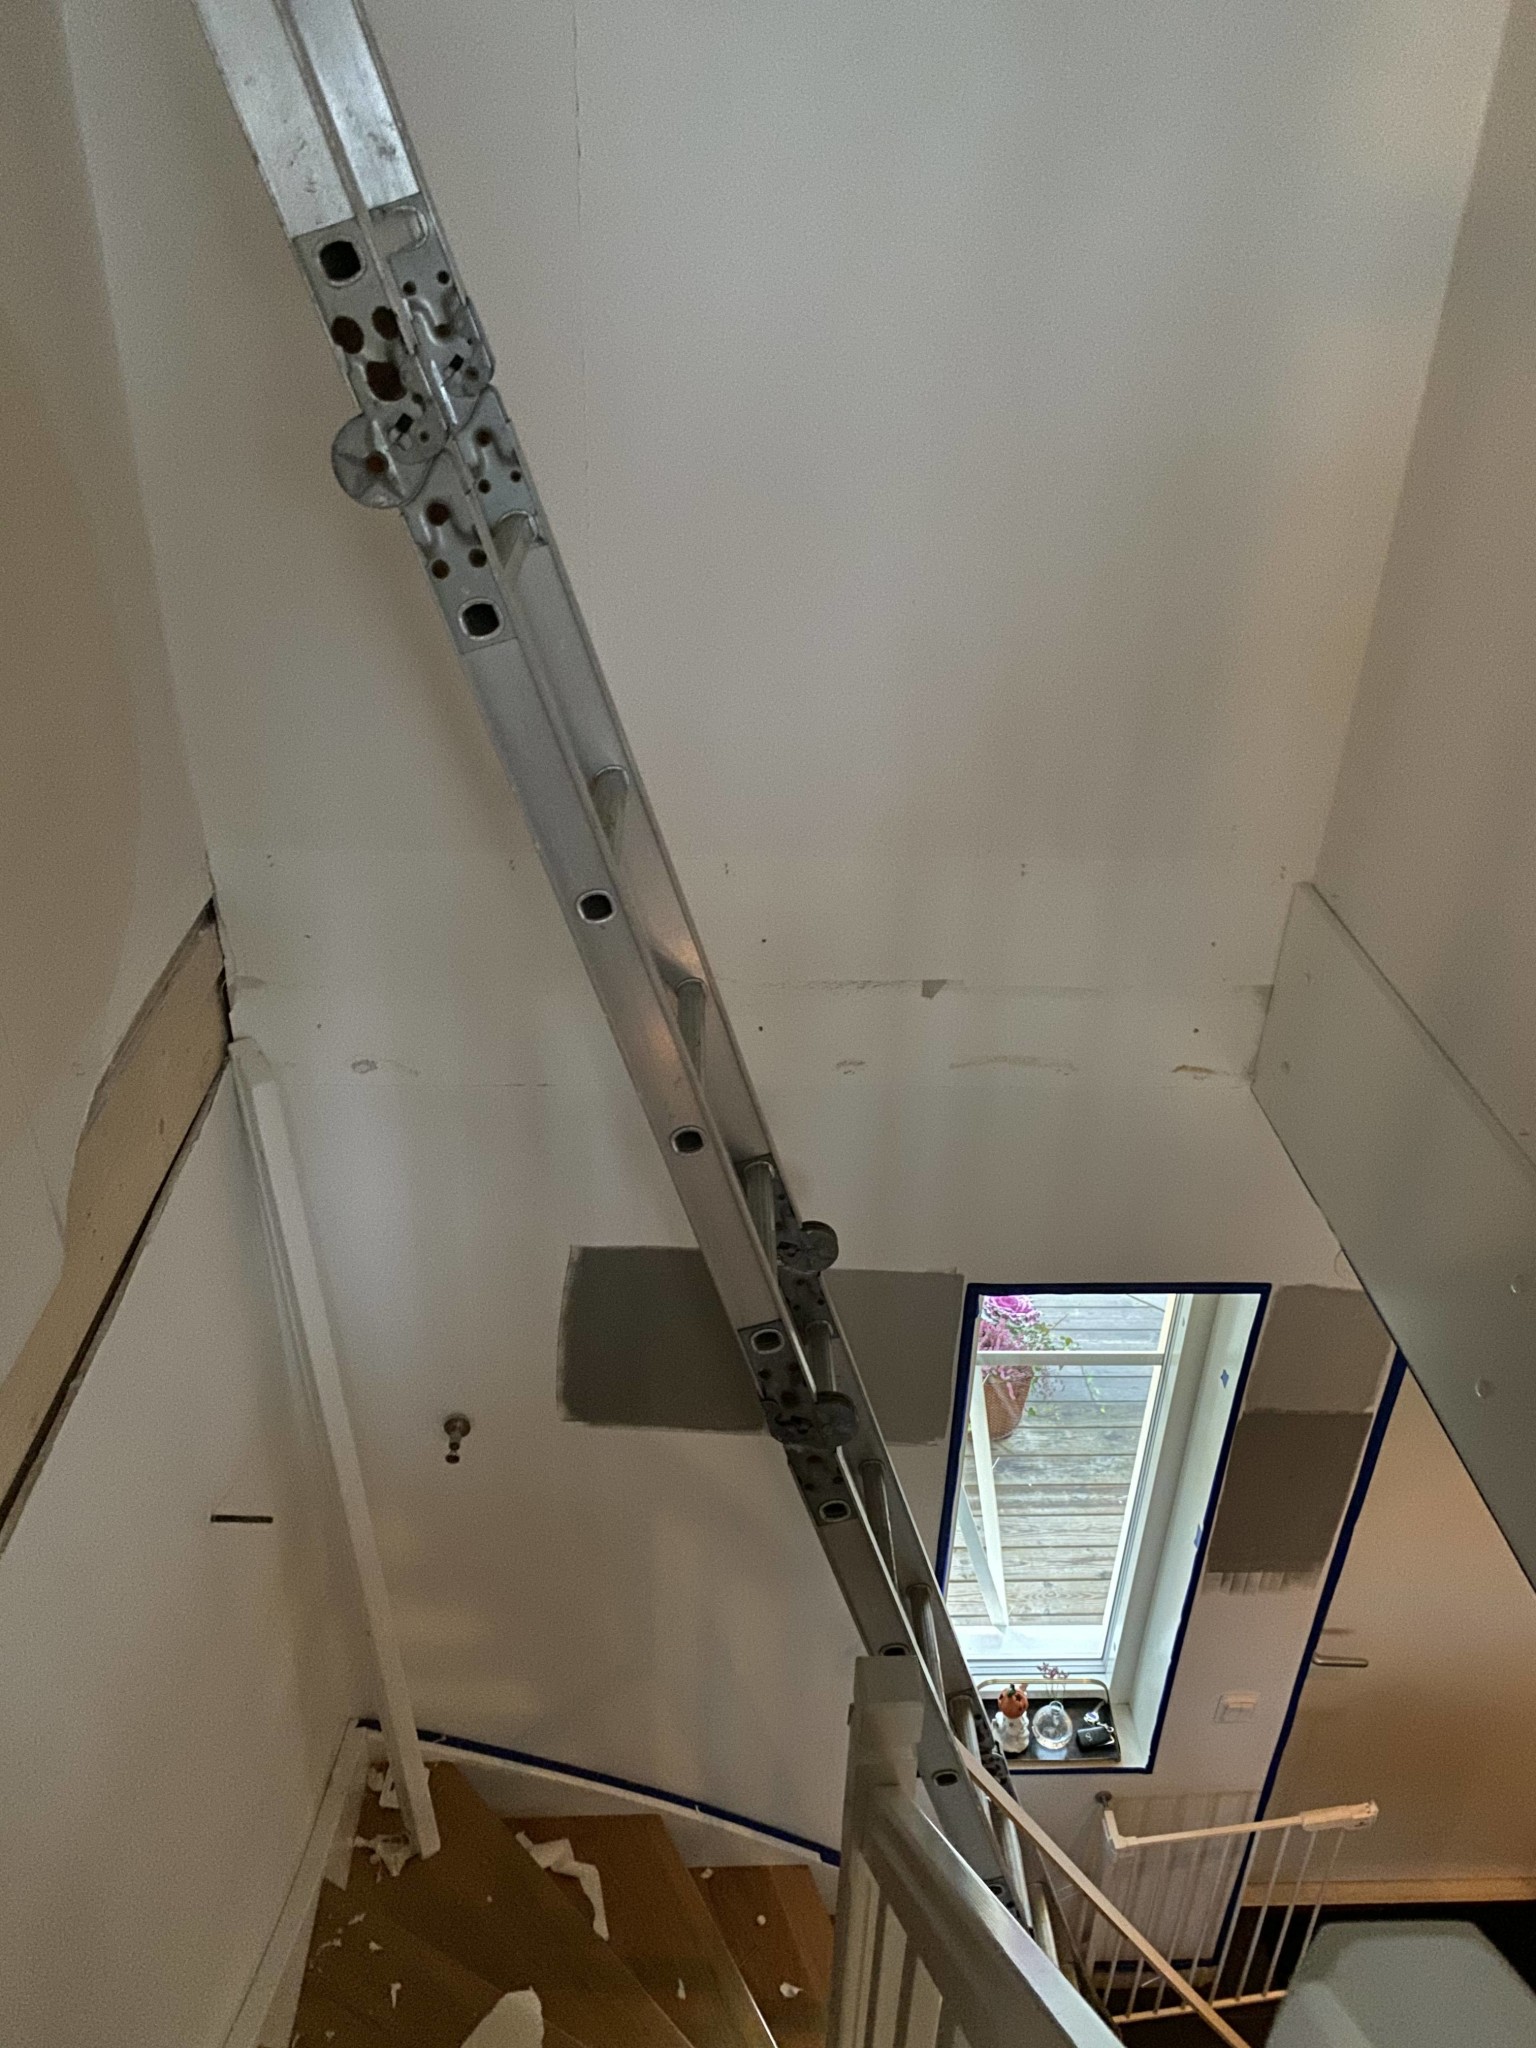
Finally weekend and DIY! A little update in case someone would like to do something similar.
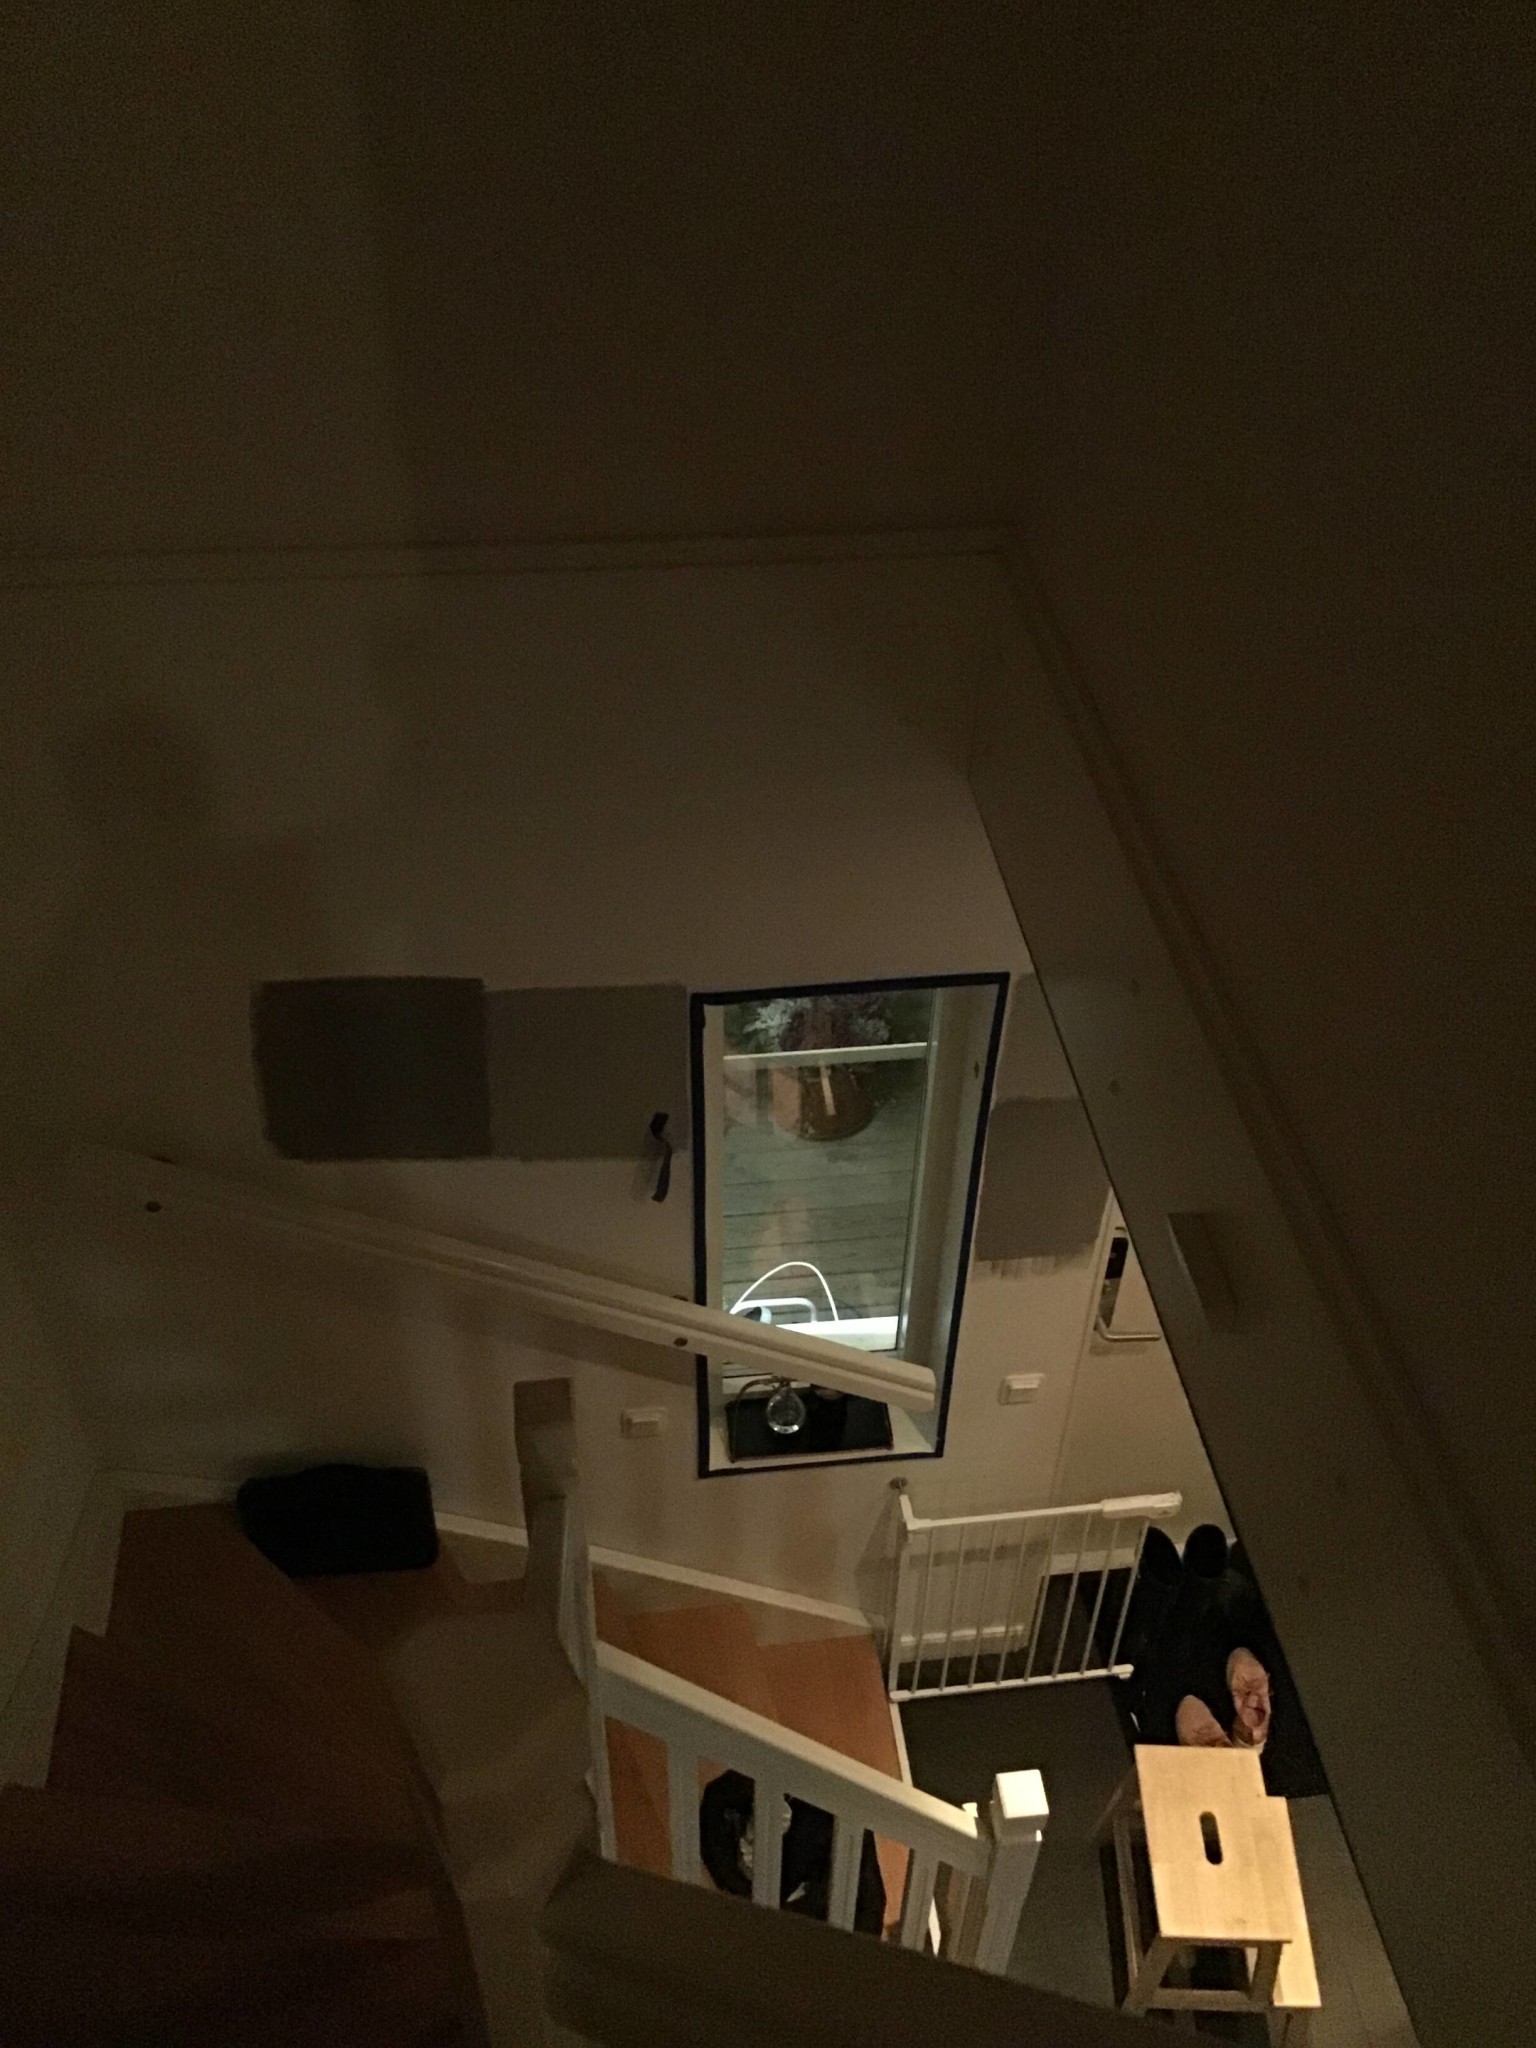
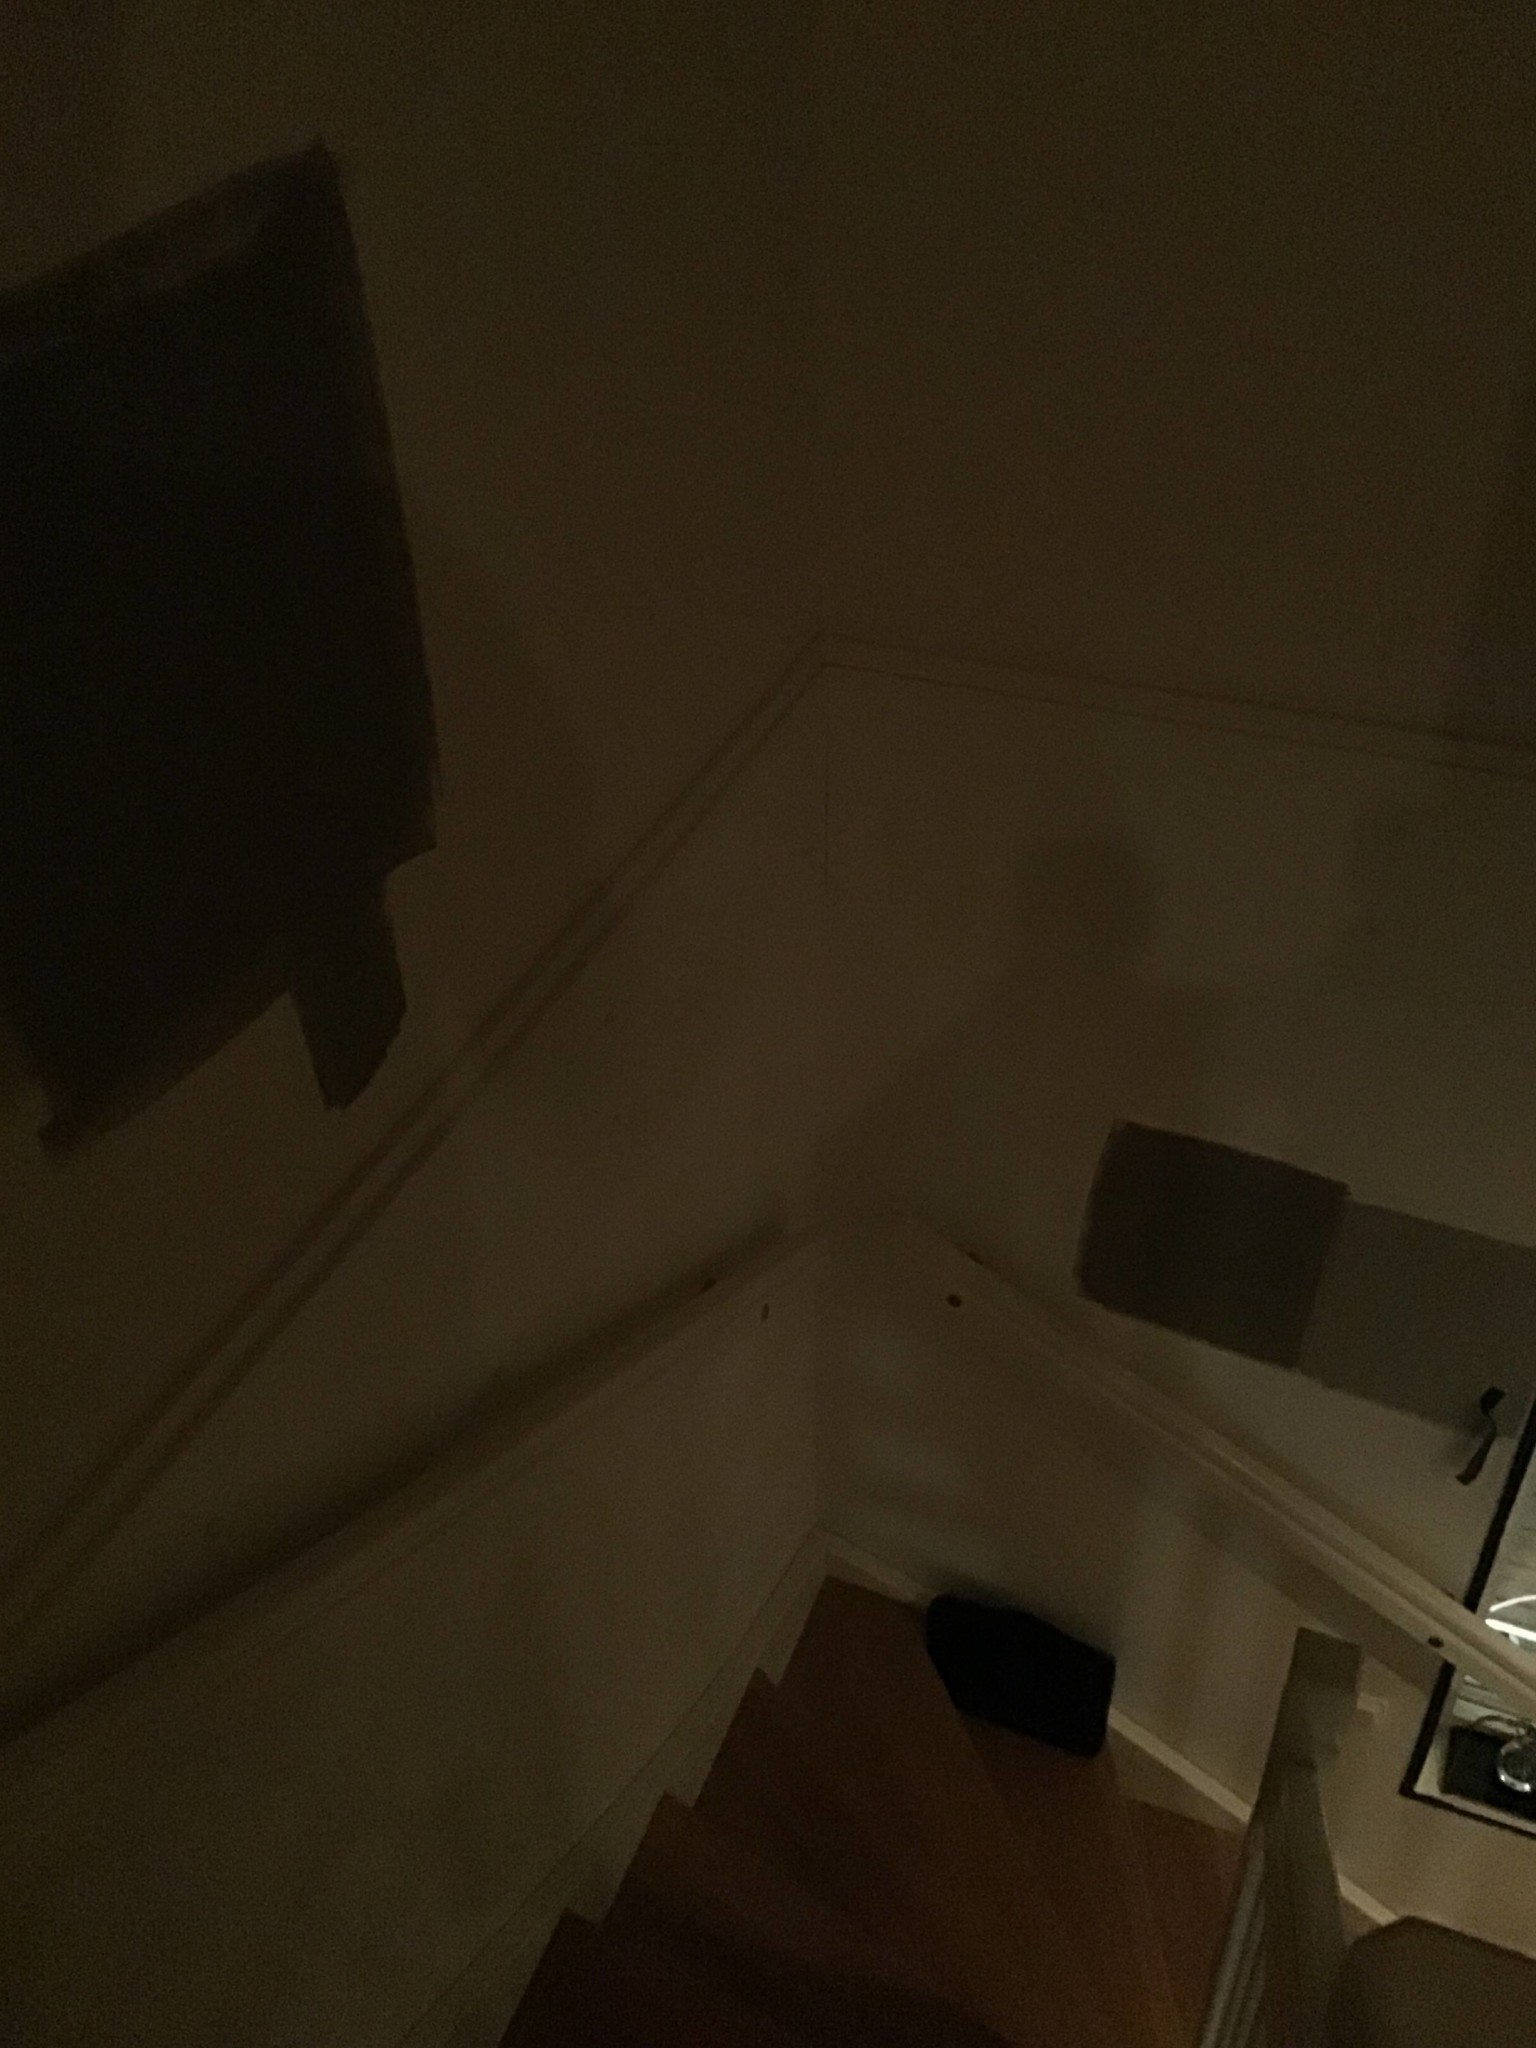
Removed the boards. Was overjoyed that it was plastered all the way under the first one. But of course not the others.
But I still think this is quite an easy fix.
The focus now is on tearing down wallpaper and preparing the wall for painting.
I'll get back to you
Removed the boards. Was overjoyed that it was plastered all the way under the first one. But of course not the others.
But I still think this is quite an easy fix.
The focus now is on tearing down wallpaper and preparing the wall for painting.
I'll get back to you
there's so little missing that it's tempting to just patch there. But do you still suggest cutting up a bit and putting whole sheets over the joint?R RoBo said: