17,045 views ·
47 replies
17k views
47 replies
Own production of lime plaster
")
Oh, so many questions!B byggarätt said:It turned out so nicely, and I have considered the construction method myself!
What type of gabions with what hole size?
How did you bind the gabions together sideways and in height?
How did you lay the foundation?
How did you fill and pack the stones?
Did you use any tension bands to reinforce the stones and hold the gabions together?
When you plastered the wall, why did you plaster the inside as well?
Isn't one side enough?
Are there stainless steel gabions? Did you choose hot-dip galvanized?
The gabions were ordered from gabioner24.se and had a mesh size of 5x10cm. They are assembled with spirals in all seams and are held together by spacer rods hooked inside before filling them. We bought galvanized gabions, and I am unsure if they are available in stainless steel. There is good information and pictures on the website.
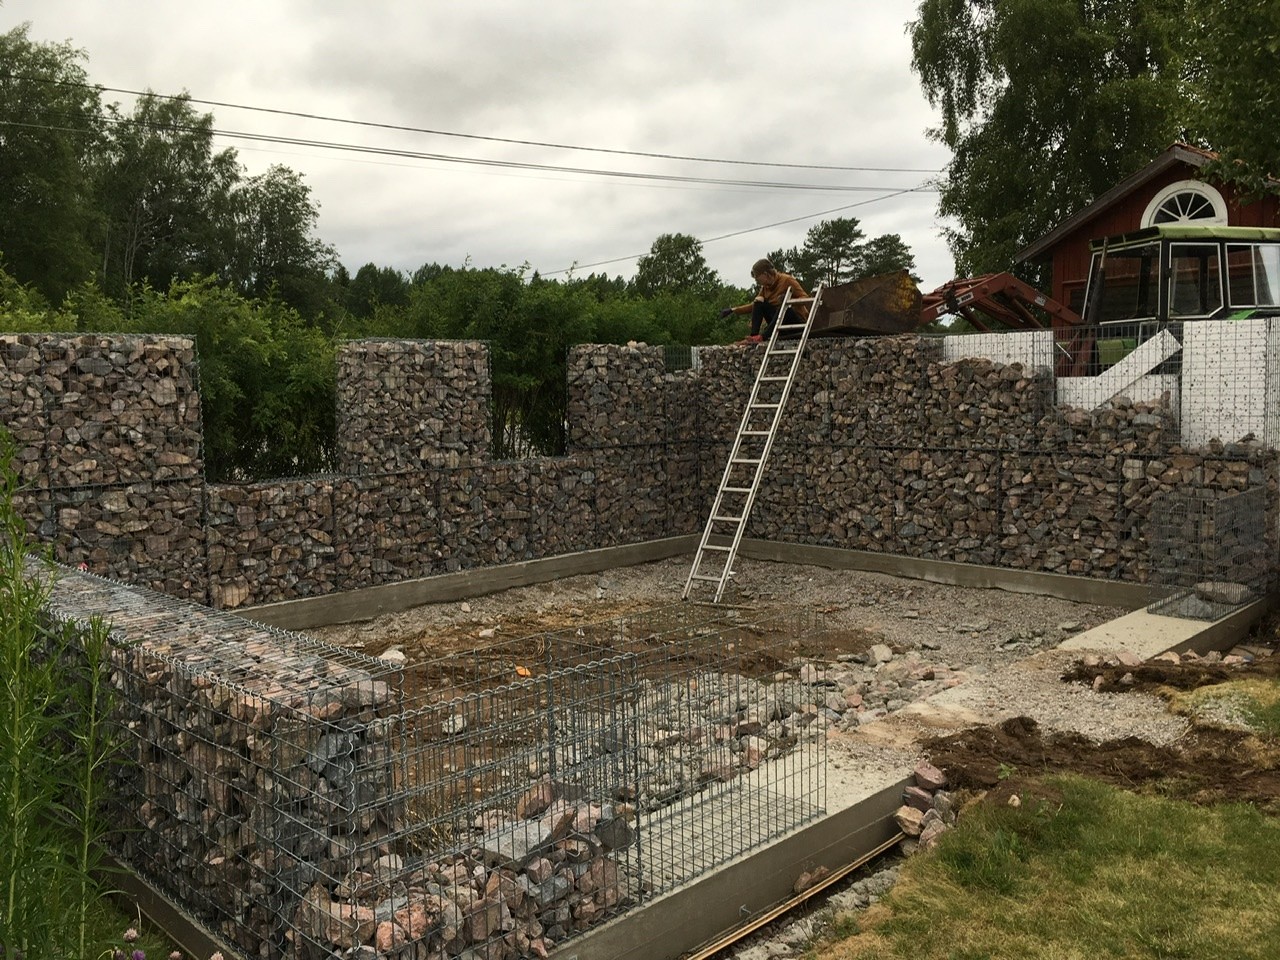
The foundation is a reinforced 20 cm cast footing. There is a significant weight under the walls. I borrowed a tractor to lift all the stones to the edge of the baskets and then just distributed them down by hand. Carrying everything by hand would have been quite exhausting, but anything is possible if you want!
It might have been enough to plaster just one side, but we thought that soil, debris, and other things would easily accumulate on the inside between all the stones if there wasn't a proper surface for the soil to rest against.
Please add more pictures. Looks very inspiring!apotekarnes said:
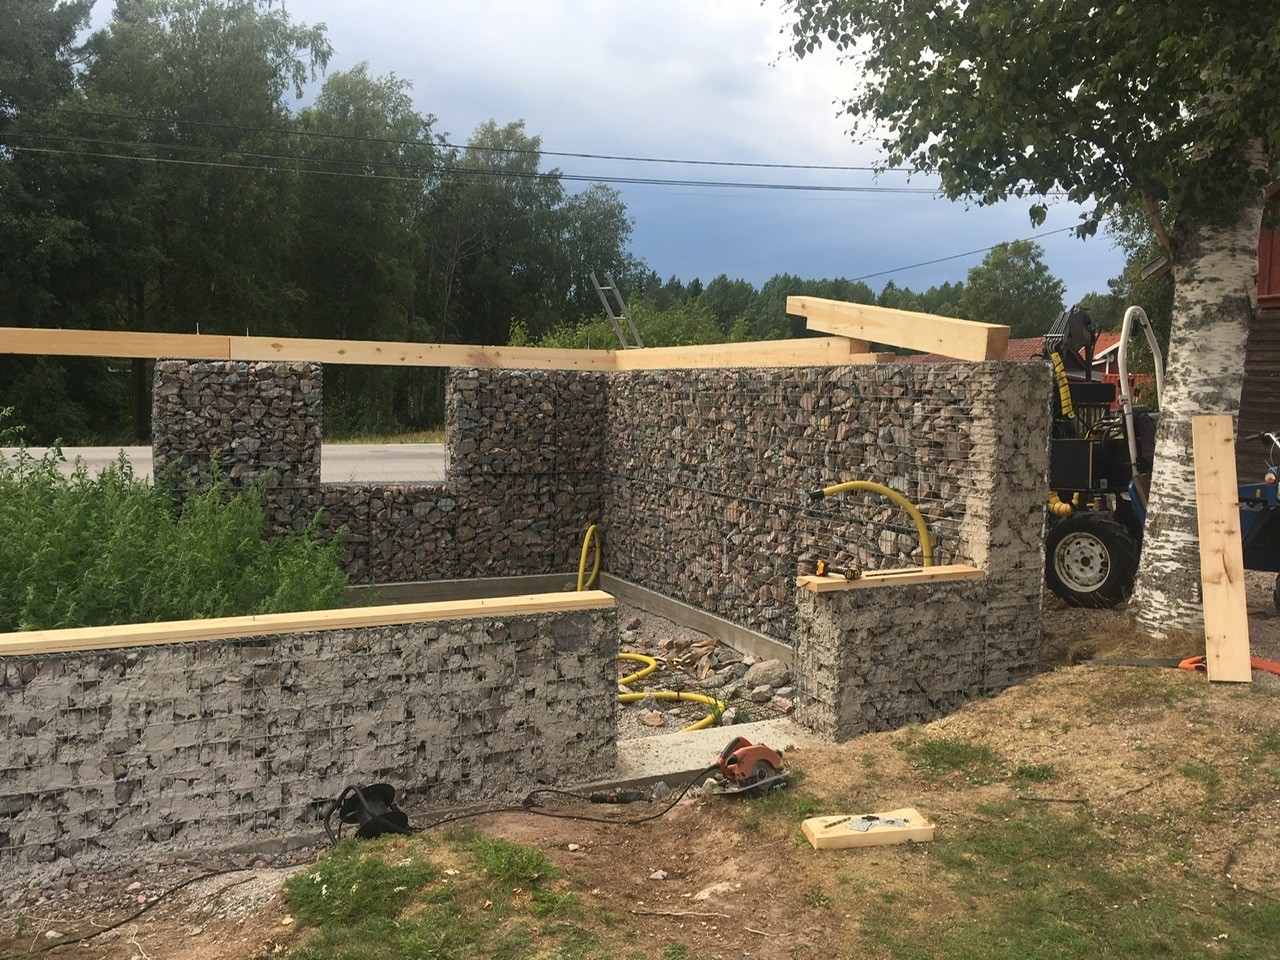
I am finishing an educational greenhouse project and thought I'd share some thoughts on the production of lime plaster. We are building a greenhouse of about 40sqm with a slightly different structure. We chose to build the base and walls with stone-filled gabion baskets as a frame, mainly because it is so much cheaper compared to, for example, bricks, and you get an extremely high weight that evens out the temperature in the fall and spring. In this case, it took just over 20 tons of stone to fill the gabions. Then I have stocked and plastered the walls with lime mortar. The reason we even started considering making the plaster ourselves is that it takes enormous amounts of plaster to fill in all the cavities between the stones before you can even put up a plastering net and start working on the surface. The total plaster thickness can be up to 10cm in places and I estimate that about 2.5 tons of plaster have been used and slaked lime is quite expensive in the market.
We managed to get burnt lime in large bags very cheaply from a local lime kiln which we picked up with a tractor and cart. Then I started experimenting with how to best slake the lime and prepare the mortar with the tools I had at home. In retrospect, a professional mixer would have been worth acquiring, but I settled for my regular free-fall mixer. One thing I quickly noticed when it comes to wet slaking lime is that you absolutely should not add too little water in the beginning. Once the reaction starts, it goes very quickly and you risk ending up with hard and very hot lumps at the bottom of the mixer that must be hacked loose before you can continue. If necessary, you can add more water while the reaction is ongoing. The lime paste should never be thicker than the consistency of whipped cream. Once the slaking process starts to feel complete and the mixture doesn't thicken anymore, you can add masonry sand, let it all mix for a while longer, and then tip out the finished plaster into some type of container. I made two of them from a plywood board with 21x170 board edges. I then set up the mixer on top of everything to more easily tip out the mortar into the container. My mortar containers hold about 6 full mixers with mortar. Then you just cover the mortar with plastic, sprinkle a bit of sand on top, and then let the mortar "cure". This is to make sure the slaking is completely finished. The mortar thickens quite a bit over a few days which might indicate that the slaking takes a while before it is completely done. When it is time for plastering, the mortar can feel very hard, but after 10-15 minutes in a mixer, it softens up properly and you often don't need to add more water even if it seems like it. It's like it has to be massaged into starting after sitting still for a while.
The "recipe" that has worked best for me is the following:
1 volume unslaked lime
just under 2 volumes water
4 volumes masonry sand (unless you want a richer mortar. Then you decrease the amount)
I'll add some pictures of the project. As for the actual plastering, I avoid giving tips, as I am far from an expert. There are probably others here who are much more competent in plastering work than I am.
[image] [image]
Setting up the mixer like this made emptying much easier.
[image] [image]
Covering the mortar with plastic keeps it almost indefinitely. I water the board edges sometimes if it's dry outside.
Here are some pictures of the project.
[image]
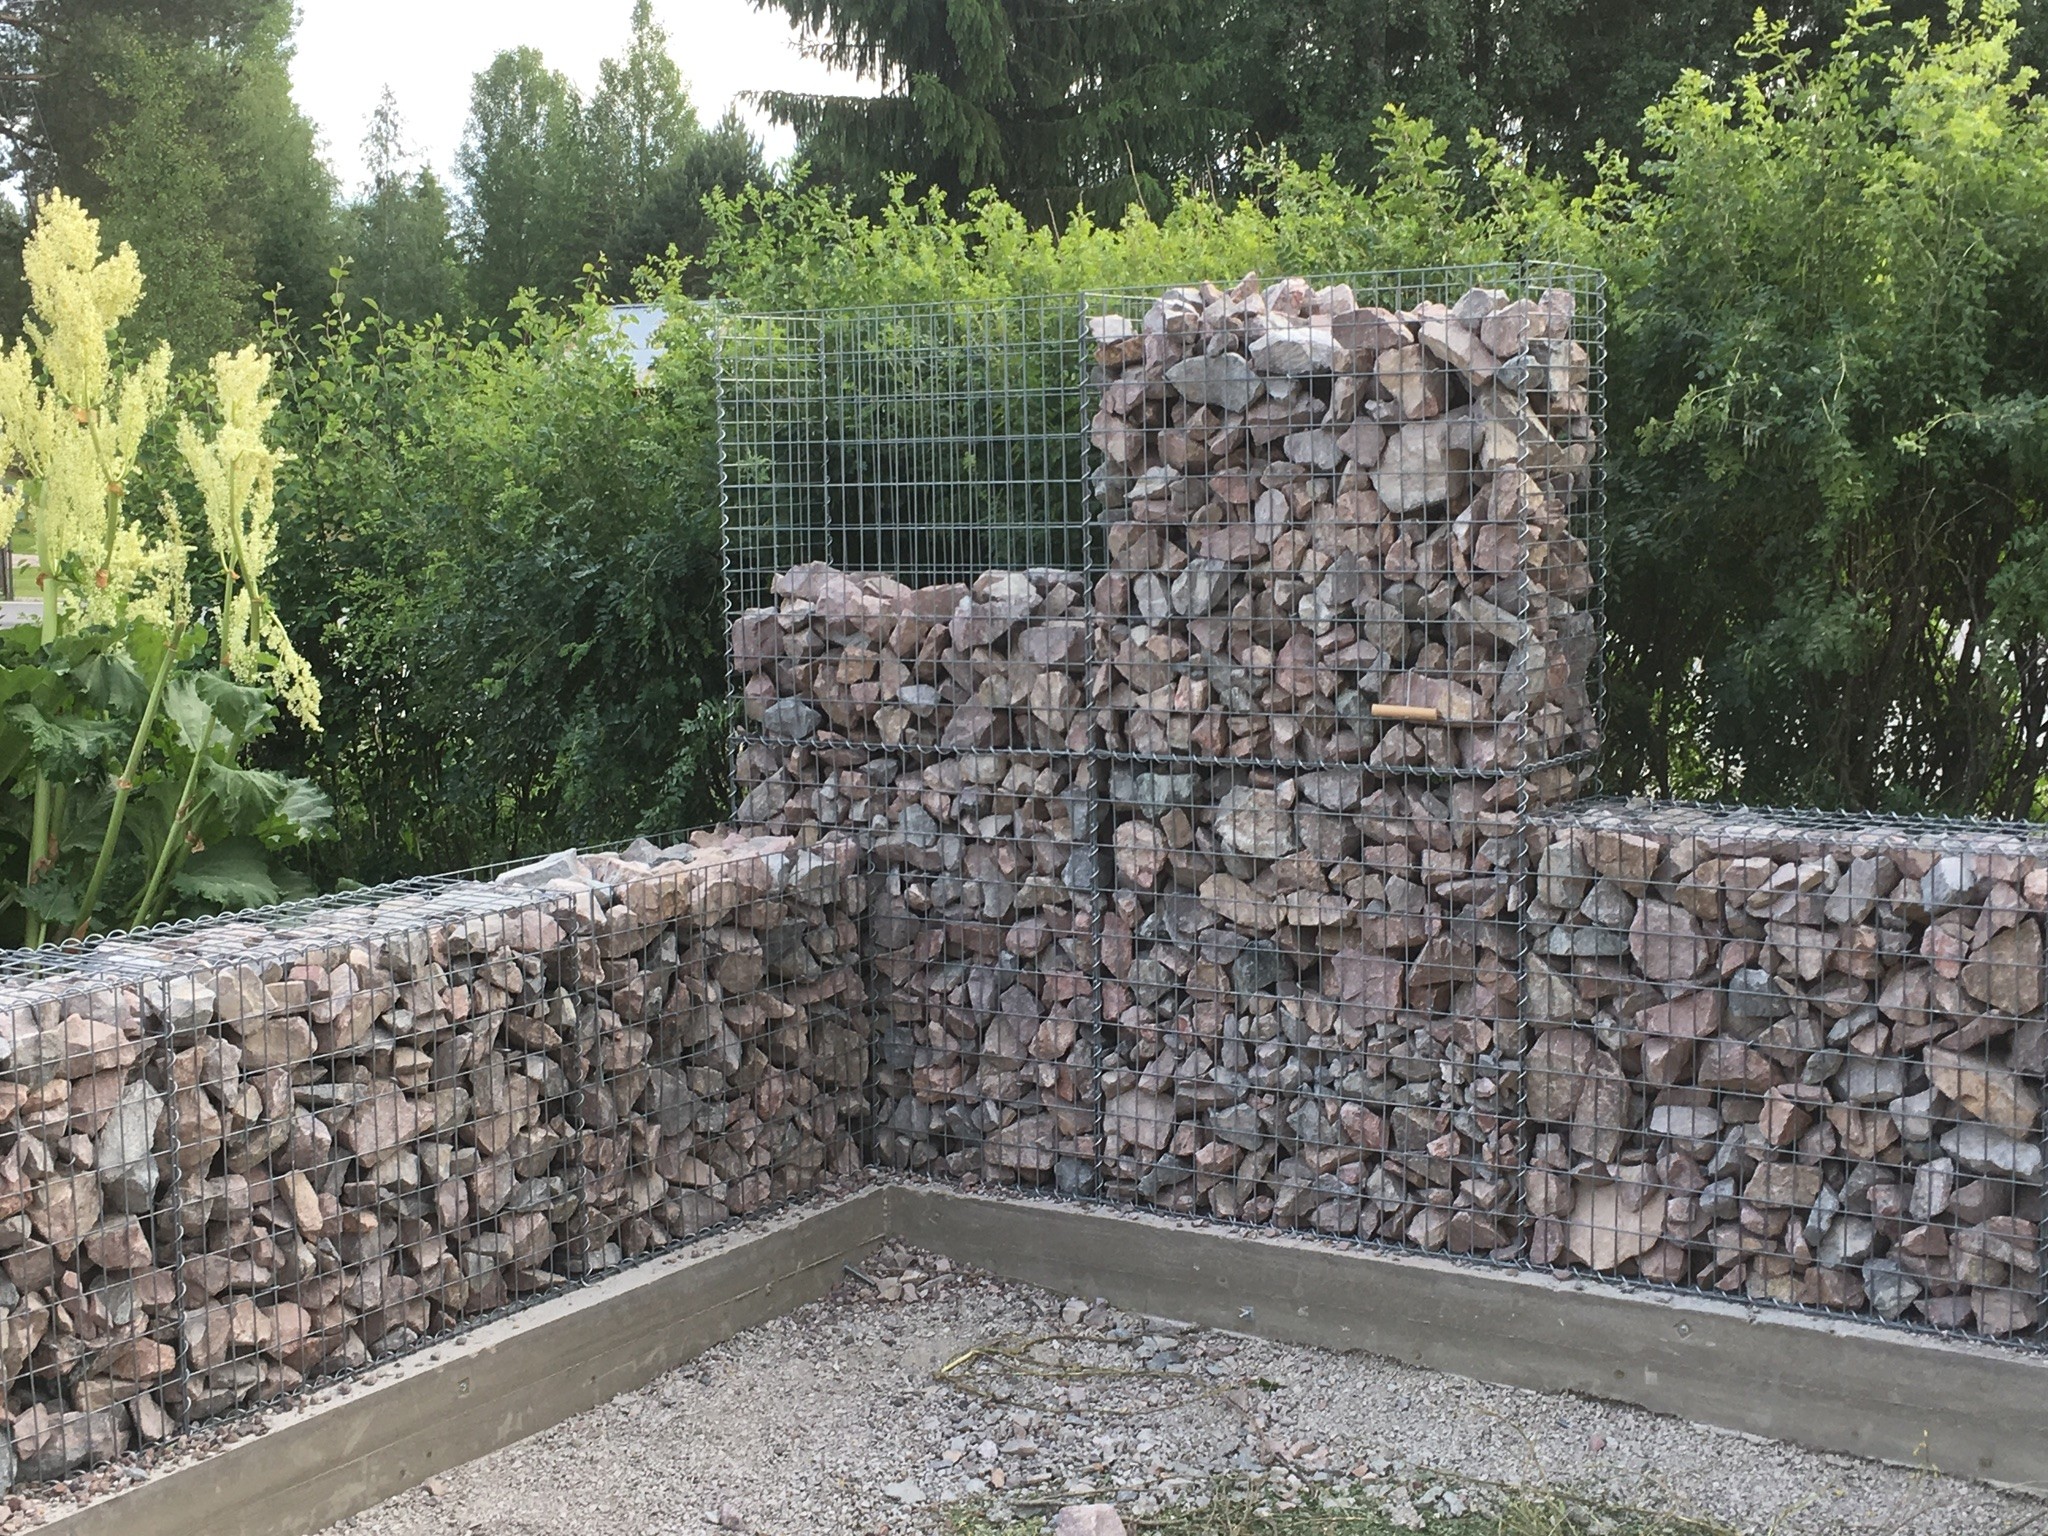
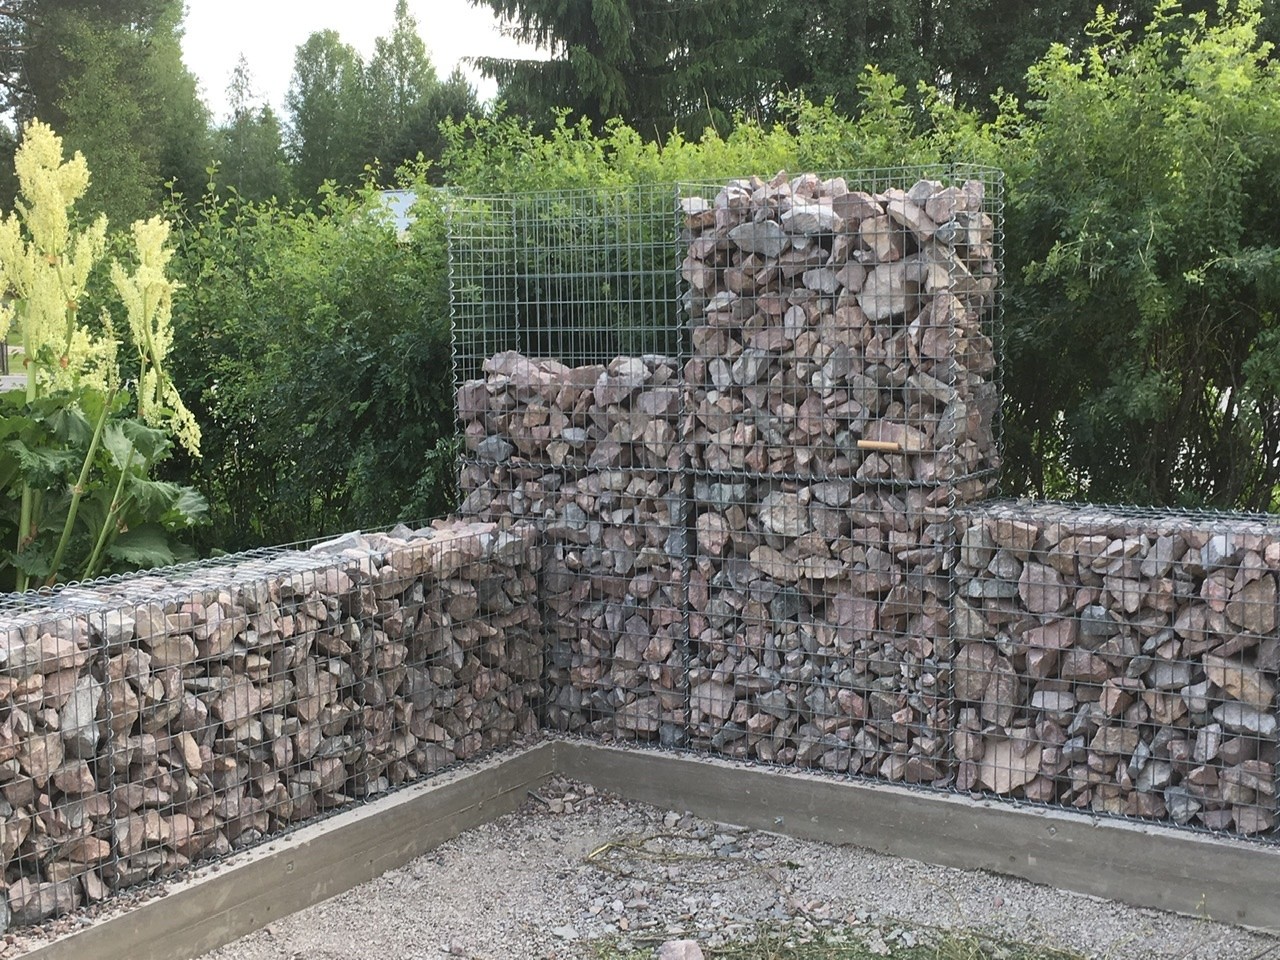
Unplastered wall. We chose to save one wall like this, mainly because it looks a bit fun.
[image]
Finished plastered wall
We have just put the greenhouse into use and furnished it. If you want, I can upload some pictures of how it looks now both outside and inside.
I found some old pictures of the assembly and filling. You can see the spirals in all the joints that are screwed in.B byggarätt said:It turned out so nice, and I've been considering this construction method myself!
What type of gabions with what size holes?
How did you connect the gabions in the sideways and height direction?
How did you fill and pack the stones?
Did you use any wire straps to reinforce the stones and hold the gabions together?
Very nice construction. I would love to see pictures, if you have any, of the walls from the inside, before plastering. Especially around the west wall windows/eaves...
Nice pictures, interesting!!
You cast the sill and filled by hand, what a job!!
How nice!
The wall plate on top of the gabions, you can probably cast a leveling on top and attach the wall plate there?
The wall you haven't plastered on the outside... how does it work in terms of moisture?