Hello. I'm thinking of lowering the ceiling with 45mm battens and putting up new drywall. Have LED lights that are 2w.
It is a two-story house with several apartments in a row.
The ceiling is a concrete slab, and I would need to screw in approximately 70/80mm screws/anchors
45 for the batten and the remaining 25mm into the concrete ceiling.
I'm afraid there might be electrical pipes and plumbing.
So what is my limit for screwing into the concrete ceiling?
Those of you who have experienced this or have the knowledge, it would be great if you could share it.
Spontaneously, I would say you have too short Expanderspik. You can never eliminate the risk of hitting electrical or water pipes, but the risk is small. If you want to minimize the number of fastening points, you use sparse panels 22x70 or 28x70 with CC 1200mm and then in the other direction (which you then screw into the first layer) with CC 300mm. It goes faster and preferably use 28x70 if you can. With this method, the number of attachments in the concrete is reduced. One more thing, 2W spotlights are on the small side, what kind of space is it?
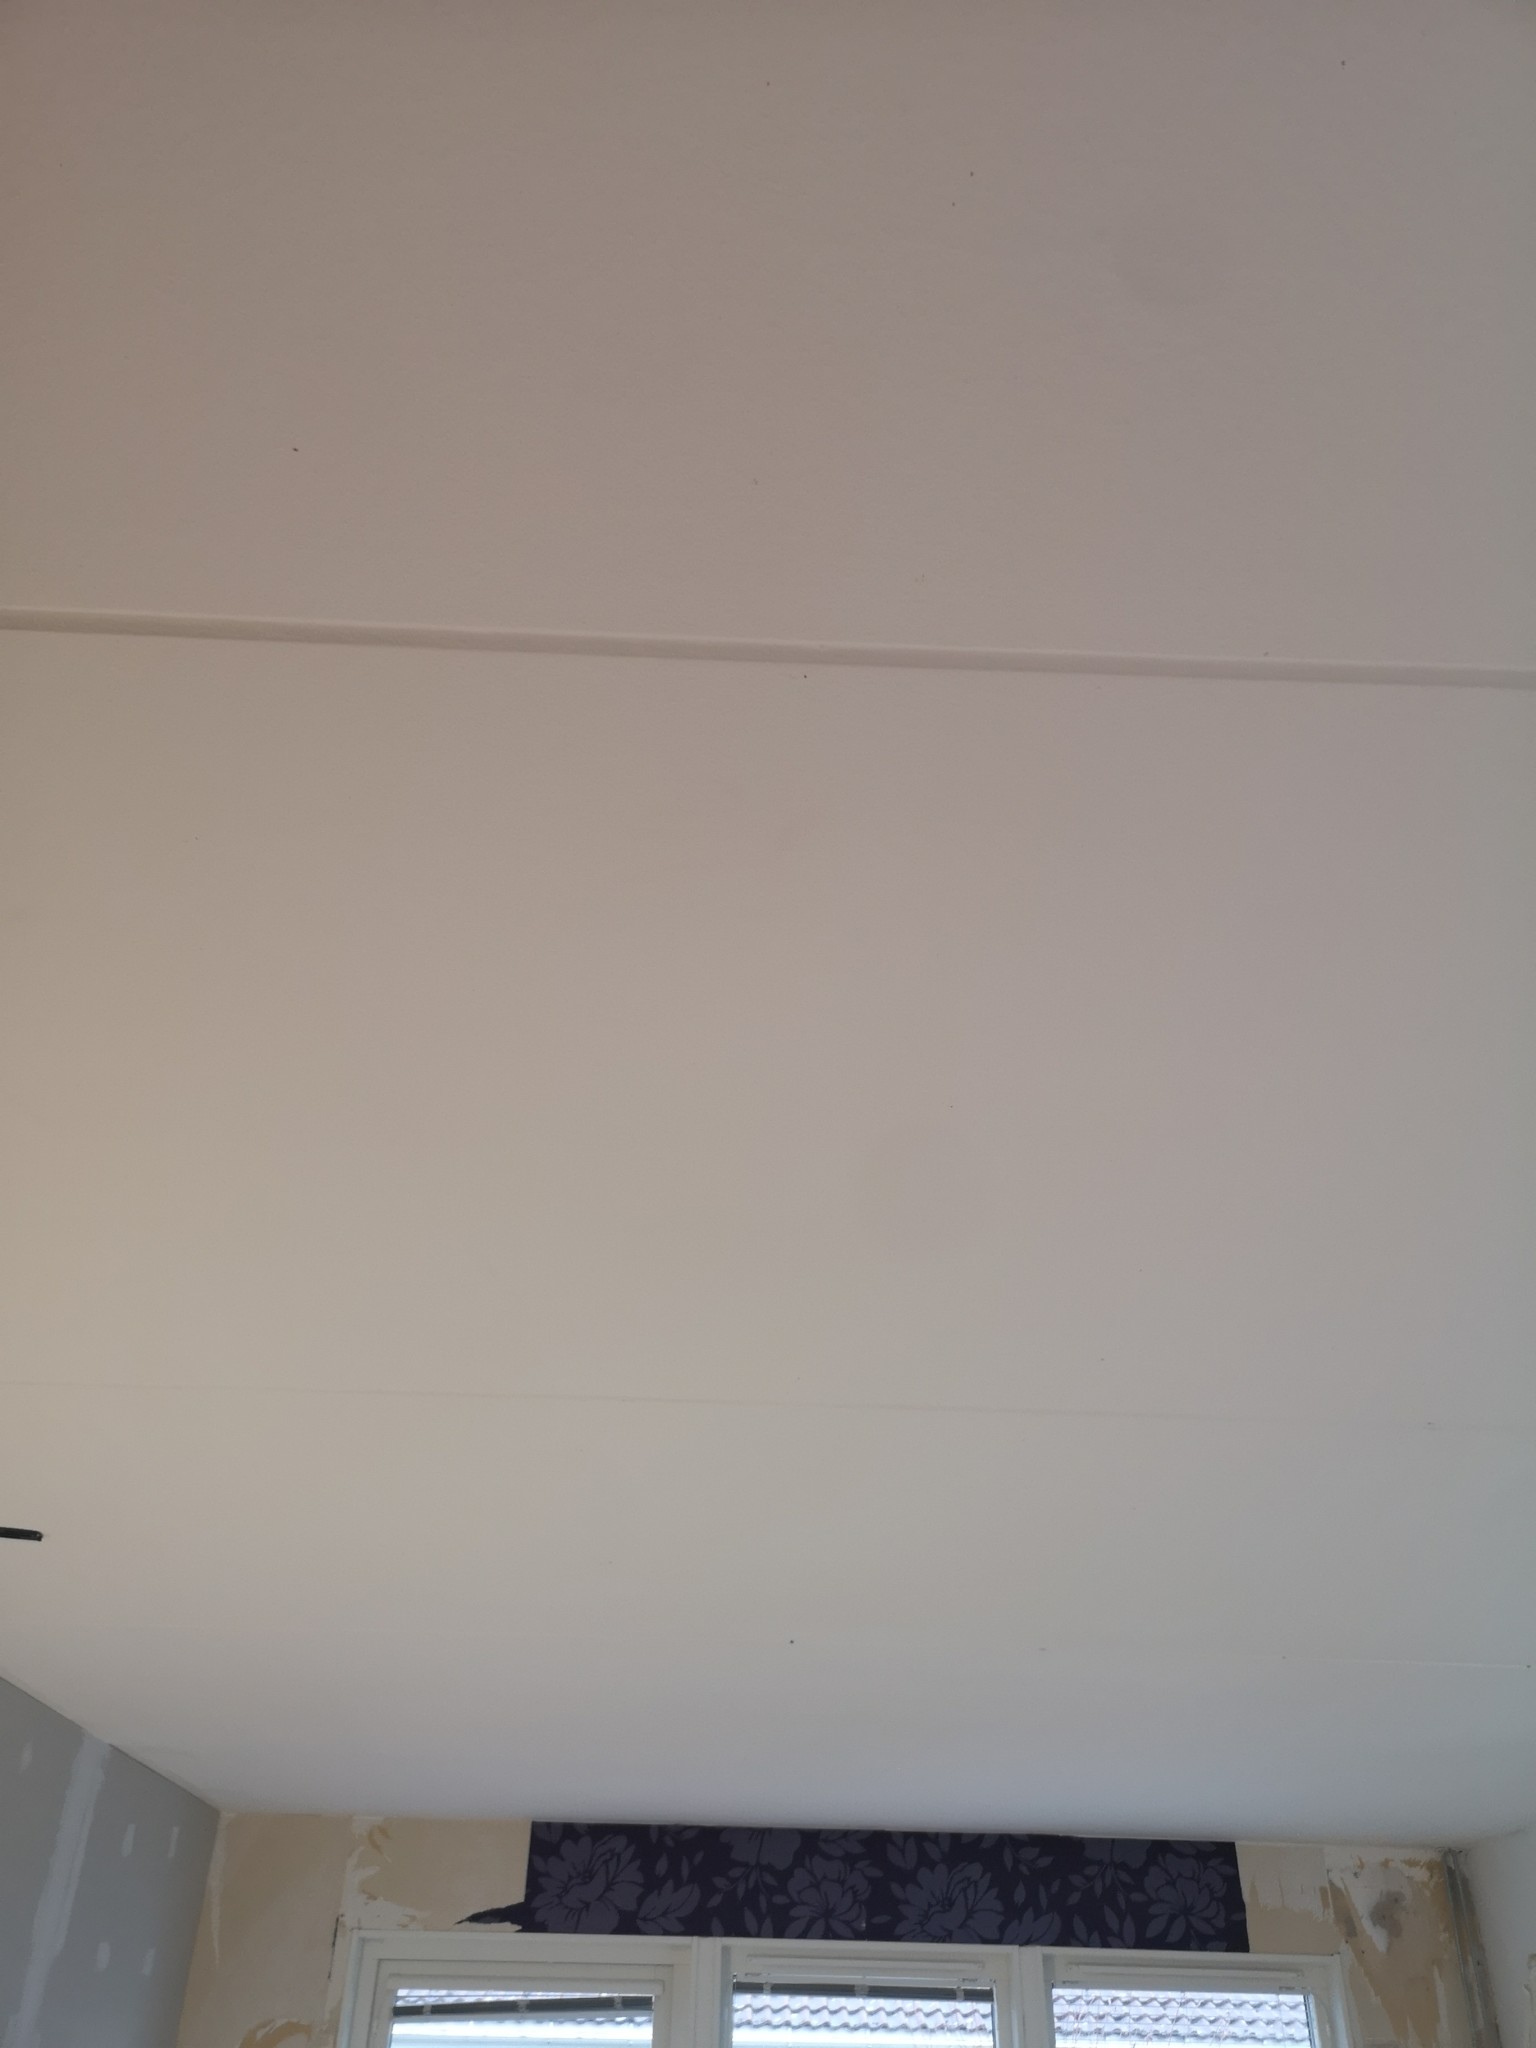
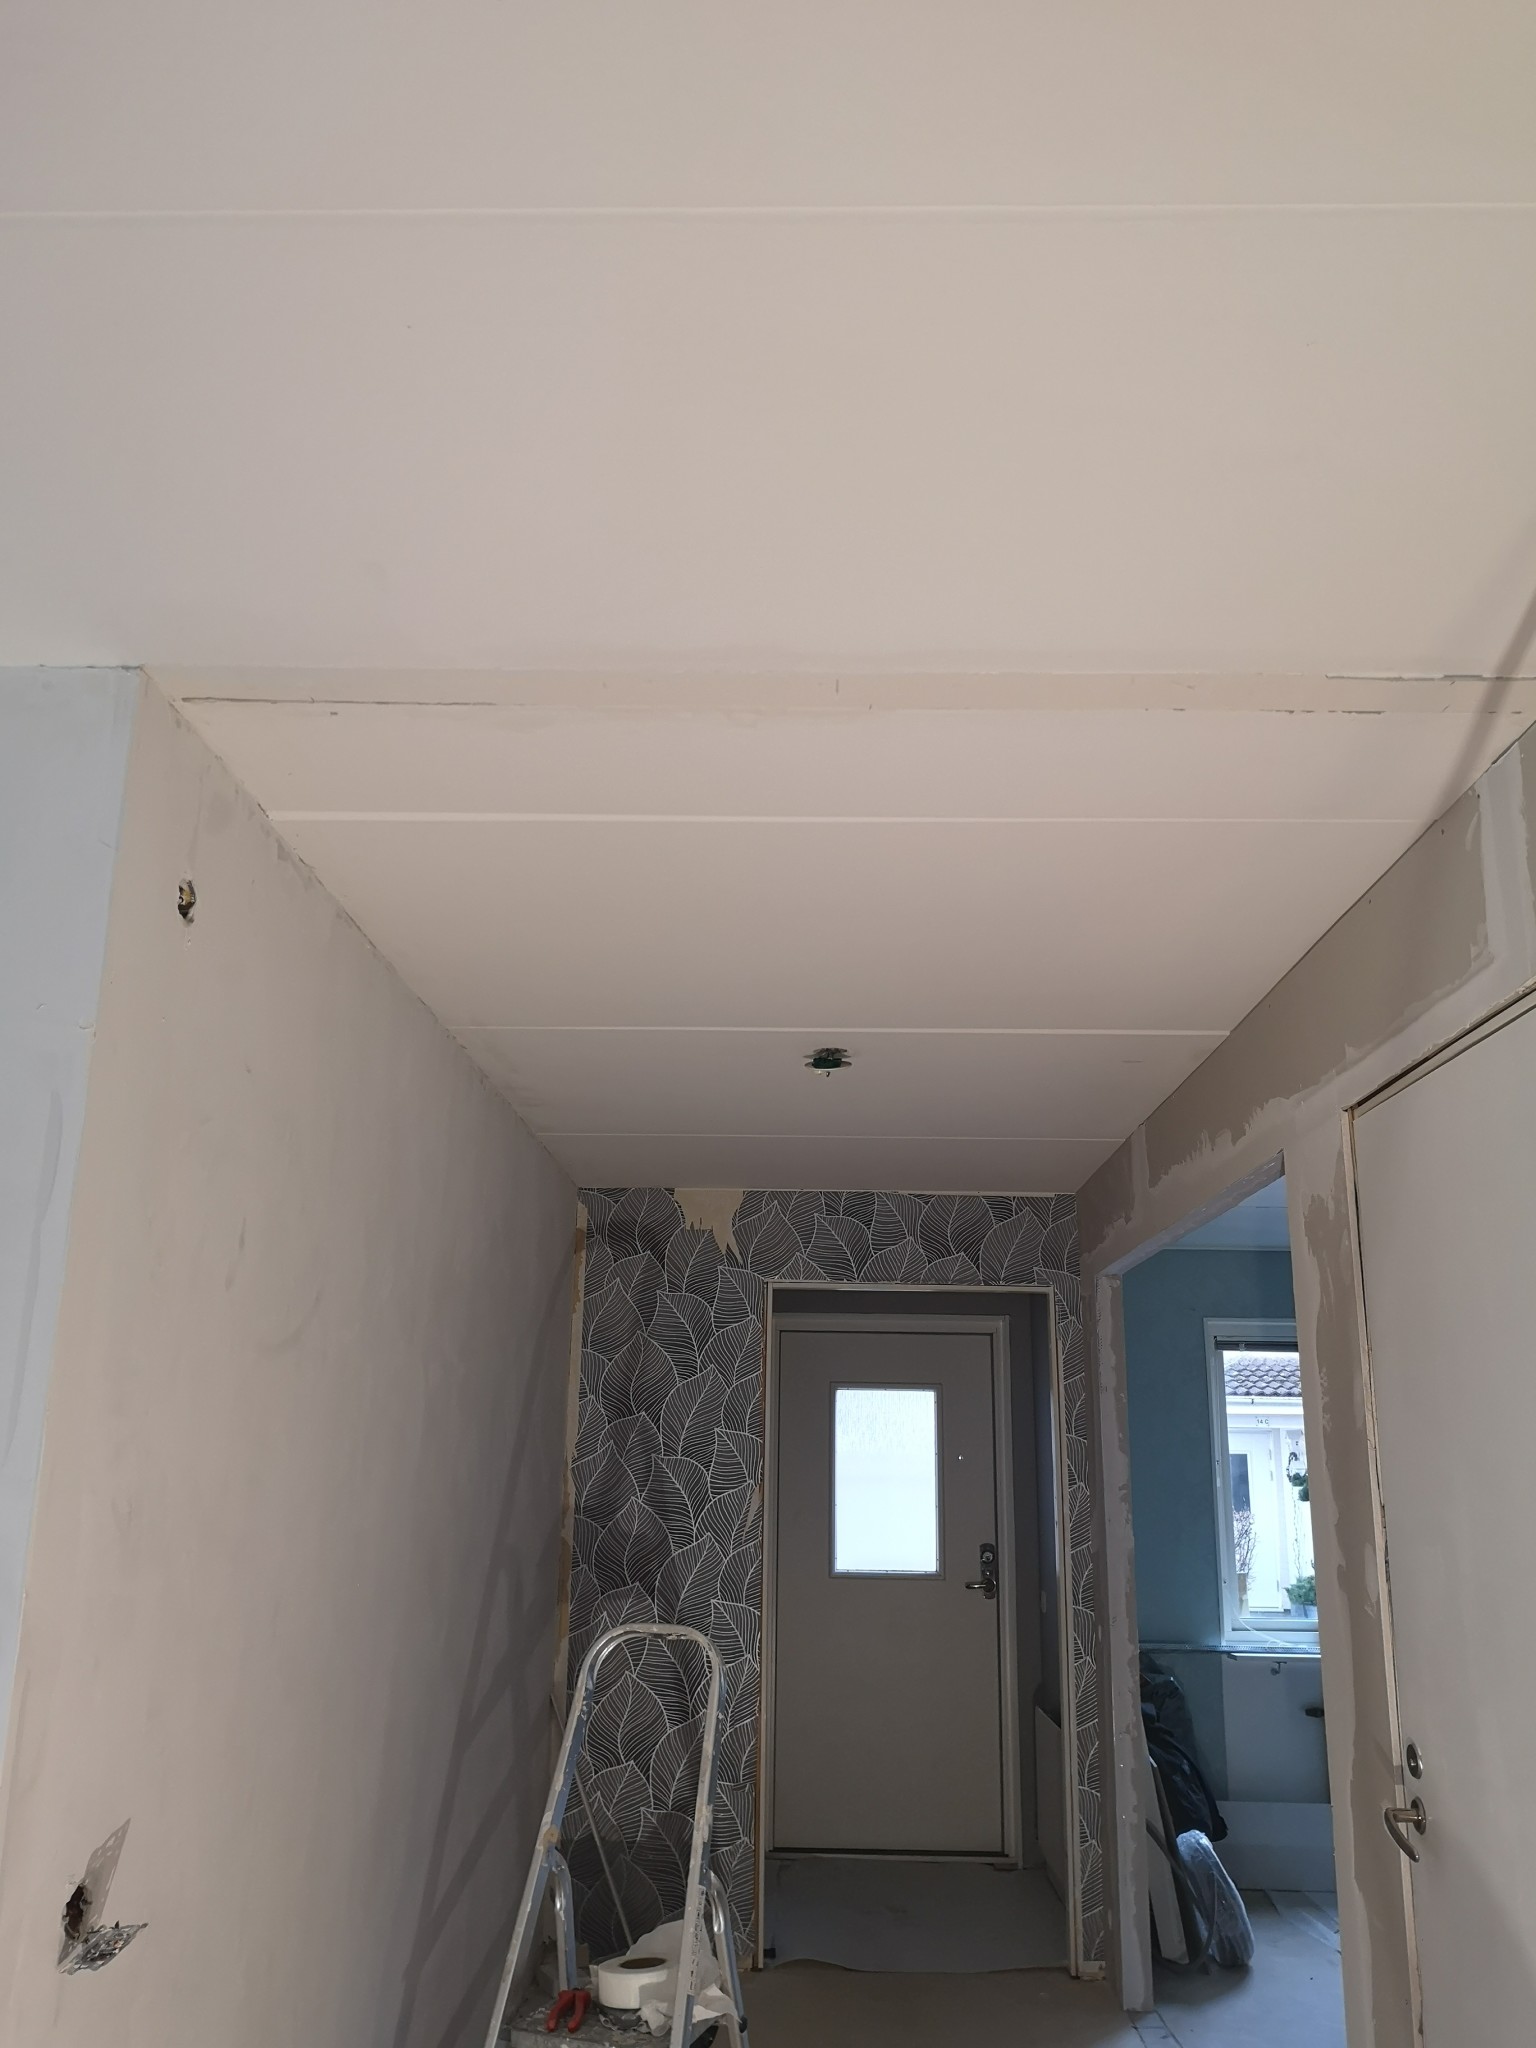
Hi, I've taken some pictures of the ceiling and also an image inside the socket for the ceiling lamp. I will have to wait until January 3rd to get the plans, at the latest.C C.Lundin said:
But water pipes go through the wall where there's plasterboard further up to the apartment above.
What concerns me most is the sewage and the electricity.
Hi. Right now it is

Thanks for the info. Maybe I should use that method with sparse panels.J Johan456 said:Spontaneously, I would say that your expanders are too short. You can never eliminate the risk of hitting electrical or water pipes, but the risk is small. If you want to minimize the number of attachment points, you should install a sparse panel 22x70 or 28x70 with CC 1200mm and then in the other direction (which you then screw into the first layer) with CC 300mm. It goes faster and preferably use 28x70 if possible. This method reduces the number of fixings in the concrete. One more thing, 2W spotlights are on the small side, what's the space?
But which expanders can be used for 28/70? /size?
There are a few different LED spotlights I'm looking at right now.
They might be between 3-6w. I've found some at www.Vare44.se
They have varying thicknesses, so I will adapt to what fits best. But around 37mm might work.
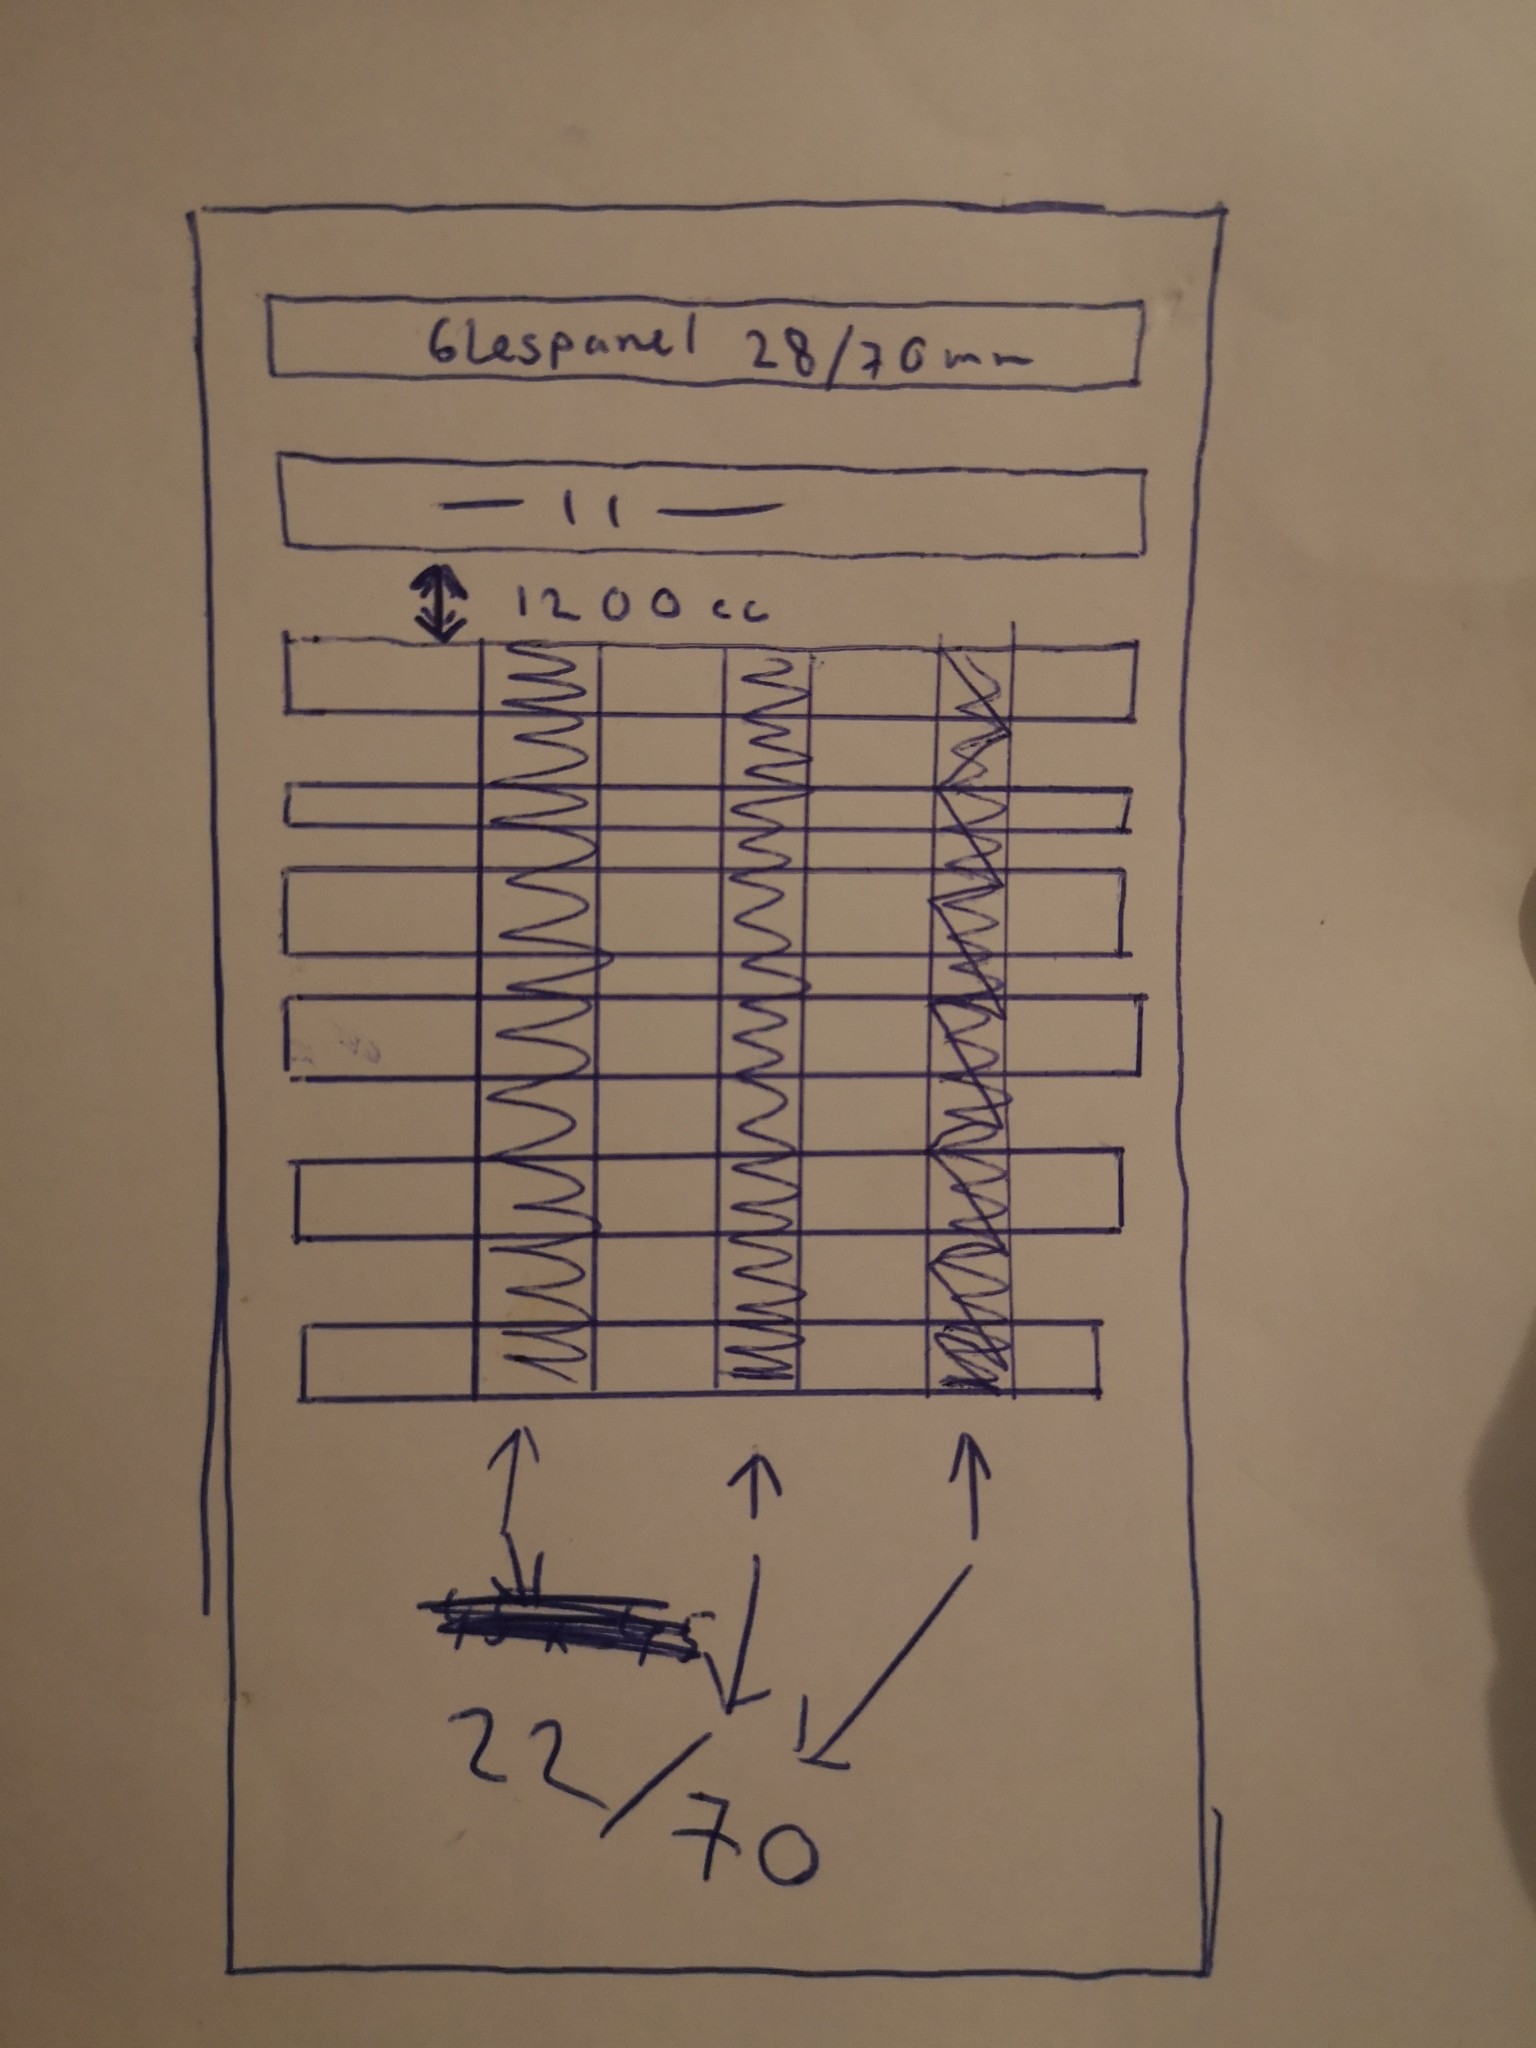
Here I've made a little sketch as you suggested. If I understood correctly, you mean this:
1. Use sparse panel 28/70 with 1200cc
2. Use 22/70 in the other direction
3. Or I can put 45x45 studs on the sparse panel. But then the ceiling will drop a little more than the usual
28+45+13 ceiling gypsum. 86mm.
C C.Lundin said:
Tried today with a cable locator, connected it in the ceiling box, and followed the cable along the ceiling. It was at a depth of 18-20cm, and it varied slightly along the length. Don't know if I should trust that measurement. But when I use it to locate cables in the ground, it usually hits right, so it might be accurate. But maybe I should wait for the drawings.C C.Lundin said:
Highly unlikely. The joist is probably between 220-250 mm thick and that the electrical installation would be just below the upper edge of the reinforcement is not at all likely. It's filigran that lies there and then I can almost guarantee that the conduits are drawn on this, which would be at approximately 60 mm depth.Y Yunus180701 said:Tested today with a cable detector connected in the ceiling box and followed the cable along the ceiling where it was at a depth of 18-20cm and it was slightly different depths along the length. I don't know if you should trust that measurement. But when I use it to detect cables in the ground it usually hits right so it might be accurate. But maybe wait for drawings.
Yes, that's exactly what I'm thinking too, but I meant the cable locator showed 190mm write before 19cm.C C.Lundin said:Highly unlikely. The floor slab is probably between 220-250 mm thick and that the electrical installation would be just below the top reinforcement is not at all likely. It's filigree that's laying and then I can almost guarantee that the conduits are drawn on this, which would be at approximately 60 mm depth.
Y Yunus180701 said:Thanks for the info. Maybe I should use the method with cross battens.
But which expanding nails can be used for 28/70?/size?
I'm currently looking at different LED spotlights.
They will potentially be between 3-6w. I've found some on www.Vare44.se
They have varying thicknesses. So I will adapt it to what fits best. But around 37mm might work.
But here I made a small sketch as you meant. If I understood correctly, you mean like this:
1. Use cross battens 28/70 with 1200cc
2. Use 22/70 the other way
3. Or put 45x45 rule on the cross battens. But then the ceiling will drop a bit more than the usual
28+45+13 ceiling plasterboard. 86mm.
Hm, just regarding the length, I'm not sure what the industry standard is, nails should normally be 2.5 times the length of what you're attaching. For example, a 45-rule would need 45x2.5=112mm long nails. But another expanding nail in concrete holds harder than a nail in wood. If you're using 28x70, buy at least 60mm long, preferably 70mm. Ideally 8mm as well. So 8x60 or 8x70.
Your sketch looks okay. The scales are not correct, but you know that. The first lower batten you attach in the ceiling wall angle on the short side, then CC1200 all the way across and finish with one in the ceiling/wall angle on the other side. Then run in the other direction as you've drawn CC300mm. Measure on a plasterboard so the edge lands in the middle of the batten where it should join. (For the first, you have to subtract 35mm, otherwise there's nothing to screw into. Attach these with 2 chipboard screws on each of the lower cross battens.
Then to have something to screw into all the way on the short sides, you need to insert small pieces between the lower layer.
spotlights then:
buy one that gives 500-600lm, place this about CC 1200mm. I think a single row in the middle is sufficient. The first and last fixture should be placed at half the CC distance to the wall. How large is the hall?
Your drop will be 28+28+12.5 Most downlights at 500-600lm (Normally around 6W) fit with such a drop.
I would look at downlights from Hide a lite or SG armaturen with pre-installed dimmable driver.
What kind of drawings are you going to wait for? If you're thinking about electrical or construction drawings, they won't help you. Electrical drawings only schematically show where the pipes are. Construction drawings do not show electrical conduits.Y Yunus180701 said:Tested today with a cable detector connected in the ceiling box and followed the cable along the ceiling, it was at a depth of 18-20cm, and there were slightly different depths along the length. I don't know if you should trust that measurement. But when I use it to search for cables in the ground, it usually hits correctly, so it might be accurate. But I'll maybe wait for the drawings.
I looked at the link for fixtures. I would look at another brand. There is a lot you need to keep track of, and I think their fixtures feel so-so:
Light output: Measured in lumens, "how much light you get out." Here, the number of watts (W) becomes a little irrelevant.
Color temperature: Measured in Kelvin (K). Incandescent light is 2700K. I think you should go for 2700K, preferably "dimtowarm," as the light becomes warmer when you dim down, just like on an incandescent light fixture.
RA/CRI: Color rendering. The incandescent lamp renders colors at 100%, LED does not. At least RA:80, but on this type of fixture, there are several that offer RA90 and even RA95.
Click here to reply